RuneScape: Dragonwilds sorts your character’s overall strength into Power Level tiers, and Tier 3 is the point where the game stops handing out stone and wood and starts asking for metal. Reaching it means moving past improvised tools and into bronze equipment, which changes what enemies and regions become survivable. A fresh solo run through the 1.0 build hits that milestone by the end of a single long session, and the path it takes shows exactly what the tier depends on.
Quick answer: Tier 3 (Power Level 3) unlocks when you craft a bronze tool or weapon, which requires mining Copper and Tin in the Fractured Plains, smelting them into Bronze Bars, and building a Blacksmith’s Bench.
What Power Level Tier 3 actually is
Power Level is Dragonwilds’ shorthand for how strong your loadout is overall. Your equipment carries a tier value, and the game reads the gear you carry to decide your Power Level. Tier 1 covers your starting stone tools. Tier 2 arrives once you equip crafted gear like the Wooden Training Sword and Leather Shield. Tier 3 is the bronze bracket, and it is the first jump that forces a full crafting chain rather than a single bench recipe.
The reason the tier matters is regional. The Fractured Plains, where copper and tin are found, is a genuine step up in enemy danger. Arriving there in Tier 2 leather is how you leave a corpse behind, which the run demonstrates twice over.
The early loop that sets up the climb
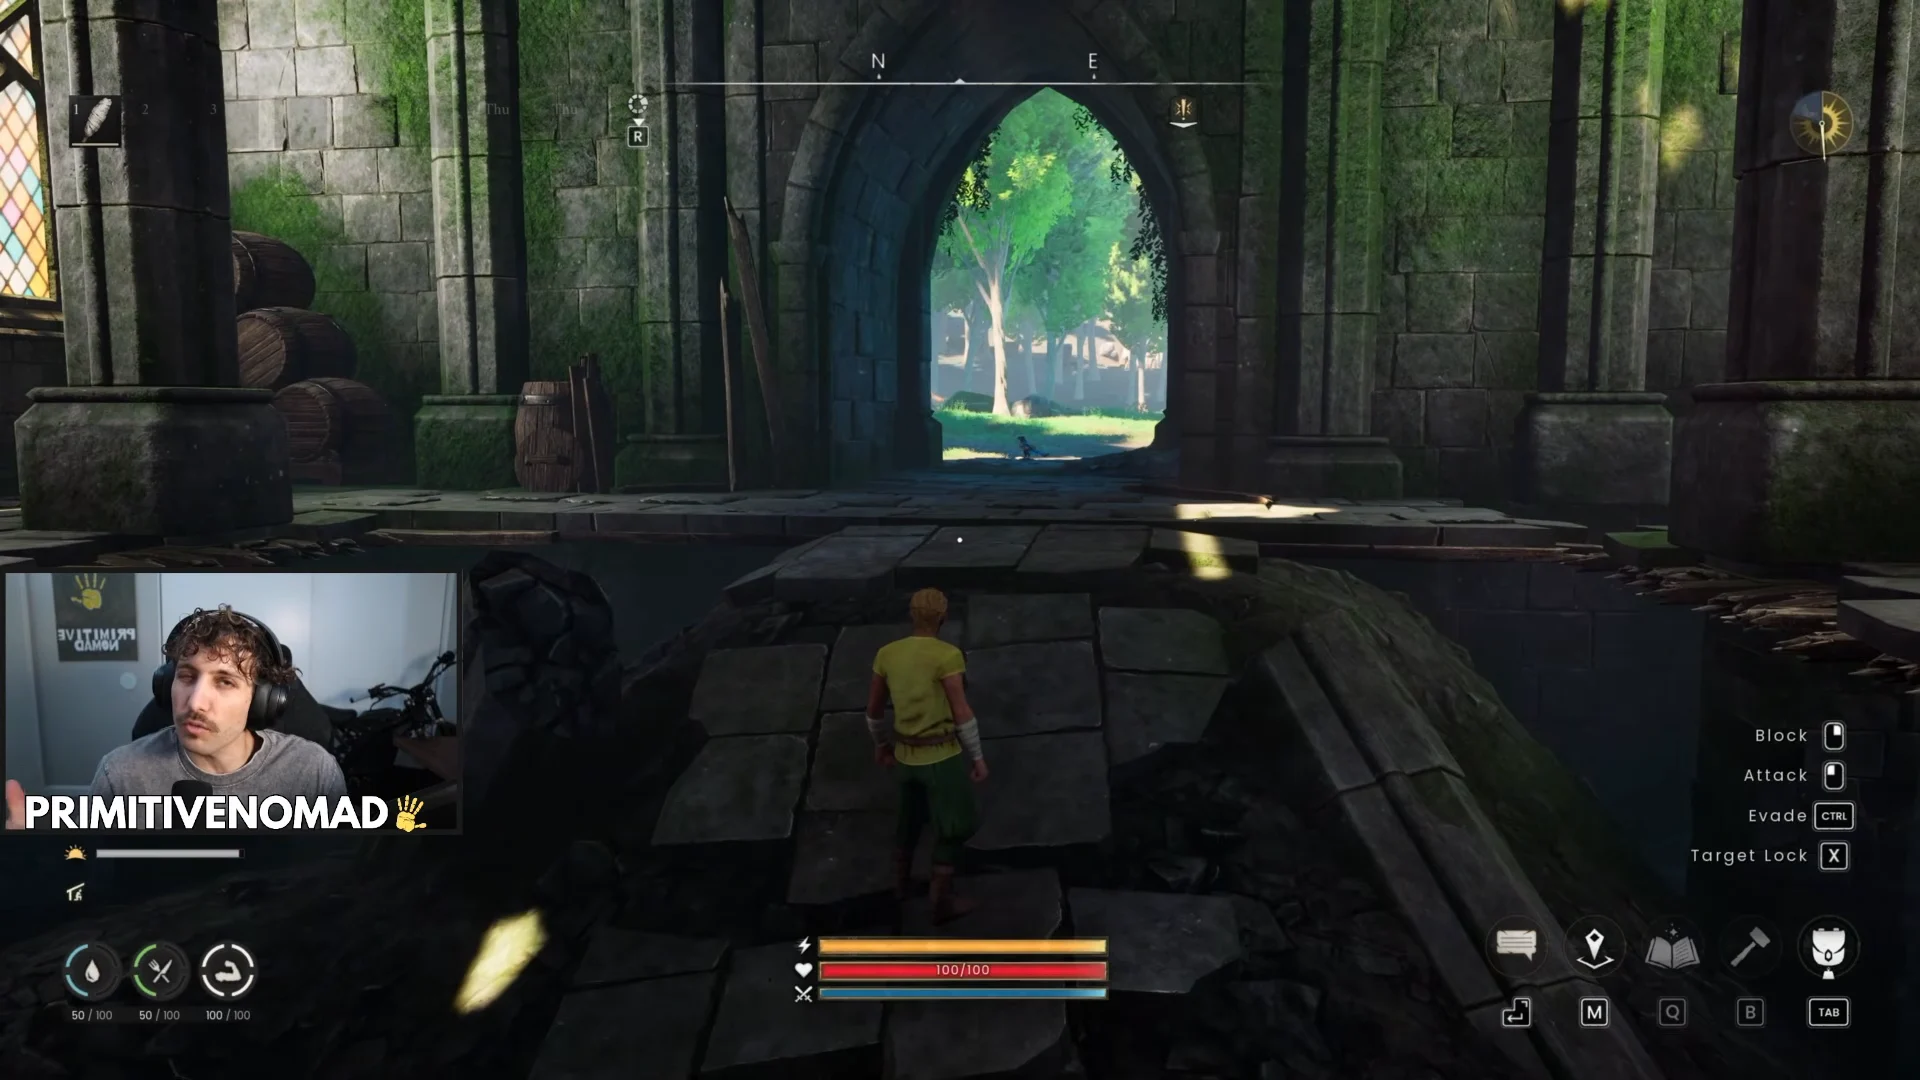
Everything before bronze is about clearing the two lower tiers cleanly. The run opens with the Wise Old Man in the ruins, who walks new characters through survival basics before releasing them into Temple Woods.
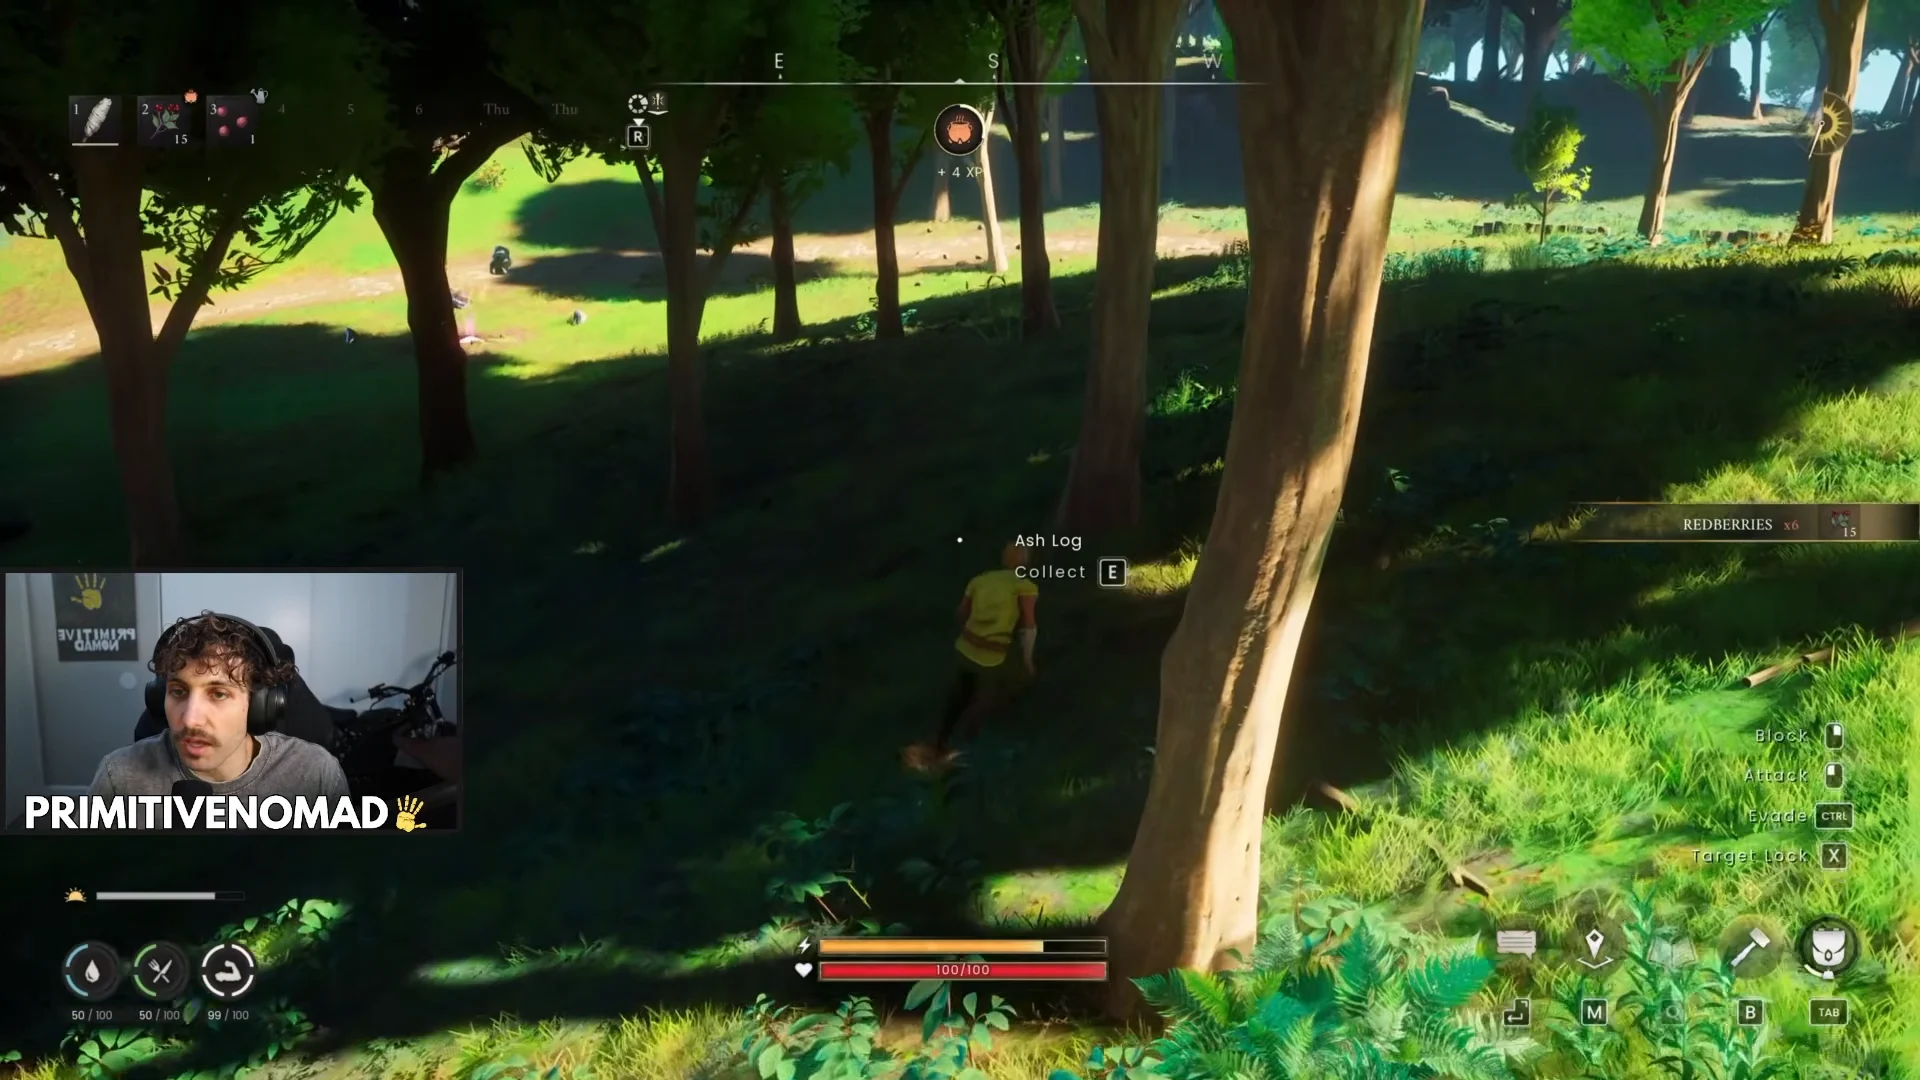
From there the loop is familiar survival fare. Sticks and Ash Logs feed the first crafting table, and collecting them starts leveling Woodcutting.
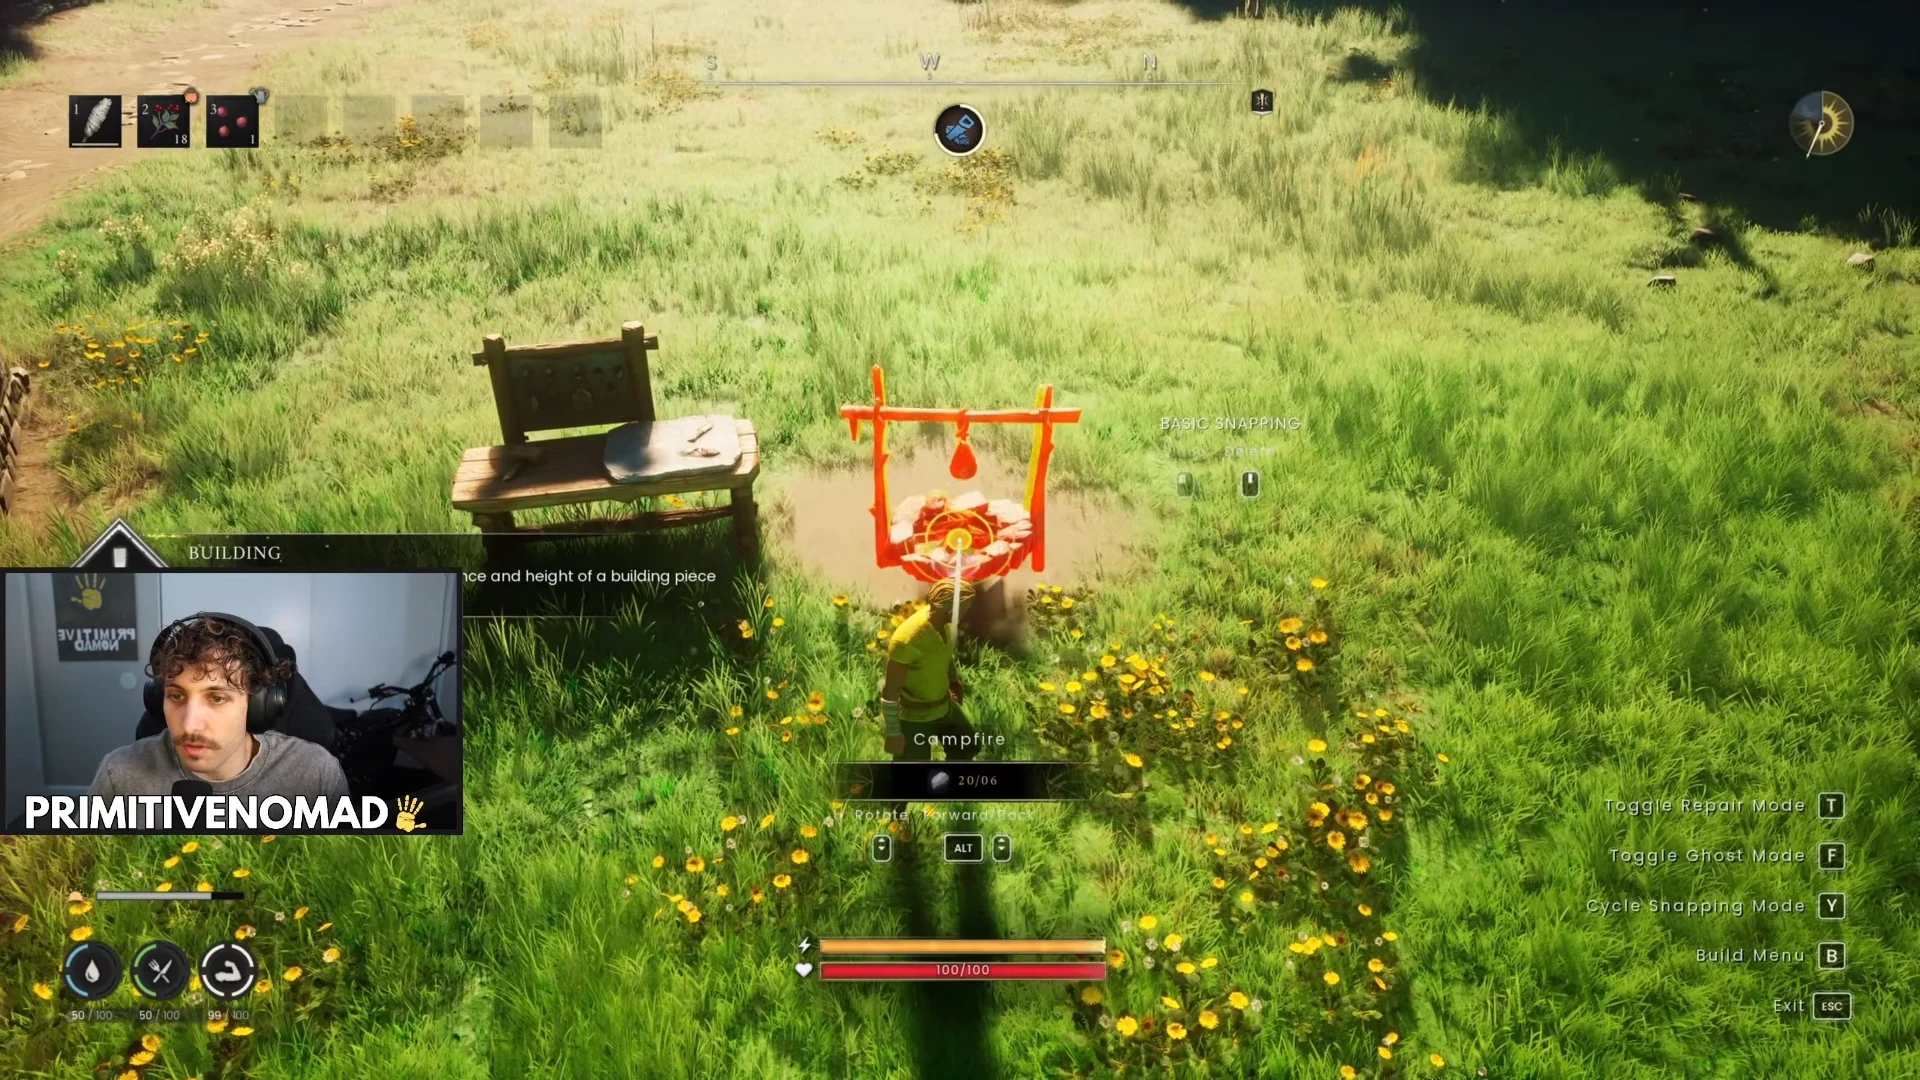
A crude crafting table and a campfire form the first camp, enough to cook redberries and craft the Stone Logging Axe, Stone Pickaxe, and Wooden Training Sword.
Combat starts small against goblins and rats, which drop rat meat and coarse animal fur. This is also where the Wooden Training Sword pushes the character into Tier 2.
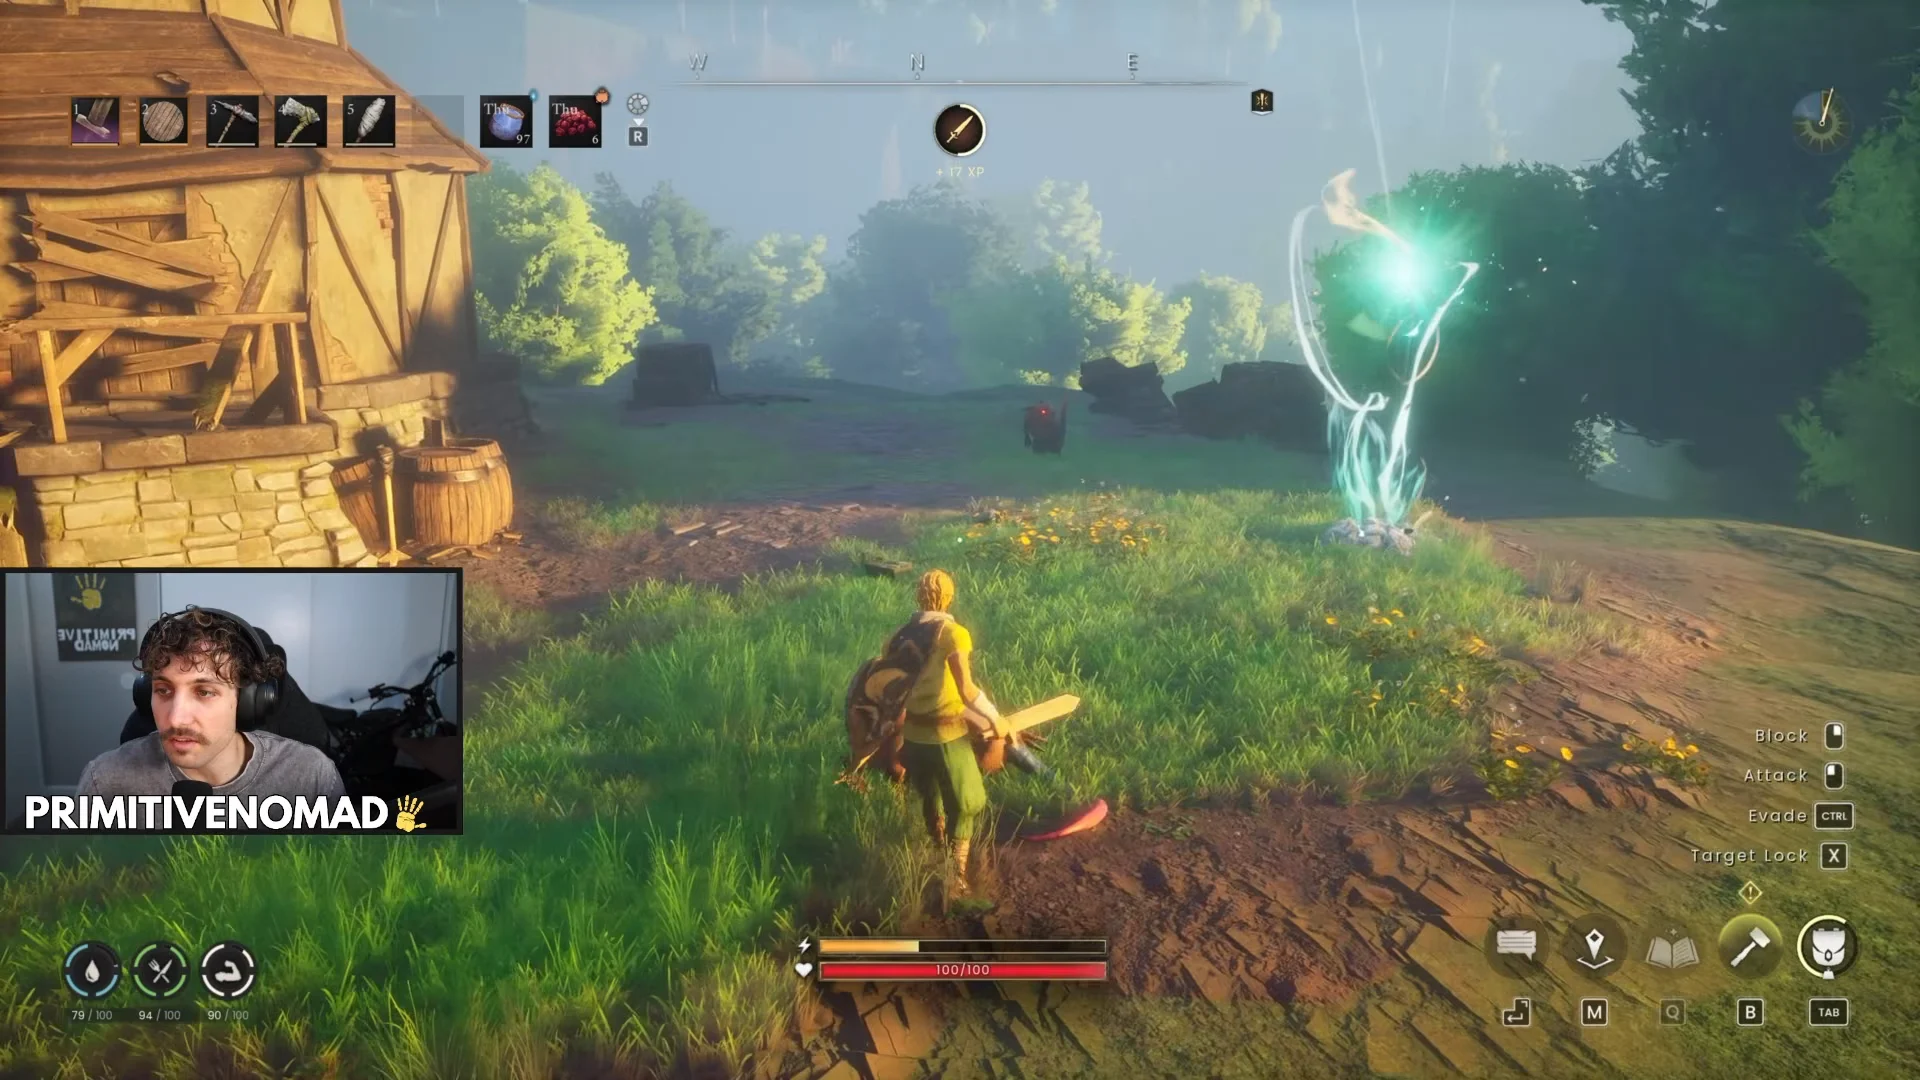
The permanent base lands on a cliff overlooking Bramblemead Valley, with wooden foundations, walls, and a roof going up over the edge.
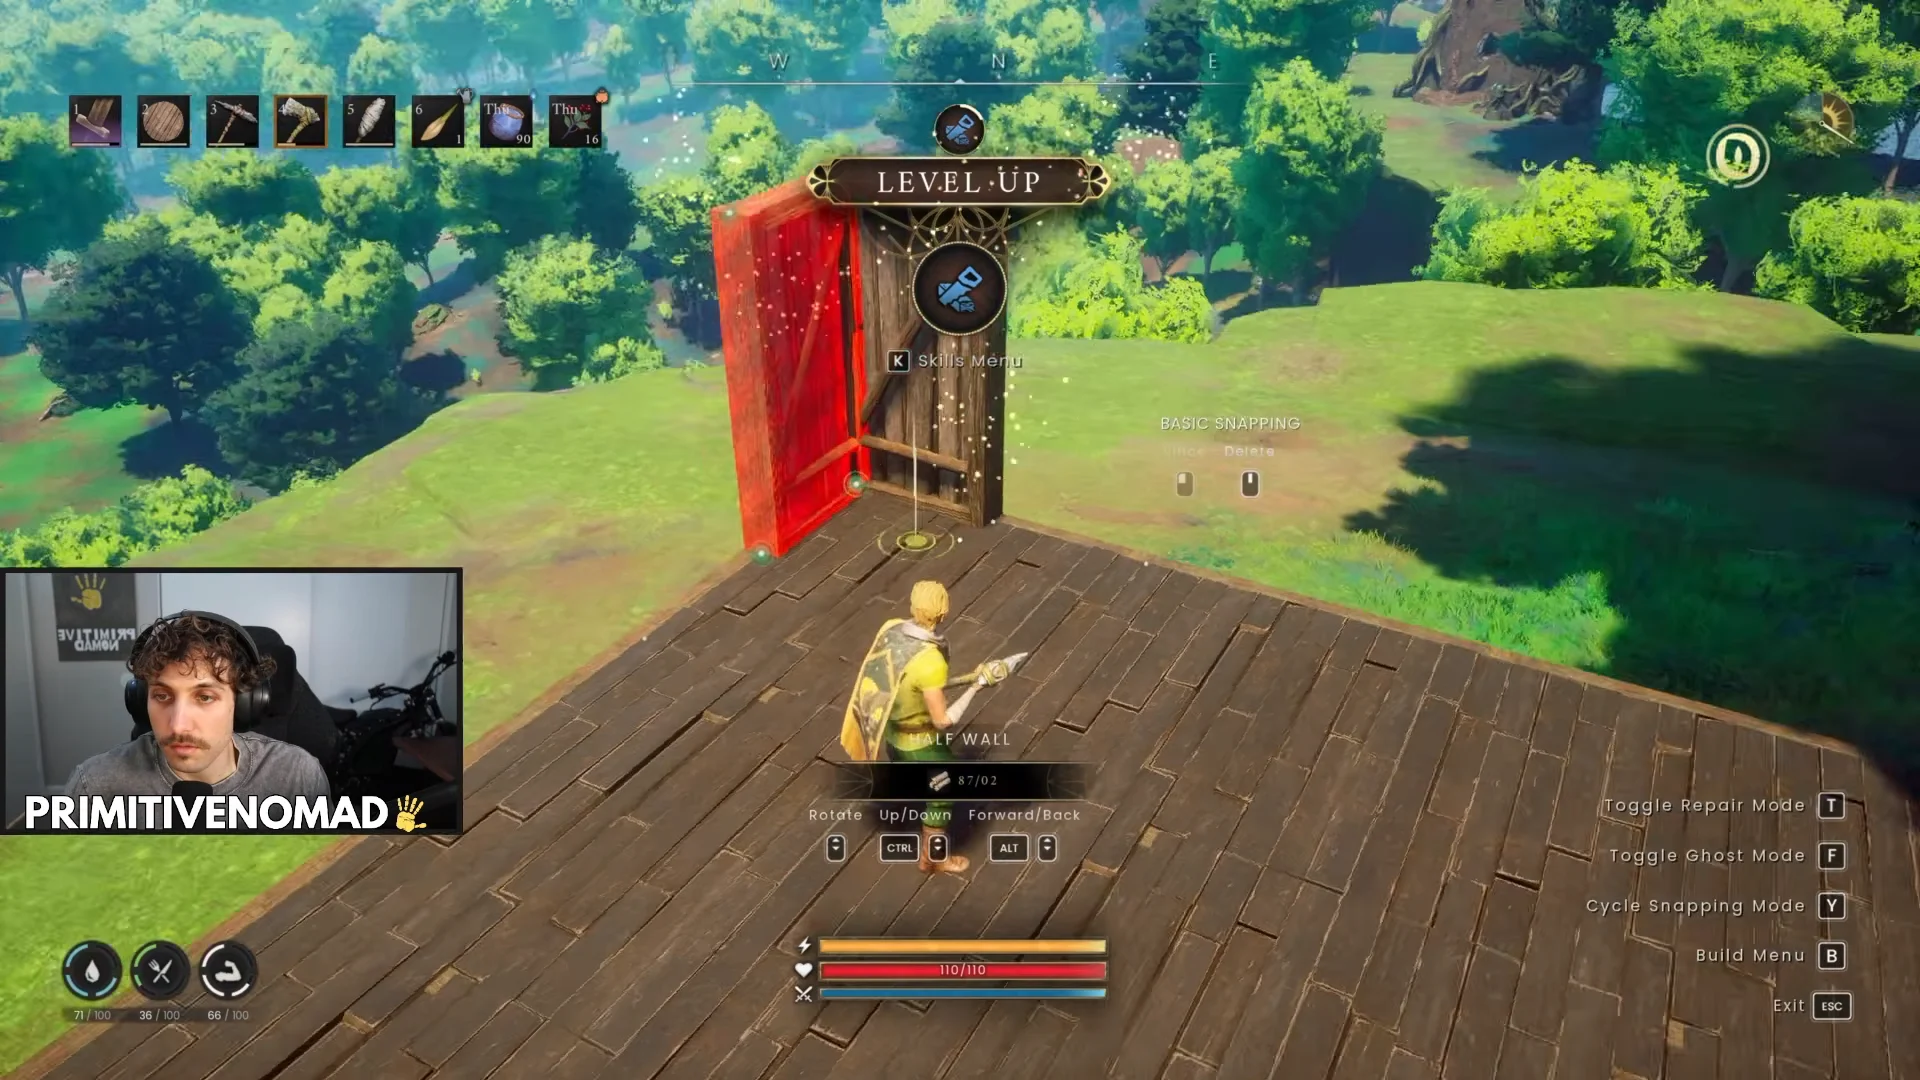
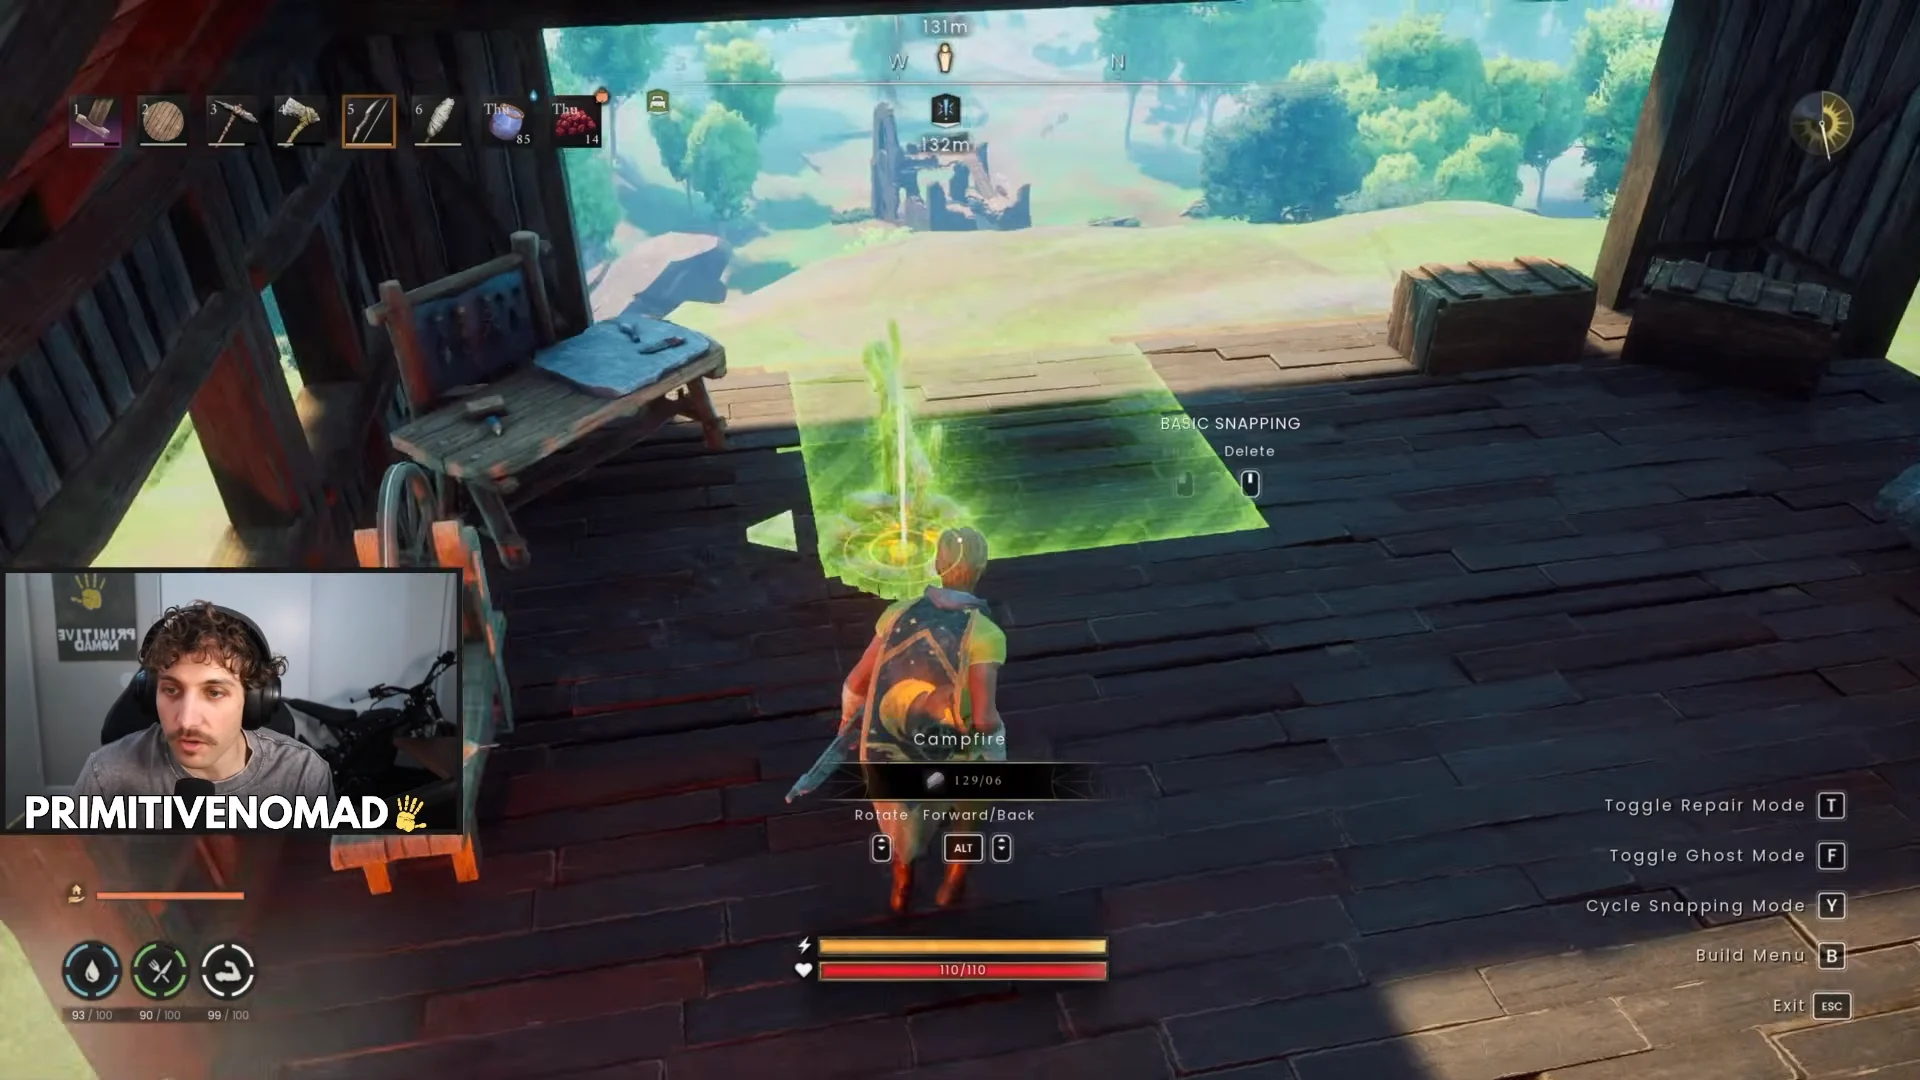
Crafting stations follow. A spinning wheel and campfire process haunches and thread, and a Tanner’s rack turns hides into leather for reinforced armor and a Leather Shield, which locks in Power Level 2.
Why bronze is the real gate
Tier 3 hinges on a chain of dependencies, and each link blocks the next. The tier does not flip until a bronze tool or weapon actually exists in your inventory.
- A Bone Pickaxe is the tool that can break Copper and Tin nodes.
- Copper Ore and Tin Ore only appear in the Fractured Plains, beyond the Whispering Swamp.
- A Kiln burns Ash Logs into Charcoal.
- A Furnace smelts Copper, Tin, and Charcoal into Bronze Bars.
- A Blacksmith’s Bench (built with Bronze Bars and a Vault Core) crafts the bronze gear that triggers Tier 3.
The Vault Core is worth flagging, because it comes from a boss rather than a node. Cores drop from the Vault Overlord inside underground vaults, so a vault clear is effectively part of the bronze pipeline. In the run, the first vault yields two cores after the Overlord goes down, alongside a lodestone teleport pad unlocked inside.
Vault Cores respawn over time, so a vault you have already cleared can be revisited for two more if you spend your supply on lodestones and benches.
What the Fractured Plains run reveals
The mining trip is where the difficulty spike shows. Copper nodes sit along the ridges and cliff walls, and Tin is noticeably rarer, so any Tin found gets grabbed to keep the two ores balanced for smelting. Mining here also unlocks the Gem Prospector and Mine Crumbled Walls perks.
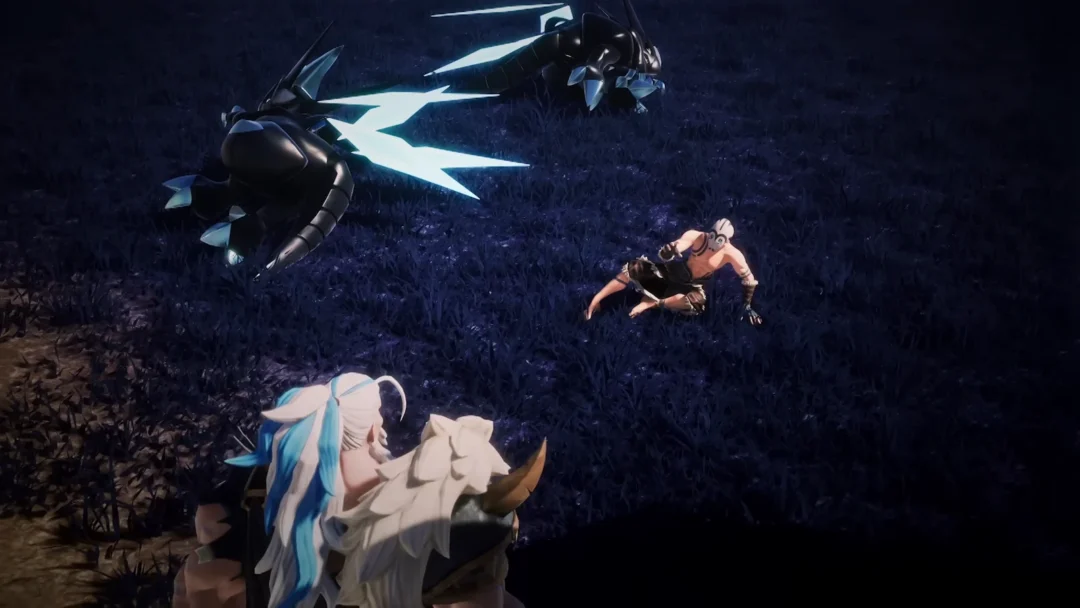
The region’s Garou Hunters are the danger. The run’s second death comes from being pinned by two Garou archers in the dark, on top of an earlier death to goblins while looting a chest. Both are the kind of loss the tier is designed to punish, since a nearly full ore inventory makes traversal slow and retreating harder. A forward lodestone dropped on the Plains cliff is what makes the recovery runs manageable.
Back at base, the Furnace produces Bronze Bars, and forging the Bronze Pickaxe at the bench is the exact moment Power Level 3 registers. A Bronze Mace follows. The green dragon Velgar circles the map throughout and periodically strafes the base with corrosive green acid pools, and a two-wave goblin warband raid targets the base’s crafting benches directly, so the homestead needs to be defensible, not just decorative.
Tier 3 bronze weapons and their stats
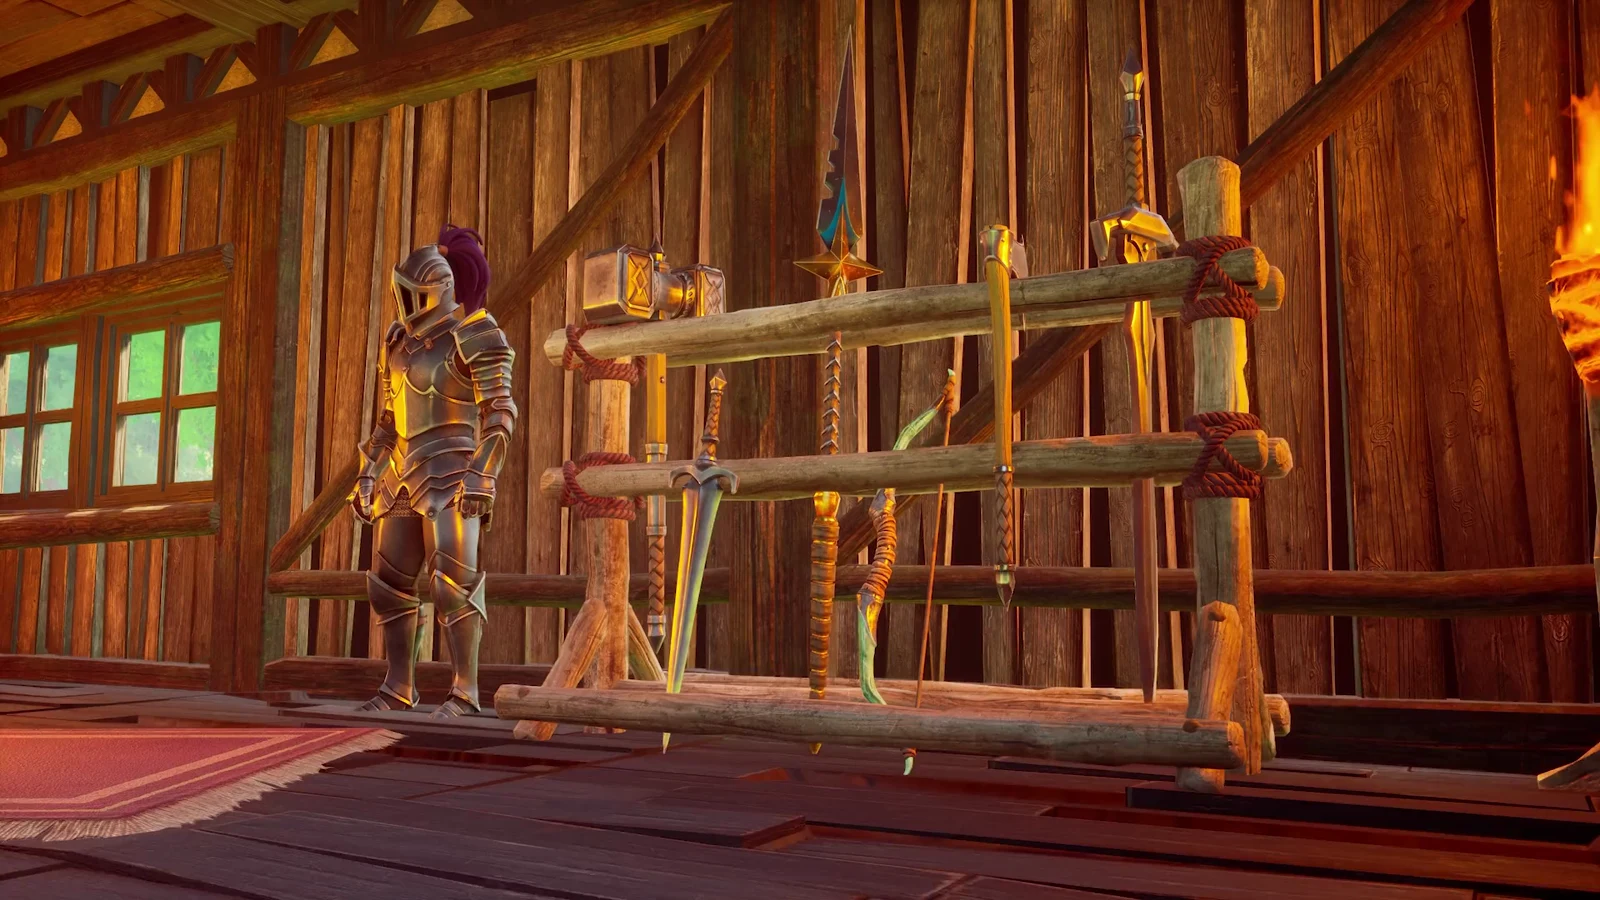
Once the Blacksmith’s Bench is standing, bronze opens up a full weapon line rather than a single upgrade. The tradeoff across the set is speed versus block value, with the faster one-handed options pairing well with a shield.
| Weapon | Damage | Combo | Block |
|---|---|---|---|
| Bronze Dagger | 20–50 | 7 | 19.5 |
| Bronze Sword | 31–56 | 5 | 19.5 |
| Bronze Mace | 38–67 | 5 | 19.5 |
| Bronze Greatsword | 42–73 | 4 | 32.5 |
| Bronze Warhammer | 52–81 | 4 | 32.5 |
A full bronze kit also spans three armor pieces and the Bronze Shield, which is why the ore demand is heavy. Building both the smithing bench and the Tanner’s Kit upgrade, plus a complete armor set, weapon, and shield, runs into dozens of each ore, so multiple trips to the Plains are expected rather than a single haul.
How you know you reached it
There is no ambiguity about the milestone. Crafting the Bronze Pickaxe (or any bronze weapon) at the Blacksmith’s Bench flips your Power Level to Tier 3 the instant the item is made, with the tier reading from the gear you now hold. In practical terms, that single craft is the confirmation, and it is also the green light to start pushing deeper into the Fractured Plains and toward the Dragon Slayer questline that Velgar sits at the end of.