

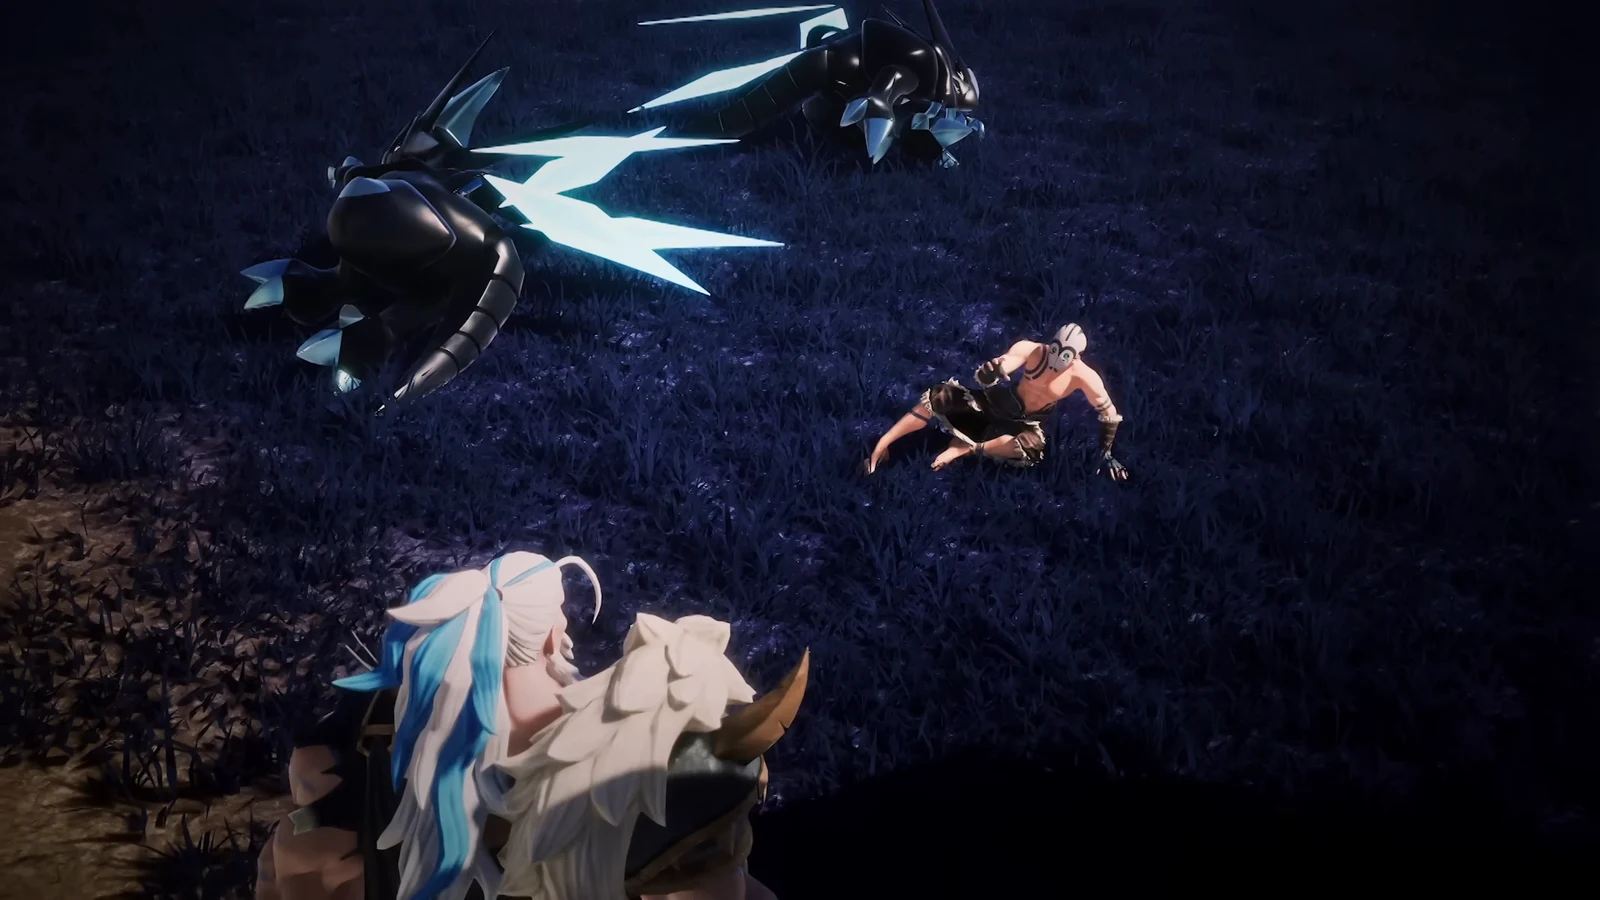
Victor & Shadowbeak sit at the PAL Genetic Research Unit Tower in the Astral Mountains, and the Hard Mode rematch pushes their health pool to 570,230 with damage taken cut to a quarter of normal. Shadowbeak is a Dark-type Pal whose single weakness is Dragon, so a player damage build works by riding a tanky Chillet that turns every shot you fire into Dragon damage while doubling your Attack.
Quick answer: Mount a Chillet with Wiggling Weasel Lv. 5 to convert your weapon damage to Dragon and add +100% Attack, then melt the boss with a Plasma Rifle and two Beam Launchers before its clone spawns near half health.
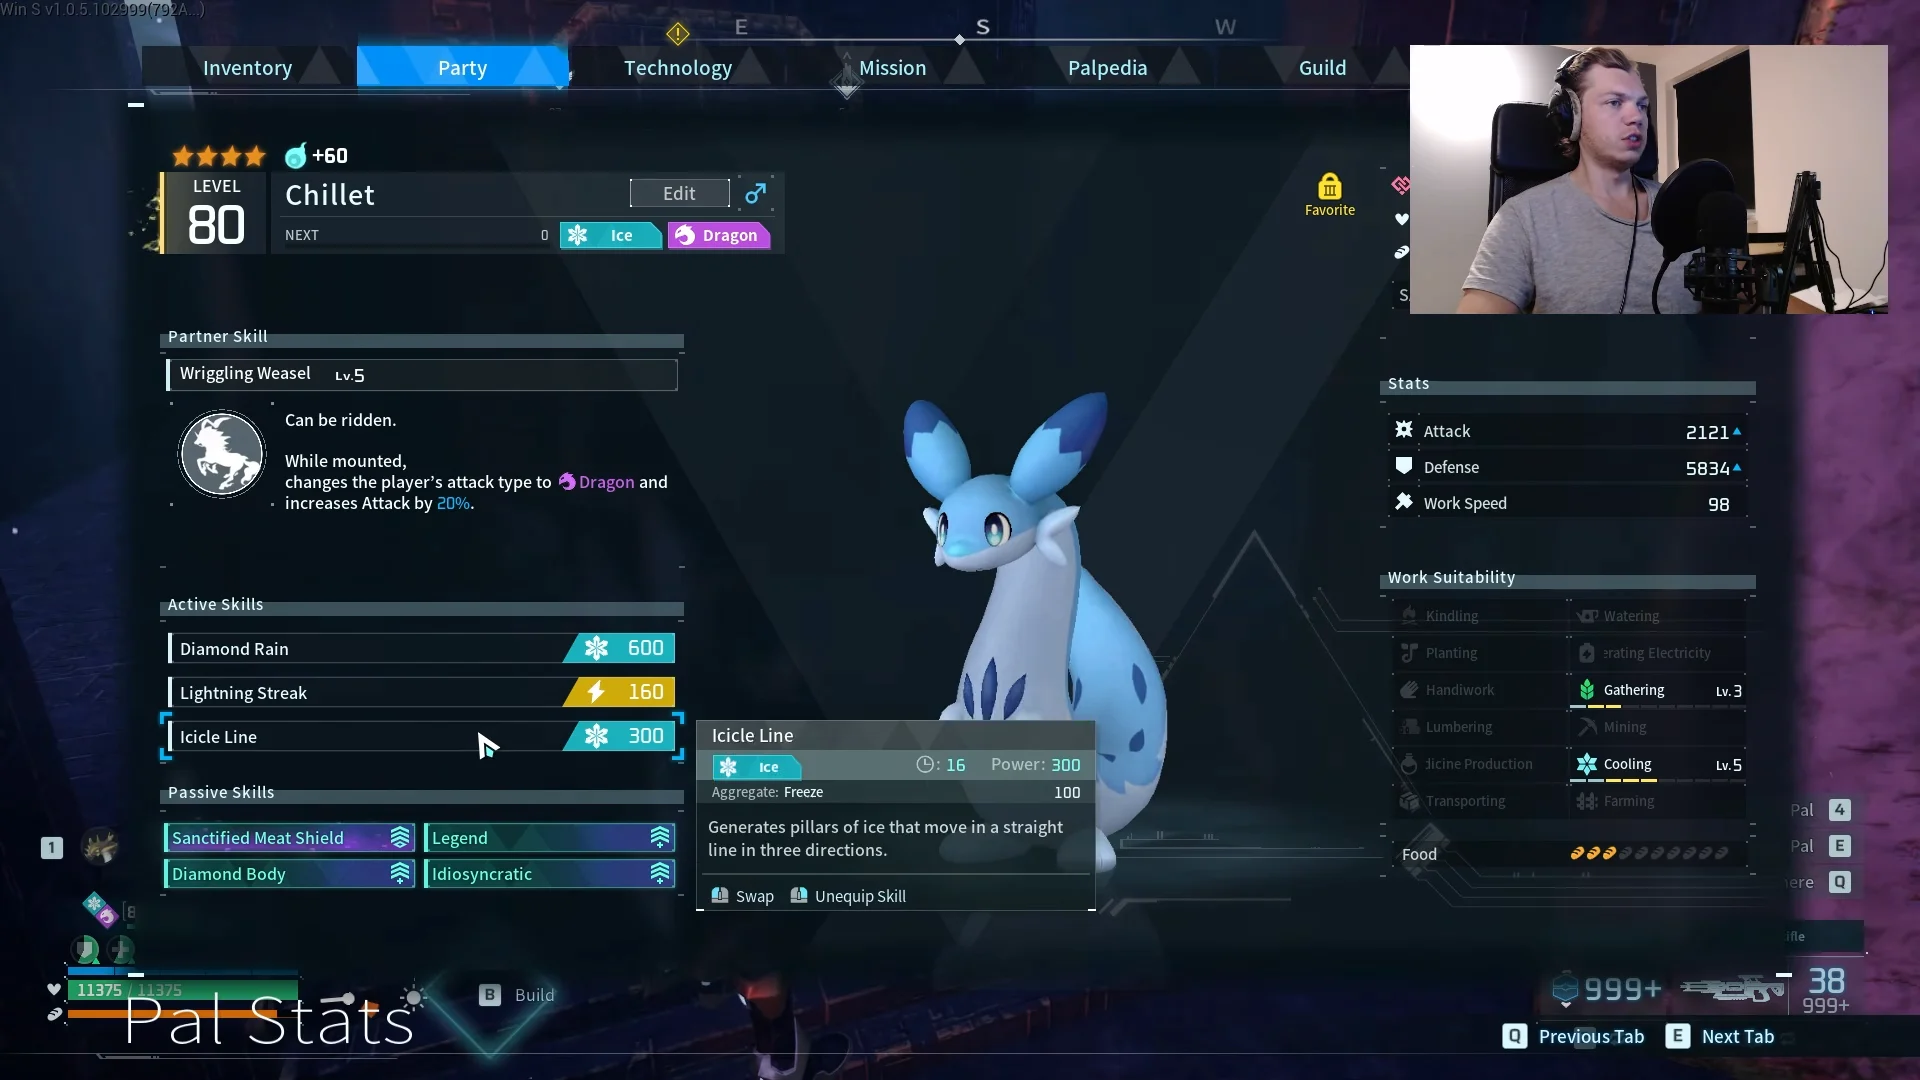
Chillet mount setup (Wiggling Weasel core)
The whole build rests on a Level 60 Chillet carrying Wiggling Weasel Lv. 5, which changes your attack type to Dragon and raises your Attack by 100% while you are mounted. That single partner skill hits Shadowbeak’s Dragon weakness with every weapon shot, so your gun damage matters more than the Chillet’s own moves.
Chillet also has to survive the barrage, so its passive slots are built for tanking rather than damage. Its active skills stay useful for locking the boss in place at the right moment.
| Passive skill | Effect |
|---|---|
| Sanctified Meat Shield | Spawns World Tree resources when approached |
| Diamond Body | Defense +35%, immune to stun and knockback |
| Idiosyncratic | +600 HP regen, Defense +15%, immune to poison and burn |
| Legend | Attack +20%, Defense +20%, Move Speed +15% |
For active skills, run Diamond Rain (Power 600), Lightning Streak (Power 150) and Icicle Line (Power 100). Lightning Streak and Icicle Line are there for their stun and freeze effects, which you use to pin the boss for the finishing burst rather than for their raw power.
Party Pals that stack player buffs
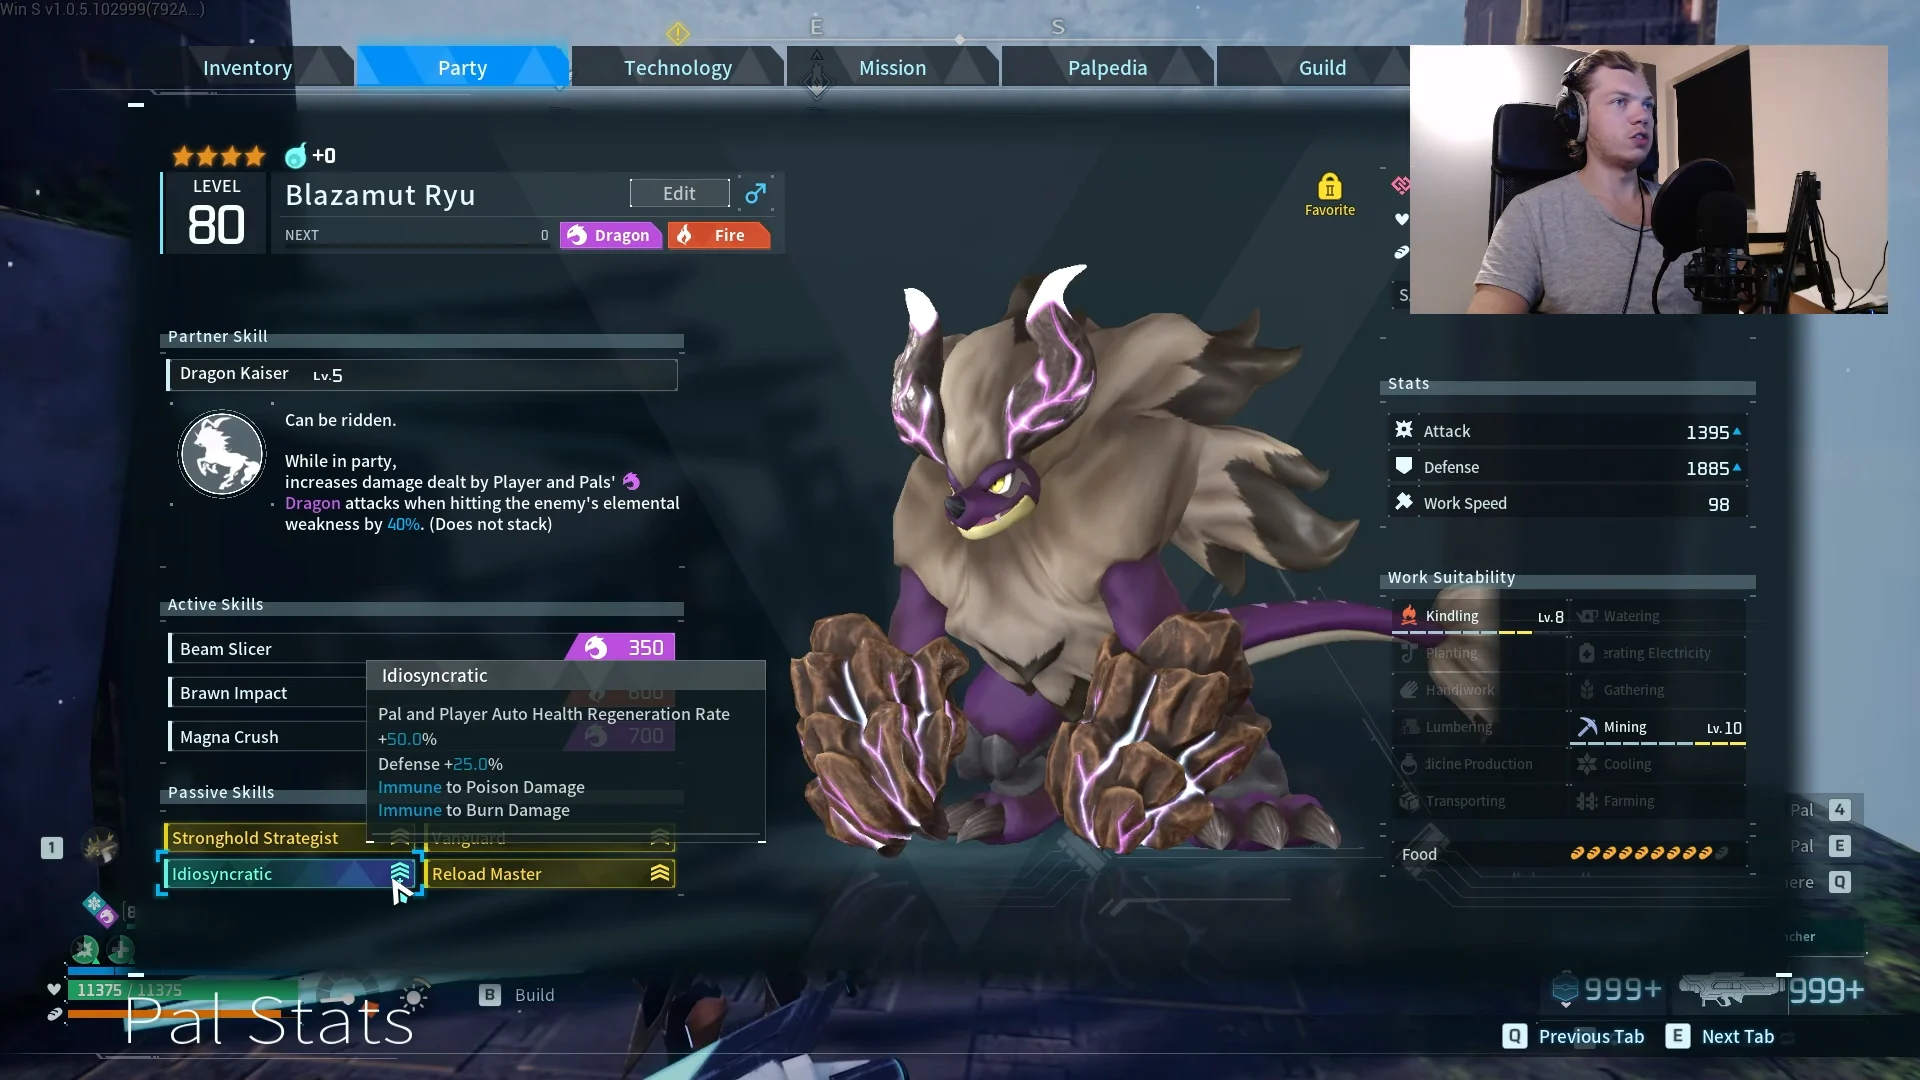
The other four party slots do not fight. They exist to pile passive bonuses onto you, and each one runs the same four passives: Stronghold Strategist (+10% Player Defense), Vanguard (+10% Player Attack), Reload Master (+10% Player Reload Speed) and Idiosyncratic for health regeneration.
- Blazamut Ryu
- World Tree
- Xenogard
- Cryolinx Terra
Blazamut Ryu also brings Dragon Kaiser, which raises Dragon damage against an enemy’s elemental weakness by 10% while it is in the party. Since your shots are already Dragon-typed by Chillet, that extra multiplier lands on every hit.
Weapons, armor, accessories and food
Cold-Resistant Ancient Armor (Defense 840, Health 2400) handles the tower’s cold and gives you the bulk to trade shots. Your weapons cover three jobs: constant fire, passive drones, and a heavy finisher.
| Weapon | Attack | Role |
|---|---|---|
| Plasma Rifle | 1,860 | Sustained primary DPS |
| Beam Launcher (x2) | 14,000 | High-burst finisher |
| Drone Launcher | 200 | Passive automated damage |
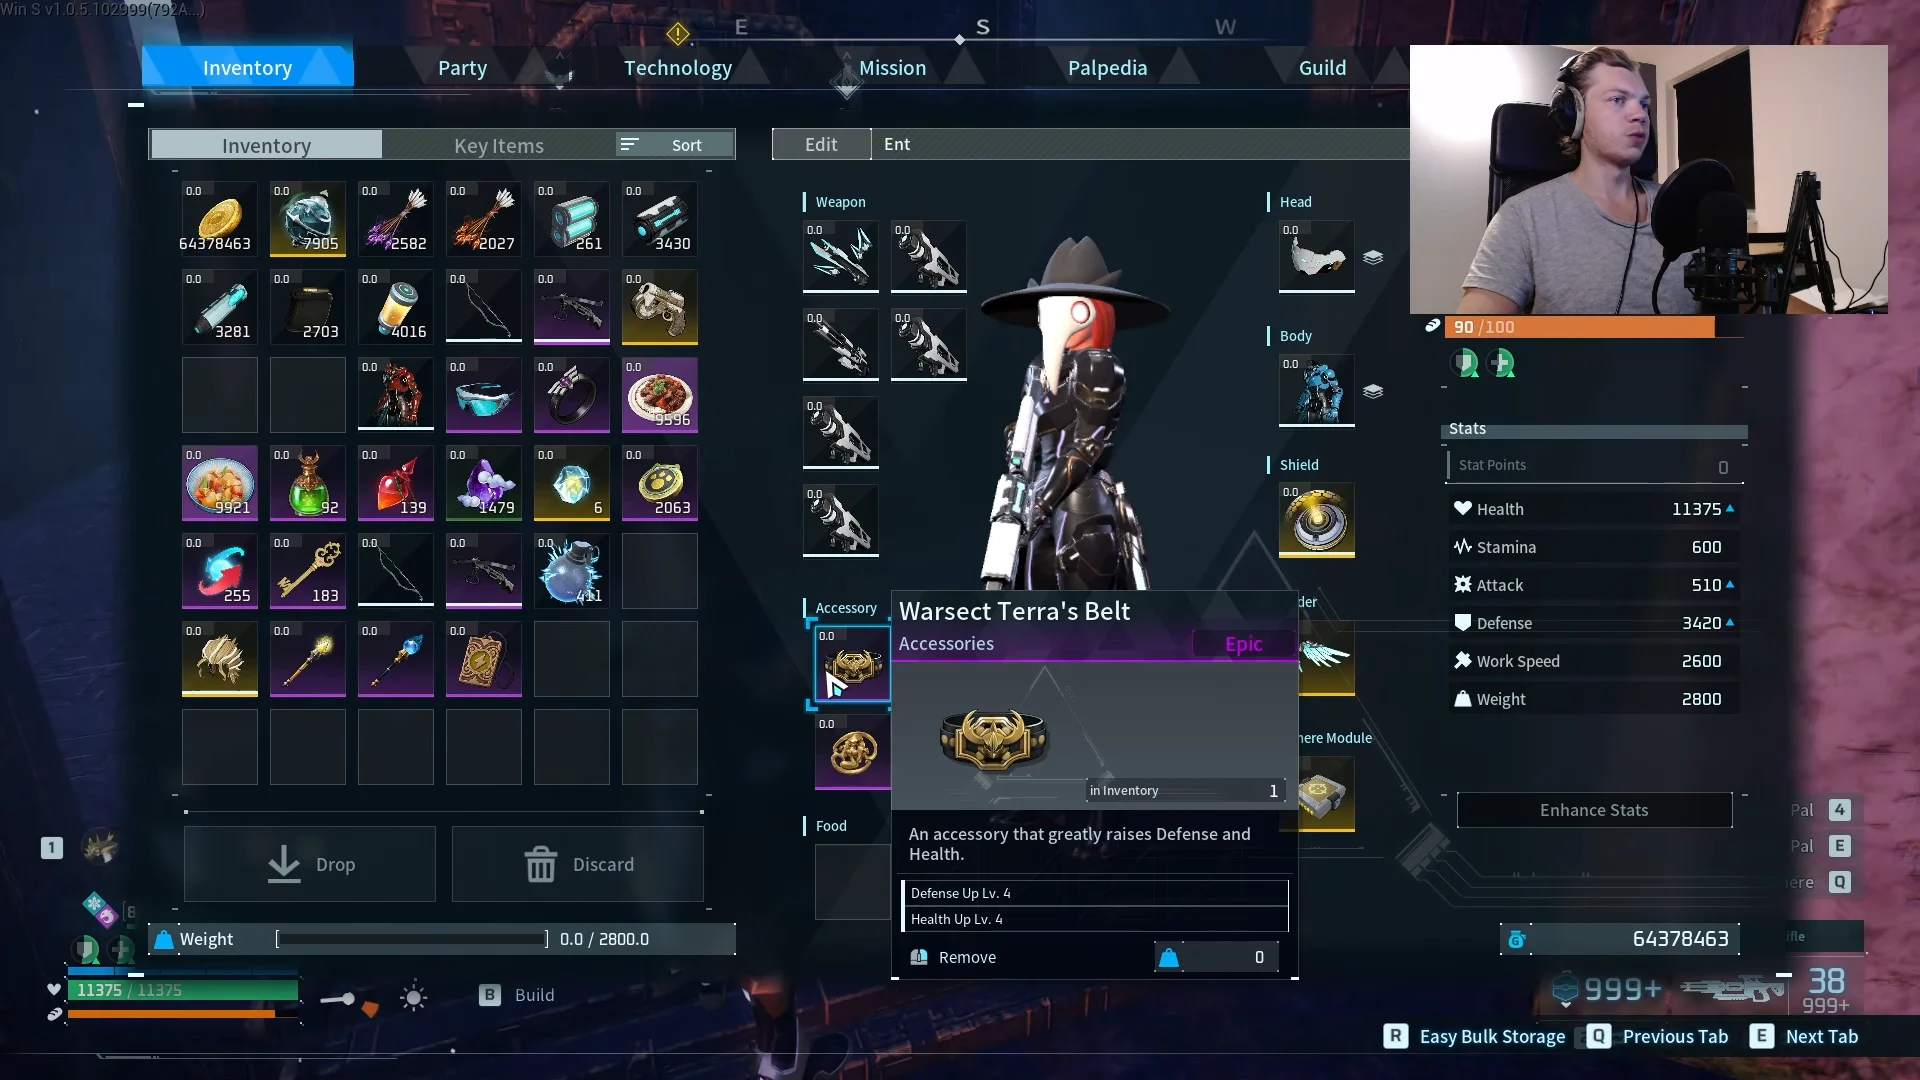
The accessory set leans into Attack while topping up defense to stay alive under the barrage.
| Accessory | Bonus |
|---|---|
| Warsect Terra’s Belt | Defense Up +4, Health Up +4 |
| Silvegis Emblem | Pal Defense Up +4 |
| Attack Pendant | Attack Up +2 |
| Dogen Emblem | Attack Up +4, Pal Attack Up +4 |
Cook Mammorest Curry for +20% Attack on your character and Galclaw Nikujaga for +20% Defense on Chillet, and keep Recovery Potions in reserve. Food buffs do not stack, so one attack food and one defense food is the limit.
Fight execution against Victor & Shadowbeak (Hard)
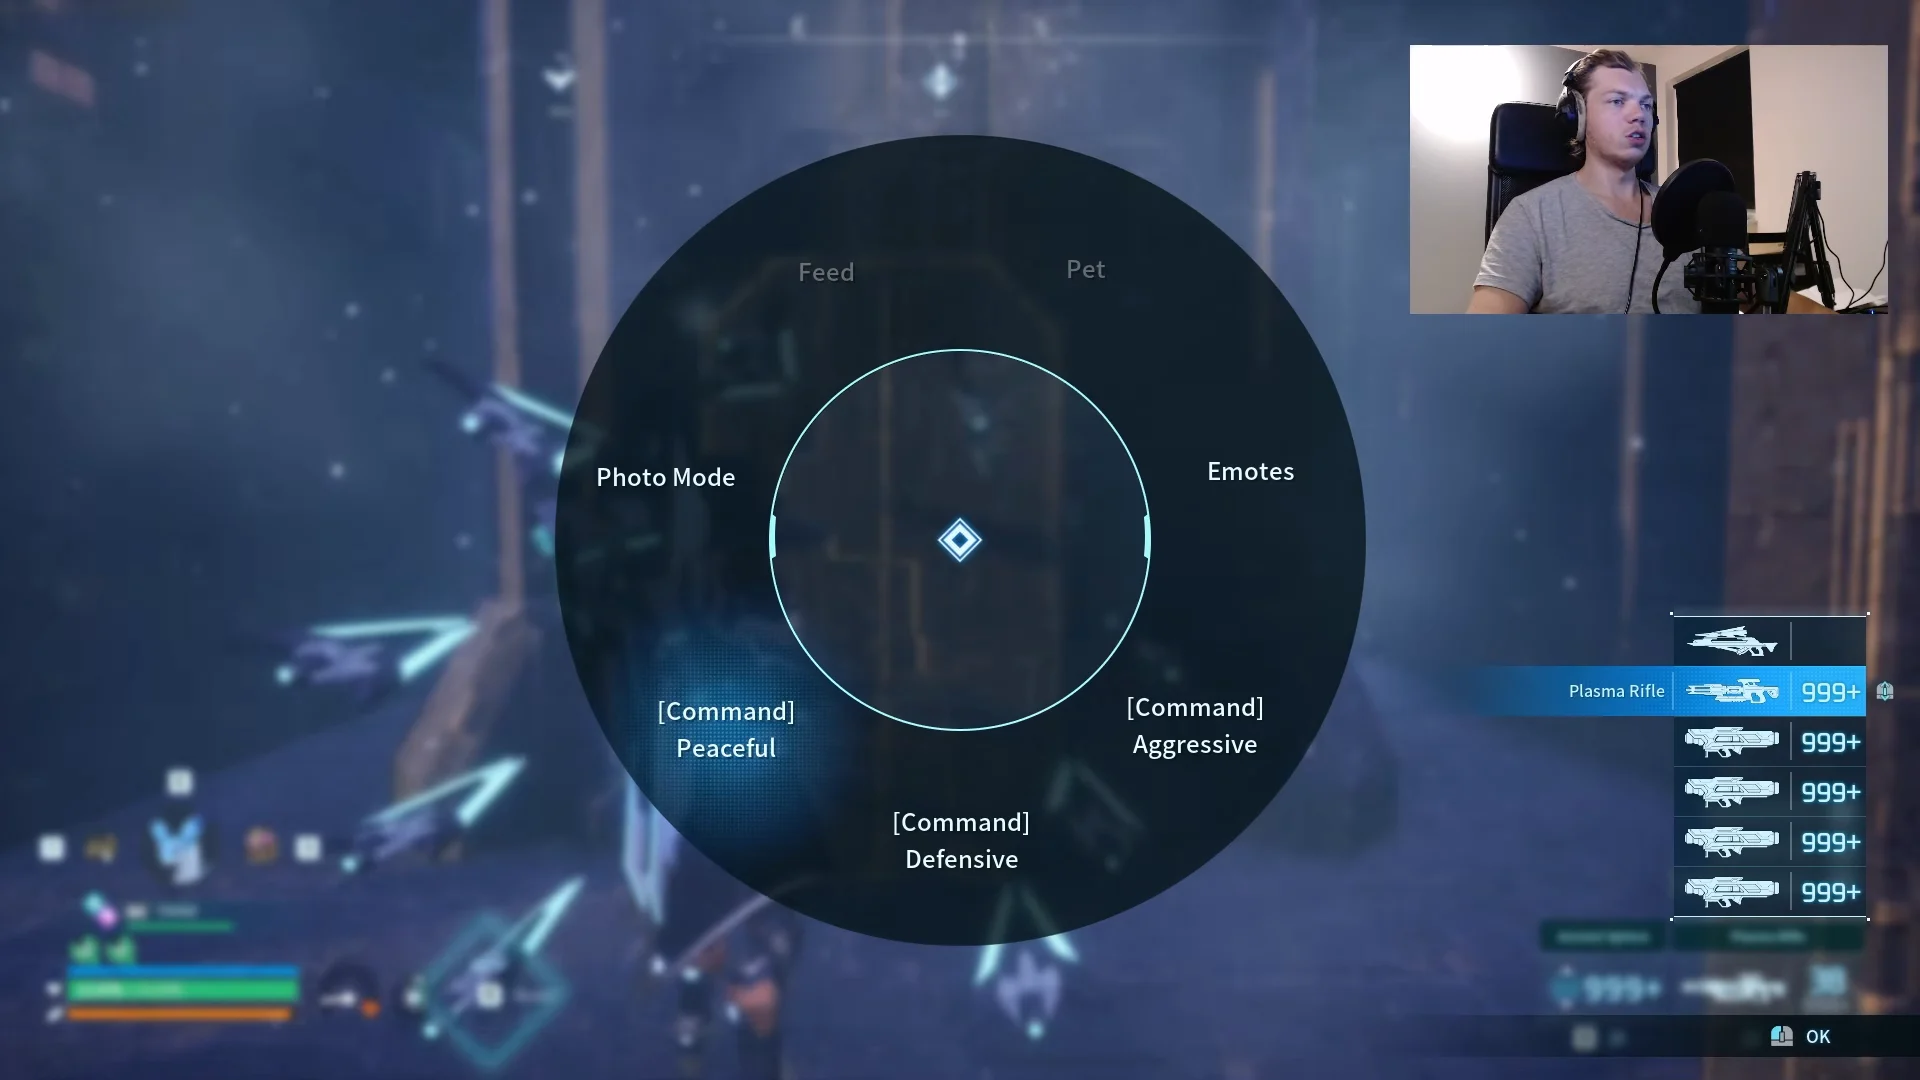
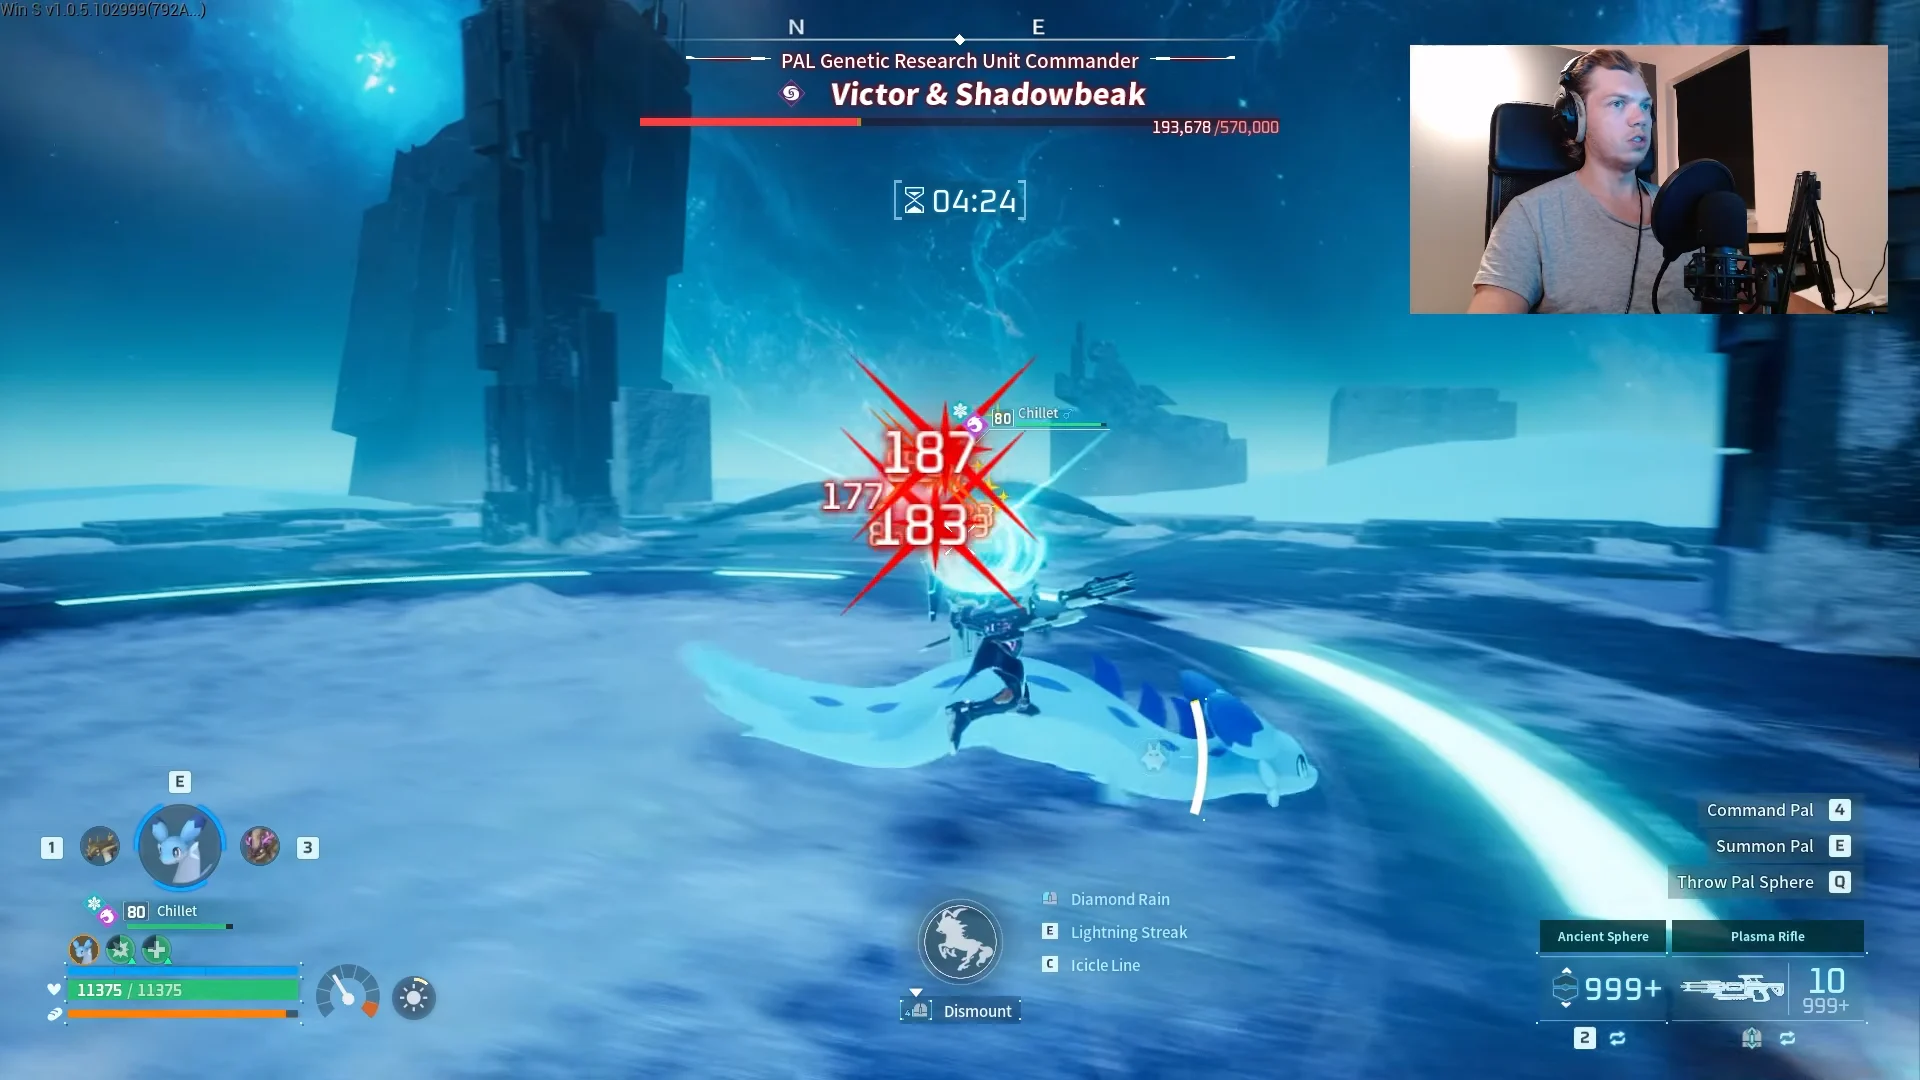
Bursting through the clone threshold in one go is the point of the whole loadout. If the clone appears, the fight gets far messier, so save the Beam Launchers for that stun window rather than firing them early.
How to confirm the clear
The run is done when the screen shows BOSS ELIMINATED and the loot appears. Victor & Shadowbeak drop a Victor Hat x1 and a Training Crystal x1. With this build the health bar falls in under a minute, so a clear that stretches long past that usually means the clone spawned and the burst window was missed.





