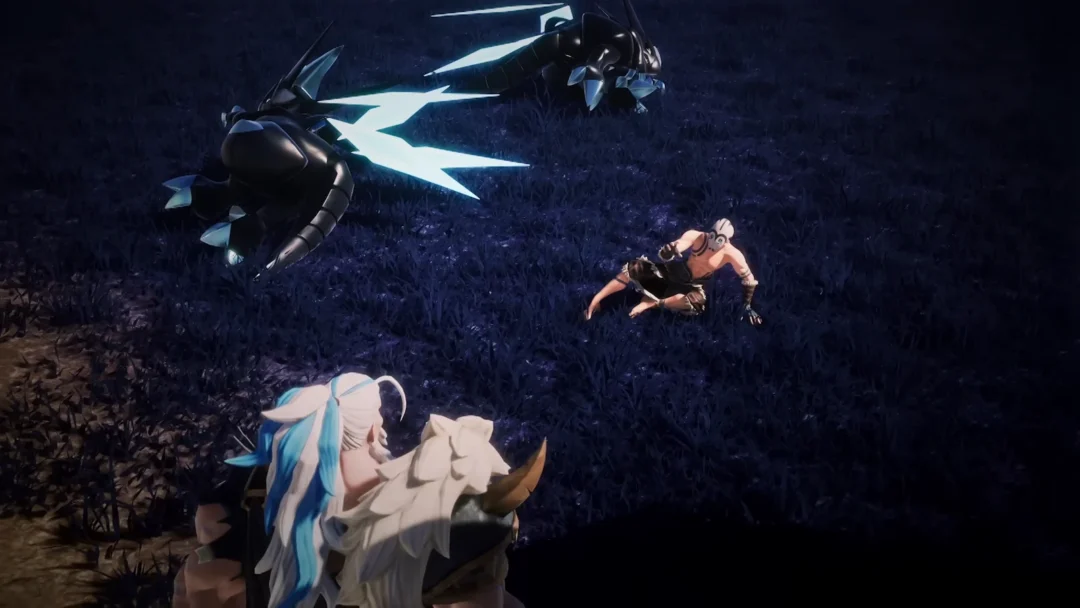
Starward Mode is the bonus challenge bolted onto Memory of Chaos Stage 12 in Honkai: Star Rail. Where a normal Memory of Chaos stage splits into two halves, the Stage 12 version labeled “Crossing the Afterlife (XII)” runs across three separate combat nodes, each with its own boss and its own team. Clearing all three inside a shared cycle budget earns the Prismatic Star, the extra reward that sits on top of the regular star rating.
Quick answer: Clear all three Starward Mode nodes on Stage 12 with 33 or more cycles remaining to earn the Prismatic Star, worth 100 Stellar Jade, 100 Jade Feather, and 20,000 Credits.
How Starward Mode is structured
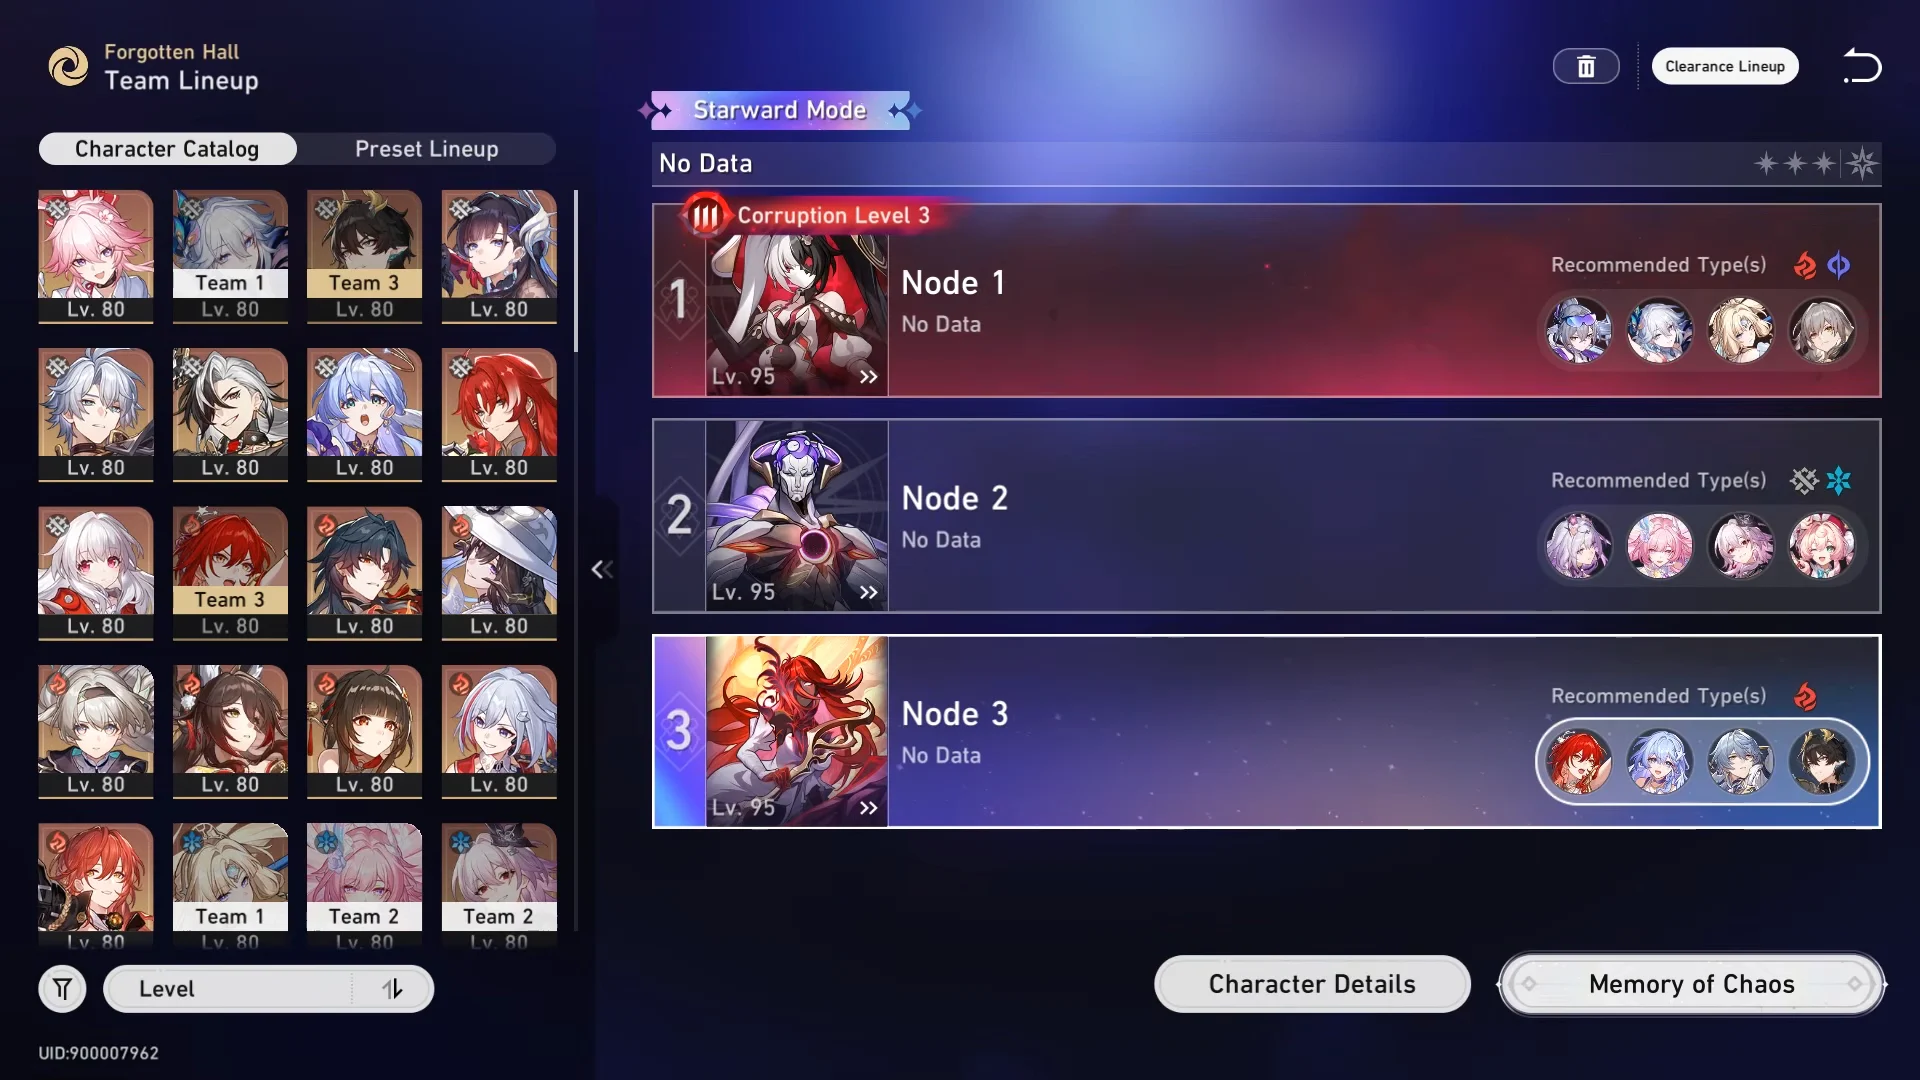
The mode starts with a shared pool of 45 cycles and runs at Corruption Level 3. You assign three full teams before combat begins, one for each node, and the cycles you spend carry across all three fights. The star conditions are cumulative, so a full clear depends on how many cycles are left when the last boss falls.
- Win with at least 15 cycles left
- Win with at least 30 cycles left
- Have no downed characters
- Gain 3 stars and finish with 33 or more cycles remaining, which also grants the Prismatic Star
You know the top reward is locked in when the Challenge Ended screen shows a remaining cycle count of 33 or higher and awards the “Crossing the Afterlife” clearance medal. A demonstrated E0S0 Pearl, E0S1 Castorice, and Himeko • Nova run cleared with 38 cycles remaining, using just 7 of the 45 across the three nodes.
The Memory Turbulence and Aha effects
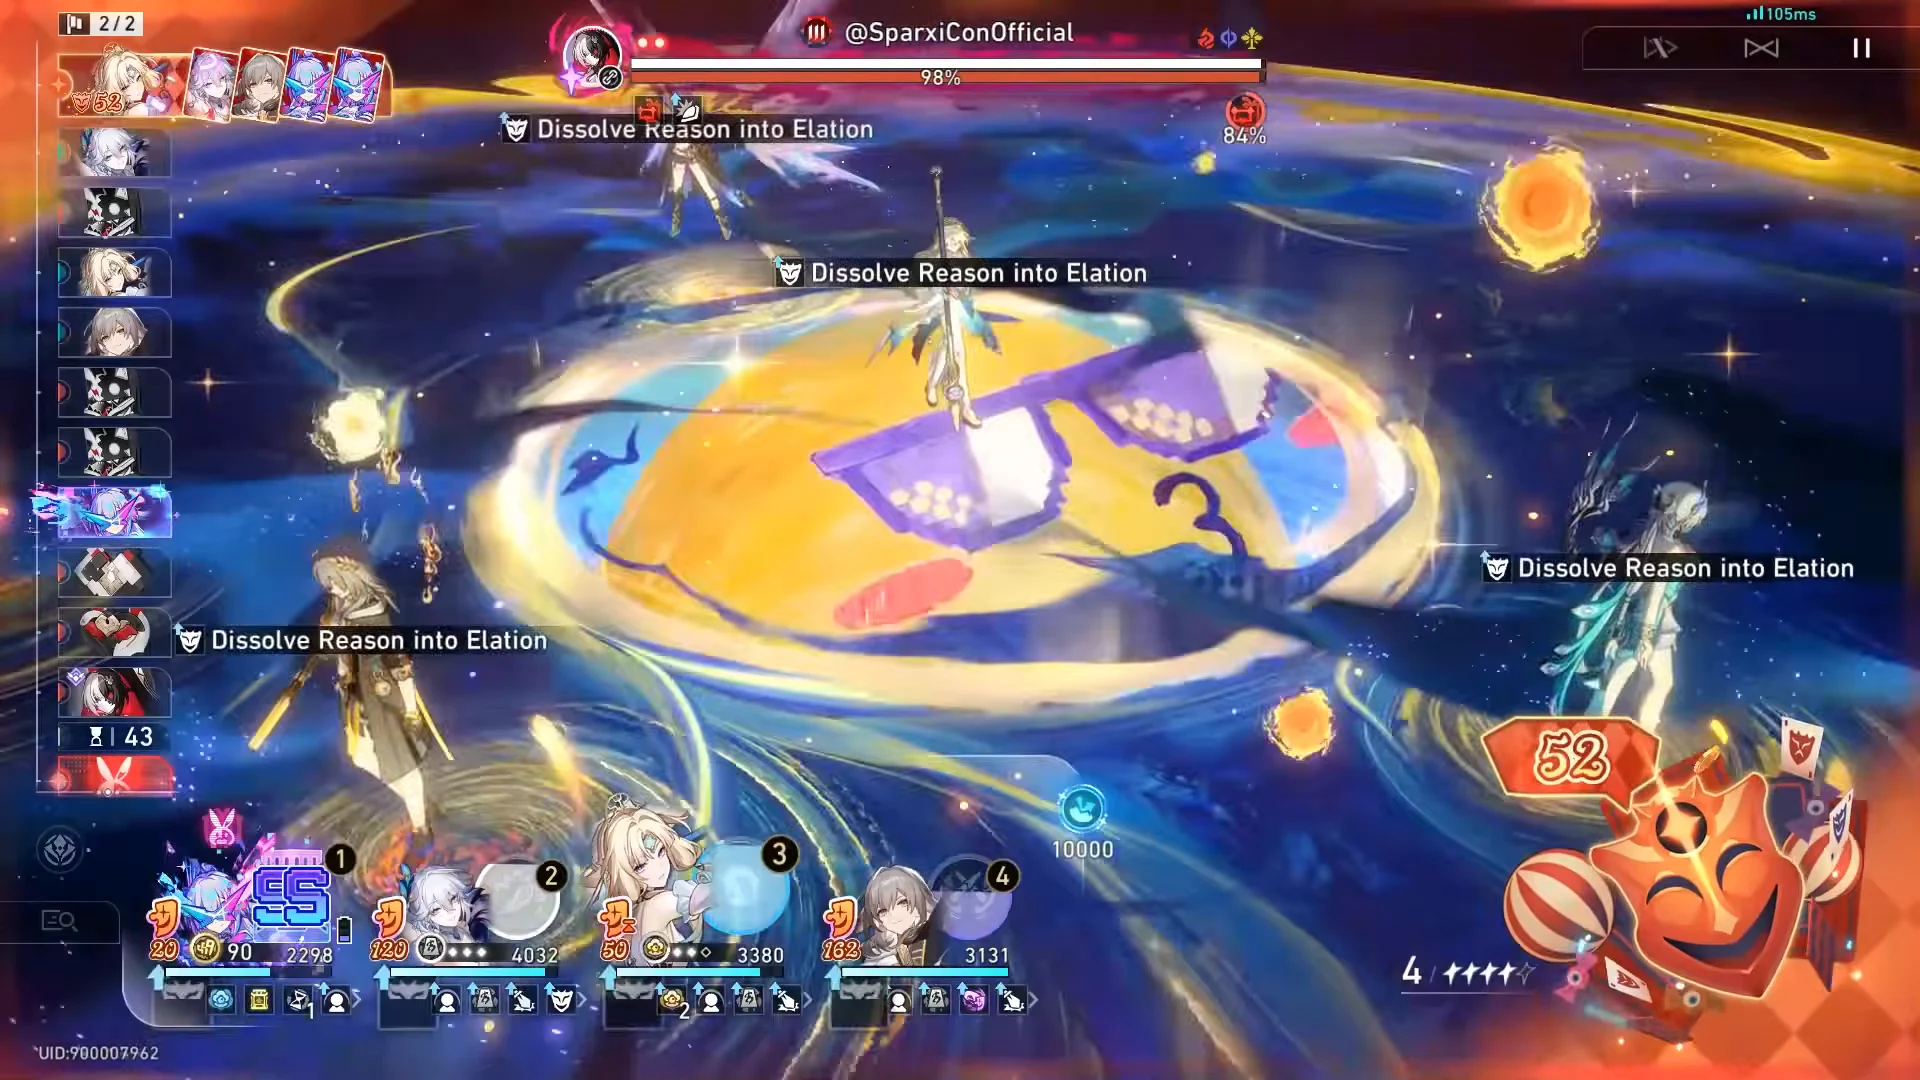
Two effects shape every node. The character placed in position 1 of a lineup gains the Elation skill “Euphoric Maelstrom”, which deals 100% Elation damage of that character’s own type to all enemies. On top of that, “Voracity Corrosion” and the Aha mechanic feed the offense.
At the start of each cycle, Aha immediately takes an extra turn that counts a fixed 20 Punchlines without spending them. That free burst, tagged on screen as “Aha Instant”, is what lets a well-built lineup delete waves before enemies can respond, and it is the reason Elation teams sit at the center of this rotation.
The three nodes and their bosses
Each node ends in a two-phase boss with its own gimmick. The order below matches how the fights play out.
Node 1: SparxiCon and the Live Showdown
The first node opens against Daybreak Squadron: Dawnlance and Ice Out of Space, cleared through Elation resonance and Aha Instant procs. The boss, @SparxiConOfficial, then introduces a sub-field mini-game. One character is sent off the main field to fight “Aggressive Reading Material” adds while the rest of the team keeps hitting output targets.

A victory in Live Showdown restores Skill Points and sets off an Aha Instant action right away, building into huge single-hit damage. The boss has two phases; in the showcased run, the entire node was cleared in 2 cycles.
Node 2: First Genius, Entelechy: Zandar
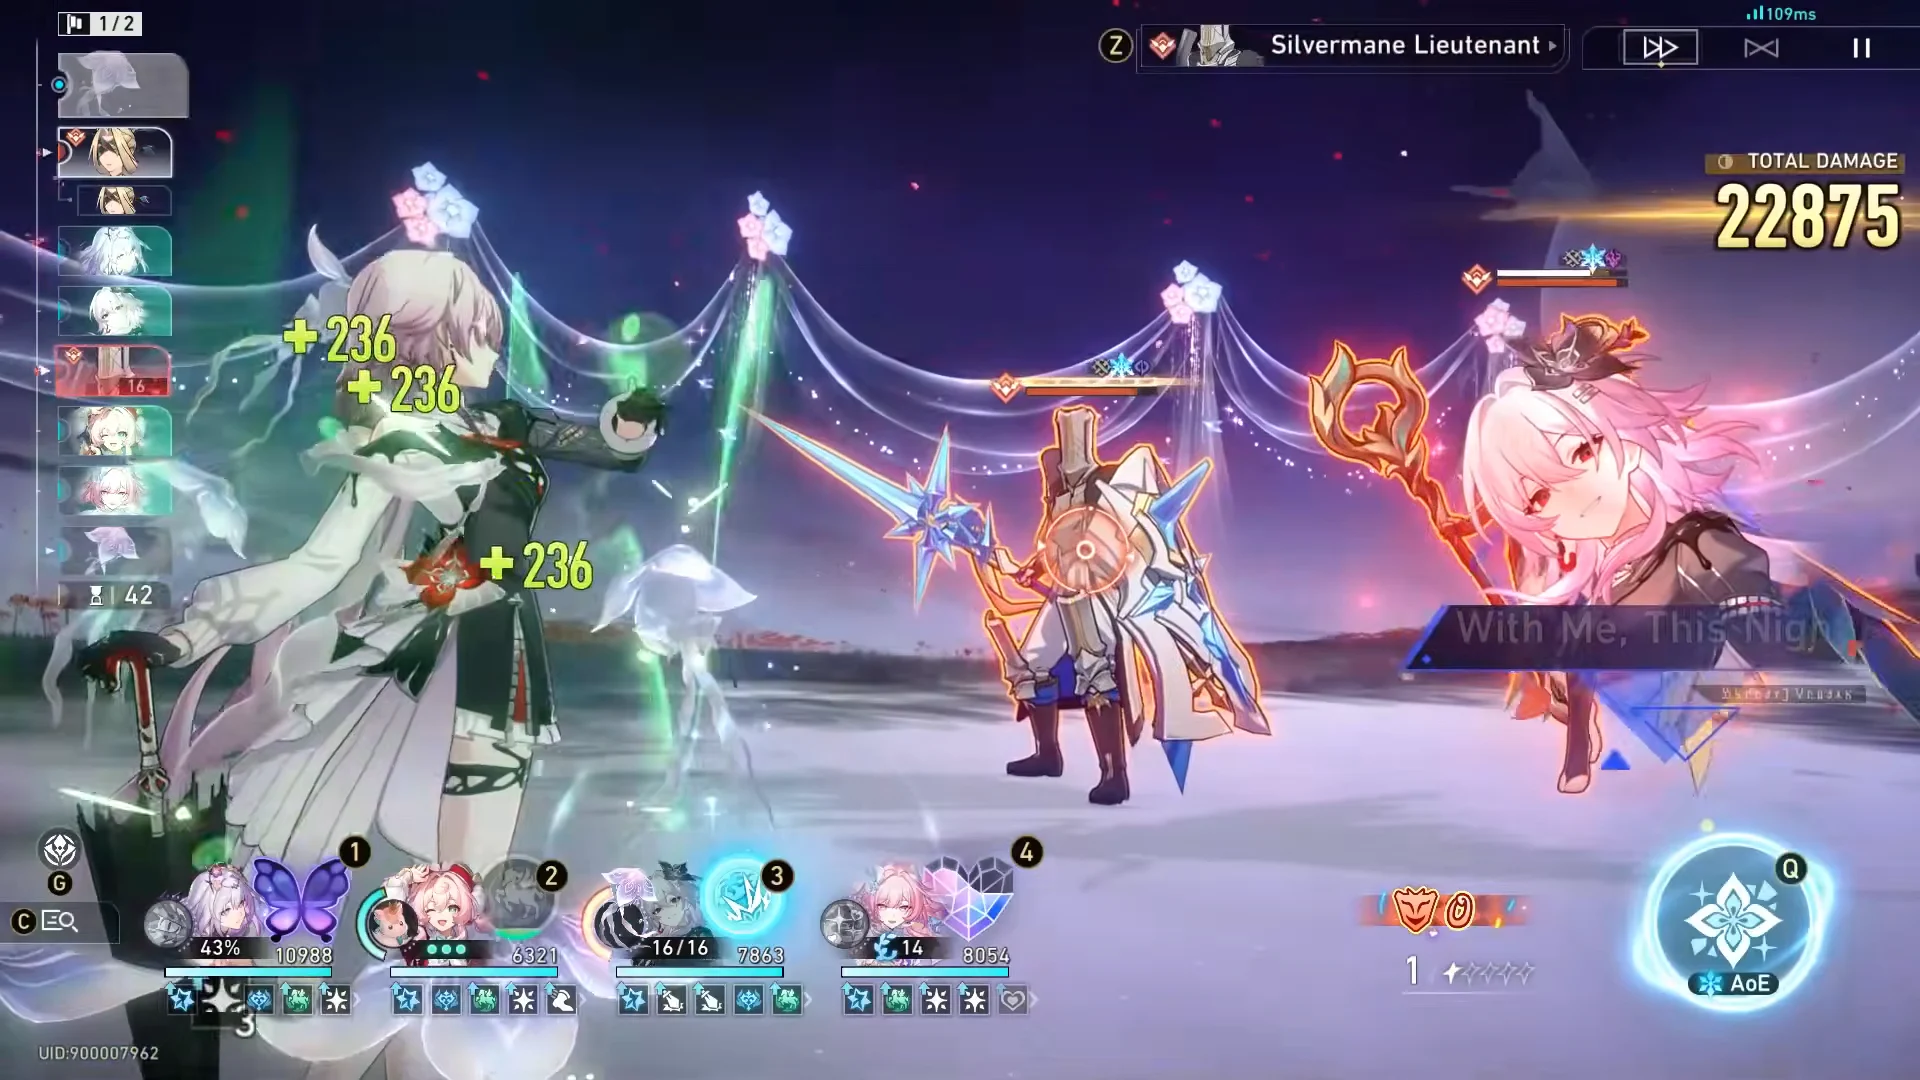
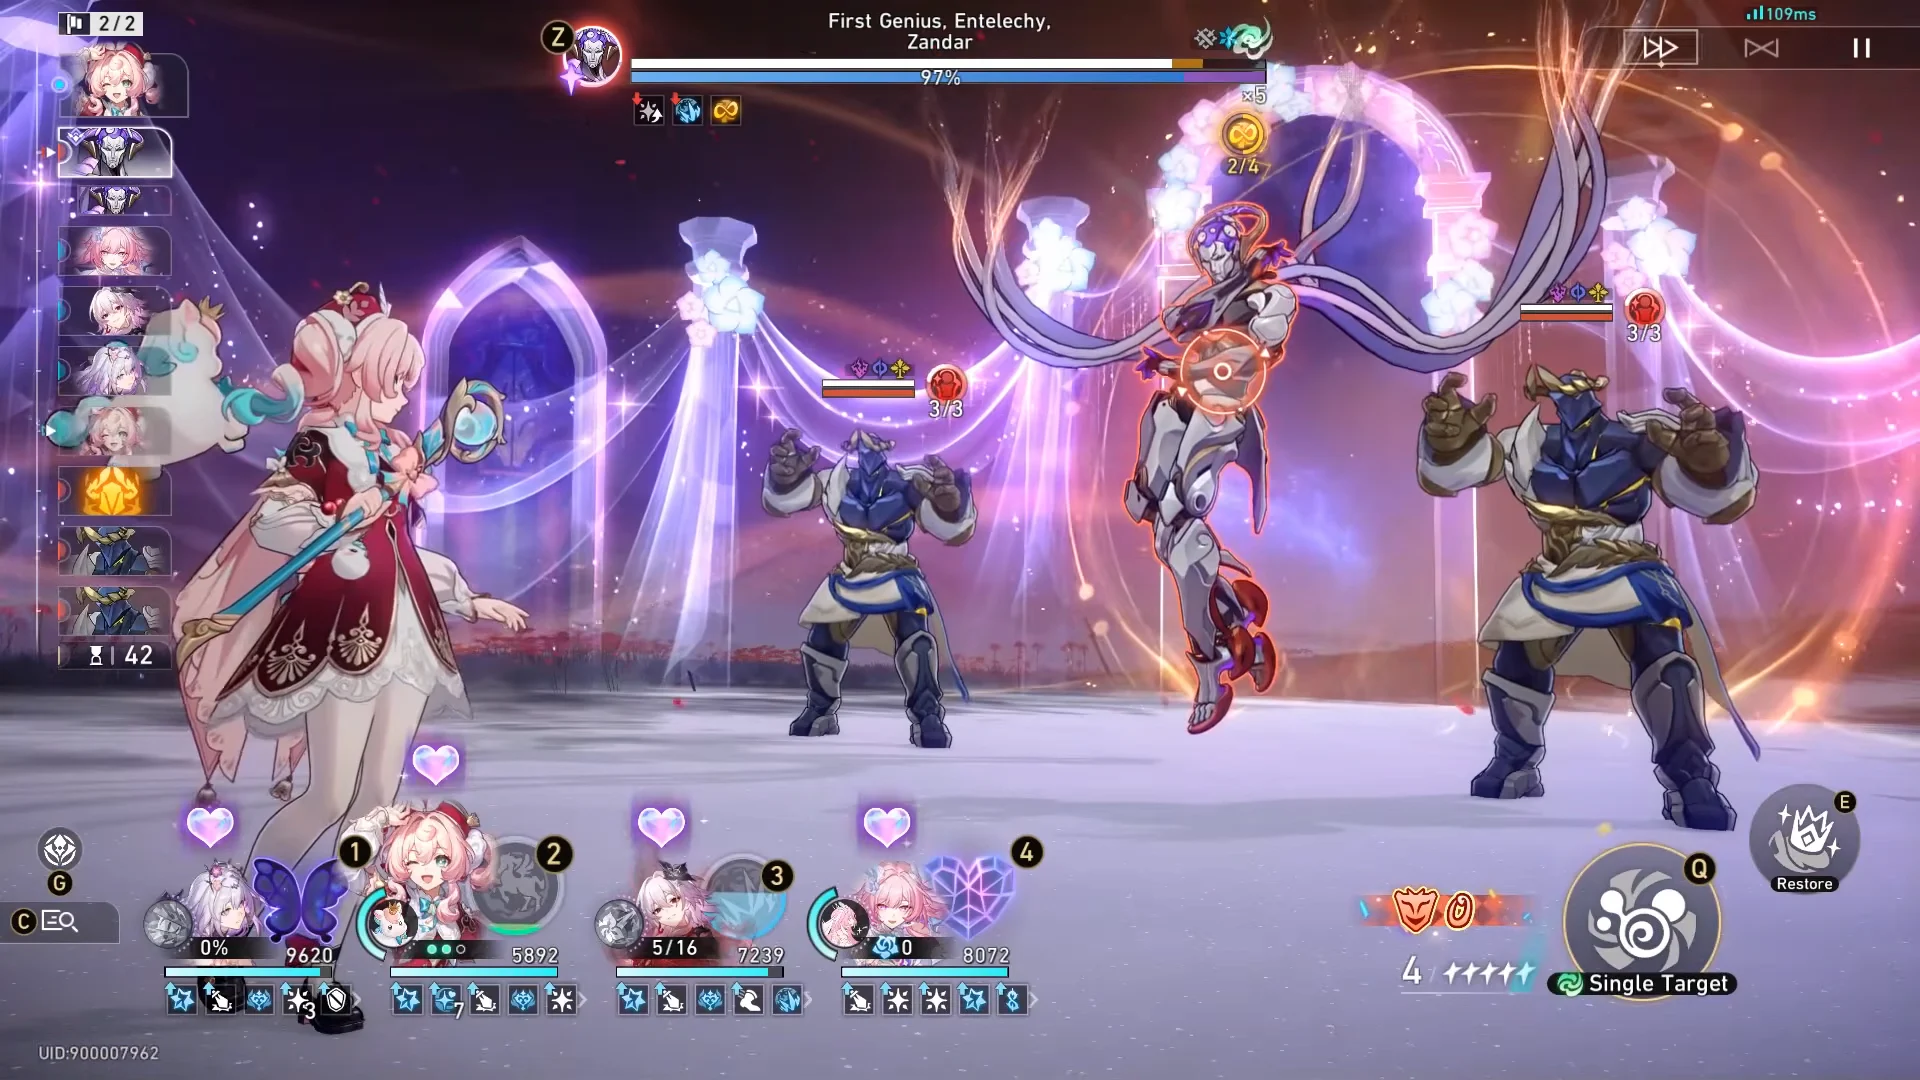
The second node leans on a Remembrance team built around Memosprite summons and True DMG. After a first wave with the Silvermane Lieutenant and The Ascended, the fight moves to First Genius, Entelechy: Zandar.
Zandar cycles through several states, including “DEFRAG Life Optimization”, “Origination && Destruction”, and “Disputation Mode”, and penalizes unmodified Ultimates. The counter is to keep Memosprite pressure up and drain the boss’s HP shields through both phases, which brought the node down in 2 cycles.
Node 3: Murata Graphia, Founding Artist
The last node uses a mixed-path team and runs longest. The first wave features Daybreak Squadron: Azurewing and Present Inebriated in Revelry, after which Murata Graphia, Founding Artist takes over across two phases.
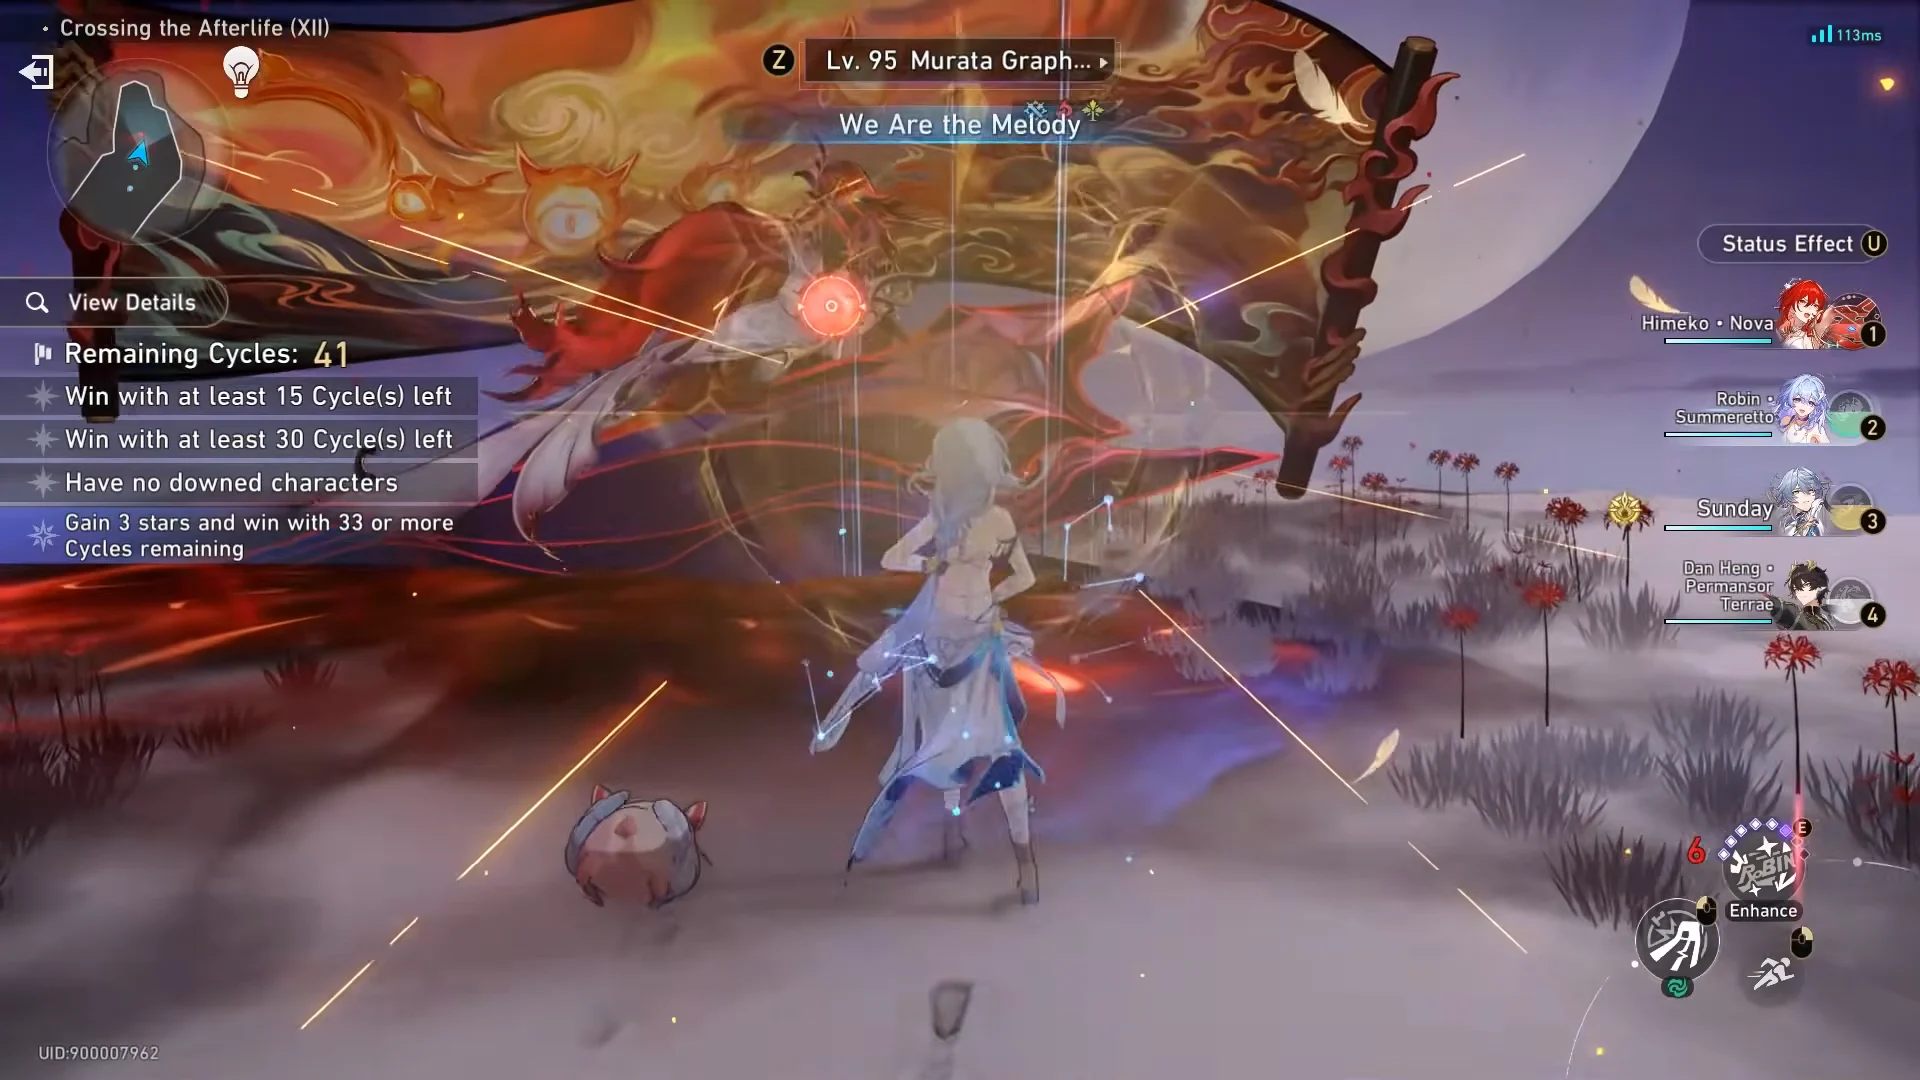
Murata Graphia brings in canvas minions known as Blockprints and inflicts fire effects, including “Grudge Ablaze.” During an ally’s turn, choose “Endure Flames” to restore Skill Points and receive Fortitude, or “Extinguish Flames” to remove burning stacks. A heavy burst, with Sunday and Robin • Summeretto fueling Himeko • Nova and Dan Heng • Permansor Terrae, finished the node in 3 cycles.
The twelve characters across all three nodes
Because each node uses its own four characters, a full clear needs twelve deployed units. The demonstrated lineup grouped them by archetype to match each boss.
| Node | Team | Focus |
|---|---|---|
| Node 1 | Silver Wolf Lv.999, Yao Guang, Pearl, Trailblazer | Elation |
| Node 2 | Castorice, Cyrene, Evernight, Hyacine | Remembrance |
| Node 3 | Himeko • Nova, Robin • Summeretto, Sunday, Dan Heng • Permansor Terrae | Mixed path |
The Elation core relies on Euphoric Maelstrom and Aha Instant bursts, the Remembrance core on Memosprite output and True DMG, and the third team on layered buffs feeding a single Erudition damage dealer in Himeko • Nova.
Prismatic Star rewards
Completing Stage 12 alongside Starward Mode within the cycle limit and earning the Prismatic Star grants an extra 100 Stellar Jade, 100 Jade Feather, and 20,000 Credits. That sits on top of the standard Memory of Chaos Mark Gift, which pays out 60 Stellar Jade and 20,000 Credits for each set of 3 stars, plus 100 Jade Feather every 3 stars starting at 21 stars and 20 additional Stellar Jade every 3 stars from 27 stars onward.
The clearance medal is the visual confirmation of a Prismatic Star run. If the Challenge Ended screen awards the “Crossing the Afterlife” medal and shows 33 or more cycles remaining, every star condition has been met and the bonus jade is yours to claim.