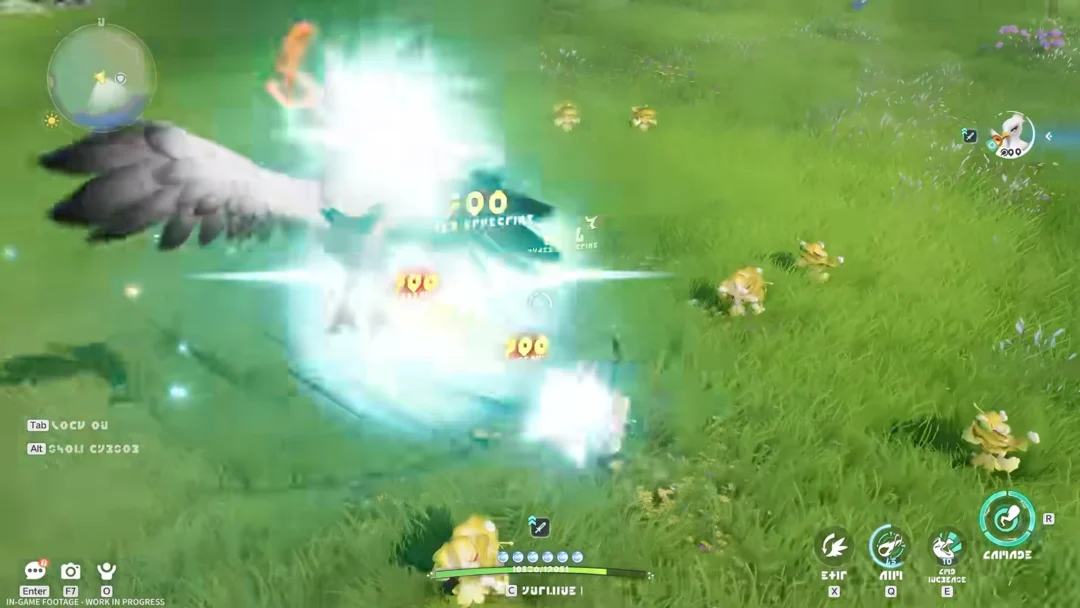
The Ranger is Aion 2’s most popular class for a reason. It is a non-positional ranged damage dealer, so once you have solid cooldown reduction, a decent gear score, and a clean skill macro, most content becomes easy to clear. Your entire job in a fight is to keep firing arrow skills at the boss while stepping out of AoE swipes and slams. The setup below is tuned purely for PvE, from early leveling to the Level 45 endgame.
Quick answer: Prioritize Deadshot, Drill Dart, and Tempest Shot as your damage core, run a three-line damage macro held together with Snipe, and cast Vaizel’s Authority, Bow of Blessing, and Supporting Fire manually before bosses.
Ranger skill leveling order in Aion 2
Early on you rotate between low-cooldown spammables (Snipe, Tempest Shot, Gale Arrow, Drill Dart) and your big single-target burst, Deadshot, which you charge to maximum before firing. You cannot rush any skill straight to its cap, because each skill’s maximum level rises gradually as your Ranger levels. Spread points so the core skills climb together.
The first milestone is level 8, which unlocks the first set of Specialty talents. Push these skills to that threshold in order:
- Tempest Shot
- Drill Dart
- Gale Arrow
- Deadshot
- Snipe
- Burst Arrow
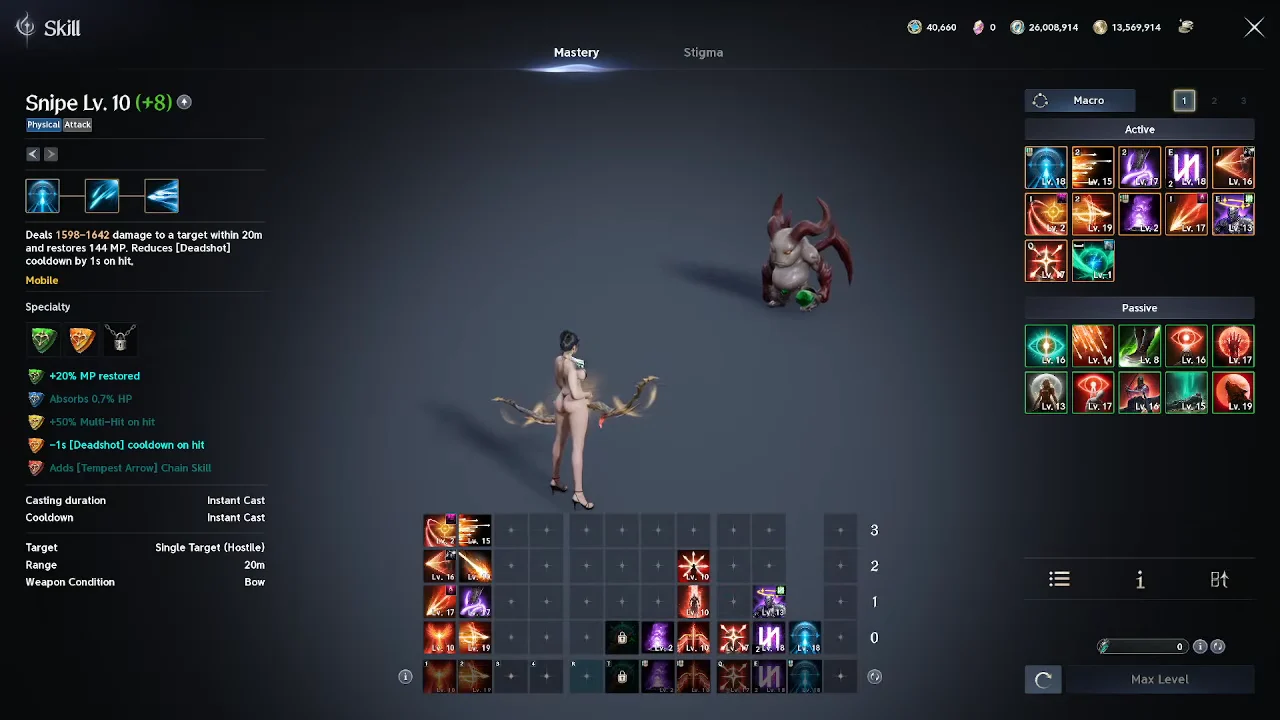
After the level 8 pass, continue raising Gale Arrow, Deadshot, Drill Dart, and Tempest Shot toward level 10 and then level 12 for the next breakpoint. Mix in the offensive passives along the way: Focused Eye, Hunter’s Resolve, Hunter’s Soul, and Concentrated Fire. Finally, bring Suppressing Arrow, Scattershot, and Marking Shot up as points allow. Skip Snare Shot and Explosion Trap for skill levels; you still use them to control mobs, but pumping their rank adds little.
Your end goal is to push Deadshot, Drill Dart, and Tempest Shot to level 16 using the Daevanion Board plus +1/+2 skill-level sub-stats from gear.

Best Ranger specialties to pick
Each skill unlocks two Specialty slots as it levels. Pick the effects that keep your resources topped up and your damage flowing against single targets. These are the choices to take, in slot order.
| Skill | Specialty Slot 1 | Specialty Slot 2 |
|---|---|---|
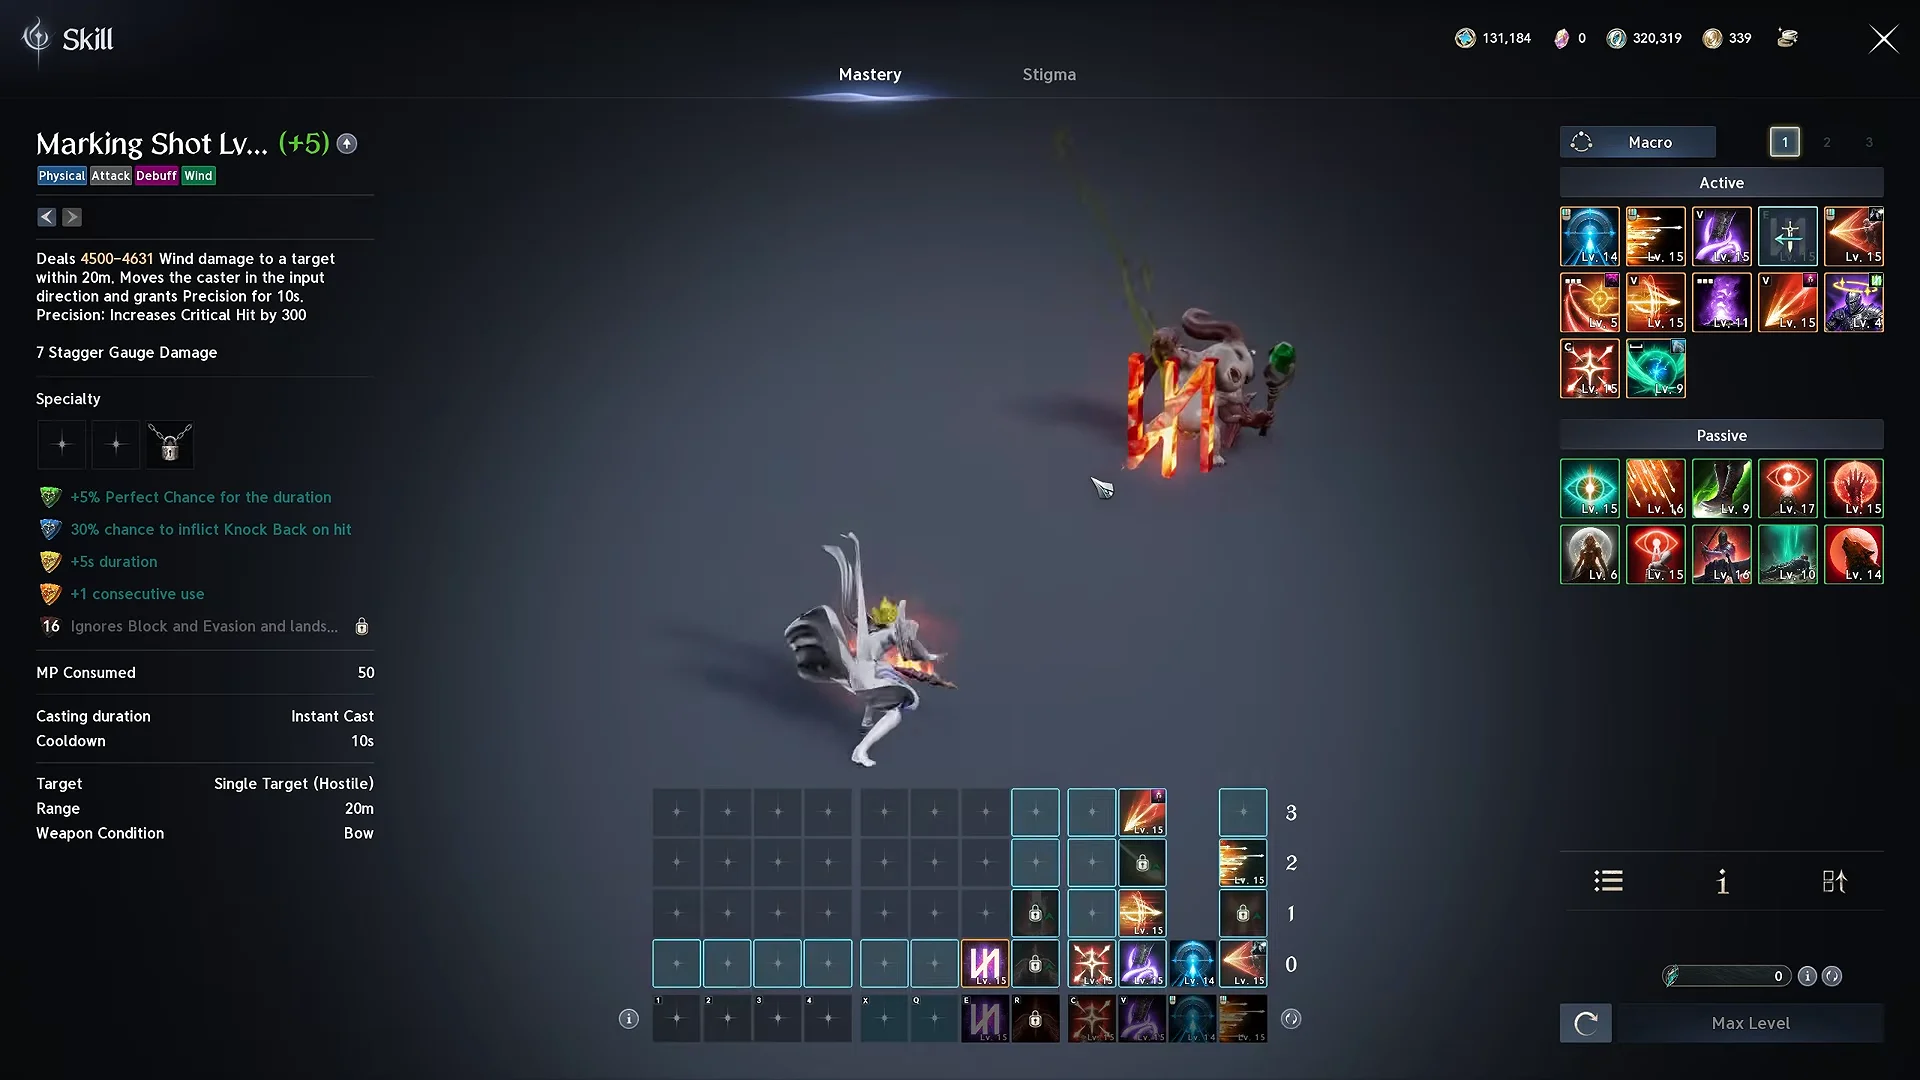
| Snipe | 20% more MP restored | -1 second Deadshot cooldown on hit |
| Tempest Shot | 20% less MP consumed | Up to 12% more damage vs fewer targets |
| Marking Shot | 5% more Perfect chance for the duration | – |
| Drill Dart | Absorb 3% HP | Multi-hit on hit (swap to +20% Skill Speed at endgame) |
| Arrow Scattershot | Changes to Mobile skill | Multi-hit on hit |
| Gale Arrow | +5 seconds duration | Increases Combat Speed and PvE Damage Boost |
| Burst Arrow | 50% more Multi-hit when hit | Up to 20% more damage vs fewer targets |
| Suppressing Arrow | 20% more Skill Speed | – |
| Deadshot | Removes MP Consumed | 30% more Skill Speed |
The Snipe cooldown-on-hit specialty and the Deadshot speed effects are what let you fire charged shots far more often. Marking Shot’s Perfect-chance buff supports your critical output, which in turn keeps Drill Dart cycling off cooldown.
Stigma skill unlock order
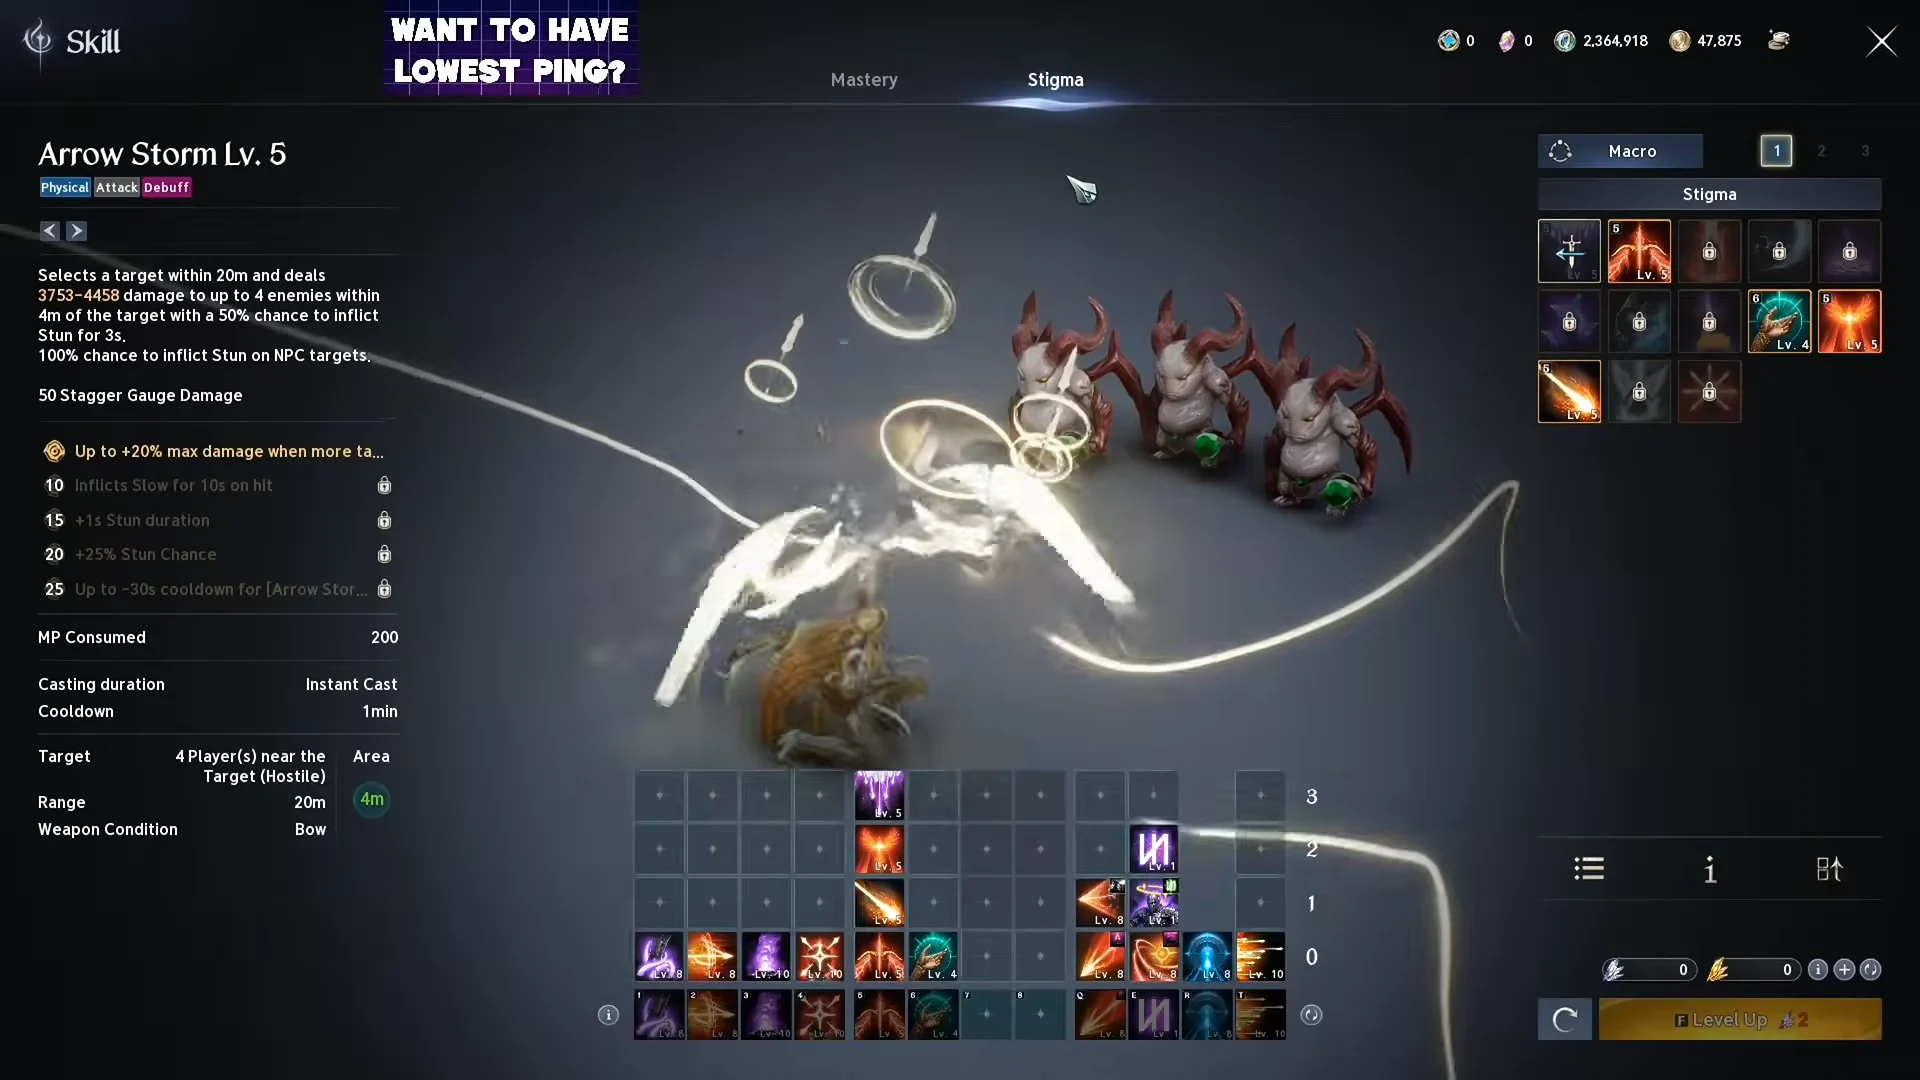
Spend your very first Stigma point on Vaizel’s Authority, a strong offensive steroid. Three of your Stigmas are buffs you want active for boss fights, so build them up in this sequence:
- Vaizel’s Authority to Level 1
- Bow of Blessing to Level 1
- Explosive Arrow to Level 1, then up to Level 5
- Supporting Fire to Level 1, then up to Level 10
- Vaizel’s Authority to Level 5
- Bow of Blessing to Level 5
- Raise all of them to Level 10 over time
Daevanion board targets
The Daevanion boards work the same as for any class: use them to buy extra skill levels for your priority skills. Across all four PvE boards, hunt for levels in these skills, grabbing Deadshot first:
- Deadshot (take these first)
- Tempest Shot
- Snipe
- Drill Dart
- Gale Arrow
- Burst Arrow
As you path through each board, pick up the orange corner nodes, since each grants +4 Item Level along with high-value stats. You can eventually fill a board completely, so exact pathing stops mattering once you have the key nodes.
Ranger damage macro setup
Do not try to force everything into a single macro. The practical layout is one macro that automates the damage rotation, one buff line you cast manually, and one hotkey for charging Deadshot. At Level 45 you can offload almost all of your spam into the damage macro.
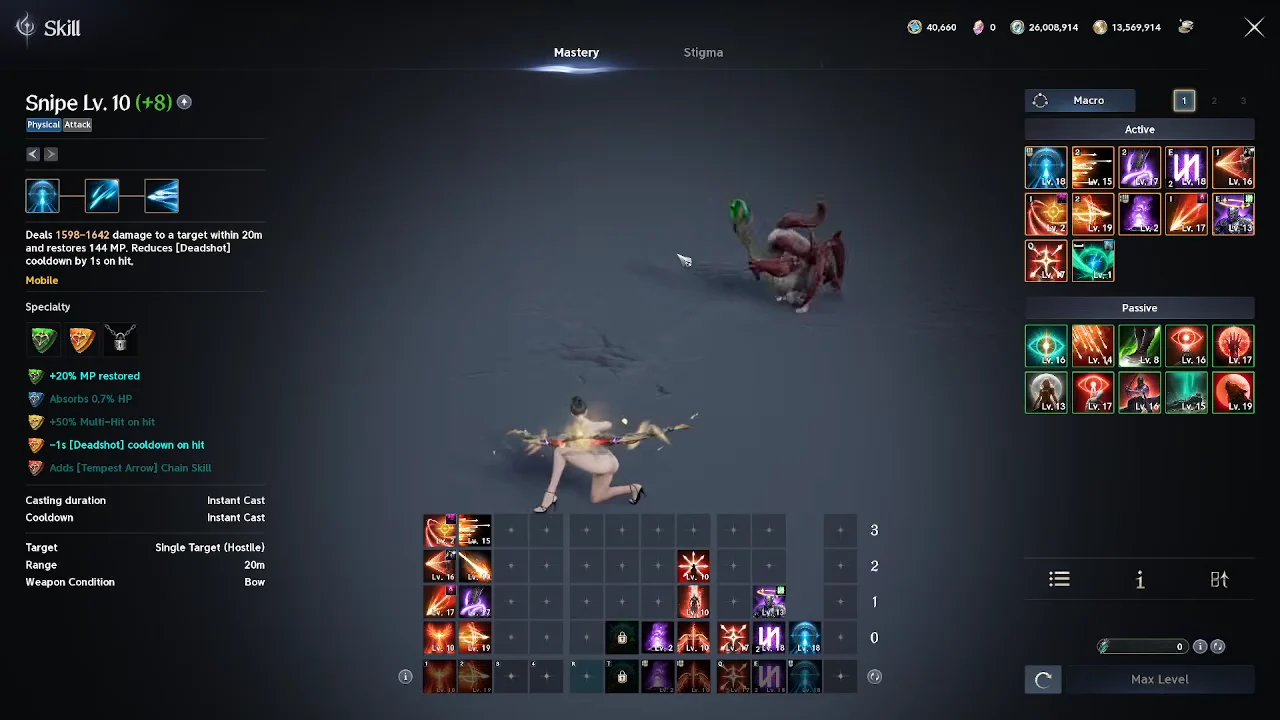
- Skill Line 1 (Snare Shot): Snare Shot, Burst Arrow, Explosive Arrow
- Skill Line 2 (Marking Shot): Marking Shot, Suppressing Arrow, Arrow Scattershot
- Skill Line 3 (Gale Arrow): Gale Arrow, Drill Dart, Tempest Arrow
When this is set up correctly, your Ranger constantly cycles through the damage skills as they come off cooldown and animation-cancels the wind-down animations. That smooth, uninterrupted cycling is how you confirm the macro is working.
Skills you still cast manually
The macro handles your bread-and-butter damage. A few things stay on manual input:
- Buff line: Open combat by activating Vaizel’s Authority, Bow of Blessing, and Supporting Fire three times. Hold these buffs if a boss is expected to appear in the coming minute.
- Deadshot: Once its cooldown clears, charge the skill all the way.
- Snipe: if you run out of mana, hold Left Click to keep firing it, regain MP for free, and cut Deadshot’s cooldown.
- Explosion Trap: use it to kite mobs when they close in. This is rare and situational at endgame.
Best gear stats and sub-stats for Ranger
Critical Hit matters on every piece, so keep any roll that includes it regardless of slot. When you reach endgame crafting and start rerolling sub-stats, target these per slot in order of priority.
| Gear slot | Priority sub-stats |
|---|---|
| Bow | Combat Speed, Might, Weapon Damage Boost |
| Shoulders and Chest | Critical Damage Boost, Damage Boost |
| Gloves | Combat Speed, Perfect Chance |
| Legs | Double Chance |
| Cloak | Perfect Chance |
Rangers need almost no defensive stats. You can stack Evasion to make mob farming trivial, but it is not worth the extra crafting RNG. The one piece worth spending Auction House money on is a strong crafted Bow, not Evasion gear.
Keep Life Potions stocked in your auto-use slot, and kite foes yourself. Don’t let enemies surround you; the Ranger’s mobility skills and range provide ample room to reposition, letting you clear PvE easily while the macro handles most of the work.