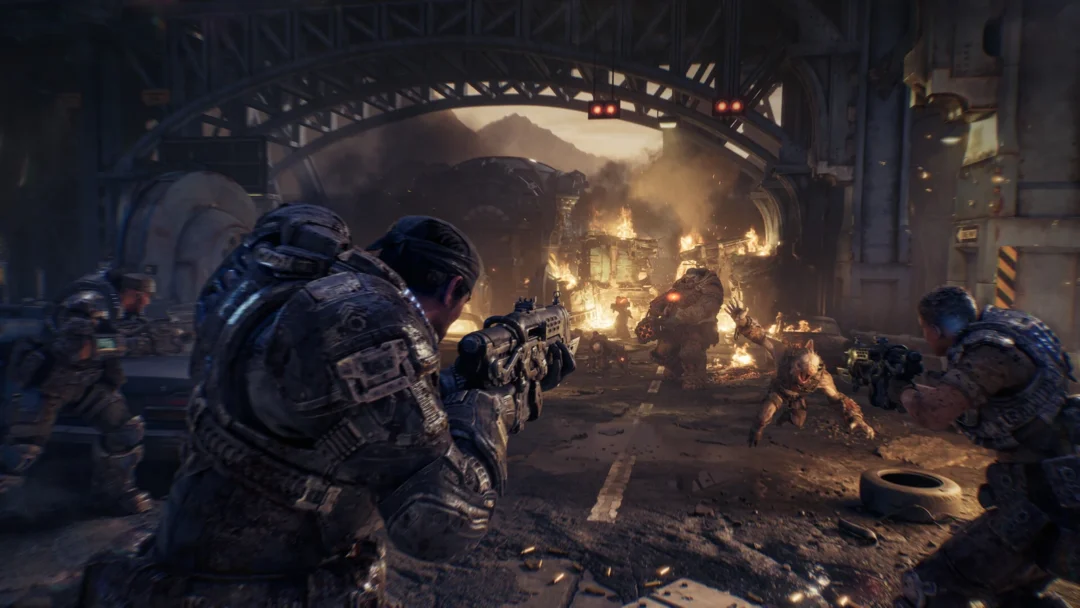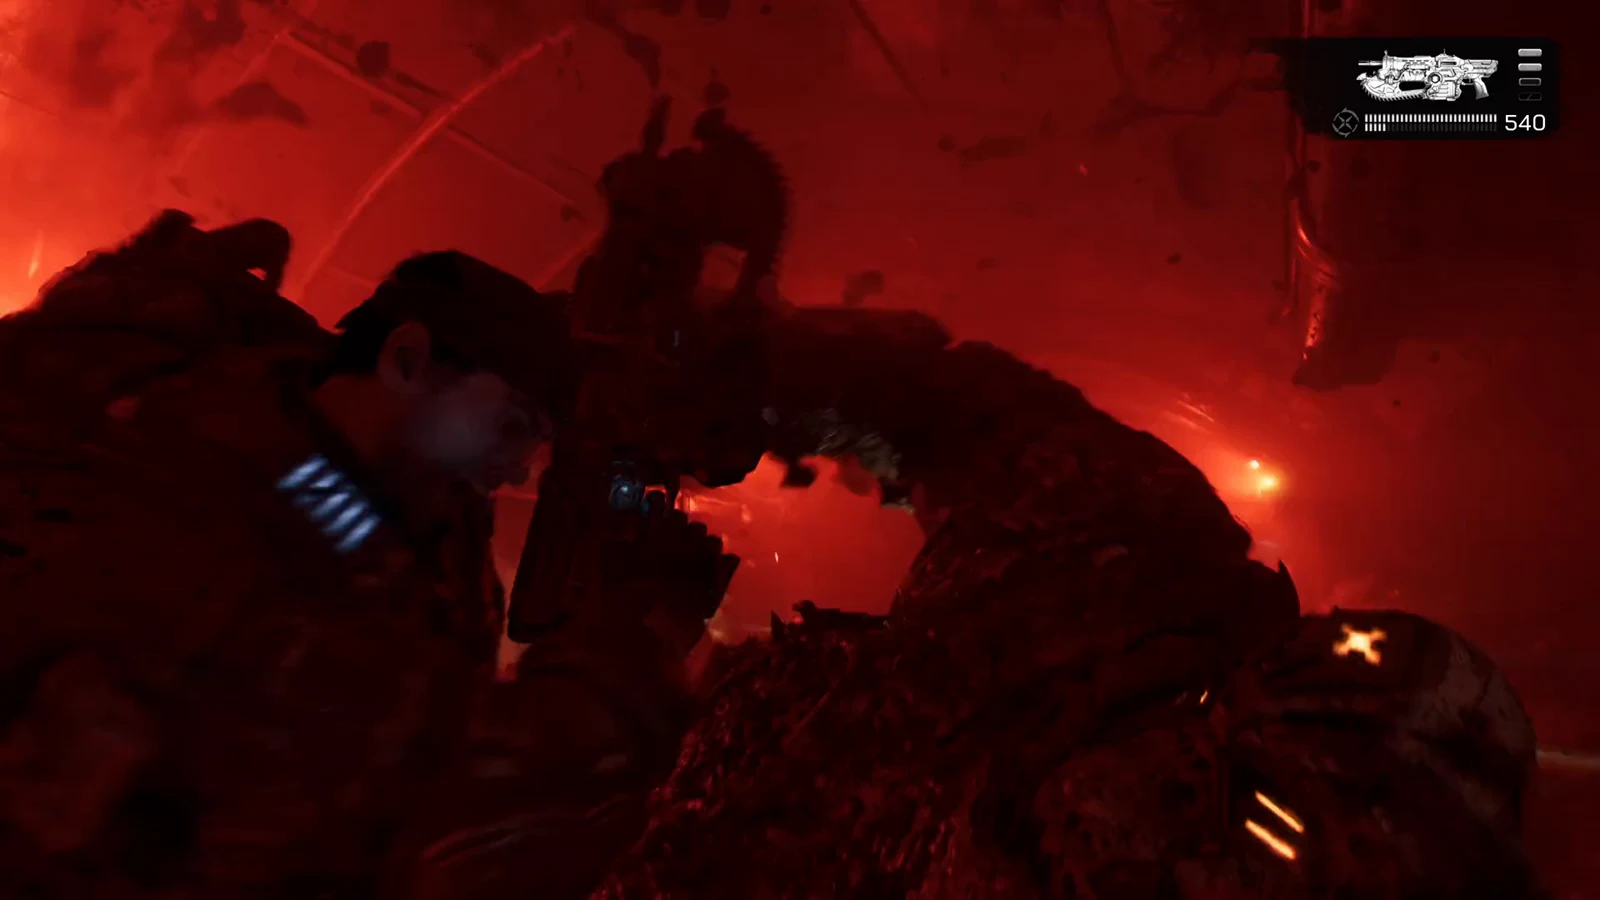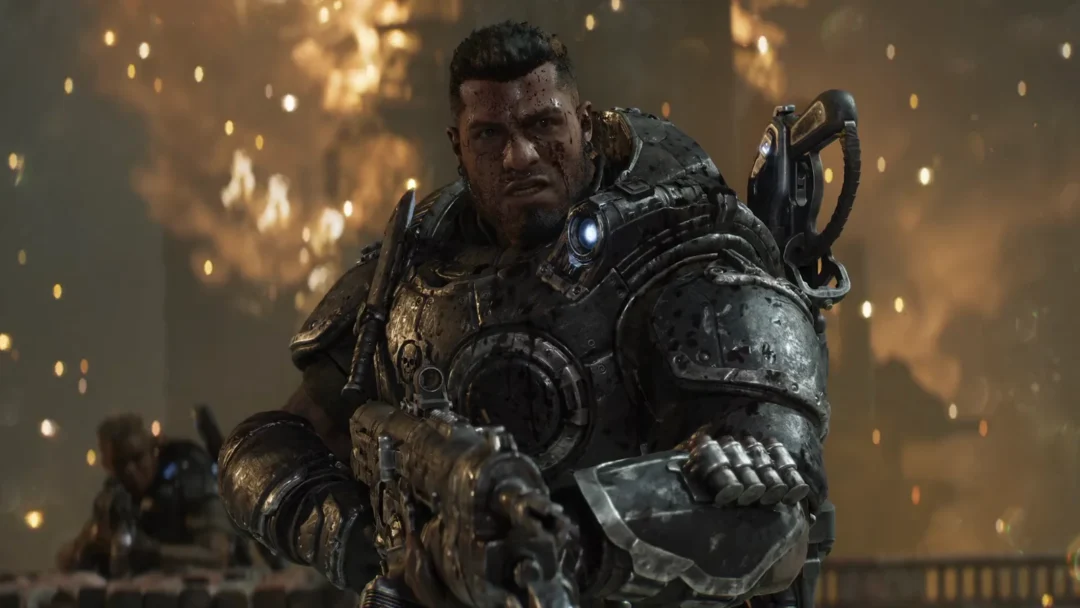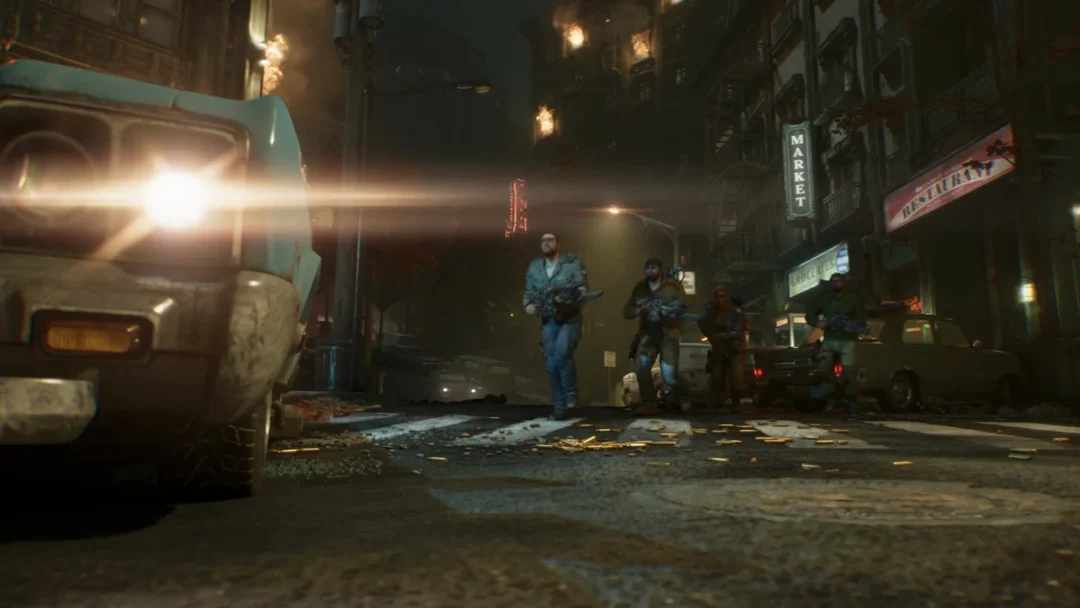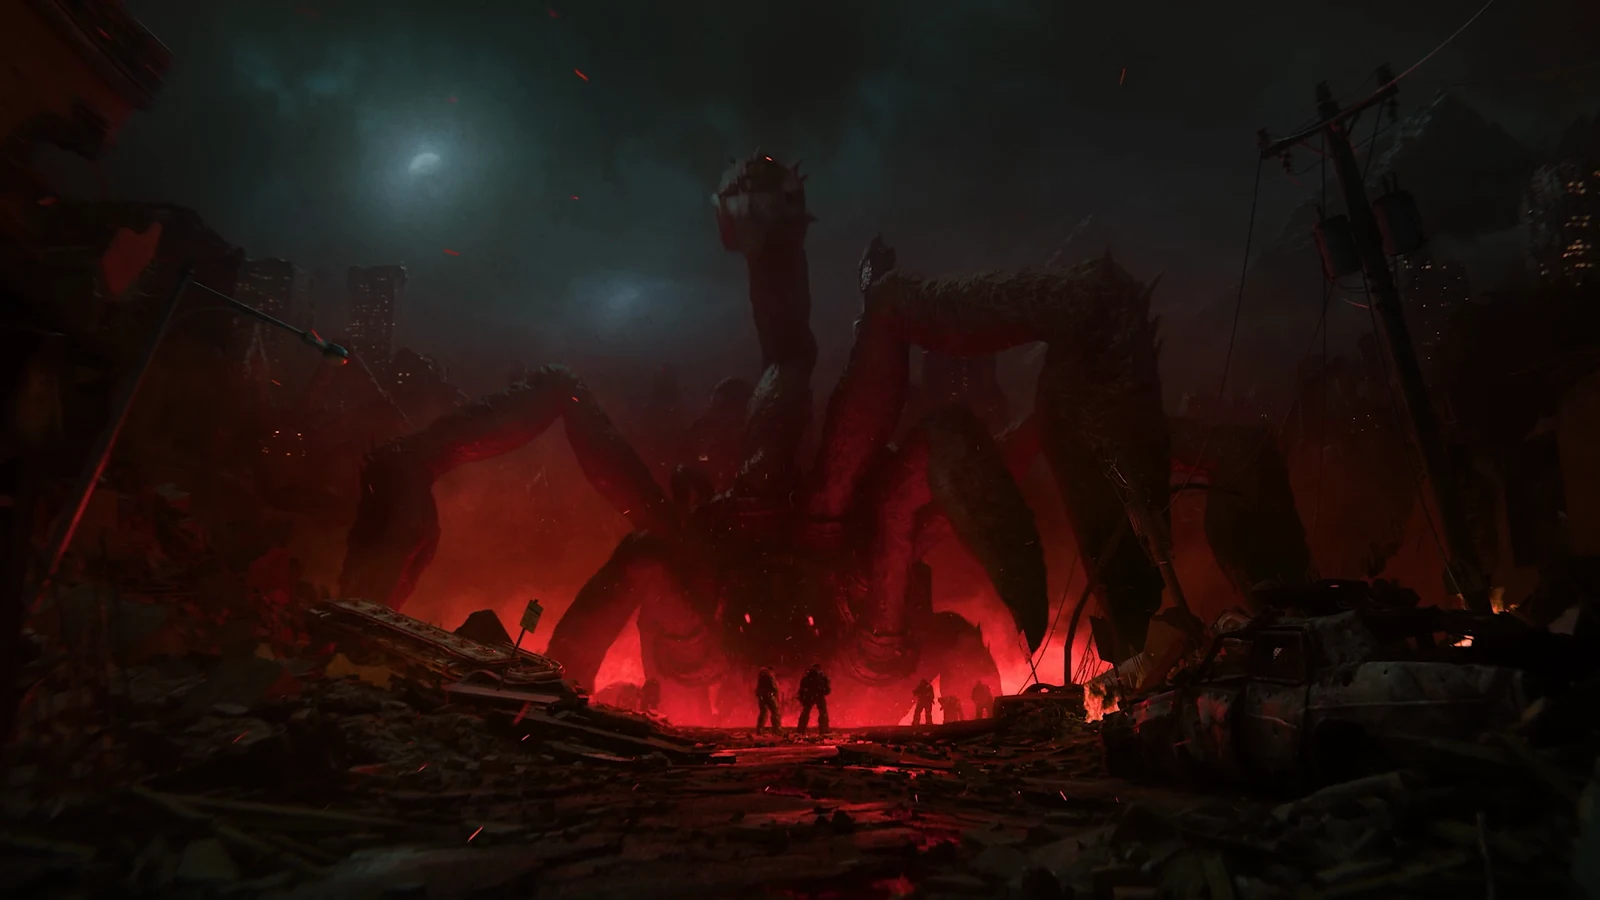
Enemy Lines picks up the moment Stranded ends, dropping Marcus and Bravo Squad into the Locust tunnel network running under Kalona. The chapter stays mostly linear, with one straight route to the surface broken up by two short detours for collectibles. It closes on a Corpser fight that looks tougher than it plays.
Quick answer: Follow the tunnels east, clear the subway station and the sinkhole, then beat the Corpser by standing behind the arena pillars so its attacks break them onto itself. Six collectibles are scattered along the way.
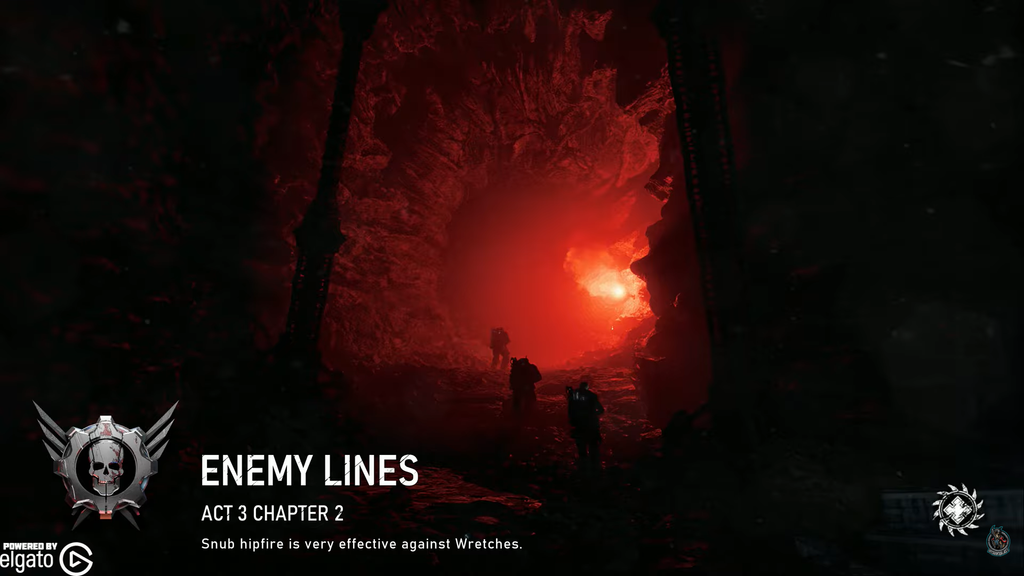
Work through the Locust tunnels to the surface
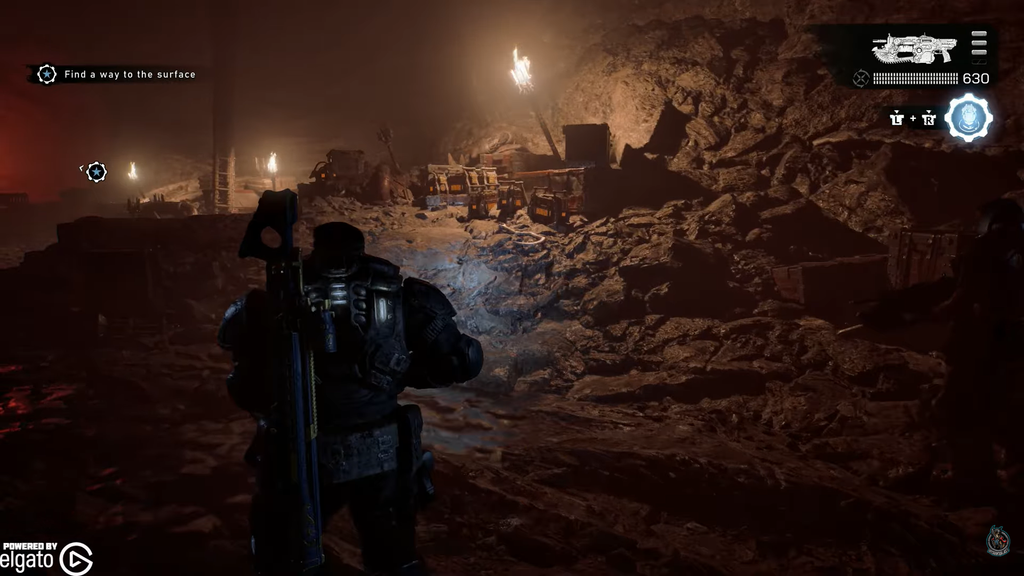
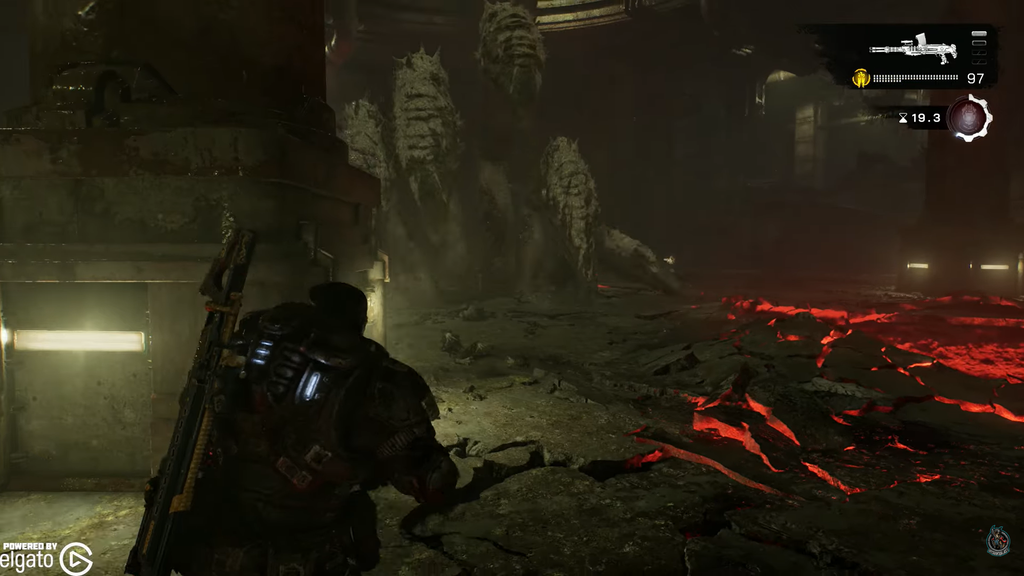
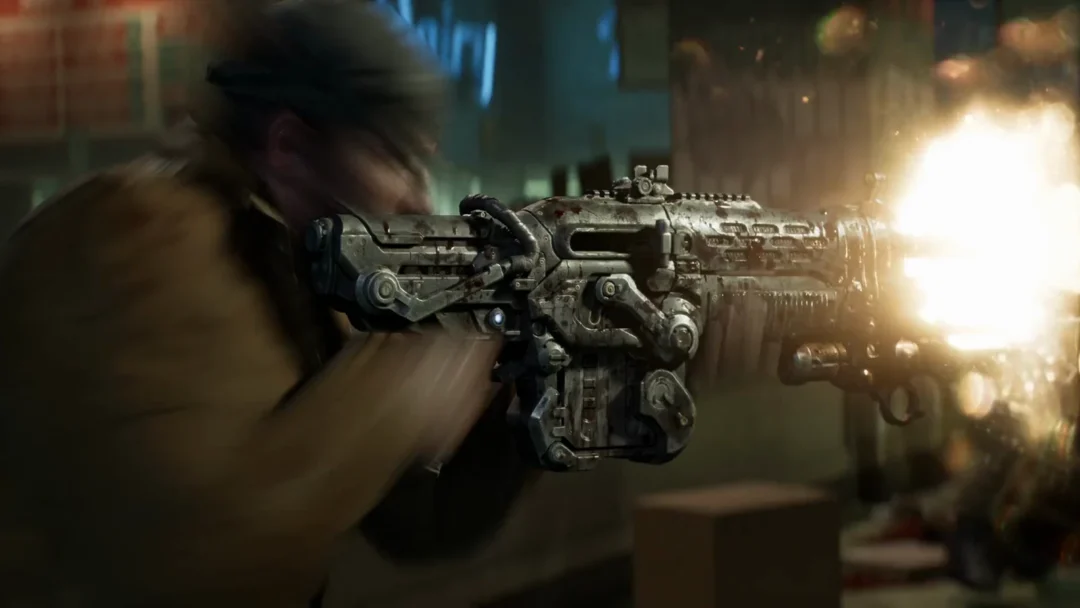
Snub hipfire is very effective against the Wretches that swarm the station and the crashed trains.
All six collectibles in Enemy Lines
This chapter has six regular collectibles and eight Hard Cases. The last collectible is the COG Tags of Private First Class Erick Davis; find them in the storm sewers beside the COG supply cache, and pick them up before triggering the boss fight.
| # | Collectible | Location |
|---|---|---|
| 1 | Damaged Gnasher Shotgun | Small cave off the red-lit cavern |
| 2 | Parchment and Powder Pouch | Left-side pile in the Locust supply cache room |
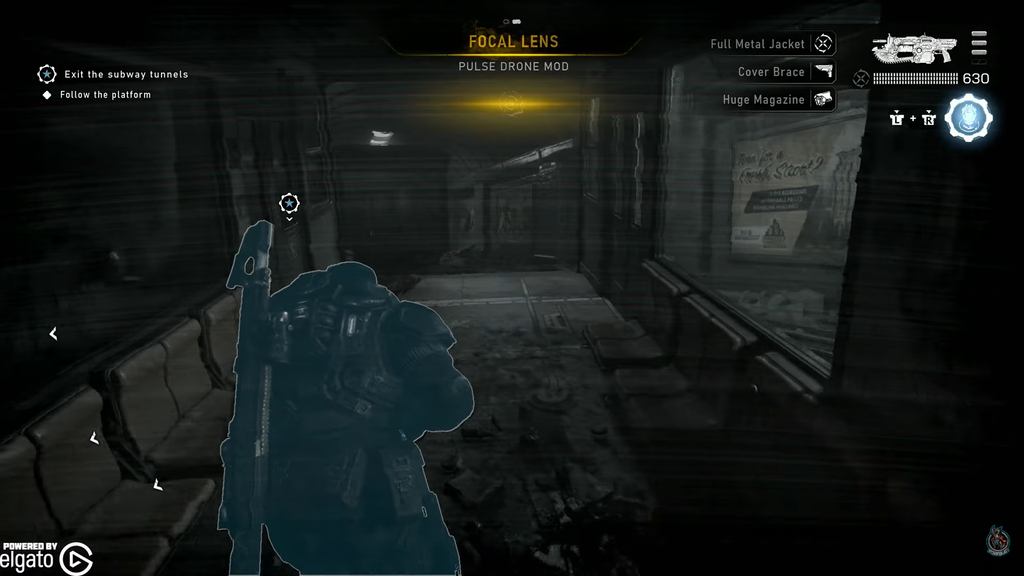
| 3 | Parchment with Indecipherable Writing | In a crate beside the wrecked train at the subway station |
| 4 | COG Tags of Private Beth Avila | At the bottom of the stairs beside the crashed subway cars |
| 5 | Maintenance Worker’s Bloodied Flashlight | Dark tunnel near the train wreckage |
| 6 | COG Tags of Private First Class Erick Davis | Beside the COG supply cache inside the storm sewers |
How to beat the Corpser at the end of Enemy Lines
After crossing the sinkhole and reaching the storm sewers, Bravo Squad is ambushed by the Corpser that destroyed the airfields. You can wear it down with gunfire, but the arena is built to kill it far faster.
Tall pillars ring the area. Stand behind one and let the Corpser swing at you so its attacks strike the pillar instead. After a couple of hits, the pillar breaks and crashes down onto the Corpser, dealing heavy damage. Rotate to a fresh pillar and repeat.
Once the Corpser has shattered a few pillars this way, the ceiling collapses on top of it, finishing the fight and opening the route Bravo Squad needs to escape underground.
How to confirm the chapter is complete
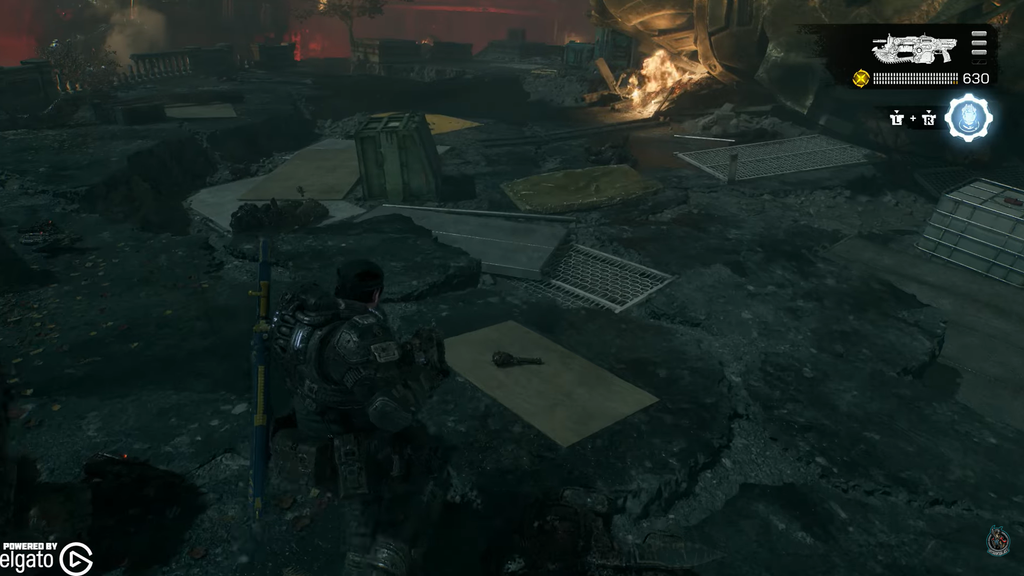
The chapter ends automatically once the ceiling buries the Corpser and the escape route opens, rolling straight into Act 3 Chapter 3, Last Foothold. To verify a full collectible clear before you leave, open the War Journal and check that the Enemy Lines count reads six of six. If any are missing, the two detours near the crashed subway cars and the item beside the Erick Davis COG Tags are the easiest to overlook.