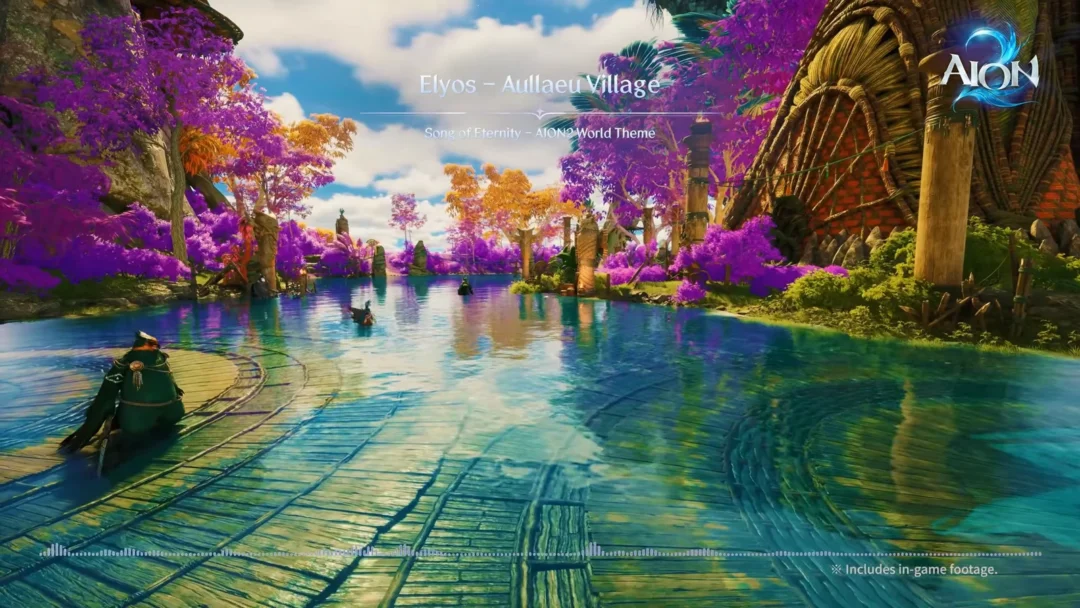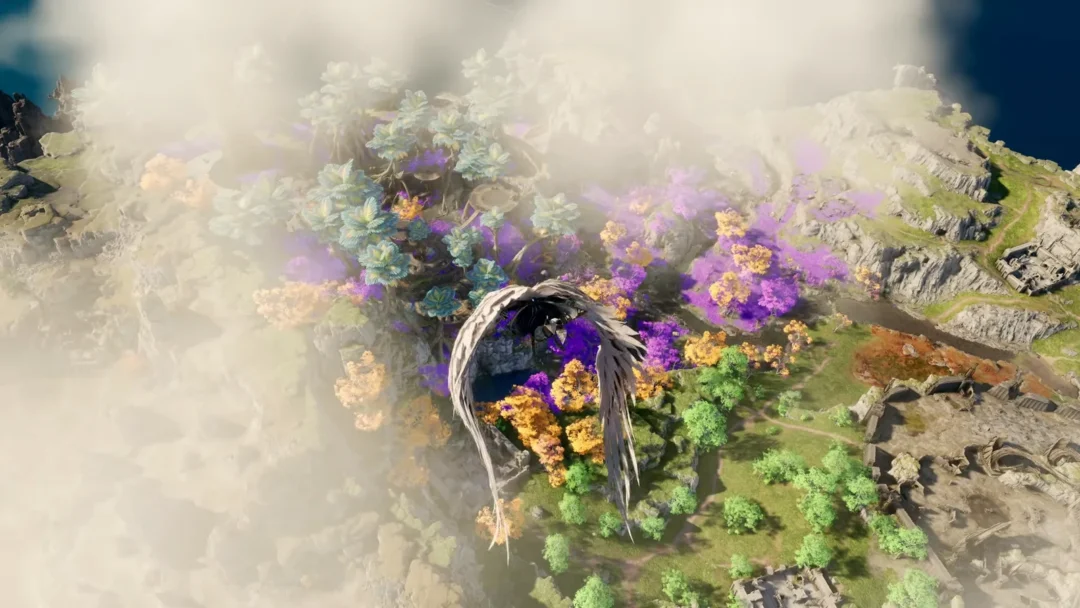
Chapter 1 of the Asmodian campaign opens the moment you escape Fafnir Fortress and stumble into Aldelle Village. What follows is a slow-burn story about a village that is far too welcoming, a witch nobody trusts, and the first flight of a new Daeva. It ends with a betrayal that strands you in Altgard. Here is the full run of ten Episode quests in Ishalgen, in story order, with who hands them out, where you turn them in, each objective, and everything you walk away with.
Quick answer: Betrayer and Survivor is ten Episode quests set entirely in Ishalgen, scaling from recommended level 2 to 9 and paying out 89,148 total XP before the airship escape to Altgard.
Arriving at Aldelle Village (quests 1–3)
A Village in the Fog
A Village in the Fog starts at the gate, where Andre challenges you and points you toward the chief for permission to stay. Pelleir, the village chief, agrees to help you reach Altgard and sends you to settle in. His parting line sets the tone for everything that goes wrong later: “Ishalgen is no longer a land that belongs to the Daeva, but you may rest easy. Our village is safe.” You talk to Pelleir, then bind with the village Kibelisk so you can return quickly, before reporting to Ellin. It runs at recommended level 2, given by Andre and turned in to Ellin.

Prepare to Escape
Prepare to Escape is a short gearing errand. Ellin tells you to see Stellan at the village entrance for equipment, so you talk to Stellan and then open the Supply Chest to collect your starting kit. It is a level 2 quest handed over by Ellin and turned in to Stellan, and it hands you your first real armor pieces.

Shadow Forest
Shadow Forest takes you and Maard into Munihelle Forest to retrieve the village’s missing supplies. The villagers insist no dangerous Balaur are in the area, yet you encounter a strange woman speaking in riddles, and Pelleir dismisses her as a lunatic. Here, for the first time, you hear that the villagers serve Dragon Lord Fafnir. Stellan gives you this level 3 quest, which you turn in to Pelleir.

When the task is complete, Pelleir identifies the woman as Elvida and says a Balaur attack drove the witch mad. He fears she may go after the Veil Jewel protecting the village at Tunapre Lake, setting up the next quest.
Tunapre Lake and your Ascension (quests 4–6)
Isolated Lake
Isolated Lake sends you to examine the Veil Jewel alongside the Aldelle Vigilante Group, though Pelleir privately authorizes you to kill Elvida if you see her. This level 4 quest comes from Pelleir and is turned in to Elvida, as the inspection goes awry. Touching the Jewel brings a strange voice and an abrupt ambush. Elvida then returns, demanding that the Jewel be broken; after it shatters, the voice and attackers disappear.
The Being Beneath the Lake
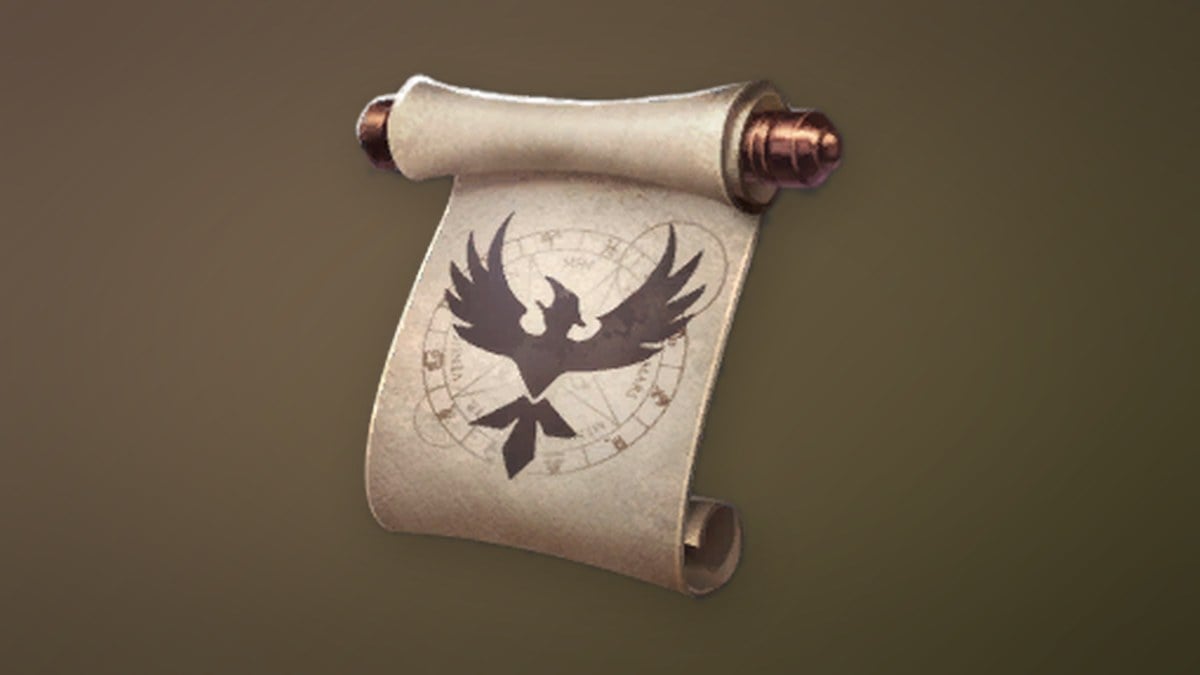
The Being Beneath the Lake explains Elvida’s sole plan for getting you off the island. She says a force within the lake’s cave can make Daeva ascend, then sends you to Tunapre Lake, asking you to rely on her. “This lake was once overflowing with Odyle energy. Countless were reborn here as Daeva in the past,” she explains. Elvida gives you this level 5 quest; complete it by speaking with Asahr in the Ascension Subspace.

Spread Your Wings
Spread Your Wings begins on its own in the Subspace of Ascension once you finish the trial beneath the lake. Completing the Ascension quest The One Who Perceives lets you access your Daeva power during the dream; afterward, go back to the Witch’s Cabin and report to Elvida. At level 6, this quest has Asahr bestow wings on you and acknowledge you as a Fragment of AION, with word that he will summon you again. Elvida directs you to seek an airship, cautions that the Balaur are monitoring the skies, then disappears into hiding after telling you to keep the matter from the villagers.
The crash site and the prison rescue (quests 7–9)
Signs of a Crash Landing
Signs of a Crash Landing opens with the villagers furious over the destroyed Jewel, but Pelleir sets Elvida aside because an airship has crashed at Anturn Cliff. He asks you to investigate and bring back any survivors. You pull Garlond, commander of the Garlond Mercenaries, out of the wreck, bring him to the village, and reconnect him with his comrade Anders over the Selvis. This is a level 6 quest from Argit, turned in to Garlond at the Abandoned Barracks Site.
Prison Compound Infiltration Plan
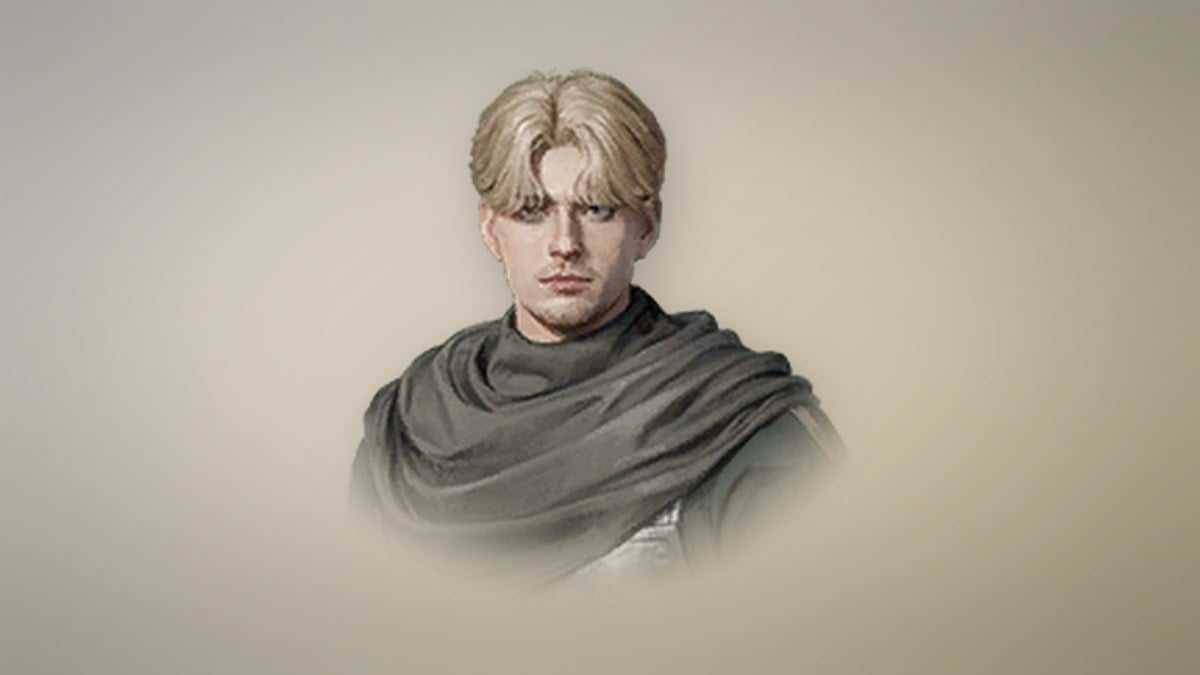
Prison Compound Infiltration Plan follows Garlond and Anders as they search the Balaur camp for their missing comrades. The camp logs reveal the comrades were dragged to a prison compound, and that Bjorn was too badly wounded to save. You resolve to infiltrate anyway to free the others. This level 7 quest comes from Garlond at the Azrakar Brigade Camp and is turned in to Anders at the prison compound entrance.

Brigade Prison Compound Infiltration Operation
Brigade Prison Compound Infiltration Operation is the rescue run itself, with Anders drawing a diversion outside while you break in. The freed Hergal immediately warns that the villagers have been brainwashed by Fafnir to lure in Daeva, but Garlond refuses to believe the people who sheltered him: “Hergal, don’t jump to conclusions. If it weren’t for the villagers, I wouldn’t have found you or Anders.” The group heads back to the village together. It runs at level 7, given by Anders and turned in to Pelleir.

The Longest Night and the escape from Ishalgen
The Longest Night brings the chapter to a close. Pelleir is relieved to see everyone, Hergal pushes his suspicions, and the chief seems strangely unable to remember recent events. Since no clear threat remains, the group chooses to spend one more night there and set out at dawn. Your only objective is to enter the village cabin and sleep. This level 9 quest comes from Pelleir and concludes with your escape from Ishalgen.
Nightfall reveals what the villagers are: servants of the Balaur, their minds taken over long ago by Dragon Lord Fafnir. They attack, killing Garlond and all his comrades; you alone survive. You escape in the airship they abandoned, but it flies into a concealed Balaur self-destruct trap encircling Ishalgen. The explosion sends the craft plunging from the sky, and you drift to Altgard, where Chapter 2 begins.
All Betrayer and Survivor quest rewards
Every Kina payout below is Bound. The chapter totals 89,148 XP across the ten quests.
| Quest | Lv | XP | Rewards |
|---|---|---|---|
| A Village in the Fog | 2 | 1,133 | 1,400 Kina, Life Potion ×50 |
| Prepare to Escape | 2 | 1,712 | 1,400 Kina, Life Serum ×20, Return Scroll ×20, Strange Karma Breastplate, Strange Karma Greaves |
| Shadow Forest | 3 | 2,589 | 1,500 Kina, Strange Karma Boots, Strange Karma Gloves |
| Isolated Lake | 4 | 3,915 | 1,600 Kina, Courage Scroll ×20 |
| The Being Beneath the Lake | 5 | 2,959 | 1,700 Kina, Lesser Daeva Wings |
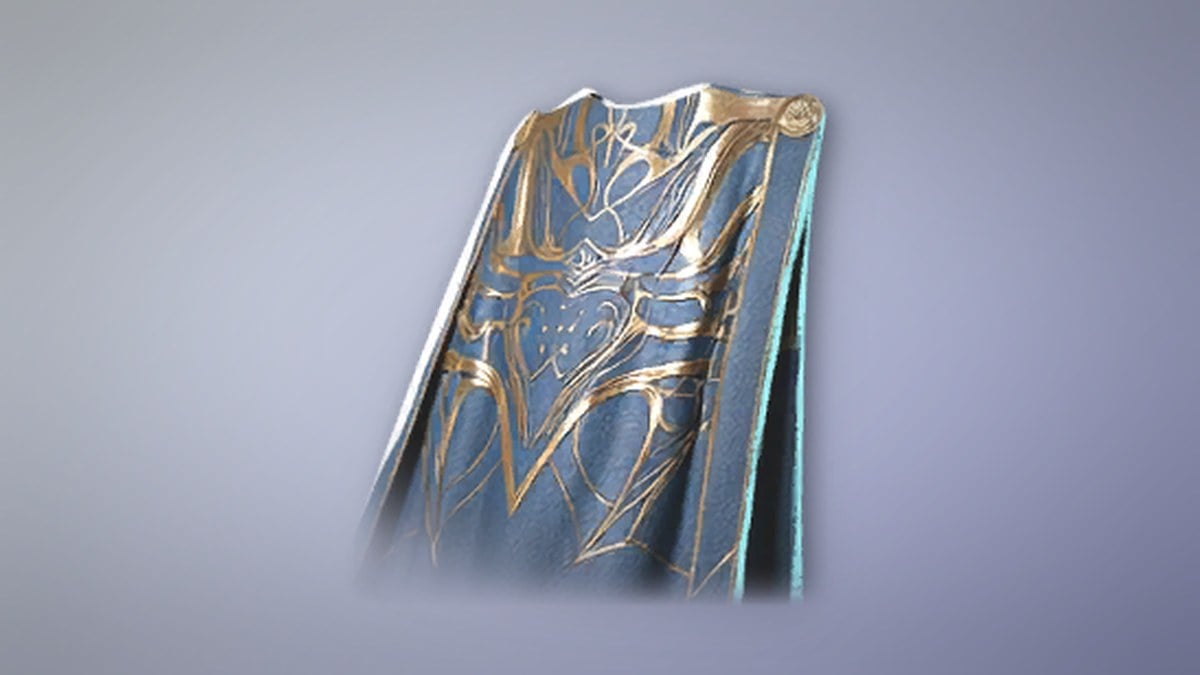
| Spread Your Wings | 6 | 2,960 | 1,800 Kina, Title: Wind-Adorned, Return Scroll ×20, Strange Karma Cloak |
| Signs of a Crash Landing | 6 | 8,950 | 1,800 Kina, Resurrection Spiritstone, Power Shard ×1,000, Strange Karma Helm |
| Prison Compound Infiltration Plan | 7 | 13,532 | 2,000 Kina, Courage Scroll ×20, Speed Scroll ×20, Benediction Scroll ×20, Strange Karma Pauldrons |
| Brigade Prison Compound Infiltration Operation | 7 | 20,461 | 2,000 Kina, Enhance Stone ×5, Strange Karma Guard |
| The Longest Night | 9 | 30,937 | 2,300 Kina |
You know the chapter is done when The Longest Night resolves with your flight to Altgard and the Stranger in a Strange Land questline opens there. Finishing the first Episode chapter also ticks the Betrayer and Survivor achievement, which pays out 3,000 Kina (Bound) and the Betrayer and Survivor title.