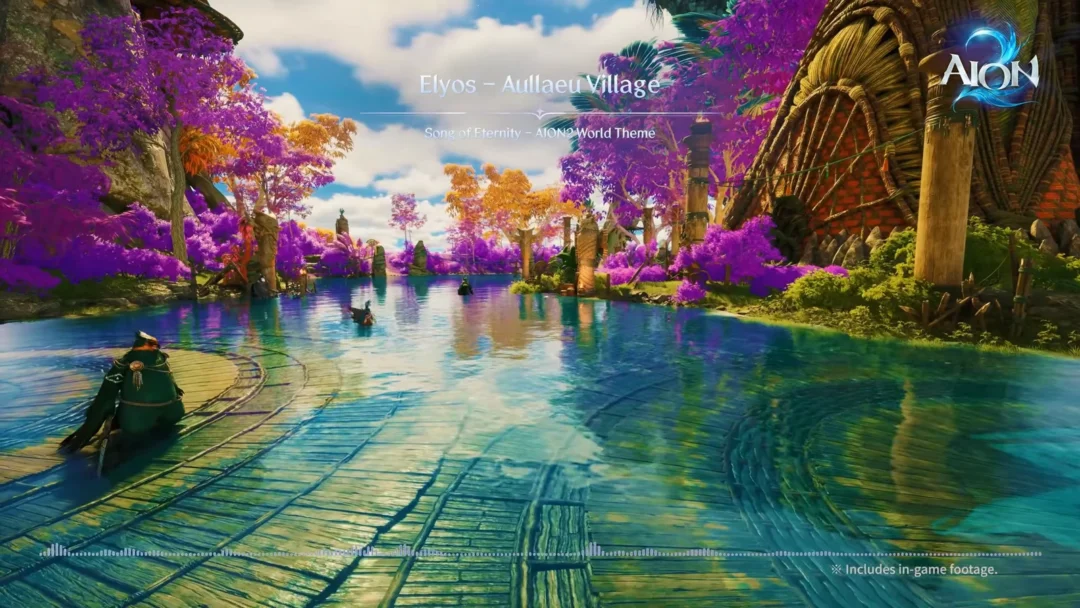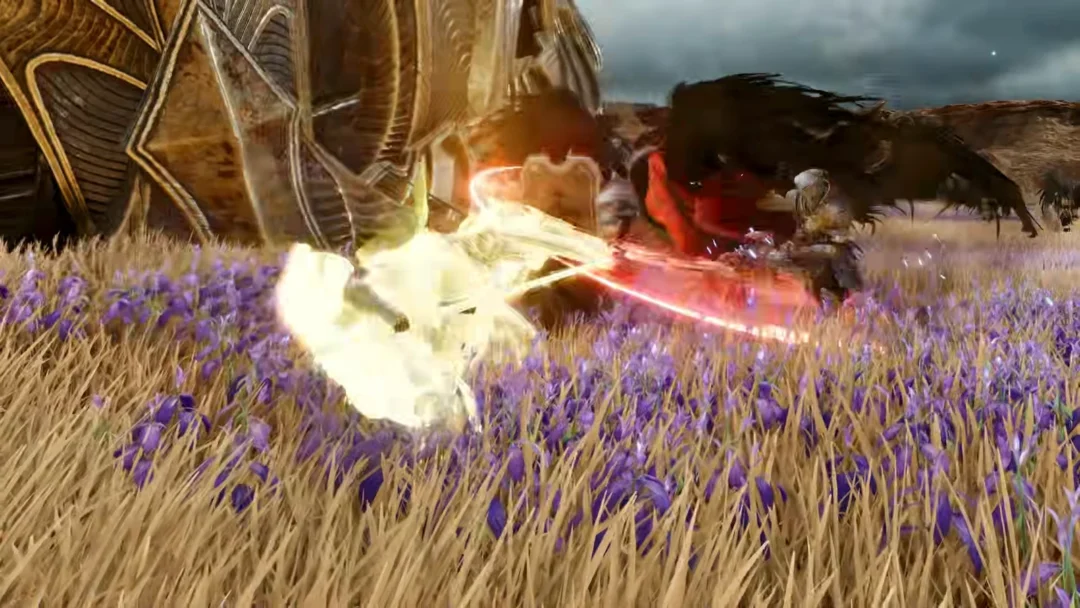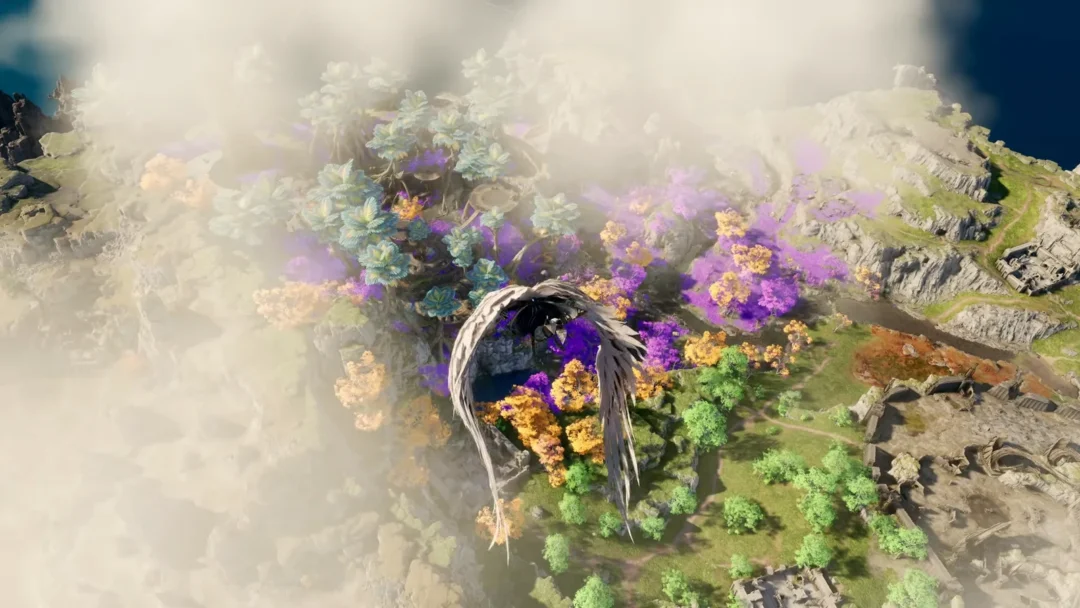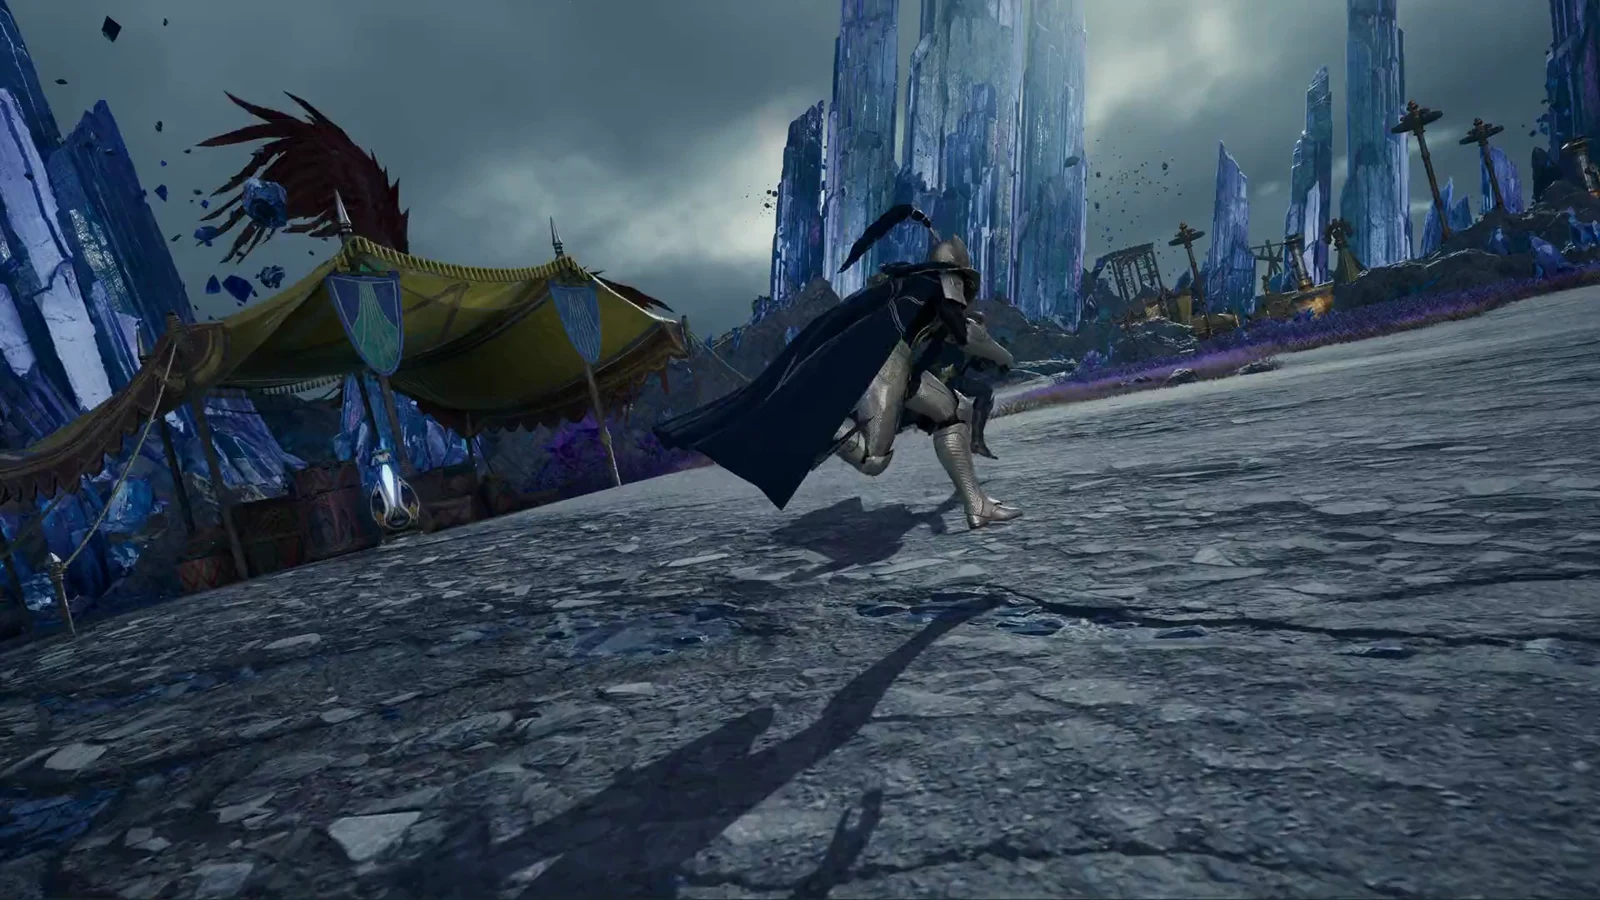
Encountering Kaisinel’s Core is the sixth chapter of the Elyos main story in AION 2, and it is where the long hunt for the Empyrean Lord’s Core finally pays off. The chapter runs 20 Episode quests across Verteron, with recommended levels climbing from 40 to 45. Clearing all of them awards 691,730,235 total EXP along with a run of Pilgrim gear, two titles, and the keepsake statue of Teina.
Quick answer: Chapter 6 is 20 Elyos Episode quests in Verteron, recommended levels 40 to 45, running from Where the Drana Flows to Witness to a Nightmare and ending with Kaisinel’s Core.
Throwing the Drana Plantation into chaos
The chapter begins with a mission to retrieve Teina’s bracelet, an intact holy-illusion artifact that Phernos believes remains in the Balaur Disposal Plant. Early quests focus on disrupting the Nahid Brigade’s base, giving the group a chance to enter without being noticed.
Where the Drana Flows
Where the Drana Flows begins with Dymones in Zumion Village, then concludes with Kepillia at the Notos Legion Outpost. Phernos explains how to create a disturbance at the Balaur base and gain access to the disposal plant. Dymones says, “It’s an incineration plant within the Nahid Brigade Fortress, located deep inside the Balaur base.” You take on a Kobold disguise and poison the Drana, launching the operation.

To the Scarlet Forest
To the Scarlet Forest comes from Kepillia at the Tracker’s Campsite and is completed with Caelid at the Scarlet Forest Observation Site. Since the forest borders the plantation, causing a disturbance there draws Balaur attention away from elsewhere. The scouts have taken Dratona form. There, you encounter Sthen, the only member of his unit to survive a Sura ambush.

Sowing Seeds of Chaos
Sowing Seeds of Chaos comes from Caelid and is returned to Sthen, both at the Scarlet Forest Observation Site. Sthen points you at the Drana Injectors, devices that force Drana energy into sprouts to speed their growth. For the single objective, destroy the Drana Injector and defeat three Damaged Mutated Sura, three Wandering Sura Warrior, and six Wandering Sura Ranger around it.
Notos Legion Makeover
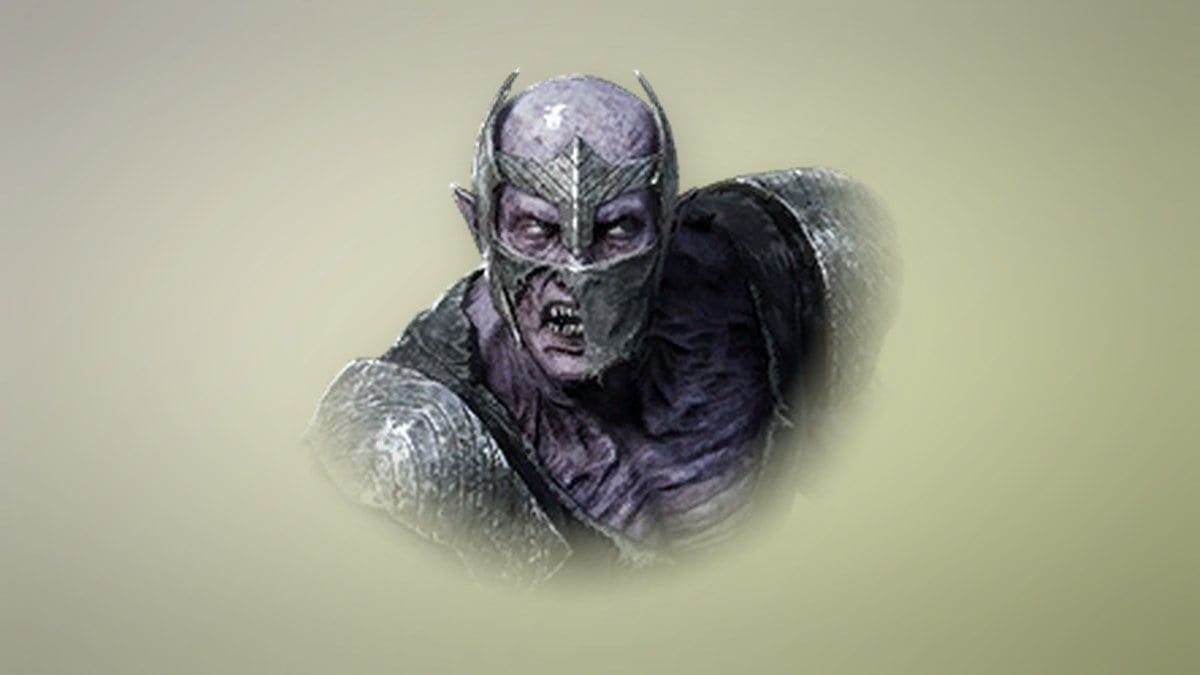
Notos Legion Makeover is given and turned in by Sthen at the observation site. Reinforcements are arriving without enough transformation potions, so Sthen asks you to gather crafting materials and a Balaur language manual that will later help inside the Nahid Brigade Fortress.
Power Tower Sabotage
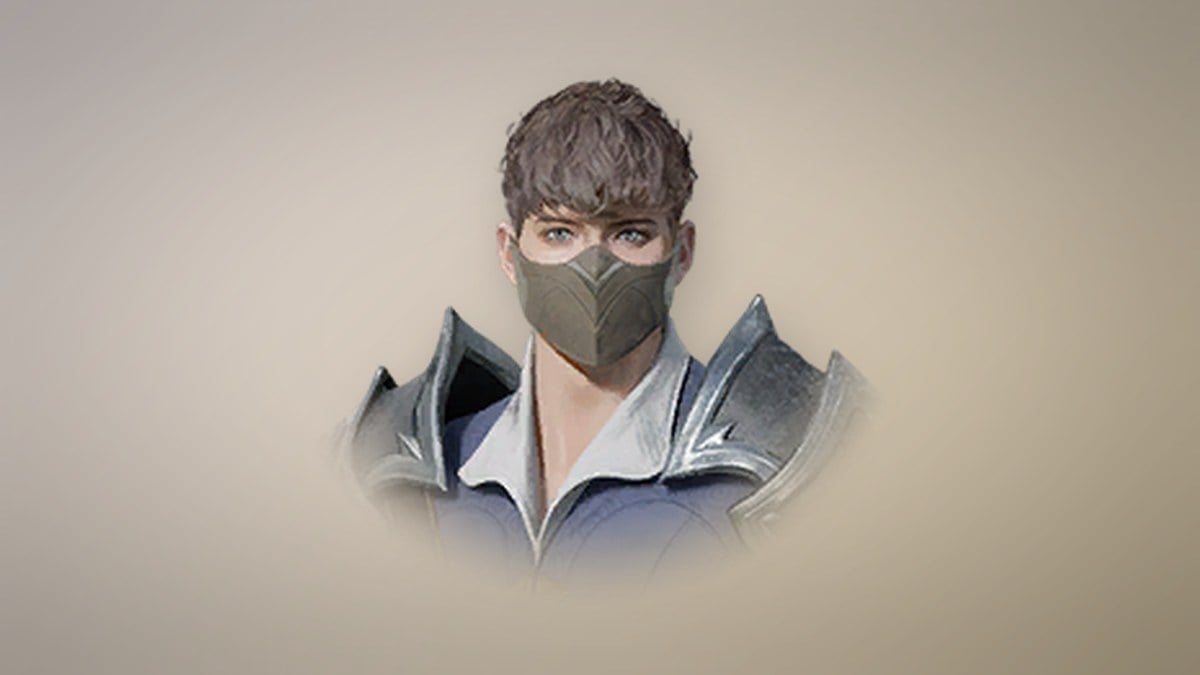
Power Tower Sabotage is picked up from Sthen and completed with Kepillia at the Notos Legion Outpost. Caelid spots a group of Krall on the move, so you clear them before launching the main strike on the power tower, transforming into a Kobold to destroy it from the inside.
Thorough Preparation
Thorough Preparation is given and turned in by Kepillia at the Notos Legion Outpost. The tower is down, but the Balaur will rebuild it if left alone, so you hit another facility to keep them scrambling. Destroy the Small Drana Repository three times and defeat seven Dracuni Gatherer and six Dracuni Processing Laborer in the processing area.

Striving for a Purpose
Striving for a Purpose begins with Kepillia and concludes with Caelid at the outpost. Although every facility has been hit, Phernos has yet to make contact. Continue your attacks to stall for time until he arrives with the Illusion Cavaliers’ Apparitions. Phernos assures you, “I will head straight to the Disposal Plant. Join me there.”
Recovering the Illusion Bracelet
With the plantation thrown into chaos, the group advances into Nahid Brigade Fortress and descends to the disposal plant to retrieve the bracelet from the incinerators.
Unpleasant Memories
Unpleasant Memories is assigned by Caelid at the outpost and completed with him outside the Disposal Plant entrance. With security tightened, take Kobold form once more and carry waste inside to pass as one of the workers. Caelid’s resentment comes through as he remembers a previous infiltration of the fortress that ended in failure.

A Balaur’s Trash is a Daeva’s Treasure
A Balaur’s Trash is a Daeva’s Treasure begins with Caelid at the entrance and ends with Dymones at Zumion Village. Make your way past Sura and the toxic fumes to the plant’s lowest reaches, where Daeva relics are going into the incinerators. Phernos eventually arrives, and the Apparitions retrieve the Illusion Bracelet. But he leaves them behind while escaping, renewing his dispute with Caelid.
Returning to Reda and finding the Core’s location
Time Takes Its Toll
Time Takes Its Toll is issued by Dymones at Zumion Village and completed with Phernos at the Illusion Hideout entrance. Its only task is to visit the Illusion Hideout and give the bracelet back to Reda. Reda has by now surrendered her position as High Priestess of Illusion. Her dark magic has reduced her to a soulless form resembling Teina, and at last she becomes a monster, crying, “I will never forgive you, Akarios!”

A Means to an End
A Means to an End opens with Phernos at the entrance to Illusion Hideout and finishes with Paitos at Pilgrim’s Rest. Its only step directs you to the Notos Legion Office to talk over what to do next. Once back in the village, Phernos reveals that the Core is still at Ardus Shrine and that the Illusion Bracelet unlocks the shrine. Hithanya objects to Phernos’s approach and departs the group, ending the moment of relief.
Calming the Garden of the Illusion God
Ardus Shrine sits inside the Garden of the Illusion God, but the garden is overrun with spirits and sealed rifts. The shrine only opens for the worthy, so the next stretch is spent helping the pilgrims and clearing the way.
Pilgrims of the Garden
Pilgrims of the Garden is given by Paitos at Pilgrim’s Rest and turned in to Anteia in the garden. Dioni explains that only the worthy may enter the shrine, and that the garden’s chaos is keeping its gate shut, so you begin by sealing rifts and calming the spirits.

Another Rift
Another Rift begins with Anteia in the garden and ends with Nestor at Pilgrim’s Rest. An Etheria Rift opens at Pilgrim’s Rest during your work, prompting Caelid to summon you back: “An Etheria Rift has opened up. The pilgrims are under attack!” You seal the rift, but Dioni—the only person who knows the route to Ardus Shrine—is trapped in it and falls unconscious.
Memories of the Garden
Memories of the Garden is given by Nestor at Pilgrim’s Rest and turned in to Dorian in the garden. While Dioni recovers, you look for scattered pilgrims and find Dorian, injured but refusing to leave until he has recorded Kaisinel’s Monolith. You help him record each inscription.

The Path of Pilgrimage
The Path of Pilgrimage starts with Dorian in the garden and ends with Dioni at Pilgrim’s Rest. Dioni has woken, and he agrees to open the way to Ardus Shrine, which is revealed by the Illusion God’s Braziers. You gather the essence for those braziers while continuing to help the pilgrims.

Sacred Offering
Sacred Offering is given by Dioni at Pilgrim’s Rest and turned in to Caelid at the Ardus Shrine entrance. Dioni warns that the braziers only guide you to the entrance and that a key is still needed to go inside. You offer the essence to all four braziers, and the illusion flames light the path to the shrine.
Claiming Kaisinel’s Core
The Core of Illusion God
The Core of Illusion God is given by Caelid at the Ardus Shrine entrance and turned in to Phernos there. Its sole objective is to use the Table of Testament, set the Illusion Bracelet on it, and unlock the gate. Beyond it, an Apparition of Kaisinel puts you through several trials. These form the Kaisinel’s Illusion boss challenge in Ardus Shrine, spanning 10 stages with recommended combat power increasing from 3,500 to 3,950. Clear every stage to receive Kaisinel’s Core, and hear Phernos declare, “At last, it is in my hand. Kaisinel’s Core.” Completing the quest awards the Grasper of the Core title.
Parting ways and reaching the Abyss
Crossing the Bulwark needs both Kaisinel’s and Yustiel’s Cores, so the chapter closes by setting up the journey to Eltnen and a first trip into the Abyss.
Diverging Paths
Diverging Paths comes from Phernos at the Ardus Shrine entrance and is completed with Dymones in Zumion Village. The group believes Yustiel’s Core lies in Eltnen, so they get ready for the lengthy trip. Dymones remains behind to defend Verteron and continue supporting the Dawn Legion.

Draupnir
Draupnir is given by Dymones at Zumion Village and turned in to Koro at the Abyss Base in Chaotic Lower Reshanta. Dymones explains that growing stronger for Eltnen means venturing into Draupnir and the wider Abyss. Draupnir was once part of Asmodae, pulled into the Abyss, with a path opening in Verteron.

Witness to a Nightmare
After Draupnir, Witness to a Nightmare begins automatically; turn it in to Paitos at Pilgrim’s Rest. Its sole objective is the shared Ascension quest The One Who Witnessed the Nightmare. At the Dream Crossroad, listen to Asahr speak about the Empyrean Lords, defeat Zikel in his warped dream, and see the Lords give their lives to form the Bulwark. Completing the quest makes you a Daeva in the next dimension and brings the chapter to a close, as Paitos marvels, “you’ve even conquered the Abyss.” Waiting for the Next Journey follows and directs you toward Eltnen.
Every Chapter 6 reward
Here is every quest’s payout in order. All EXP and Kina values are exact, and the Kina rewards are Bound.
| Quest | EXP | Kina | Other rewards |
|---|---|---|---|
| Where the Drana Flows | 24,673,715 | 36,000 | Life Serum x20 |
| To the Scarlet Forest | 32,133,886 | 39,000 | Superior Speed Scroll x5 |
| Sowing Seeds of Chaos | 32,133,886 | 39,000 | Pilgrim Breastplate x1 |
| Notos Legion Makeover | 32,133,886 | 39,000 | Pilgrim Greaves x1 |
| Power Tower Sabotage | 32,133,886 | 39,000 | Superior Benediction Scroll x5 |
| Thorough Preparation | 32,133,886 | 39,000 | Pilgrim Guard x1 |
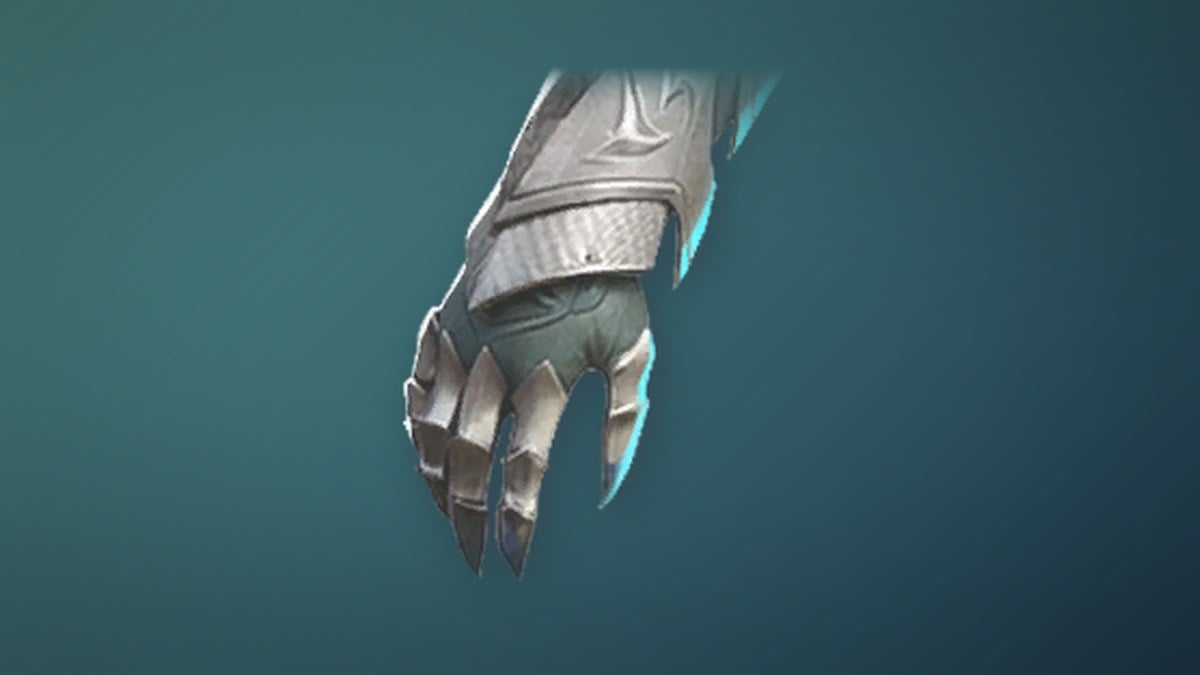
| Striving for a Purpose | 37,841,454 | 41,000 | Pilgrim Gloves x1 |
| Unpleasant Memories | 37,841,454 | 41,000 | Courage Scroll x5 |
| A Balaur’s Trash is a Daeva’s Treasure | 37,841,454 | 41,000 | — |
| Time Takes Its Toll | 45,550,332 | 44,000 | Title: Illusion Illuminator x1, Statue: Teina x1 |
| A Means to an End | 56,188,014 | 48,000 | Superior Life Serum x20 |
| Pilgrims of the Garden | 56,188,014 | 48,000 | Pilgrim Boots x1 |
| Another Rift | 56,188,014 | 48,000 | Resurrection Spiritstone x1 |
| Memories of the Garden | 56,188,014 | 48,000 | Pilgrim Cloak x1 |
| The Path of Pilgrimage | 24,512,068 | 51,000 | Pilgrim Pauldrons x1 |
| Sacred Offering | 24,512,068 | 51,000 | Battle Enhance Scroll x2, Pilgrim Helm x1 |
| The Core of Illusion God | 24,512,068 | 51,000 | Title: Grasper of the Core x1 |
| Diverging Paths | 24,512,068 | 51,000 | Lesser Manastone x5, Lesser Soulstone x5 |
| Draupnir | 24,512,068 | 51,000 | Spiritforged Guard x1, Superior Courage Scroll x5, Lesser Manastone x5, Lesser Soulstone x5 |
| Witness to a Nightmare | — | — | — |
Once Witness to a Nightmare is turned in and your Daeva has ascended, Chapter 6 is finished and the story rolls into Light Never Stands Alone, where the search for Yustiel’s Core begins in Eltnen.