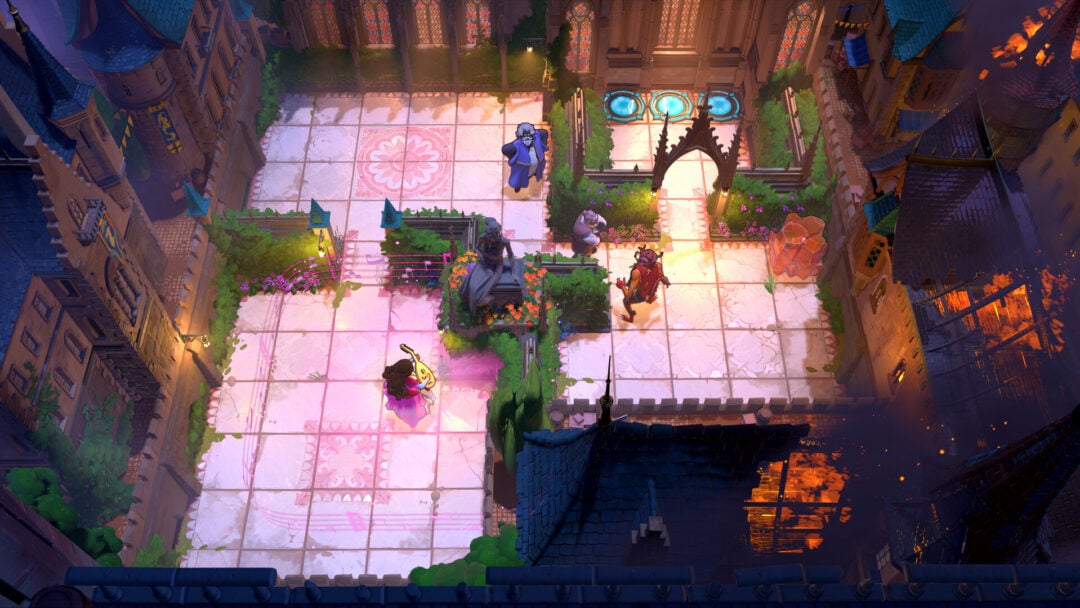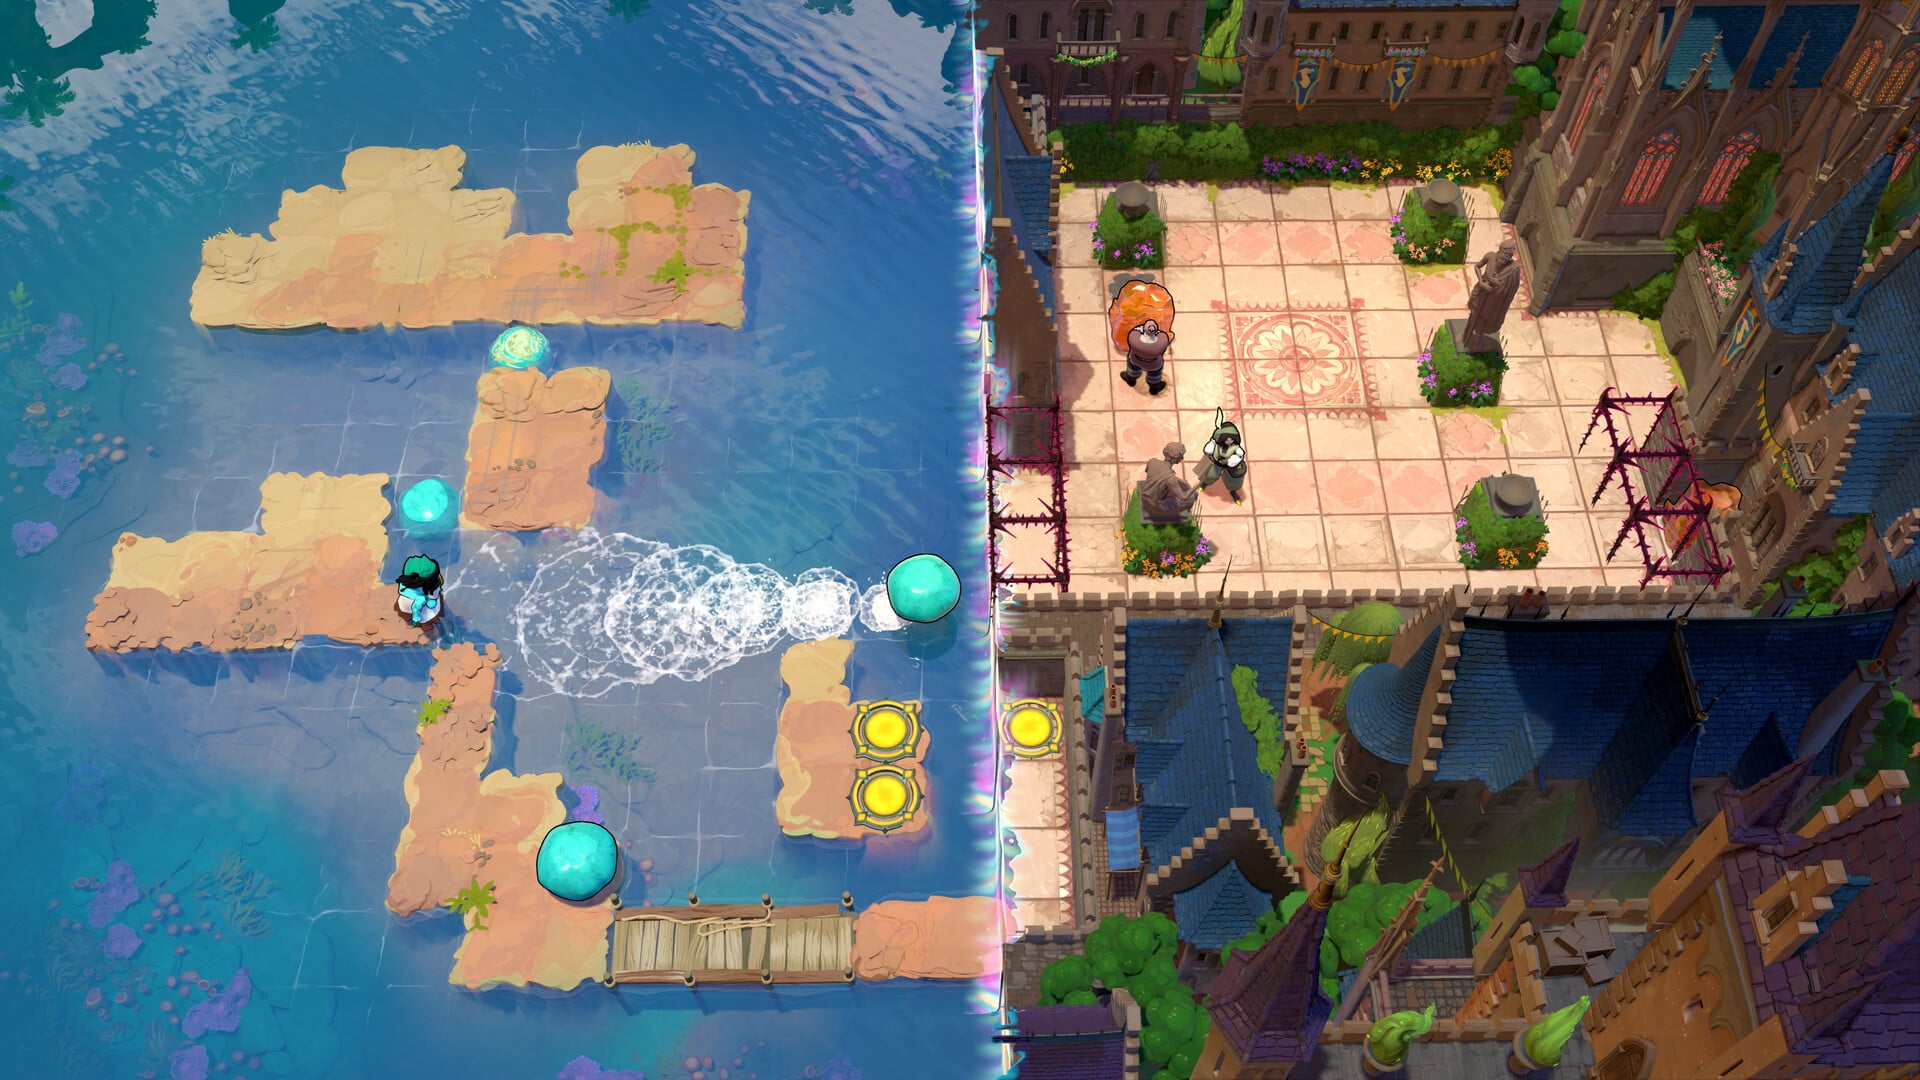
Heroes and Mirrors sits in the northeast of Order of the Sinking Star, where the moving crew’s push-pull abilities meet the Trader’s reflection mirrors. You open it through the HxM gold room, which itself only becomes reachable after you unlock a golden mirror in The Mirror Isles and clear a path in The Hearty Heroes of Hauling. The area spans seven screens, each packed with mirror, crystal, and monster puzzles.
Quick answer: Clear the HxM gold room’s two-puzzle series, then push the unlocked crystal right to build the path into Heroes and Mirrors. Solve screen #2’s middle puzzle before trying screen #1.
Directions without a number mean move one square. A number such as “x3” means move that many squares. “All the way” means keep going in that direction until a barrier stops you.
Reaching Heroes and Mirrors
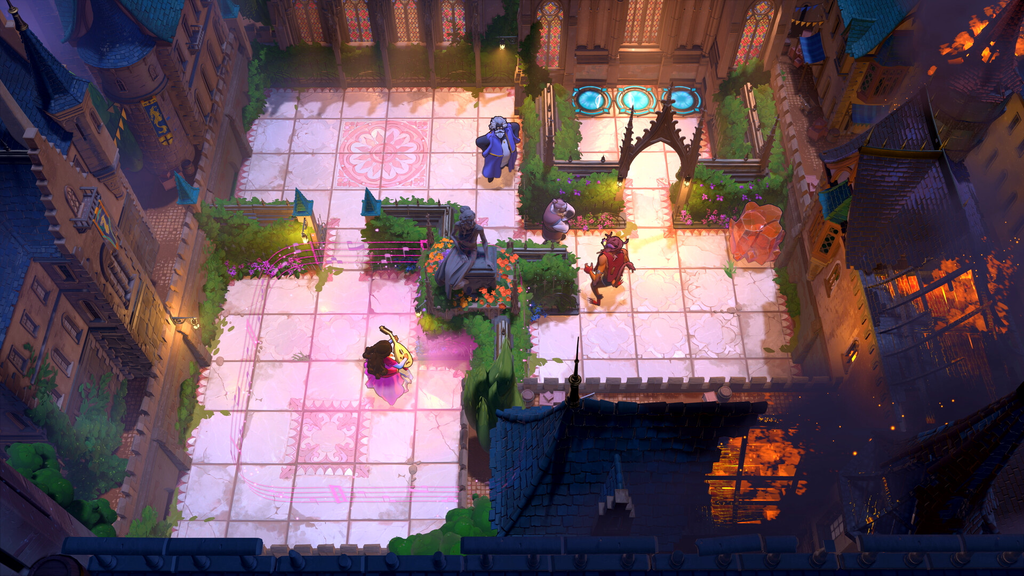
Open the HxM gold room and finish the two-puzzle series inside it. Completing that series unlocks a crystal on the golden platform. Push the crystal right, and a path forms that leads directly to the Heroes and Mirrors area.
Screen #1
You cannot touch screen #1’s puzzles until you have solved the middle puzzle on screen #2, which clears the barrier in the corridor linking the two screens. Handle that first, then come back here.
Reaching the bottom puzzles
- Clear screen #2’s middle puzzle to drop the corridor barrier.
- Activate the reset tile at the lower-left of screen #2.
- Push the bottom-left mirror all the way right, up, right x2, down x6, left x2, up. It now sits on screen #1, five squares right of the blue button.
- Stand on the blue button, then activate the mirror to open the puzzles.
Bottom puzzle #1
- Push the mirror right x2, then move to its right.
- Trigger the mirror, then push it onto the pink button.
- Push the crystal down x3.
- Push the mirror up x2, right x2, then stand on the pink button.
- Activate the mirror to transport the crystal across, then shove it onto the pink button.
- Shift the mirror two spaces left until it is positioned over the crystal.
- Get beyond the first barriers; use the mirror to draw the crystal away from the button, then head for the teleporter.
Bottom puzzle #2
- Move green onto the green button.
- With orange, move his mirror down, then five spaces right into the column containing his pink button.
- Put orange on the pink button. Switch to green and pull her mirror up, then five spaces left into the column containing her green button.
- Return green to the green button, then activate both mirrors to send the two characters to the teleporters.
Completing this puzzle clears two barriers from screen #1.
Bottom puzzle #3
- Push the top mirror right x9.
- Go two spaces left, then activate the mirror; it carries you onto the middle platform.
- Push the middle mirror right x3.
- Get below the top mirror and activate it to return to the upper area.
- Head as far left as possible, then activate the mirror to descend to the bottom platform.
- Move the rock onto the pink button.
- Position yourself below the middle mirror and activate it to land on the middle platform. Then push the mirror down two spaces.
- Get below the top mirror and activate it to return to the upper area.
- Shift the top mirror five spaces left. Stand two spaces to its left, then activate it to land on the middle platform.
- Take a position three spaces left of the middle mirror, then activate it to descend to the bottom platform.
- Dislodge the rock from its button; this switches the barriers and breaks the middle mirror.
- Push the rock back onto the button.
- Stand in the top mirror’s column at the lowest possible point, then activate it to arrive at the teleporter.
Bottom puzzle #4
- Move the mirror left, then up. Descend to the lowest point and activate it to land on the middle platform.
- Activate the mirror so a crystal appears on its left; shove it down onto the pink button.
- Push the mirror down x2, left, up, then trigger it to send the button crystal into the water.
- Push another crystal onto the button, then activate the mirror to stack it atop the submerged crystal.
- Put the last crystal in the square directly above the button.
- Go to the row level with the first mirror, then activate it to return to the right platform.
- Raise the mirror two spaces, descend to the lowest point, and activate it to reach the teleporter.
Bottom puzzle #5
- Start in the top-left room.
- Reposition the left mirror three spaces down and all the way left. Place the second mirror just left of the pink button.
- Move to the top-right room.
- Shift the left mirror right and lower the right one. Activate both, producing another crystal in the top-right room.
- Move the left crystal down, left, up. Move the right mirror right. Move the right crystal down, right.
- Head back to the top-left room and place the crystal in the corner square at the bottom left.
- Go down to the square occupied by the inactive pink barrier, then activate the mirrors to switch the green barriers.
- Trigger the mirrors repeatedly to swap the pink barriers, opening the teleporter.
Reaching and solving the bottom-right puzzle
To prepare, return to screen #2 and activate the reset tile in its lower-left corner. Move that corner mirror right twice, up, right twice, down six, right six, up, then right three. It comes to rest in screen #1’s upper-right corner. Stand diagonally down-left of the monster, then activate the mirror to enter the puzzle.
- Push the row one space right, then activate the mirror to transmit the first crystal.
- Activate the mirror once more to submerge the second crystal in the water above the first.
- Push the row right, then trigger the mirror to stack the third crystal on the second.
- Shift the row three spaces right, then activate the mirror to send crystal number four through.
- Push right, then trigger the mirror to stack the fifth crystal on the fourth.
- Step right, then up, and push the crystal beside you on the right one space farther right.
- Travel right, then down until you reach the mirror’s right side. Shove it left and activate it to bring a crystal onto its left side.
- Move left five spaces, then activate the mirror to drop the crystal into the water beneath the teleporter.
- Shift the mirror left, then make your way to the teleporter.
With this cleared, the path to screen #4 opens.
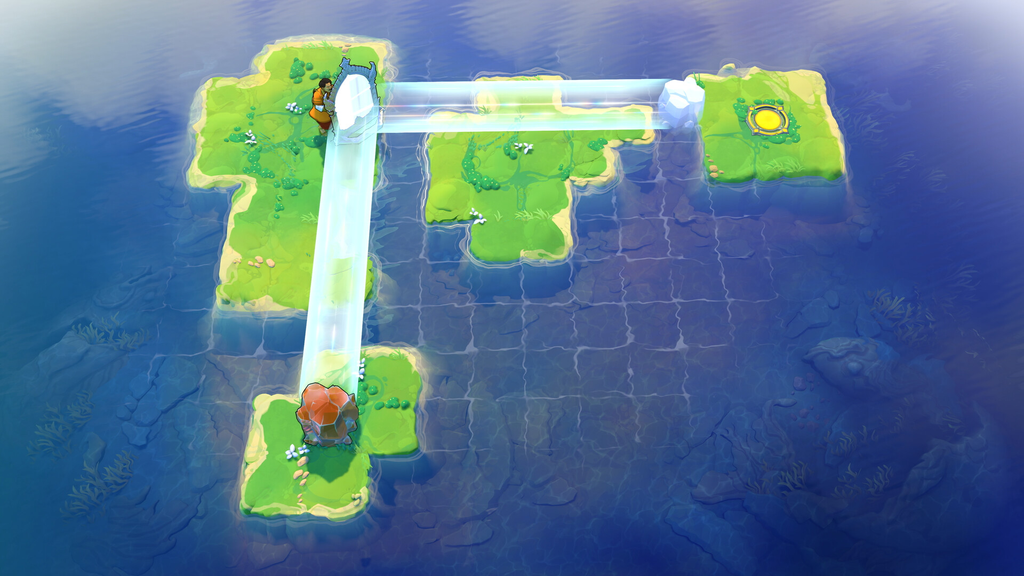
Screen #2
Reaching and solving top-left puzzle #1
Move the bottom-left mirror left, then up. Go down and use it to reach the left landmass. Climb through the gate wearing the bard cloak to locate the first puzzle.
- Move right x2, down x2, and send the crystal through the mirror.
- Step right, then activate the mirror to send bard through.
- Move right and send bard through again.
- Move up and send bard through.
- Move right and send bard through. Bard now stands on the mirror platform, with the crystal in the right column of the button platform.
- Move up and send bard through.
- Go up three, right three, down once, then left three. The crystal will be in the platform’s left column; send it through next.
- Move bard down, then send the crystal through so it lands directly below bard.
- Step onto the buttons and send bard through to reach the teleporter.
Completing this opens a mirror in screen #2’s top-left corner.
Reaching and solving top-left puzzle #2
Use the reset by the bottom-left mirror, return to the top-left alcove, and stop just before grabbing the crystal with your aura.
- Go left, then up, collecting the crystal in your column.
- Head right, then down four spaces to align the crystal with the mirror’s row; send it through.
- Move all the way up, right x2, grabbing the crystal in your row.
- Move down x2, then left x2 to release the crystal.
- Send the crystal through the mirror, then move down to submerge it, forming a path to the second puzzle.
- Head all the way up and all the way right, then go down three times. Send yourself through the mirror and continue down to the puzzle.
Then solve it:
- Go right three times, then up once; send the crystal through the mirror.
- Travel all the way right, then down once, collecting the crystal in your row.
- Move left, up x2, and send bard through. The crystal now sits down and left of bard.
- Go left six spaces, then up to place the crystal on the pink button.
- Send bard through the mirror, then head to the teleporter.
Bottom-right puzzle #1
- Place orange below the mirror in the top-left to block it.
- Move gold up, then use the mirror to transfer gold to the left landmass.
- Move gold below the top-left mirror to block it, then move orange below the right mirror and send him through.
- Have orange push the crystal upward, then left; send it through the mirror.
- Guide orange up, then left, and send him through.
- Move gold away from the top-left mirror. Then have orange push the crystal to a spot below that mirror.
- Send orange and gold through the right mirror to the teleporters.
This unlocks the barrier on the bottom-right alcove, though you cannot enter its puzzles until more of the screen is cleared.
Top-right puzzle #1
- Move above the mirror and pull up x2.
- Move below the mirror and pull down, then send green through.
- Pull left x2, then send green through.
- Move above the mirror and pull up x4.
- Move below the mirror and pull down, then send green through.
- Pull left x2, then send green through.
- Move down, right x2, up x2, all the way left, down, then send green through.
- Go all the way down, then send green through to reach the teleporter.
This unlocks a mirror in the top-right alcove.
Reaching top-right puzzles #2 and #3
- Pull the mirror down x2, right x2.
- Pull the left crystal left x3 and send it through to submerge it.
- Pull the mirror right.
- Pull the remaining crystal left x3 and send it through to finish the path.
Top-right puzzle #2
- Drag the bottom mirror right, then up ten spaces and right six.
- Pull the second mirror right x4, then send green through the first mirror.
- Pull the first mirror down onto the blue button. Move above the mirror and send green through to walk to the teleporter.
Top-right puzzle #3
- Move up x2, all the way left, then send green through the mirror.
- Pull the top-left crystal up, right x2.
- Drag the mirror left three spaces, then all the way down; send green through.
- Move green upward, then send the top-left crystal through to form a route to the bottom-left platform.
- Pull the mirror down to the broken path between the bottom-left and bottom-middle platforms, then pull the crystal below the mirror and send it through.
- Pull the crystal down x2, pull the mirror right, send green through, move green left, then send the crystal through to complete the path.
- Pull the mirror left x3 to clear it.
- Pull the bottom-middle crystal all the way left, all the way down, left x6, down x2. Pull the mirror right x2, up x6, then send the crystal through to reach the top-middle platform.
- Pull the mirror to the top-middle platform, leaving it in the second column, third row, then use it to send green to the top-right platform.
- Pull the crystal down x4 and send it through, then send green back through.
- Pull the crystal right x2. Pull the mirror down to the bottom-middle platform, up to the bottom row of the top-middle platform, and right x2.
- Move green up and send the crystal through into the gap between the right two platforms.
- Send green through the mirror to the same position to open the teleporter.
This unlocks the middle puzzle on screen #2.
Middle puzzle
- Move down, right, and send orange through the mirror.
- Push the mirror right x2, up x3, then send the monster through.
- Push the mirror down x2, right, up x2, then send the monster through.
- Push the mirror up, then send the monster through to land it on the blue button.
- Push the mirror down x4, all the way left, then use it to send orange to the teleporter platform.
This clears a barrier near the middle puzzle, and it is the barrier that opens screen #1’s corridor.
Reaching bottom-right puzzles #2 and #3
- Use the bottom-left reset tile.
- Push the mirror right x2, up, right x2, all the way up, all the way right, then send yourself through.
- Move down, left, then send crystal #1 through.
- Send yourself through, push crystal #1 left x3 to clear it, then send yourself back into the alcove.
- Push the mirror up x2, down x4, then send crystal #2 through.
- Push the mirror down, up x2, send yourself through, and move left x6.
- Send crystal #2 through, push it right x2, then send it back through.
- Send yourself through to return to the alcove.
- Push the mirror up x2, down x4, then send crystal #2 through to drop it in the water and begin closing the gap.
- Push the mirror down, up x2, then send yourself through.
- Push crystal #1 right x4, then send it through onto the pink button.
- Send yourself through to return to the alcove.
- Push the mirror up x2, down x4, then send crystal #1 through to complete the path.
- Push the mirror down onto the pink button to open the puzzles.
Bottom-right puzzle #2
- Turn plant #1 into a crystal. Move below it to block mirror #2, send the crystal through mirror #1 onto the left button, then turn it back into a plant.
- Turn plant #2 into a crystal. Move above it to block mirror #3, send it through mirror #2, then turn it back.
- Turn plant #3 into a crystal. Move above it to block mirror #4, then send it through mirror #3.
- Turn plant #4 into a crystal. Move left of crystal #3 to block mirror #2, then send crystals #3 and #4 through so they converge and one is eliminated.
- Move left of the converged crystal to block mirror #3, send it through mirror #4, then turn it back into a plant.
- Turn plant #2 back into a crystal, stand to its left, and send it through mirror #2.
- Turn plant #4 back into a crystal, stand left of crystal #2, and send both through so they converge and another is eliminated.
- Move above the converged crystal and send it through mirror #3.
- Move to mirror #4’s column, all the way down, and use the mirrors. The green barriers activate mid-teleport, opening the teleporters.
Bottom-right puzzle #3
- Trigger the mirrors to toggle the orange barriers.
- Move gold left of mirror #1, then trigger the mirrors to toggle the green barriers.
- Move gold left of mirror #1 again.
- Move orange down, send him through the mirror, then move orange all the way right.
- Move gold out of the mirror path, then trigger the mirrors to toggle the green barriers.
- Move gold left of mirror #2, then trigger the mirrors to toggle the orange barriers.
- Trigger the mirrors again to create an extra crystal in the path.
- Move gold left of mirror #1, then trigger the mirrors to toggle the green barriers.
- Move orange all the way down into the deactivated orange barrier’s spot.
- Trigger the mirrors to toggle the green barriers, then move orange all the way down.
- Move gold out of the path, then trigger the mirrors to converge the crystals back into one.
- Move gold left of mirror #2, use orange to push mirror #3 all the way left, then trigger the mirrors to submerge a crystal below the green button.
- Move gold onto the submerged crystal and trigger the mirrors. There are now two golds.
- Move orange all the way right, up.
- Move both golds left of mirrors #1 and #2, trigger the mirrors to send orange toward the bottom-right teleporter, then move him onto it.
- Move the golds so only mirror #2 is blocked, then trigger the mirrors.
- Put one gold in mirror #2’s row, all the way left, and the other in mirror #3’s column.
- Trigger the mirrors to merge the golds, then move to the second teleporter.
Head right to move on to screen #3.
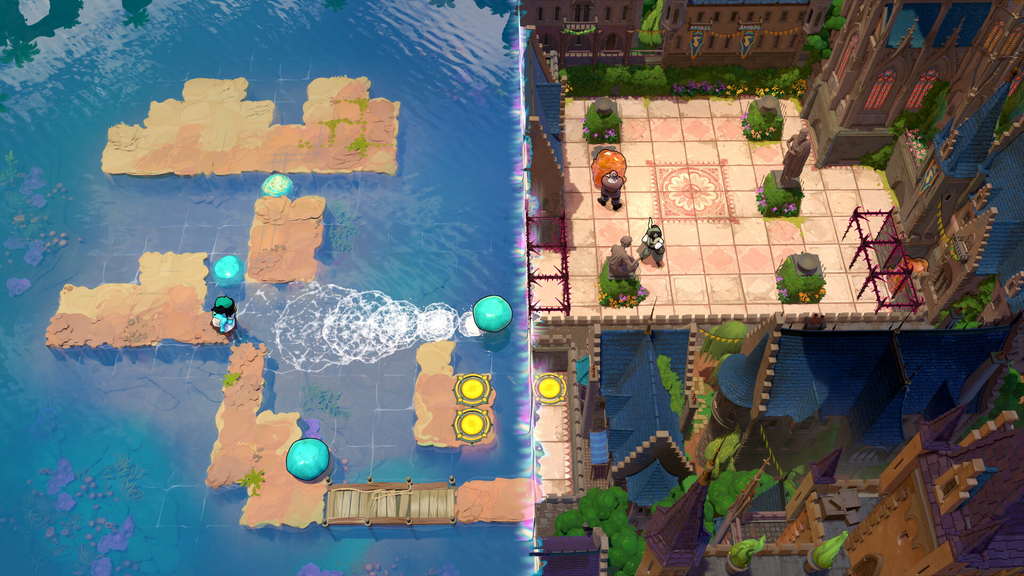
Screen #3
Top-left puzzle
- Move left x2 and send gold through the mirror.
- Move up x2, left x3 into the down-facing monster’s fire, down x2, then send gold through.
- Move down, all the way right, up, right, then send gold through.
- Move right x4, up x2, right, then send gold through into the bottom right-facing monster’s fire.
- Move right x7, up x2, left x7, then send gold through to the teleporter.
Reaching top-right puzzles #1 and #2
- Equip the red cloak.
- Push the mirror up, all the way right.
- Equip the gold cloak.
- Use the left-facing monster’s fire to get below the mirror, then trigger it to reach the puzzles.
Top-right puzzle #1
- Trigger the mirrors.
- Move all the way left, all the way up, right, up, then trigger the mirrors.
- Move right, up, then trigger the mirrors.
- Move left, up, then trigger the mirrors.
- Move all the way right, then trigger the mirrors.
- Move all the way up, all the way right, then trigger the mirrors.
- Move up, all the way right, down, then trigger the mirrors.
- Move left, down x3, then trigger the mirrors.
- Move right x4, down, then trigger the mirrors.
- Move all the way right, down, then trigger the mirrors.
- Move right x4, then trigger the mirrors.
- Move all the way down, all the way right, then trigger the mirrors.
- Move above the up-facing monster, up x2, then trigger the mirrors.
- Move all the way left, down, left x2, then trigger the mirrors.
- Move down to the teleporter.
Top-right puzzle #2
- Use green to pull mirror #2 down x2, left x2, then move her up out of the way.
- Move gold above the monster, then send him through the mirror.
- Move gold up, left x2.
- Move green into the lower mirror’s row and all the way left.
- Trigger the mirrors to send green and gold through.
- Use green to pull left x2, then trigger the mirrors to send the monster through and clear the teleporters.
Clearing this removes a barrier, opening the bottom puzzle.
Reaching and solving the bottom puzzle
Use the mirror to teleport into the left-facing monster’s fire, return to the left platform, and use the reset tile. Equip the red cloak, push the mirror up x2, right x3, then equip the gold cloak. Follow the monster’s fire to get under the mirror, trigger it to reach the right landmass, move right x4, trigger the mirror again, and go right to the puzzle.
- Use orange to push the mirror up, left x3.
- Move gold right x5, then send the monster through the mirror.
- Use orange to push the mirror right x4.
- Move gold down x4, then send the monster through.
- Move gold left x5, down to press the blue button and destroy the top crystals.
- Move gold up, right x5, then send the monster through.
- Use orange to push the mirror left x4.
- Move gold up x4, then send the monster through.
- Use orange to push the mirror left.
- Move gold right x2, then send gold through the mirror into the top alcove.
- Use orange to push the monster up, push the mirror right, and send the monster through.
- Use orange to push the mirror right x2, then send the monster through.
- Use orange to push the monster up.
- Move gold right, then send him through the mirror.
- Move gold left x2.
- Use orange to push the mirror right, then send the monster through.
- Move gold down x2.
- Use orange to push the mirror right x2, then send the monster through.
- Move gold left x2.
- Use orange to push the monster left x2, push the mirror left x2, and send the monster through. Gold can now walk down and left to the teleporter.
This removes a barrier at the bottom of screen #3, opening the remaining top-right puzzles.
Reaching and solving top-right puzzle #3
Use the mirror to teleport to the top-right landmass, move all the way left, use the mirror to enter the monster’s fire, then move left to the top-left landmass and equip the red cloak. Push the mirror left x3, down, right x3, then send the monster through to clear the puzzle. Move the mirror back to its earlier position, equip the gold cloak, use the fire to get below the mirror, and teleport back to the top-right landmass.
- Use green to pull the monster all the way left, then move gold all the way left.
- Use green to pull the monster up x2, all the way left, down x3, then move gold down into the monster’s fire.
- Use green to pull the mirror right x2, all the way down. She is now in the fire.
- Move green left (pulling gold), up, then pull the mirror right x4.
- Move gold right x6, move green down into the fire, left x3 (pulling gold), up so she can reach the monster and top teleporter.
- Move gold under the mirror, then pull the monster up into the mirror’s row.
- Gold follows the fire down to the bottom teleporter.
This removes the barrier to the final top-right puzzle.
Top-right puzzle #4
This is the longest puzzle in the area, moving gold and red across a chain of platforms using flames and mirrors.
- Use red to push the monster down.
- Move gold to the monster’s left side, then move her left.
- Move red onto the dock, up into the monster’s flame, then push left x5.
- Use red to push the rock up and the mirror up, then move red down.
- Move gold right, then onto the dock above the mirror.
- Move gold above the mirror, then use red to push the gold-mirror column down.
- Move red right and gold up x2, then move red below gold and push up x5.
- Move to the mirror’s left side and push it right.
- Move gold down, then move red to the mirror’s right side with one space between.
- Move gold to the mirror’s right side, then use red to push the gold-mirror row left.
- Move red down and gold right, then move red into the space between mirror and gold and push right x6.
- Move red to the top mirror’s right, push the mirror-gold row left, then push the other mirror left, down x2, left x2.
- Move gold up out of the flame to the bottom mirror’s left side, then left x2, down x2, left x2, down x4. Gold now blocks the monster’s flame.
- Move red to the dock.
- Backtrack along the flame path with gold, stopping down and left of red. Move red into the space between gold and the mirror, push left x2, then move down onto the L-platform.
- Move gold backward over the top-right, top-left, and left-middle platforms, then below the mirror up and left of the L-platform with two spaces between.
- Move red above gold and push down x8 to reach the bottom-left platform.
- Use red to push the bottom-left mirror right, then move gold up to clear a path to the top-right corner of that platform.
- Move gold to the bottom-left mirror’s right with one space between. Move red into that space and push gold right x17, then move red down to the square right of the bottom-right mirror.
- Move gold left to the left side of the bottom-right platform.
- Use red to push the mirror left, up, then move red onto the dock.
- Move gold back to the left-middle platform, stopping in the row above the monster, then right into a flame and follow it until gold is up and right of red.
- Move red into the space between gold and the bottom-right mirror, push all the way up to the teleporter platform, then move red left.
- Move gold to the teleporter platform mirror’s right with one space between. Move red into that space and push left to reach the middle platform.
- Move red to the middle platform’s bottom-right corner and gold to the monster’s left with one space between. Move red into that space and push to the middle-left platform.
- Line gold up with the downward flame to the bottom-left platform and push to it with red. Push gold down into the mirror to move it down a row.
- Move red right, put gold to the mirror’s right with one space between, then push right, stopping at the bottom-middle platform to push the rock onto the button.
- Continue pushing to the bottom-right platform. Move red up, then move gold left a few spaces to block the flame from reaching that platform.
- Use red to push the mirror onto the button (left x3, down, right), then move him up to the mirror’s right.
- Move gold above the mirror with one space between. Move red into that space and push up x5 to open the teleporter platform for both. Send red across first, then gold.
- Use red to push the mirror down, left x2. As it falls into the water, the flame returns to the monster and destroys it, freeing both characters to reach the teleporters.
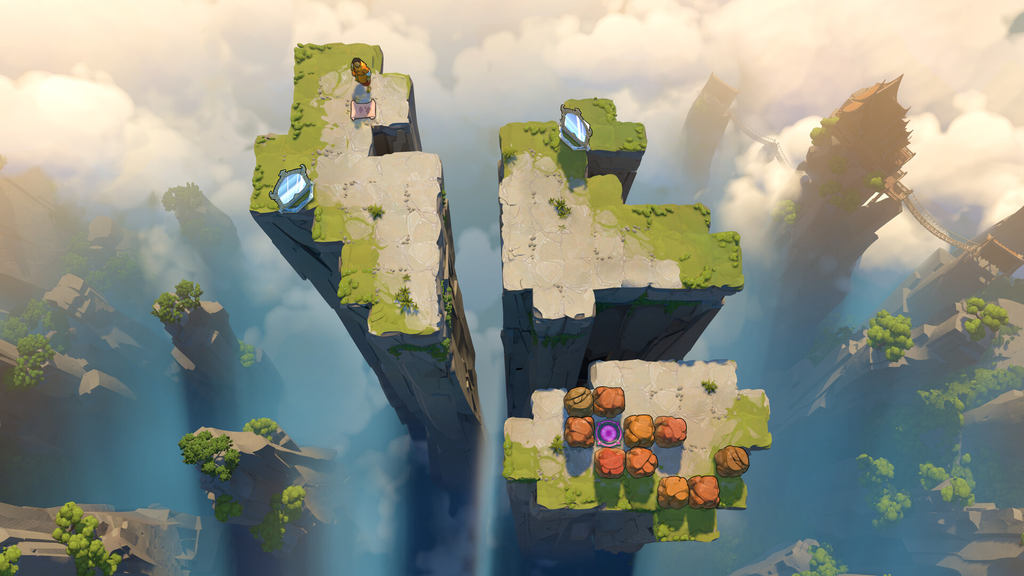
Screen #4
Bottom-right puzzle #1
- Move red down x3, left, then trigger the mirrors.
- Move orange up, then trigger the mirrors x3.
- Use orange to push the mirror left x2 to reach the teleporter, then do the same with red.
Bottom-right puzzle #2
- Move red up, right, send him through the mirror, then move him up out of the way.
- Move druid up, left, send him through, then trigger the mirrors two more times to land druid on red’s platform.
- Use druid to transform the plant at the top of the platform, then move him to the right side out of the way.
- Use red to push the top crystal right, then push the bottom rock down x3, left, submerging it in the top mirror’s row.
- Move red onto the submerged rock, trigger the mirrors x3 to teleport him to the bottom-right, then move him down out of the way.
- Move druid onto the submerged rock, trigger the mirrors x2 to teleport him, then transform the top plant.
- Move druid left, all the way down, trigger the mirrors to send him to red’s area, then transform the bottom plant.
- Use red to push the crystal column up x2, opening the teleporters for both.
This unlocks a mirror on screen #4. Trigger it to teleport the monster, then use it to reach the middle puzzle.
Middle puzzle
- Pull the mirror up x4, move left, and send a monster through.
- Pull the mirror down x3, right x2, move down, and send a monster through.
- Pull the mirror down and send a monster through.
- Pull the mirror up x5, left x2, and send a monster through.
- Pull the mirror down x5, right, move down, and send a monster through.
- Pull the mirror up, move left, and send a monster through.
- Pull the mirror left and send a monster through, making four monsters destroy each other.
- Pull the mirror right x5, move down, and send a monster through.
- Pull the mirror left, down, and send a monster through.
- Pull the mirror left x3 and send a monster through, making four monsters destroy each other and clearing the teleporter.
This clears a barrier near the middle. Send yourself through that mirror, move up and left into the cleared square, send the monster through, then send yourself back through to reach the next puzzle.
Bottom-left puzzle
- Push the mirror right x3, up x3, right, then send the monster through to destroy two monsters in the bottom-right corner.
- Push the mirror up x2, left x3, then send the monster through to destroy two monsters in the top-left corner and clear the barrier.
- Go to the next room.
- Push the right mirror right x2, up x3, then send the monster through.
- Move the left mirror right, up x3, then send the monster through.
- Push the right mirror right, then send the monster through to create a duplicate so all monsters destroy each other.
- Go to the next room.
- Push the right mirror up x4, left x2, move down, and send the monster through.
- Push the right mirror right.
- Push the left mirror down, right, then trigger the mirrors to converge the two monsters into one.
- Push the left mirror down, then push the right mirror left x4, down x2, and send the monster through.
- Push the left mirror all the way down, then send the monster through so it falls into the water and clears the teleporter.
This clears a barrier in the bottom-left corner, opening screen #5.
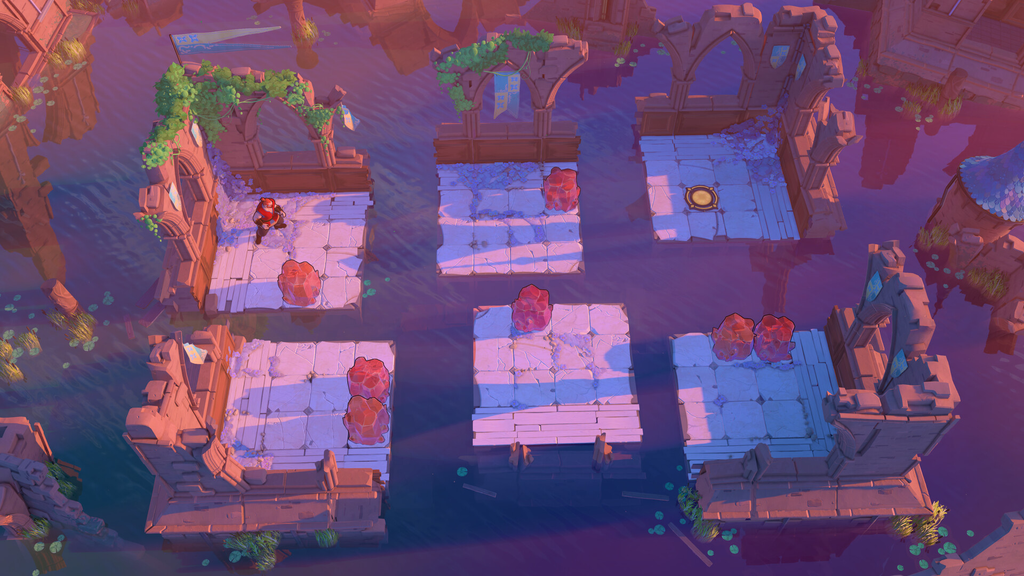
Screen #5
Top-left puzzle #1
- Push the mirror up.
- Push the fire monster right x2 to send its flame through the mirror and destroy the melee monster in the corridor.
- Push the fire monster left.
- Push the second mirror up, right.
- Push the fire monster right to send its flame through the mirror chain and destroy the second monster.
- Push the fire monster left, then move to the teleporter.
Top-left puzzle #2
- Push the monster up, right x2, up, left to destroy the top monster, then send the monster through the mirror.
- Push the mirror-monster column down to destroy the left monster.
- Push the mirror-monster column down x2, then push the mirror down, left to its left side.
- Push the mirror-monster row right x2 to destroy the bottom monster.
- Move up, right x3, down x2, left to get under the monster, then push up x2.
- Push the mirror above the monster, then send it through.
- Push the mirror above the monster, then push the mirror-monster column down x2 to destroy the right monster.
- Move under the monster, push the monster-mirror column up, then push the monster left.
- Push the mirror down x2, left x3, up x3, then push the monster up x2 and send it through.
- Push the monster down x3, then send it through.
- Move the mirror right x3, down, stand one space below it, then send yourself through to get under the monster.
- Push the monster all the way up.
- Return to the mirror’s row and send yourself back through.
- Push the mirror all the way left, move right x4, then send yourself through.
- Follow the path to the monster’s left side, then push it all the way right so the monsters destroy each other and open the teleporter.
This unlocks two mirrors on screen #5.
Reaching the middle puzzle
- Move to the top-right corner of the top-left quadrant and trigger the mirrors.
- Move all the way down, right, down, then trigger the mirrors.
- Move right, down, all the way right, then trigger the mirrors.
- Move all the way down, then trigger the mirrors.
- Move all the way left, then trigger the mirrors.
- Move up to the puzzle.
Middle puzzle
- Move green right x2, down x2, then send her through the mirror.
- Move green up, then pull the mirror down x2.
- Send green through, then pull left x3.
- Move gold right.
- Use green to pull gold down, then send her through.
- Move gold down x3, then send her through.
- Use orange to push gold down, then send orange through and move him to a teleporter.
- Move gold up and send her through.
- Move the remaining characters to the teleporters.
This removes a barrier in the bottom-right corner, opening the path toward screen #6. Use the mirror in the top-left corner of the screen to reach the middle puzzle’s platform.
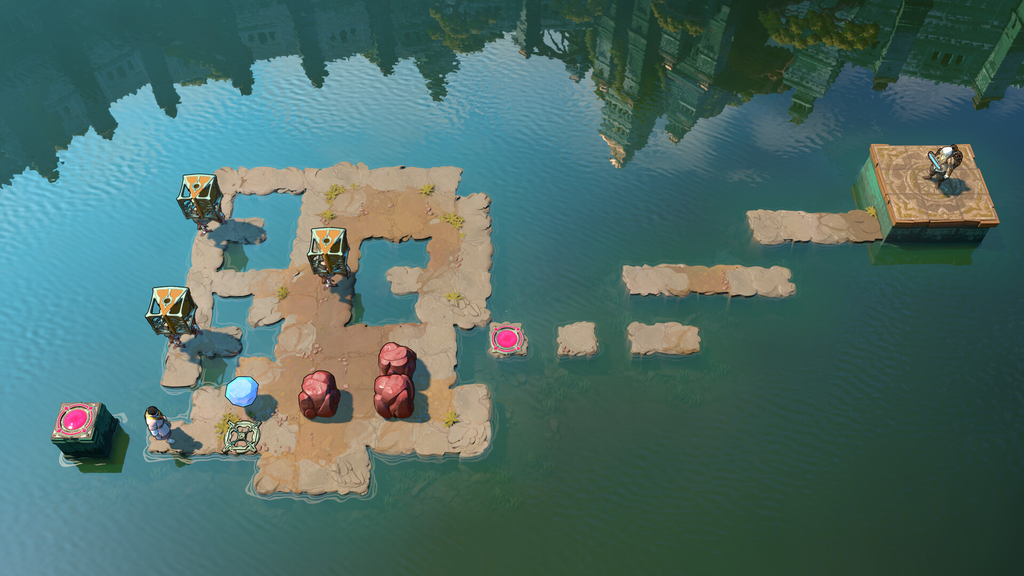
Screen #6
Middle puzzle
- Move into the mirror’s column, move up, and trigger the mirror.
- Move to the monster’s right side, push left x4, and trigger the mirror.
- Push the monster down x4, then push the mirror right x4, down x4.
- Trigger the mirror to destroy both monsters.
- Go to the next room.
- Move to the square down and right of the monster, then trigger the mirrors.
- Move to the top of the monster, push it down x2, right x2, up, then stand above it and trigger the mirrors.
- Push the monster down, left x6, up x2 to destroy both monsters.
- Go to the next room.
- Push the top-right mirror below the bottom monster.
- Push the top mirror right, then push the middle mirror left.
- Push the middle mirror up x3 so the top mirror sits in the top monster’s row.
- Push the bottom monster-mirror column up x4 to destroy that monster, then push that mirror left, up to make the ranged monster destroy itself.
This unlocks a mirror on screen #5. Move to its left to reach the path to screen #7.
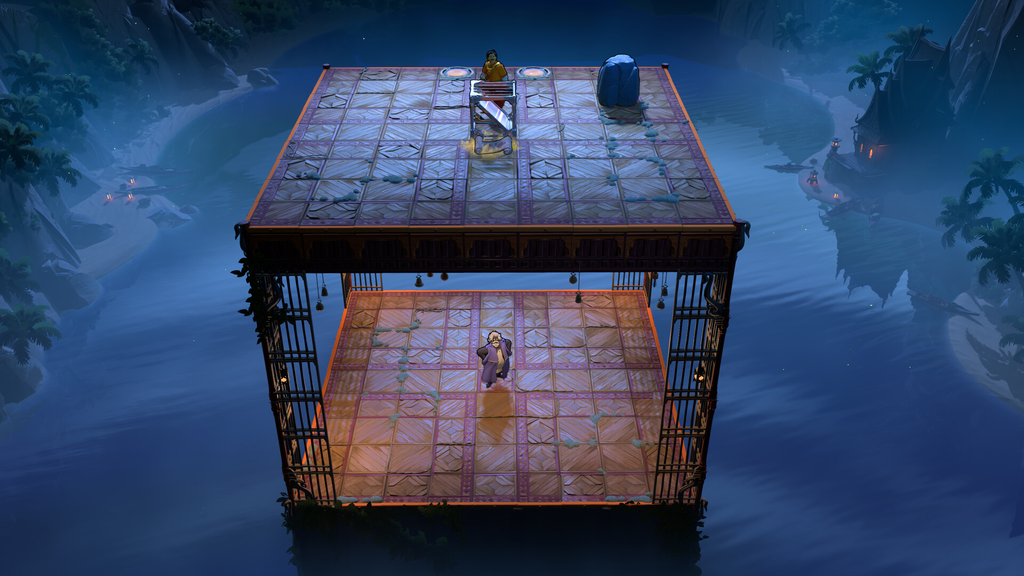
Screen #7
Right puzzle
- Move purple all the way down, all the way right, then send him through the mirror.
- Move all the way right, then press up to swap with the rock.
- Trigger the mirror to send purple back through.
- Move purple left x3, down, trigger the mirror to send him to the top-left platform, then press down to swap with the rock.
- Move purple up, left x5, down, then trigger the mirror to send him back to the top-left platform.
- Move purple left x2, up x2, then press right to swap with the rock.
- Trigger the mirror to send purple to the middle platform, move him left, then trigger again to return.
- Move purple left, up, left onto the blue button, then press up to swap the rock onto the button.
- Go all the way right and use the mirrors to reach the teleporter.
This unlocks a mirror on screen #7. Press up to teleport through it to the top-middle puzzle.
Top-middle puzzle
- Move up, left, then press up to swap with the rock.
- Move all the way up, left x7, then press down to swap with the plain mirror.
- Move right, then press down to swap with the ornate mirror.
- Move left, up, then press right to swap with the ornate mirror.
- Move all the way up, all the way right, down x2, then press left to swap with the rock.
- Trigger the mirror to reach the teleporter.
This unlocks a mirror. Move up and press left to teleport to the left puzzle.
Left puzzle
- Move purple left x2, down x2, left, down, then press left to swap with the mirror.
- Move up, right x2, up x2, left, then press down to swap with the mirror.
- Move up, right, up x2, right, then press left to swap with the mirror.
- Move right, up, right, then press down to swap with the mirror.
- Move right x2, up, then press left to swap with the mirror.
- Move down, all the way right, up x2, left, all the way up, then press down to swap with the mirror.
- Move all the way up, right, up, right x2, then press left to swap with the mirror.
- Move right, all the way up, right x3, down x2, left, then press down to swap with the mirror.
- Move left x2, all the way up, right x2, then press down to swap with the mirror.
- Move onto the blue button and press left to swap to the mirror, opening the teleporter.
This unlocks a mirror. Move right and press down to teleport to the bottom puzzle.
Bottom puzzle
- Move one space left of the top mirror, then press right to swap positions.
- Move all the way right, then press left to move the middle mirror to the right column.
- Move one space left of the top mirror, then press right to swap positions.
- Move to the right mirror’s left without any swaps (up, right x4, down), then press left to put the bottom mirror next to the right mirror.
- Move to the blue button, then press up to swap a mirror onto it, opening the teleporter.
This unlocks the final mirror. Press right to teleport to the top puzzle.
Top puzzle
The last puzzle is a single routing sequence to the teleporter. Follow this exact order: right, all the way up, right, up x2, right, all the way up, all the way right, all the way down, all the way right, all the way down, left (swap), right, up, right, up x2, all the way left, down, all the way left, down x2, right. Reaching the teleporter here clears the final puzzle in Heroes and Mirrors.