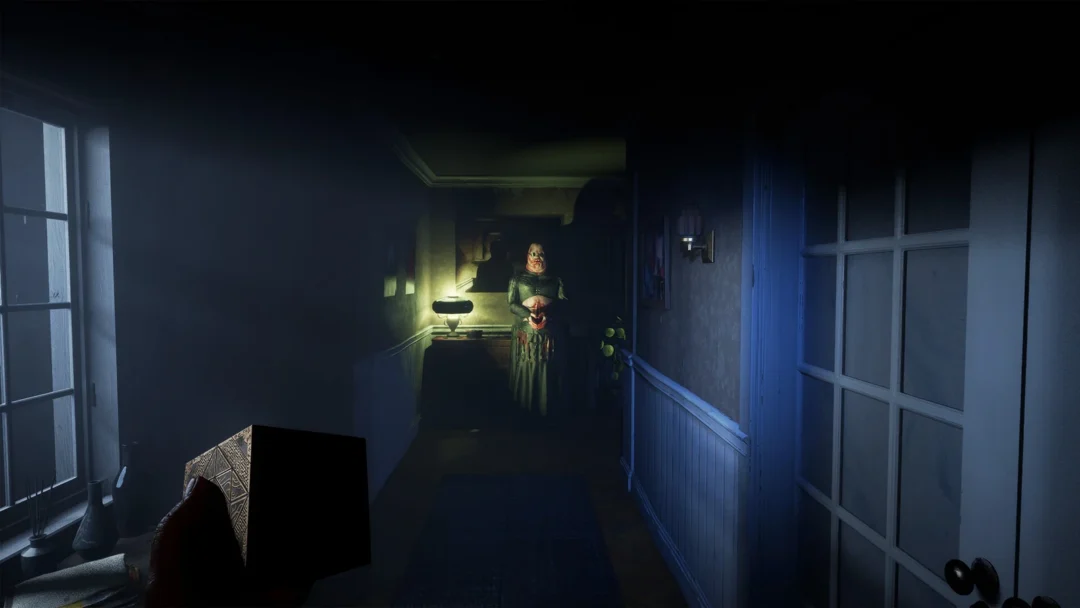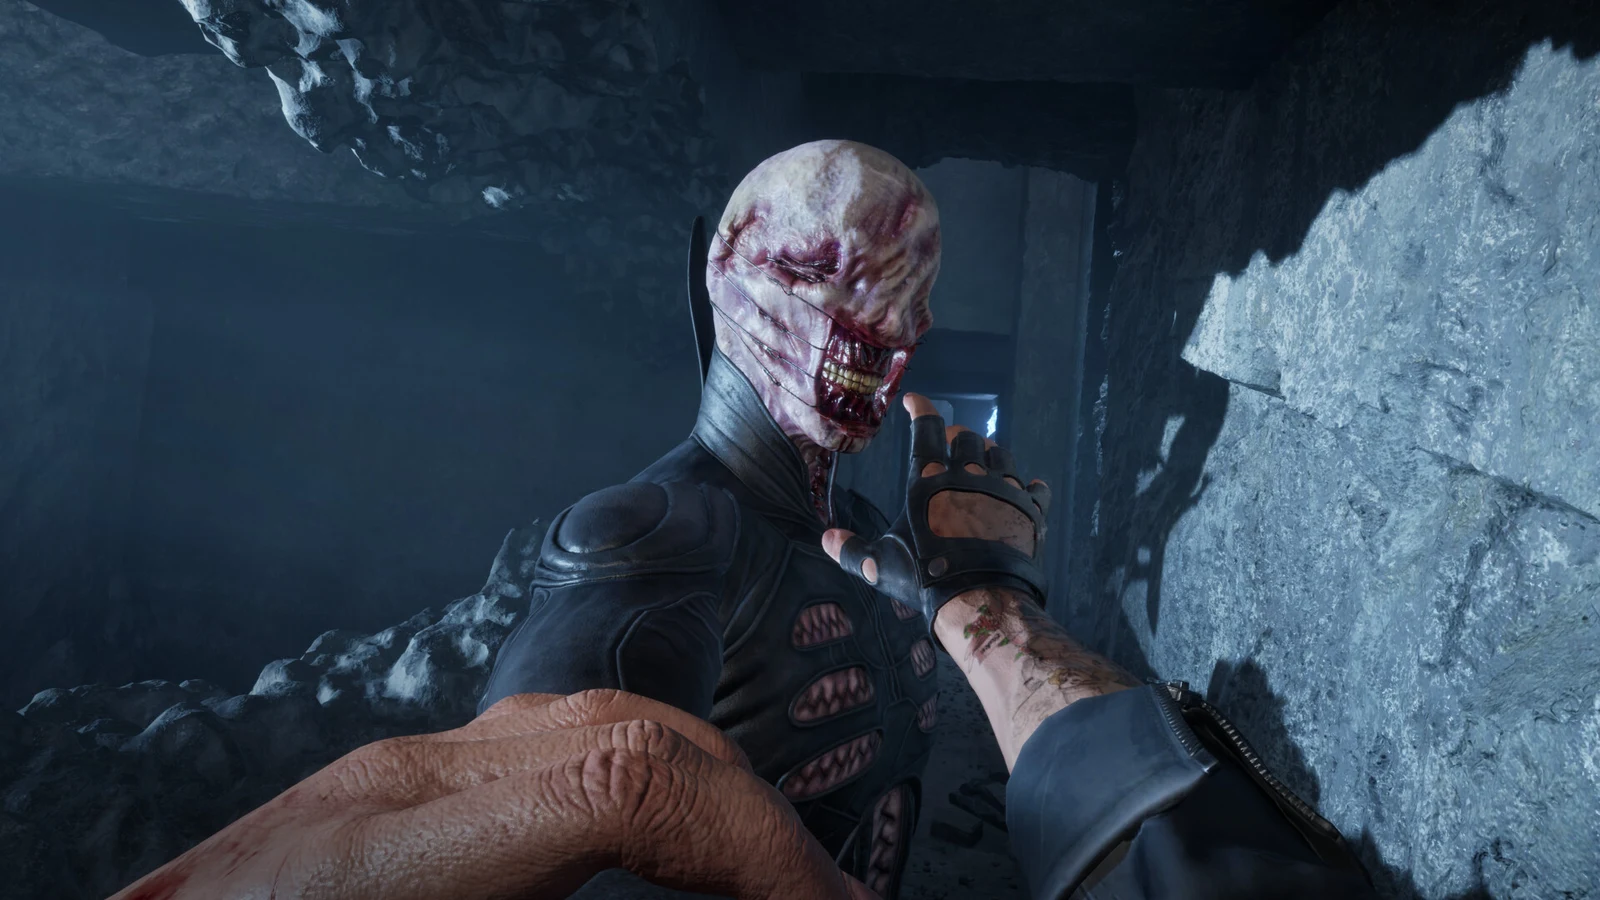
The “Outrun the Chatterer” objective puts Aidan Lynch in a scripted Labyrinth pursuit, unarmed and unable to fight back. The eyeless Cenobite’s exposed teeth clack without pause, and there is no way to damage him, block him, or hide from him. Keep running to the exit to survive; with clean movement, the sequence lasts about a minute and fifty seconds.
Quick answer: Quick Turn (Ctrl) the instant you get control, sprint through the open stone archways, mash F when a hand grabs you, ignore the fleshy dead ends, and run through the bright white doorway to end the chase.
Where the Chatterer chase starts
This happens inside the Scarlet Church during the “Escape the cult” objective, right after the wood-panelled gallery hung with paintings. Go through the open wooden door beside the painting labelled “The Prophet’s Pilgrimage to Gnosis” and head down the concrete stairs into a tiled basement corridor. A save point, the organic wall orifice the game calls a Labyrinth orifice, sits in the left wall here.
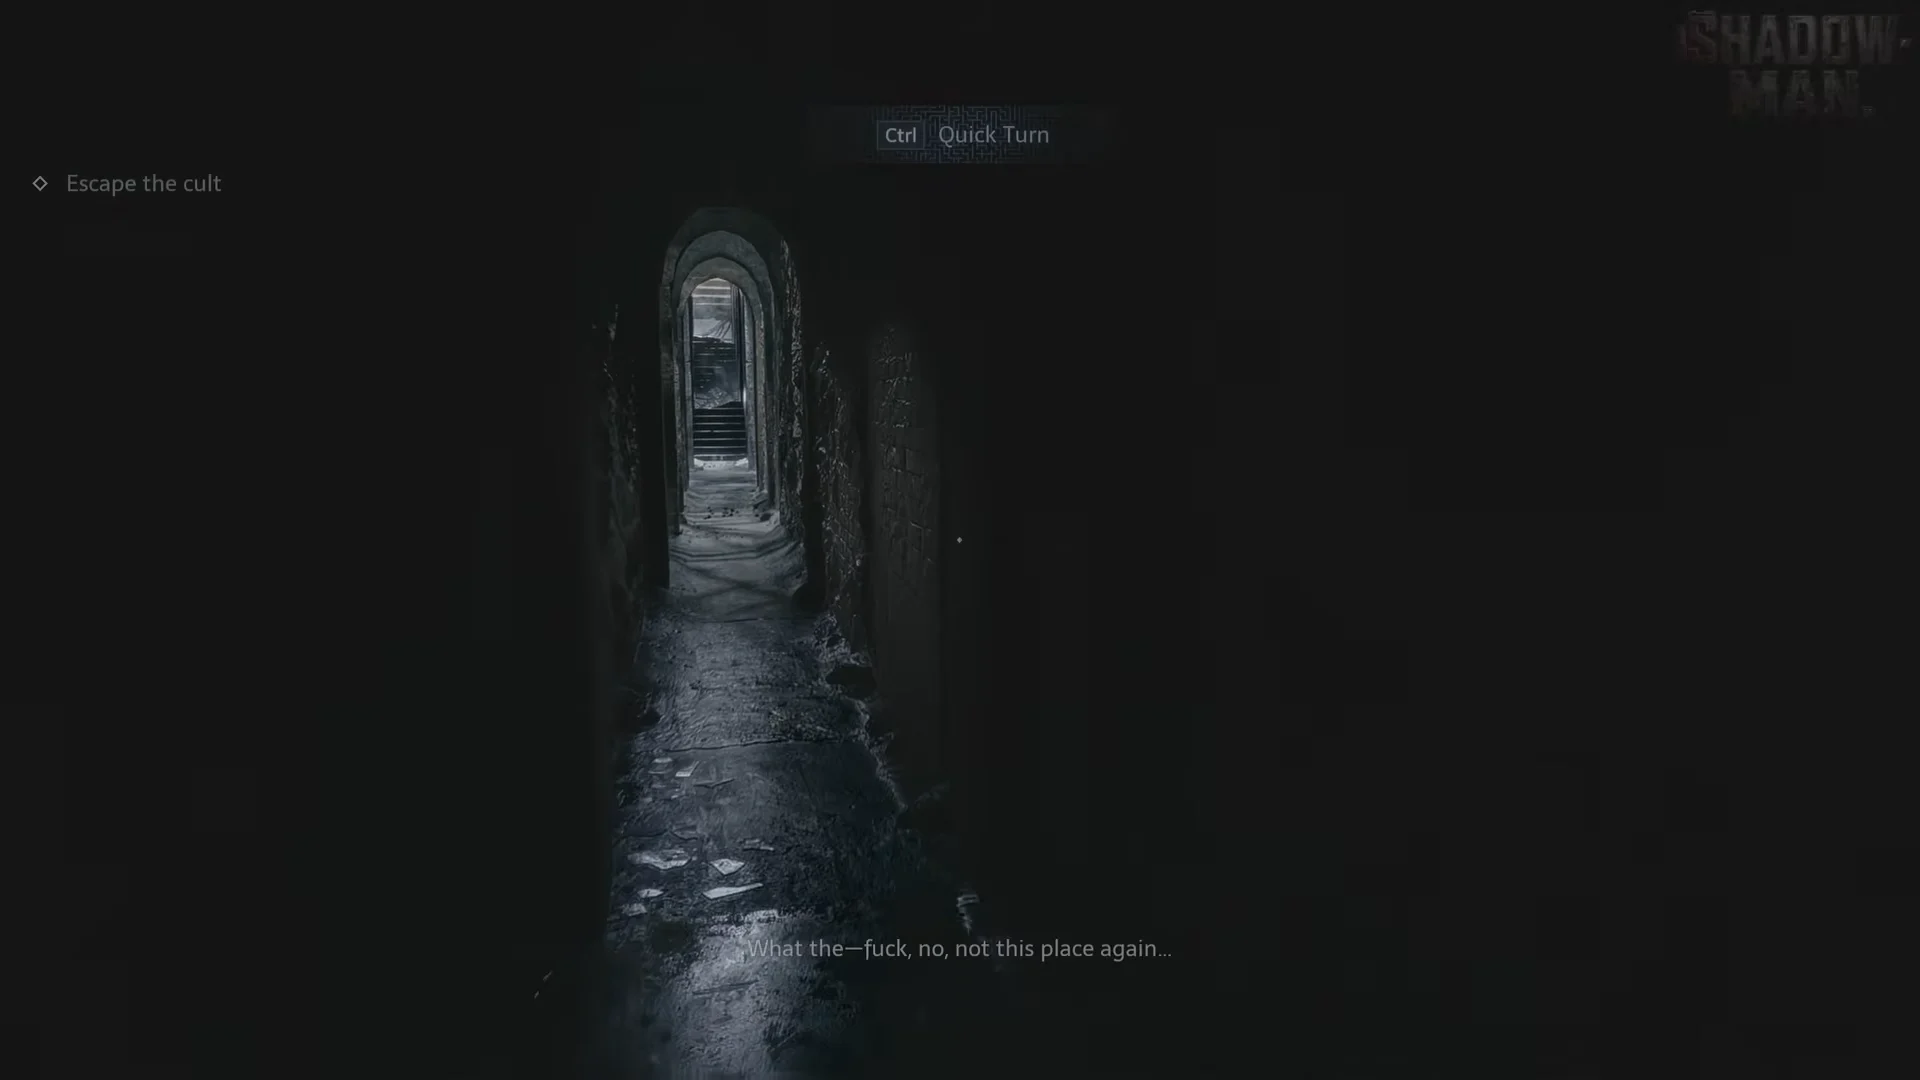
Open the barred gate at the end of the corridor with F. The walls shift into Labyrinth stone around you and the Quick Turn prompt appears. A short cutscene plays, blue lightning arcs down, and the Chatterer steps into the corridor ahead of you. The objective changes to “Outrun the Chatterer” and you take control facing him.
Controls you need for the run
- Ctrl performs a Quick Turn, an instant 180-degree spin. The chase opens with the Chatterer in front of you and repeats that setup, so this is the key input.
- L Shift + W sprints. Hold it for the entire chase.
- F, tapped repeatedly, breaks free when something grabs Aidan.
This section requires no sliding or jumping. Sprinting and turning are the main tasks, followed by one stretch of rapid button presses.
How to complete the chase
Reading the route: lightning and dead ends
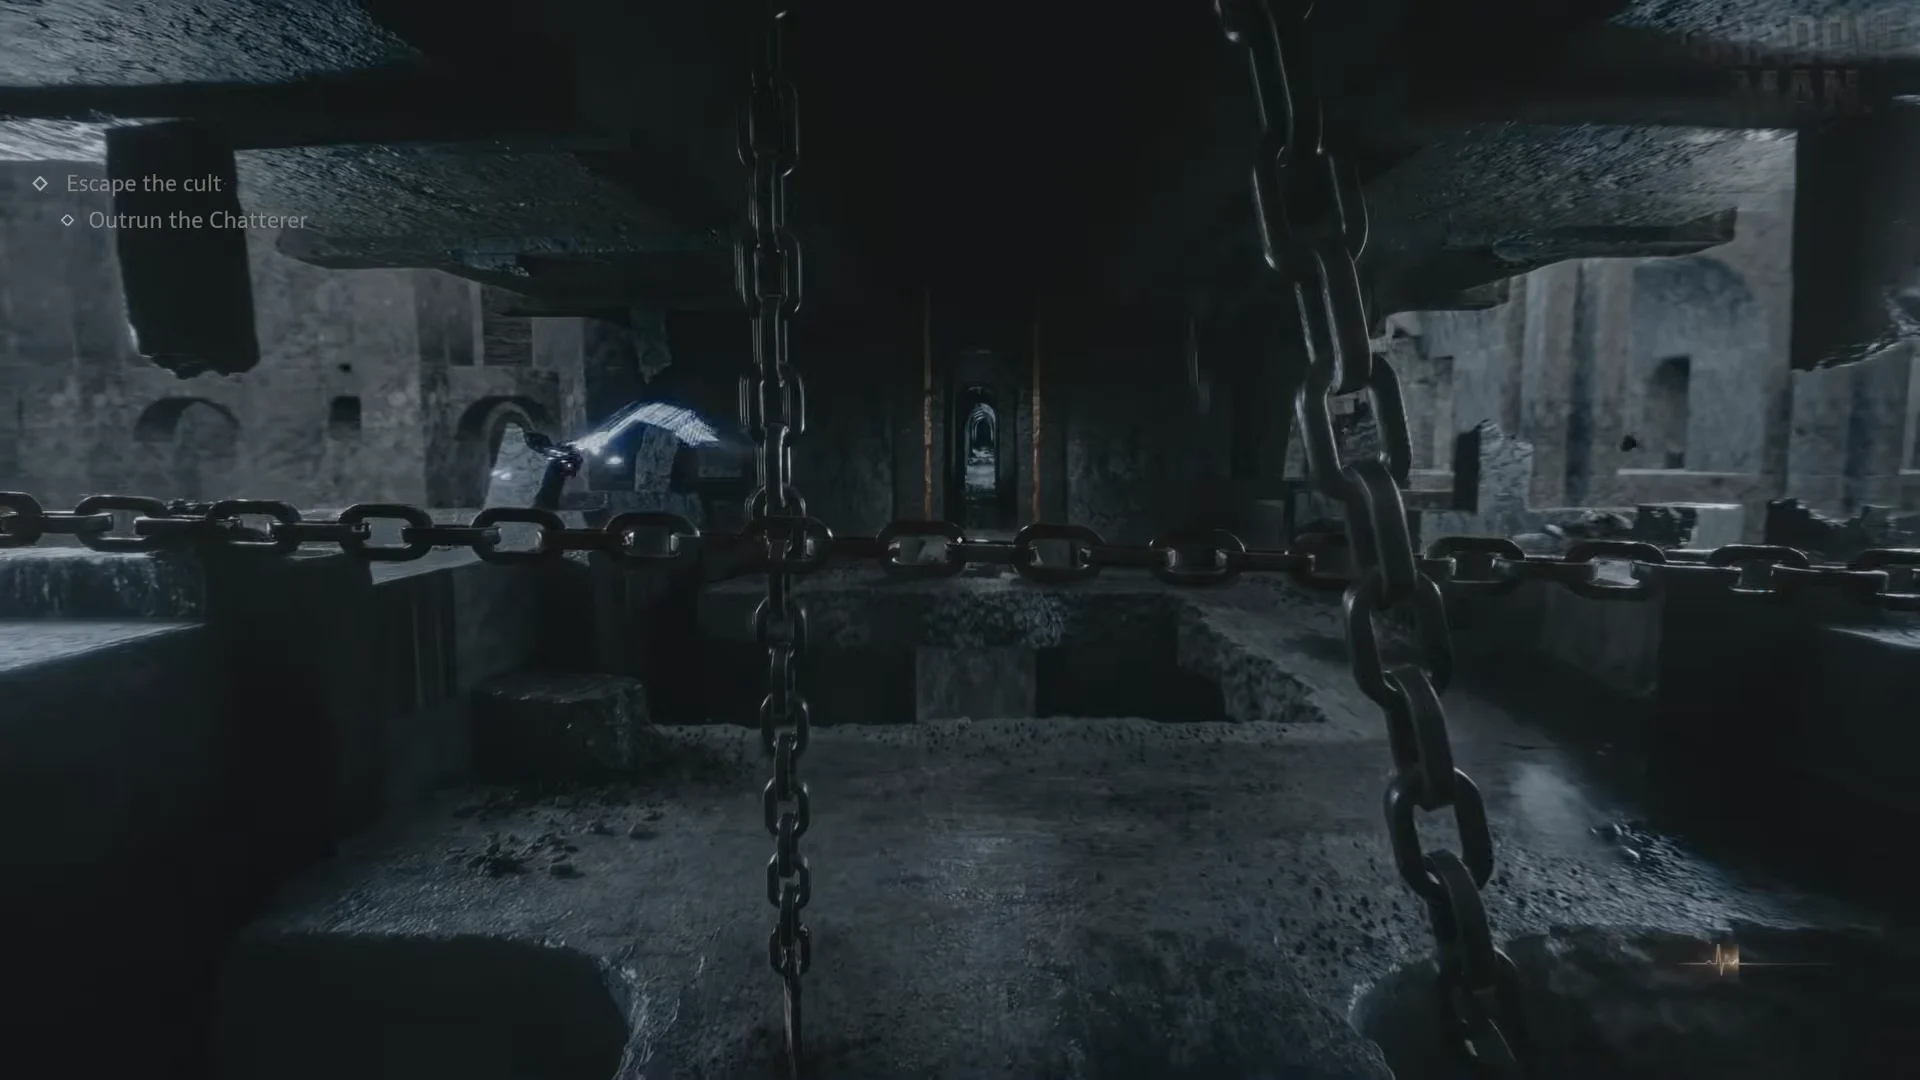
The layout of the corridors changes during the run, but the signals remain reliable. Blue lightning shows where the Chatterer is about to appear. If the arcs strike the route ahead, veer away before his arrival is complete rather than charging toward him.
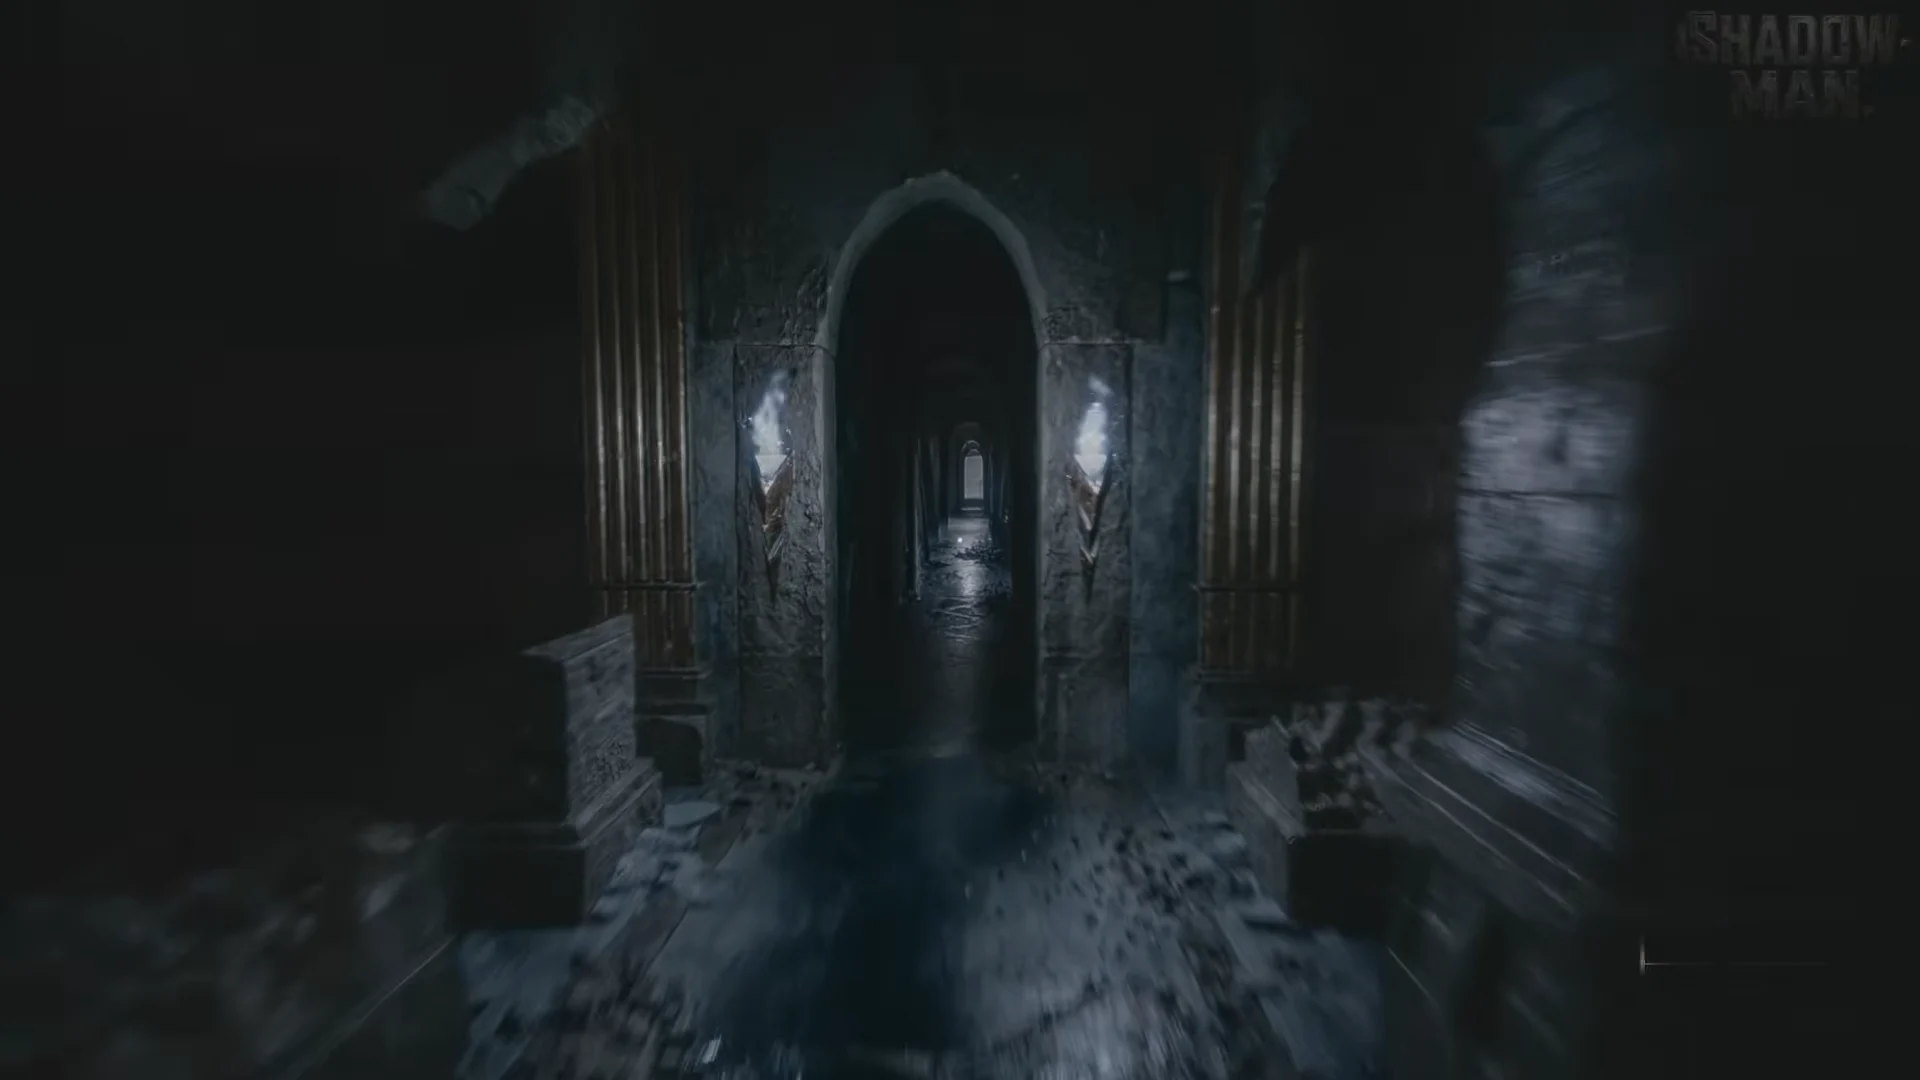
Use the open stone archways to navigate. Avoid chained doorways and barriers of pale, throbbing fleshy growth, including patches illuminated in red; these are dead ends. In the pillared corridor, two side openings terminate at such a flesh wall after only a few steps. If you enter either one, immediately turn around and continue onward.
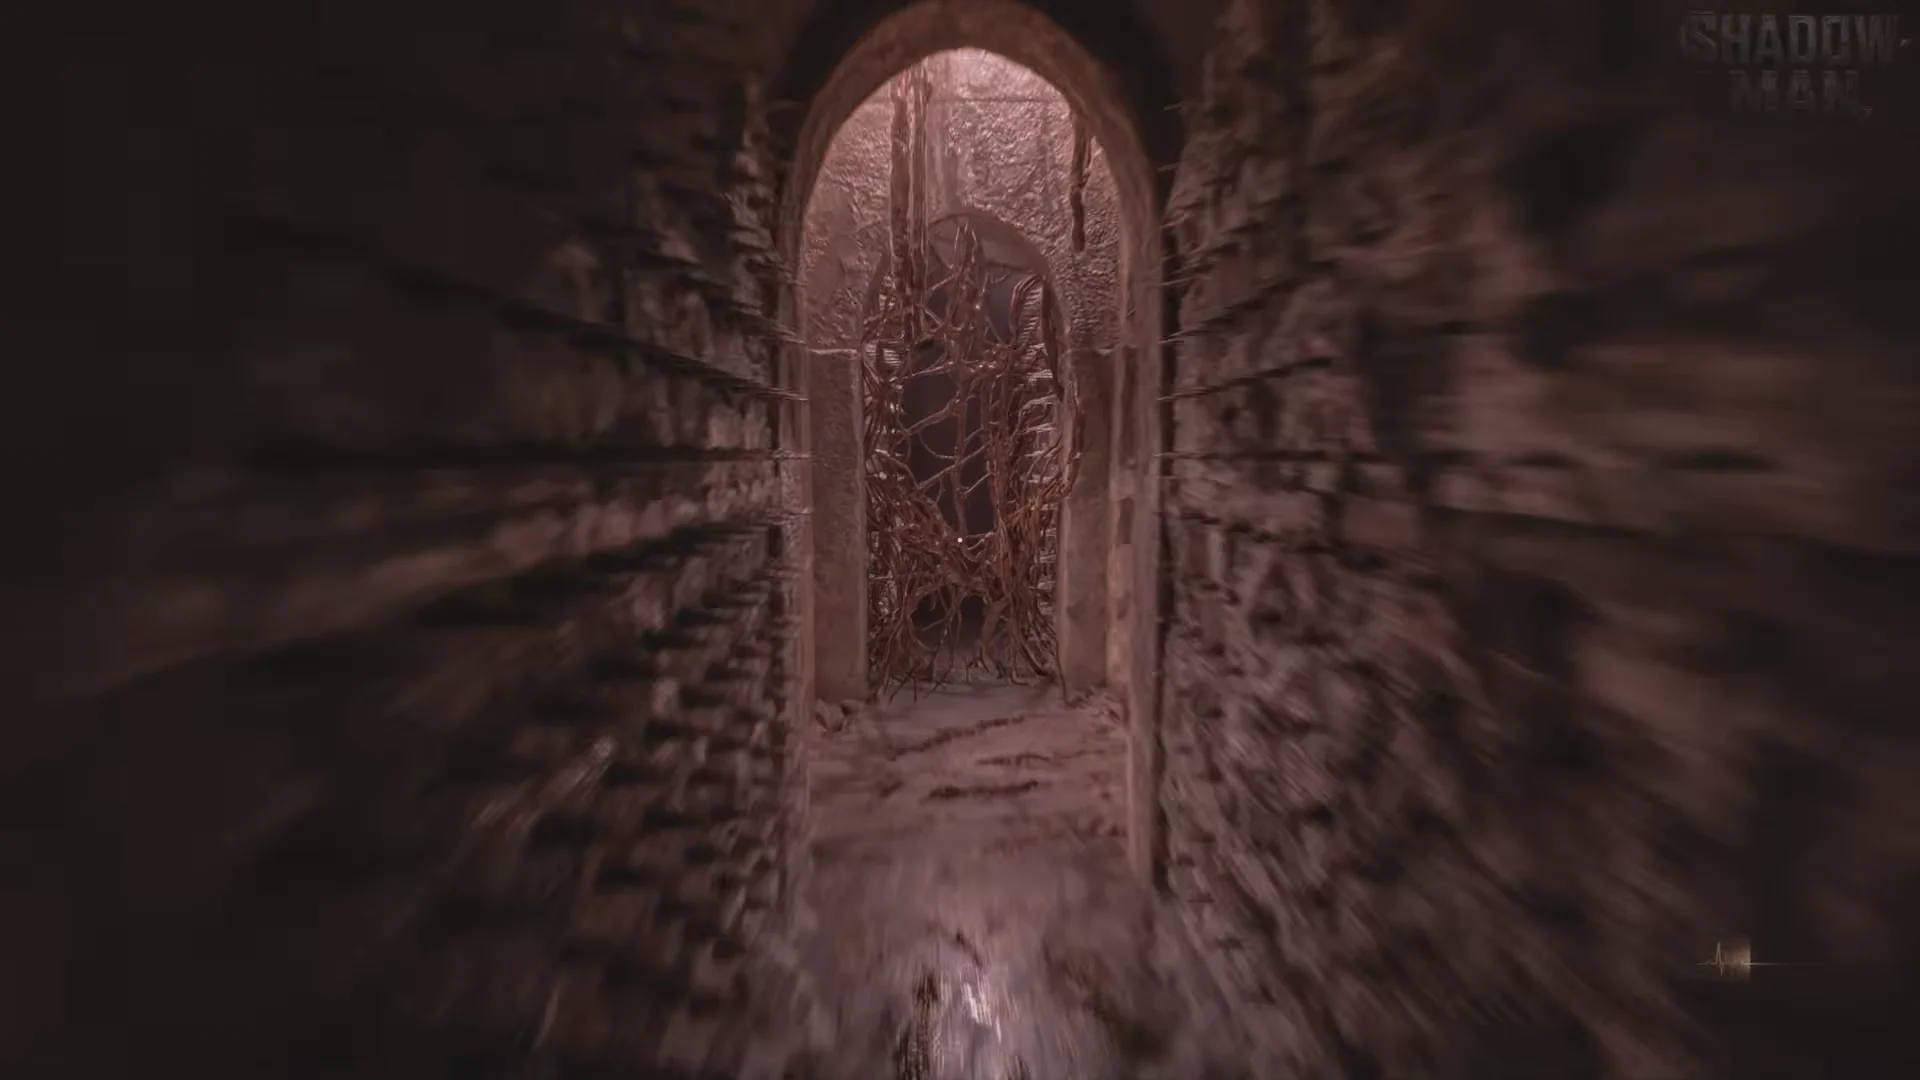
The route doubles back on itself twice, which is why Quick Turn matters so much. It is faster than swinging the camera with the mouse, and each time the Chatterer blocks the path ahead, a Quick Turn and a sprint down the other opening is the answer. Running straight at him only ends badly, with one exception: the final lit doorway sits behind him with room to pass, so there you push through rather than turn.
Letting the grab in Step 4 finish is one of the quickest ways to lose the run, since the tap window is brief. Keep mashing F until Aidan is free.
After the chase and the save point
The white doorway puts you back in the tiled basement corridor of the compound, beside a metal gate and a wall save point. Aidan says, “God, I don’t know what’s real anymore,” which confirms the chase is over and the Chatterer is gone.
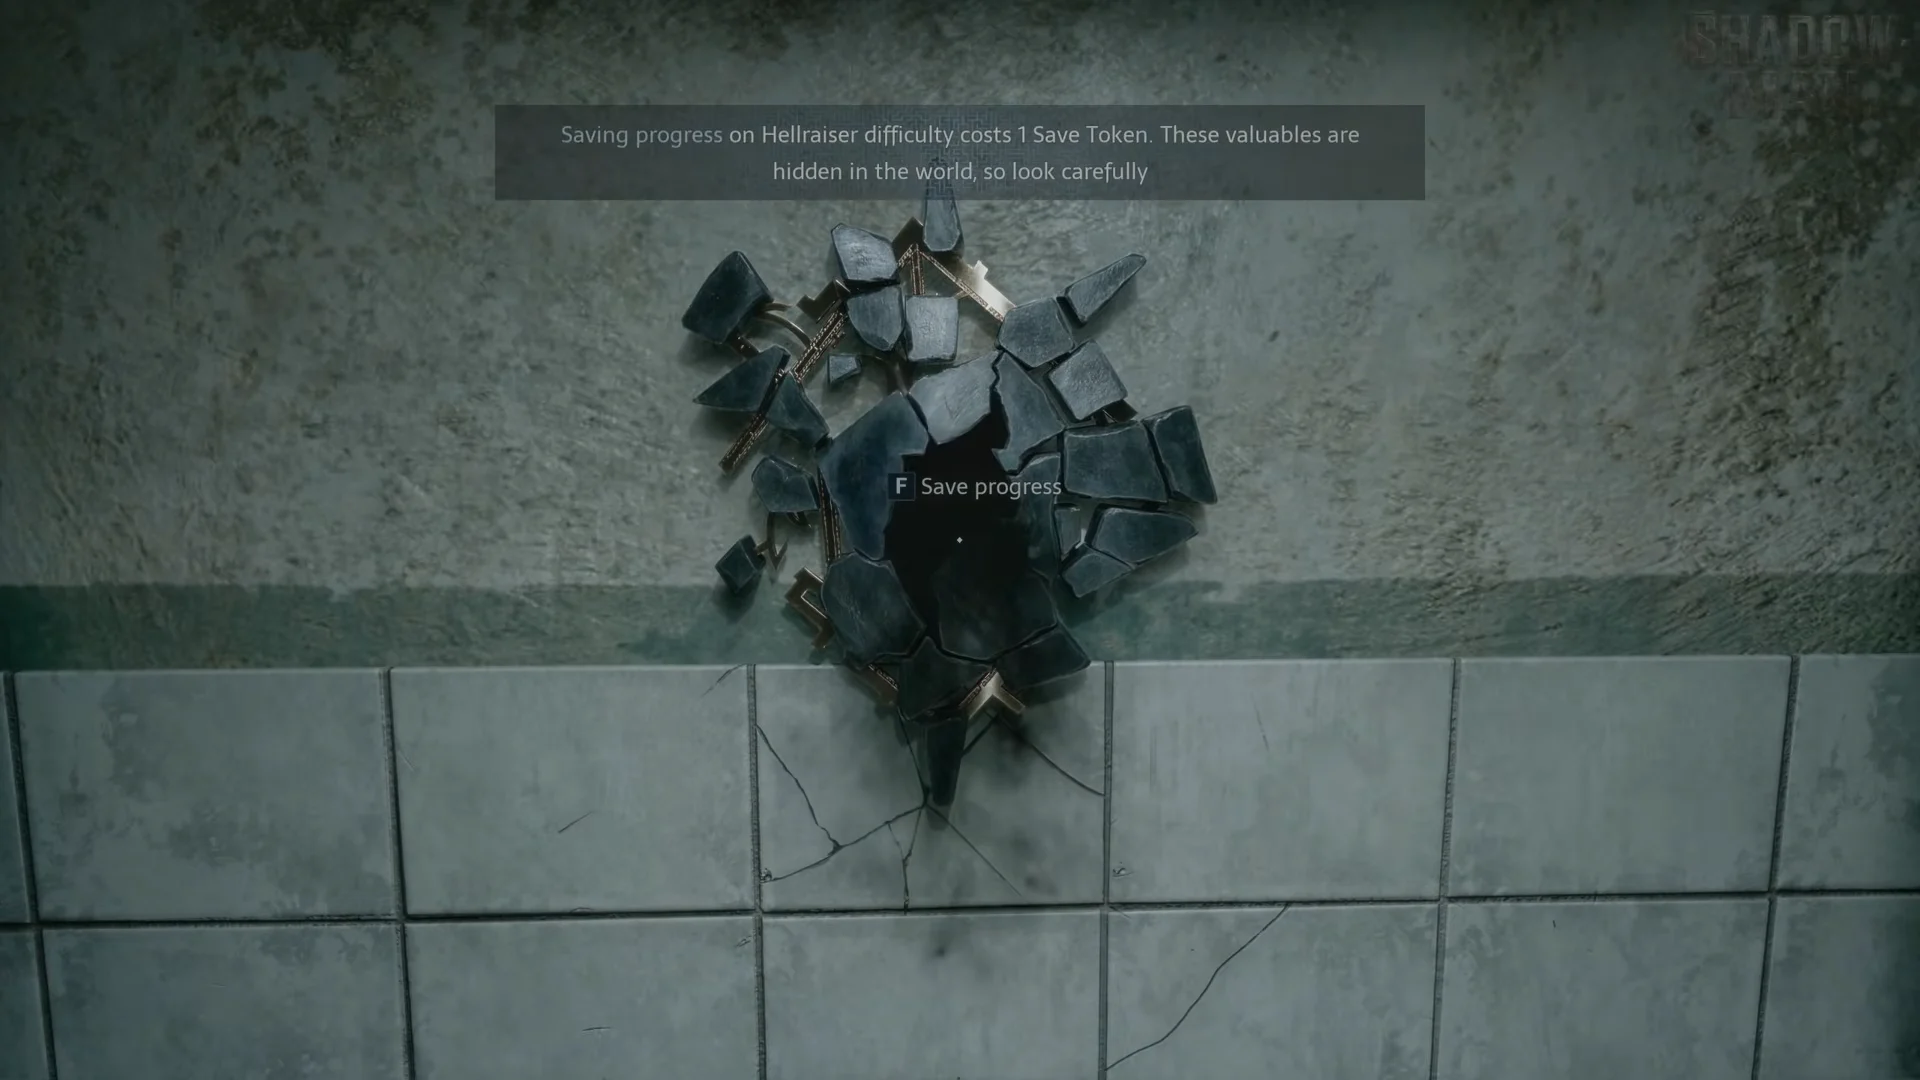
On Hellraiser difficulty, saving at this orifice costs 1 Save Token, and the game warns that these valuables are hidden in the world. Without one, the prompt reads “INSUFFICIENT SAVE TOKENS.” If you have not found a token yet, head through the green swing door on the left of the corridor. That room holds Aidan’s first blade, which you pull from a victim’s back, and the first Save Token waits on a gurney one room further in.