Sanctum of Loathing is one of Aion 2’s Ascension Trials. It is a solo, weekly instance where you clear three rooms of mobs, beat two bosses, and get paid according to a single number: your Final Score. On Extreme, the run allows only two deaths and runs on a 13-minute clock. A Templar clear on that setting finished with 9:56 still on the timer, no deaths, and a Final Score of 6,960. That number explains a lot about how the mode is built.
Quick answer: Extreme Sanctum of Loathing needs level 45 and 2,500 item level. It allows 2 deaths in 13:00 and is worth 4,000 clear points. A clean, fast run lands in the 6,000+ reward bracket.
Sanctum of Loathing entry rules and weekly rotation
Every Ascension Trial runs on the same set of limits. The game itself calls it a weekly solo mode, and the constraints reflect that:
- Unlocks at character level 45. Each difficulty adds its own item level gate.
- You get 3 entries per week (the Ascension Trial Entry Count). They recharge to 3 every Wednesday.
- An entry is spent the moment you go in, not when you finish.
- Item-based entries are added to the weekly allotment of 3, for up to 30 extra entries.
- Leaving the dungeon mid-run wipes your progress.
- Dying revives you in place until you hit the difficulty’s death limit.
Only one Ascension Trial map is open each week. In Season 1, Sanctum of Loathing trades places with Nightmare Altar at every Wednesday reset. Nightmare Altar’s Extreme version, Nightmare Altar (Challenge), pits you against Divided Aponos at level 60 on the same 13-minute clock. Sanctum of Loathing is open during the week that started October 14. Nightmare Altar takes over on October 21. Season 1 ends on December 16, 2026.
| Week starting (Wednesday) | Open map |
|---|---|
| October 21, 2026 | Nightmare Altar |
| October 28, 2026 | Sanctum of Loathing |
| November 4, 2026 | Nightmare Altar |
| November 11, 2026 | Sanctum of Loathing |
| November 18, 2026 | Nightmare Altar |
| November 25, 2026 | Sanctum of Loathing |
| December 2, 2026 | Nightmare Altar |
| December 9, 2026 | Sanctum of Loathing |
Season 1 maps also carry a dungeon-wide debuff called Wrath. Wrath affects the enemies, not you. Any non-boss enemy at 50% HP or lower gains +30% Damage Boost. In practice, a regular mob becomes more dangerous the longer it stays alive past the halfway mark. The two bosses are exempt.
Sanctum of Loathing difficulty tiers: Boss levels and timers
Each step up the ladder makes the bosses stronger and the timer shorter. The game client defines six versions of Sanctum of Loathing. In every one, Featherstorm Duduri and Watchful Raptor Dodori are the bosses, at the same level as each other.
| Version (tier) | Boss level | Time limit | Item level / deaths |
|---|---|---|---|
| Easy (Exploration) | 45 | 18 min | 1,000 / 5 |
| Normal (Conquest) | 50 | 16 min | 1,500 / 3 |
| Hard (Transcendence) | 55 | 14 min | 2,000 / 2 |
| Challenge (Extreme) | 60 | 13 min | 2,500 / 2 |
| Insane | 65 | 10 min | 3,000 / 2 |
| Hell | 70 | 8 min | 3,500 / 2 |
The Season 1 trial screen offers four of these: Easy, Normal, Hard, and Extreme. On Extreme, the map name picks up a “(Challenge)” suffix. Insane and Hell already exist in the client at the levels shown above, but they sit outside the Season 1 selection.
The tiers also differ sharply in clear points, which form the base of your Final Score. Easy is worth 150, Normal 1,100, Hard 2,100, and Extreme 4,000. That gap is why a sloppy Extreme run usually outscores a perfect Normal one.
Inside an Extreme run: Three rooms before the boss
The layout is the same on every difficulty. Only the enemy roster, their levels, and the clock change. Each of the three rooms locks until every mob in it is dead. The Extreme Templar run opened by triggering a Power Shard, then went straight into the first room. There it fought a mix of Portent Guard Soldiers, Portent Guard Trainees, Portent Guard Soldier Captains, and archers. The ranged units are the ones to kill first, because they keep chipping away and staggering you from the back line while you deal with the melee pack.
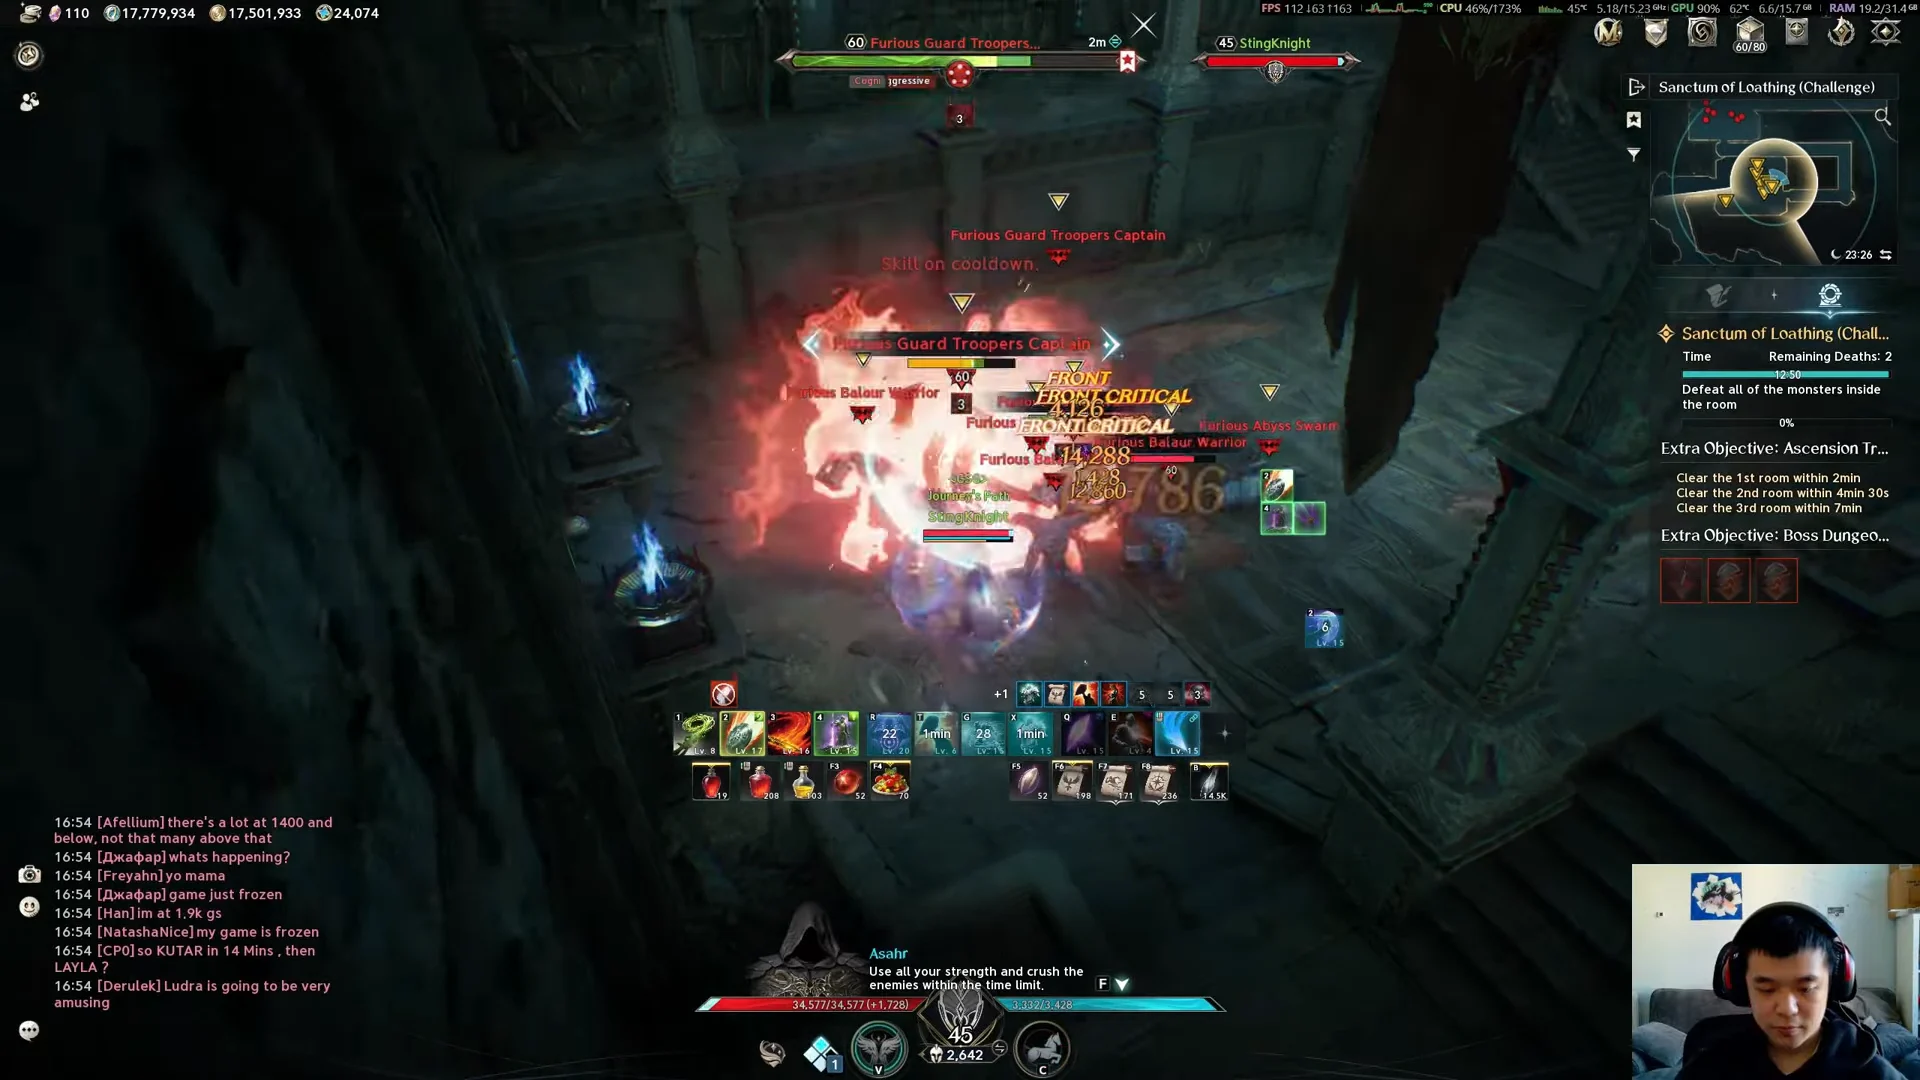
On Easy, the same first room holds Sanctum Balaur Warriors, Sanctum Balaur Rangers, a Sanctum Guard Troopers Captain, Sanctum Abyss Swarm, and Void Helicoids. Once a room is clear, a pair of orbs spawns. Picking them up grants a buff that lasts for the rest of the run. You also have to collect them before the way forward opens. The only exception is the final stretch to the boss. Past the first room, a Small Passage Door opens onto a stone corridor and a staircase down to the second chamber.
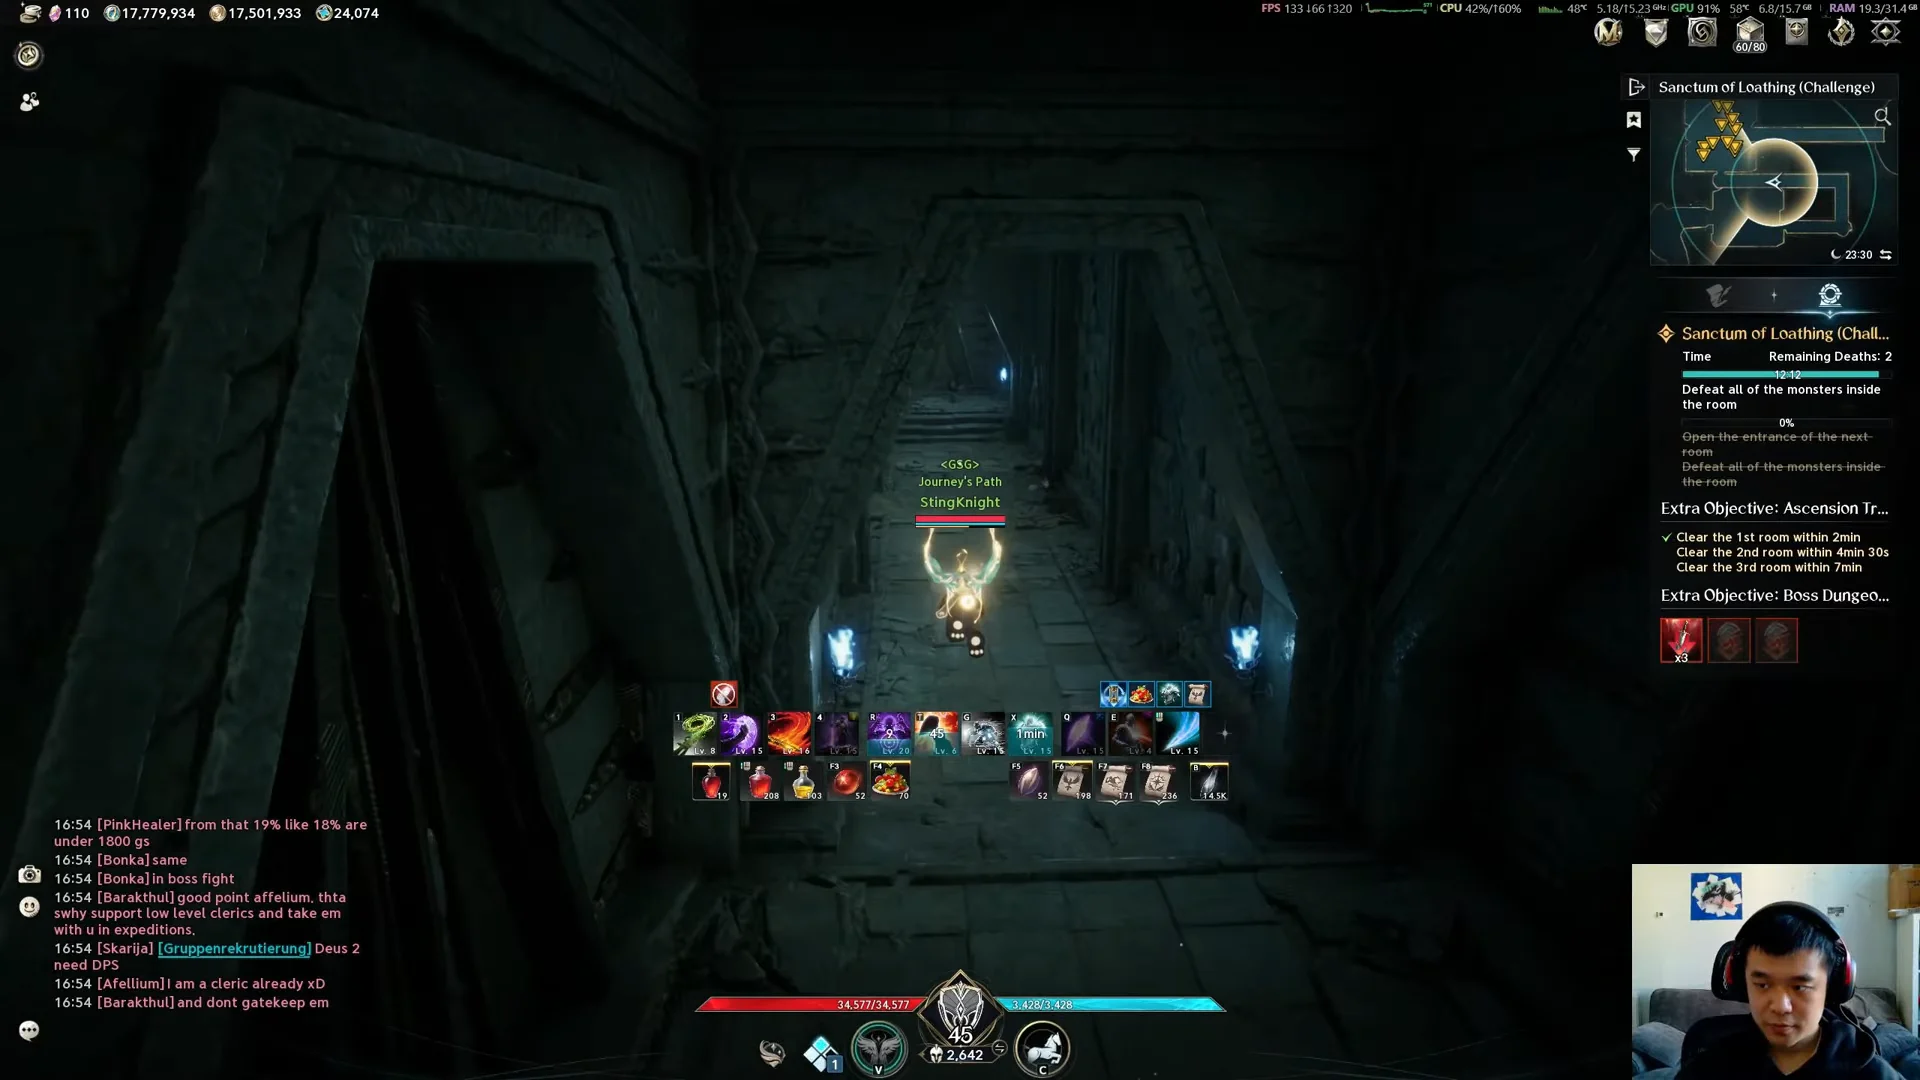
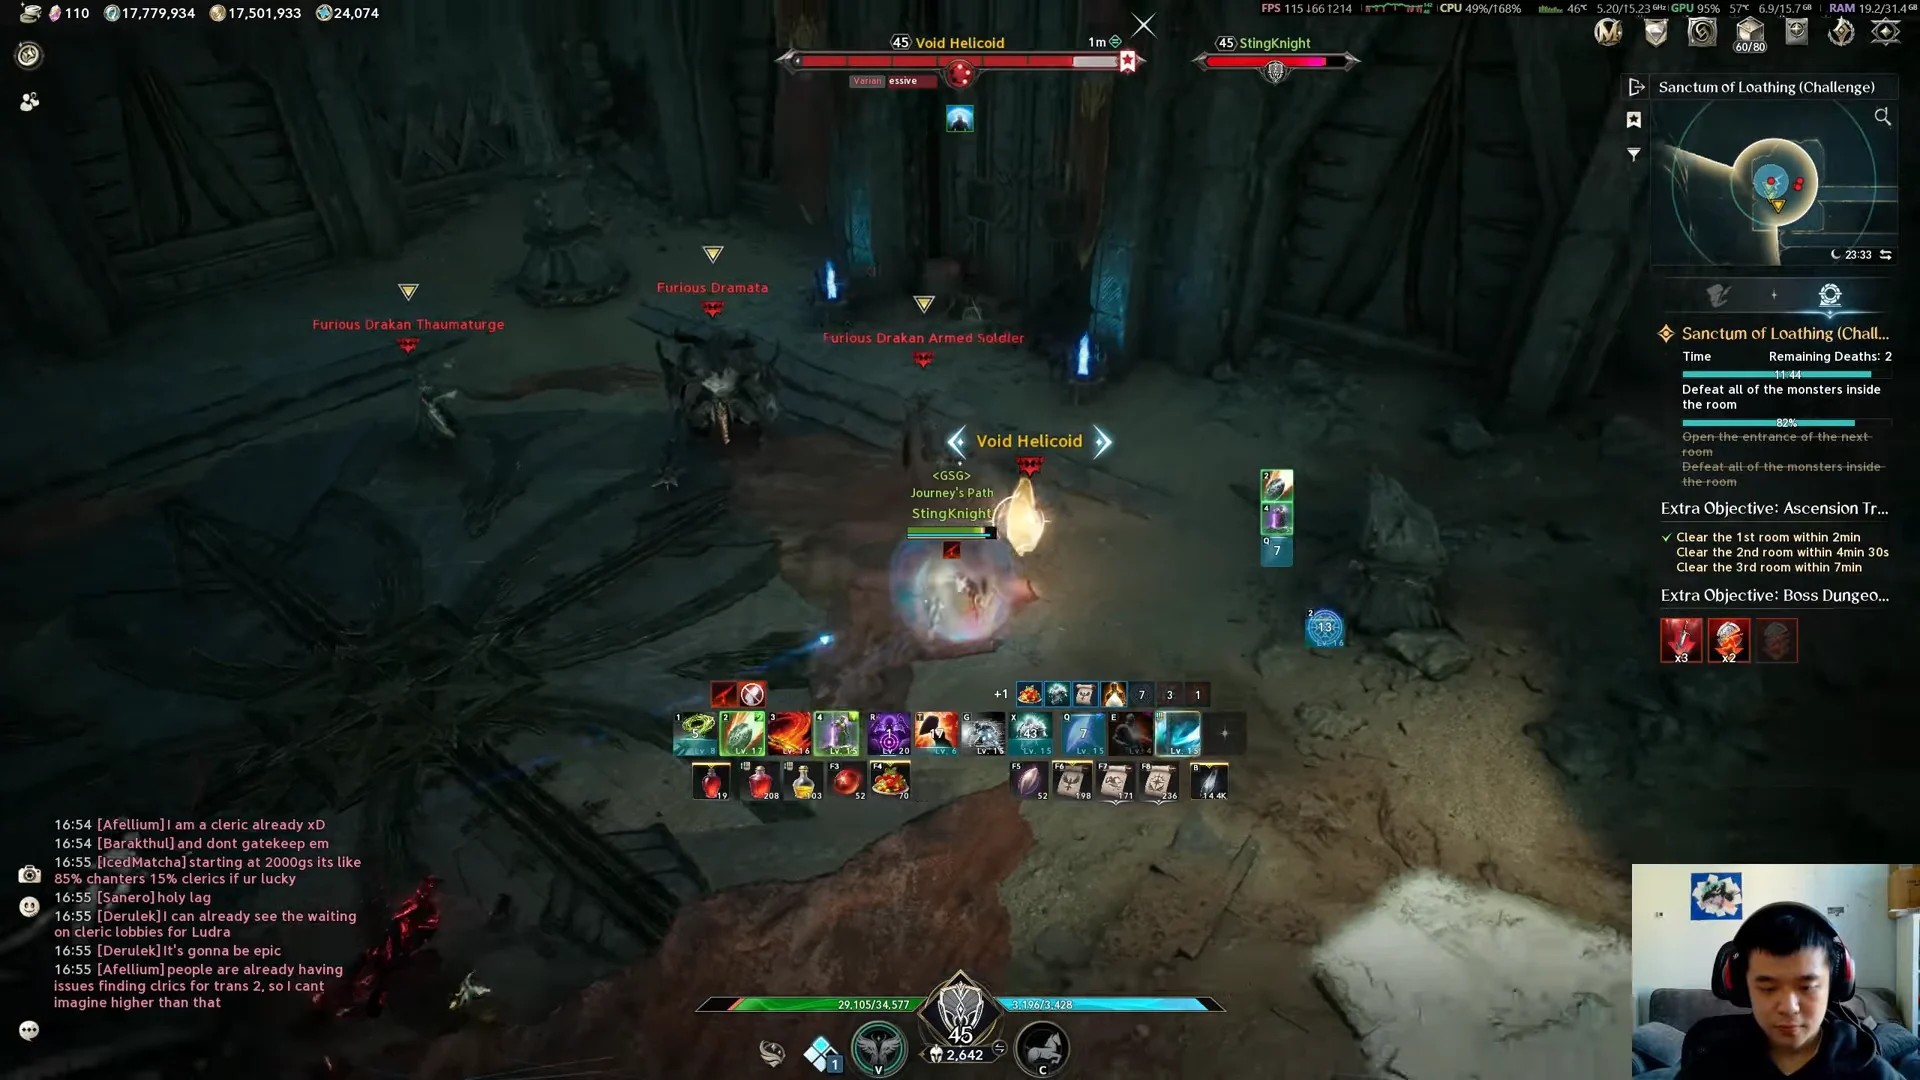
The second room shifts to heavier Drakan units. On Extreme, that means Portent Drakan Chiefs, Portent Broken Armed Soldiers, and Void Helicoids. The Easy version uses Sanctum Drakan Armed Soldiers, Thaumaturges, Elite Brawlers, Superior Drakan, a Drakan Chief, and an Elite Watcher. Pulling the whole room into one tight group lets area attacks hit everything at once. It also limits how many enemies reach Wrath’s half-health threshold at different times.
Clear room two and pass through the Sanctum Door to receive stage-clear rewards. In the Extreme run, these rewards were Weak Attack and Expose Weakness. Every room has an optional time limit; beat it to earn a buff that lasts for the rest of the run, in addition to the orbs. On Easy, the limits are 2 minutes in room one, 4 in room two, and 7 in room three.
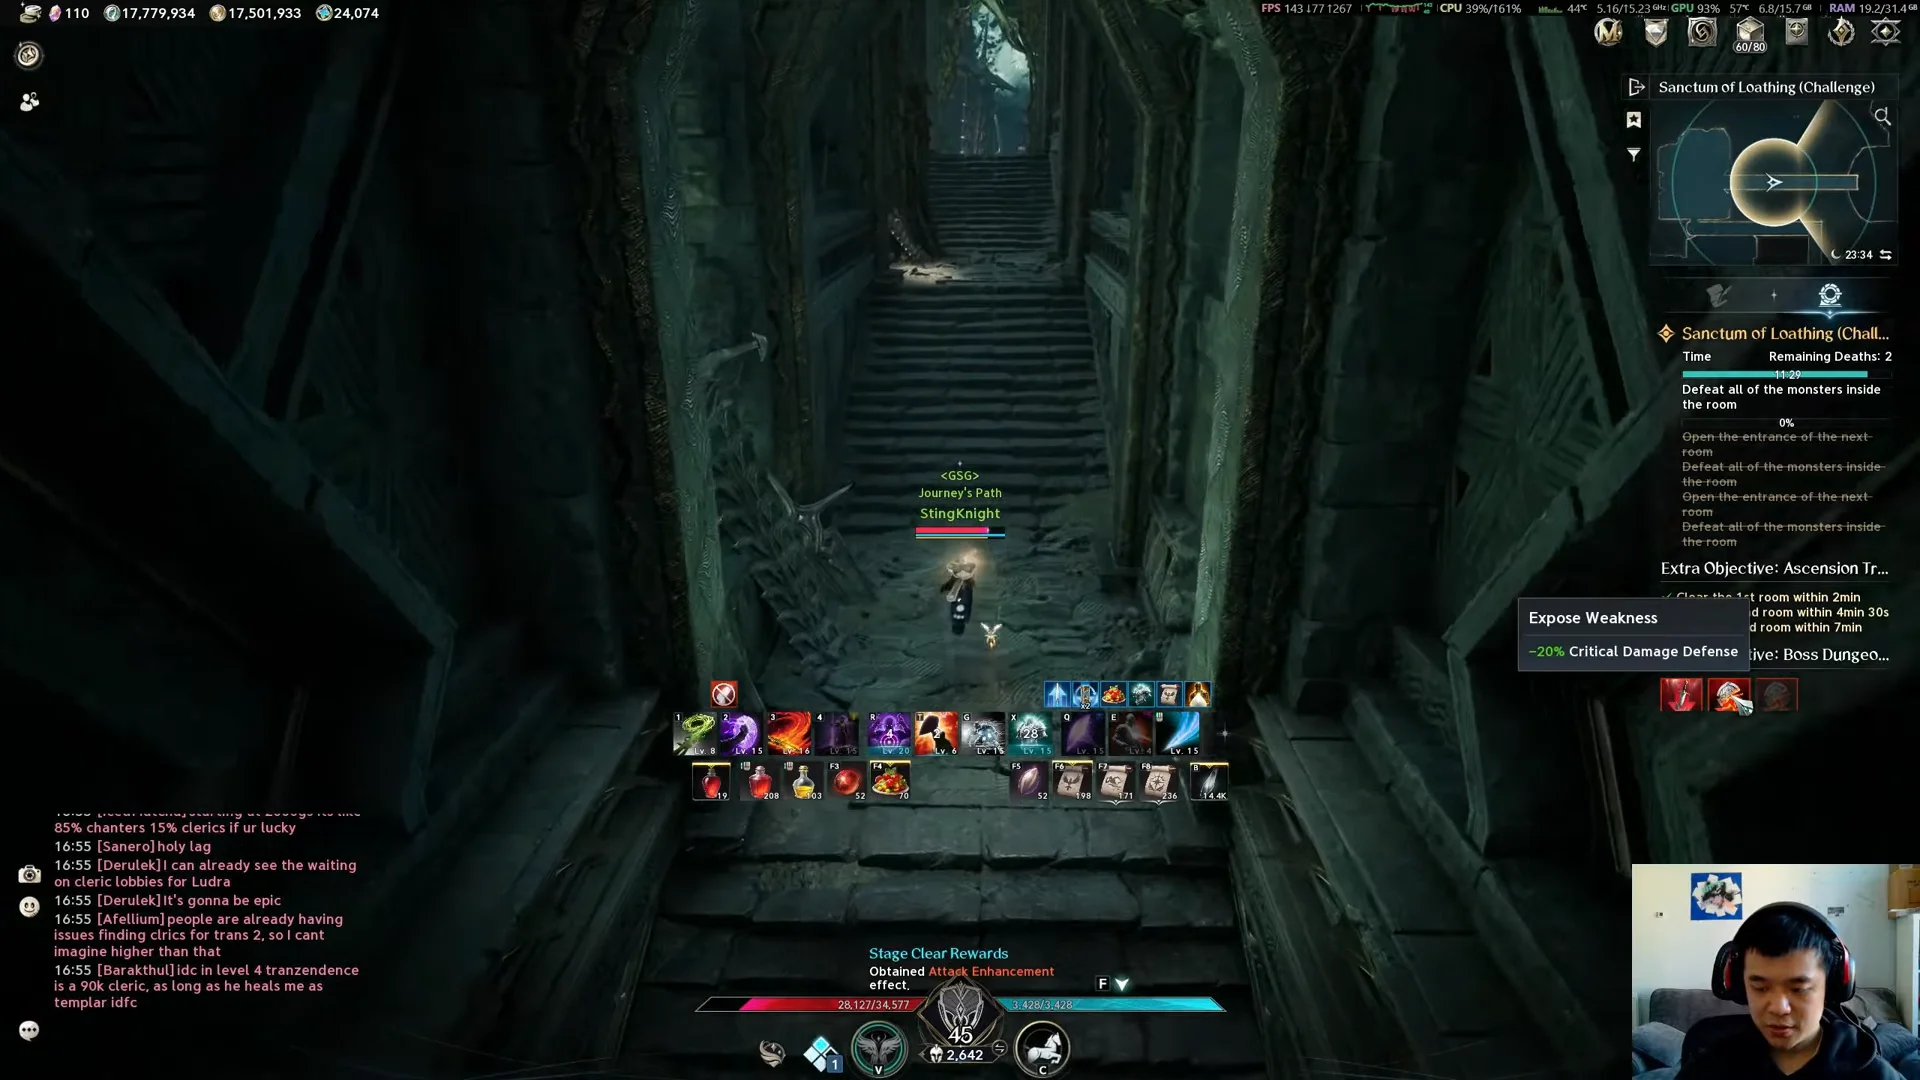
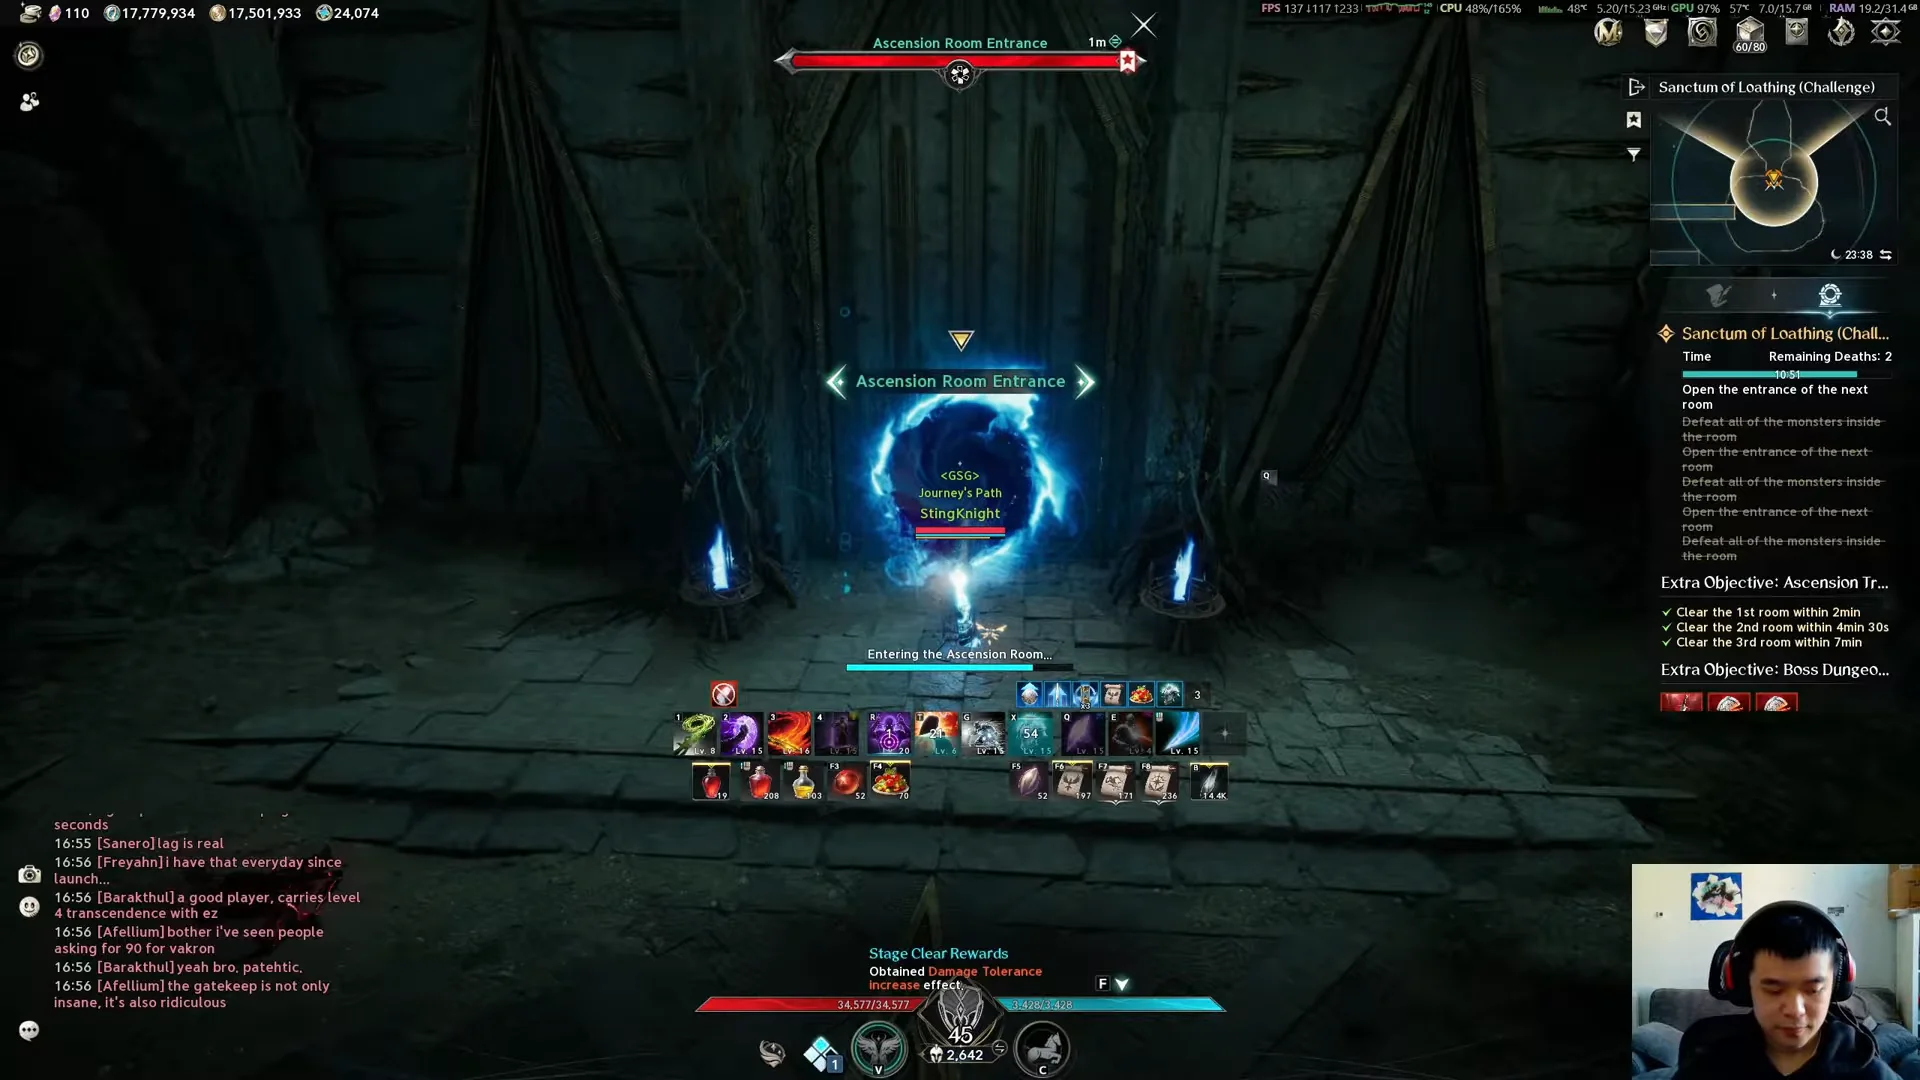
Room three is the final mob fight. Once it’s over, climb the stone staircase to the Ascension Room Entrance, where a glowing portal takes you to the boss arena.
Featherstorm Duduri and Watchful Raptor Dodori
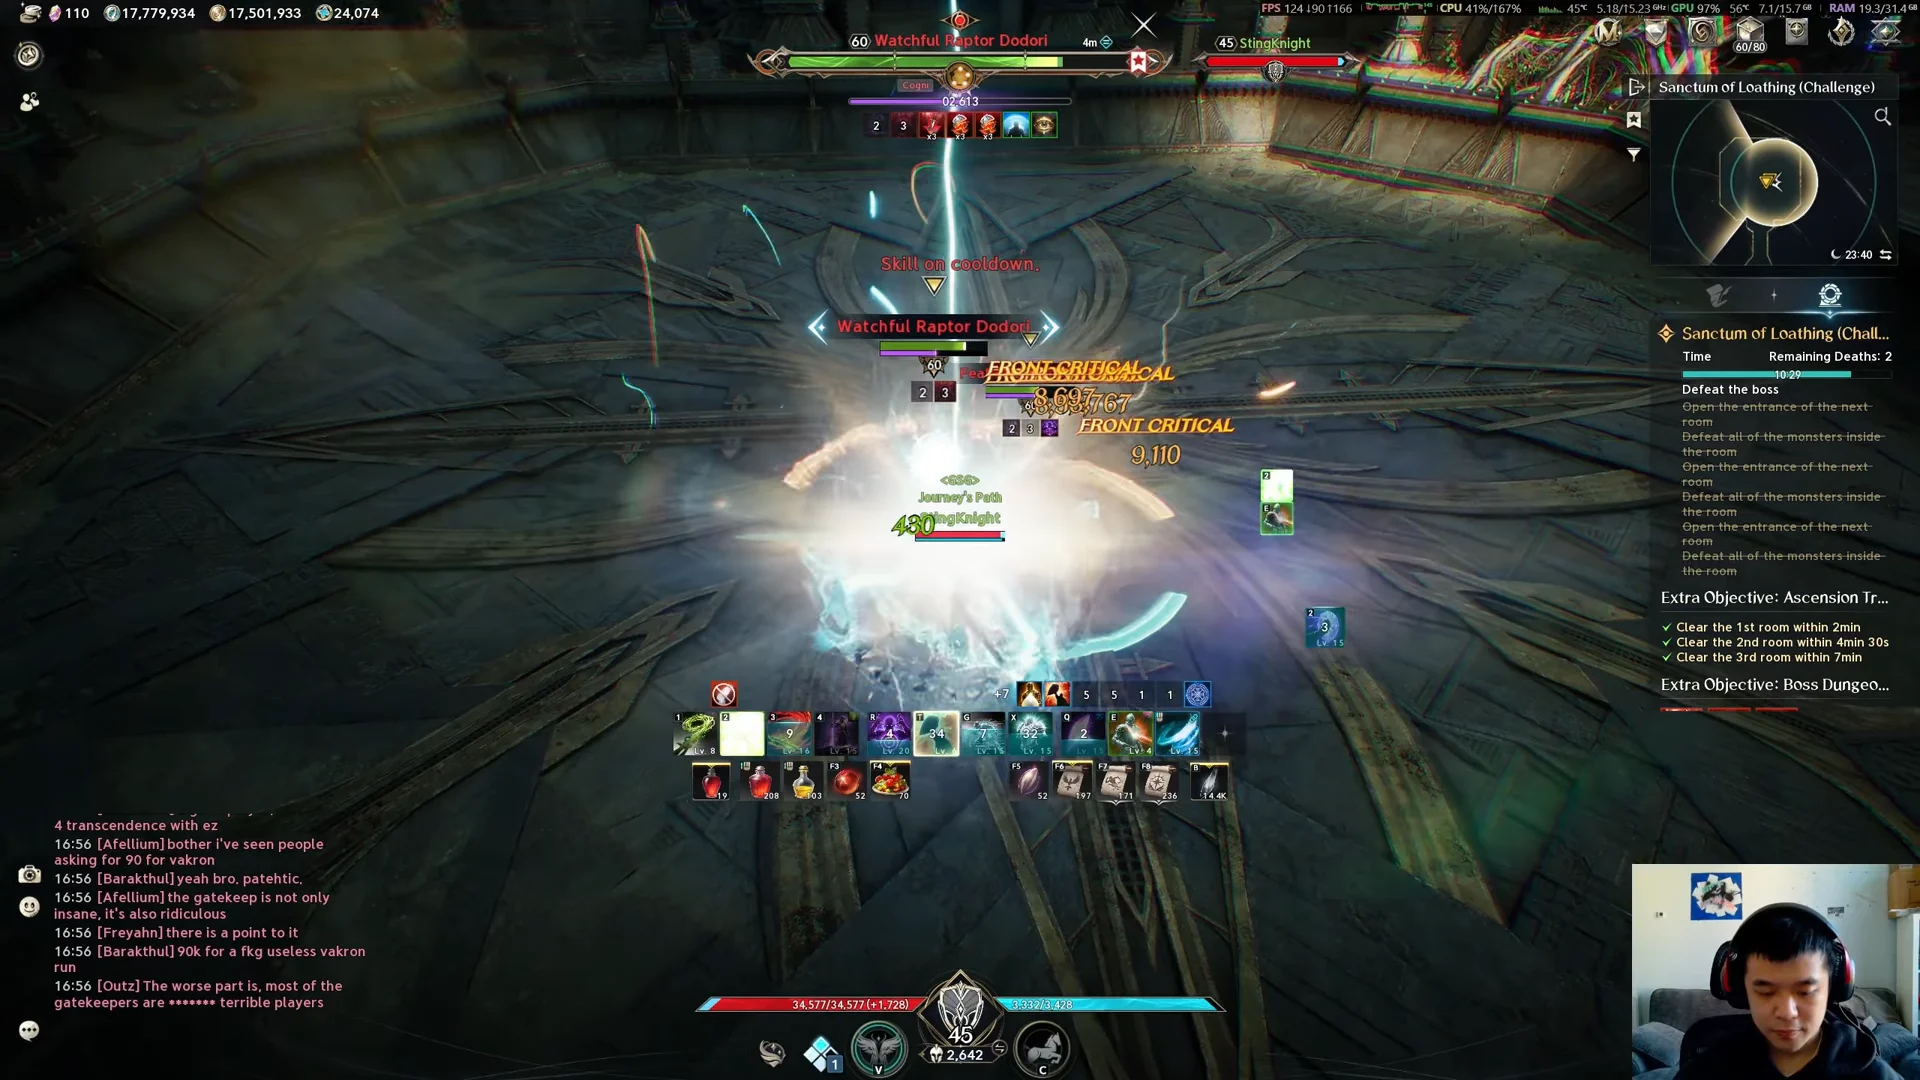
The trial ends with both bosses at once, in a circular arena. On Extreme they are level 60. Neither has an especially punishing kit. Their attacks are marked well in advance by red floor telegraphs, so the fight mostly rewards staying mobile.

Having two targets shapes how you build Stagger. Alternating between focusing one boss and catching both in area attacks fills the gauge more efficiently than staying locked on a single target. The Templar run stayed at the bosses’ front, mixed shield defense into its rotation, and brought both down in under a minute.
Final Score: How a 6,960 run compares to Easy
A run counts once the Ascension Trial Complete banner appears and loot notifications start stacking. The Dungeon Results screen then lists Clear Points, Difficulty Bonus, Time Left, Deaths, Final Score, and Rank Points. The rule is simple. Finishing faster and dying less both push the score up. A failed run records just 10 points.
| Results field | Easy Templar clear | Extreme Templar clear |
|---|---|---|
| Clear Points | 150 | 4,000 |
| Difficulty Bonus | x1 | x5 |
| Time Left | 15:02 of 18:00 | 9:56 of 13:00 |
| Deaths | 0 | 0 |
| Final Score | 1,052 | 6,960 |
Both runs took about three minutes. The Extreme one still scored more than six times higher, almost entirely because of the tier’s clear points and multiplier. The Easy clear also dropped a Definitive Defense skill book and completed the first stage of the Tower of Trials season mission.
Your best score also feeds a seasonal ranking. It compares players only against others of the same class and updates every hour. Rank is based on the highest score recorded during the season, with ties broken by accumulated Rank Points. Each grade from Challenger 1 down to Bronze earns a matching Season 1 title at season end. Iron earns nothing. Ranks and records reset with each new season.
Ascension Trial rewards by Final Score
Every Ascension Trial pays from the same four items. Your Final Score bracket sets the quantities. A 6,960 run falls in the 6,000-or-more bracket, which means another 40 points would have moved it up a full tier.
| Final Score | Enhance Stone | Amplify Stone Fragment | Pet Chest · Binding Chest |
|---|---|---|---|
| 7,000+ | 3,500 | 14 | 20 · 10 |
| 6,000+ | 3,000 | 13 | 17 · 9 |
| 5,000+ | 2,500 | 12 | 17 · 9 |
| 4,000+ | 2,500 | 11 | 14 · 8 |
| 3,000+ | 2,000 | 10 | 14 · 8 |
| 2,500+ | 1,500 | 9 | 11 · 7 |
| 2,000+ | 1,500 | 8 | 11 · 7 |
| 1,500+ | 1,000 | 7 | 8 · 6 |
| 1,000+ | 700 | 6 | 8 · 6 |
| 500+ | 700 | 5 | 5 · 5 |
| 200+ | 500 | 4 | 5 · 5 |
| 100+ | 300 | 3 | 2 · 4 |
| 10+ | 0 | 0 | 2 · 4 |
The last column shows Growth Pet Chest (Bound) first, then Ascension Binding Chest (Bound). Here is what each reward does:
- Amplify Stone Fragment (Unique) (Bound) stacks to 1,000 and can’t be traded. Substance Morph turns it into an Amplify Stone, which awakens a gear piece’s unique power.
- Ascension Binding Chest (Bound) opens into a Manastone or Soulstone, with a chance at an Intermediate one. It stacks to 999.
- Enhance Stone is an untradeable currency for unlocking gear’s hidden potential.
- Growth Pet Chest (Bound) contains a growth-assisting Pet and can’t be traded.
Silentium and Fragment: Ariel’s Trace are not part of the Ascension Trial reward pool.
Tower of Trials season mission ladder
Ascension Trial scores contribute to Tower of Trials, a ten-stage Challenge season mission of Unique grade. To clear a stage, earn its required Final Score in a single run; scores do not carry over between runs. Each stage rewards Oath Coin: Season 2, a bound item, and season points. A single Extreme clear with 6,960 points completes stages I through VII.
| Stage · score | Oath Coin: Season 2 | Bonus item | Season points |
|---|---|---|---|
| I · 500 | 250 | Battle Enhance Scroll (Bound) x3 | +100 |
| II · 1,000 | 460 | Resurrection Spiritstone (Bound) x1 | +190 |
| III · 2,000 | 720 | Battle Enhance Scroll (Bound) x3 | +290 |
| IV · 3,000 | 1,120 | Mysterious Crystal (Bound) x1 | +450 |
| V · 4,000 | 1,540 | Battle Enhance Scroll (Bound) x3 | +610 |
| VI · 5,000 | 1,940 | Odyle Energy (Bound) x1 | +770 |
| VII · 6,000 | 2,380 | Mysterious Crystal (Bound) x1 | +950 |
| VIII · 8,000 | 2,910 | Battle Enhance Scroll (Bound) x3 | +1,160 |
| IX · 10,000 | 3,530 | Odyle Energy (Bound) x1 | +1,400 |
| X · 12,000 | 4,210 | Mysterious Crystal (Bound) x1 | +1,670 |
Stage I also grants the Tower of Trials I title.
Templar stigma skills used on Extreme
The Templar is Aion 2’s Longsword tank. Before the Extreme run started, four stigma skills were shown at the levels below. All four are learned at level 22, cost 1 stigma point, and cap at skill level 25. Each one unlocks a specialisation at levels 5, 10, 15, and 20, so the skill level decides which extra effects are active.
| Skill | Level in run | Cooldown | Specialisations active |
|---|---|---|---|
 Taunt | 20 | 30s | All four |
 Doom Shield | 15 | 30s | Levels 5, 10, 15 |
 Noble Armor | 15 | 120s | Levels 5, 10, 15 |
 Battlefield Banner | 6 | 90s | Level 5 only |
A Templar can clear the mob rooms with regular area attacks. Vicious Strike and Pummel deal damage to as many as four enemies in a 4m radius and build Enmity; Vicious Strike also gives back 100 MP. Stigma skills provide gap-closing, survivability, and burst options.
Taunt
Taunt is a 20m magic attack. It deals 888 (+155% of Attack) at skill level 1 and 2,813 (+155% of Attack) at level 25, and it raises Enmity. On hit, it applies Shrink for 15s, which lowers the target’s Accuracy and Attack. At level 20 every specialisation is active. That means Shrink also cuts PvE Damage Tolerance by 10%, Shrink’s Attack reduction grows by 10%, the cooldown drops by 5s, and Taunt lasts 2s longer while Shrink lasts 5s longer.

Doom Shield
Doom Shield charges at a target up to 20m away. It deals 1,254 (+219% of Attack) physical damage at level 1 and 3,974 (+219% of Attack) at level 25. It has a 75% chance to knock the target down for 3s, and a hit gives you a shield that absorbs damage equal to 5% of your Max HP for 5s. At level 15, a hit resets Annihilate’s cooldown and grants +200 Block for 5s. Doom Shield’s own cooldown also resets whenever it kills an enemy, which is why it chains so well through the trial’s mob rooms.

Noble Armor
Noble Armor increases maximum HP by 5.4% for 120s and instantly heals 5.4% of maximum HP. Dispel effects cannot remove this buff. At level 15, it grants +5% Defense for the buff’s duration and boosts the effects of Insulting Roar and Fury by 1.5. With just two deaths permitted on Extreme, maintaining that uptime is important.

Battlefield Banner
Battlefield Banner raises your Attack in proportion to your Defense for 10s, on a 90s cooldown. At level 6, only the first specialisation is active, which adds +10% Multi-Hit Chance for the duration. Higher levels unlock +10% Weapon Damage Boost at 10, a further +20% on the Defense-based Attack increase at 15, and a 30s shorter cooldown at 20. Of the four skills in the run, it has the most room left to grow.

With Sanctum of Loathing back in rotation on October 28, the 7,000 bracket on Extreme sits just above a clean three-minute Templar clear. Reaching it depends less on surviving and more on shaving seconds off each room.