The Style Shop in AION 2 lets you move character appearances between the web portal and your game client. You can pull finished looks from other players into one of your download slots and apply them in seconds, or publish your own customization and collect a cut of in-game currency each time someone uses it. The whole system runs through NCSoft’s PlayNC portal, which links directly to your active character.
Quick answer: Open Customization then Manage Appearance in-game, sign in to the PlayNC Style Shop with your character selected, download a preset to one of your eight slots, then refresh Download Storage and press Load.
Download a character preset to your slots
Your character has eight download slots, numbered 1 through 8. A preset you grab from the web lands in whichever slot you pick, and you load it from there inside the game.
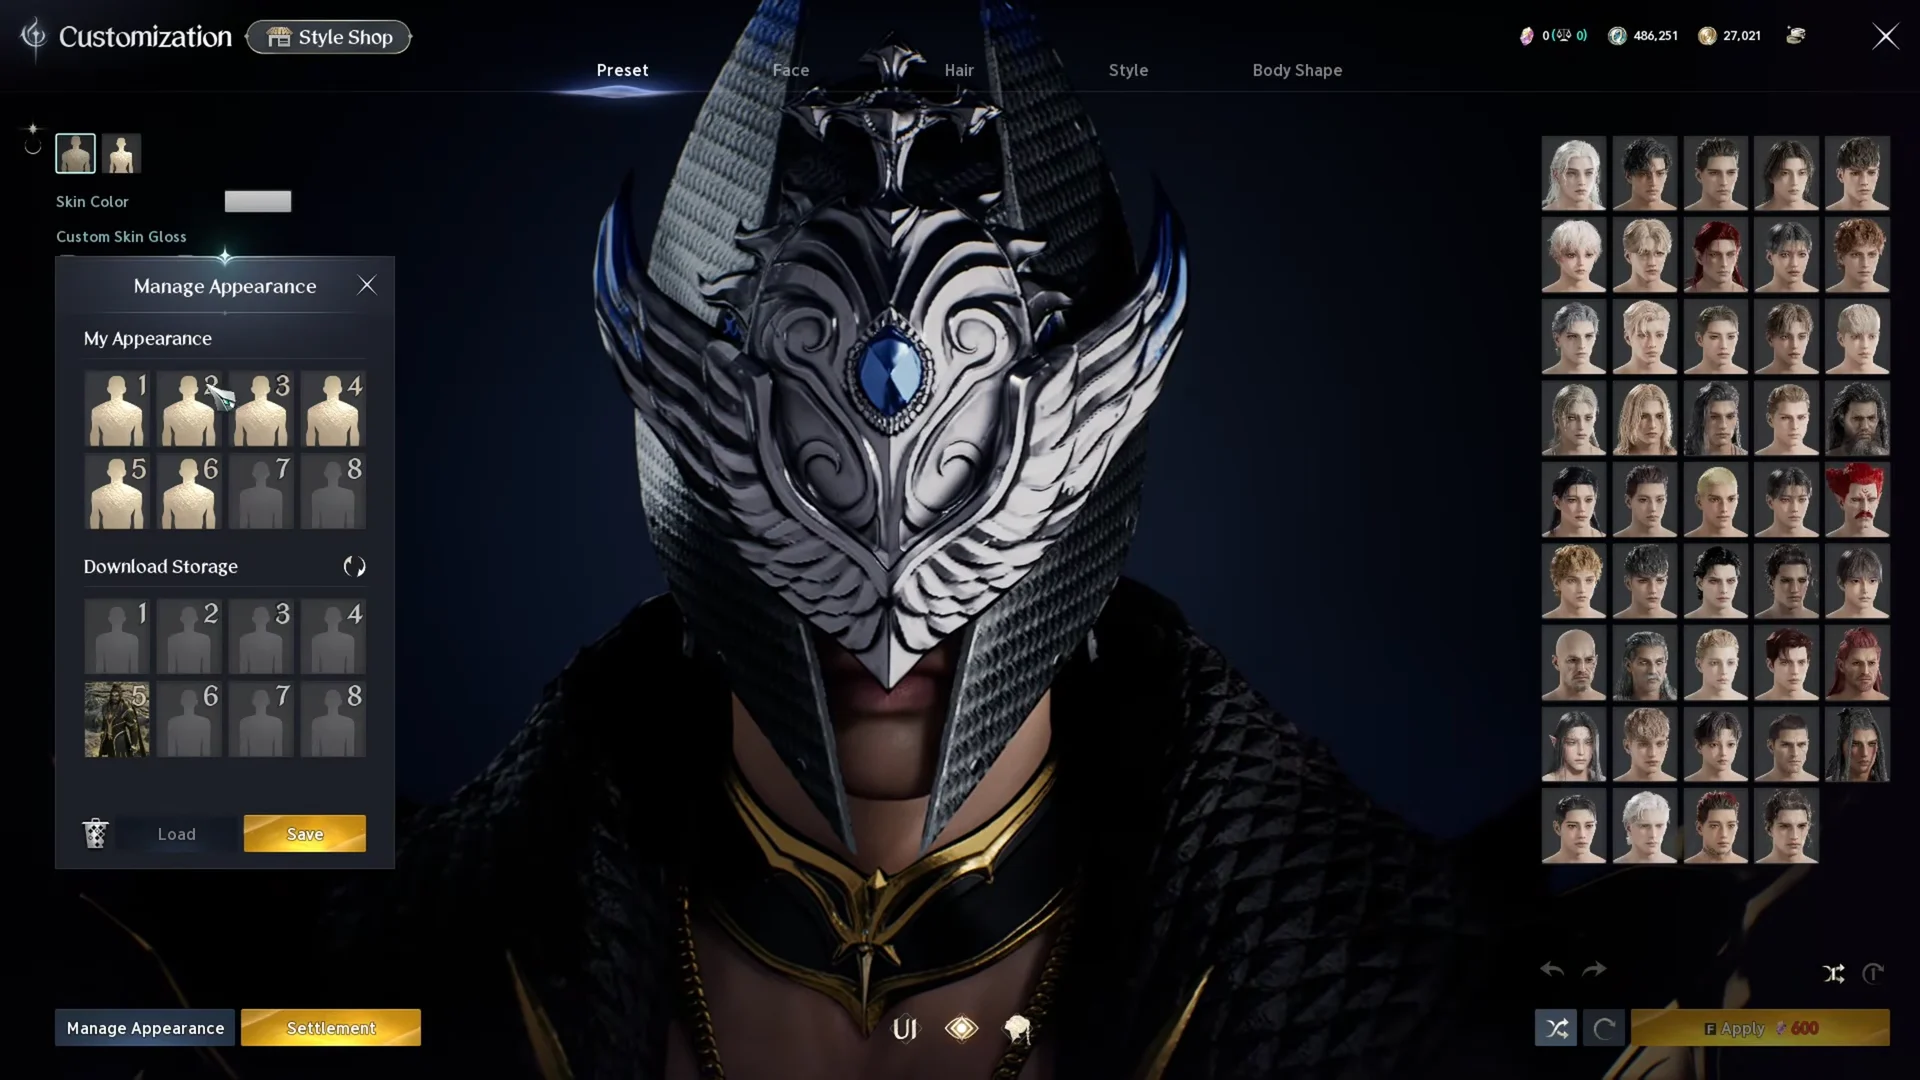
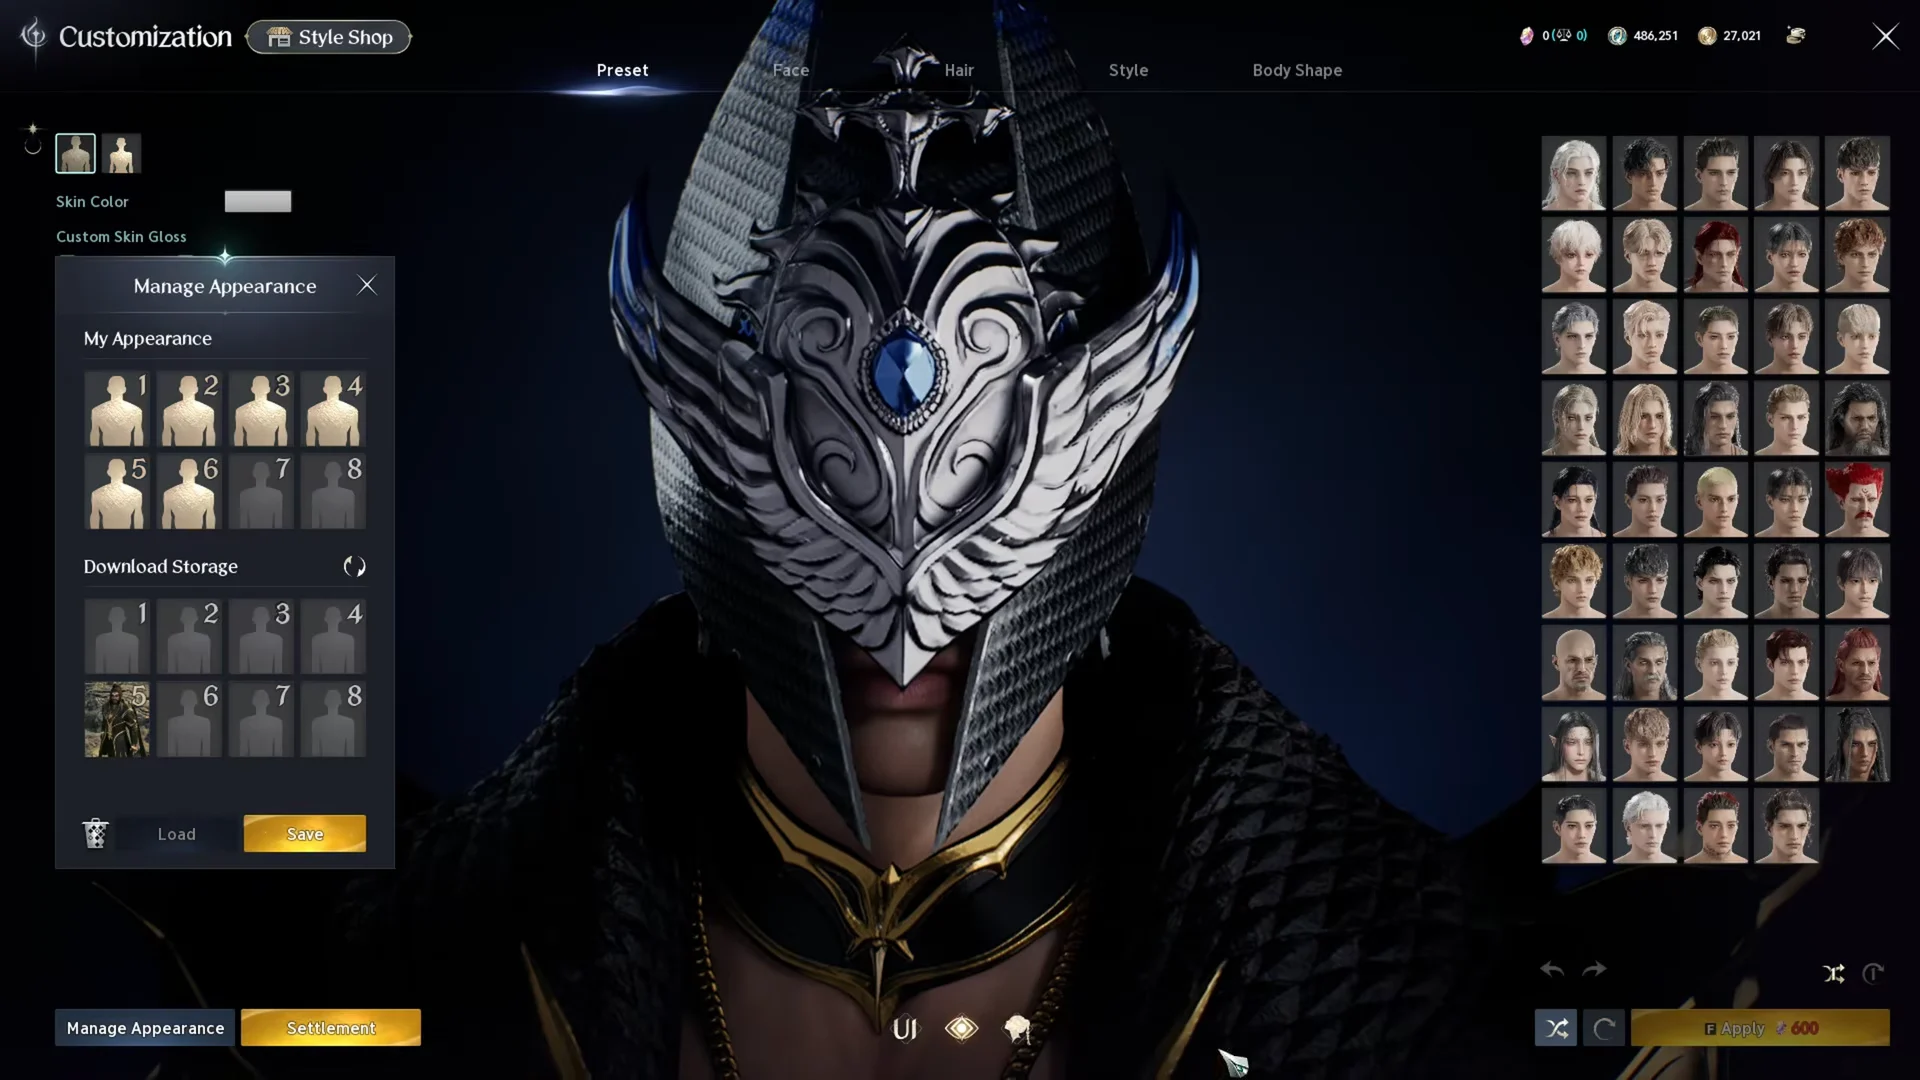
If a freshly downloaded slot shows empty, hit refresh again. The web transfer takes a moment to reach the client, and the slot only fills once that data arrives.
Upload and register your own preset
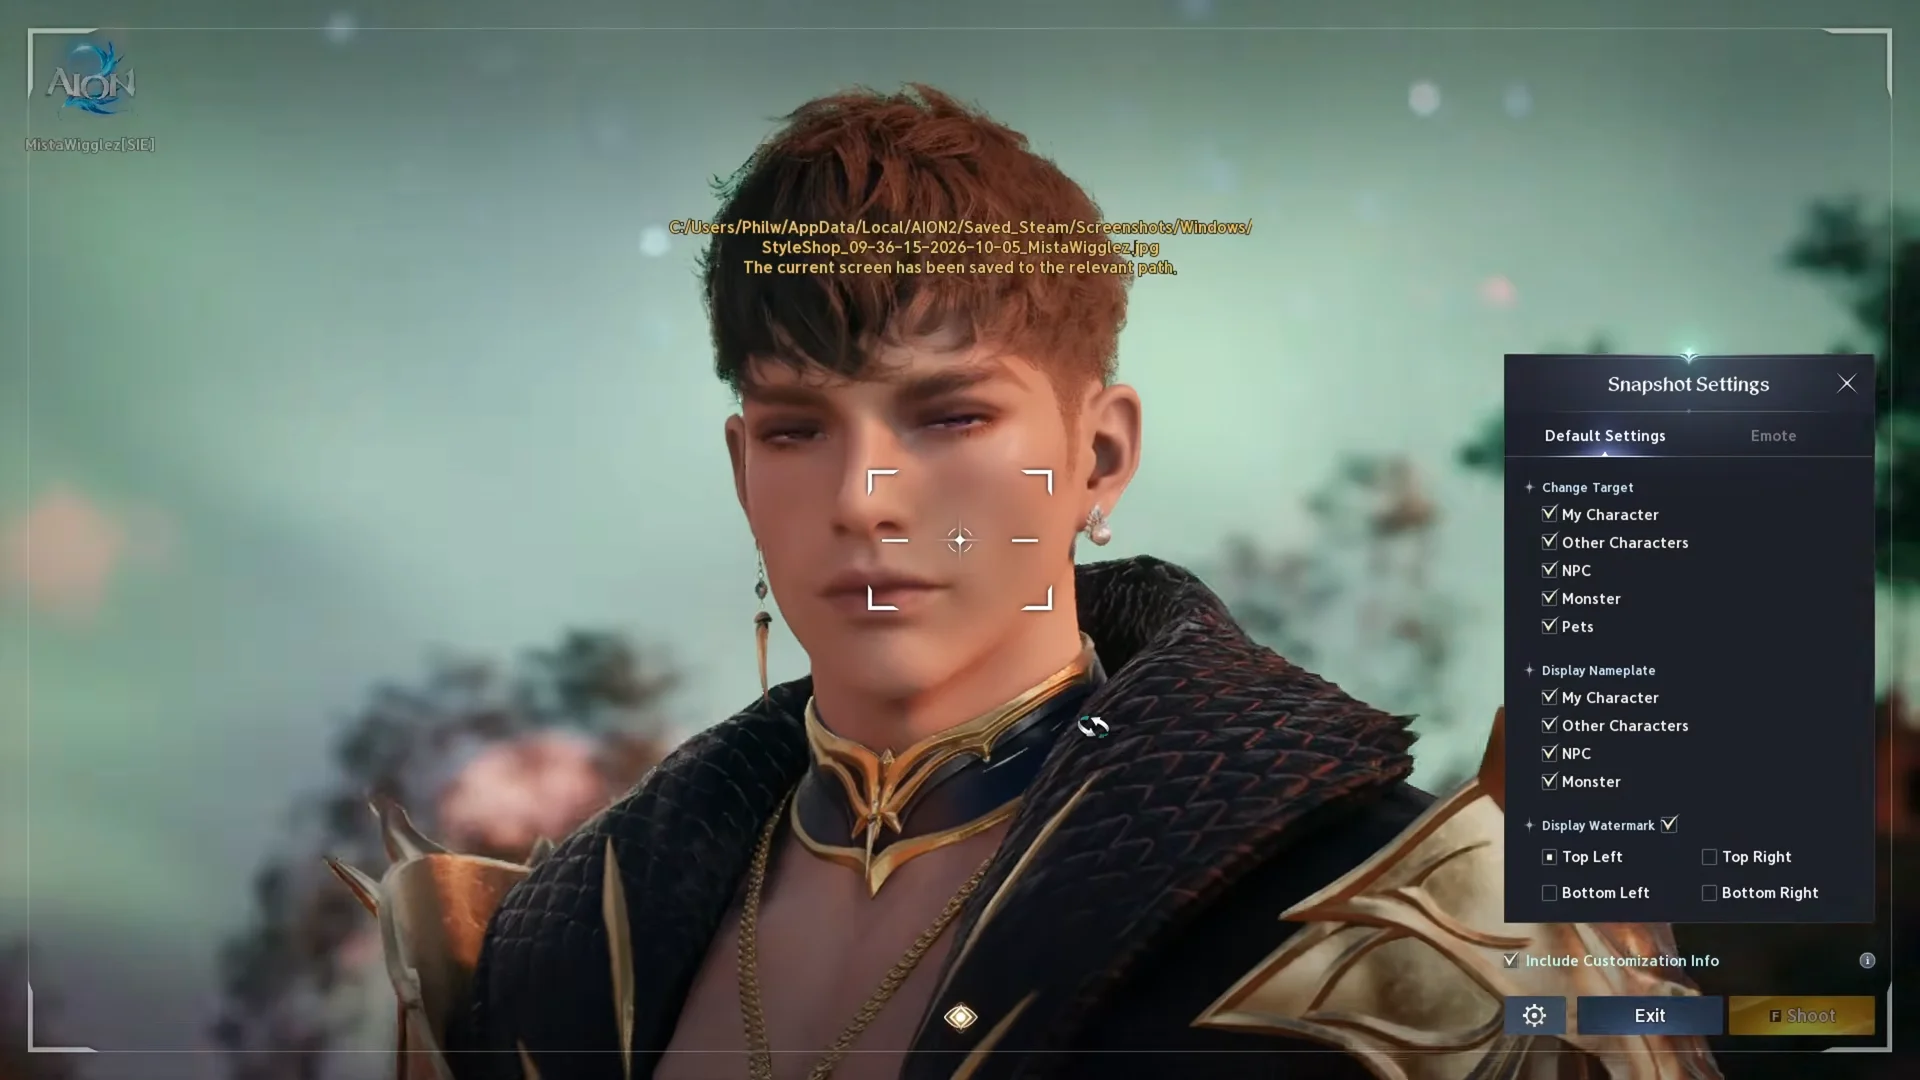
Publishing a look has two halves. First you capture a snapshot in-game that carries your customization data, then you register that snapshot on the web and tag it.
Capture the snapshot in-game
Register the preset on the web
C:\Users\<Username>\AppData\Local\<GameFolder>\Saved_Steam\Screenshots\Windows\. Enable Hidden items from the View menu, otherwise the AppData folder stays invisible.Your look appears under My Style once it is registered, and you can reopen Edit Style at any time to change the images or swap your tags.
Style Codes you can tag a preset with
Tags drive how other players find your preset through the Style Shop filters. You may attach up to five of the following twenty codes to a single entry.
- Lovely, Sexy, Innocent, Stylish, Elegant
- Scary, Funny, Fantastical, Natural, Cute
- Cool, Soft, Foxy, Fierce, Bold, Sleek
- Warm Spring, Cool Summer, Warm Autumn, Cool Winter
Earn settlement profit from your presets
When another player purchases an appearance you registered, part of the payment comes back to you as in-game profit. That balance builds up on your character rather than in your web account.
To collect it, open the Profit Settlement Status window in the Customization menu and use the Settle Profit button. The same window is where you check how much has accumulated before you claim it.
AION 2 classes you can filter presets by
The class filter on the Style Shop matches presets to the class you are shopping for. Each class carries a fixed main weapon and set of party roles, which is worth checking so a downloaded look sits on the frame you expect.
| Class | Main weapon | Party roles | Skills |
|---|---|---|---|
| Gladiator | Greatsword | Tank, Dealer | 39 |
| Templar | Longsword | Tank | 36 |
| Ranger | Bow | Dealer | 37 |
| Assassin | Dagger | Dealer | 38 |
| Spiritmaster | Orb | Dealer | 44 |
| Sorcerer | Spellbook | Dealer | 39 |
| Cleric | Mace | Healer | 36 |
| Chanter | Staff | Healer, Dealer | 37 |
| Brawler | Fist | Dealer | 36 |
Brawler is not playable at the global launch, so you will not be able to apply a preset to one at the start even though its class filter may appear.
Once a downloaded look shows on your character or your own entry appears under My Style, the transfer has worked. From there it is a loop you can repeat freely, pulling in fresh presets whenever you want a new look and banking settlement profit on the ones you publish.