If you have hauled three Dragon Eggs all the way up a Mountain peak, dropped one in each stone bowl, and then stood there while absolutely nothing happened, you are not missing a rare material or a hidden step. Summoning Moder has two parts, and the eggs are only the first. The ritual does not fire until you use the Sacrificial Altar afterwards.
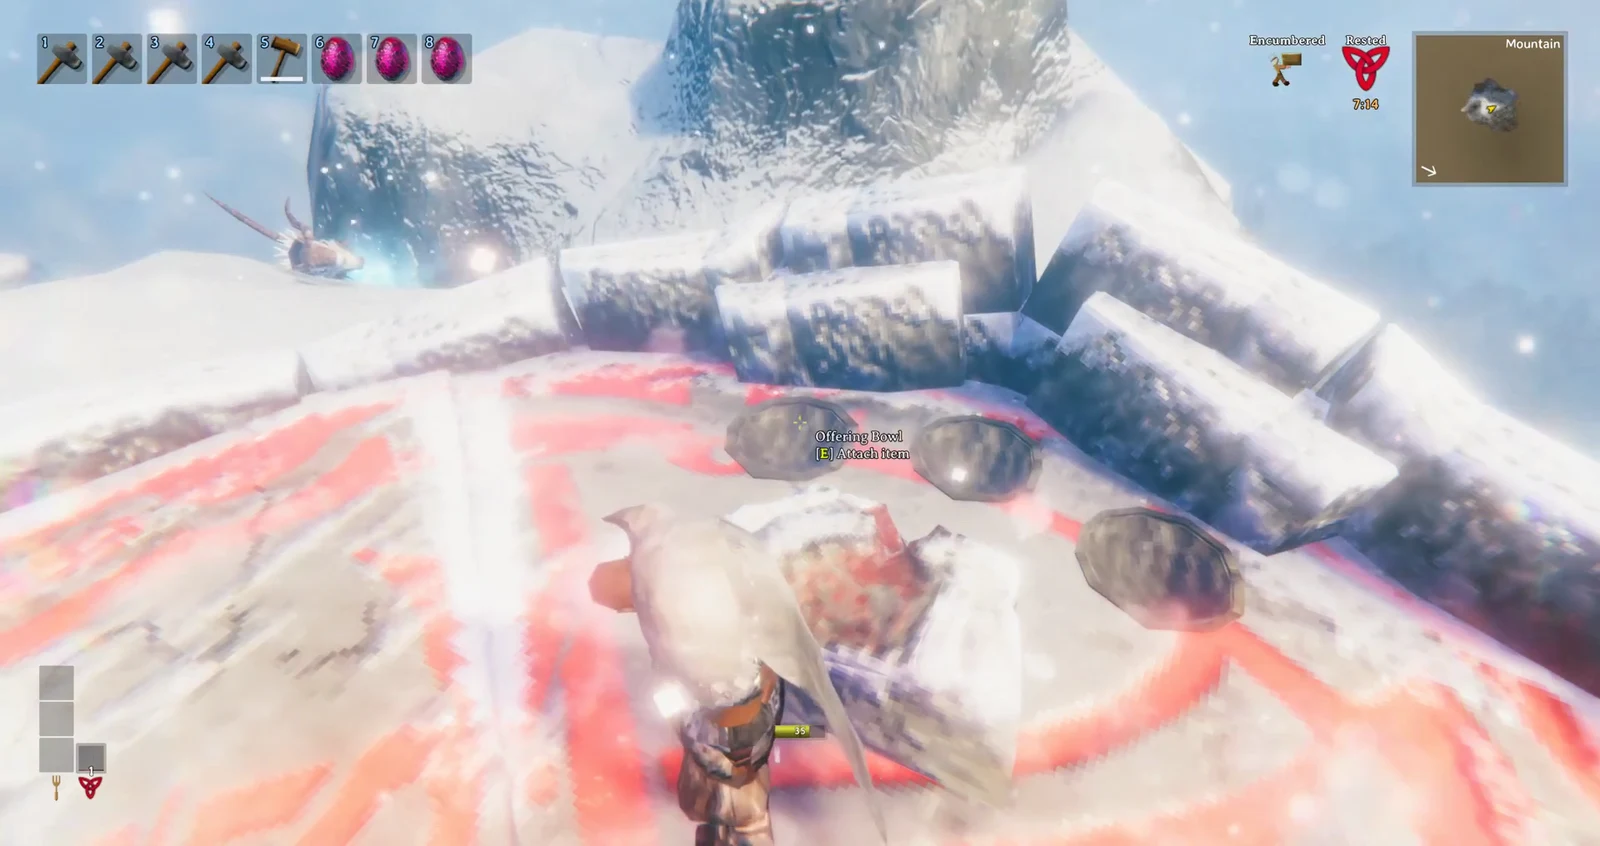
Quick answer: Fill all three Offering Bowls with one Dragon Egg each, then aim at the square stone block in the middle and press E on the “[E] Offer sacrifice” prompt. Moder appears a few seconds later.
What to bring to Moder’s altar
You need three Dragon Eggs. These come from Mountain Drake nests, with one egg sitting in each nest, usually guarded by up to three Drakes. Each egg weighs 200, so carrying all three at once puts you at 600 weight and triggers the Encumbered status. An encumbered character that runs out of stamina stops moving entirely, so carrying the eggs to the altar one at a time avoids this.
Dragon Eggs cannot travel through a portal. Try to teleport with one and the game refuses with “An item prevents you from teleporting.” That means every egg is carried on foot, by cart, or by ship. The eggs do not stack, so each one takes its own inventory slot.
You also need frost protection for the peak itself. A Wolf Fur Cape is enough frost protection for the peak.
Where Moder’s altar spawns
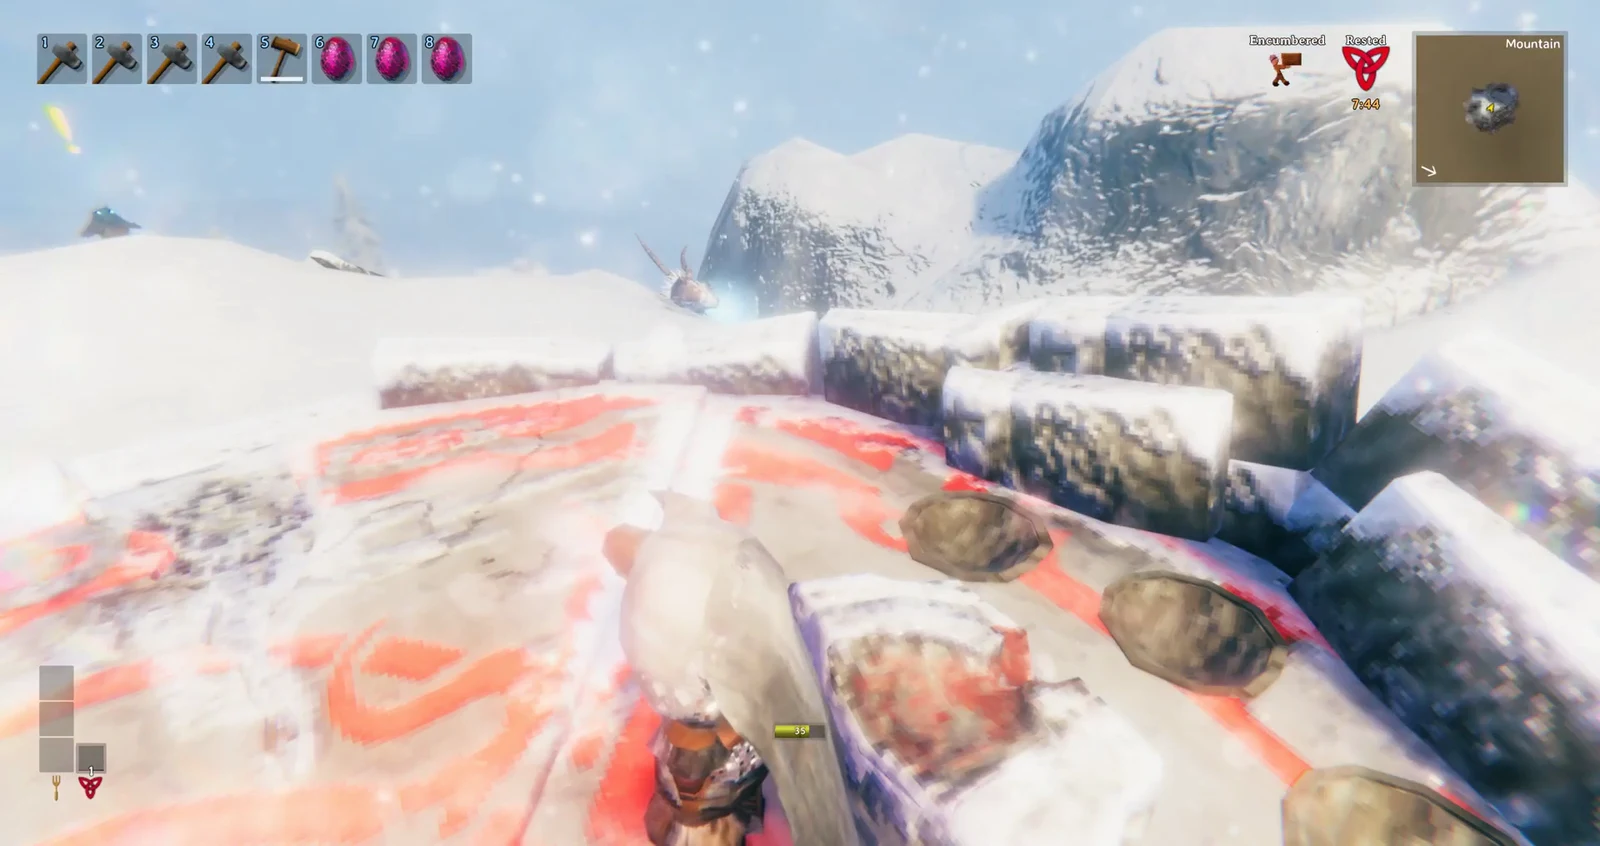
Moder’s altar is a round stone platform covered in red and orange markings, set inside the Mountain biome. A world holds up to 3 of them, each at an altitude between 150 and 500 and at least 3,000 metres from the next. They sit away from the biome’s edges.
To pin one on your map, look for a Vegvisir inside a Mountain ruined stone tower or in a Frost Caves dungeon.
You do not have to collect the eggs from the same Mountain that holds the altar.
How to summon Moder, step by step
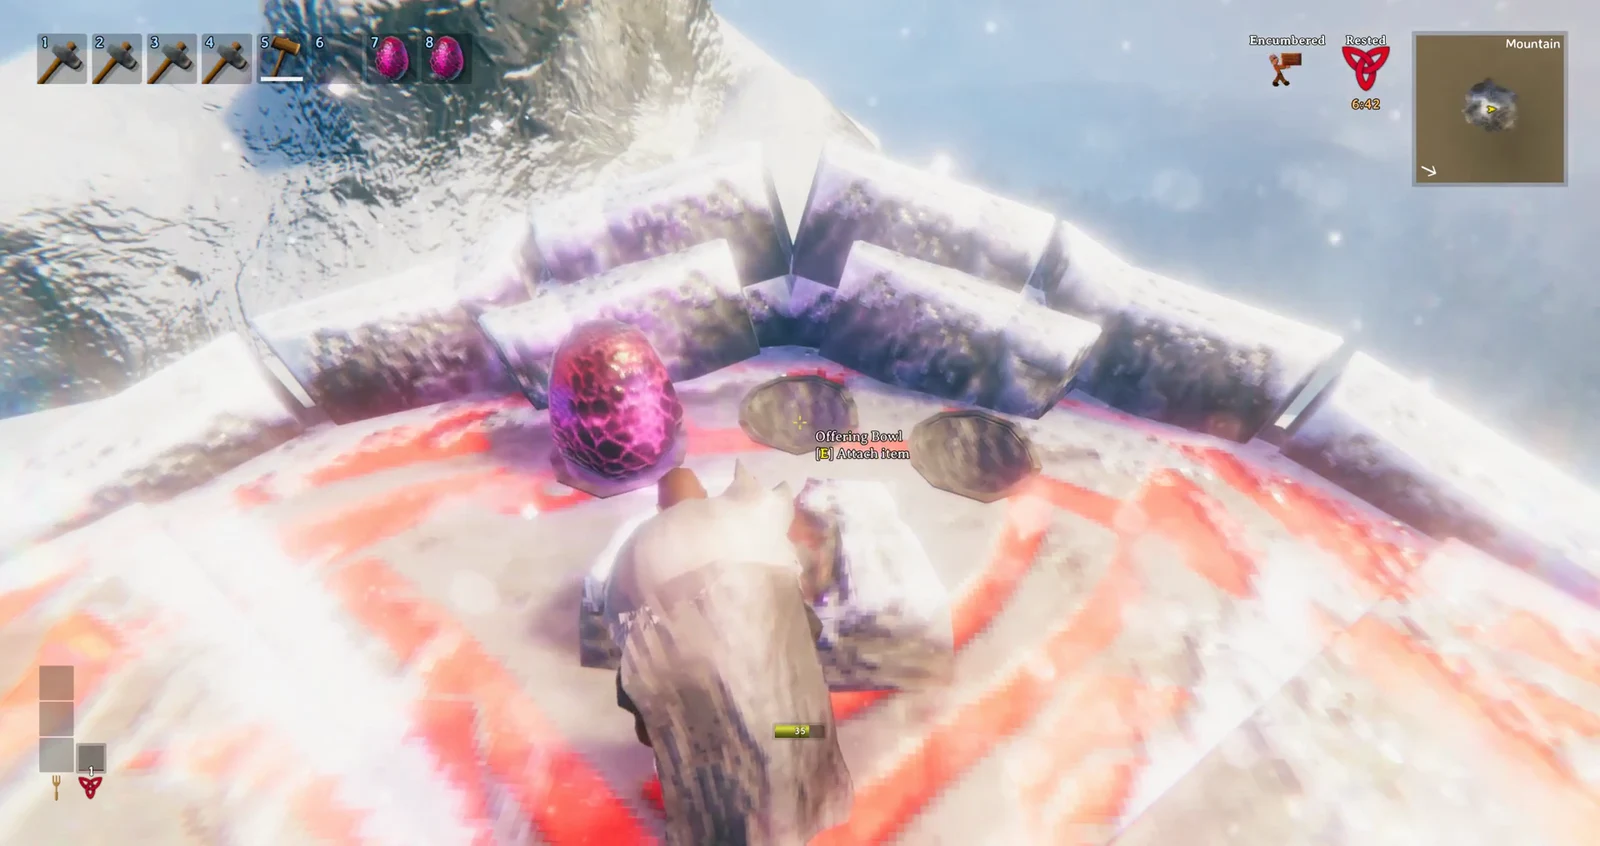
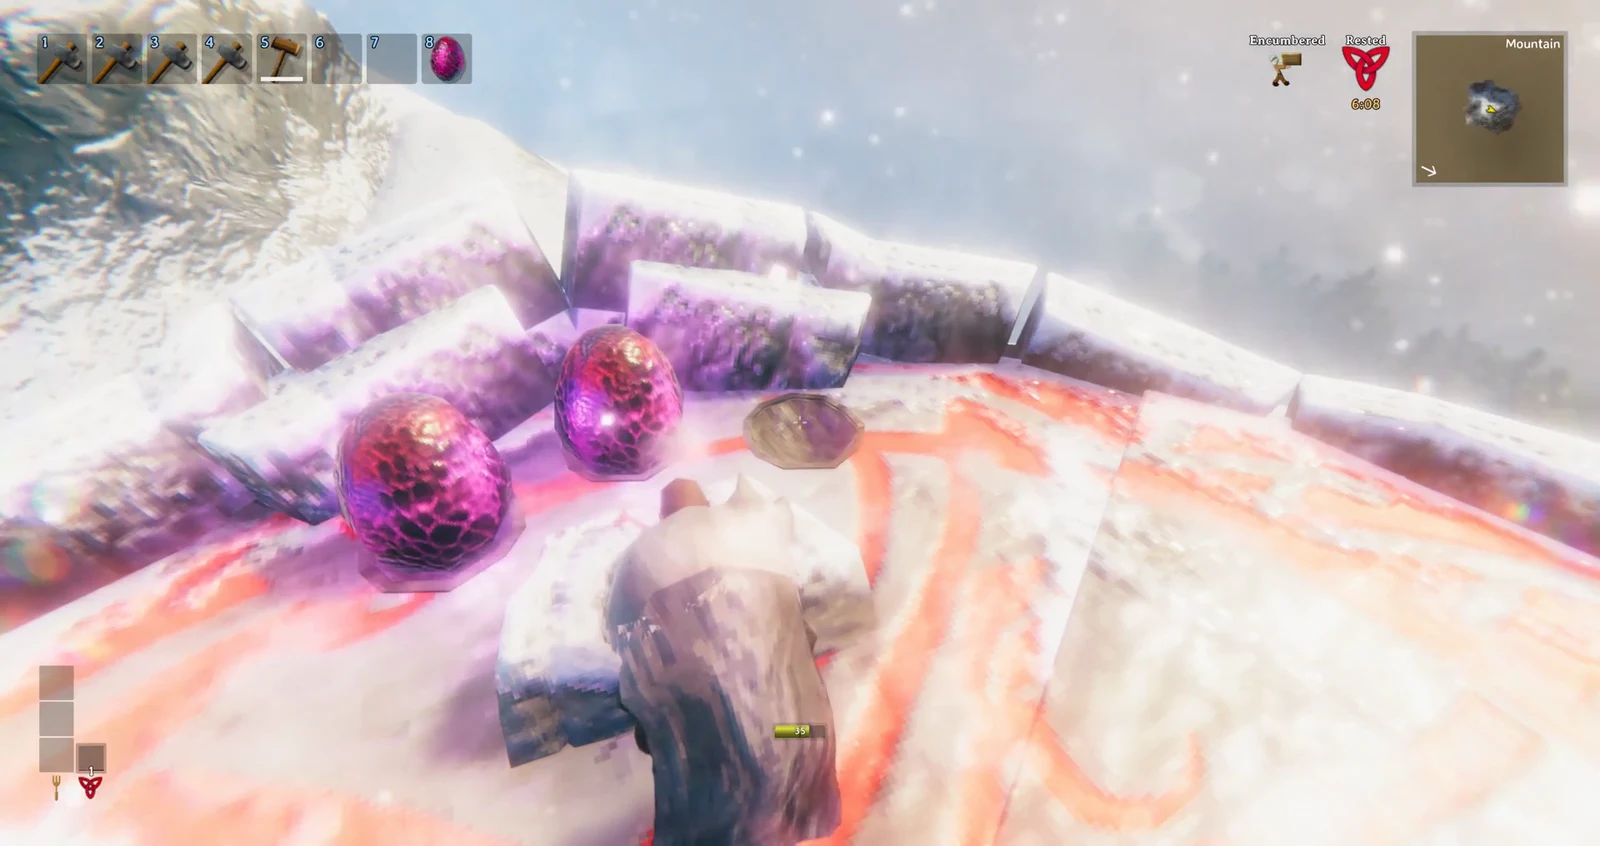
Everything is reachable from one spot. Three round Offering Bowls sit in a row along the rim, with a square stone block (the Sacrificial Altar) just inside them. You do not need to walk around the platform to complete the ritual.
How to tell it worked
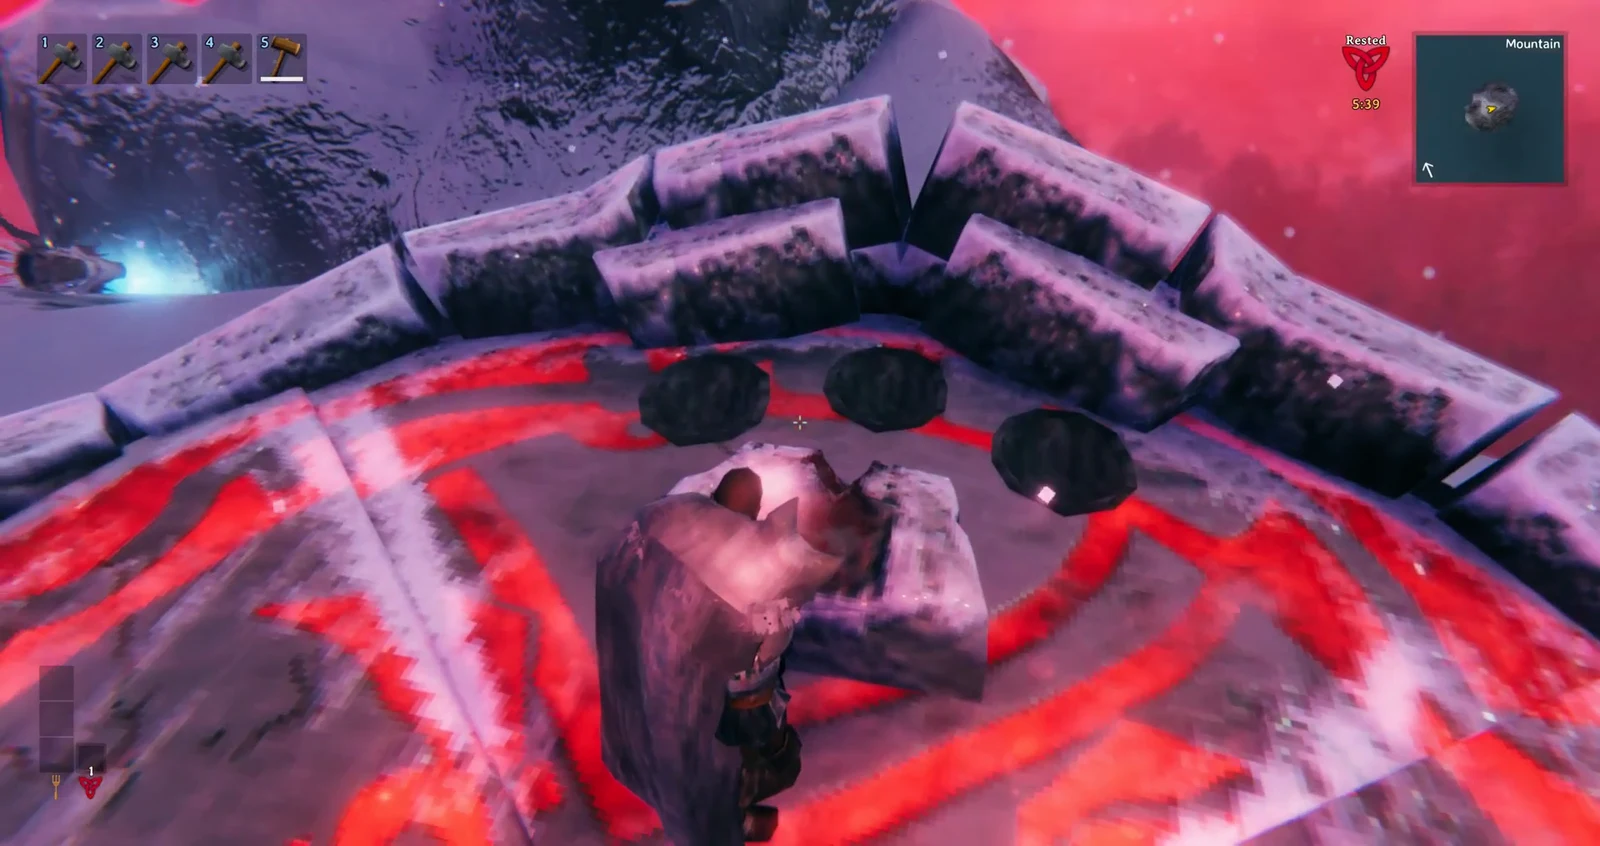
Moder does not appear the instant you offer the sacrifice. After a short delay of a few seconds, the sky turns deep red, the markings on the platform glow bright red, the message “Moder is enraged” appears, and a red boss health bar labelled MODER fills the top of the screen. Those three signals arrive together, roughly eight seconds after the sacrifice.
A burst of white ice crystals lands on the platform beside you.
Why the eggs alone do nothing
Several things trip players up at this altar.
- The “Offer sacrifice” prompt remains visible with empty bowls, so its appearance by itself does not show that the altar is ready.
- Aiming at a filled bowl shows “Offering Bowl (Dragon Egg)” and “[Hold E] Take item” — a short press there does nothing, and holding E takes the egg back out.
Moder’s stats, drops and what opens up
| Detail | Value |
|---|---|
| Health | 7,500 |
| Weakness |  Fire |
| Guaranteed drops | Moder Trophy x1, Dragon Tear x10 |
Frost has no effect on Moder: frost arrows and frost weapons both fail against her. Fire is her vulnerability. Dragon Tears are used to build the Artisan Table.
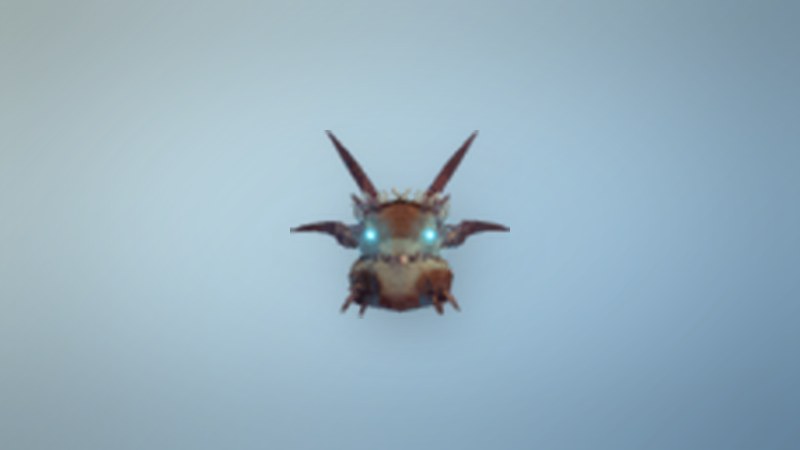
Defeating her also opens new stock with the traders. Haldor begins selling Wider Pockets (1,000 coins) for an extra inventory row, and The Bog Witch adds Scythe Handle (200), Toadstool (85), Fragrant Bundle x5 (140) and Mountain Peak Pepper Powder x5 (140).
Common follow-up questions
Does Yagluth work the same way? You place five Fuling Totems in five Offering Bowls and then use the Mystical Altar, following the same bowls-then-altar pattern.
Can I summon Moder more than once? Yes.
After obtaining the Moder Trophy, take it to the ring of sacrificial stones in the Meadows and hang it with the other bosses’ trophies.