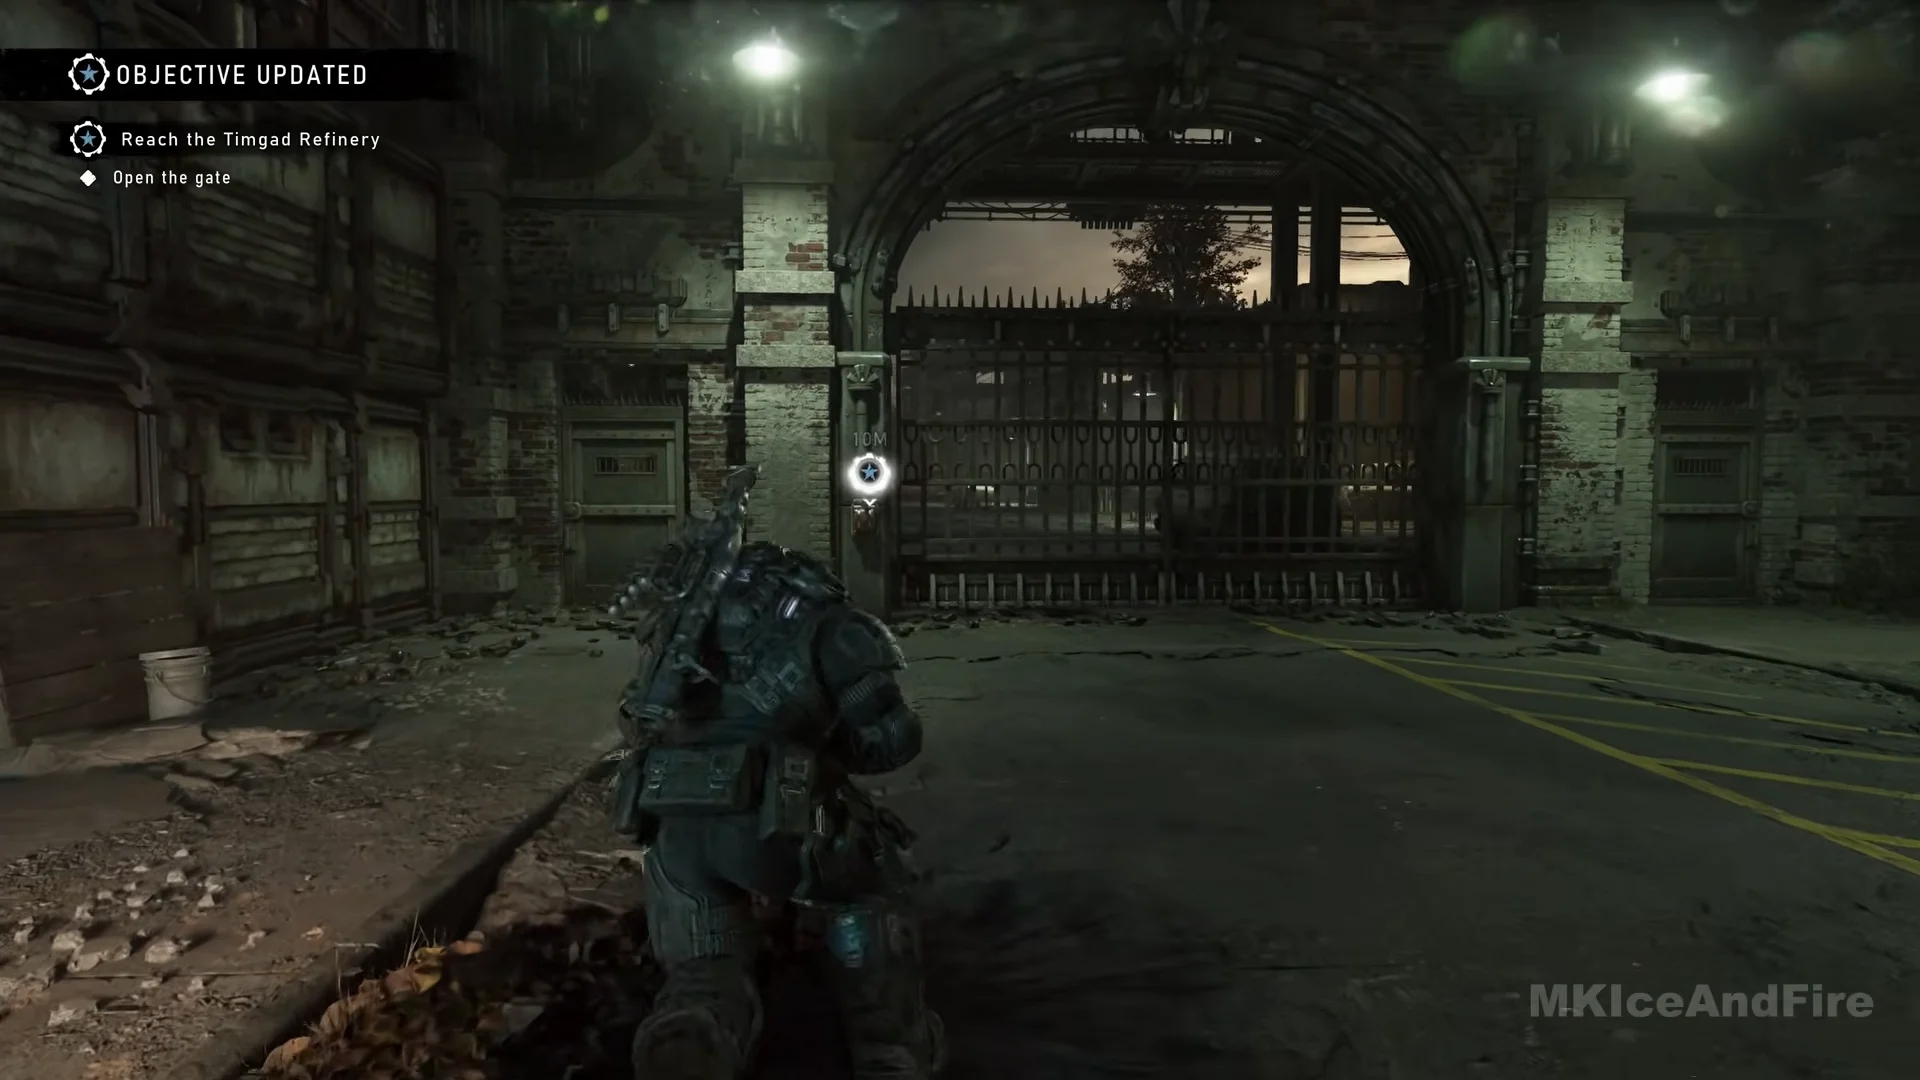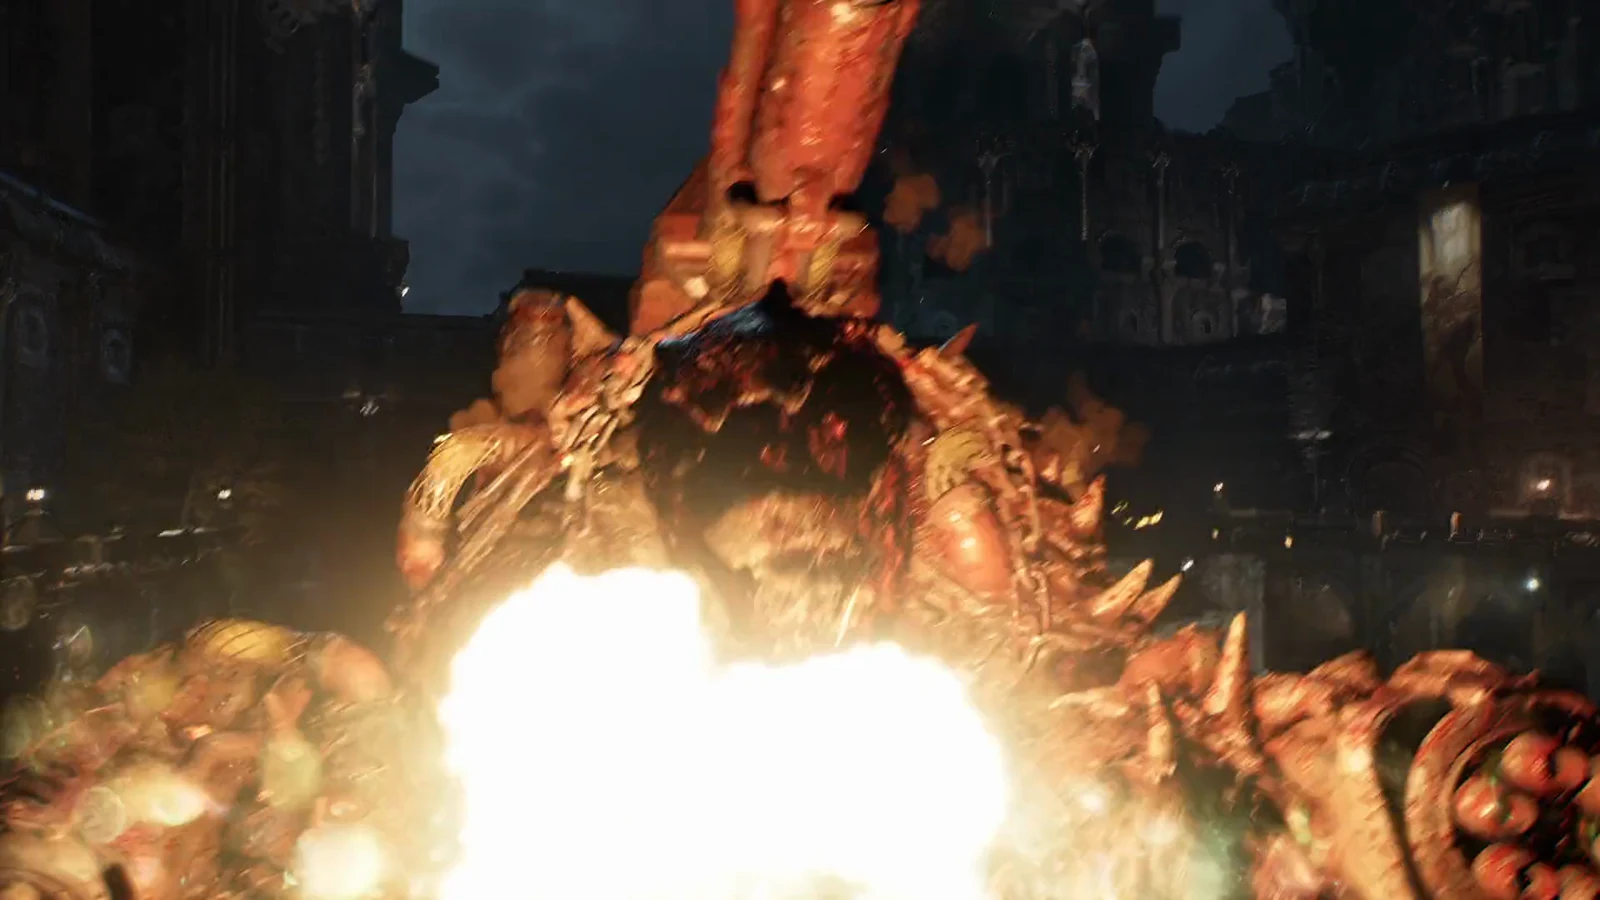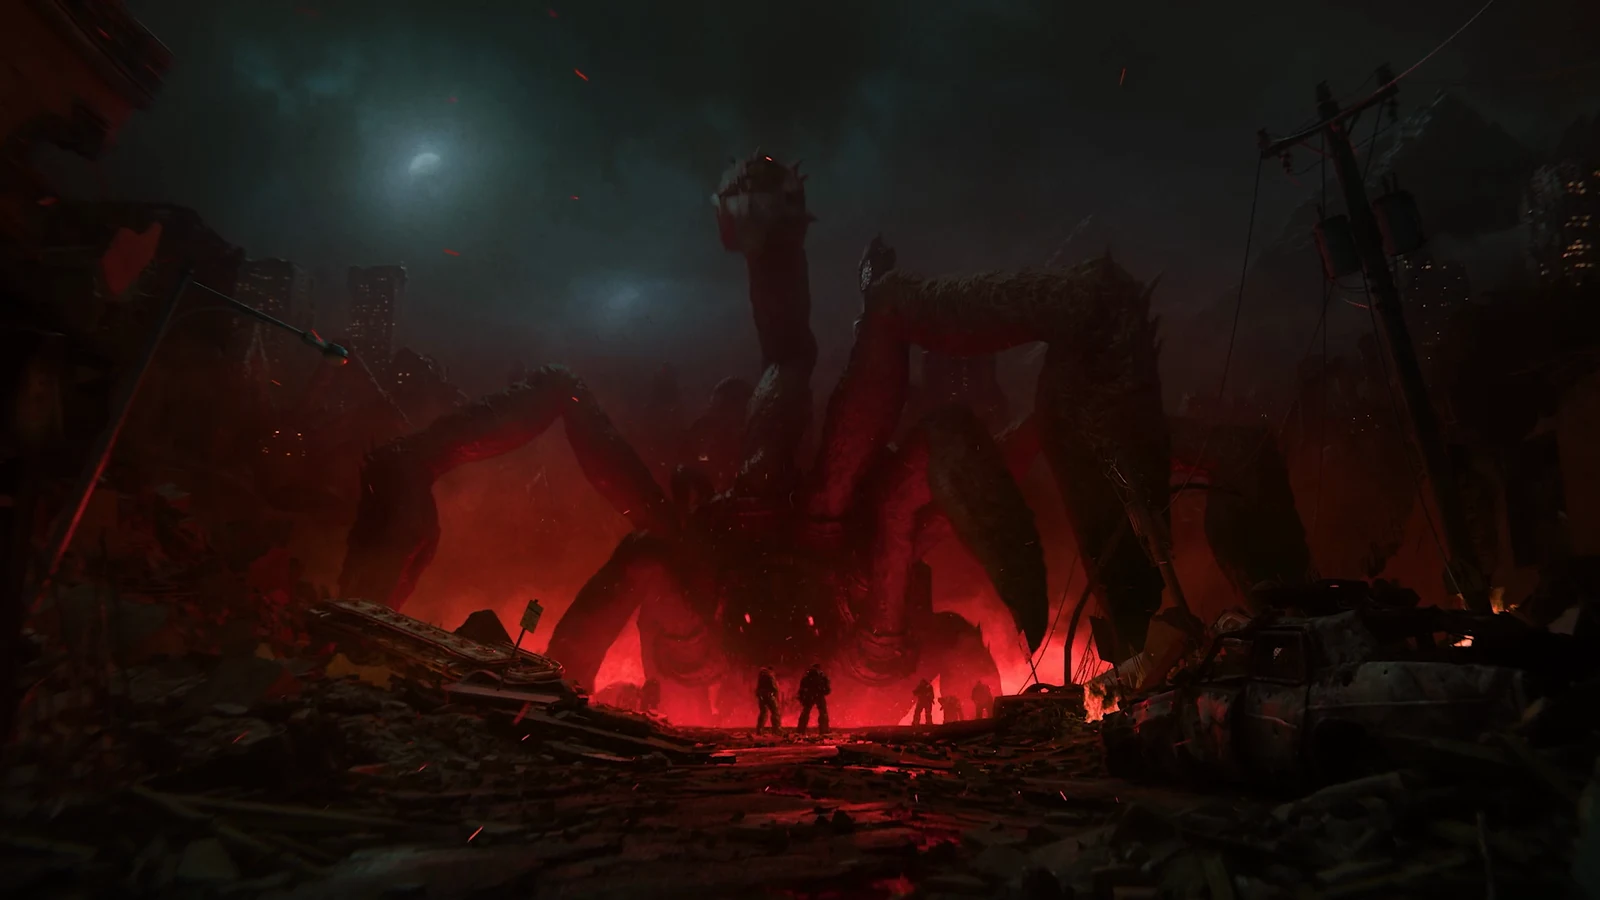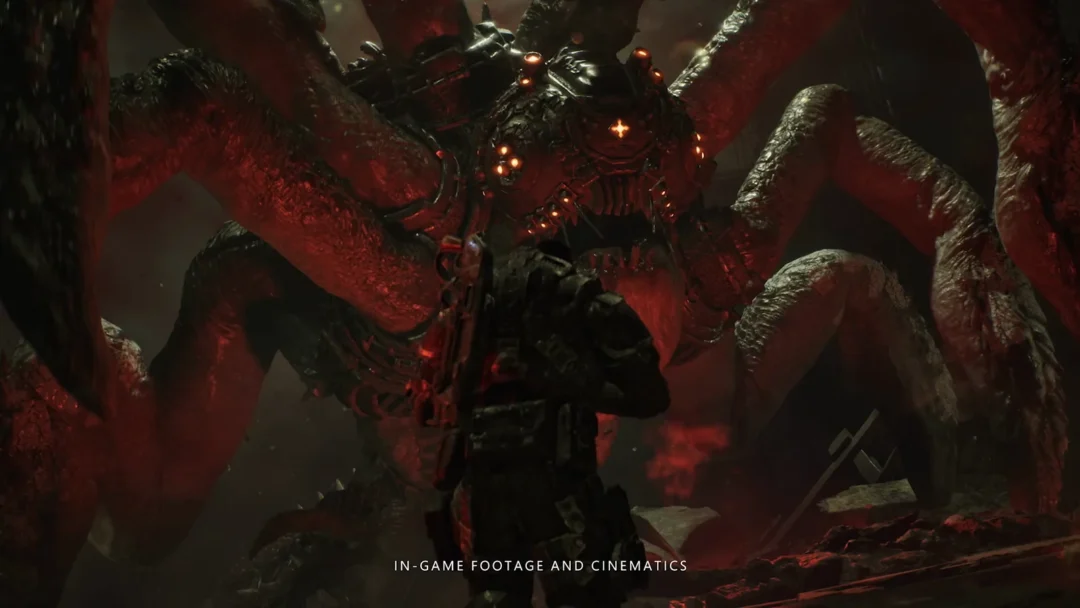
Partway through Act 4, Chapter 5: Paths Diverge, the push to reach the Timgad Refinery stops cold when a Brumak walks into a wide refinery street. This one is nothing like the armored version at Fort Vigil. It carries no mounted guns and wears no armor, so there is no weak point to uncover and no sequence to solve. It fights entirely with its chain-wrapped forearms, and the whole thing is settled by keeping distance and pouring fire into its head.
Quick answer: Carry the Troika into the street and empty it into the Brumak’s head, then finish with Gut-Puncher grenades and the Prototype Lancer while circling cover.
Where the fight starts and what to carry in
The route to the street passes through a roofed passage and an office. A Troika waits along the way; take it with you as you head outside. It can hit the gate with 54 rounds showing, so use that ammunition to begin the battle.
The office also holds a yellow Hard Case on the floor beside the desks, the HARD LAUNCH / GUT-PUNCHER MOD, along with ammo for the Lancer and Gut-Puncher. A “SUPPLY CACHE NEARBY” prompt shows out on the street, but you do not need to open it to win the fight. A checkpoint lands at the chain-link gate before you step through.
As you pass the chain-link gate where civilians are setting up sentries, the objective updates and “Kill the Brumak” is added under the main goal of reaching the refinery.
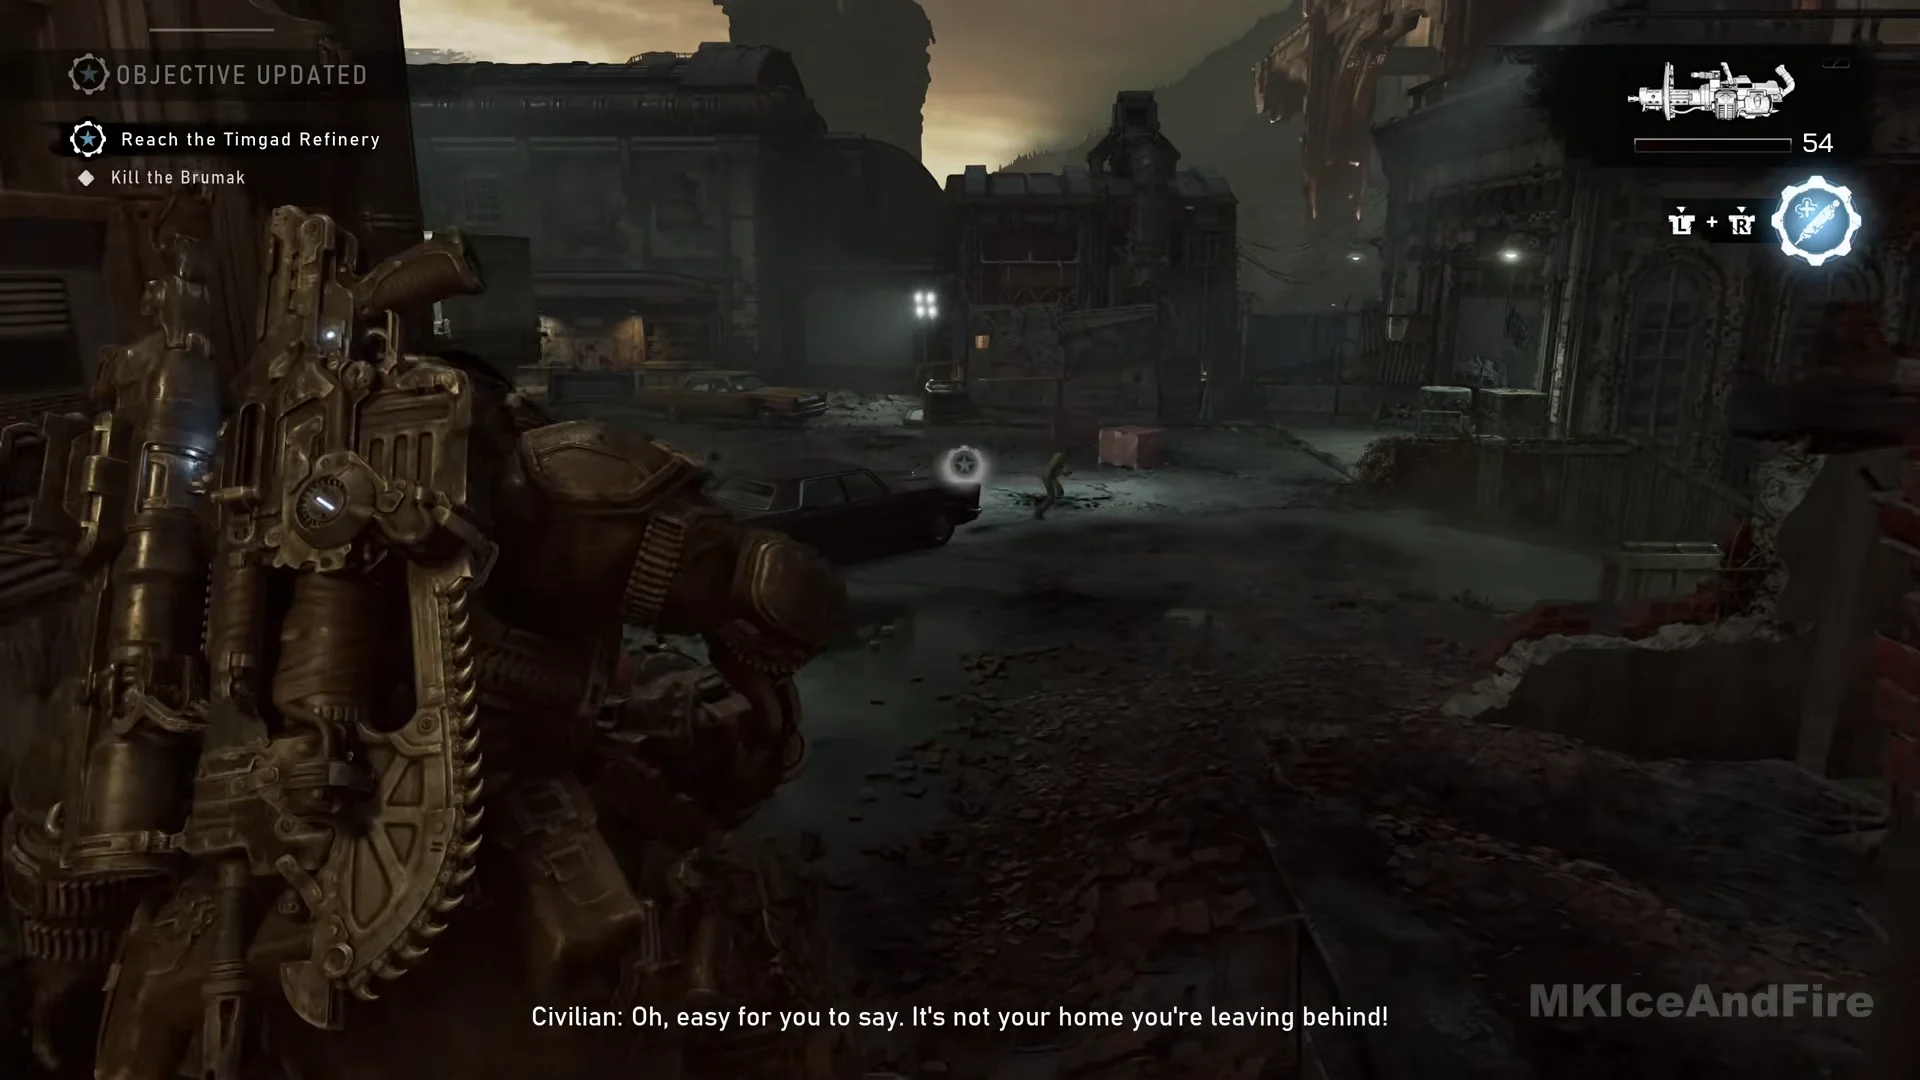
Here is a clean loadout to walk in with. The sentries the civilians place are not yours to use, and there is no fixed emplacement to fire from in the street itself.
| Weapon | Ammo | Role |
|---|---|---|
| Troika | 54 | Opening burst into the head |
| Gut-Puncher | 14 | Hardest hit per shot |
| Prototype Lancer | 600 | Finishes the fight |
| Snub | 136 | Sidearm |
How the Paths Diverge Brumak attacks
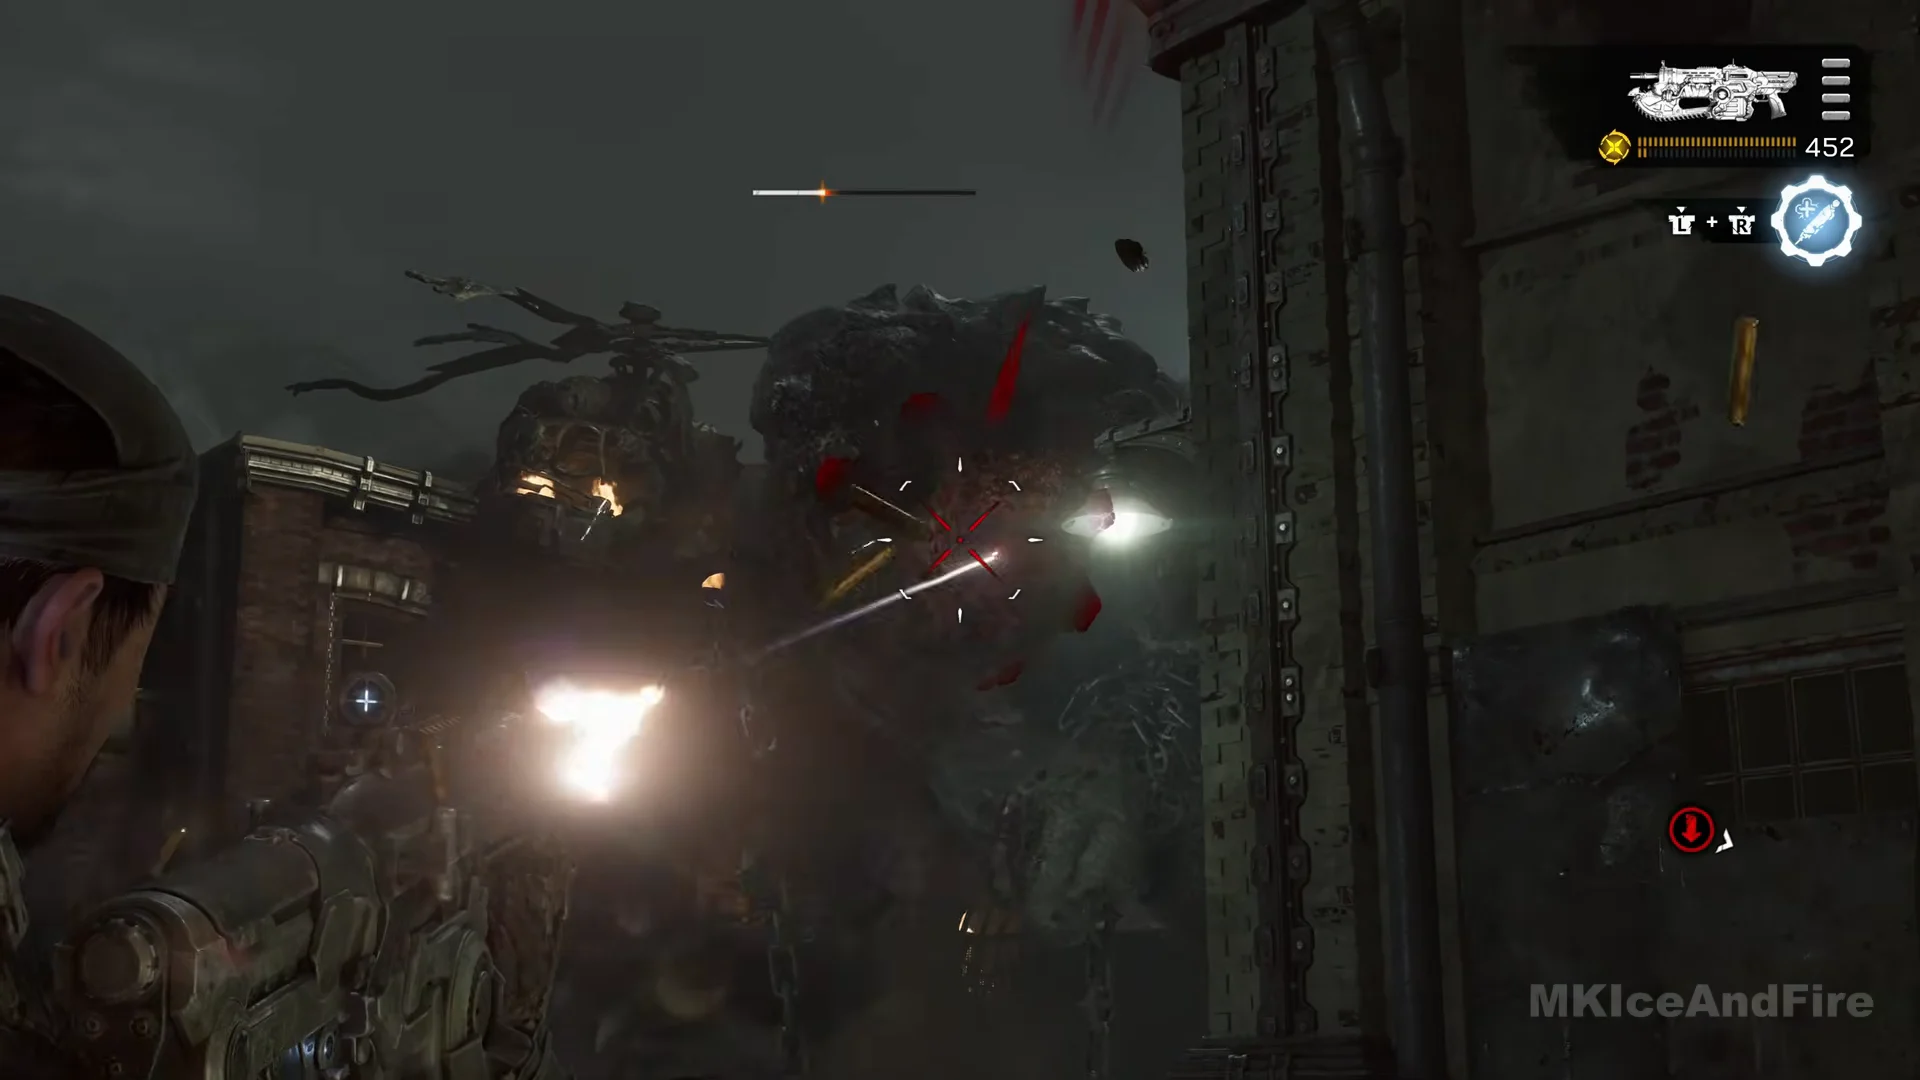
The Brumak enters on foot beneath the gantry at the street’s far end. Heavy chains wrapped around its forearms glow orange as it stomps and swings them. Its attacks have a broad reach, so keep at least a car’s length between you and it.
It tracks you around the cover, leaving nowhere you can remain safe. Use the arena’s transformer box and brick wall beside the gate, wooden crates, shipping container, concrete road barriers, central yellow car, and wrecked cars farther along. Circle the yellow car and barriers, firing whenever it turns to face you.
A narrow health gauge hovers overhead, changing from white to red as it drains. There is just one bar in this single arena, with no later phase to face. Flames spread across parts of the road and a car, so avoid them as you move to new positions.
The red cog-and-skull emblem that flashes in the center of the screen means your own health is nearly gone, not the Brumak’s. It can appear early here if you stand still to empty the Troika. Break away and let it clear.
The kill order: Troika, Gut-Puncher, then Lancer
Confirming the kill
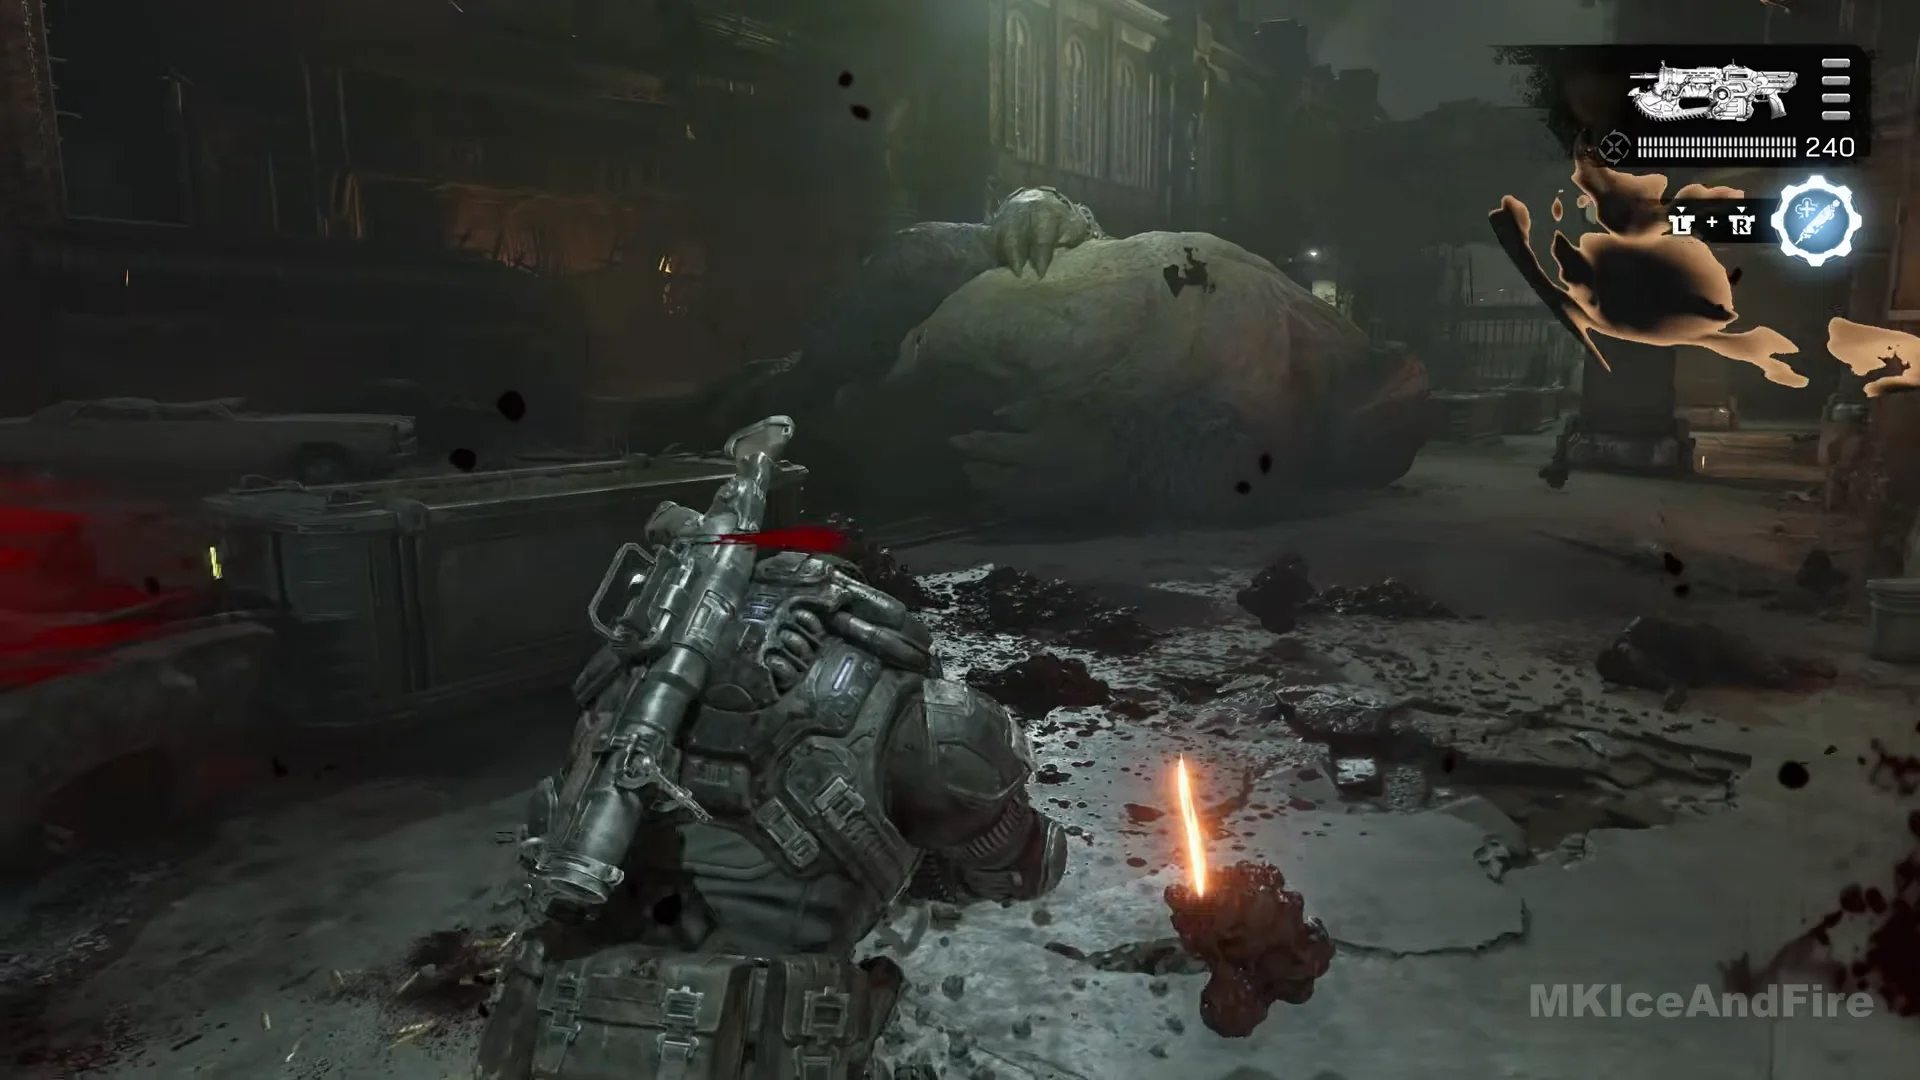
When the bar empties, the Brumak slumps grey and dead in the street. There is no finisher prompt and no cutscene kill to trigger. Shortly after it drops, a checkpoint fires and “Kill the Brumak” is struck out in your objectives, which is how you know the fight is over.
Rewards and opening the gate
An ammo pickup sits on the road beside the body, giving back Lancer and Gut-Puncher rounds. A “HARD CASE NEARBY” prompt then points you to a yellow case against the chain-link fence, tucked behind the blue-and-white police car parked on the right before the big iron gate. Opening it gives the BLOOD GROOVE / BREECHSHOT MOD and empties the case.
A second ammo pickup near the case tops the Lancer to 600 rounds and the Gut-Puncher to 14. The route contains neither of the chapter’s two collectibles, and its two Hard Cases are distinct from those collectibles.
Your next objective is “Open the gate.” Find the lever on the big iron gate’s left pillar and pull it; the gate opens to let you continue.