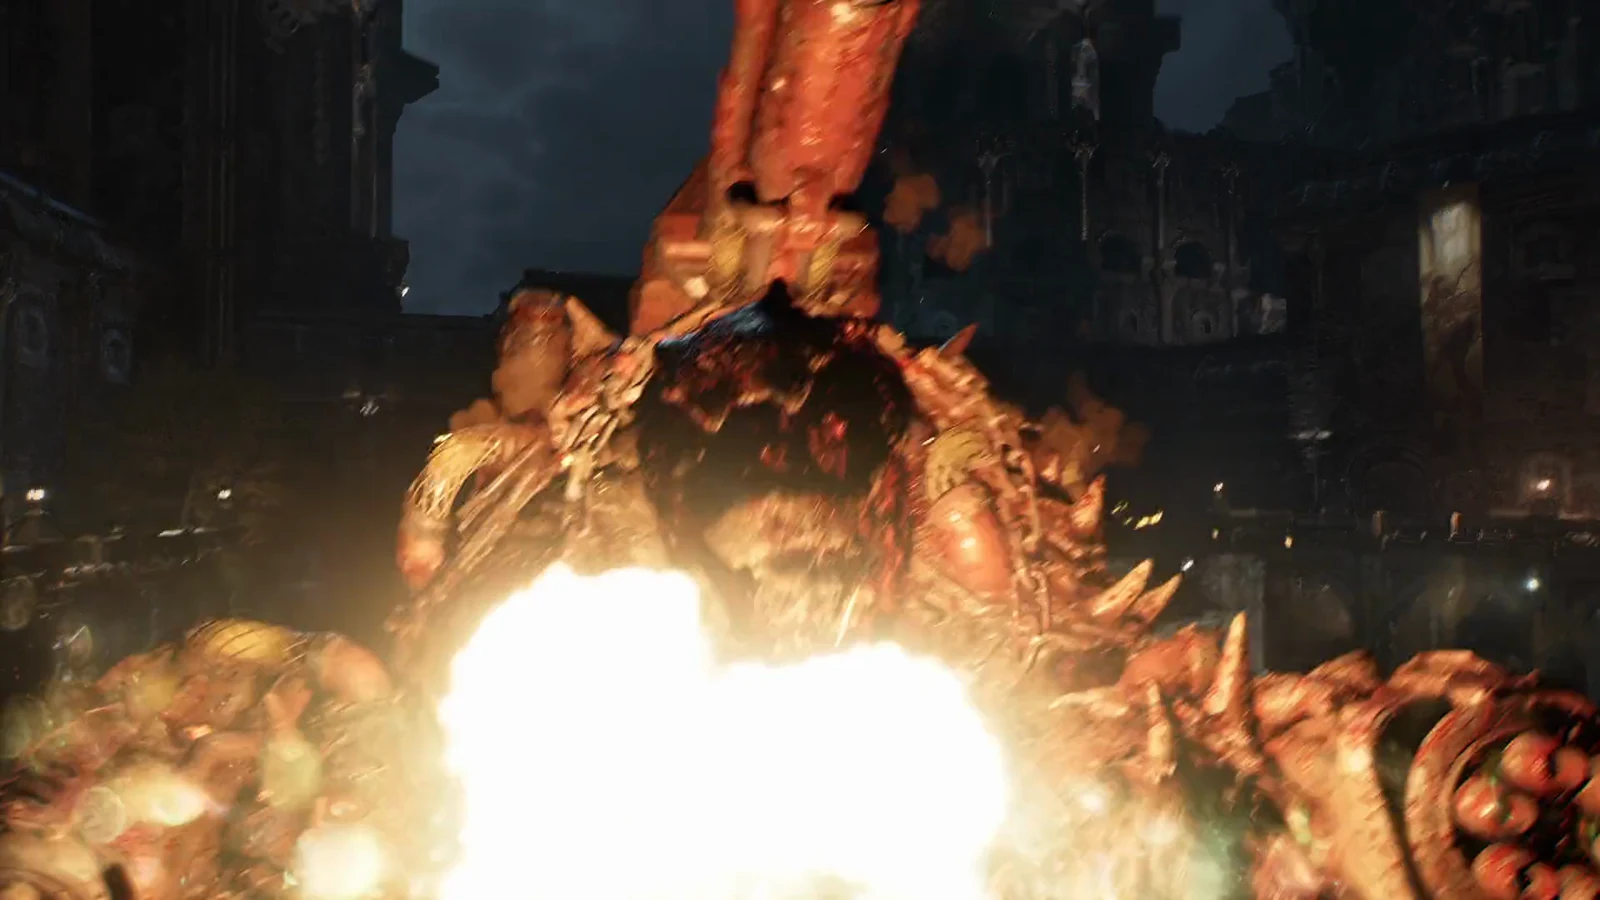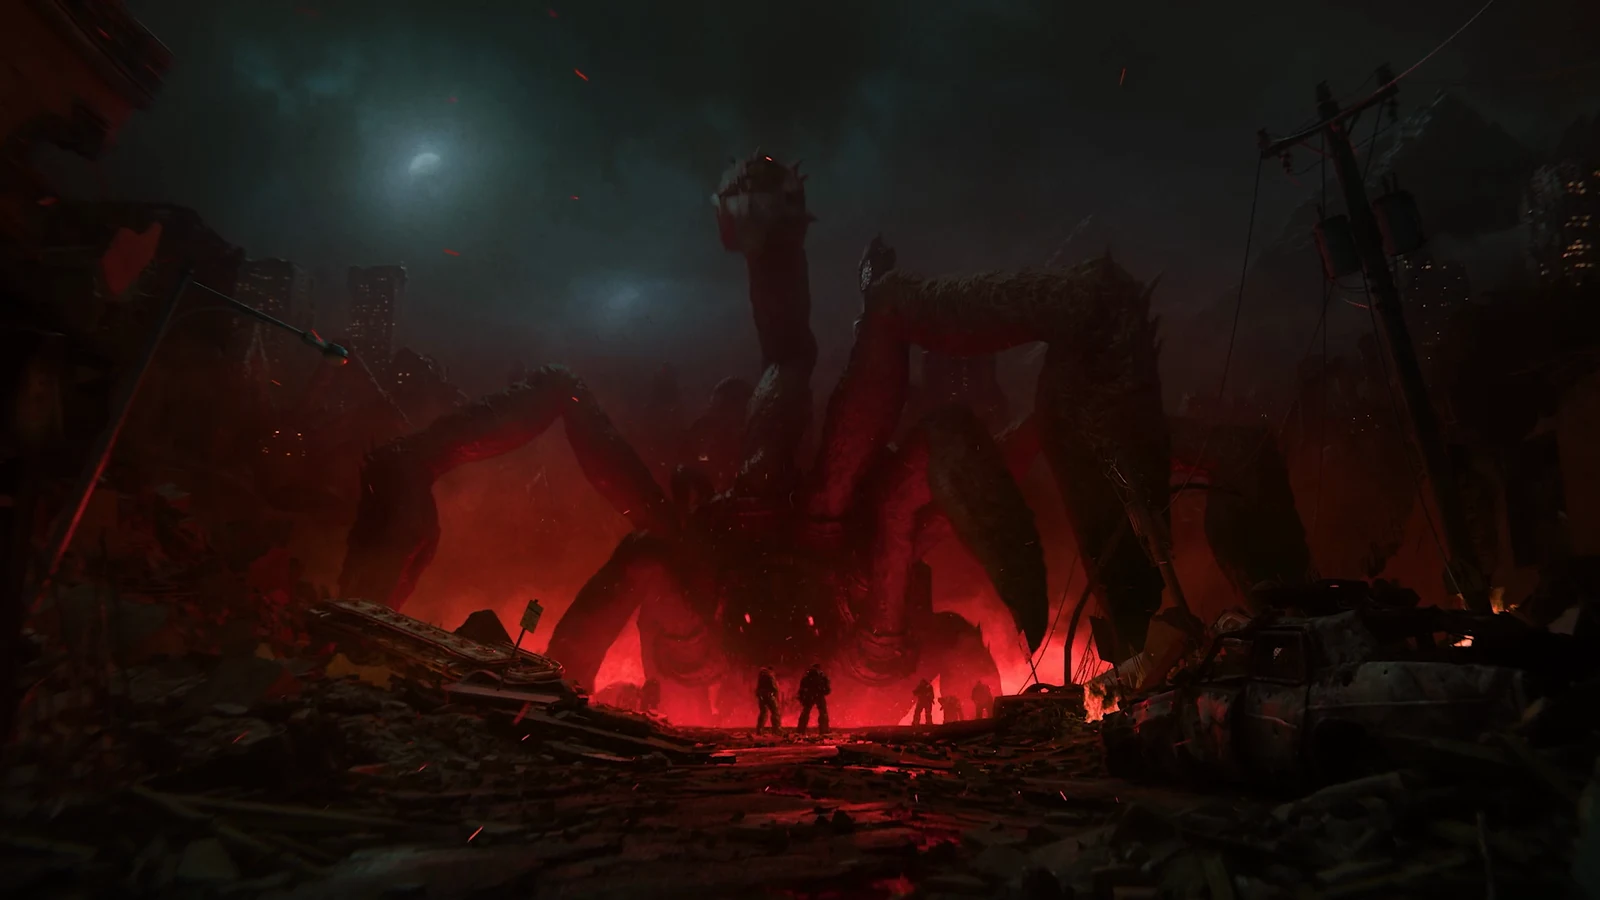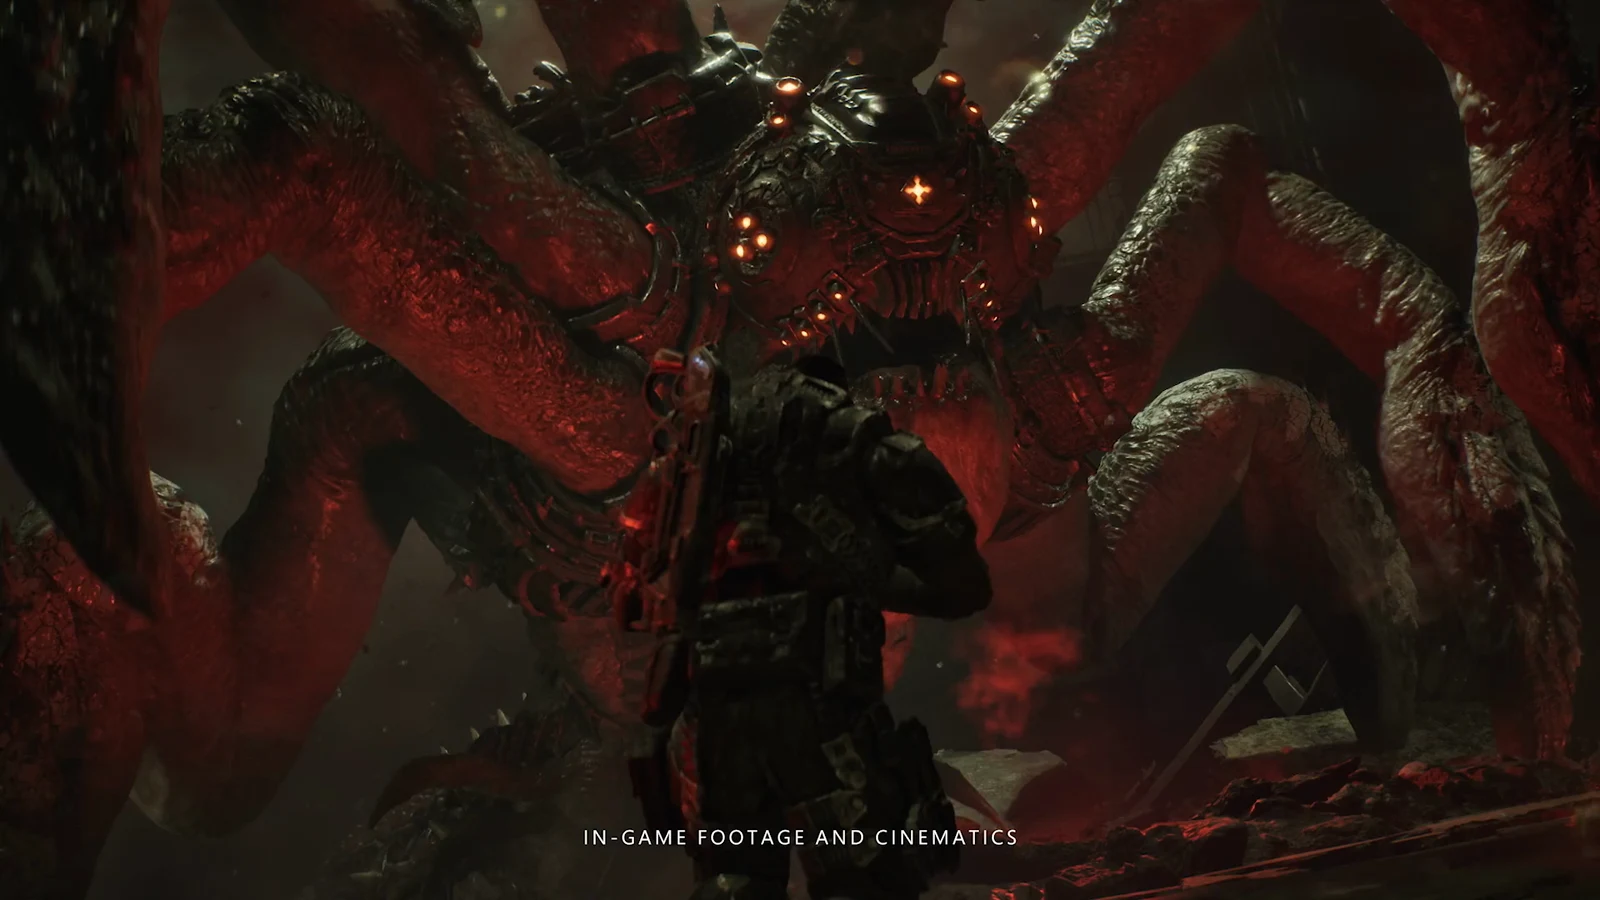
The Seeder that bursts out of the road in front of the Octus Tribunal is the thing jamming the squad’s radio and dropping living mortar shells across Kalona’s streets throughout Act 2, Chapter 3. It looks like a wall of armor, and for most of the fight it is. Shoot the body and your rounds bounce straight off. The whole encounter rests on one thing: you only hurt it by hitting the head.
Quick answer: Aim at the Seeder’s head and open mouth, never its body. Put all 12 Gut-Puncher grenades into the head, then switch to the Prototype Lancer and fire into the mouth to finish it.
Where and when the Seeder appears
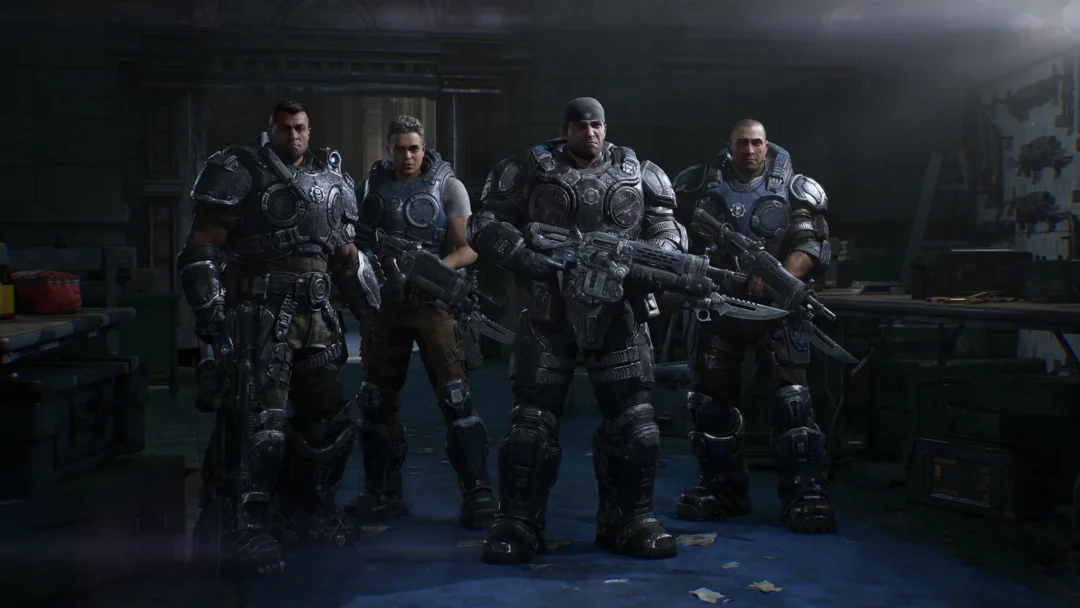
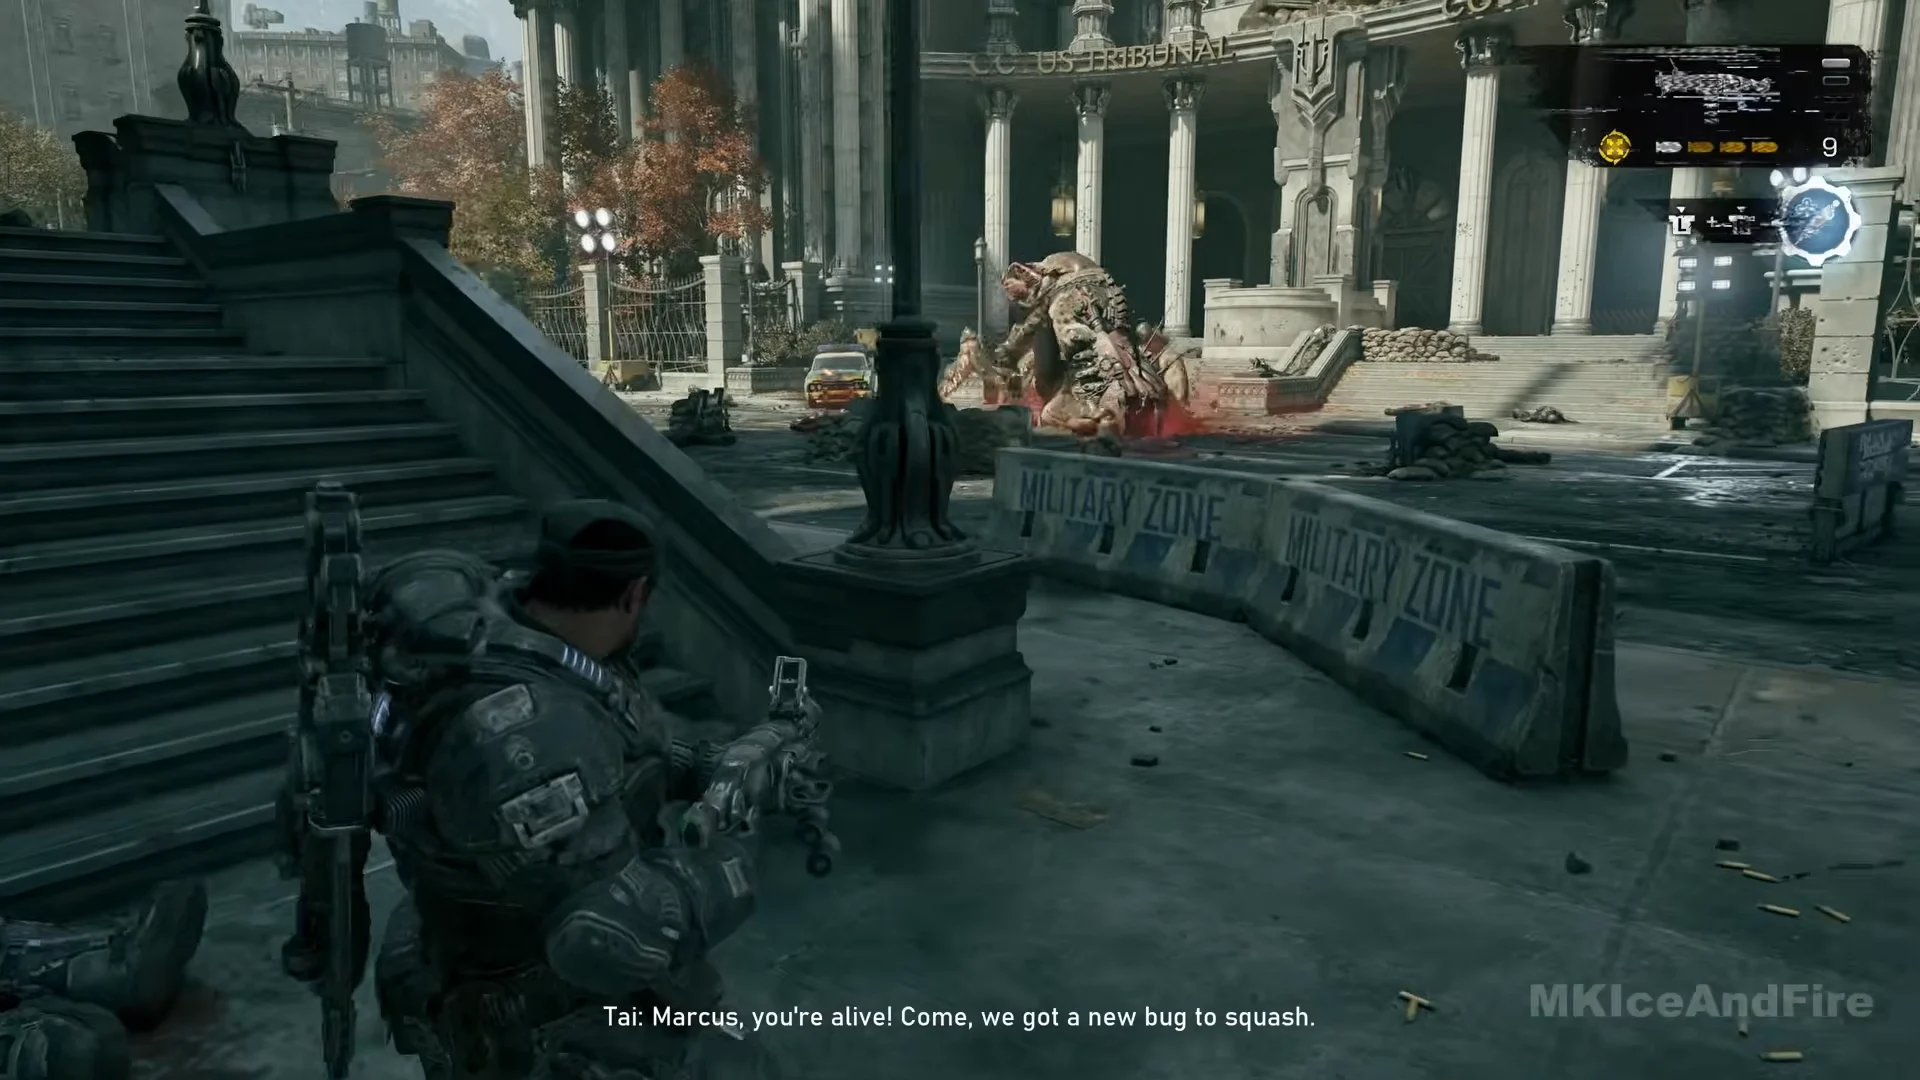
The fight takes place in Act 2, Chapter 3, “No Gear Left Behind.” It plays out in daylight in Kalona’s civic district, with Victory Plaza behind you and the Octus Tribunal ahead. You reach it with Marcus alongside Dom, Lucas and Mags, and at the tribunal itself Tai Kaliso, Captain Grey and other Gears are already trading fire with the creature.
The Seeder erupts from the road in a cloud of red dust at the bottom of the tribunal steps, right by the iron fence. It is a squat, many-legged thing standing in a spreading red pool, and it stays in that exact spot from the first second to the last. It does not walk, chase or burrow during the fight. The objective updates to “Take down the Seeder” the moment it surfaces.
Stock up at the Supply Cache first
Before you step into the arena, use the Supply Cache that stands a few steps before the gate. It is the blue-grey COG crate beside the yellow “CAUTION WATCH YOUR STEP” sign, with the tribunal’s columns behind it. There is an ammo box inside the arena too, but nothing else to restock from until the Seeder is dead, so top off everything here.
Take a Lancer as your primary and keep the Gut-Puncher as your secondary. The grenades do most of the work and the rifle cleans up. A sensible loadout going in looks like this:
| Slot | Weapon | Ammo |
|---|---|---|
| Primary | Prototype Lancer | 600/600 |
| Secondary | Gut-Puncher | 12/12 |
| Sidearm | Snub | 136/136 |
| Grenades | Frag | 2/2 |
| Tactical | Adrenaline Injector | — |
If you picked up the Concussion Rounds mod from the Hard Cases nearby, do not fit it to the Gut-Puncher before this fight. Its own description says it covers a bigger area and stuns but does no damage, which is exactly what you do not want against a boss.
The weak point and what the Seeder does
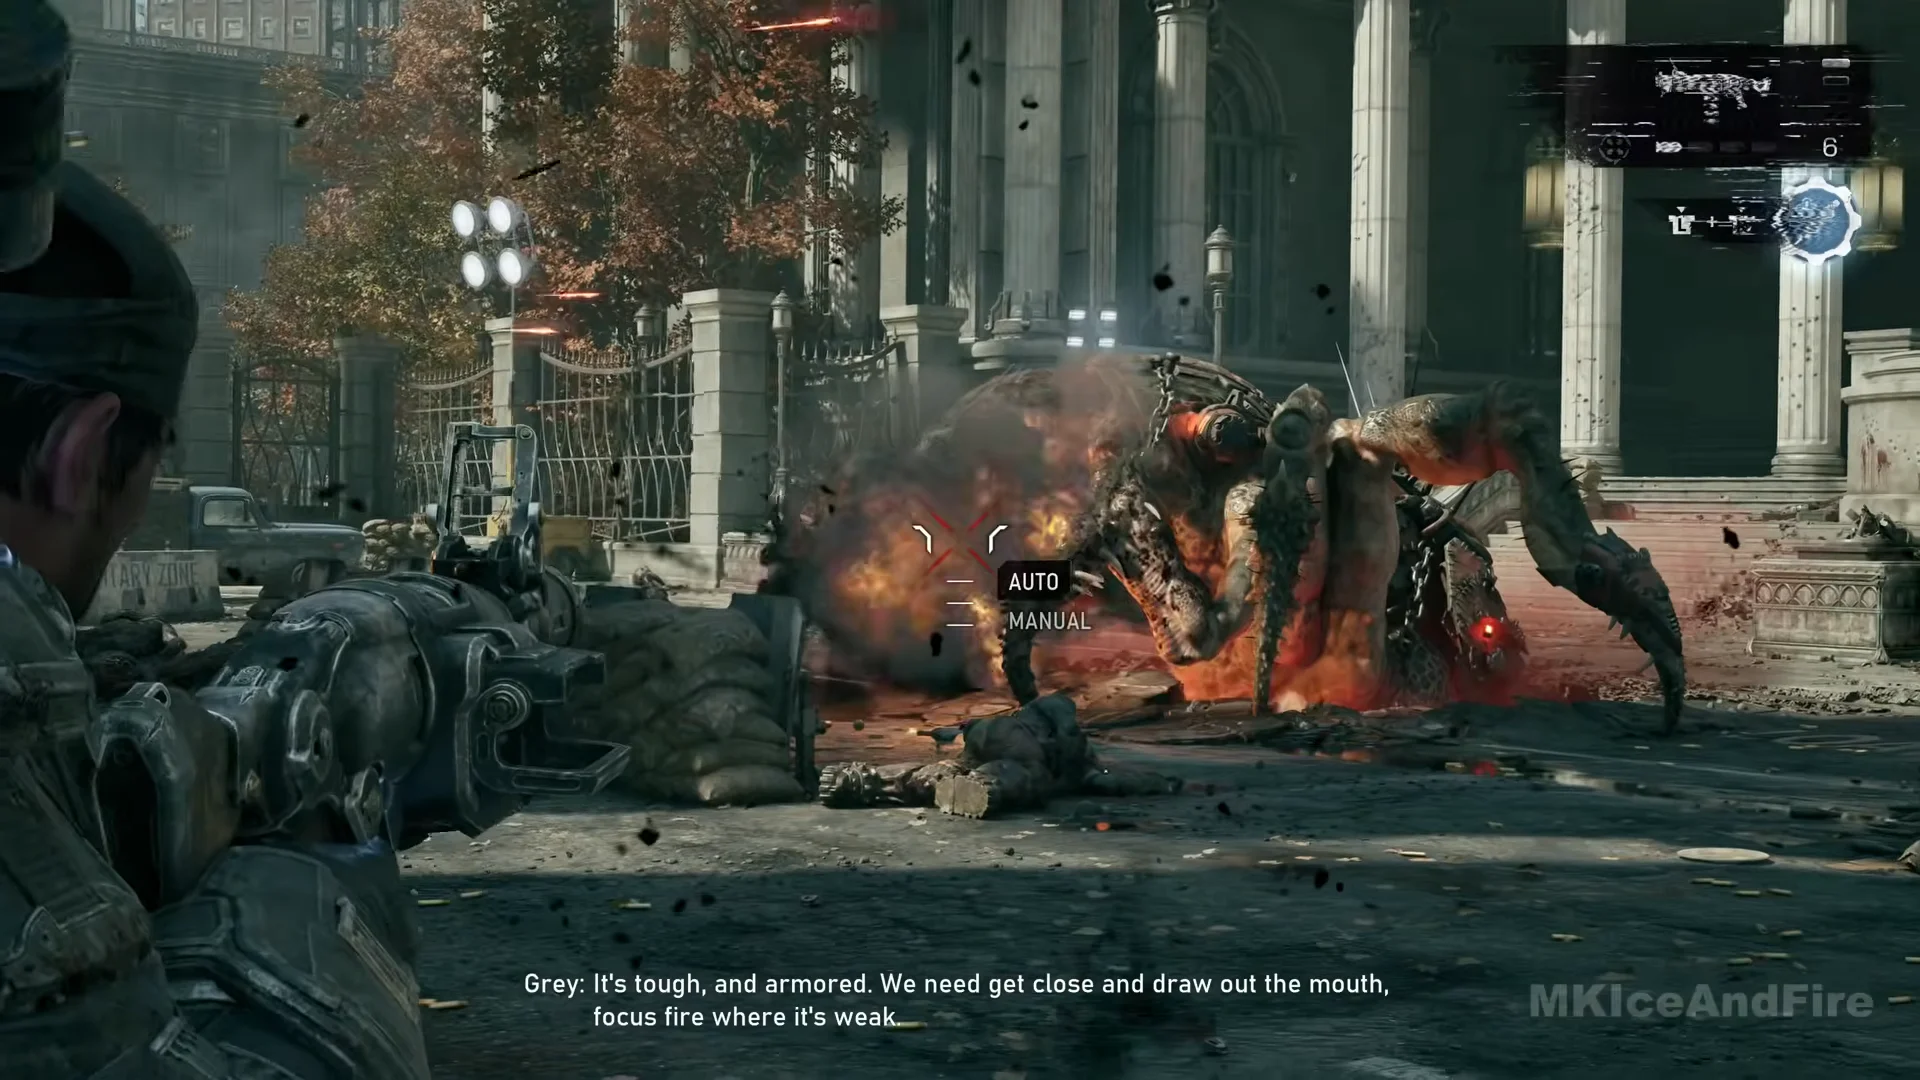
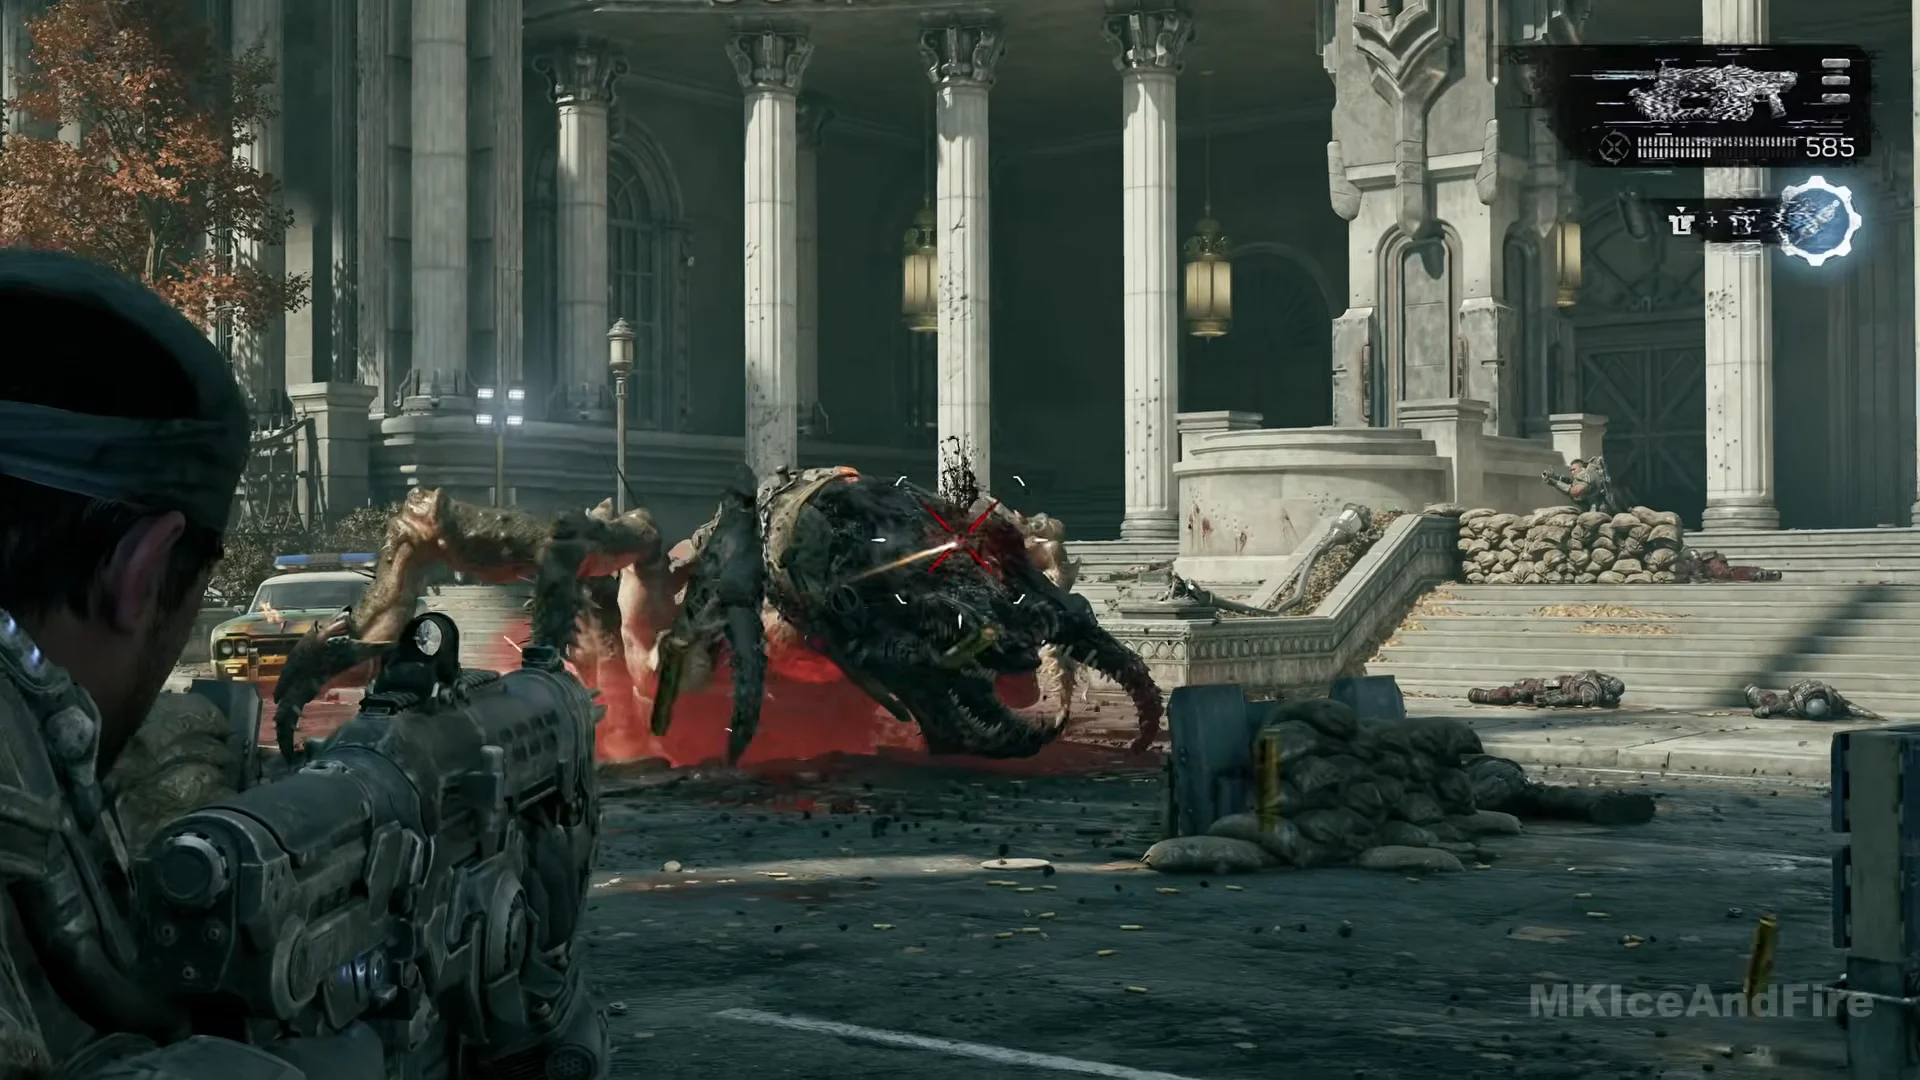
Your shots only damage the Seeder when they hit its head. After landing from a launch, it turns to face you, revealing a shaggy head and a mouth lined with teeth. In sequence, your squad warns that it is armored, body shots ricochet, and you should target the head and mouth. A red X appears on your reticle when a shot connects.
The Seeder has just one attack: it rises upright and hurls dark rounds into the air. They fall around the square rather than following a particular target; keep moving between the concrete barriers and sandbags. Stay off the open road, and avoid standing where a shell has landed.
The countdown you see next to the weapon panel back in the plaza is not a mortar timer. It is the Adrenaline Injector recharging after use, starting near 32 seconds, and the icon turns blue again when it is ready. The weapon panel also flickers with static while the Seeder lives, which is the jamming it causes.
How to kill the Seeder
This is a short, one-phase fight, roughly 65 seconds from the moment it surfaces to the moment it explodes. There is no health bar and no reinforcements. Work in this order.
How you know it worked
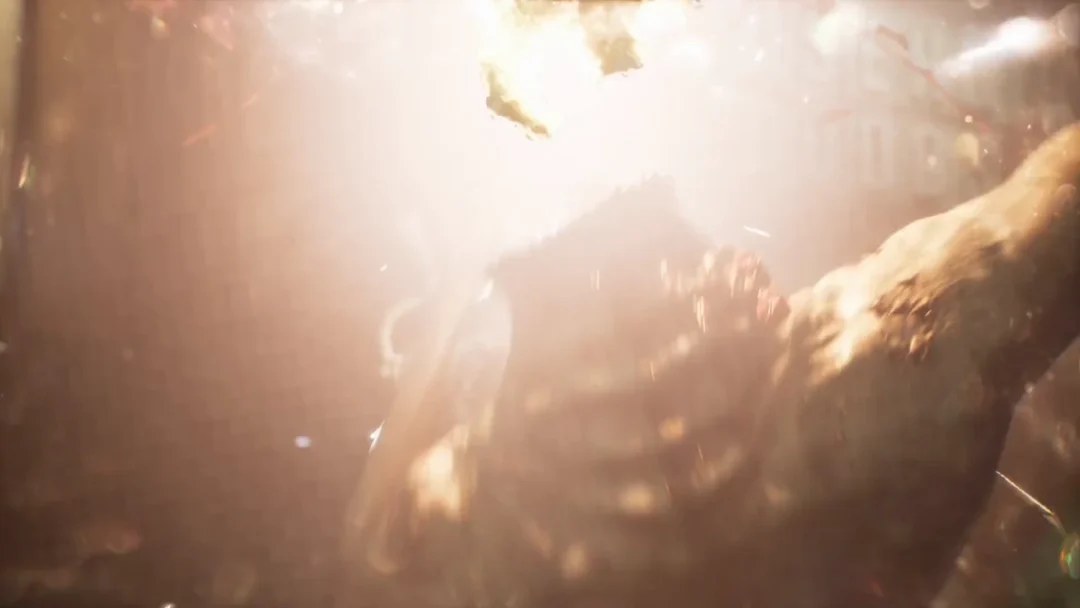
A few seconds after your last hits, the Seeder goes up in a tall column of red. There is no finisher move and no cutscene. The HUD shows “OBJECTIVE UPDATED” with “Take down the Seeder” struck through, followed by a checkpoint. That is your confirmation the fight is over.
Near your entry point, an ammo box is positioned by the concrete wall lined with sandbags. It gives you 60 Lancer rounds and 6 grenades, so refill before continuing. Captain Grey reports to Control that the creature is a new threat capable of firing living artillery and blocking communications. The objective then switches to “Regroup with Captain Grey” at the foot of the steps. After a brief exchange, it changes to “Follow Captain Grey,” and he guides you up the steps as the chapter continues.