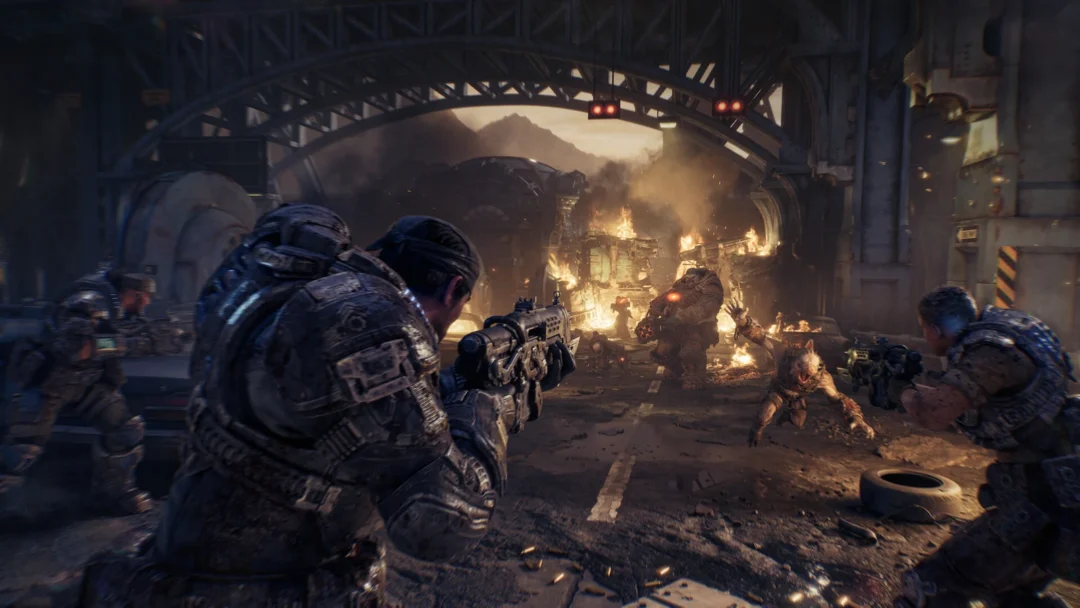
Armor Mods in Gears of War: E-Day are passive perks you bolt onto your COG Armor, and they quietly change how Marcus survives a firefight. They cover defense, healing, reloads, ammo drops and how much equipment you carry. You collect them as you explore, then register and slot them at a Supply Cache.
Quick answer: Armor Mods are perks that work in the background and can be installed on COG Armor at a Supply Cache, which provides three mod slots. The game includes 20 armor mods; obtain them from Hard Cases or by completing Secondary Objectives.
Armor mods and their effects
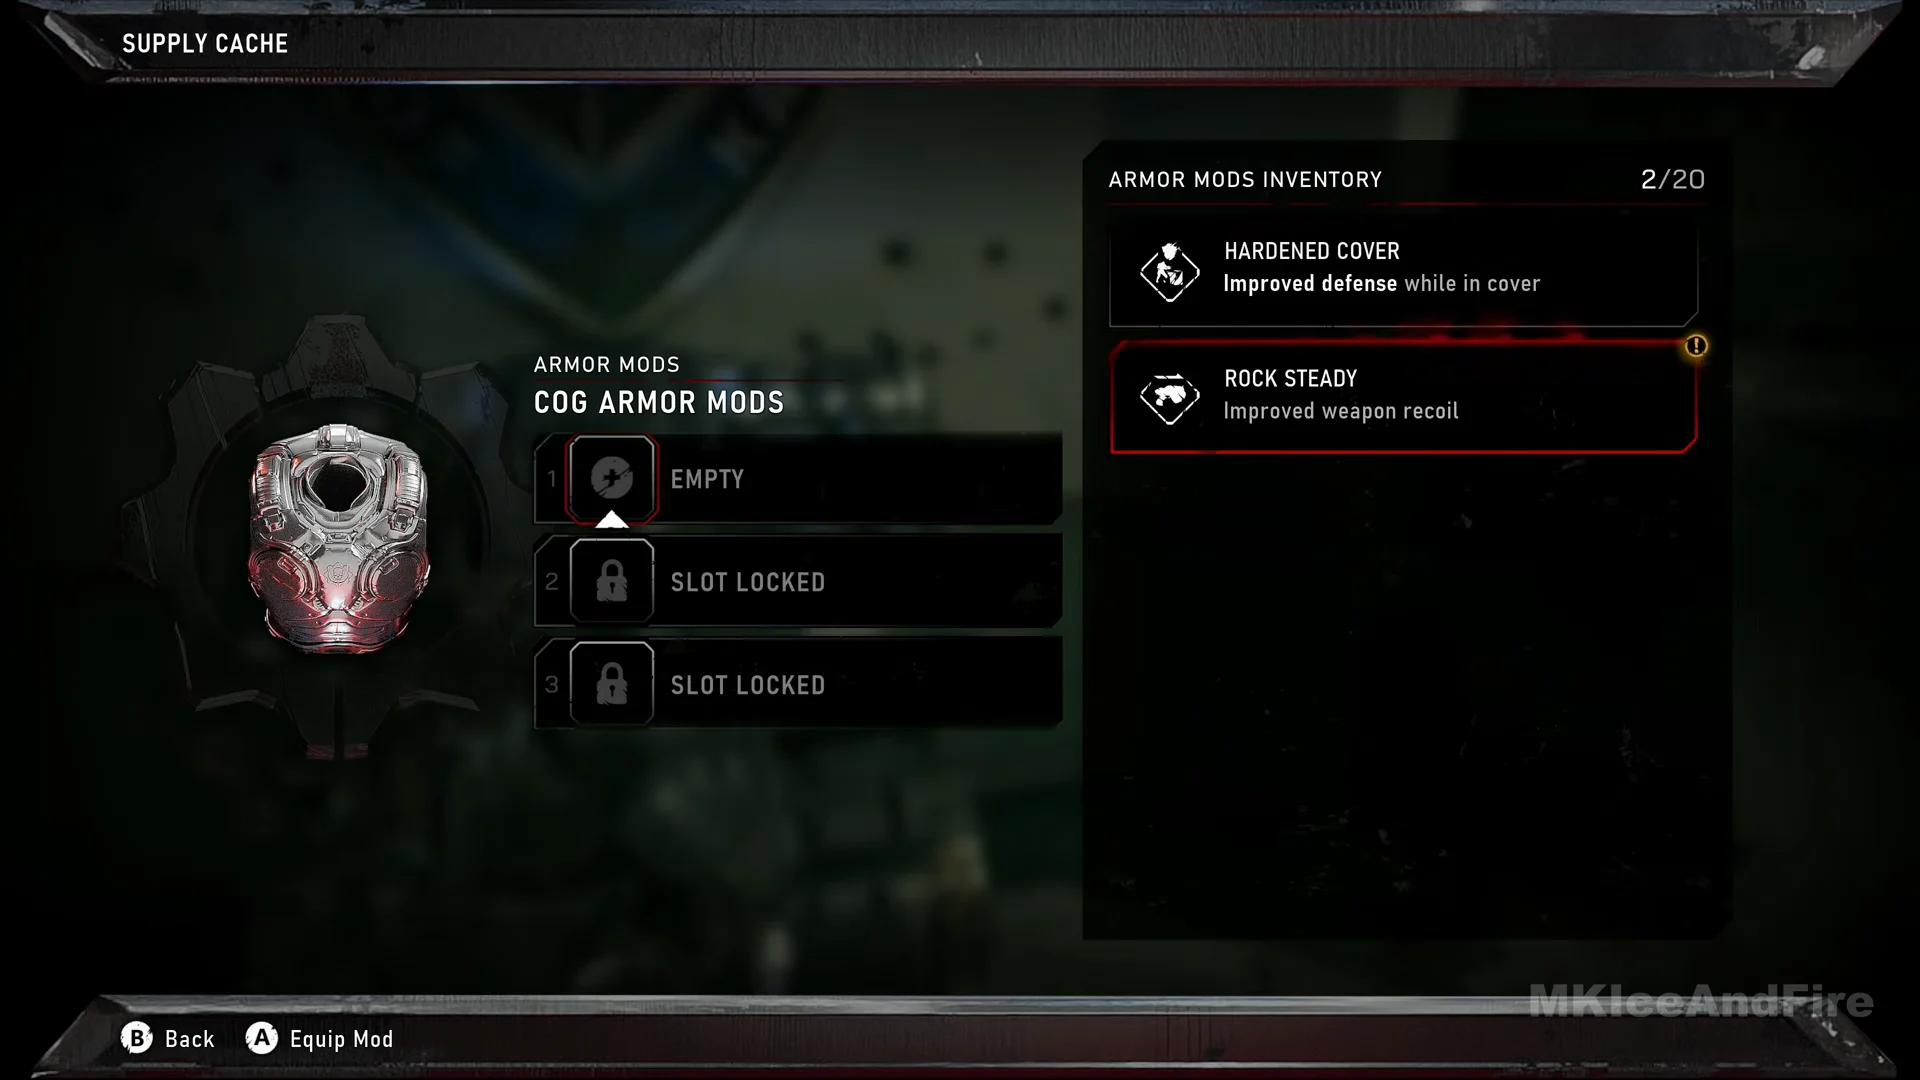
Thirteen armor mods carry their full on-screen effect text in the Supply Cache inventory. These are the ones you can read and plan around directly. Each one applies as a passive bonus the moment it sits in an open slot.
| Mod | Effect |
|---|---|
| Hardened Cover | Improved defense while in cover |
| Rock Steady | Improved weapon recoil |
| Ammo Scavenger | Defeated enemies may leave an ammo magazine behind. |
| Proximity Reload | A kill at close range earns you a Perfect Reload. |
| Smooth Operator | Better aim, quicker weapon changes, and faster reloads |
| Hardened Resolve | Improved defense while at low health |
| Proximity Regen | Close-range kills heal you |
| Best Defense | Killing an enemy from cover heals you |
| Stacks on Stacks | Carry more Equipment per slot |
| One Shot | Critical kills grant a Perfect Reload |
| Equipment Scavenger | Enemies may leave equipment behind when they die. |
| Mag Triage | Getting a Perfect Reload heals you |
| Blood Mag | Executing an enemy fills a Perfect Magazine completely. |
If you want to read them by what they do rather than by name, they fall into a few groups. Hardened Cover and Hardened Resolve are defense. Proximity Regen, Best Defense and Mag Triage heal you. Proximity Reload, One Shot, Blood Mag and Ammo Scavenger feed reloads and ammo. Rock Steady and Smooth Operator improve handling, while Stacks on Stacks and Equipment Scavenger touch your equipment.
Three more mods named without effect text
Three further armor mods show up on reward banners as you progress, but their effect text is not laid out the same way. You will see Pack Mule, Executioner and Kill Credit named when you claim them. That brings the roster of named mods to 16 out of the 20 the game counts, which means four armor mods are not named at all.
Where each armor mod comes from
Mods and slots both drop from Hard Cases and from completing Secondary Objectives. Hard Case rewards usually arrive as two banners at once, often one armor mod paired with a weapon mod. Here is where the named mods turn up across the campaign.
| Mod | Where it comes from |
|---|---|
| Hardened Cover | Hard Case, Act 2 Chapter 2: Hold the Line |
| Rock Steady | Hard Case, Act 2 Chapter 2: Hold the Line |
| Proximity Reload | Reward banner, Hold the Line |
| Ammo Scavenger | Hard Case, Act 2 Chapter 3: No Gear Left Behind |
| Proximity Regen | Hard Case, No Gear Left Behind |
| Best Defense | Hard Case, No Gear Left Behind |
| Smooth Operator | Hard Case, Act 3 Chapter 1: Stranded |
| Stacks on Stacks | Hard Case, Act 3 Chapter 3: Last Foothold |
| Equipment Scavenger | Hard Case, Act 3 Chapter 4: The Convoy |
| Blood Mag | Awarded for finishing the R.I.G. Experiment objective during Act 4, Chapter 1: Hope and Ruin |
| Pack Mule | Found in a Hard Case during Act 4 Chapter 6: Critical Failure |
| Executioner | Reward banner, Critical Failure |
| Kill Credit | Hard Case, Act 5 Chapter 2: Ghost Town |
| Hardened Resolve | Not established |
| One Shot | Not established |
| Mag Triage | Not established |
Unlocking access to Armor Mods
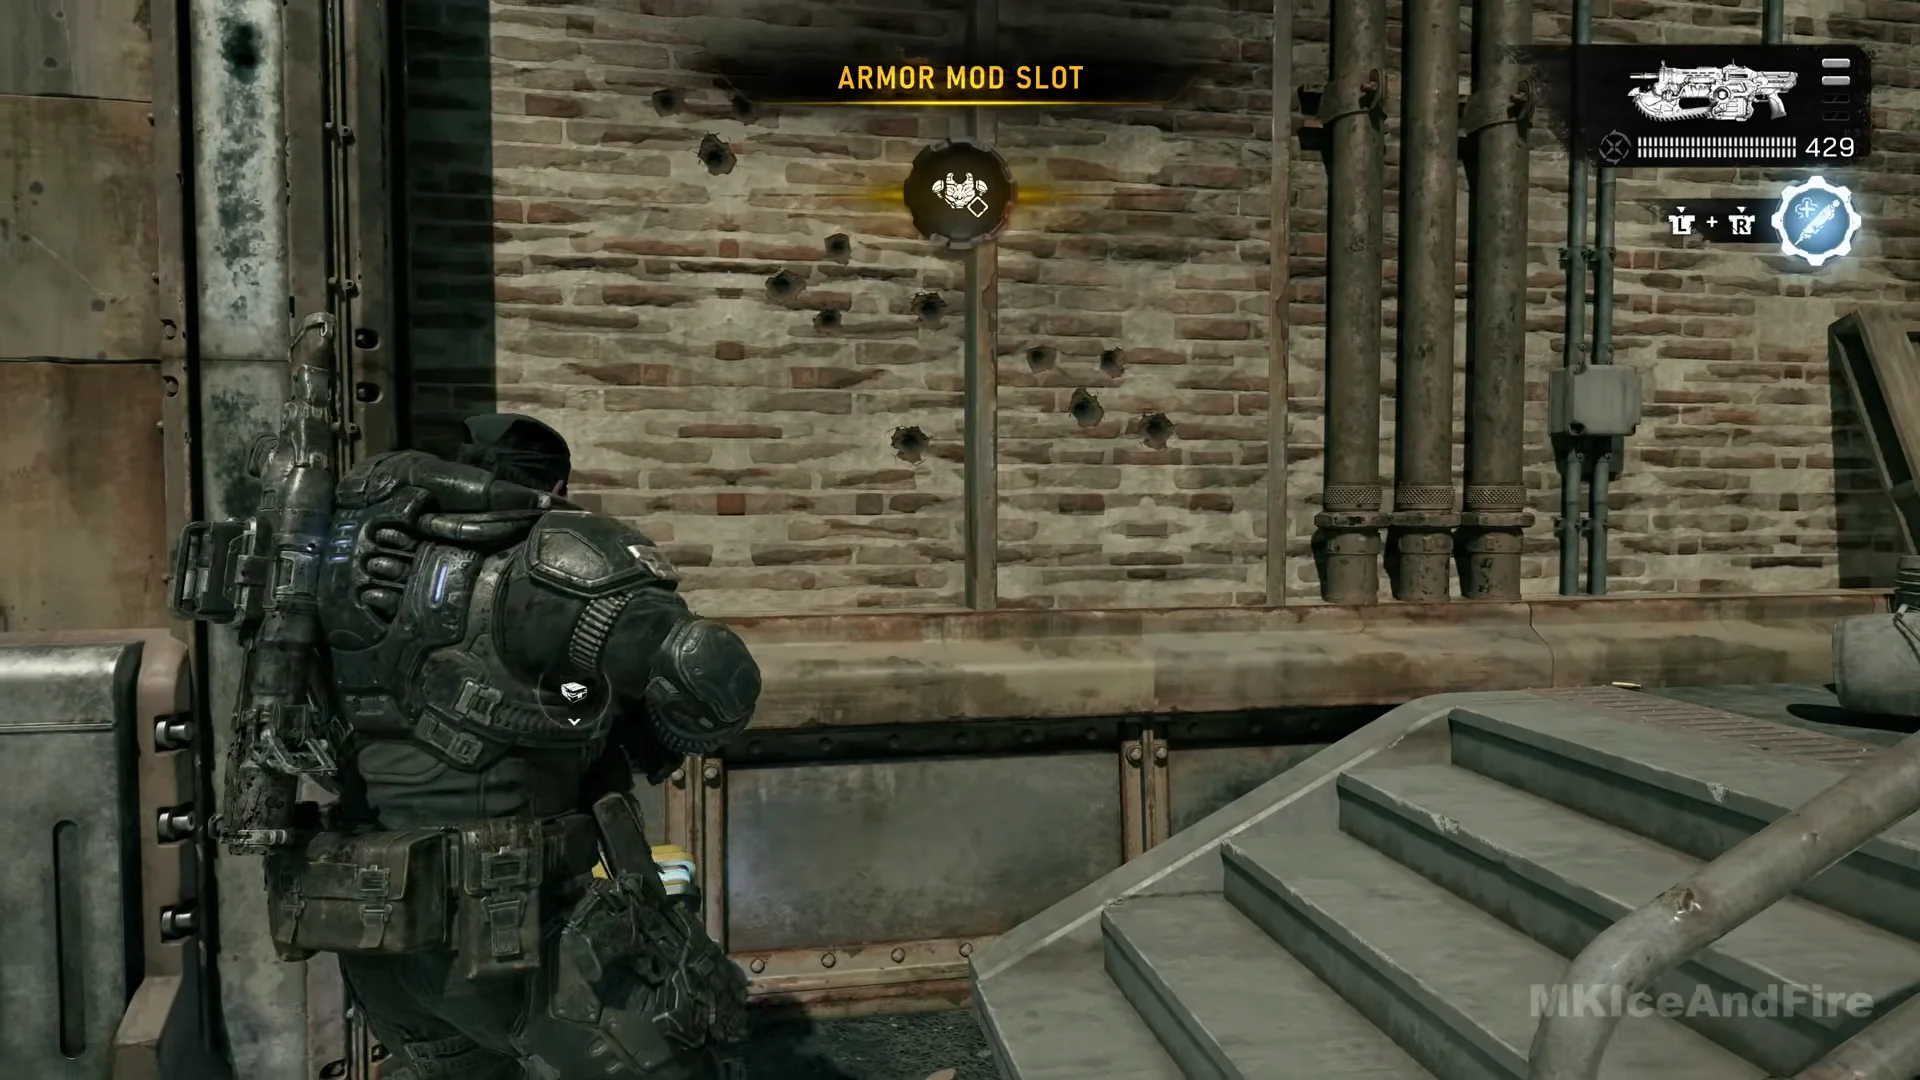
The feature becomes available in Act 2, Chapter 2: Hold the Line. In a brick loading yard, opening a Hard Case triggers three notices in sequence: Armor Mod Slot, followed by Hardened Cover, then Rock Steady. You gain an open slot and your first two mods before the system is explained.
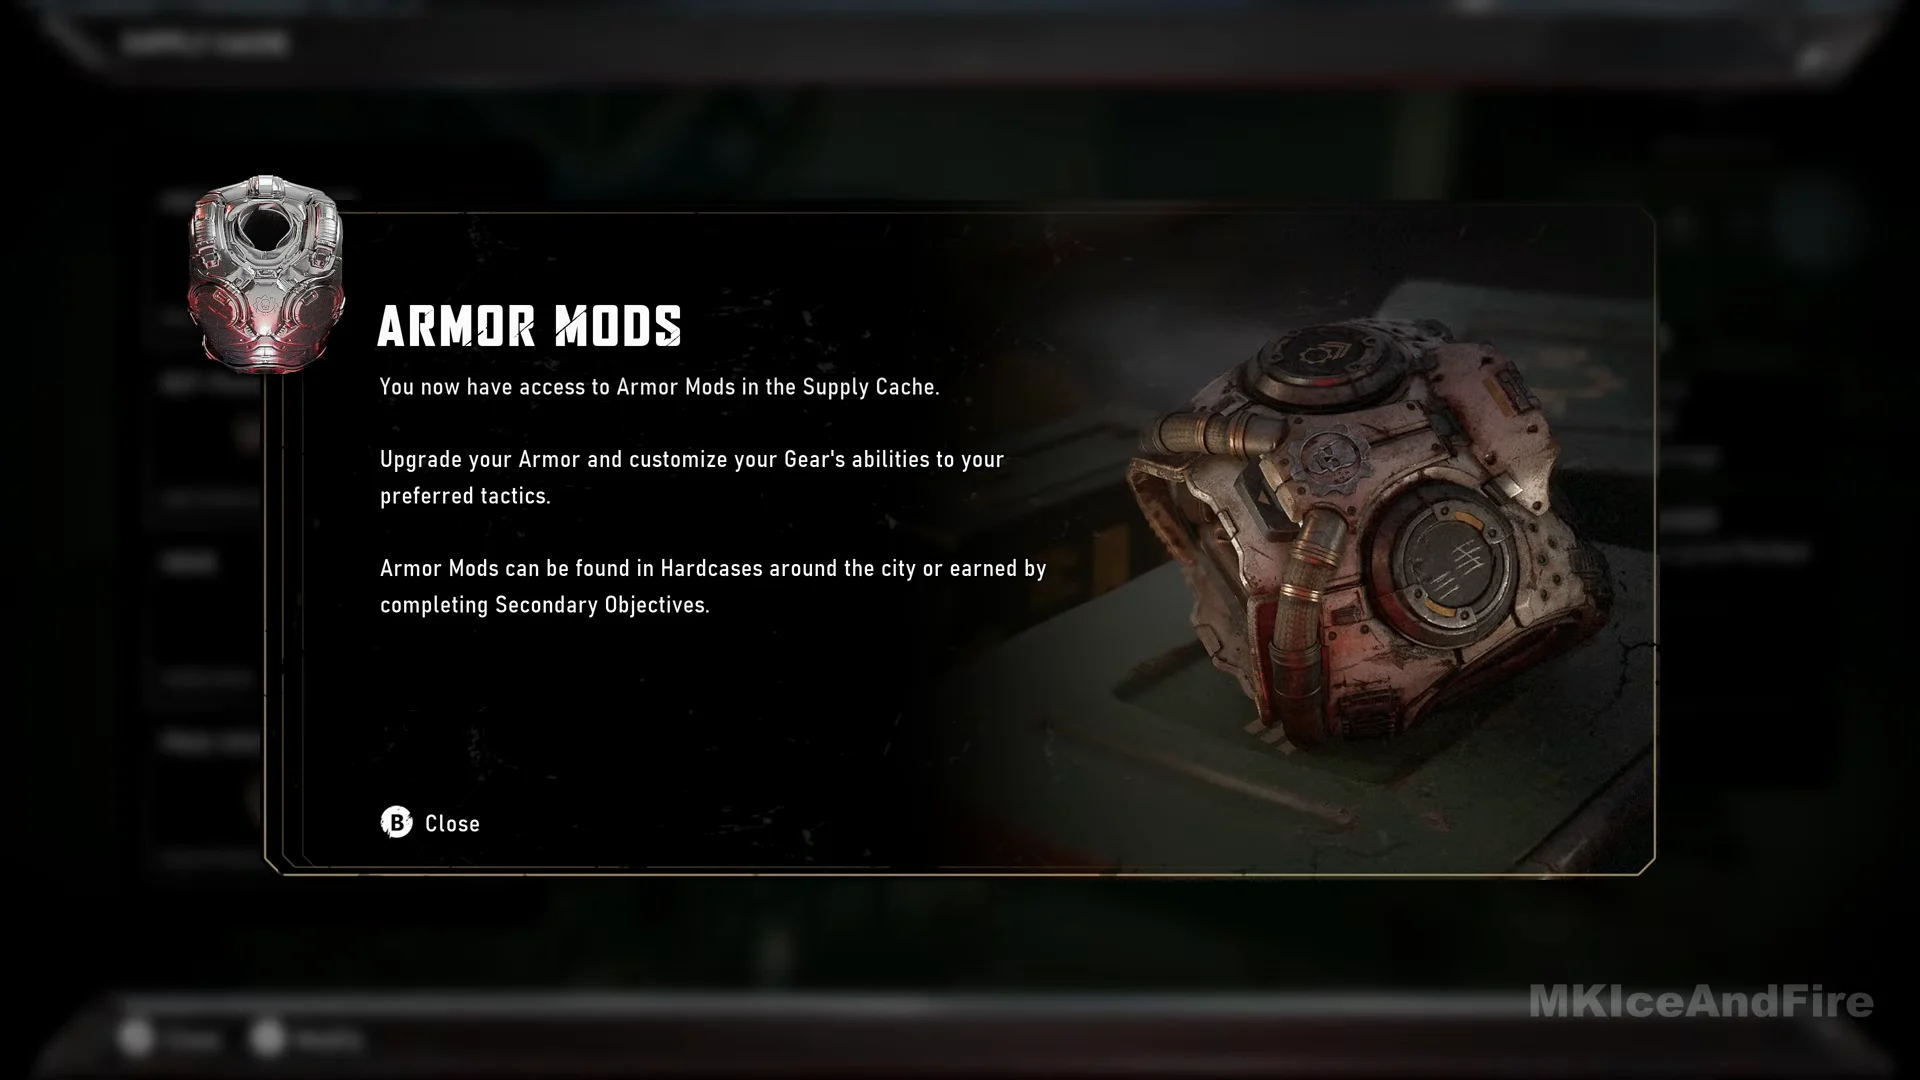
At the next Supply Cache, in the police station lobby, a tutorial card appears reading, “You now have access to Armor Mods in the Supply Cache.” From that point a dedicated Armor Mods tile sits under Tactical Gear, showing a chest-plate icon, the label COG Armor and a mods counter.
How to equip an armor mod at a Supply Cache
Register each mod at a Supply Cache before equipping it; you cannot change mods while out in the field. Any mod fits any vacant slot, as all three draw from a single shared inventory.
New mods you have not viewed yet carry a yellow “!” and the tile flags NEW MODS AVAILABLE, so you always know when a fresh perk is waiting to be slotted.
The three slots and the x/20 counter
Your COG Armor has three numbered mod slots. The first opens with your first armor reward, while slots 2 and 3 start as SLOT LOCKED. With only one slot open early on, a single perk is active at a time, so that first choice matters. A second Armor Mod Slot arrives later, in Act 4, Chapter 3: Tough as Nails, and by the Act 4 cache in Technical Difficulties slot 2 is already open with Ammo Scavenger in slot 1 and Rock Steady in slot 2.
The “MODS: x/20” reading on the COG Armor tile, and “ARMOR MODS INVENTORY x/20” in the list, are the same number: armor mods owned out of 20. It does not count how many are fitted, so it can read 13/20 with two mods equipped. Through the campaign it climbs from 2/20 early on to 16/20 at the cache before the dry-dock in Act 5, Chapter 4: Resolute. Since not every Hard Case and objective is covered, 16/20 is not the ceiling.
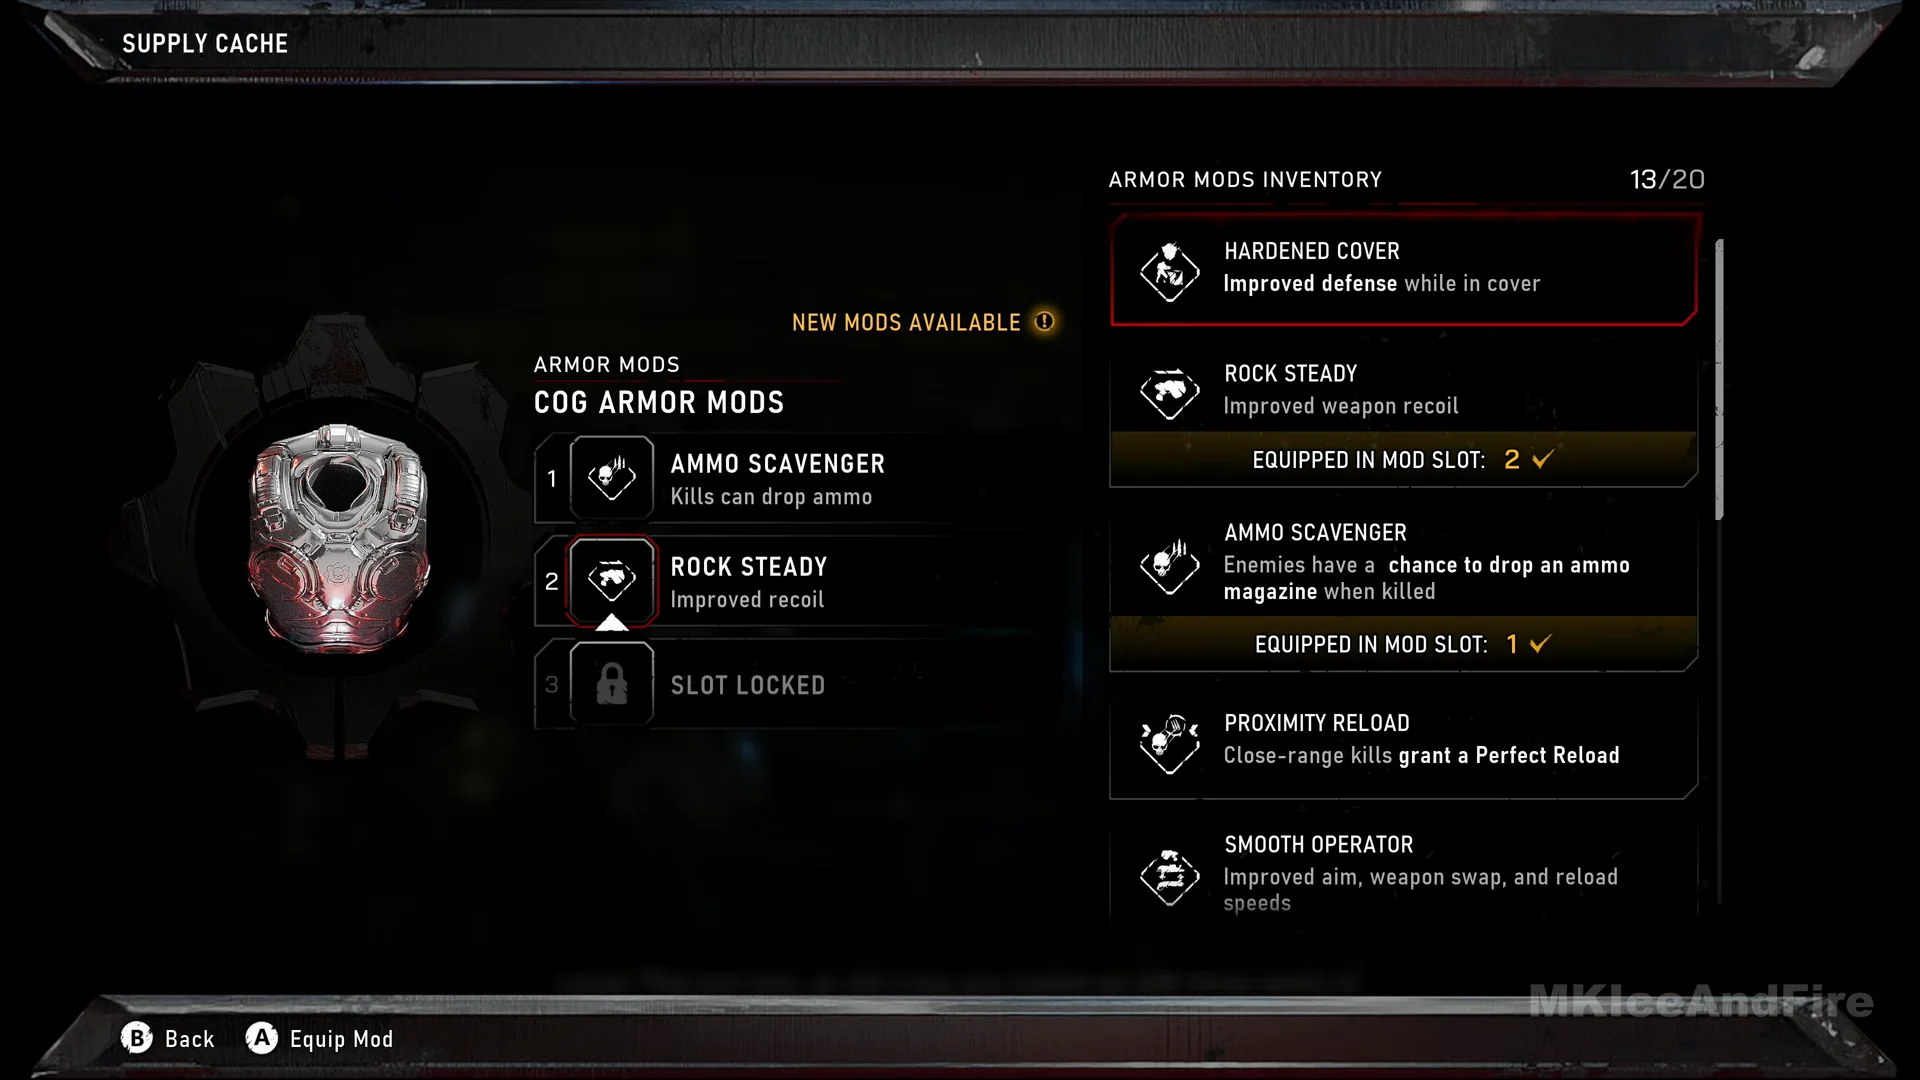
Once slot 2 is available, you can equip two mods at the same time, such as Ammo Scavenger alongside Rock Steady. You must visit a Supply Cache to register and equip mods, and COG Armor is the only armor entry, so there are no other pieces to manage. Choose a perk for the situation where you keep dying, then change it at a later cache as you acquire more mods.