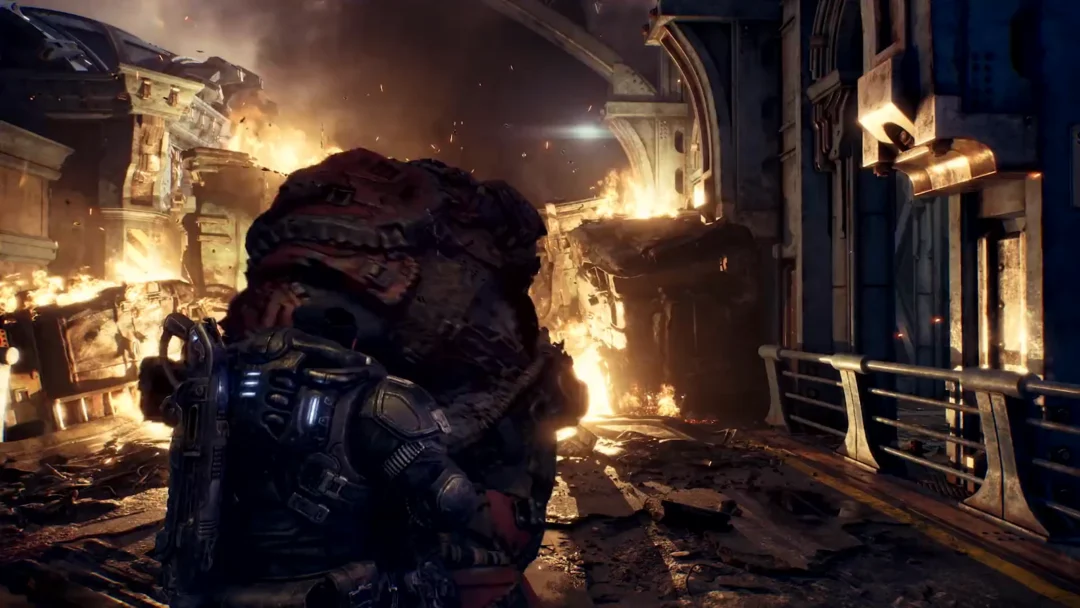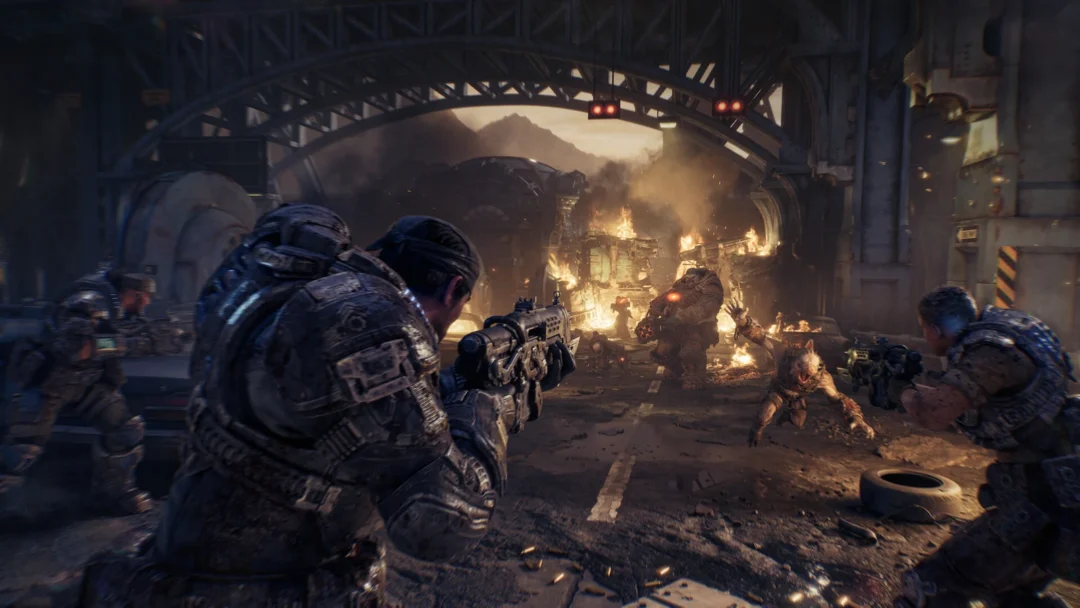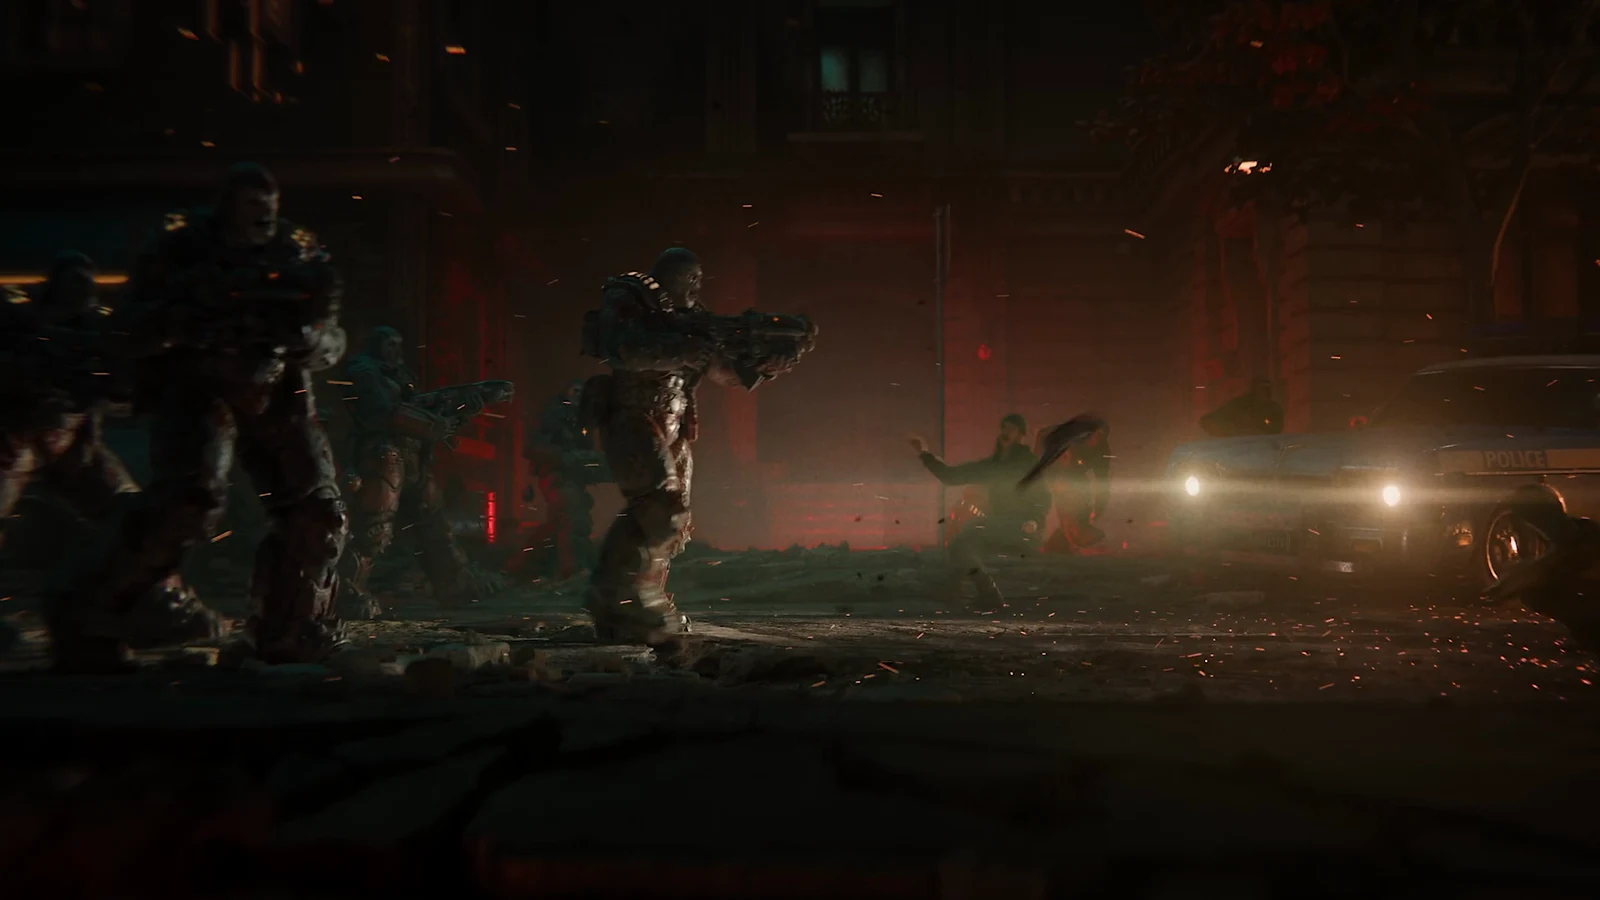
Paths Diverge is a single, almost unbroken night push through the industrial district. The plan set in the opening cutscene splits the group: Auntie takes the civilians toward boats at the docks, and the squad heads for the Timgad Refinery. Before anything else, she needs the Seradyne Admin building’s public-address system to broadcast the evacuation, so the first half of the chapter is an escort and the second half is a straight fight to the refinery gate. The whole run lasts around 20 minutes.
Quick answer: Escort Auntie to Seradyne Admin for the evacuation broadcast, then push through the depot, the rail depot and the Brumak to the Timgad Refinery gate, and pull the lever on its left pillar.
Loadout and objective order
Your carried weapons and item are a Prototype Lancer 600, a Gut-Puncher 14, a Snub 136 and an Adrenaline Injector. Along the route, you’ll find three loose Vulcans and a Troika; use each where it lies. Open three Hard Cases along the way and use one Supply Cache.
The HUD walks you through these objectives in order, which doubles as a map of the chapter:
- Follow Auntie
- Help Auntie reach Seradyne Admin
- Kill the Locust, then kill all enemies in the way
- Get inside the building
- Clear the docks
- Reach the Timgad Refinery
- Kill the Brumak, then open the gate
On the right-hand pavement before the first roll-up gate, a cluster of oil drums and a crate holds a Mortar Sentry kit, a Machine Gun Sentry pickup and an ammo box. Grab all of it now; once collected, the weapon wheel reads Mortar Sentry 2, and those sentries make the opening fight much easier.
Both collectibles in Paths Diverge
For this chapter, the pause menu lists 2 collectibles. Both are just off the main route. The first is right at the start, before you follow Auntie.
| Collectible | Location |
|---|---|
| COG Tags of Lance Corporal Aniyah Musa | At the opening, cross the street beyond the parked car and crowd barrier. Look on the ground beside the base of the tall slatted metal gate. |
| COG Tags of Lance Corporal Ava Wilson | Inside the dock building after the dock fight, up the yellow ladder and the stairs, by the Gear slumped against the metal wall next to the barrels. |
Just beyond the broken Grinder gate, a Young Artists Night Poster is fixed to the brick wall beside the grey box bearing the “Danger High Voltage” sign. You’ll pass it during this chapter, but the War Journal assigns it to Tough as Nails, not Paths Diverge, so it won’t increase this chapter’s total.
The depot defense and the loose Vulcans
Past the opened gate, the route enters a brick depot whose open bays face the street. As you arrive, a blast of red dust erupts from a break in the road, and Locust climb out. Drones, Elite Drones and Scorched Drones use the parked trucks and concrete road barriers for cover, then advance toward the bays.
Before engaging, position your Mortar Sentries facing the hole, behind the concrete barriers outside the bay; they fire shells automatically. Stay inside and use the windowsills and sandbag wall as cover, lobbing Gut-Puncher grenades at the barriers across the street. A Vulcan rests on the sandbags by the bay door. From there, sweep the approaching Drones with it; the weapon runs dry in well under a minute.
Farther down the street, a new hole opens with another plume of red dust. At the next sandbag position, an ammo box sits beside a second Vulcan holding 147 rounds. Grab the gun and cut down the Elite Drones coming through the yard next to the green shipping truck.
The countdown beside the Adrenaline Injector tracks its recharge, not the length of a wave. This depot defense has neither a timer nor a set number of waves; it finishes only after every Locust is dead. When the red cog-and-skull emblem appears, retreat into the bay instead of exchanging fire out in the street.
The Grinder and Flayer at the gate
Go after Auntie up the metal stairs, over the catwalk and into the yard at the chain-link gate. On the way, a Stim Grenade pickup sits on a unit by the ladder, with electrical panels nearby. As you arrive, the gate gives way and a Grinder strides through, its heavy machine gun ready, with smaller Locust close by.
Immediately shelter behind either the wooden barricade or striped road barrier, keeping clear of the Grinder’s fire. As it pushes through the gap, toss an Incendiary Grenade at its feet. While it burns, land Gut-Puncher grenades on its body and use Lancer shots between reloads; it will fall in seconds. A huge armored Locust called a Flayer comes through the same gate next. Remain behind the barrier and pelt it with Gut-Puncher grenades. If a squadmate falls, their named marker shows where; wait until the Flayer is dead, then revive them.
Beyond the gate is a wider street where Drones hold barriers in front of the admin building. Advance cover to cover, from the concrete barrier by the dark sedan to the low brick wall with the road sign, then to the green shipping truck on the right, where the far Drones come into Lancer range.
The Hard Case climb and the Reaver
At a covered side alley, an orange forklift leans against the brick wall and the “Hard Case Nearby” prompt appears. Use the forklift to climb to the metal walkway above the alley, then follow the walkway to its fenced platform. A Vulcan with 147 rounds lies on the floor there, and crates surround a yellow Hard Case. Opening it gives you a General Mod Slot and a Rotor Charger mod. Bring the Vulcan back down for the next fight.
In the parking area before the large brick arch marked Prospect Bay, you’ll find an ammo box beside a green car and the Supply Cache prompt. The squad then calls in a Reaver; it drops into the lot and grips the brick facade above the arch. Take cover behind the second orange forklift and keep the Vulcan trained on the Reaver. Continuous fire brings it down while it clings to the wall. Once the lot is clear, your objective changes to “Get inside the building.”
Resupply inside Seradyne Admin
Cross the cratered lot, climb the steps and enter the admin building. Auntie and the civilians wait in the lobby. An ammo box is on the reception desk, and a box of Frag Grenades sits on the desk for you to collect as you leave. Use the blue-lit locker on the left wall—the chapter’s only Supply Cache—to replenish ammo and install mods. Go through the back offices to reach the checkpoint; Auntie stays behind to make the broadcast.
Clear the docks: the rail depot beast
A breach in the back wall opens onto a raised metal platform overlooking a rail depot. Among the tracks below, a large armored beast with many legs crouches while Drones spread through the yard. It hurls shells; as soon as a red ring glows on the ground, move clear of that spot. Dark, tendrilled creatures also rise from the beast and fly toward the squad.
Don’t stay on the raised platform: the opening shell strikes there. Head down the metal stairs immediately and use the barriers and crates at the bottom as cover. Whenever the beast’s body is exposed, hit it with Gut-Puncher grenades; toss a Frag Grenade into the group of Drones and the beast as well. While the Gut-Puncher reloads, use the Prototype Lancer against the flyers and Drones.
Climb the yellow ladder on the building’s side to reach a catwalk, where an Elite Drone is firing. Take it out, then collect the ammo box there to refill an empty Gut-Puncher. Keep throwing Gut-Puncher grenades from the yard until the beast dies; a handful of Drones will remain near the freight cars. Go through the open freight car, collecting the ammo box on its bench, and the objective changes to “Reach the Timgad Refinery.”
Reach the refinery: snipers and the Troika corridor
Keep moving along the tracks as Drones and a sniper fire from behind barricades. Clear the striped concrete barriers one at a time: throw Gut-Puncher grenades at each enemy position, then move forward. A metal bridge connects to a brick building marked Port 11. Kill the Drone charging over it, then cross. Above the gantry, a sniper aims from an arched window; its narrow beam shows its firing line. Shoot it with the Lancer, then pass through the arch.
The arch opens into an office and storeroom, with a long counter reinforced by sandbags. Drones charge through the far arch, so retreat behind the counter and fire as they move around the shelves. Use the Adrenaline Injector if the red emblem appears. Exit through the far arch onto a covered loading deck and kill another sniper firing from a platform across the gap. Take the metal stairs on the left; a Drone is waiting at the bottom.
At ground level, stacked crates and wire mesh border a long covered corridor. At its far end, a Locust heavy machine gun has two squadmates pinned, and one is knocked down. A Breechshot is on the floor near the entrance. From cover, shoot the gunner with the Lancer, then sprint forward to revive the downed squadmate. Take the weapon—it’s a portable Troika—and immediately fire it at the Drones entering the arch ahead. Keep the ammunition left in its belt; once the corridor is clear, its counter reads 54 rounds.
In the next office, a Hard Case on the floor beside the desks contains a Hard Launch mod and a General Mod Slot for the Gut-Puncher; ammo is on the counter too. Outside, turn right and follow the road past the fleeing civilians to the chain-link gate, where civilians are putting sentries in place. Go through the gate.
Kill the Brumak
Crossing the gate starts the “Kill the Brumak” objective. The Brumak approaches beneath the gantry at the end of the wide street. It has no armor in this encounter and swings its forearms, which are wrapped in glowing chains. It follows you around cover, and a thin health bar floats above it.
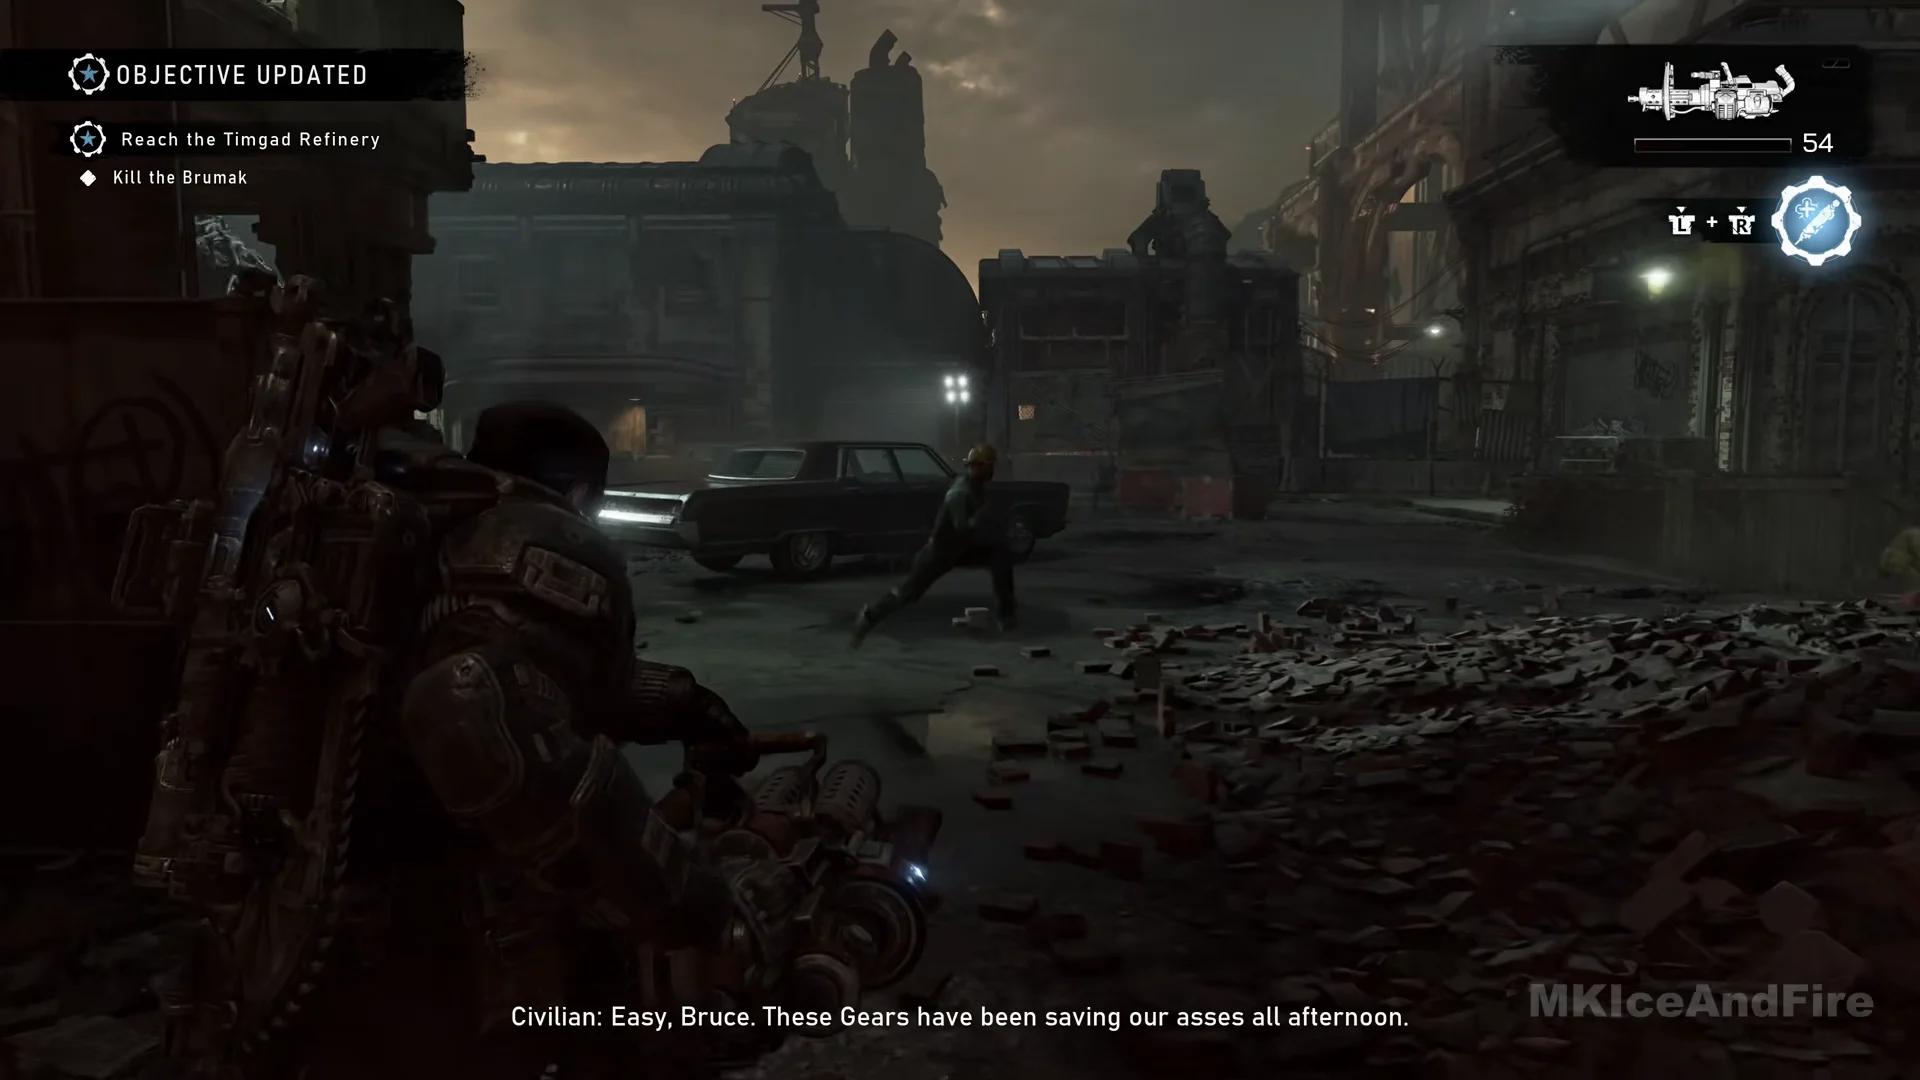
Empty the carried Troika into its head as it walks in, then drop the gun and switch to Gut-Puncher grenades at the head and chest, finishing with Prototype Lancer fire on the head while you circle the yellow car in the middle of the street. Stay more than a car’s length away and out of the burning patches. Late in the fight, small spiked mines drift in from a floating gas-bag creature overhead; shoot the ones that come close. It has one health bar and one stage, so a steady rotation of fire ends it in a single phase.
Open the gate and finish the chapter
Ammo sits on the road beside the body, and a final Hard Case leans against the chain-link fence behind the blue-and-white police car parked on the right, giving a Blood Groove mod for the Breechshot. The objective then becomes “Open the gate.” The control is a red lever box on the left stone pillar of the tall iron gate; pull it.
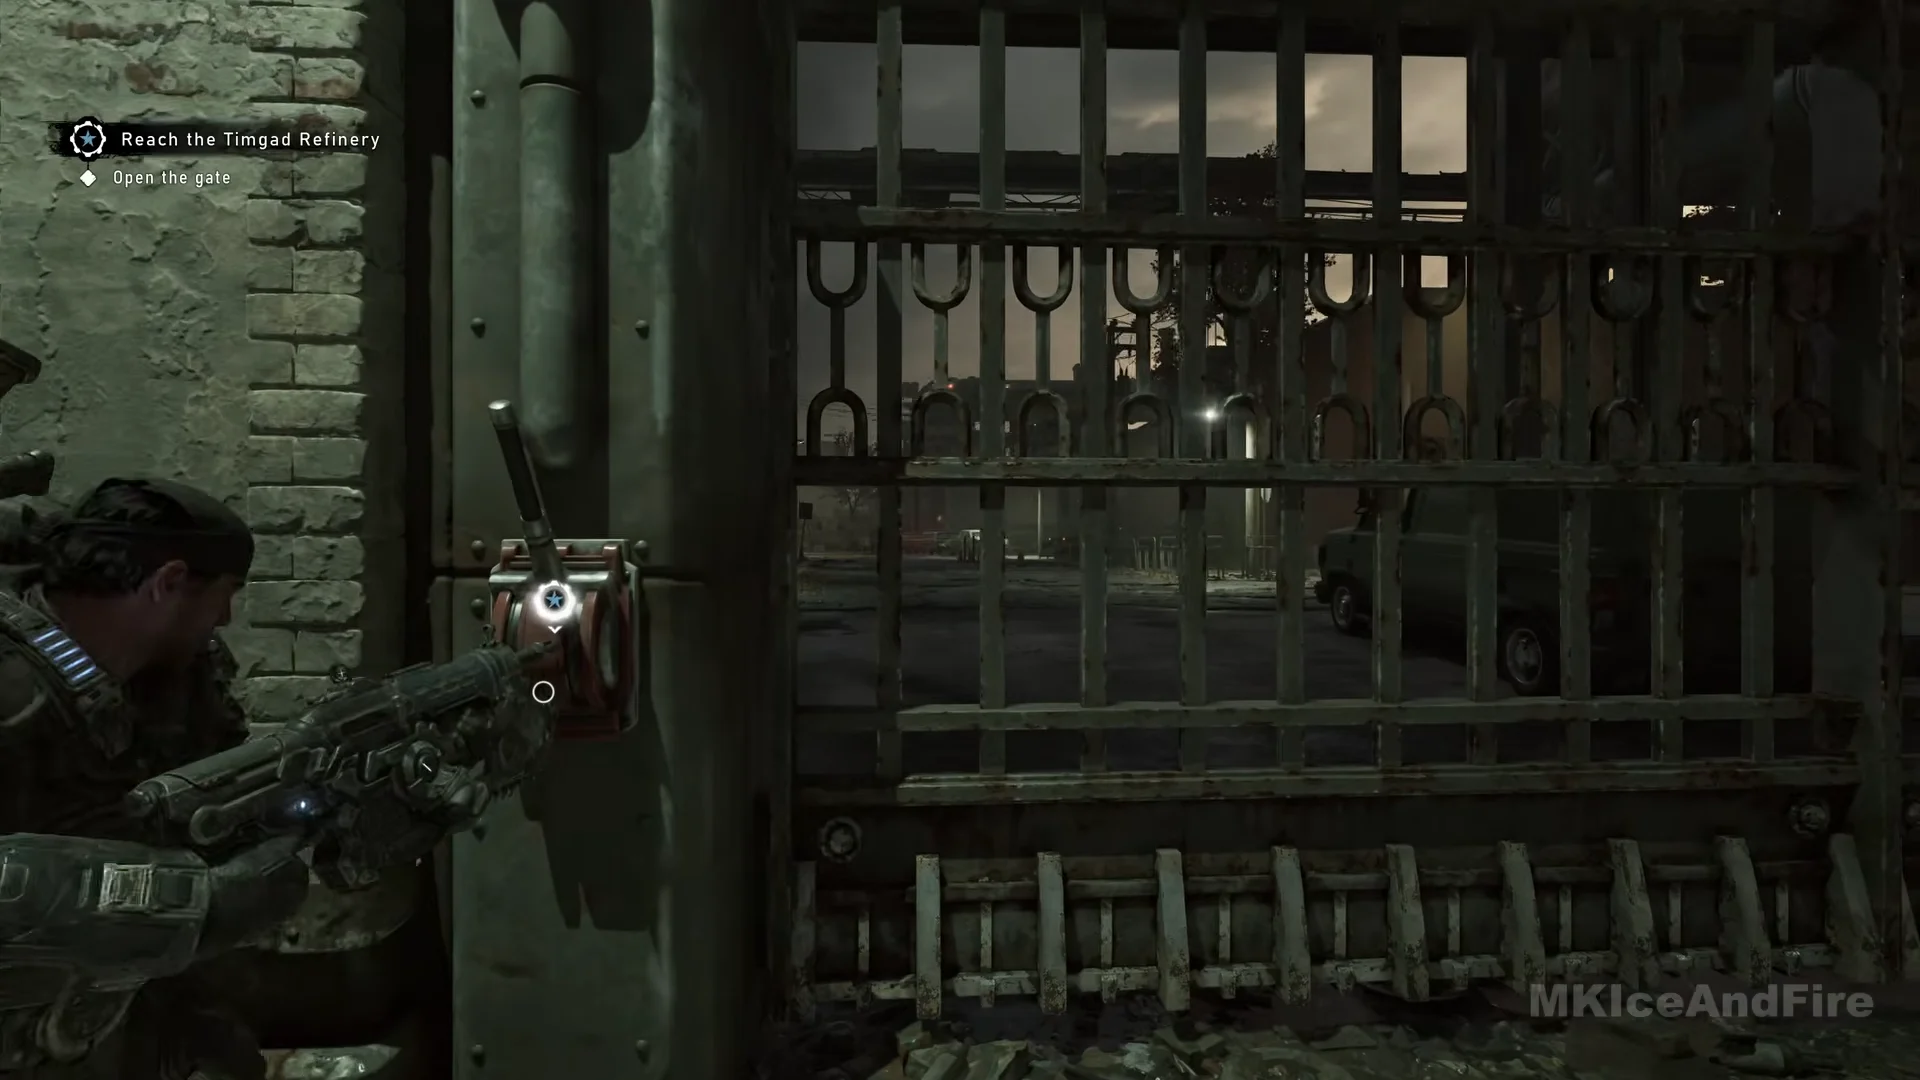
Pulling the lever opens the gate, and a cutscene shows the squad facing the refinery, its yellow glow and flames bright against the night. Control resumes on the approach road. The following title card, Act 4 Chapter 6: Critical Failure, marks the chapter’s completion.