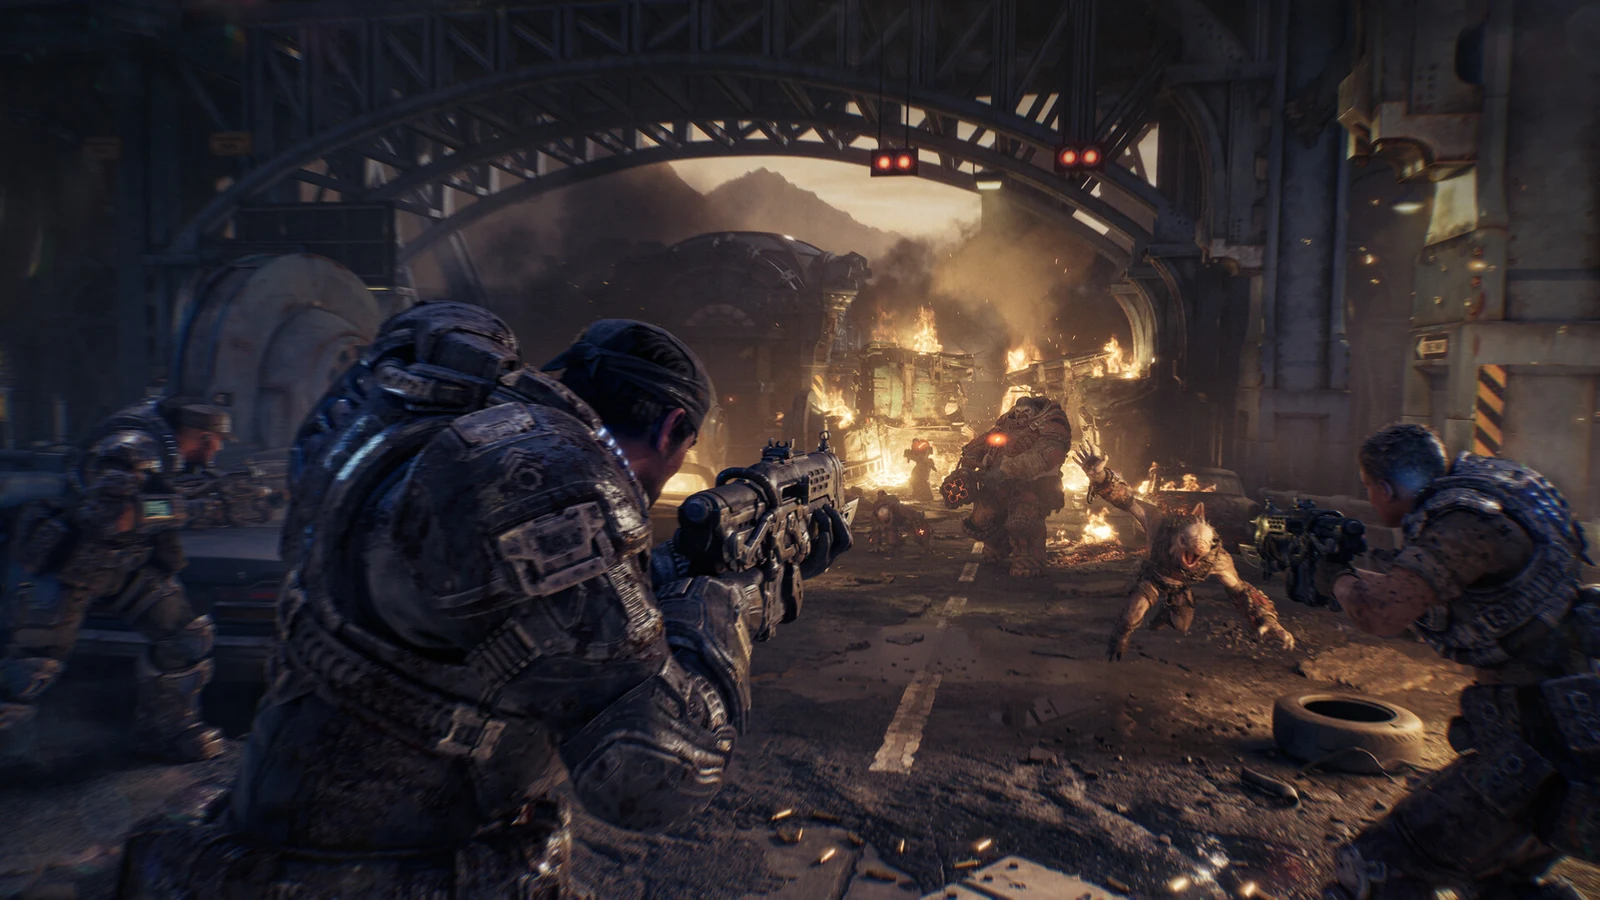
Act 5 starts with One Problem at a Time, a chapter that takes roughly 12 minutes to complete. Its route consists of two automated train trips with a battle in the rail yard between them, all tied to the objective of finding a route back to Fort Vigil. No cutscenes interrupt the action; you remain armed throughout.
Quick answer: Hold off the Reavers, jump to the second train before yours explodes, clear it car by car, drop at the East Kostra Exchange Station through the graffiti-wall gap, wipe out the rail yard, start the parked train facing the city, then survive the Corpser until the train reaches a tunnel.
What you carry into the chapter
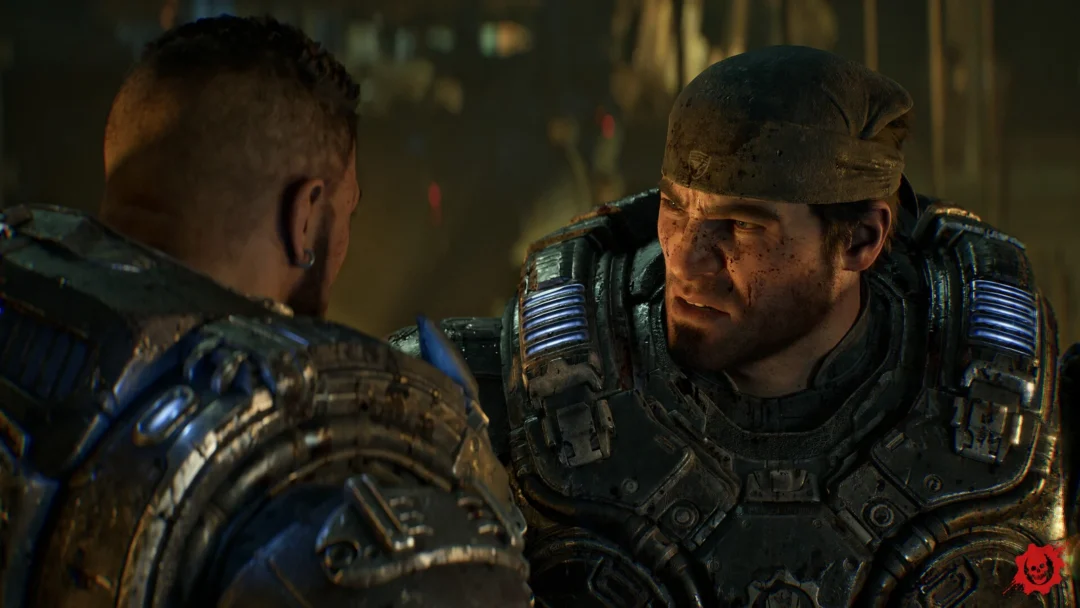
The squad of Marcus, Dom, Lucas, and Mags jumps aboard a cargo train as the refinery goes up at the end of Critical Failure. You begin on the flatbed car with the title card appearing over the burning refinery behind you.
| Weapon / gear | Count |
|---|---|
| Prototype Lancer | 600 |
| Gut-Puncher | 14 |
| Snub | 136 |
| Frag Grenades | 2 |
| Adrenaline Injector | 1 |
The objective markers move in a fixed order: escape the refinery, find a way back to Fort Vigil, defend the train, jump to the other train, clear the Locust from the train, enter the transfer station, kill the Locust in the station, board the train, activate the train, reach Downtown Kalona, and get rid of the Corpser. A Breechshot sits by the railing on the first flatbed and a Hammerburst waits in the enclosed car ahead, but the Prototype Lancer outperforms both, so leave them.
If the screen edges flash red, use the Adrenaline Injector. It refills your health at once. The number that sometimes counts down under the weapon panel is its cooldown, not a chapter timer.
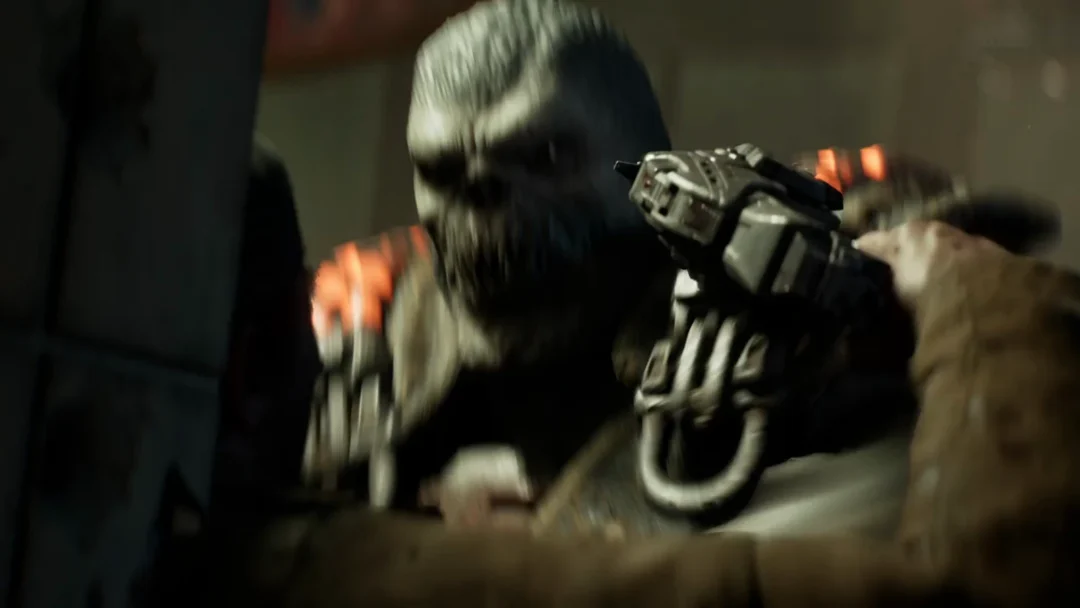
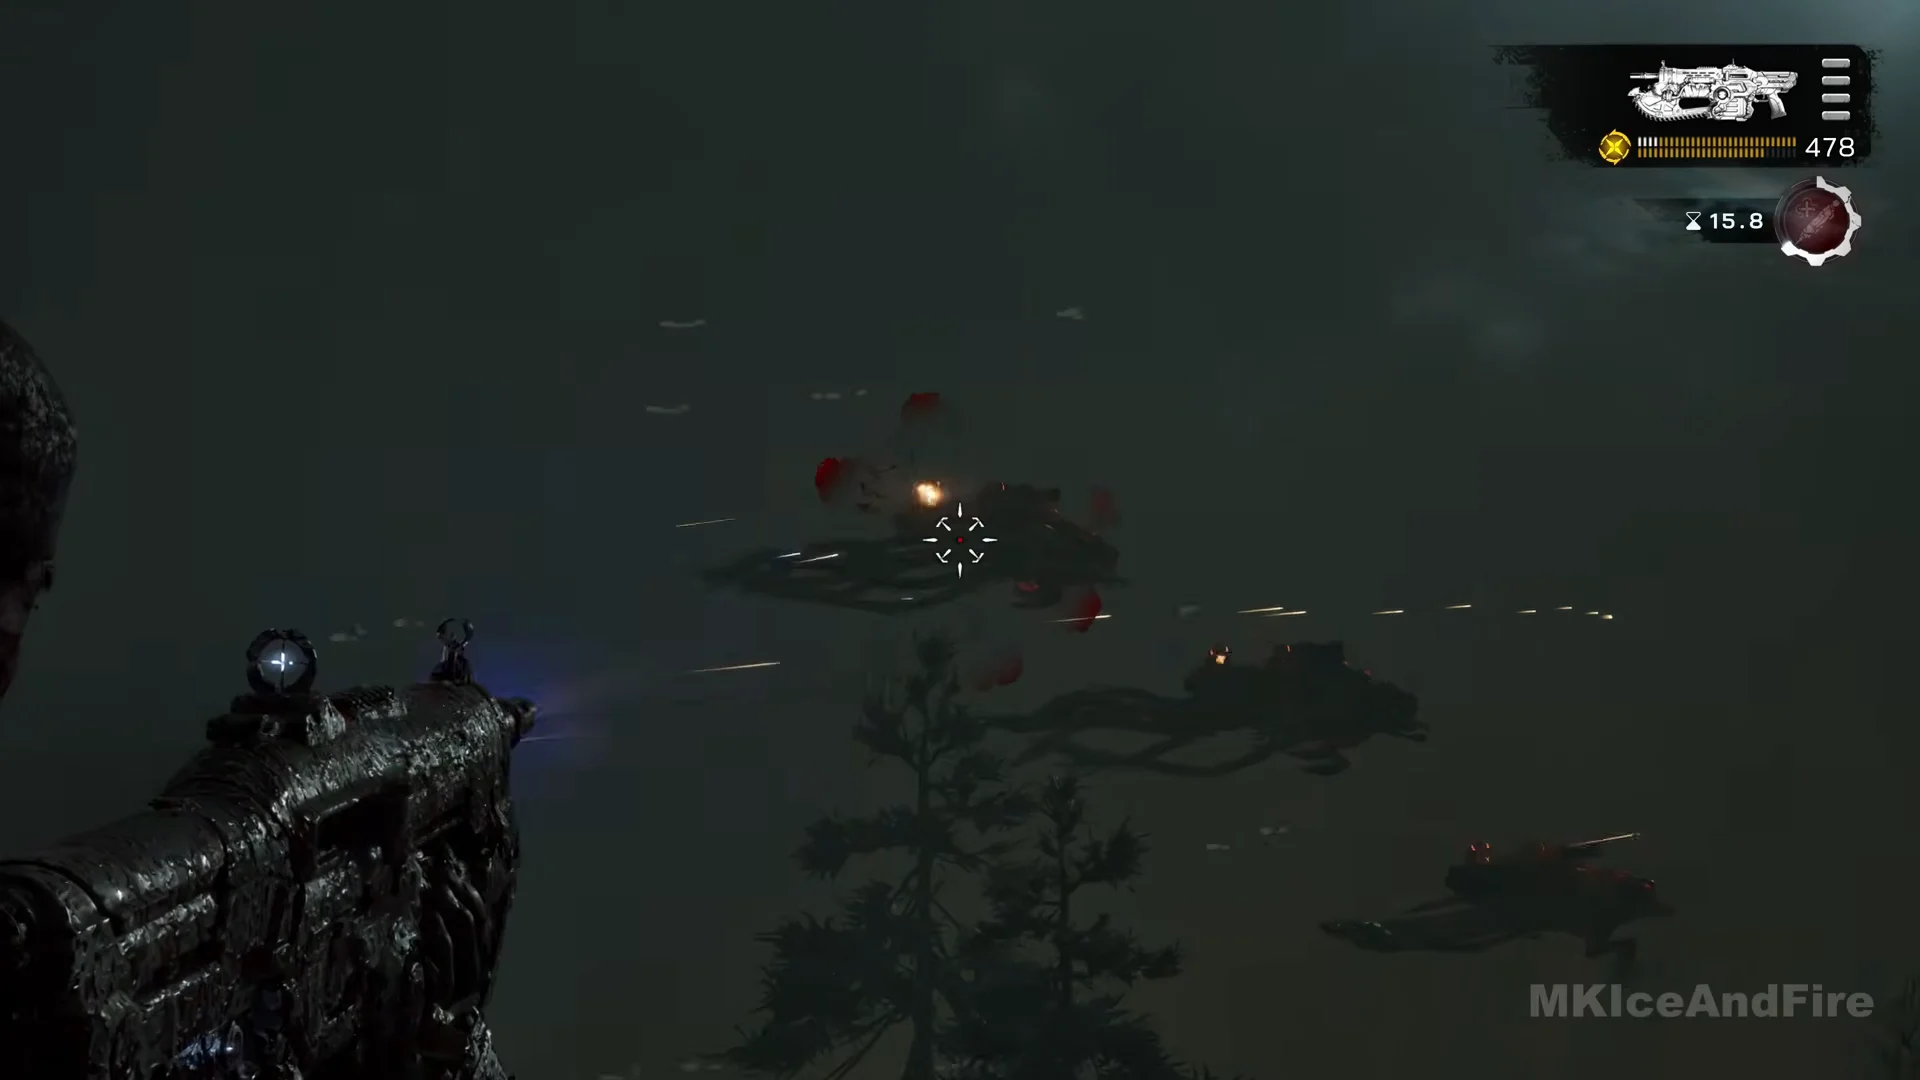
First train ride: Reavers, the second train, and the jump
East Kostra Exchange Station: the wall gap and the rail yard
Climb down onto the gravel. A caption reads “DAY 2 – 2200 HOURS / EAST KOSTRA EXCHANGE STATION.” Follow the tall brick perimeter wall to the graffiti-covered stretch, where part of it has collapsed into a pile of bricks. Go through that gap into the rail yard.
The chapter’s only collectible
The yard battle has yet to begin, so collect the item before entering the wall opening. Make your way across the gravel and over the tracks next to the train, heading for the weed-choked corner where a brick wall joins a pile of chained wooden pallets. A dead Gear hangs pinned near the top of the wall; in the weeds underneath are the COG Tags of Private Lorin Galvin. The War Journal records no other collectible for this chapter.
Clearing the Locust
Several tracks run through the yard, bordered by stationary freight cars, pipe racks, and containers beneath gantry lights. Drones and Scorched Drones occupy the area, while a Scorched Sniper waits farther away.
During the opening half, shelter behind the chained steel pipes just past the wall and fire the Gut-Puncher at enemies behind the containers across the tracks. Incendiary rounds ignite both the targets and their cover. Next, get onto the parked flatcar and fight from its waist-high barriers against enemies attempting to flank you. You can find ammo boxes on the gravel alongside the cars.
During the second half, equip the Prototype Lancer again and use the rail-side stacks of crates and pallets for cover. The Locust still alive are gathered at the opposite end beneath the crane gantry, including the sniper. The final few are on the wooden steps leading to the parked train or close beside them. Take cover whenever the red emblem signals low health.
Hard Case in the yard
“HARD CASE NEARBY” appears while you fight. Look on the left of the tracks, behind a tall wire-mesh fence beside stacked pallets, for the yellow case. Opening it awards two mods: Skeleton Frame (Ripper LMG mod) and High Capacity Mag (Striga mod). Another “HARD CASE NEARBY” prompt appears by the wooden steps, but that case is not opened on this route. After clearing the yard, collect the ammo box near the steps.
Board and start the train back toward the city
The train you need is the one parked at the wooden steps, facing the city. Climb the steps onto its flatbed, which completes “Board the train” and replaces it with “Activate the train.” Walk to the front of the car, where the objective marker sits on the lever at the control panel, and use it to start the train moving.
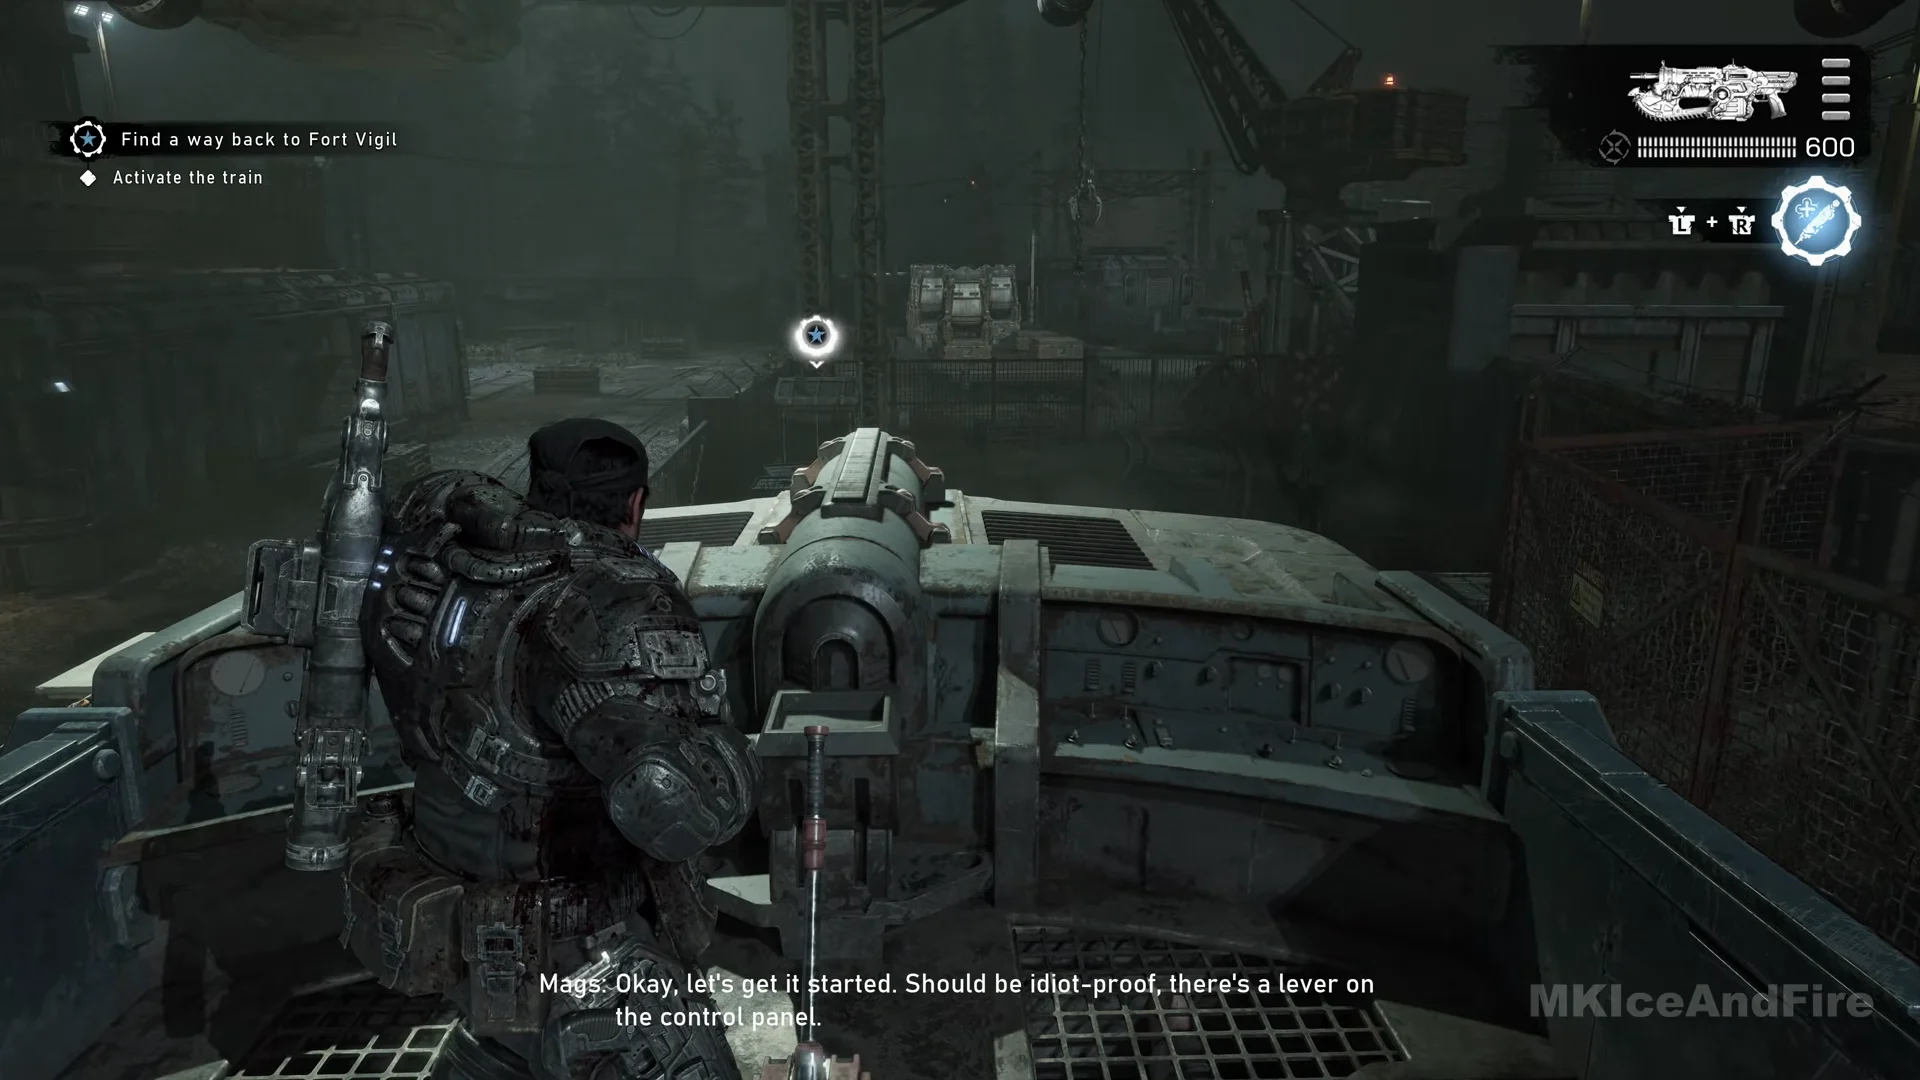
Wait with the squad by the generator block at the center of the flatbed; ammo boxes are positioned on either side. The train smashes through wreckage on the tracks, goes through a brick tunnel, and then draws another Reaver attack from the treeline. Fight as you did earlier, staying behind the machinery and firing the Lancer until the Reavers fall.
The Corpser set piece
When “Get rid of the Corpser” appears, a Corpser comes down the rock face beside the track and lands on the cars ahead of the squad. It rips up what is on those cars and hurls it down the train, sending whole wrecked vehicles tumbling along the deck.
Crouch behind the generator block or the adjacent steel bulkhead, moving sideways if debris is headed directly for you. When the Corpser pauses between throws, fire the Prototype Lancer at it and target its face as its front legs spread apart. Stepping out from cover during a barrage of wreckage is the quickest way to be downed.
This brief set piece has no second phase and is not a full boss battle; you do not need to kill the Corpser with your weapons. Roughly 40 seconds after it arrives, the train reaches a tunnel entrance too small for the creature. The squad is showered with debris as the objective is completed.
How you know the chapter is done
Pick up the ammo box on the deck. The train travels through the tunnel as the squad discusses the cities already lost, then stops at a burning underground rail depot. As it comes to a halt, “Find a way back to Fort Vigil” is temporarily crossed out. A few seconds later, the Act 5, Chapter 2: Ghost Town title card appears, and the same objective returns. When the card appears, One Problem at a Time is over; continue on foot through downtown Kalona.