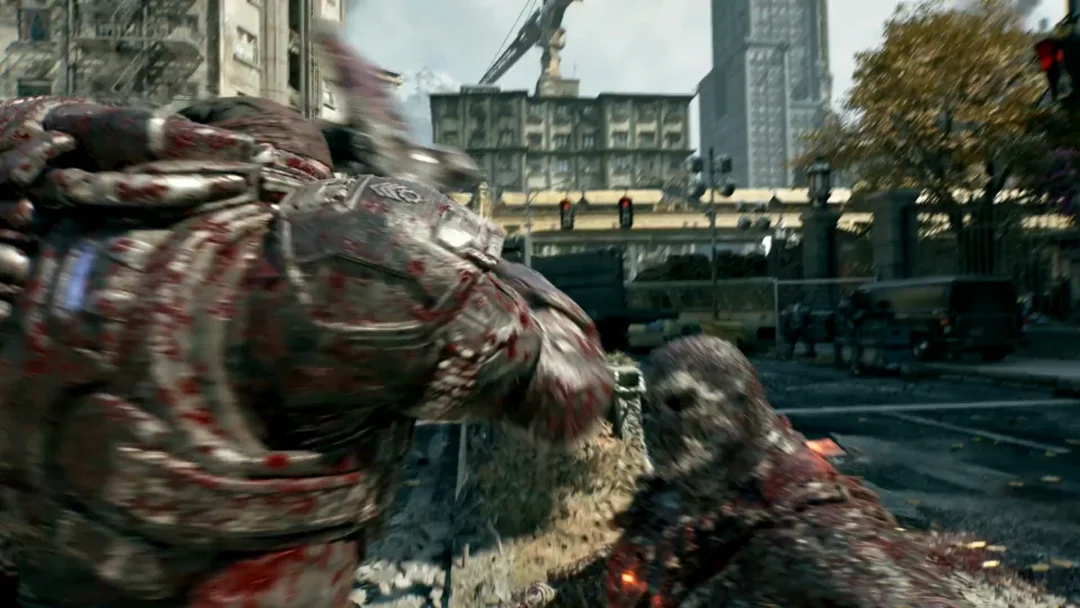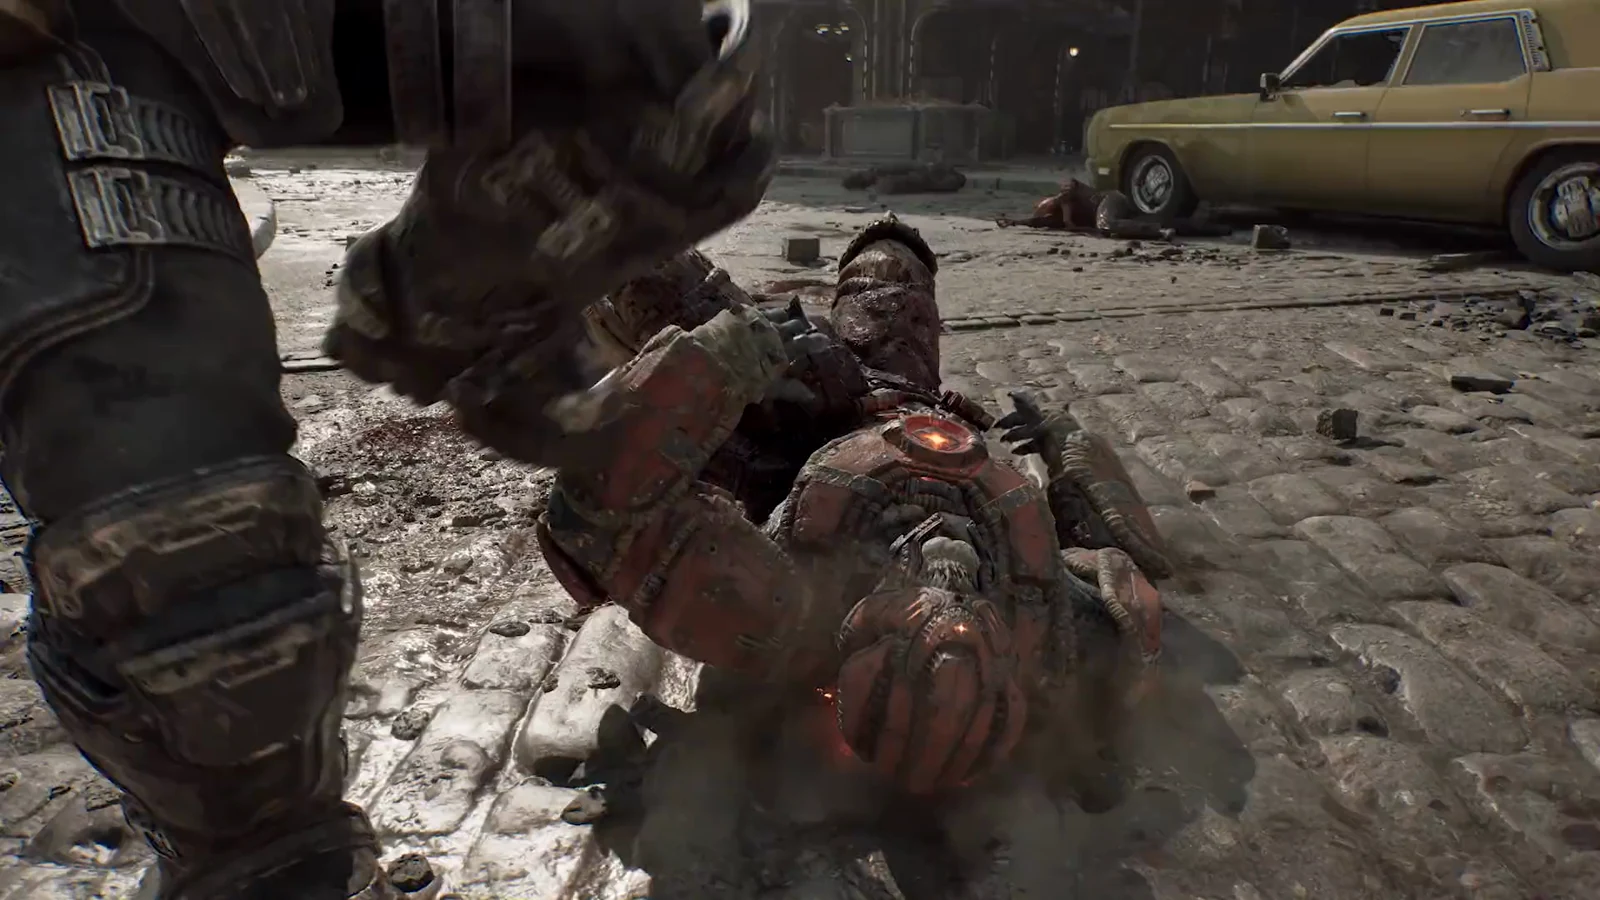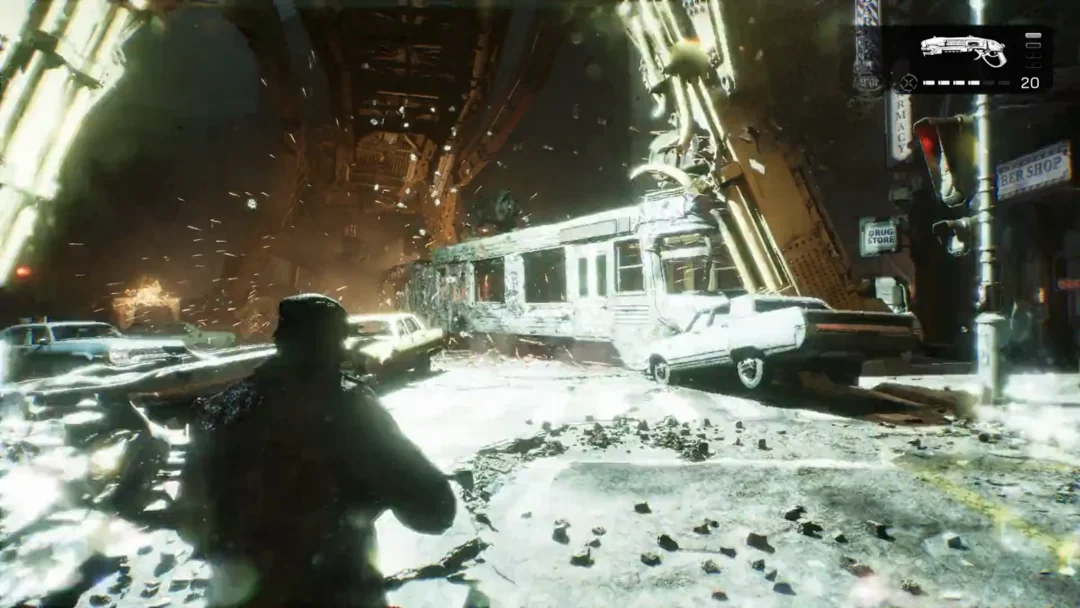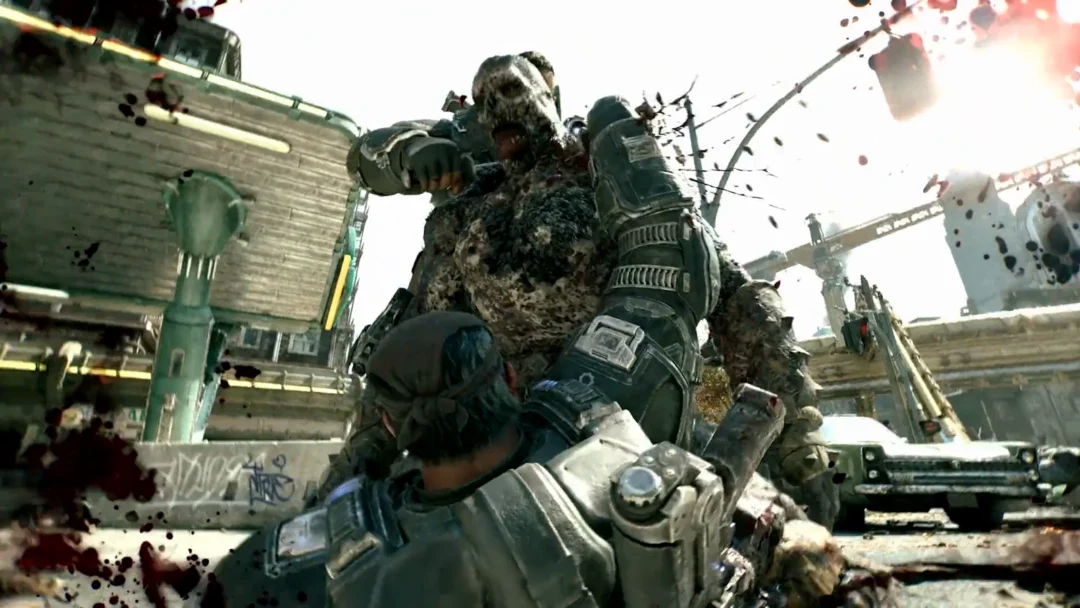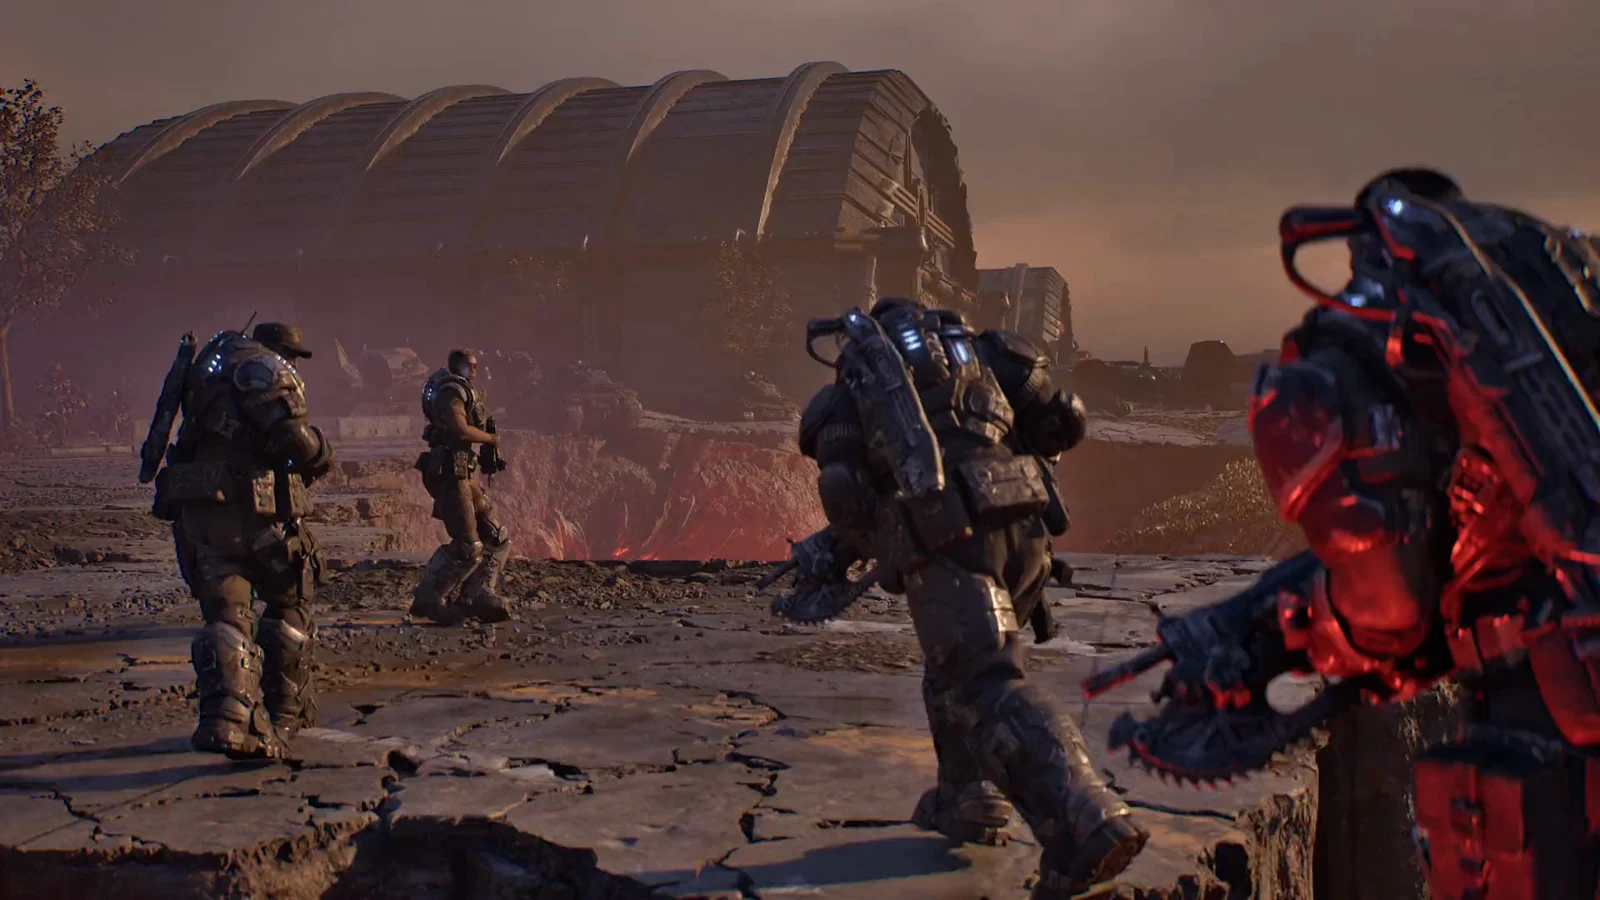
Gears of War: E-Day tucks optional side missions into its larger open-district chapters, and clearing them hands you weapon mods, armor mods, tactical gear mods and mod slots that you will not pick up on the critical path. They never block the story, so you can walk past them, but each one is a free upgrade for your loadout.
Quick answer: Secondary objectives appear only in the four open-district chapters. Walk to the marker, hold X to start, finish the fight or rescue, then claim the mod reward. Ten are covered below.
The ten listed here are the ones detailed in full, not a confirmed complete roster of every secondary objective in the game. Use the table as a jump list, then read the entry for the exact start point and steps.
| Objective | Chapter | Rewards |
|---|---|---|
| The Vanguard | Hold the Line (Act 2, Ch. 2) | Bayonet (Hammerburst); Cover Brace (Lancer Mk1) |
| Trapped Family | Hold the Line (Act 2, Ch. 2) | Precision Long Barrel (Breechshot); Bayonet (Gnasher) |
| Black Raven Down | Hold the Line (Act 2, Ch. 2) | Proximity Reload (armor); Overcharged Ammo (Gut-Puncher) |
| Rooftop Mayday | Last Foothold (Act 3, Ch. 3) | Stabilized Ammo (Striga) |
| Missing Convoy | Hope and Ruin (Act 4, Ch. 1) | Braced Capacitor (Stim); Mobile Targeting Laser (Torque Bow) |
| R.I.G. Experiment | Hope and Ruin (Act 4, Ch. 1) | Overpacked Mag (Hammerburst); Blood Mag (armor) |
| Special Cargo | Tough as Nails (Act 4, Ch. 3) | Longshot rewards: General Mod Slot and Expanded Magazine. |
| Trapped Locust | Tough as Nails (Act 4, Ch. 3) | Incinerator rewards: General Mod Slot and Springloaded Mag. |
| Fire in the Hole | Tough as Nails (Act 4, Ch. 3) | Gut-Puncher: Incendiary Rounds; Ripper LMG: Incendiary Rounds. |
| Death from Above | Tough as Nails (Act 4, Ch. 3) | Torque Regulator (Torque Bow) |
How secondary objectives start, run and finish
Every one of these works the same way. Getting close to a start point, or hearing a radio call about it, drops a bar on the left of the screen that reads “SIDE OBJECTIVE DISCOVERED.” That only reveals the mission. Nothing actually begins until you hold X at the start point.
The start point is a person, a gate or a machine marked with a diamond “!” icon. Hold X and a ring fills around the button. Once it completes, you get “OBJECTIVE UPDATED,” a “SECONDARY OBJECTIVE STARTED” banner with the name, and a checkpoint. The objective list at the top left swaps from your main objective to the secondary one and lists its steps underneath, striking each through as you clear it.
You know a secondary objective is done when a gold tick banner shows up with its name, followed by another checkpoint, then the reward banners across the top of the screen. The mod name sits in gold, with the weapon or gear it belongs to written underneath. You slot those mods at any Supply Cache.
On the map, opened with the View button, the legend uses separate icons for secondary objectives, completed secondary objectives and failed secondary objectives, alongside main objectives, supply caches, hard cases and collectibles. Hover the cursor over a secondary marker and it shows the name plus a one-line brief, for example “Missing Convoy / Investigate the commotion in the park.”
Can a secondary objective fail?
The legend includes a “failed secondary objective” entry, so failing is possible. The one failure condition the game spells out is leaving the area. During a started objective, walking too far brings up red text in the middle of the screen: “LEAVING MISSION AREA. YOU WILL FAIL THE MISSION.”
You’ll see that warning in R.I.G. Experiment if you step from the terrace into the courtyard, and in Trapped Locust if you leave through the control room’s far door. None of the objectives discussed here displays a countdown on the HUD. The numbered hourglass that sometimes appears at the top right tracks the cooldown for your LT + RT tactical gear, the Injector; it is not a mission timer.
Hold the Line (Act 2, Chapter 2)
Covered here in Hold the Line: The Vanguard, Trapped Family and Black Raven Down. The exit door of this chapter warns you that you are leaving the area, so wrap these up before you push on.
The Vanguard
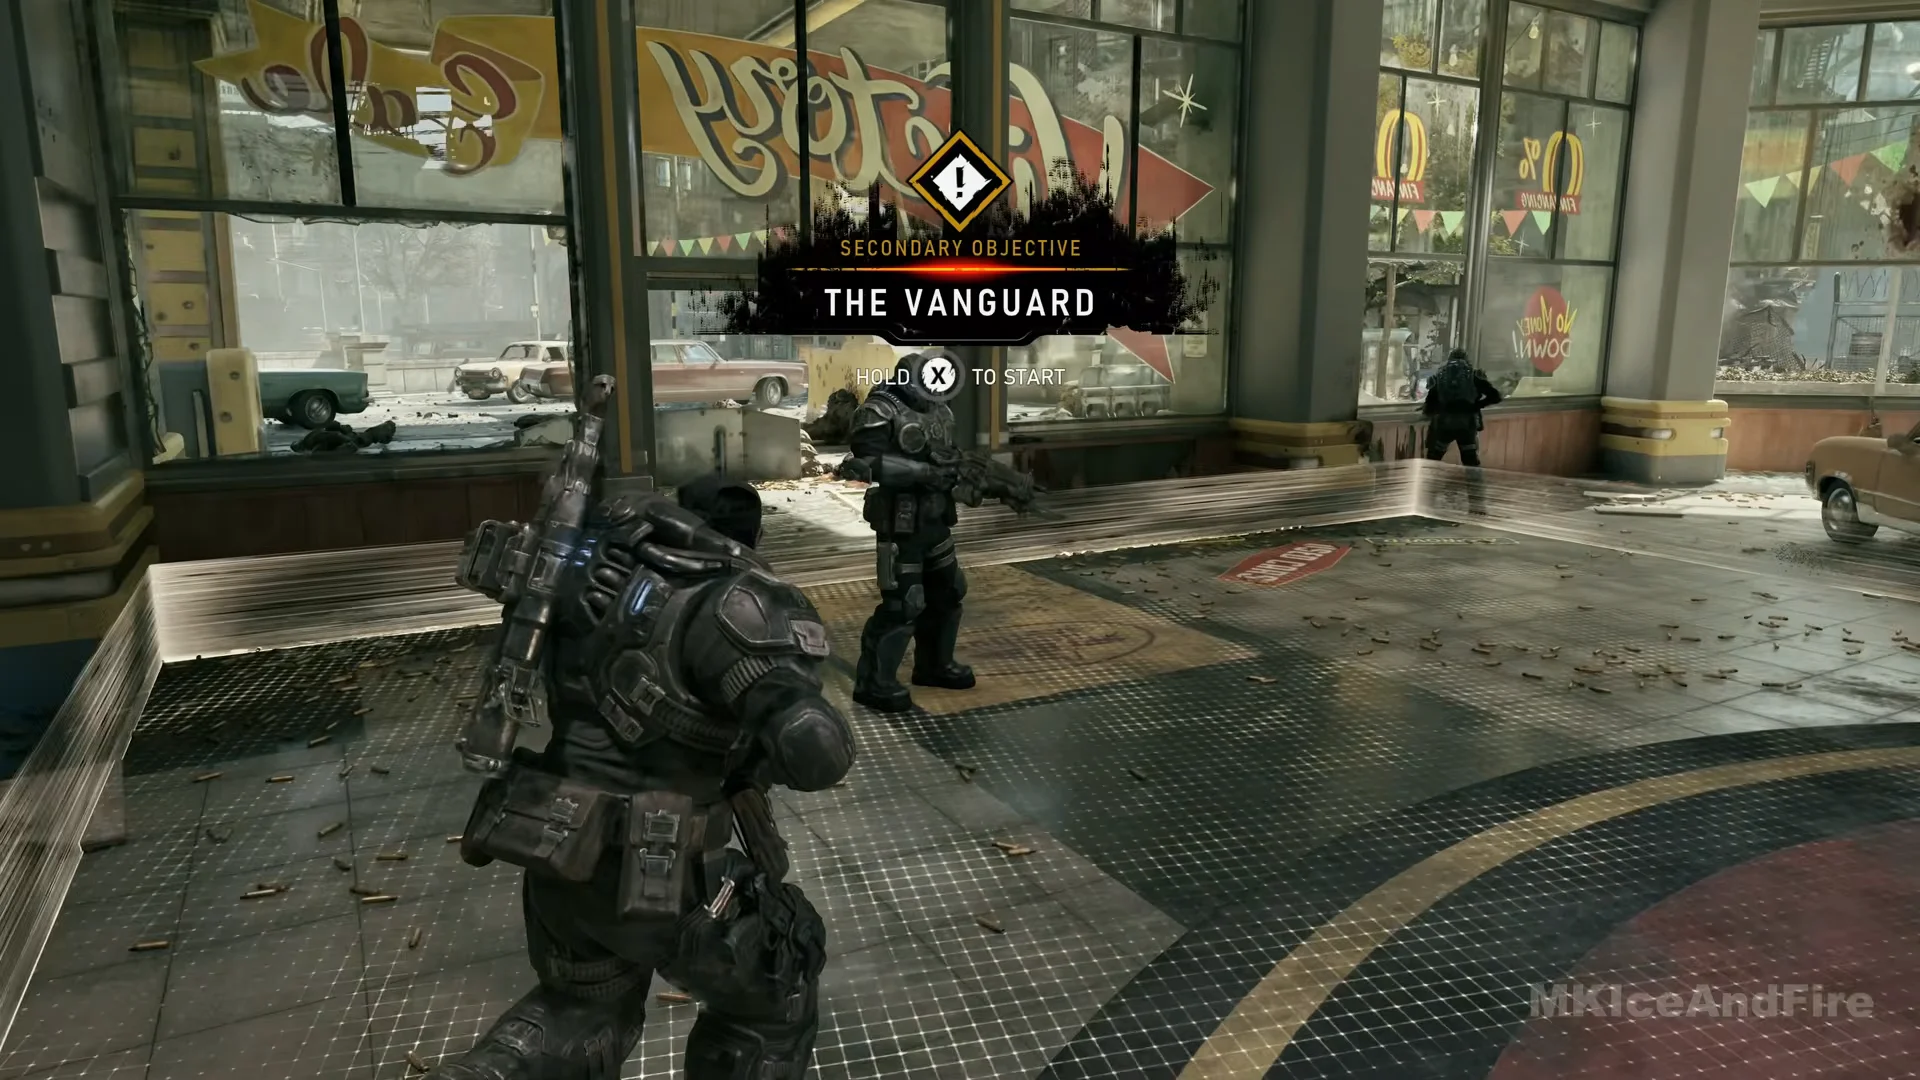
This one sits at the car dealership on the first street after the briefing by the stadium, while your main objective reads “Secure Octus Way Station.” Talk to SGT Kenzo, standing just inside the showroom entrance, and hold X to start.
The steps are “Assess the situation with the guards,” then “Repel the enemy attack.” Locust infantry push down the street toward the dealership entrance, and the fight runs about a minute. Clear them and you collect the Bayonet (Hammerburst) and Cover Brace (Lancer Mk1) mods.
Trapped Family
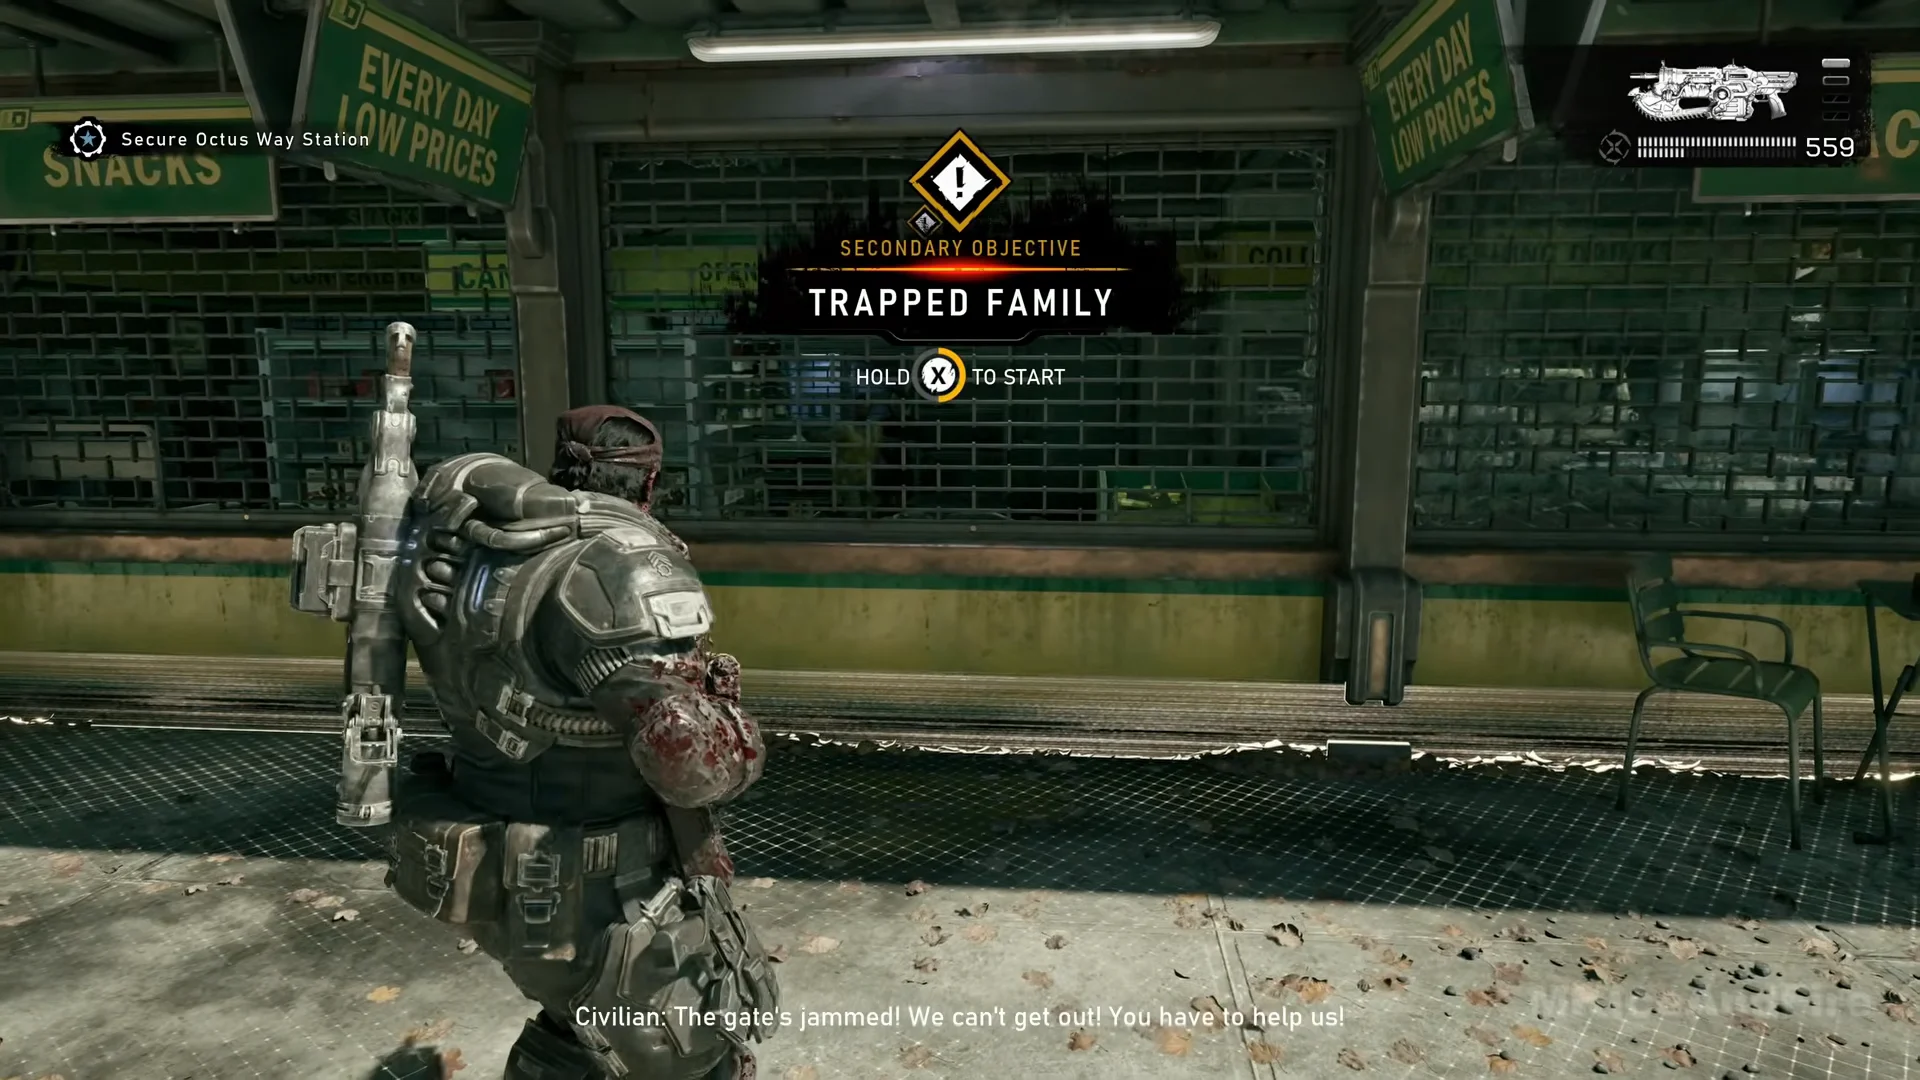
Continue down the same avenue, pass through a concrete arch, and reach the Last Dollar store parking lot. Start the objective by holding X at the security grille on the storefront.
The steps run “Look for a way in,” then “Eliminate all enemies” against a stream of Wretches in the lot, then “Look for a way in” again. Your way in is the plain roll-up shutter at the right-hand end of the building, past the tall DAILY SALES sign. Go through the storeroom, under a fallen shelf, along the kitchen corridor to the counter, then press X at “PUSH BUTTON” on the pillar beside the cash register. Rewards are the Precision Long Barrel (Breechshot) and Bayonet (Gnasher) mods.
Black Raven Down
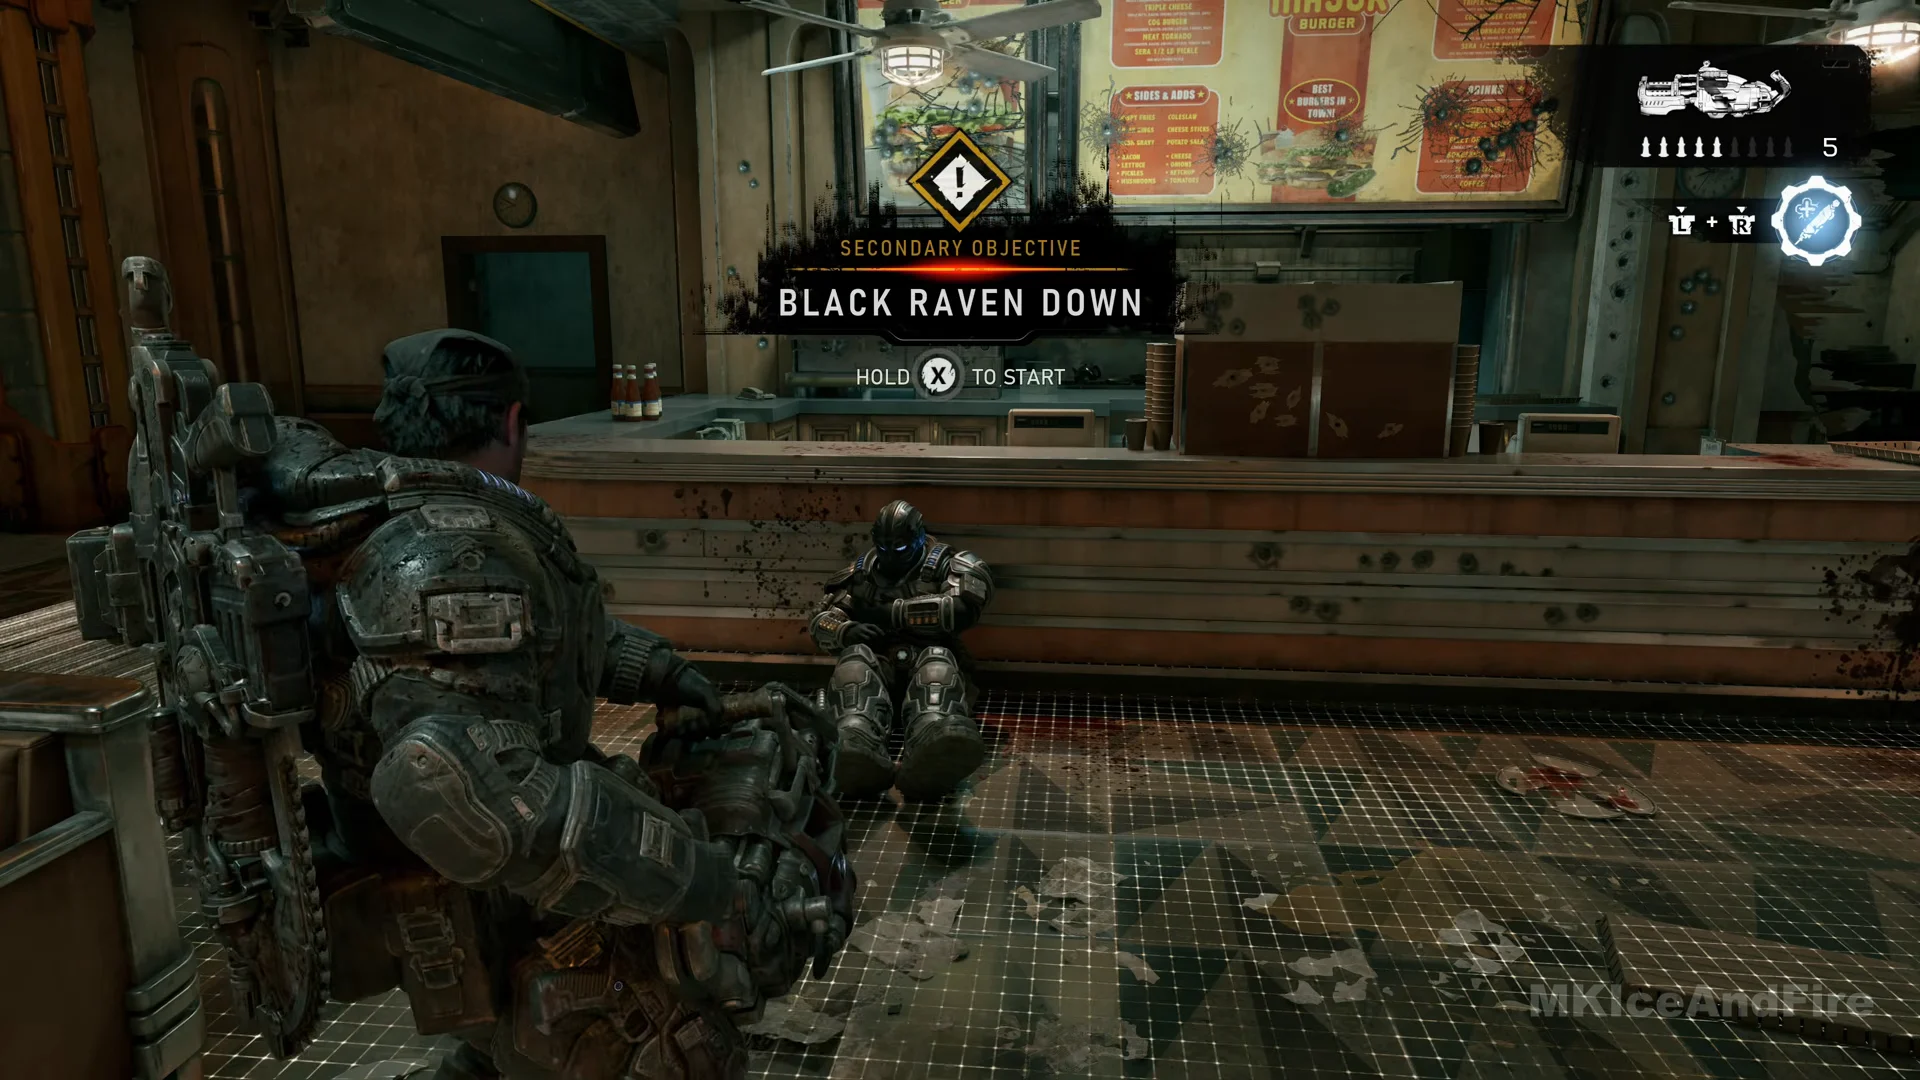
Later in the chapter, while the main objective reads “Find Whiskey Squad,” a King Raven has crashed in the street under the yellow monorail arches outside a burger diner. Inside, LT Martinez is the wounded Gear sitting against the counter. Hold X on him to start.
Your step is “Defend the diner with Sgt. Barnes,” who fights from the street outside. Locust infantry come in, including an Elite Drone, then an emergence hole opens in the road in a cloud of red smoke and lets out a large four-legged, wide-mouthed beast. Put it down to finish and take the Proximity Reload armor mod and Overcharged Ammo (Gut-Puncher).
Last Foothold (Act 3, Chapter 3)
Covered here in Last Foothold: Rooftop Mayday.
Rooftop Mayday
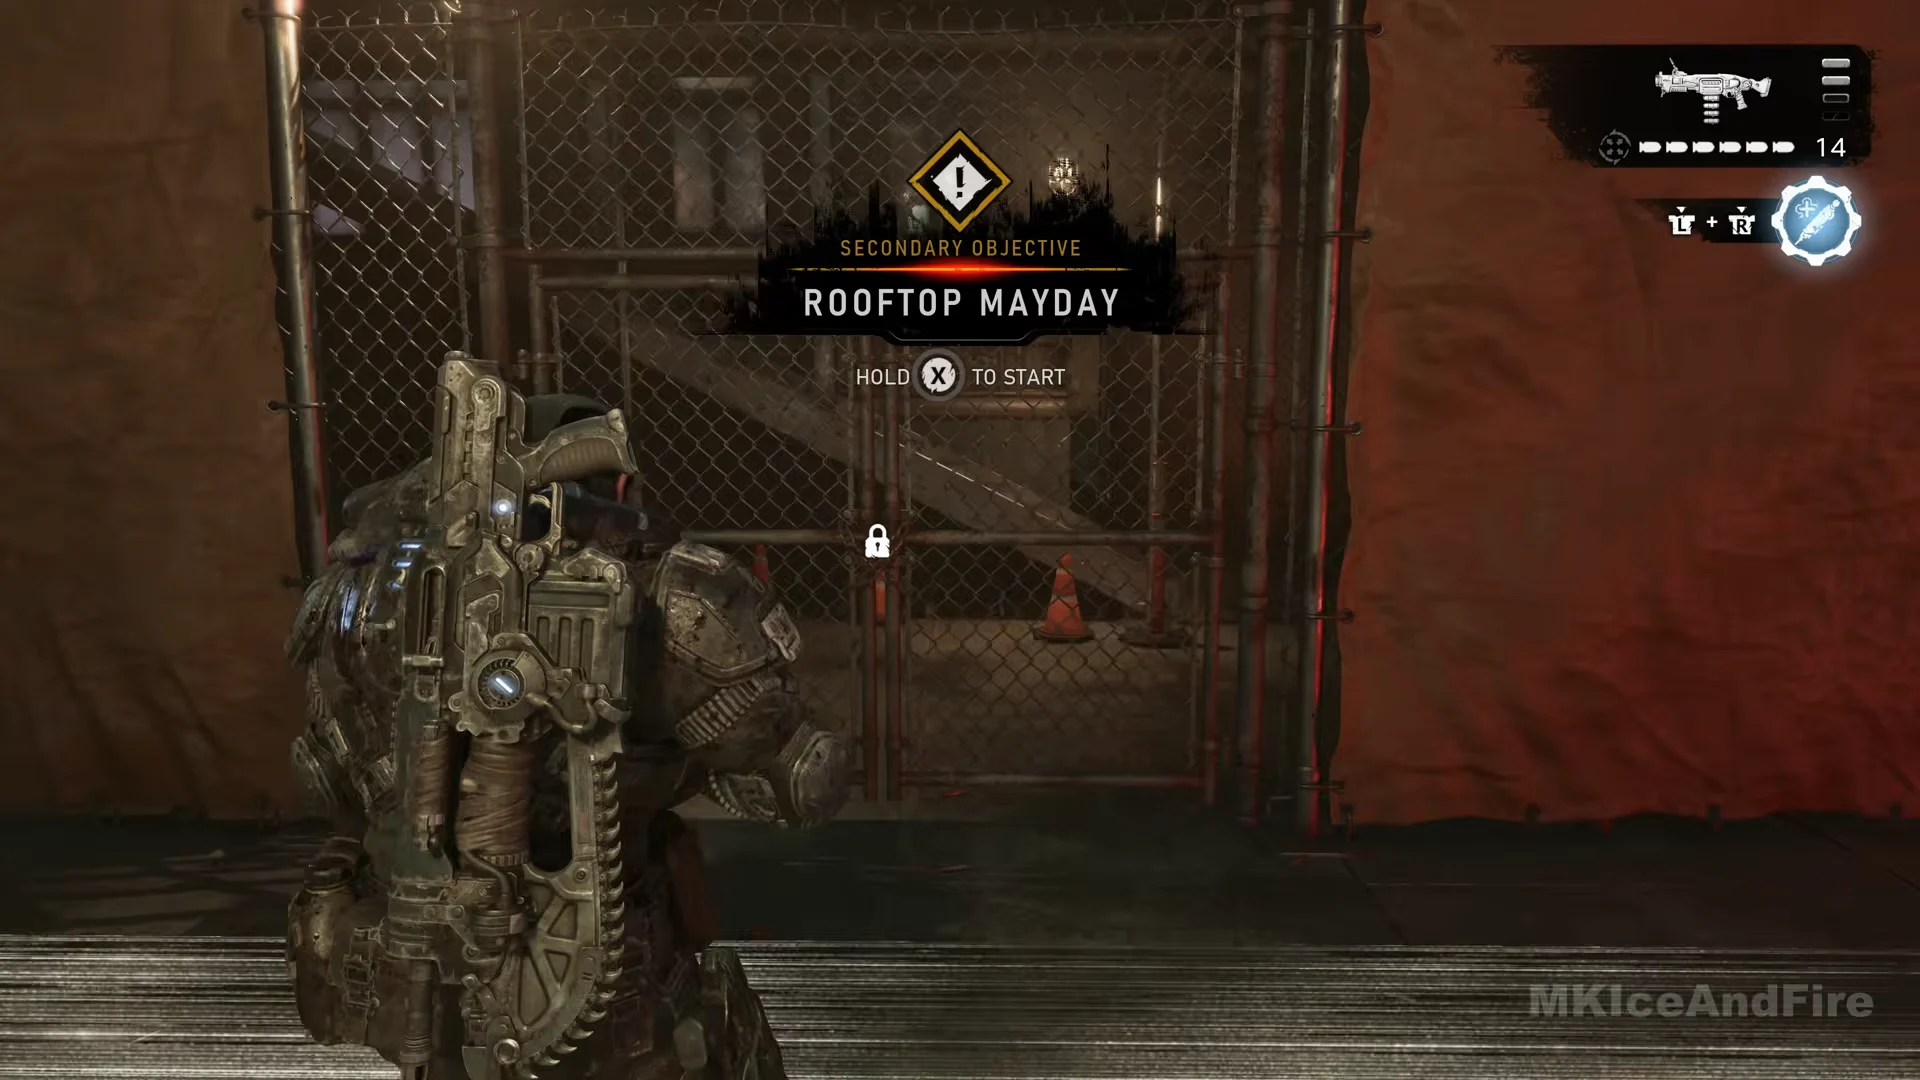
In the Kalona district at night, with the main objective set to “Provide support at the hospital / Rendezvous with Manu,” the discovery bar pops in a back alley as Manu radios about the hospital. The start point is a padlocked chain-link gate between red tarpaulins at the foot of an outside staircase. Hold X there.
The steps are “Reach the rooftop” up the stairs to a roof lit by a blue flare, “Help the civilian” by talking to the man in the hi-vis vest with X held, “Eliminate all enemies,” then “Unlock the gate.” A large floating creature, a dark gas bag trailing chains and tentacles with a glowing spot, attacks the roof. Fight it from behind the air-conditioning units, deal with the Locust that follow, then press X at “Open Door” on the chain-link gate at the far end so the civilian can leave. The reward seen here is Stabilized Ammo (Striga).
Hope and Ruin (Act 4, Chapter 1)
Covered here in Hope and Ruin: Missing Convoy and R.I.G. Experiment.
Missing Convoy
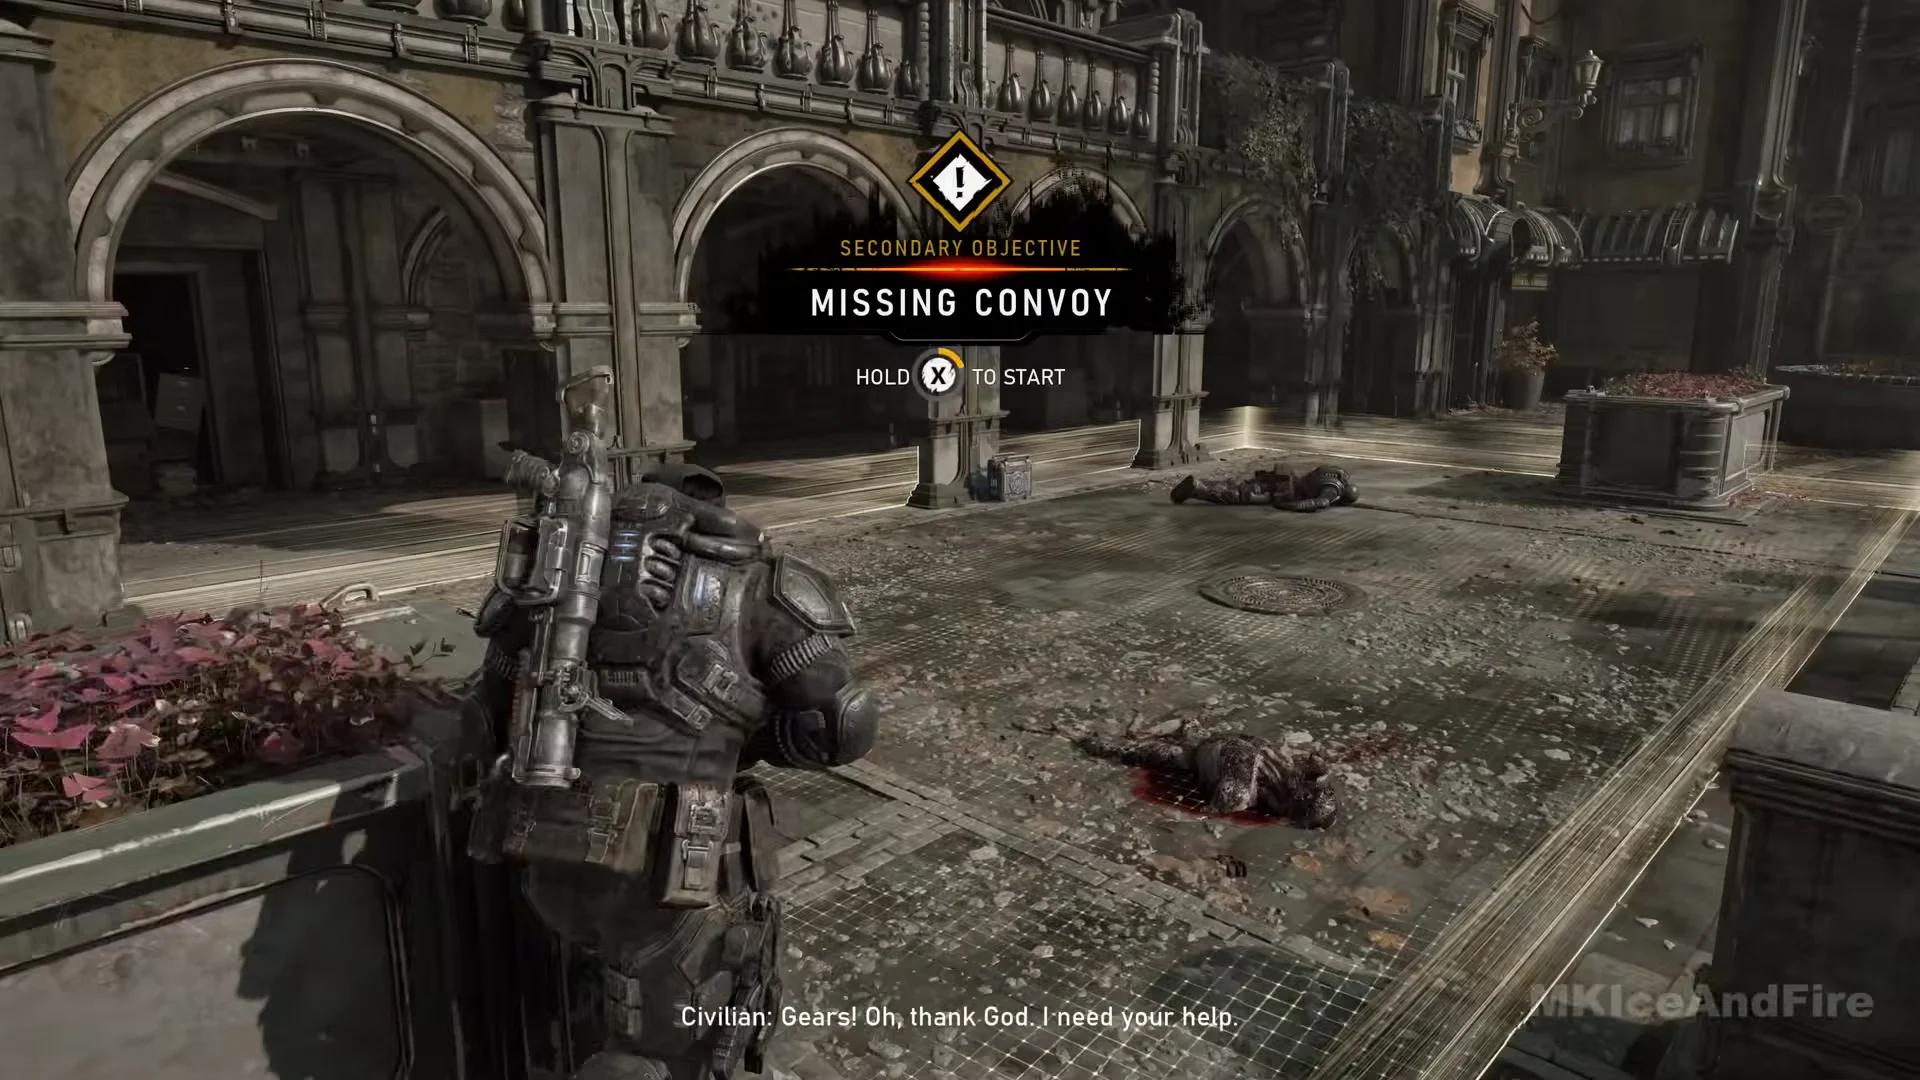
In the Kalona Golden Quarter, the map brief reads “Investigate the commotion in the park.” The start is in the park plaza in front of a tall arcaded building, where a civilian calls for help. Hold X to start in the plaza below the building.
Your step is “Kill the Spore Matrons,” big floating creatures that release swarms of small flying explosive things. Fight from under the stone arcade so the building shields you from above, and shoot the swarms as they close in. Wretches rush the arcade partway through; if you go down here a “DOWNS REMAINING” tally shows and the squad can revive you. Clearing it rewards the Mobile Targeting Laser (Torque Bow) and Braced Capacitor (Stim) mods.
R.I.G. Experiment
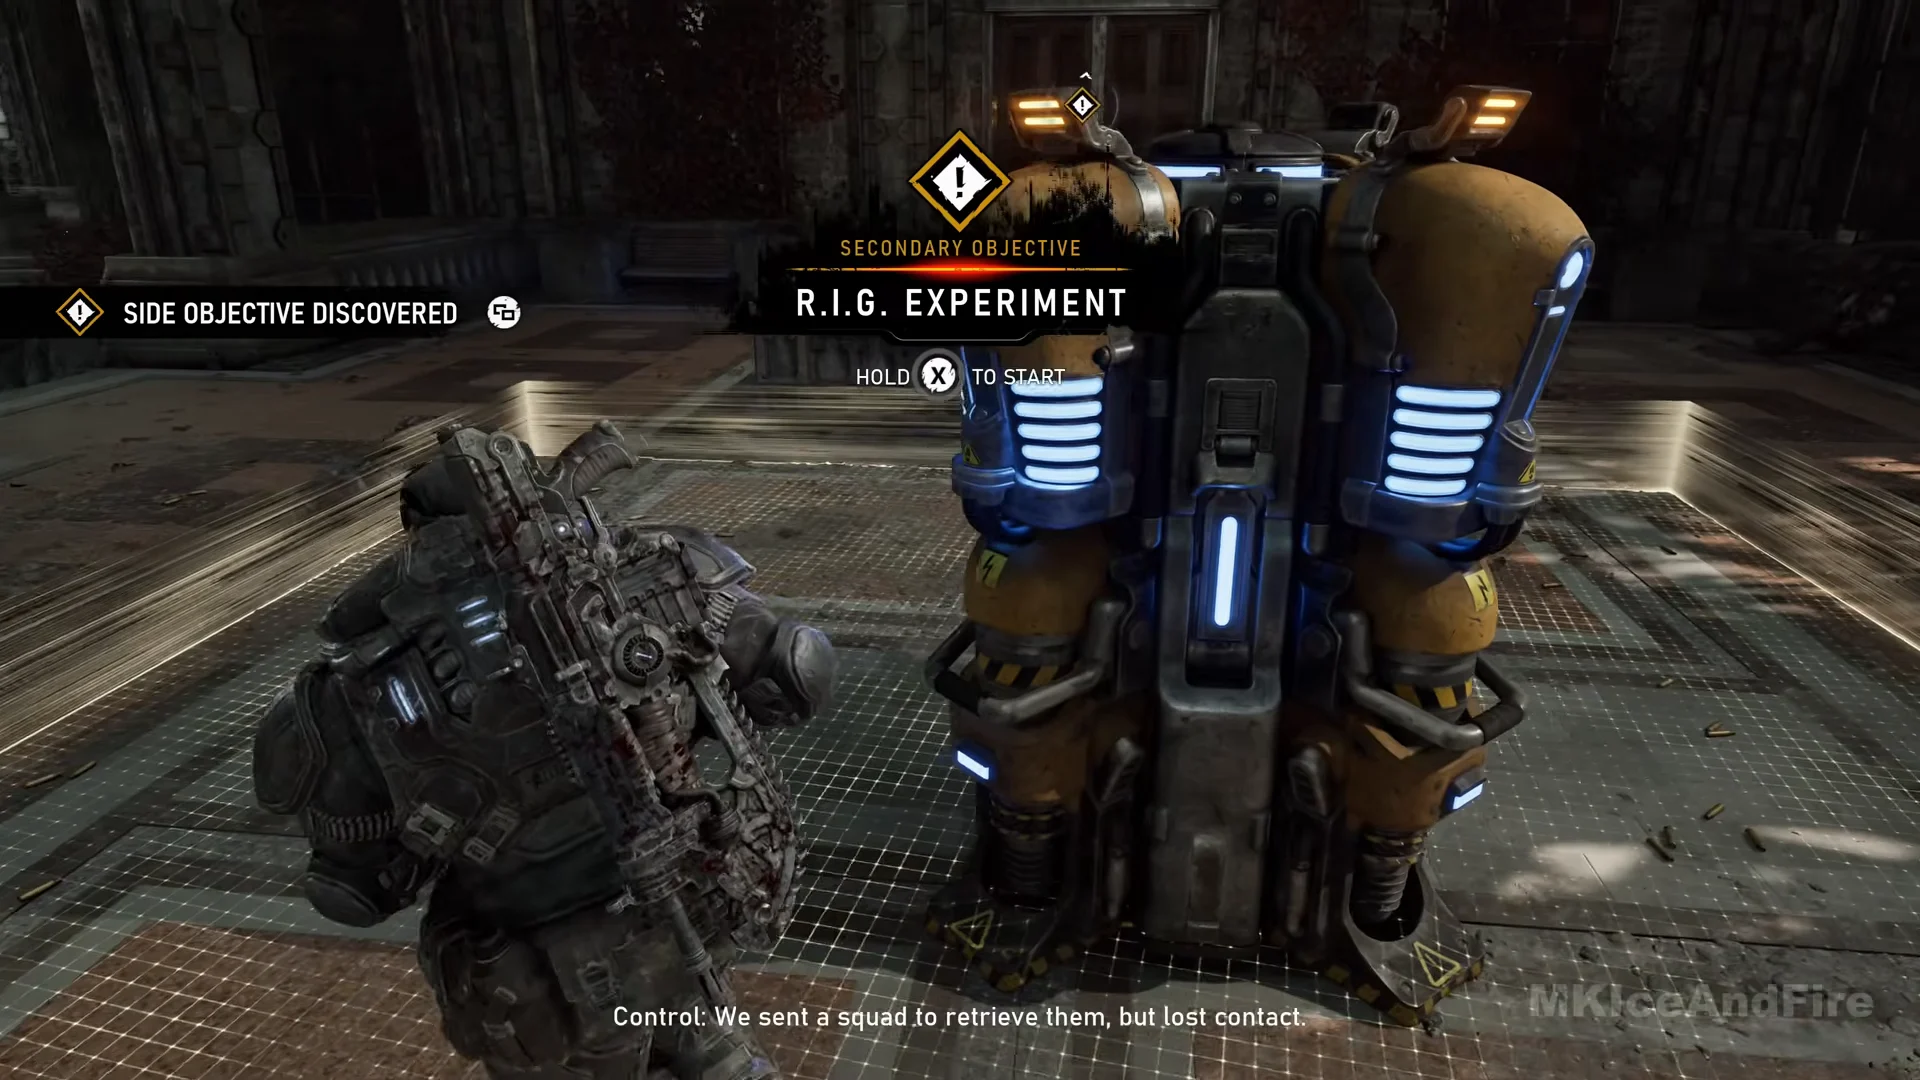
Off Kalona Square, in the ruined university hall on the way to the district gate station, the R.I.G. is a tall yellow machine with blue lights. The discovery bar and the hold-X prompt appear together at the machine itself.
The steps are “Start the machine” using its console, then “Defend the machine.” Locust, with Scorched Drones among them, pour out of red emergence smoke in the courtyard in front of the hall. Stay on the terrace by the machine. There is no timer; the step strikes through once the attackers are dead. Rewards are the Overpacked Mag (Hammerburst) and Blood Mag armor mod.
Stepping down into the courtyard triggers the “LEAVING MISSION AREA. YOU WILL FAIL THE MISSION” message, so hold the terrace line.
Tough as Nails (Act 4, Chapter 3)
Set in Prospect Bay, with the main objective moving from “Secure the weapons warehouse” to “Use the tower comms to contact HQ.” Covered here: Special Cargo, Trapped Locust, Fire in the Hole and Death from Above.
Special Cargo
On the platform overlooking the container yard, speak to the dock worker wearing a yellow hard hat and hold X. First, “Find the cargo container” within the search zone; next, “Clear the remaining Locust.” Drones and a Sniper emerge from a hole, accompanied by one of the large floating creatures.
The worker then radios the code 1548. Go to the pale green container marked ISG 24495 and press X on “Enter Code.” Inside, you’ll find a collectible, a Supply List, and a Vulcan. The rewards are the General Mod Slot (Longshot) and Expanded Magazine (Longshot).
Trapped Locust
In the train yard control room just beyond the docks, Auntie radios to ask a favour. Start at the room’s electrical cabinet. The steps are “Summon the train,” “Open the train car,” and then “Kill the trapped Locust.” Opening the car releases the Locust inside, including a Grenadier. Fight from the raised walkway beside the control room. Rewards: General Mod Slot (Incinerator) and Springloaded Mag (Incinerator).
Going out through the control room’s far door brings up the leaving-mission-area warning. Stay inside while the car empties.
Fire in the Hole
Up the stairs from the tracks, a badly wounded civilian is slumped against a military crate on a raised loading platform, next to an open case of grenades. Hold X on him to start. “Help the civilian” and “Clear the Locust” appear together, and Drones attack from red smoke in the yard below. Shoot down from the platform edge.
Once the yard is clear, only “Help the civilian” remains. Back on the platform the man no longer answers, Marcus notes he did not make it, and the prompt on him becomes “Pick Up Map.” Taking the map strikes the step through and the objective still completes with the gold tick. Rewards are Incendiary Rounds (Gut-Puncher) and Incendiary Rounds (Ripper LMG).
Death from Above
When the main objective changes to “Use the tower comms to contact HQ,” go inside the Seradyne armor assembly building and make your way to its roof. The start point there is the control console fitted with a red lever.
You restart the assembly line with the lever, then “Kill all the Locust on the roof,” then go back down to help the civilians inside. This is the longest of the fights: Wretches first, then another large floating creature over the roof, then Flayers, big melee brutes that can drop a Gear in one hit. More Locust wait downstairs with the civilians. The reward seen is Torque Regulator (Torque Bow), the first of two banners.
Are any of these missable?
Each of these belongs to its own district and stays optional, but they do not travel with you. Hold the Line, in particular, warns at its exit door that you are leaving the area, so finish its objectives before you move on. Once you have the mods, drop into any Supply Cache to equip them.