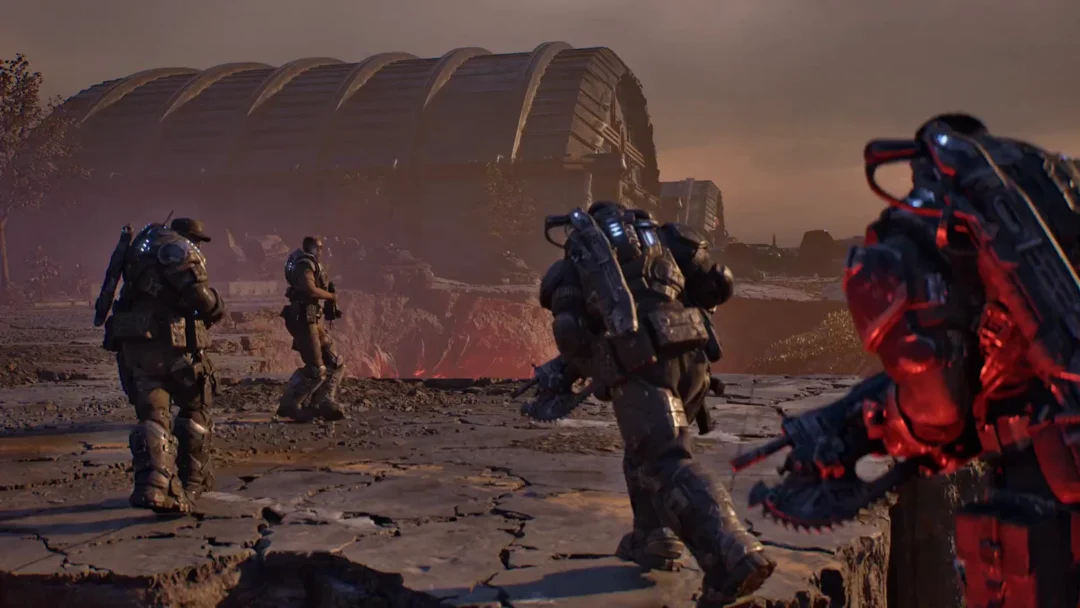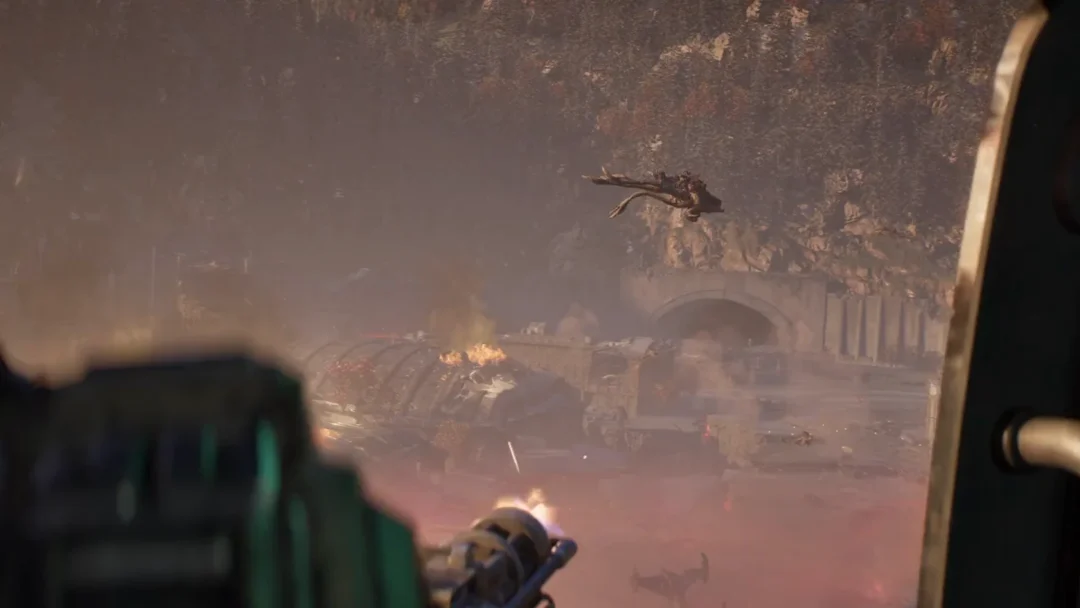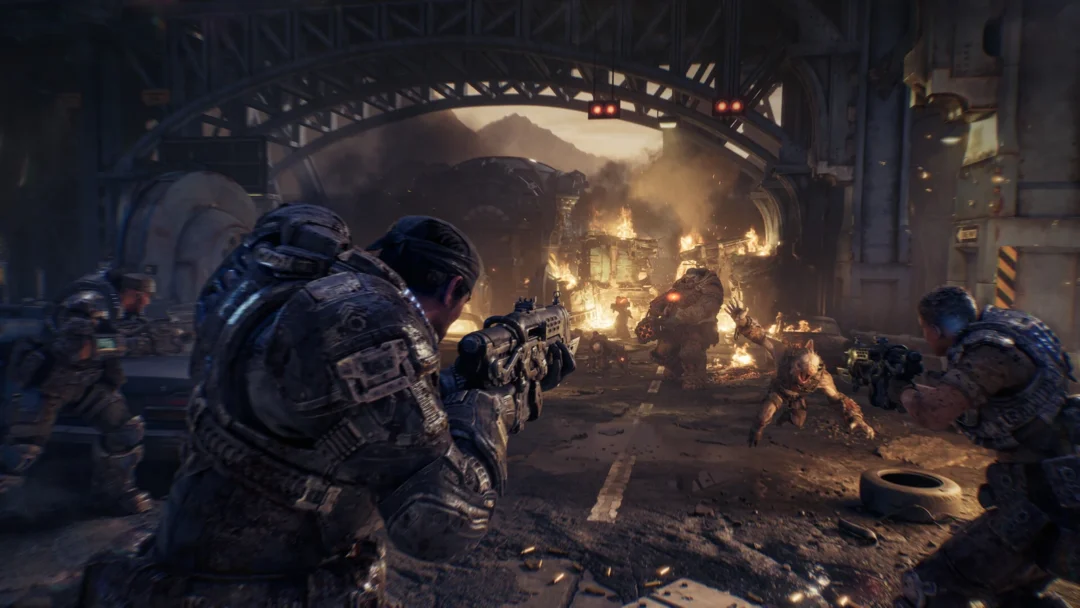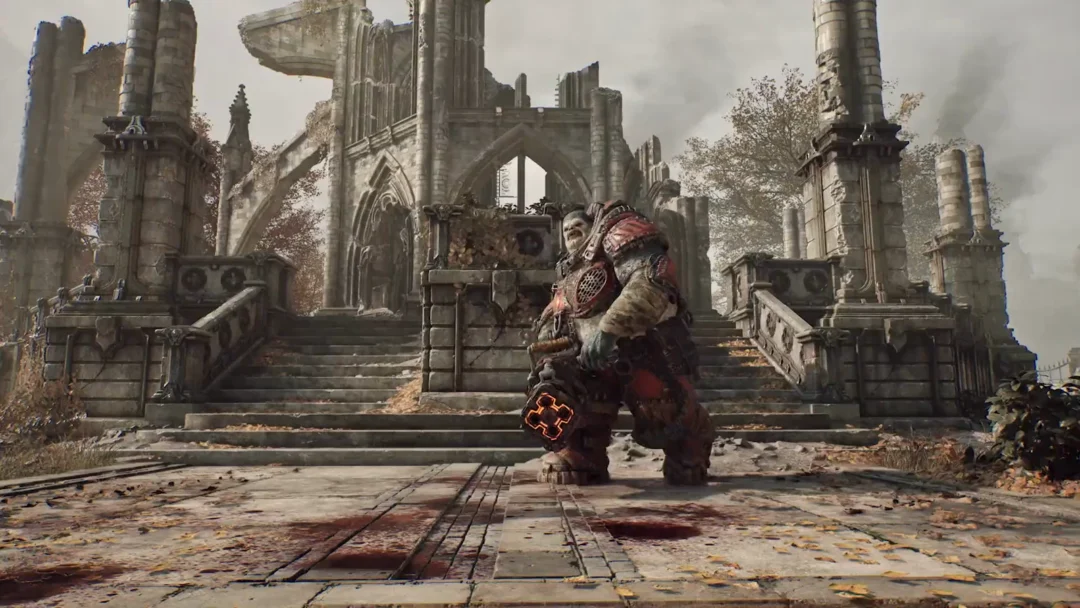
Three of Act 2’s linear chapters carry collectibles of their own, separate from the sprawling Hold the Line section. Bravo Squad, No Gear Left Behind and Overrun hold 11 between them, and most sit a step or two off the path you are pushed down by the objective.
Quick answer: These three chapters contain 11 collectibles — 5 in Bravo Squad, 5 in No Gear Left Behind and 1 in Overrun. Flyboys, the door-gun chapter between them, has none.
How Act 2 tracks these collectibles
Open the War Journal either through Pause > COLLECTIBLES or by holding Menu while the pickup toast is displayed. Under ACT 2, four chapter entries appear: Bravo Squad, Hold the Line, No Gear Left Behind, and Overrun; each has its current total at the far right. Flyboys is omitted, leaving Overrun immediately after No Gear Left Behind.
Every pickup works the same way. Stand over the item, hold the “PICK UP” prompt on the X button until the ring fills, and a “<item name> Found!” toast appears in the bottom right.
| Chapter | Collectibles |
|---|---|
| Bravo Squad (Chapter 1) | 5 |
| No Gear Left Behind (Chapter 3) | 5 |
| Overrun (Chapter 5) | 1 |
Bravo Squad collectibles (Act 2, Chapter 1)
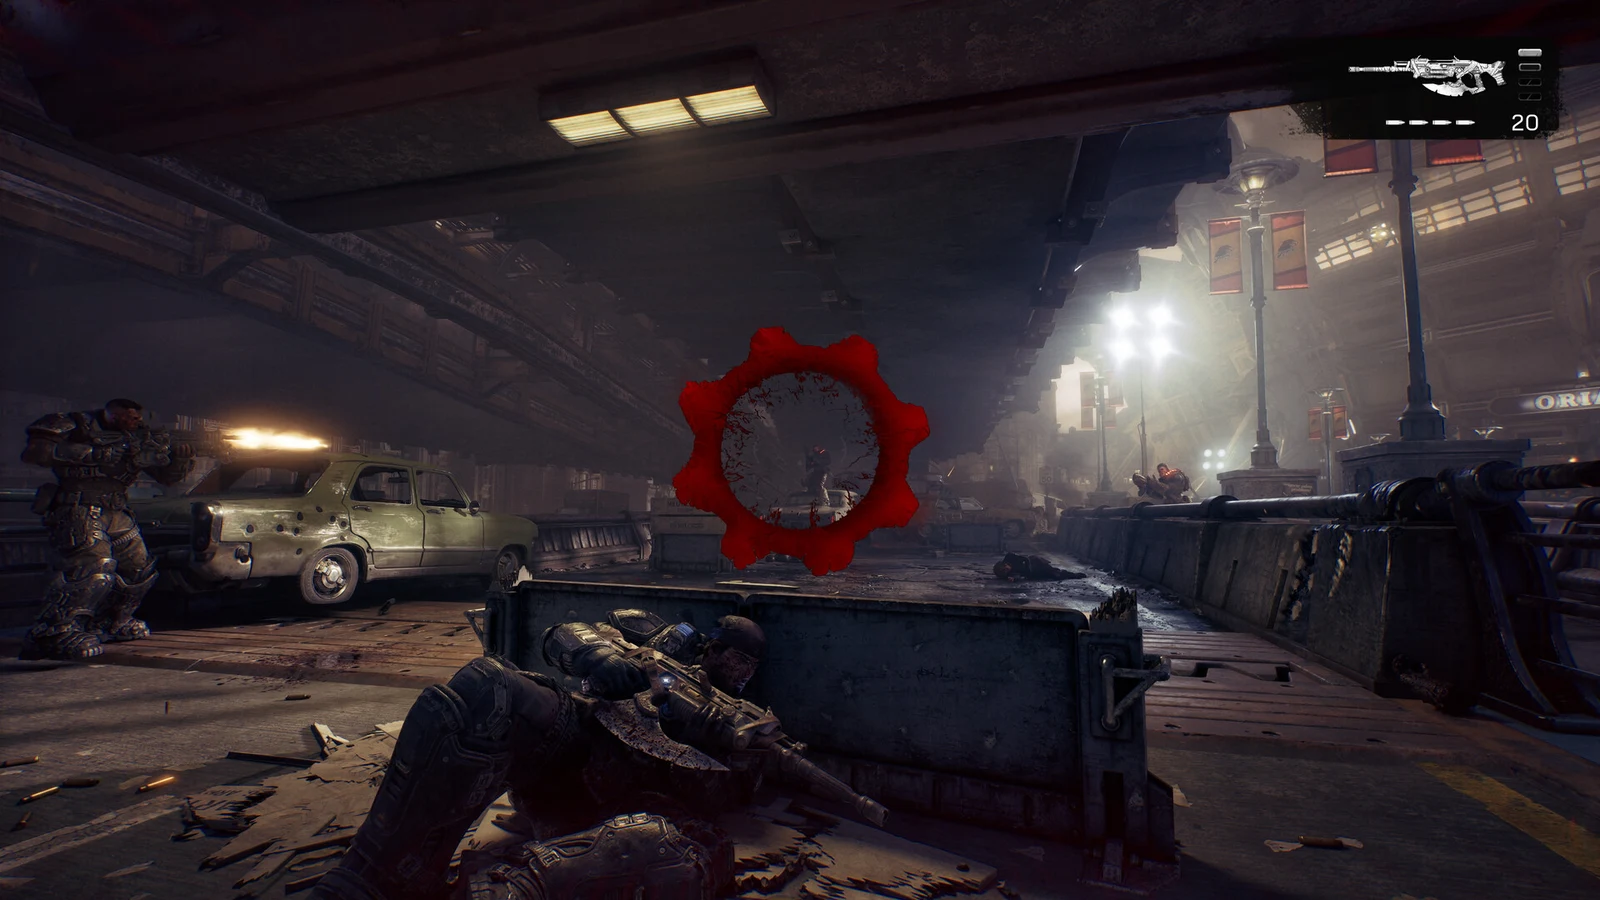
The battle in this chapter takes place on Legacy Bridge. Its journal total is 5 of 5; two collectibles are in the bridge control rooms, easy to miss when the objective sends you straight to the console.
COG Helmet with Bullet Hole
During the initial stroll through the ruined streets behind Captain Grey, collect this before combat begins. At a junction, you’ll see a parked COG armoured vehicle, a burnt-out bus to the left and yellow bins farther along the sidewalk. Break from the group, stay left and circle behind the bus. Continue past a street lamp post to a rubble incline from a collapsed building, where a blood trail ends at a dead Gear. The helmet is at the base of the rubble beside the body. Pick it up before rejoining Grey.
Sniper Goggles
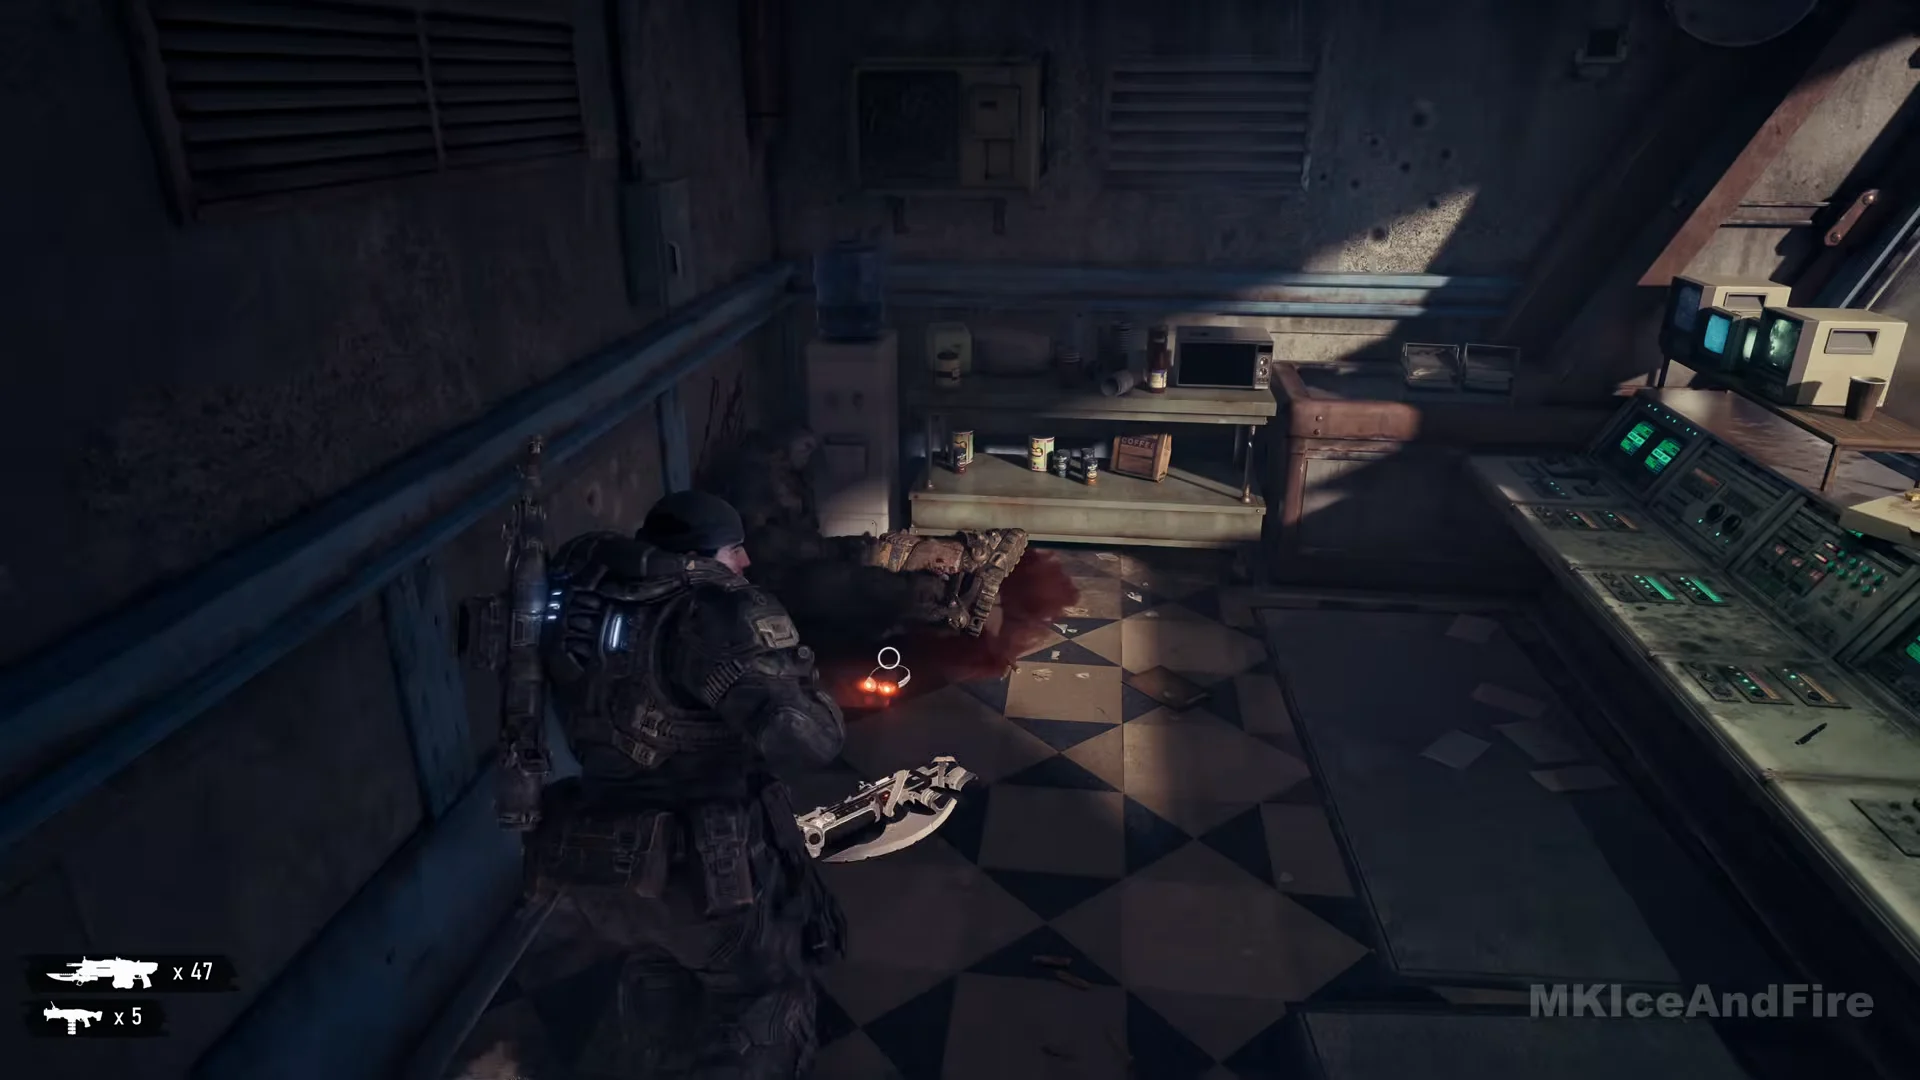
In the bridge’s first control room, climb a few steps to reach the black-and-white checkered floor and the long console bank beneath the windows. Skip the consoles and cross to the room’s rear corner. There, a blue-bottled water cooler sits beside a low shelf unit; on the floor in front of them is a body. Find the goggles beside it.
Bridge Worker’s Lunch Kit
After the fight on the road deck that relieves Charlie Squad, the next job is to find a way down to the lower deck. At the edge of the road deck, beside a parked trailer, a red-and-white “RESTRICTED AREA / AUTHORIZED PERSONS ONLY” sign marks the way down to a maintenance landing with a metal grating floor and blue railings. On that landing, head to the dead-end corner where a ladder is fixed to the wall and wooden “POLICE LINE DO NOT CROSS” barricades are stacked. The lunch kit is on the grating in that corner, among scattered debris.
Thrashball RUSH Magazine
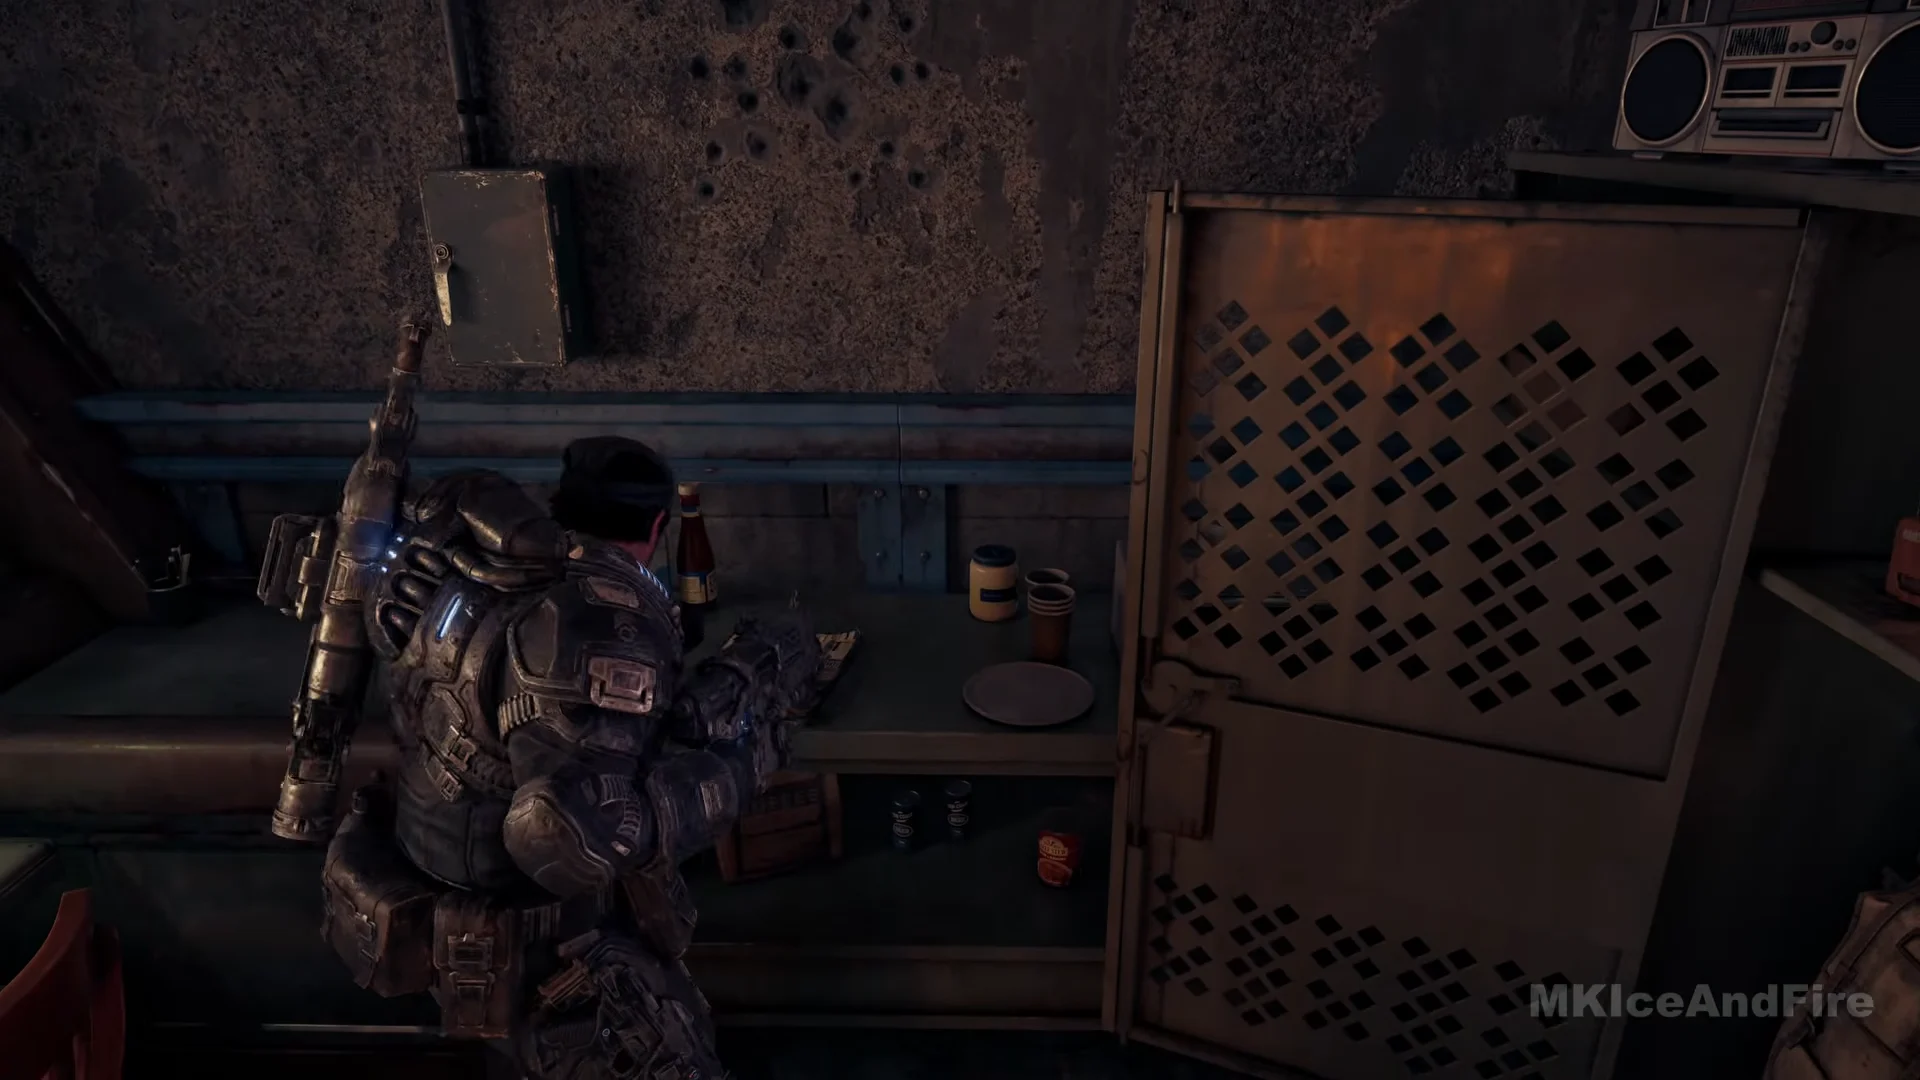
With “Lower the central span” displayed, enter control room two across the bridge, the room used to bring the span down. Ignore the consoles and check the room’s right side: against the wall, a work counter sits beside an open locker door of perforated metal; a boombox rests on the shelf above. The magazine is on the counter beside tins. Collect it before the span descends and the squad heads for the exit doors.
Medic’s First Aid Kit
Near the chapter’s end, the way to the lower roadway takes you along an upper-deck outer path that curves past a wall phone beneath a “CRISIS HOTLINE” sign, then down a circular metal spiral staircase. At its base, pass through the open iron gate into the dark, covered roadway. Just inside the entrance, by the gate, a burning military truck stands close to a dead Gear lying in front of it. The red first aid kit is on the road next to the body.
No Gear Left Behind collectibles (Act 2, Chapter 3)
Another 5 of 5 here, and the chapter runs mostly in a line. Two sets of tags sit on the only path forward, so take both before you leave the underpass.
COG Tags of Private Sal Harkniss
When the extended scene ends with Charlie Squad’s captured Gears being killed, control resumes on the burning, wrecked street beneath the overpass. A few steps ahead, find the tags on the body in the center of the damaged roadway, with fires on either side.
COG Tags of Private Siv Strickland
Continue along this road beneath the overpass. By the rear wheel of a dark van riddled with bullets, a dead Gear is slumped against its side. The tags are on the body.
Bloodied Spike
Before the plaza encounter, while heading toward the muster point, search the street outside the plaza. Abandoned cars stand near a diner-style restaurant with an illuminated awning across the road. Follow the blood marks from the cars over the asphalt to the sidewalk, past a body, then into the side alley alongside a brick building; one wall lamp lights the way. At the terminus, a closed metal shutter and chain-link fence stand behind a dead Gear slumped beneath a large blood splash, the long Locust spike embedded in the body.
Ink-Covered Wrench
Once the plaza objective “Clear the plaza” is done and a checkpoint follows, head to the lower part of the plaza — the paved garden area with trees, stone planters and stairs leading up toward a winged statue. Beside an ornate carved stone bench is a group of white caged storage tanks, with a dead Gear face-up on the paving between them. The wrench lies in a dark ink stain a step from the body.
Living-mortar fire continues to hit the plaza until you clear it. Wait until the fight is over, then collect the wrench before heading up to the scaffolding.
COG Tags of Lieutenant Jane Hawkins
At the end of the chapter, after the Seeder is dead, follow Captain Grey through the courthouse and back outside. Grey leads out of a doorway onto a raised stone terrace with a green tent, sandbags and a table of green ammo crates. Go down the stone steps to the yard below. In the corner of the yard, against the tall wrought-iron fence and gate, bodies lie under white blood-stained sheets on the grass. The tags are on the ground between the sheeted bodies.
This is the last stop before the truck. Its tailgate prompt reads “Leave the area and move on,” and using it ends the chapter — so grab the tags first.
Flyboys has no collectibles
Flyboys, the King Raven door-gun mission placed after No Gear Left Behind and before Overrun, contains no collectibles; no tally appears during the chapter. Complete the mission as usual and you won’t miss anything.
Overrun collectible (Act 2, Chapter 5)
The airfield mission after Flyboys has no title card; in the pause menu it appears as “Chapter 5: OVERRUN.” Its journal total is 1 of 1.
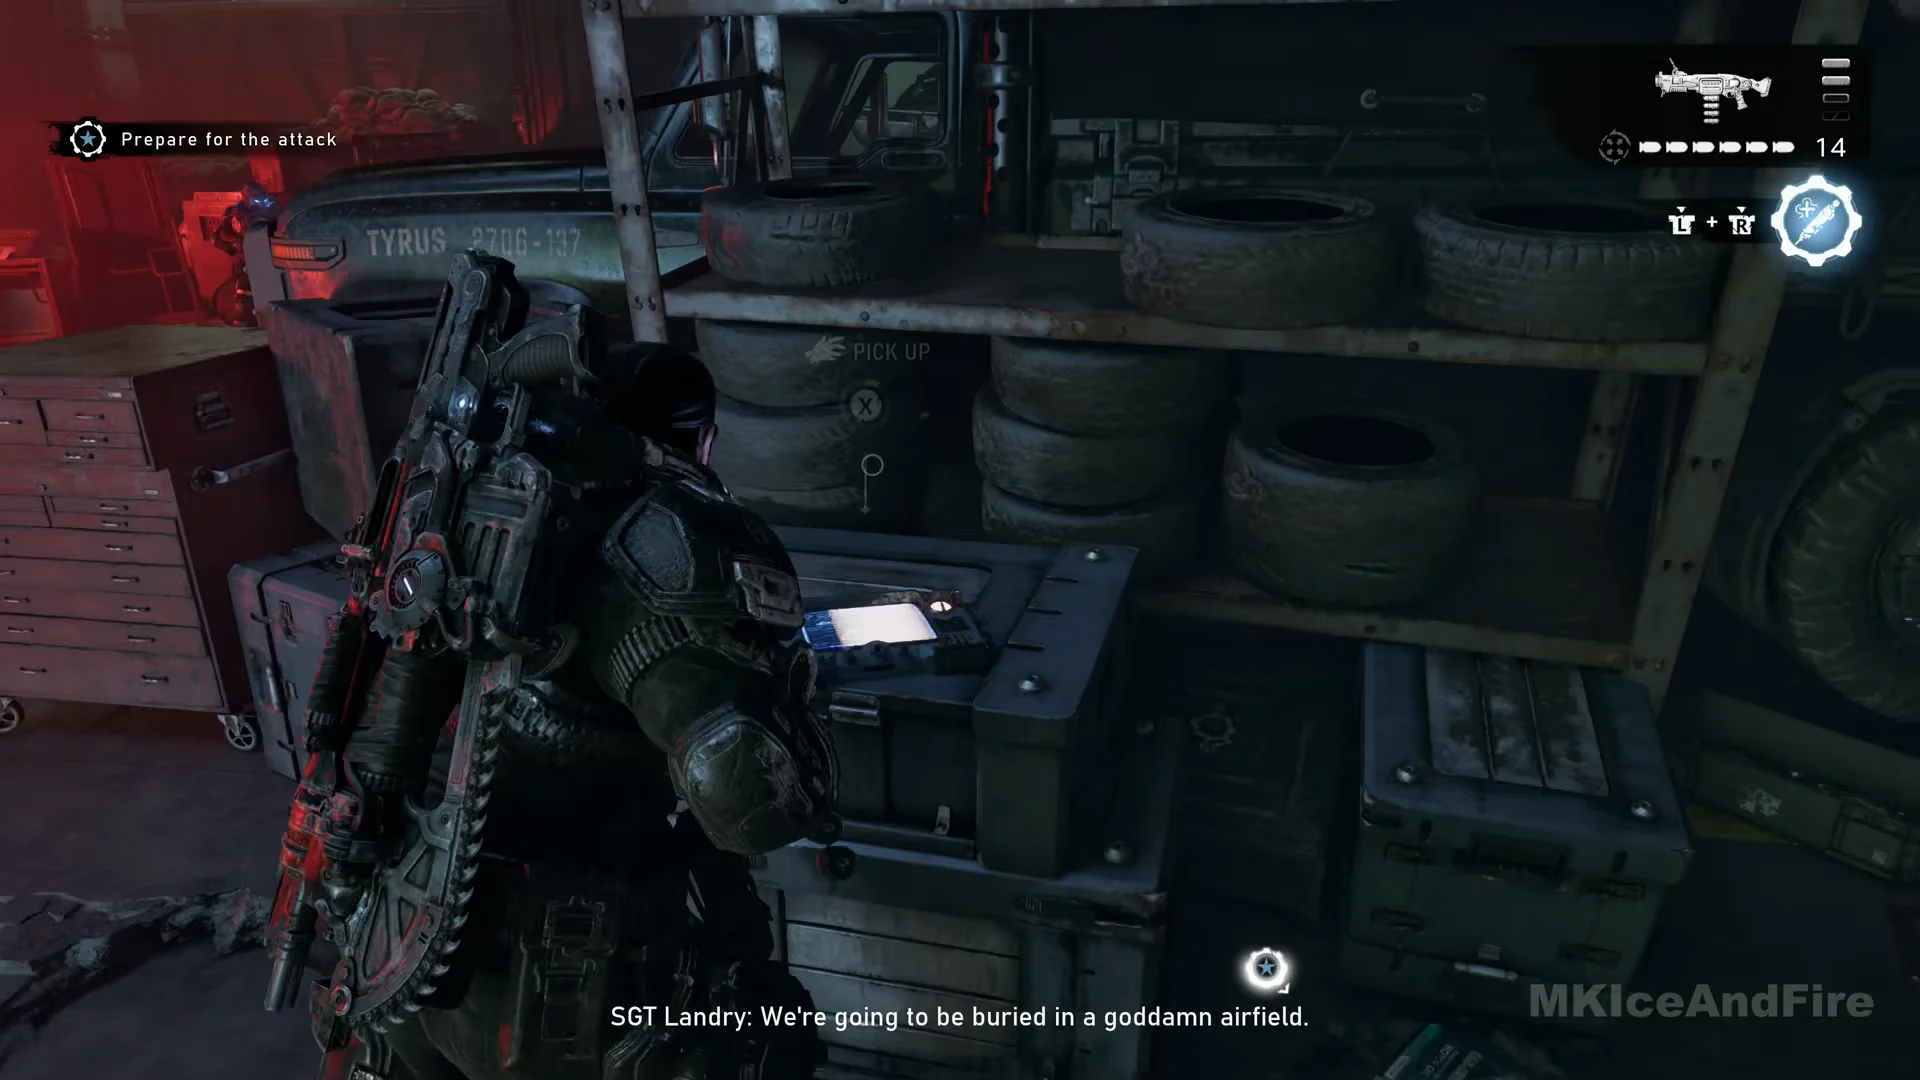
Point Fairlight Hangar Data Pad
With “Prepare for the attack” on screen, this comes after the hangar fight and the fissure tunnel, when the blast door opens into the vehicle depot where the defenders are gathering. A Hard Case and a Supply Cache are in the same room. From the Supply Cache, go to the storage racks along the side wall where tires are stacked on shelving, with a red tool chest at the left end. The rugged military data pad lies on top of a dark equipment crate on the floor in front of the tire shelves. Take it before joining the line-up at the blast door (“Fall in”), which starts the runway push.
The ones most often missed
A handful of these sit off the forced path and are easy to run past. Open the War Journal to see each chapter row’s count.
- COG Helmet with Bullet Hole — off the path in the first minute, behind the bus.
- Bridge Worker’s Lunch Kit — down a side maintenance landing below the deck.
- Medic’s First Aid Kit — through a side gate at the foot of the spiral staircase.
- Bloodied Spike — tucked in a side alley off the street before the plaza.
- COG Tags of Lieutenant Jane Hawkins — the last corner before the truck ends the chapter.
The remaining 27 Act 2 collectibles are all in Hold the Line.