Gears of War: E-Day Desperate Times Walkthrough (Act 3 Chapter 5)
Clear the Golden Quarter rooftops to reach Fort Vigil, with five collectibles and five Hard Cases placed along the route.
Clear the Golden Quarter rooftops to reach Fort Vigil, with five collectibles and five Hard Cases placed along the route.
by AllThingsHow Staff
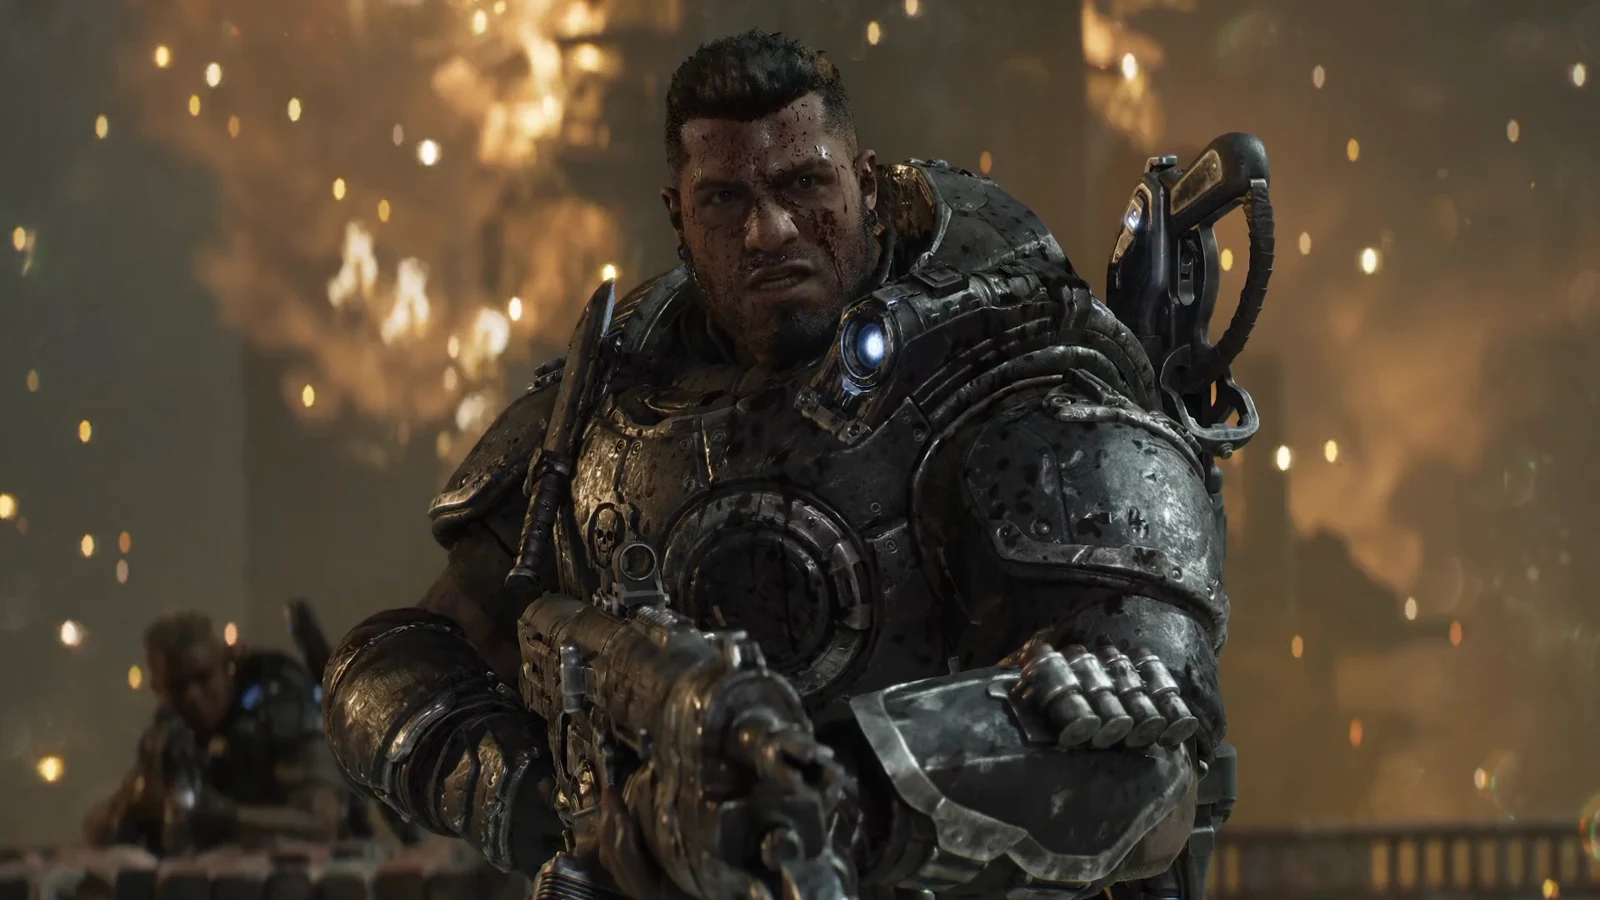
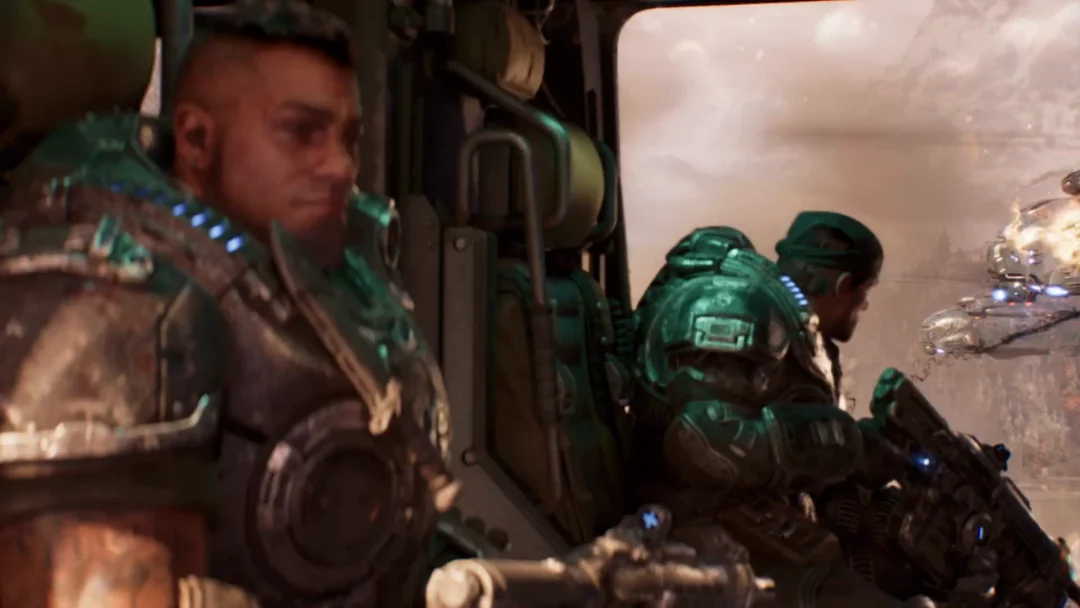
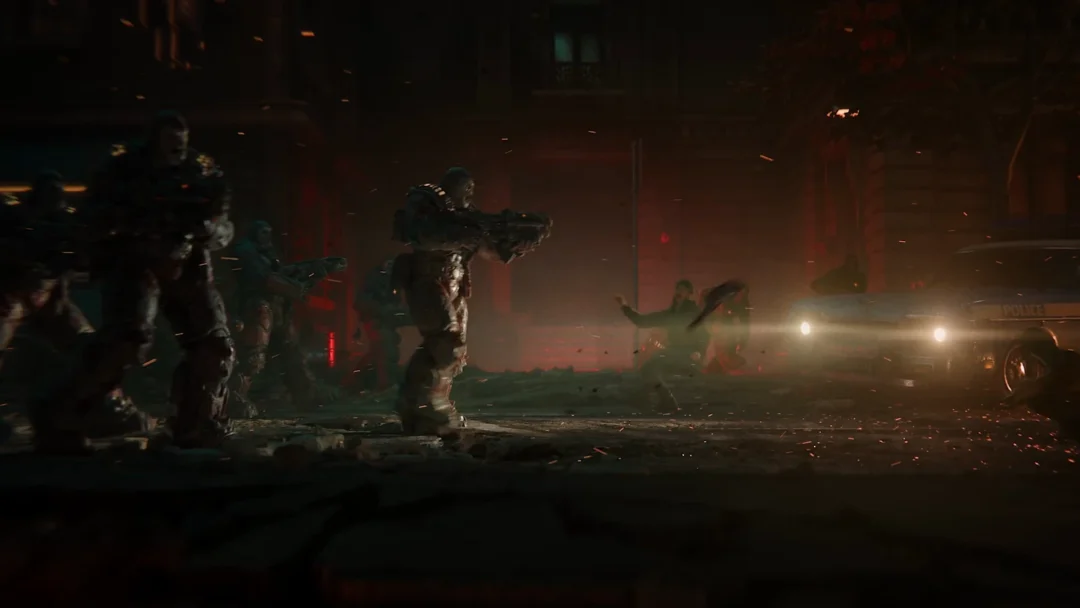
Desperate Times is a linear night chapter that runs about 17 minutes, from the title card to the gates of Fort Vigil. Bravo Squad leads a group of civilians across the rooftops of the Golden Quarter while Private Garner keeps the survivors moving behind you. The route is fixed, but it packs five collectibles, five Hard Cases found along the way, and a handful of set-piece fights that each call for the right weapon.
Quick answer: Hold the main objective “Make your way to Fort Vigil”, clear each rooftop and interior before waving the civilians forward, and use the Gut-Puncher on every large target. The chapter ends when the civilians reach the fort and the gate seals behind you.
Starting weapons and objective order
You begin the chapter carrying a Frag Grenade, the Gut-Puncher, the Prototype Lancer, and the Snub. The Gut-Puncher is your answer to every big threat, and the Prototype Lancer handles the Drones in between. The convoy is lost on the bridge and the squad’s truck is wrecked, which is why everyone takes to the rooftops.
The main objective never changes. Fourteen sub-objectives appear and get struck out beneath it, in this order:
In the living room of the dark apartment, take A bottle of Iron Coast Beer off the floor beside the couch where the dead civilian lies. This is collectible 1 of 5.
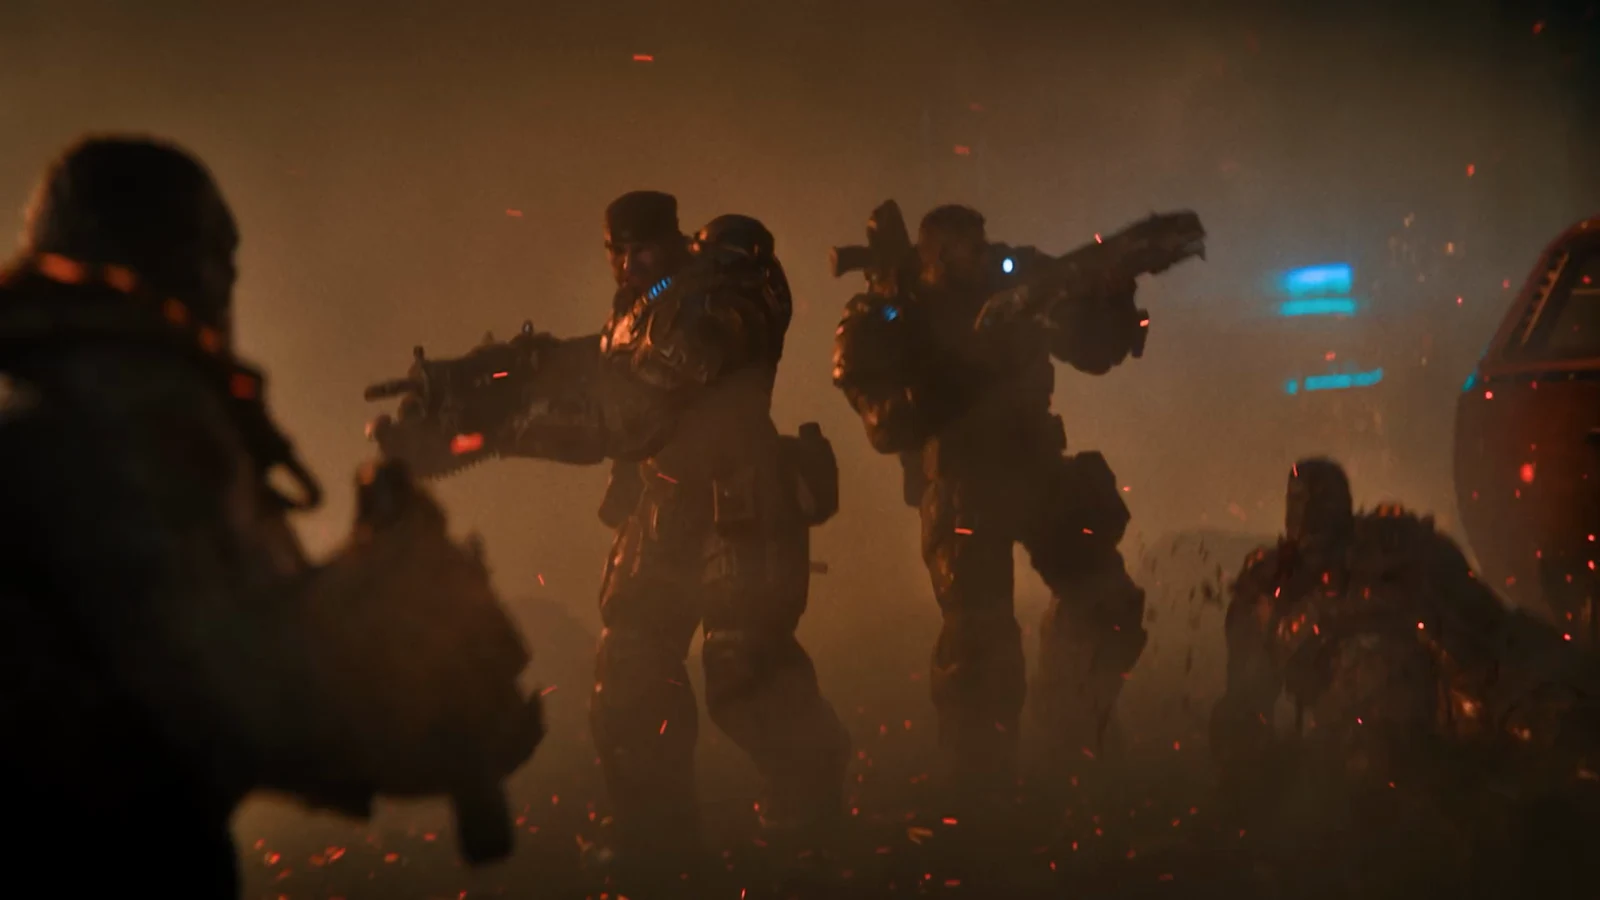
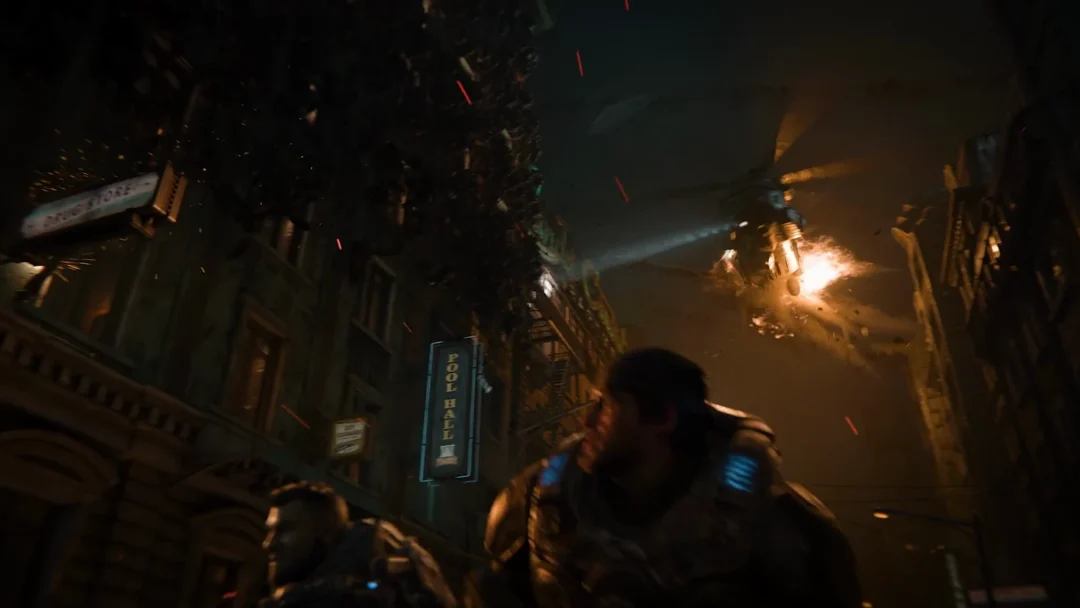
Radio masts crowd the rooftop beyond the doors. Above the street, a hovering creature with a shadowy gas-bag torso, dangling tentacles, and a glowing belly rains explosives on the trapped Gears squad below. The objective switches to “Protect the Gears below” within seconds.
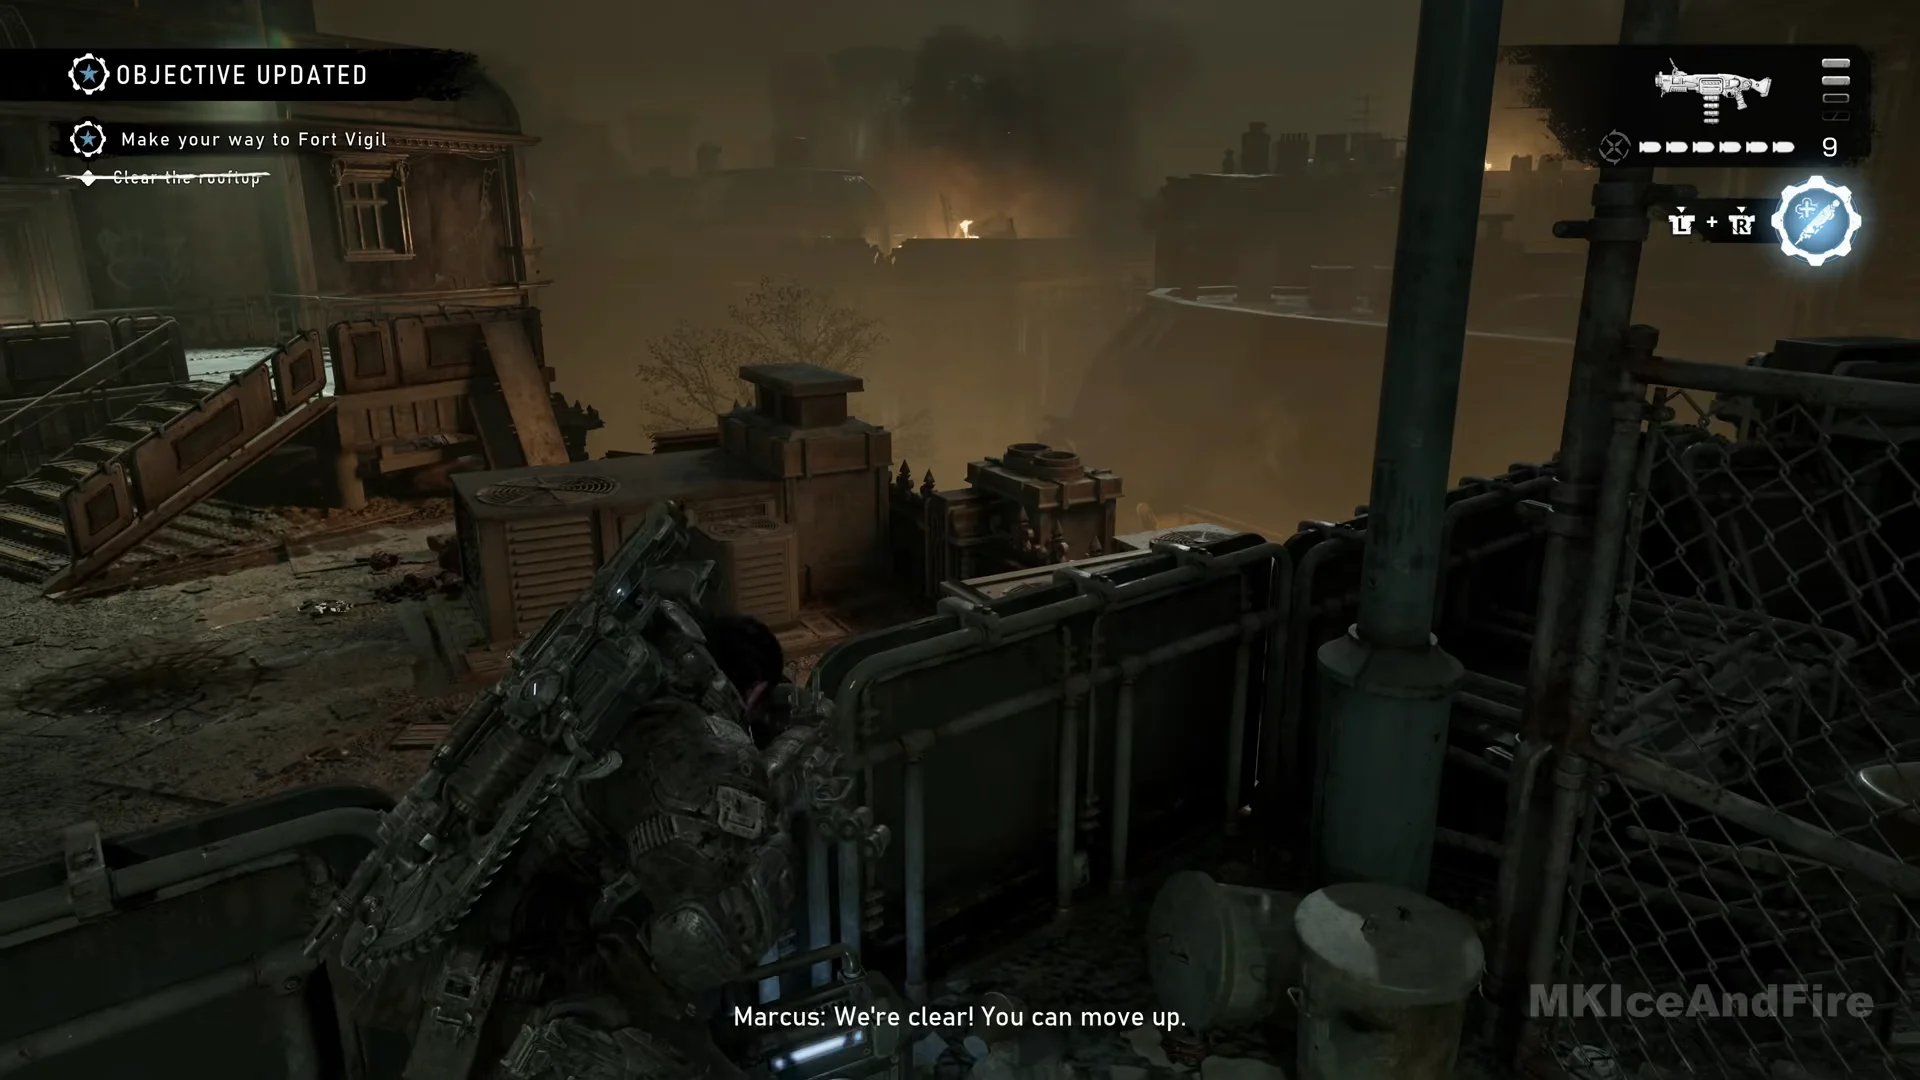
On the roof’s left, the second Hard Case is on the catwalk, behind the chain-link barrier and beside an ammo box. Clearing the rooftop crosses off the objective.
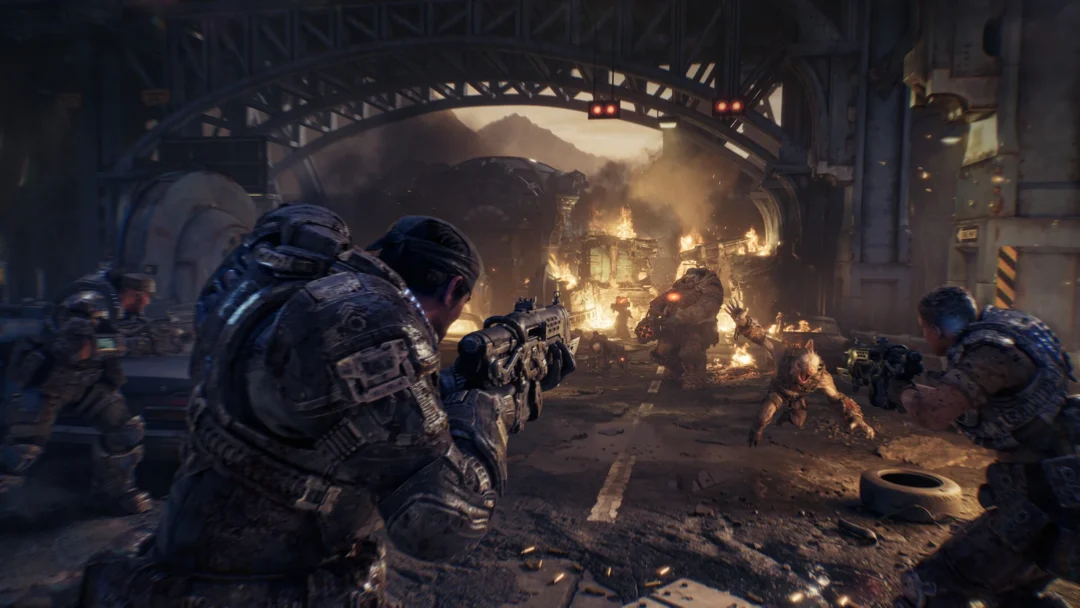
Wretches emerge through a breach in the wall and fall from overhead. Retreat and let them come down the corridor to you rather than advancing into them; this is the safest approach.
Advance from the stone balustrades across the terrace, firing on the Drones positioned throughout. A Reaver flies overhead, though you won’t engage it yet. Use the EXECUTE prompt on downed Locust, and collect ammo from the bench beyond the first balustrade.
At the entrance to the bar and reception hall, heavier Locust hold the doorway. Stay behind the stone pillars and feed Gut-Puncher grenades into the doorway between their bursts. A Longshot lies on the floor inside the hall.
Once outside again, a Reaver touches down on the pergola and launches explosives from there. Take cover behind the stone balustrade, then rise to hit its body with Gut-Puncher grenades as your squad fires too. After about 20 seconds, it dies and explodes.
Garner calls out from the neighboring patio. Beside the overturned round table by the railing, pick up the Sanctum of the Fallen Memorial Ceremony Program, collectible 3 of 5.
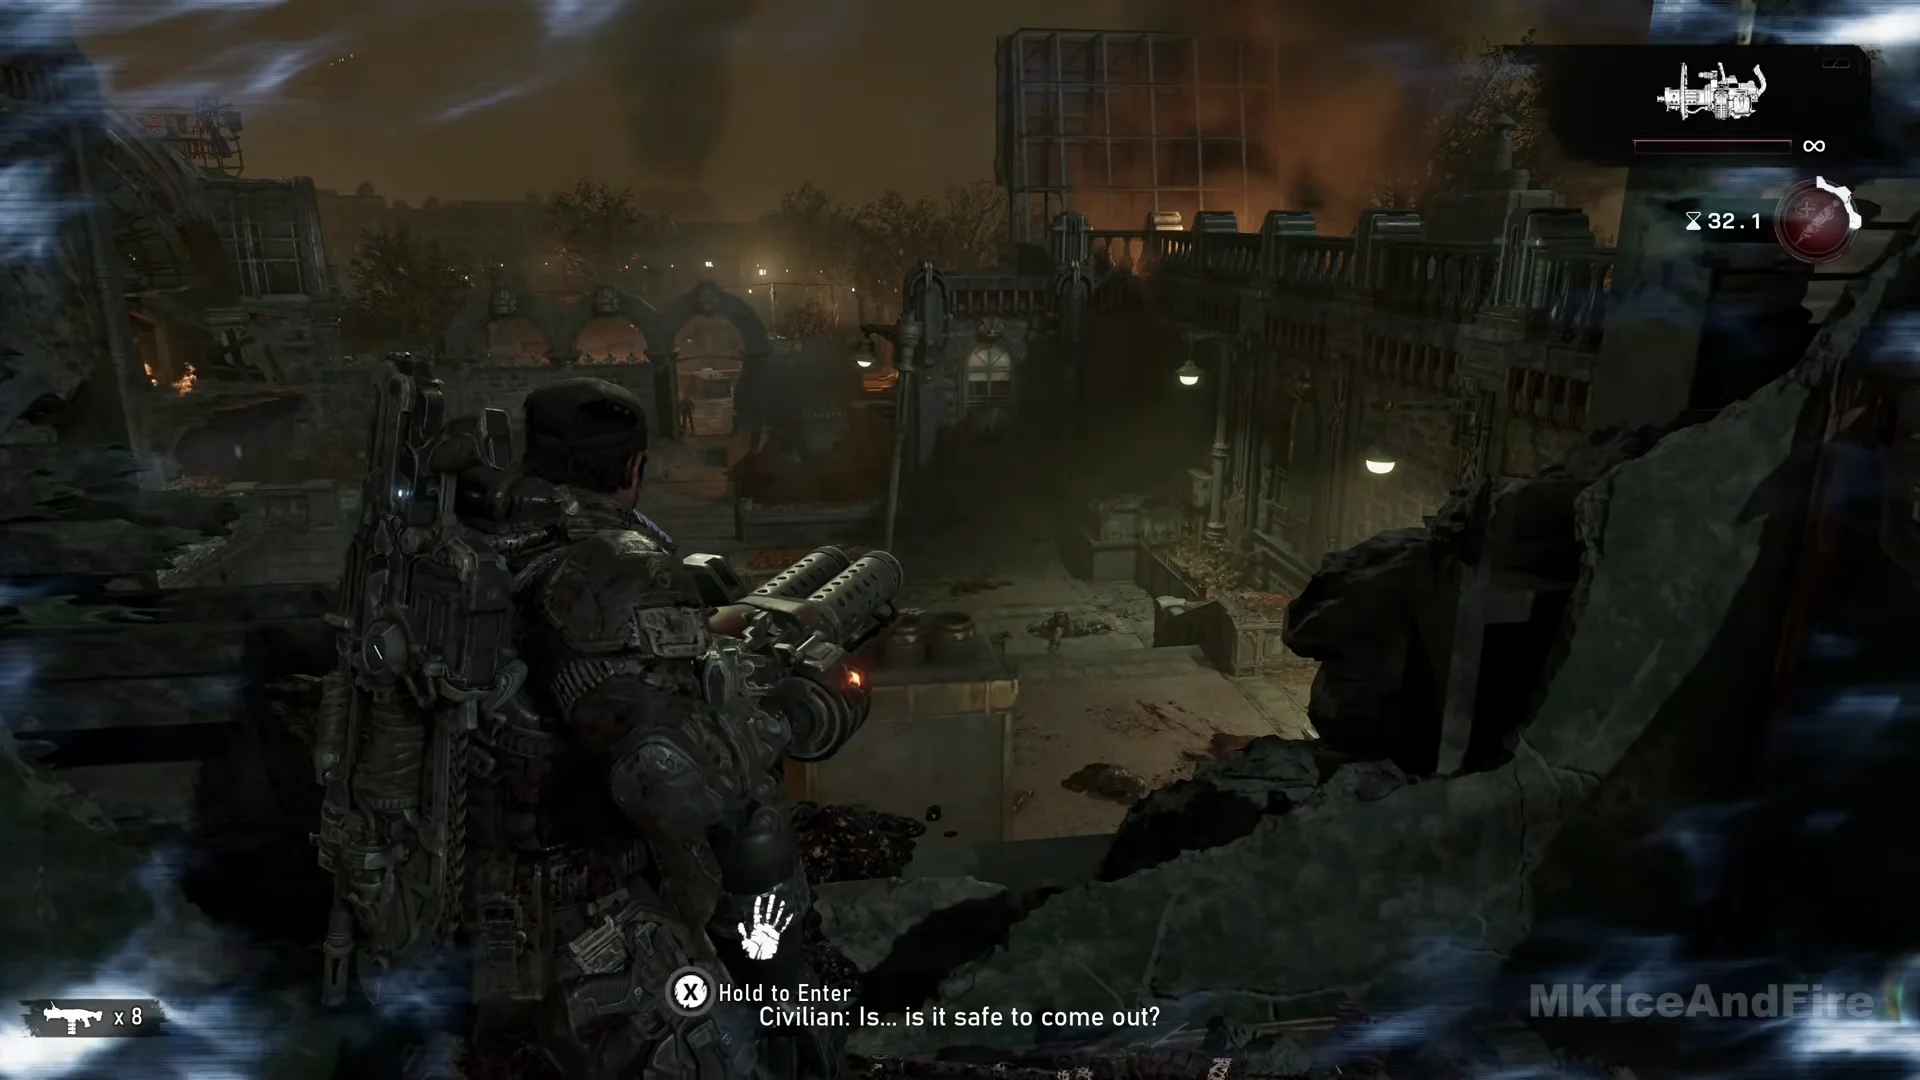
A mounted machine gun sits on the broken balcony at the top, shown with a hand icon and a “Hold to Enter” prompt. Press B to dismount and Y to detach the gun. Detached, it carries 96 rounds — take it with you for the sniper fight ahead.
A scene shows the fort in sight. An explosive shot from the clock tower hits Sergeant Barnes’s position at the crossroads below, so the civilians stay in cover until the tower is dealt with.
“Eliminate the snipers”: the promenade and clock tower
Pick up the Locust Spiked Shoulder Pad, collectible 4 of 5, from the ground by a body at the balustrade near a lamppost, before the gate that gets kicked open.
Beyond the gate, ivy-clad stone arches form an arcade facing the clock tower. The prompt “Eliminate the snipers” appears, with a distance marker pointing to the nest. On the tower side, a Scorched Sniper, a fire-throwing Scorched Grenadier, and Drones are waiting.
Take cover behind the stone planters. If you brought the turret gun, fire it at the tower until it’s empty; it can reach that far. Without it, rely on the Lancer and Gut-Puncher. A Breechshot remains on the planter afterward.
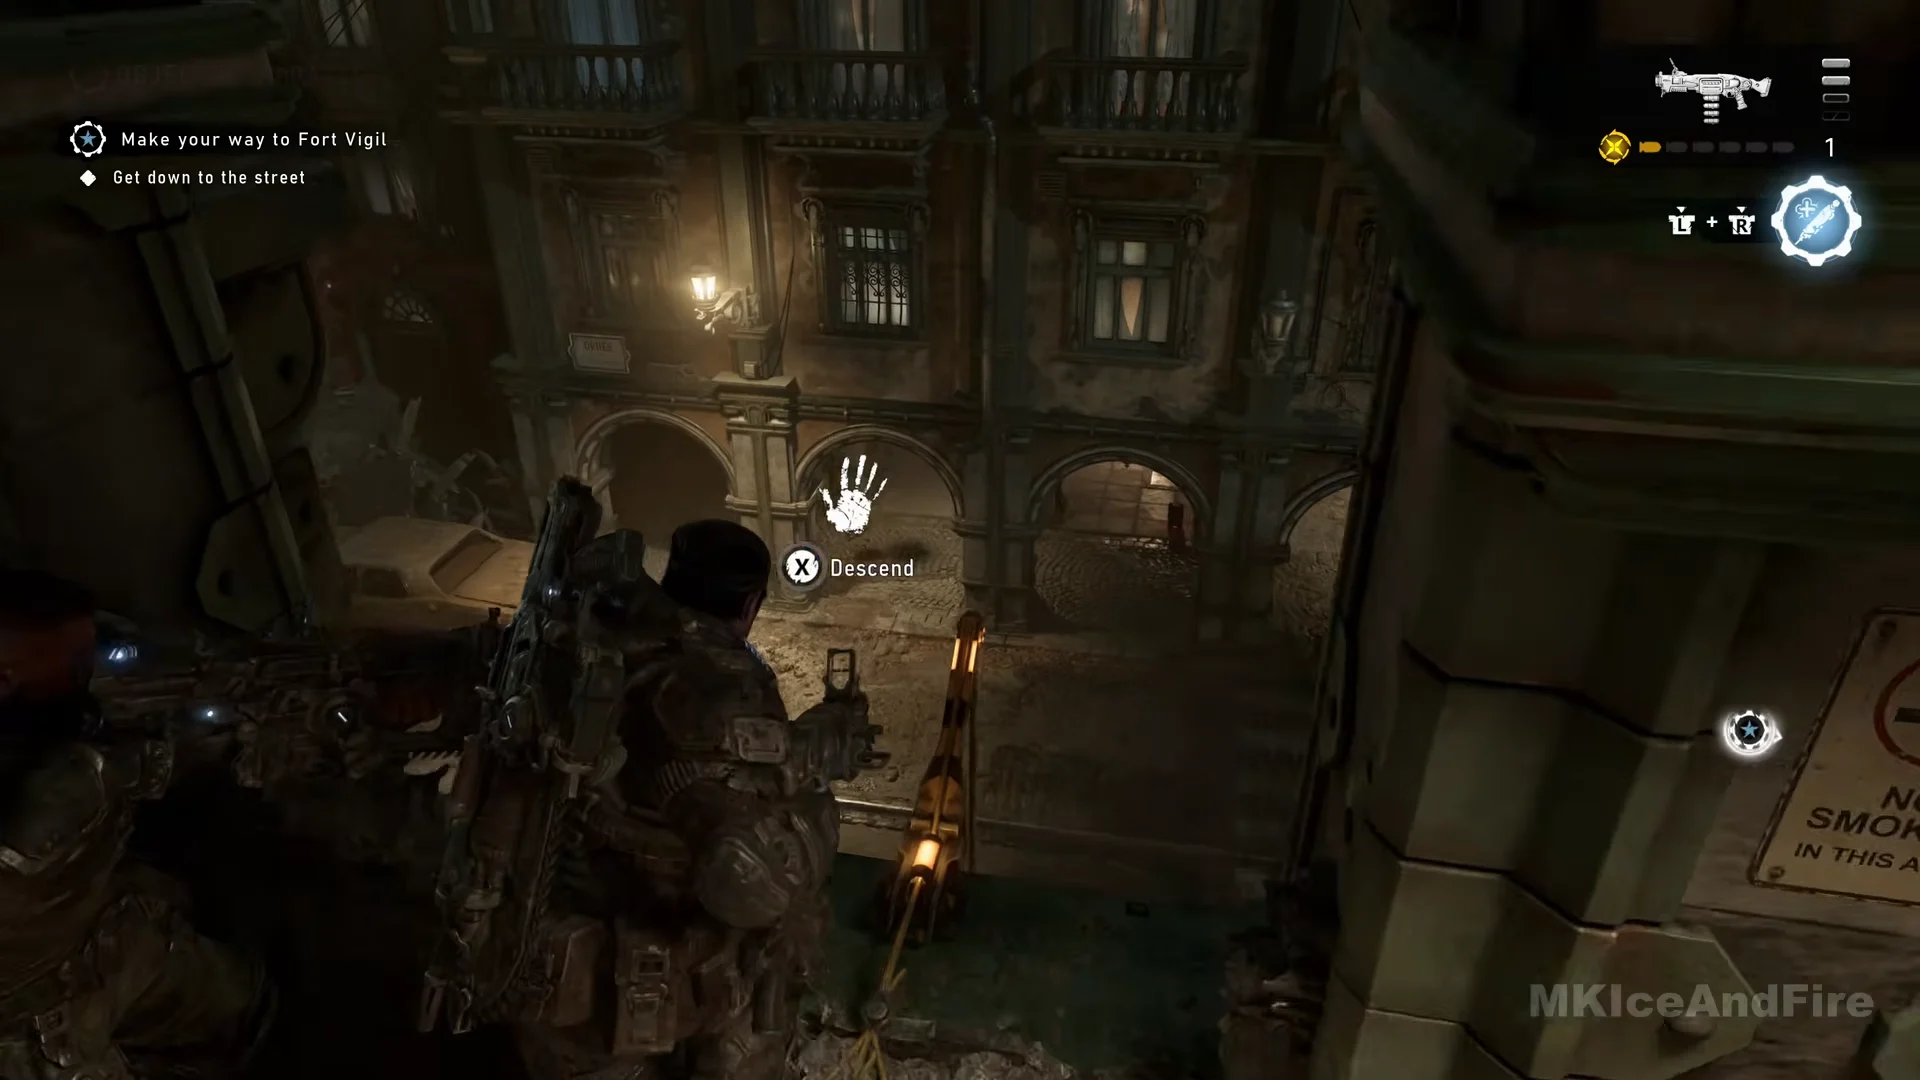
Descend to the balcony marked by the NO SMOKING sign. The objective “Clear the crossroad” appears. From the balcony rail, shoot the Elite Drones and other Locust positioned among the street taxis; your elevation keeps most of their fire from reaching you.
Additional Locust arrive with a second Reaver outside the shop bearing the sign “SUITS AND TUXEDOS”. Hold your position behind the sandbags and arcade pillars.
Squadmates can go down here. A green revive marker shows where. A checkpoint lands once the street is clear.
“Get the civilians across the bridge” to Fort Vigil
As Garner brings the civilians out, follow them beyond the COG truck and the ambulance, then pass through the blast gate, which stands open.
Abandoned vehicles clog the bridge as Reavers strafe it. Keep advancing along one side of the vehicles, and don’t stop to engage.
At the fort entrance, the objective is crossed out. A brief scene shuts the gate and moves the squad up to the wall; next, the Chapter 6: Desperate Measures title card appears. The chapter is complete.
Collectible locations (5 total)
Hold X over an item when the “PICK UP” prompt appears. The five items are at the locations described above.
#
Collectible
Location
1
A bottle of Iron Coast Beer
Dark apartment: in the living room, beside the couch where the dead civilian lies
2
Portrait of Chairman Jacob Monroe
Hotel side room, rubble floor near the collapsed outer edge
3
Sanctum of the Fallen Memorial Ceremony Program
Garner’s patio, beside the overturned round table by the railing
4
Locust Spiked Shoulder Pad
Promenade: beside a body at the balustrade, close to a lamppost
5
Explosive Bolt
Tower top level, in the floor beside the Torque Bow and stone pedestal
Hard Case locations (5 found on this route)
A “HARD CASE NEARBY” hint appears ahead of every case. Consult the full Hard Case list to see what each one contains.
Inside the dark apartment, alongside the first collectible
On the antenna roof catwalk, the case is behind the chain-link fence, beside an ammo box
Hotel side room, on a cabinet under the lit painting
At the far railing of Garner’s patio, a yellow case rests against the iron fence
Rooftop promenade, in the gap between the red-flower planters