Gears of War: E-Day Desperate Measures Walkthrough — Fort Vigil and the Brumak
Clear the Fort Vigil wall, chase the Brumak through the gift shop, and win the Act 3 Chapter 6 fight.
Clear the Fort Vigil wall, chase the Brumak through the gift shop, and win the Act 3 Chapter 6 fight.
by AllThingsHow Staff
Desperate Measures closes Act 3 of Gears of War: E-Day and takes roughly 12 minutes to complete. The chapter stays at Fort Vigil: first defend the wall overlooking the bridge, return to the quartermaster, and then battle an armored Brumak in two phases, separated by a brief trip through the fort gift shop.
Quick answer: Hold the Fort Vigil wall, then fight the armored Brumak in two stages. In the courtyard, target the back launcher first, then the two arm guns, then the head.
You arrive carrying the Prototype Lancer, the Gut-Puncher, the Snub, and grenades. The gate seals behind the squad and Bravo is sent up the stone steps to the wall. The HUD objectives appear in this order:
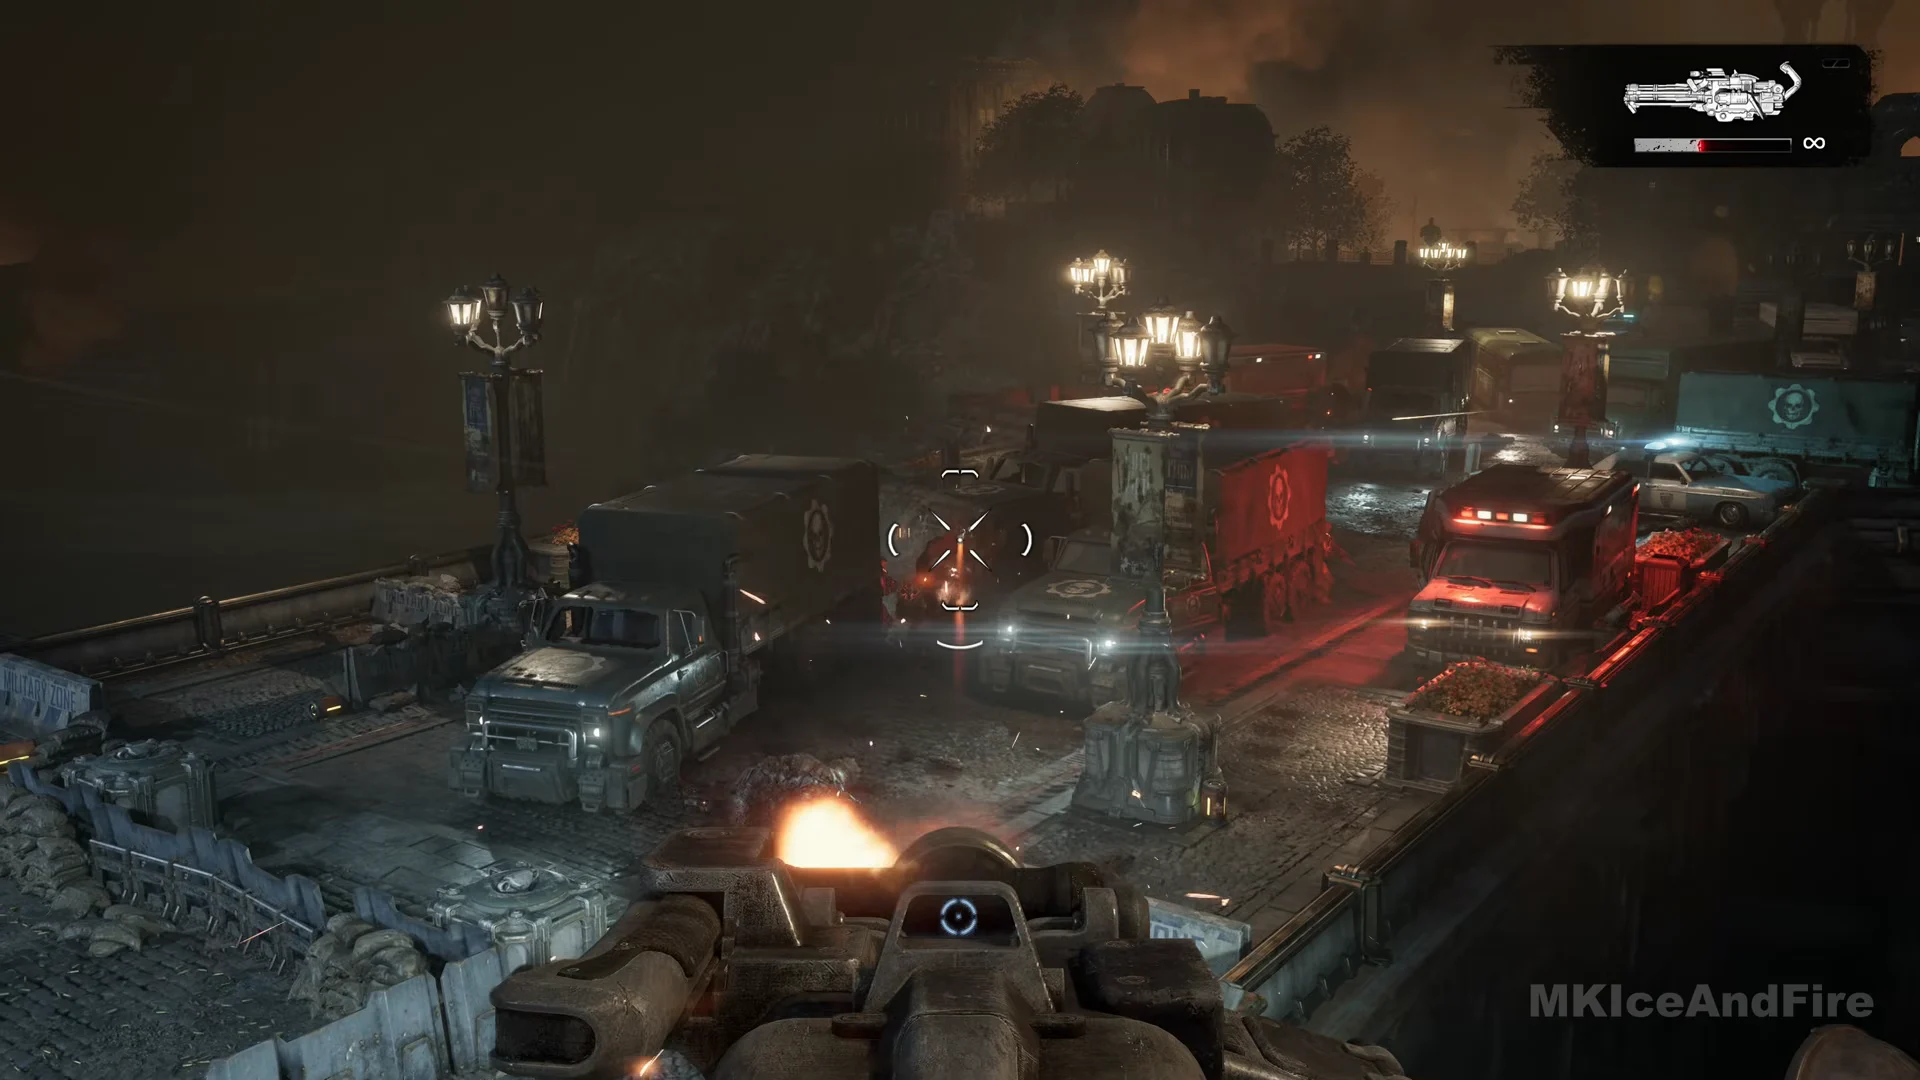
At the parapet above the bridge, approach the mounted machine gun and hold X when the hand icon and “Hold to Enter” prompt appear. Once aboard, B reads “DISMOUNT FROM TURRET” and Y reads “DETACH WEAPON”.
Fire in bursts and watch the heat meter; there is no ammunition counter. Holding the trigger too long pushes the meter into the red, so release it briefly to cool the weapon.
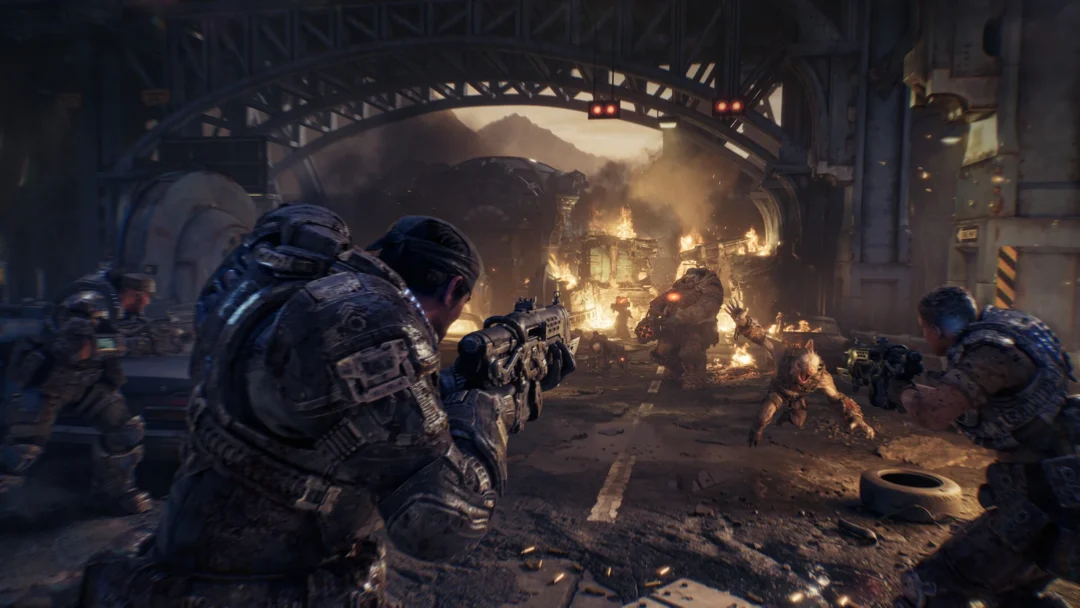
Engage enemies as they show up. Locust infantry, including Drones, advance between the bridge’s stalled trucks; a Grinder and Boomers then approach along the road. Wretches pour over the rubble at the wall’s base and climb upward. When your squad calls out the Wretches, sweep the rubble slope with fire.
Head back toward the stone stairs. Among the ammo boxes in the red-flower planter at the stairs’ base, find and take a Vulcan heavy machine gun holding 147 rounds.
Use whatever remains in the belt against the Wretches and Drones that have reached the rampart. Since the Vulcan is cumbersome to move with, shoot from your current position.
Go up the stone stairs and shoot the Drones on the upper platform. A Scorched Drone is among them and they throw grenades, so keep moving rather than standing still on the steps.
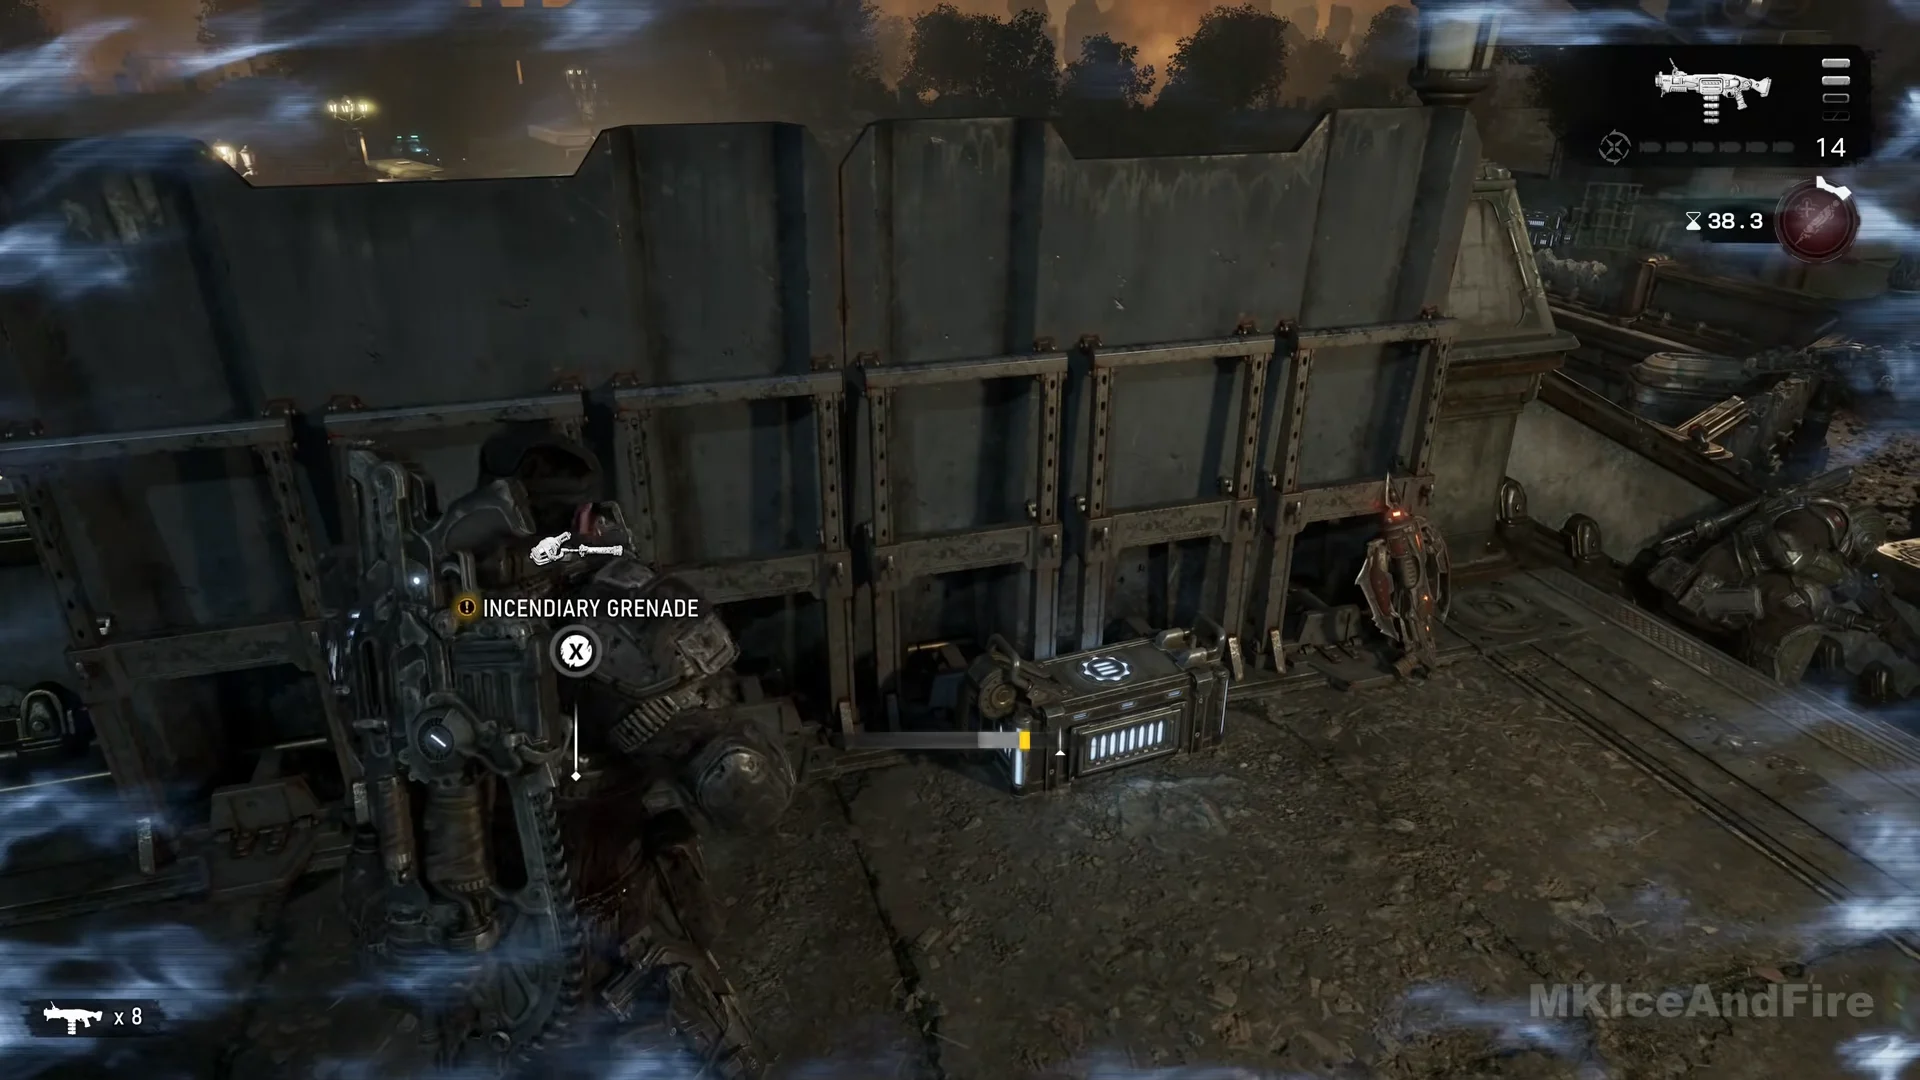
When it is empty, drop back behind the tall metal barrier plates on the rampart. At their foot are an ammo box and an “INCENDIARY GRENADE” pickup, taken with X. Grab both.
From the parapet, use the Gut-Puncher against the heavy enemies and the rifle against the others to finish the fight. If you prefer, another mounted gun is positioned farther along the lower parapet.
The display shows “OBJECTIVE UPDATED”, and “Repel the Locust forces” is crossed out. The squad receives orders to retreat and resupply.
You risk getting killed by remaining on the turret when the Reaver arrives, or by exposing yourself on the parapet to fire from the Grinder and Boomers. Take cover behind the tall metal plates.
“Meet with the Quartermaster”
After the checkpoint, follow the marker along the wall and up the wide stone steps to the supply area. There is nothing to fight on the way. A cutscene plays: the quartermaster reports that Captain Grey has moved the civilians further inside the fort, then an armored Brumak smashes through the outer line. Control returns to you on the wall with another checkpoint.
“Kill the Brumak” from the wall
Attacking the Brumak from the wall cannot kill it. This phase finishes only after it charges and smashes through the gate. A “HARD CASE NEARBY” prompt appears along this rampart.
Below the rampart, the Brumak approaches outside the gate, with a narrow white health bar overhead. Machine guns mounted on its arms and a launcher on its back are its weapons.
Take cover first behind the stone parapet and its lamp posts, then use the supply-crate and locker stacks behind it. Pop out to attack, retreating whenever tracers or rockets arrive.
Target the gun mounts and glowing areas with Lancer bursts. When the Brumak turns toward the wall, aim Gut-Puncher grenades at its head and upper body. Shots into the armored body deal little damage.
The stage ends when the Brumak charges and breaks through the gate, which triggers a cutscene.
Chase through the gift shop
After the checkpoint, use the “AMMO” box, taken with X, at the wrought-iron gate with the visitor signs. Then go through the gate and up the wide stone steps after the Brumak. In the plaza in front of the Gift Shop, kill the Drones and small leaping creatures from behind the low stone barriers. A “SUPPLY CACHE NEARBY” prompt appears here.
Pick up the Torn Flag of Tyrus. Before entering the shop, follow the cobbled lane to its dead end; the white flag lies on the ground against the ivy-covered wall.
Pick up the Morith Harbor Snow Globe. Upstairs, past the model harbour display, it sits on the wooden desk with the green banker’s lamp and open books.
In the back room there is a checkpoint and a Supply Cache with a “Use Supply Cache” prompt on X. It is the only full resupply before the second stage, so fill the Gut-Puncher here.
Leave through the broken wall and drop into the courtyard. The gift-shop objective is struck out.
“Kill the Brumak” in the courtyard
In the courtyard, the Brumak occupies the open center, surrounded by a vaulted stone colonnade; Tai and other Gears shoot from above. The squad identifies targets in a particular sequence, followed precisely by steps 2, 3, and 4 below.
Keep a thick, square stone pillar between yourself and the Brumak, moving to another pillar as it circles around. Leave any patch on the ground as soon as it gains a red outline.
“OBJECTIVE UPDATED” appears and “Kill the Brumak” is struck out.
Fighting in the open during either Brumak phase, or reaching the courtyard without Gut-Puncher ammo, can quickly get you killed. Refill at the gift-shop Supply Cache beforehand.
How the chapter ends
Once the health bar empties, a cutscene plays. On the wall above, Tai shoves a wheeled fort cannon round to face the stunned Brumak and fires it into its head. You know the chapter is done when the next title card, Act 4, Chapter 1: Hope and Ruin, appears.
Collectibles in Desperate Measures
The War Journal lists 3 collectibles for this chapter. You find two at the gift shop; the remaining one is outside Desperate Measures.
Collectible
Location
Torn Flag of Tyrus
Dead end of the cobbled lane before the gift shop, against the ivy wall
Morith Harbor Snow Globe
Upstairs in the gift shop, on the desk with the green banker’s lamp
Commander’s Letter Home
Not in this chapter (opening area of Act 4)
The Commander’s Letter Home belongs to the daylight streets below the fort, in the opening area of Act 4 (Hope and Ruin). From the memorial where civilians have laid flowers, go right and down the cobbled street past covered bodies and a planter of red flowers. Under the stone arch stands an armoured COG truck marked “TYRUS”; the letter lies on the cobbles behind its rear bumper.
Hard Case on this route
One Hard Case is opened on this path, beside the Gift Shop entrance. Open it as you pass through the plaza. For its contents and the other cases in the fort, check a dedicated Hard Case guide rather than expecting them all on one pass through the chapter.