Gears of War: E-Day Walkthrough for Hold the Line Part 2 (Act 2 Chapter 2)
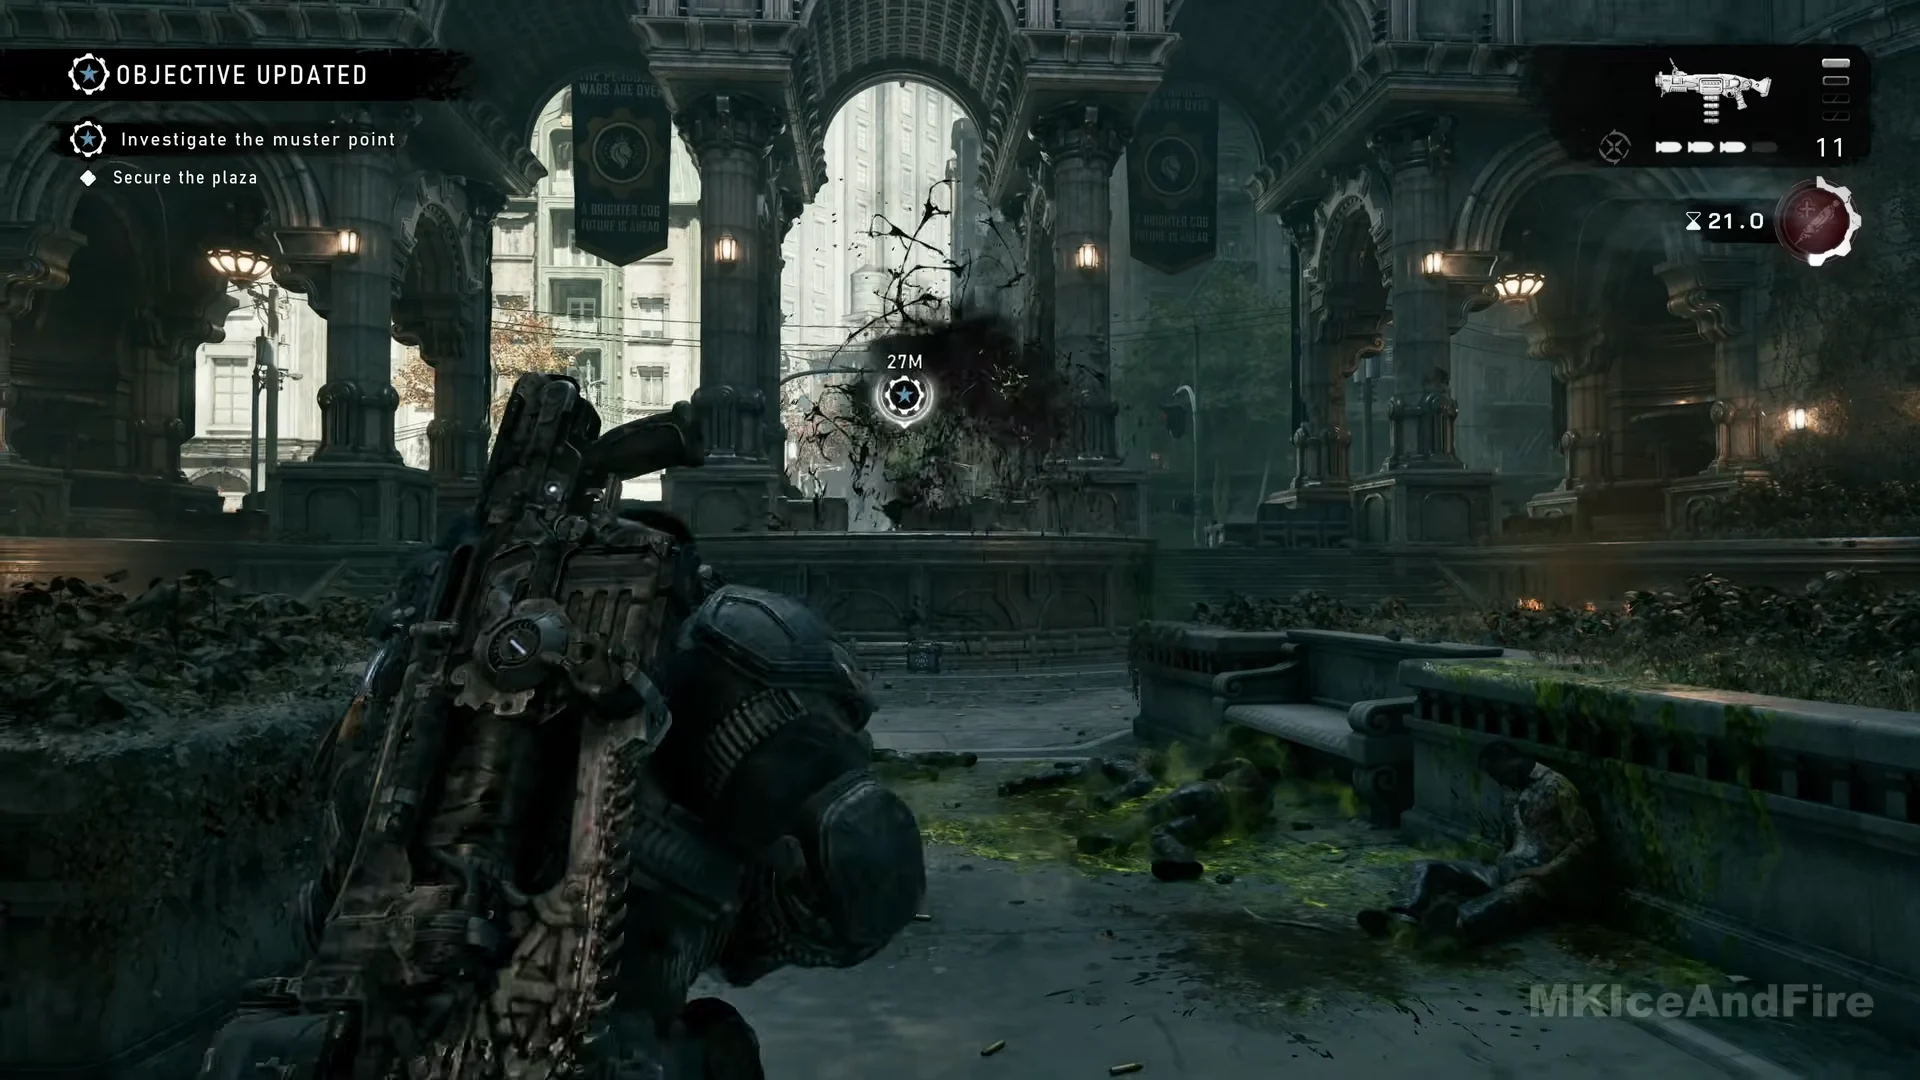
Work through the eight main objectives of Part 2, from the muster point to the courthouse defence.
Work through the eight main objectives of Part 2, from the muster point to the courthouse defence.
by AllThingsHow Staff
Part 2 is the long middle stretch of Hold the Line, Act 2 Chapter 2 of Gears of War: E-Day. It runs for about 69 minutes, from the “HOLD THE LINE – PART 2” card to the card that starts Part 3, and it moves Marcus and the squad across Allfathers Plaza, a Warehouse District Imulsion stockpile, Mags’ apartment, the Bank of Tyrus, a construction site and a courthouse defence. There are eight main objectives, each covered below in the order the game gives them to you.
Quick answer: Clear the eight objectives in order, from “Investigate the muster point” to “Defend the courthouse.” This is one route through the chapter, and nine of its 27 collectibles sit along it.
District tools you will use constantly
The Hold the Line district is more open than a standard corridor level, so three systems matter at every step.
Hold LB for Tac-Com to light up the objective marker, Supply Caches, Hard Cases and collectibles.
The View button opens the district map.
Mods pulled from Hard Cases do nothing until you visit a Supply Cache.
Exit Octus Way Station and enter the square. Directly opposite, the MAJOR BURGER diner has the Vandalized Salvaging Poster collectible on the wall along the restroom corridor. Leave through the opening in the rear wall.
Drones occupy the parking area behind the brick tenement, including its windows. Keep the flatbed trailer between you and them. Fire any remaining Heavy Boomshot rockets first, then switch to the Prototype Lancer.
At the “Ascend” prompt, take the yellow cable up to the ruined flat. A Hard Case is beside the television. Grab the Breechshot on the ledge to engage Drones in the dirt plaza below; another Hard Case is in the caged storage, reached by climbing the wide stairs in the arched building there.
Along the planter-lined street, Locust leap over the planters, while others occupy the alley and the yard beyond. Advance from cover to cover with the Prototype Lancer.
At the COG sandbag position, the road gives way and Drones emerge from below. Toss a Frag Grenade into the opening, then use your rifle on whoever remains.
Keep to the raised yellow rail. Fire at the sniper inside the suspended car through its windows. Go up the STATION ENTRANCE steps, pass through the car, and exit down the opposite side.
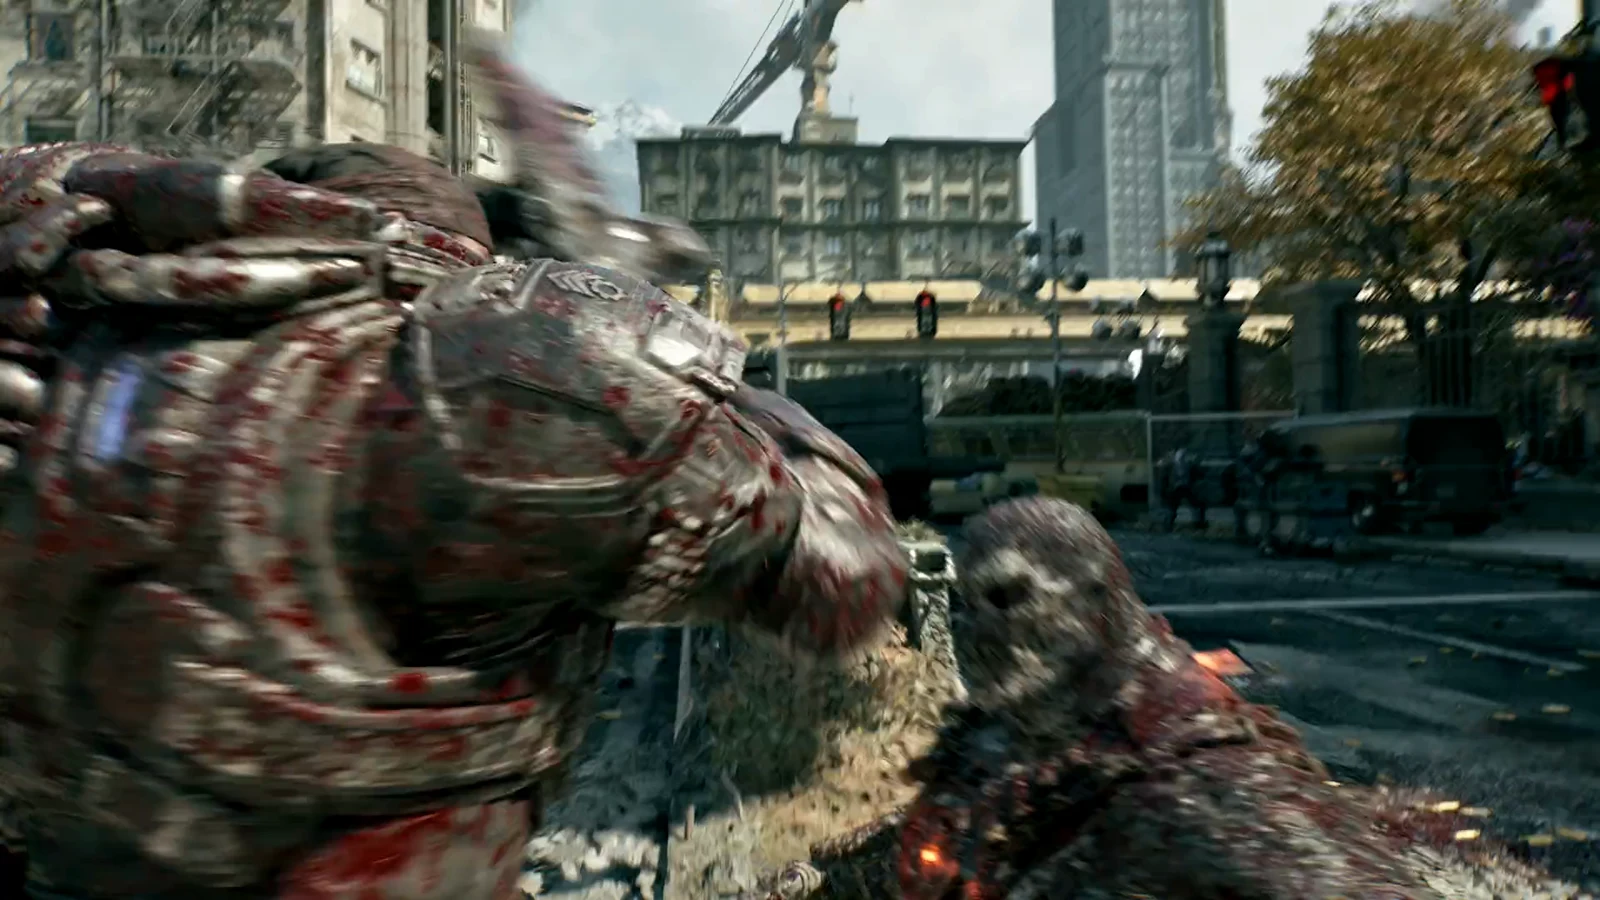
Ascend the plaza steps to the terrace lined with tall statues, then reach the marker for “Inspect the bodies.” A scene plays: a massive frog-shaped beast arrives and sprays the squad with bile.
The green bile forms a glowing pool that remains where it lands. Stay behind the planters and plinths, and avoid standing in any pool.
Shoot into its open mouth. Gut-Puncher grenades do the most damage.
When it explodes, red smoke rises from the street below; Drones advance up the steps, with at least one additional Bilefrog arriving. Hold the top of the steps.
In the alley that ends behind the diner, inspect the dead Gear beside the grey metal door for Specialist Brendan O’Connell’s COG Tags. A VULCAN with 147 rounds has been left nearby, so take it.
Enter the ground-floor flat occupied by a COG squad and approach its front doorway. Fuel tanks rig the street. Wait for the squad leader’s signal before firing; the blasts hit the Locust column, after which you can fire the Vulcan at the survivors.
Climb the yellow ladder in the alley to the catwalk, then enter through the window. Pick up the Hard Case from the kitchen floor, and continue upstairs to the COG roadblock.
Use the Vulcan against enemies at the yard’s entrance; blast the cluster with the explosive canister sitting on the loading platform.
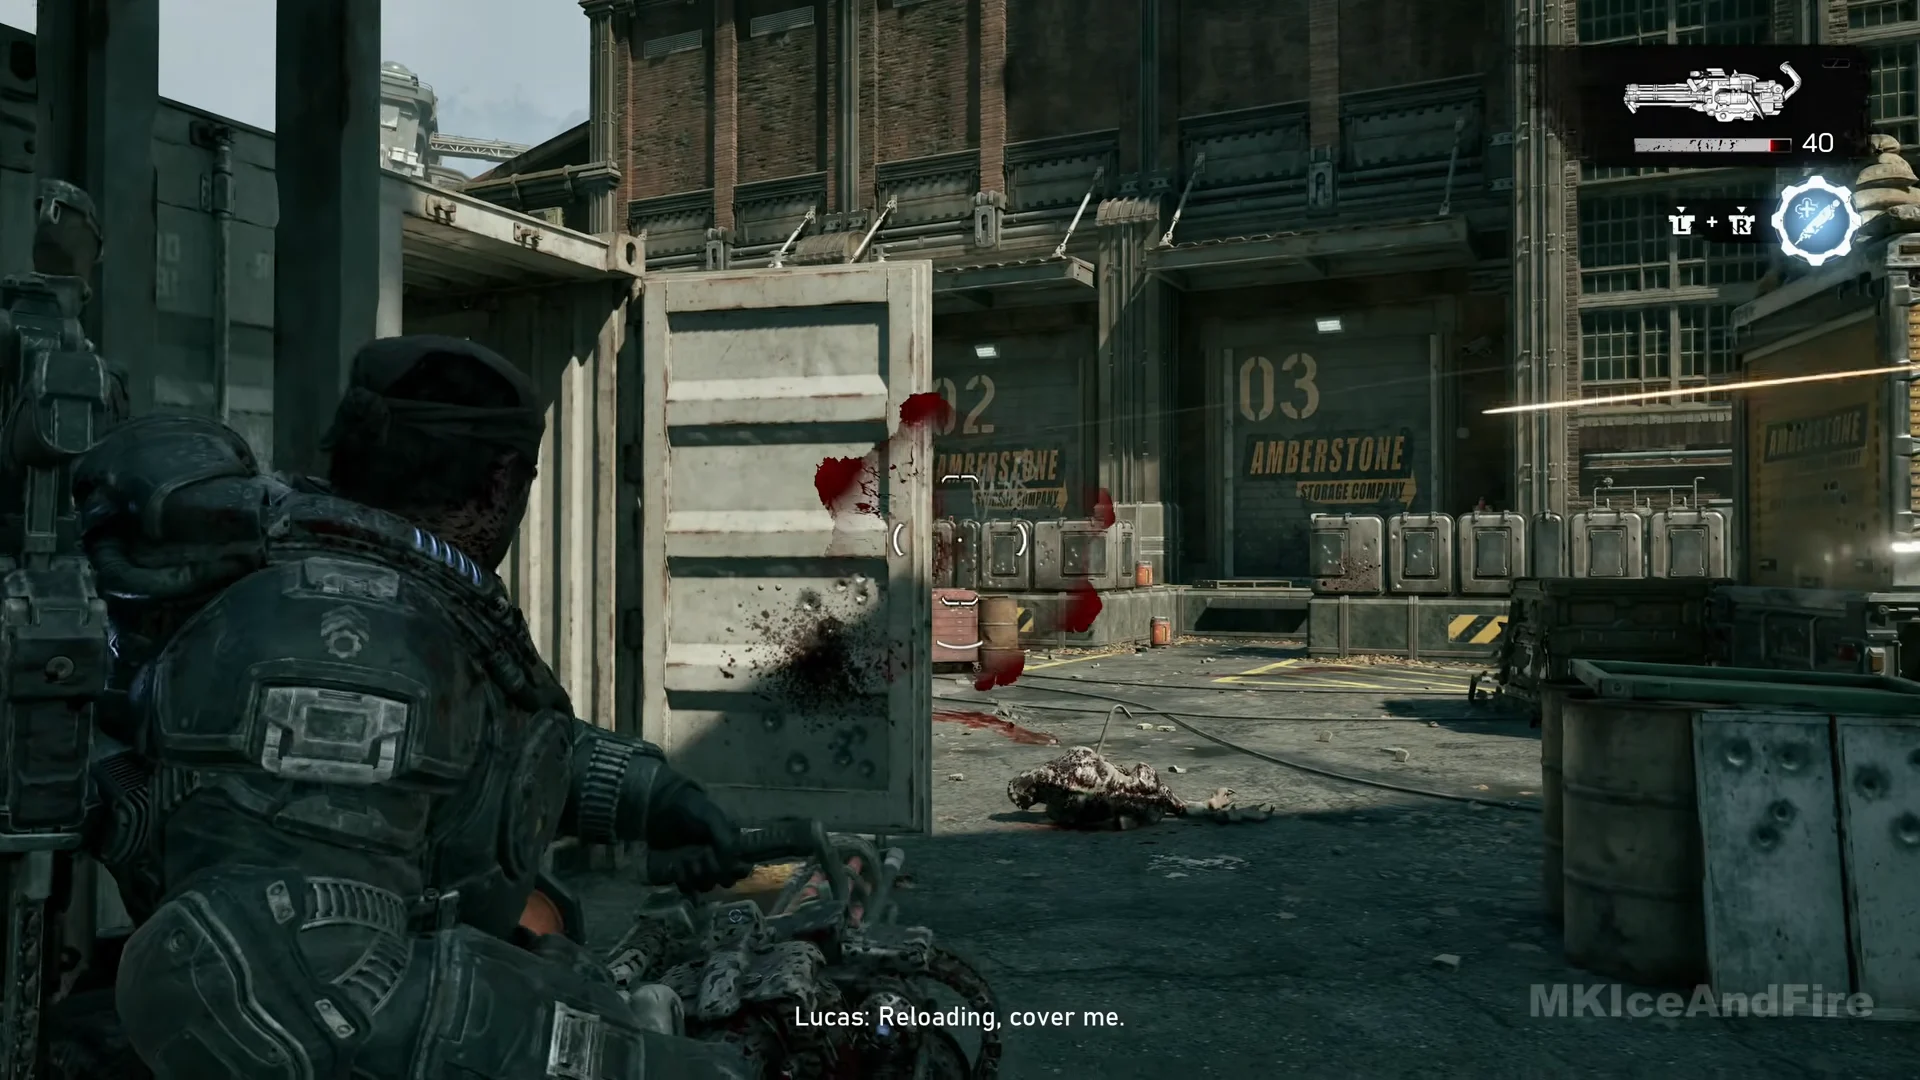
Use the yellow ladder to get onto the platform, then climb down next to the numbered shutters. On the steps next to shutter 05, pick up a Hard Case.
On the rear lane, Snipers reveal themselves with thin red beams. If one tracks Marcus, break its line of sight; shift from sandbag cover to the trailer, then shoot the red fuel barrel beside the last group.
When the objective updates to “Investigate the distribution warehouse,” visit the lobby with the checkered floor across the street first and collect Re: Vibration Complaints. Afterward, hold X at the shutter marked AMBERSTONE STORAGE COMPANY.
On “Find the reinforced container,” the banner reads “IN SEARCH ZONE.” Stay inside the yard, because walking out to the street triggers “LEAVING MISSION AREA. YOU WILL FAIL THE MISSION.” Go through the open-ended shipping container in the stacks and drop behind them to the green container stencilled ISG 24495.
On “Input the access code,” Control reads out 0451. There is no keypad screen. Use the interact prompt at the small panel on the container’s left end and Marcus enters it.
Objective 3: “Destroy the Imulsion stockpile”
Colonel Trench calls for the stockpile’s destruction and gives the self-destruct number, 5626. Go back to that panel and interact again to input it. Enter each code with one interaction; typing individual digits isn’t required.
For “Get to safety,” run to the marker about 45 metres away, through the yard arch. A brief cutscene then shows the explosion.
Objective 4: “Get Mags’ meds”
Stop at the police station lobby en route. Beneath the City of Kalona emblem you’ll find the Supply Cache, and this is where the ARMOR MODS card opens. Continue along the street, pass beneath the underpass, then climb the steps to the Envoy Hotel’s green door.
In a cutscene, the squad retrieves Mags’ lung medication from her flat. The Photograph and Harmonica from Mags’ Apartment collectible is awarded automatically when the scene ends.
On the street beside The Kalona Times building, check the green NEWSSTAND kiosk for a Hard Case; another lies at the far end of the broken, checkered terrace over the newspaper truck. Descend the HANCE STATION stairs to find the Kalona Metro Fare Notice collectible near the ticket machines.
At “Investigate the office,” shove open the double doors. The scene depicts someone shooting a small, glowing crawler; the creatures are called Tickers.
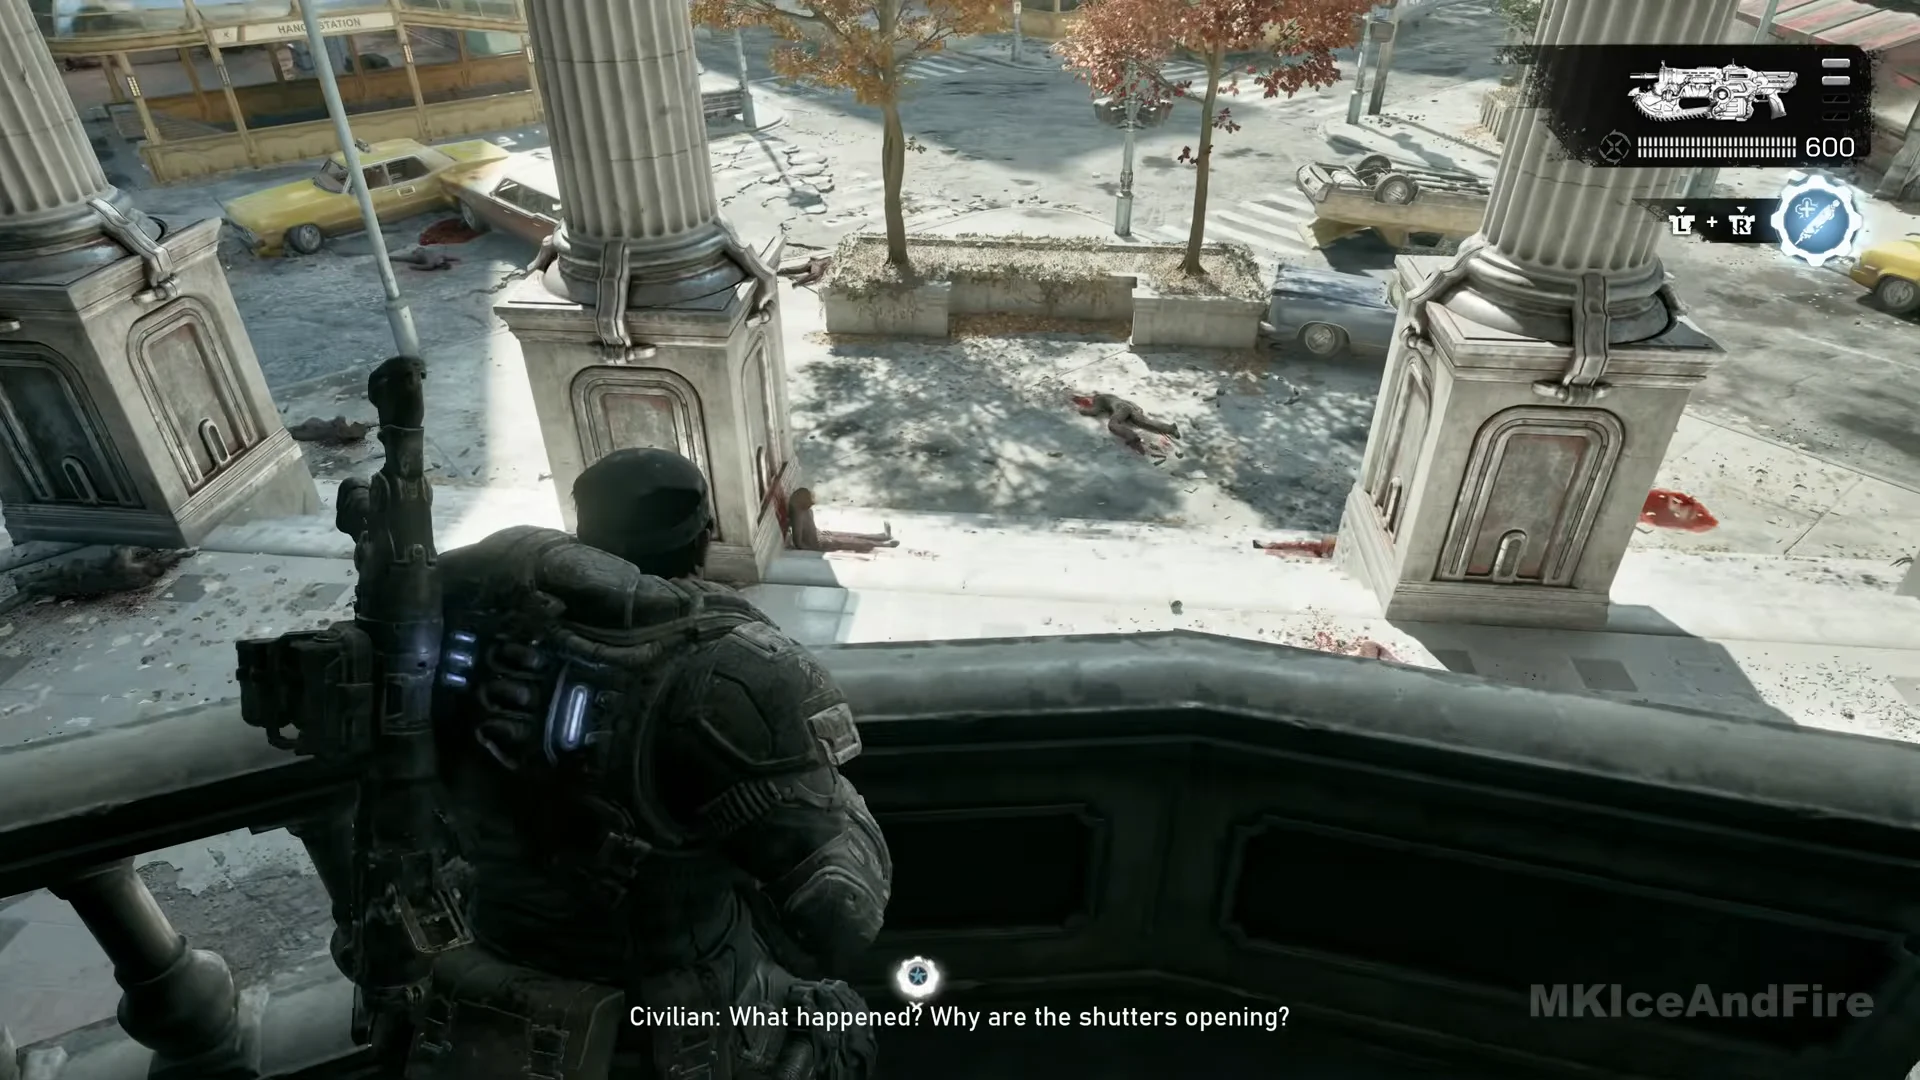
For “Defend the bank,” the shutters at the windows rise, letting Tickers stream over the plaza and into the lobby. Hold your position at the balustrade on the upper gallery.
On “Check the vault,” use the console behind the teller desks to open the round vault door. Civilians shelter inside but Fabbri is not among them. Inside, grab the collectible War Savings Bond under the WE CAN HELP poster and the Hard Case by the pillar.
In the PUBLIC PARKING garage, Wretches feed beside a white van. Eliminate the pack before opening the Hard Case near the electrical cabinets; opening it brings another rush.
Use the Supply Cache beside the COG truck in the street, where “Clear the lower floors” appears. Tickers come down the street, so shoot them far out. A second group with Drones hits the truck from behind, so turn round as soon as the first lot is dead.
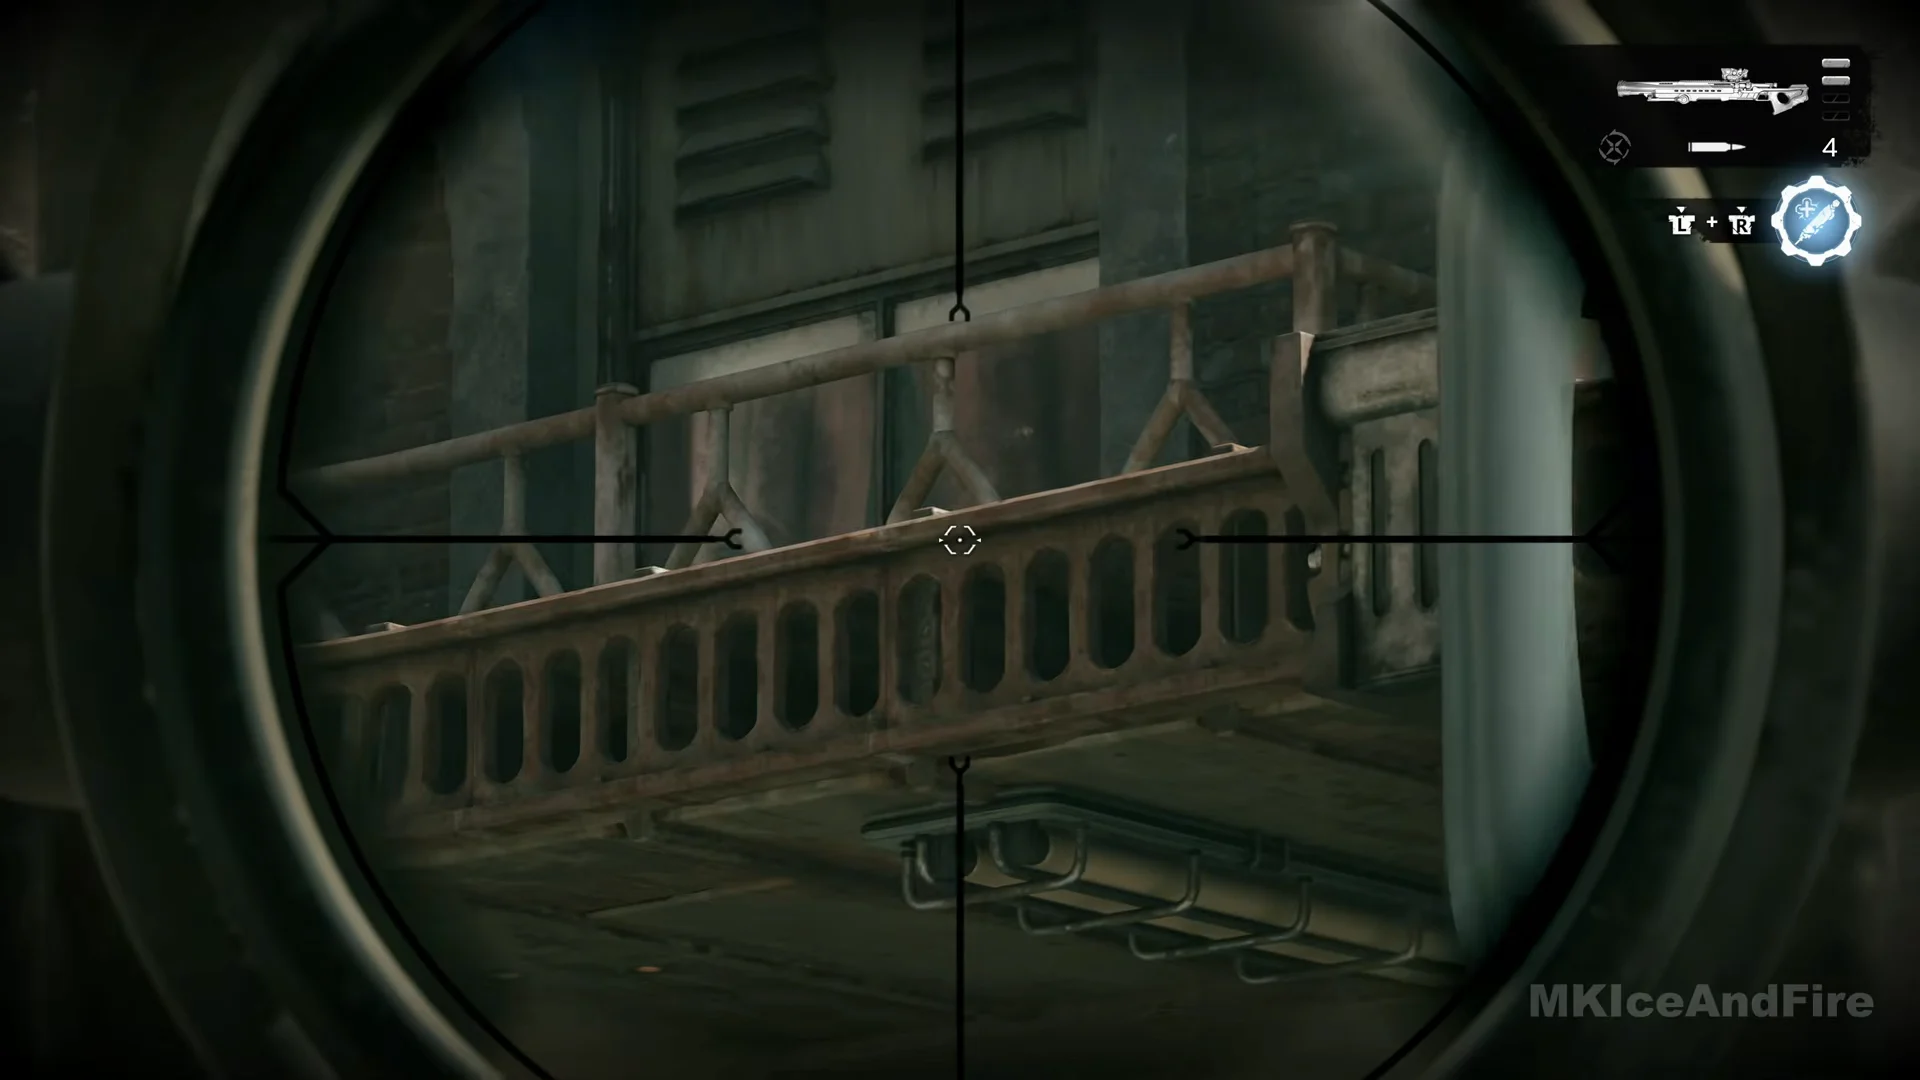
Snipers hold the road from the scaffold-covered building. Advance in stages: leave the police car for the road barriers, then reach the overturned white van. A LONGSHOT with ammunition is beside the van. From its cover, aim down the scope at the scaffold platforms and main arch, then continue to the stone steps near the ambulance.
On the lower floors, Drones occupy positions behind barriers and atop a raised platform. Take cover at the sandbags, throw a Gut-Puncher onto the platform, then climb the ramp as the objective changes to “Reach the upper floors.”
For “Clear the upper floors,” take cover behind the timber stack as a Locust turret suppresses the squad. Remain there until King Raven KR-23 arrives and blows up the turret. Eliminate the Drones on the floor, along with the one positioned on the high catwalk.
Choose “Ascend” at the cable prompt to reach the deck below the big clock face. Drones and Snipers shoot from the other side of the gap. Fire from the rails with the Prototype Lancer and use a Gut-Puncher across the gap; then cross the plank bridge, drop down, take the next ascender, and climb the ladder onto the roof.
Objective 7: “Link up with Charlie Squad”
Take the cable down to the avenue. A Hard Case sits in the dark arched porch under the yellow rail, and another on the table under the green tent at the sandbagged gate. Take both now, because a cutscene follows in which the courthouse perimeter is breached.
Wave 1 opens with Marcus atop the green truck’s bed; a LONGSHOT and ammo are there. Drones approach along the avenue from beneath the wrecked overpass, including two Bilefrogs. From the truck, fire a Gut-Puncher grenade into each Bilefrog’s mouth, then head to the forward barriers to deal with the remaining enemies.
On “Prepare for the next wave,” a fortification crate behind the line gives placeable defences on a hold of X, a machine gun sentry and a spiked barrier. Carry each to the road and place it facing the overpass.
During Wave 2, Drones advance from beneath the overpass and down its right flank. Use Frag Grenades; if a Heavy Boomshot is on the road, use it as well.
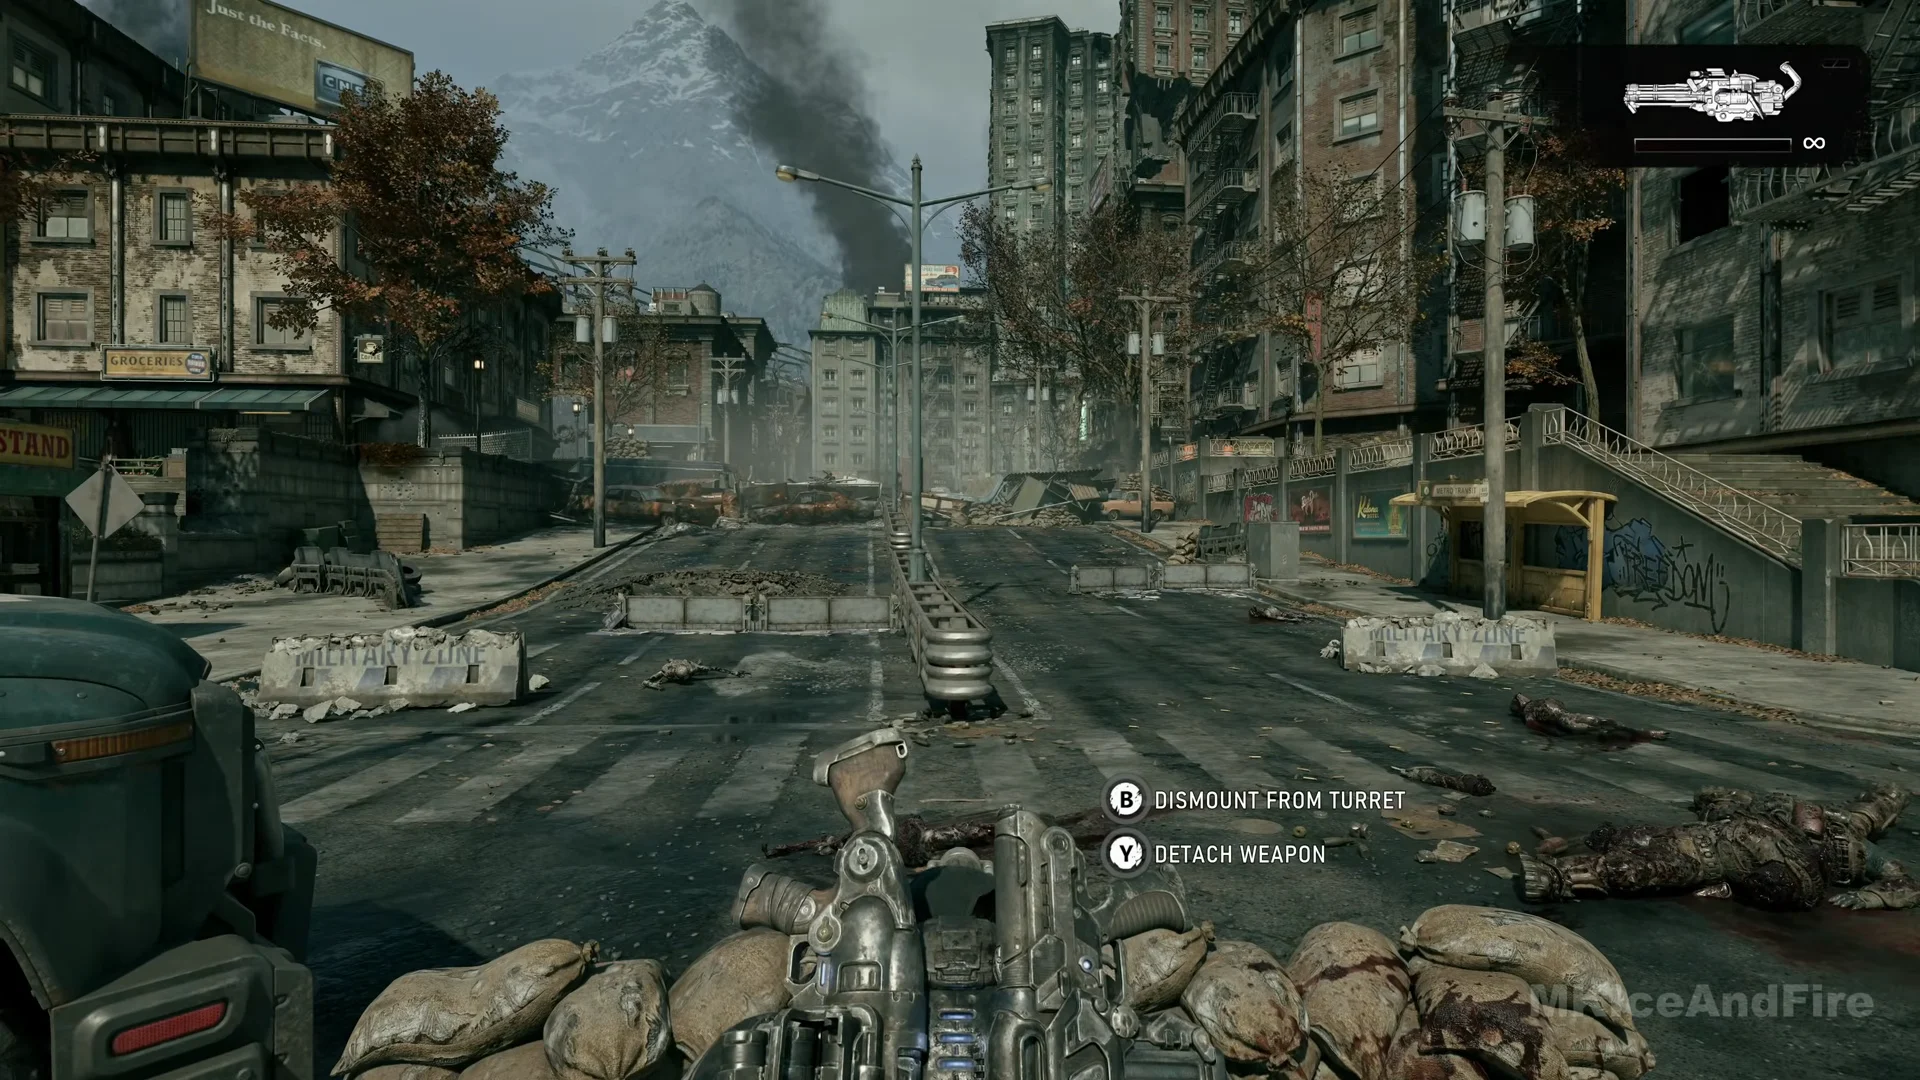
On the second “Prepare for the next wave,” detach the sandbag turret beside the COG truck for a 220-round Vulcan by holding X then Y. Visit the Supply Cache by the iron fence and place another sentry.
In Wave 3, a Boomer emerges through the red smoke. Before firing each rocket, it calls out “Boom”; get behind a barrier whenever you hear it. A direct rocket impact will knock Marcus down, though a squadmate can revive him. Fire the Vulcan at the Boomer during the pauses between rockets.
After the fight, Dr. Fabbri turns up among the civilians. King Ravens fly her out from the fenced landing zone. Continue up the street to the medical tents, and the Part 3 card appears with the objective “Find Whiskey Squad.”
Nine collectibles on this route
The chapter holds 27 collectibles in all. These nine fall directly along the Part 2 route above.
Collectible
Location
Vandalized Salvaging Poster
MAJOR BURGER diner, restroom hallway wall
Major Burger Box
Corner diner back kitchen, east of the plaza
COG Tags of Specialist Brendan O’Connell
Dead Gear in the dead-end alley behind the diner
COG Tags of Master Sergeant Mark Avamor
Through the hole in the brick wall by the roadblock
Re: Vibration Complaints
Checkered-floor lobby across from the warehouse shutter
Photograph and Harmonica from Mags’ Apartment
Awarded automatically after the Mags’ meds scene
War Savings Bond
Bank vault, under the WE CAN HELP poster
Kalona Metro Fare Notice
HANCE STATION, by the ticket machines
Foreman’s Datapad
Construction site side storage bay floor
Once the Part 3 card shows “Find Whiskey Squad,” Part 2 is finished and the squad moves on to the medical tents to regroup.