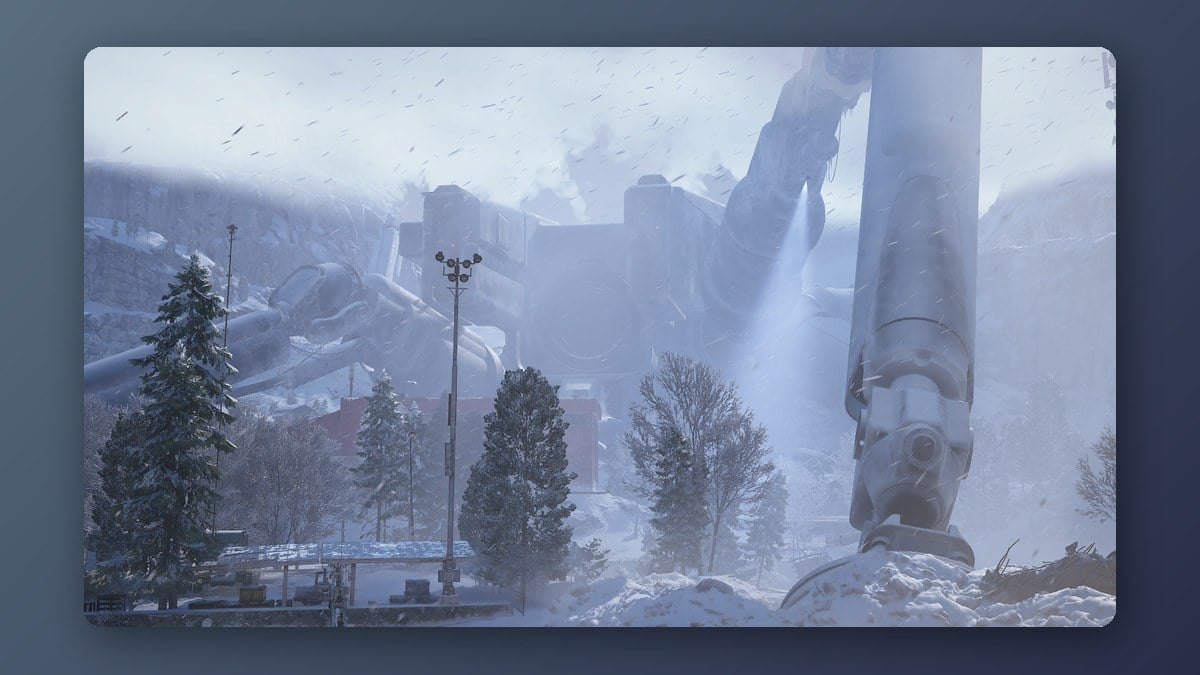
Exploring Pendola Pass is the first task Celeste hands you once the Frozen Trail map opens up, and it works as a guided tour of the snowbound summit rather than a combat gauntlet. It asks for four things spread across the map, and none of them have to be done in a set order or in a single run. The only real friction is one tower you cannot climb and one console you have to find.
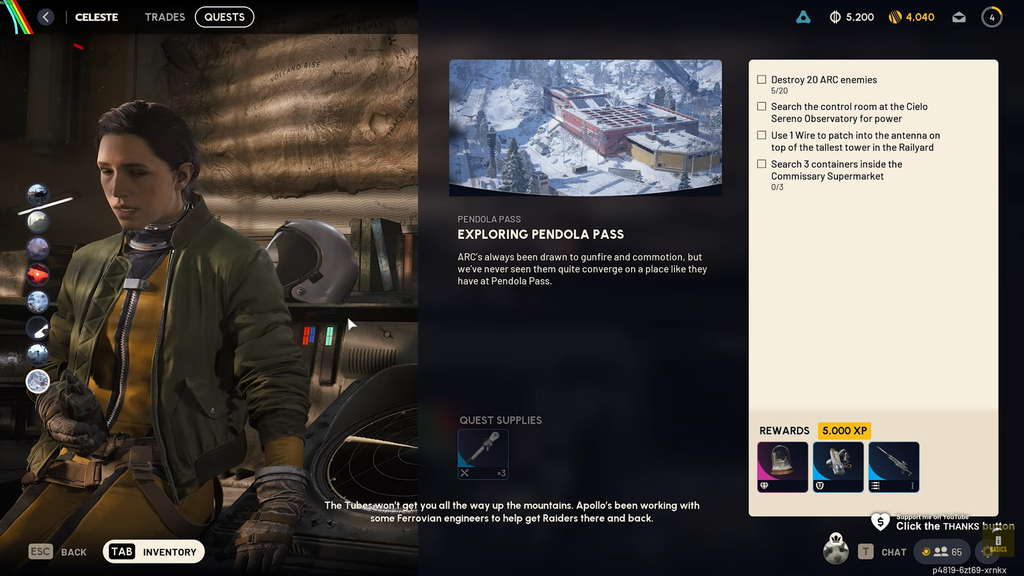
Quick answer: Before heading out, bring 1 Wire and a Zipline. Take down 20 ARC enemies, check the console at Cielo Sereno Observatory, repair the antenna atop the tallest Railyard tower, and search three containers inside the Commissary Supermarket.
What to pack before you drop in
Bring both items along when you deploy. That way, you won’t need to hunt for supplies during the raid or retrace your route.
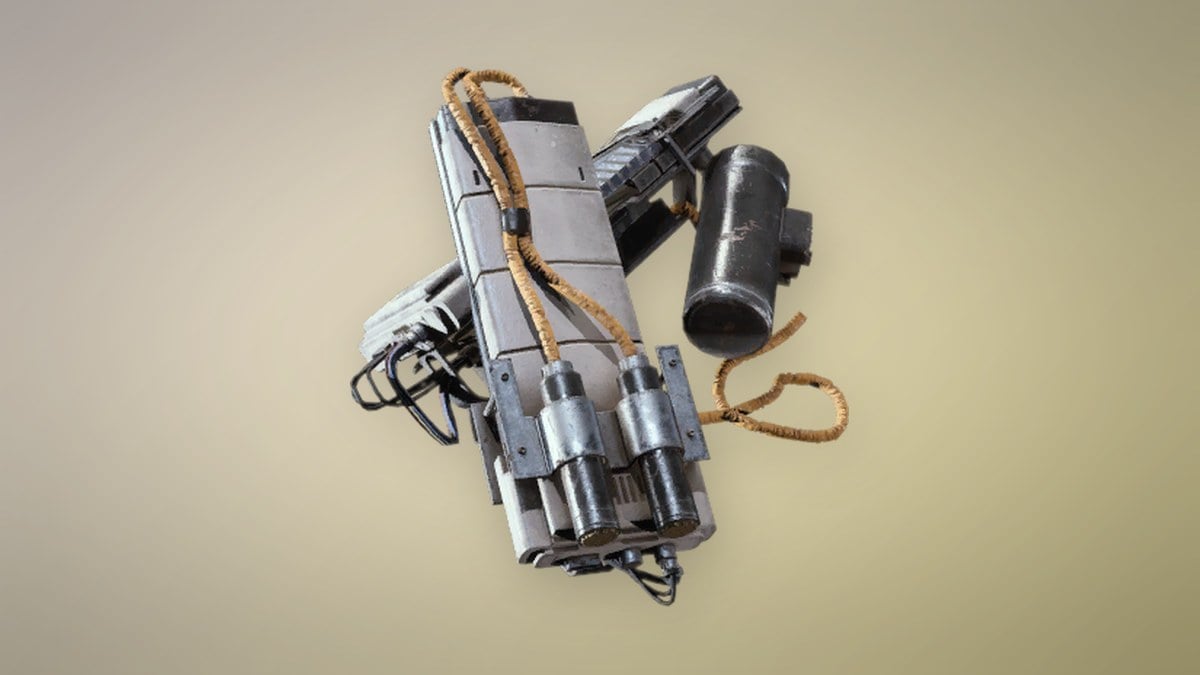
- 1 Wire in your backpack to repair the Railyard antenna.
- To get onto the tallest Railyard tower, bring a Zipline, Snap Hook, or Grappling Hook.
Accepting the quest supplies you with three Ziplines, so the climbing tool is handled unless you prefer something else. A Snap Hook works the same way and can be earned for free by finishing the Boarding the Frigate quest. The Zipline has a 60m range and weighs almost nothing, which makes it the easy default for this task.
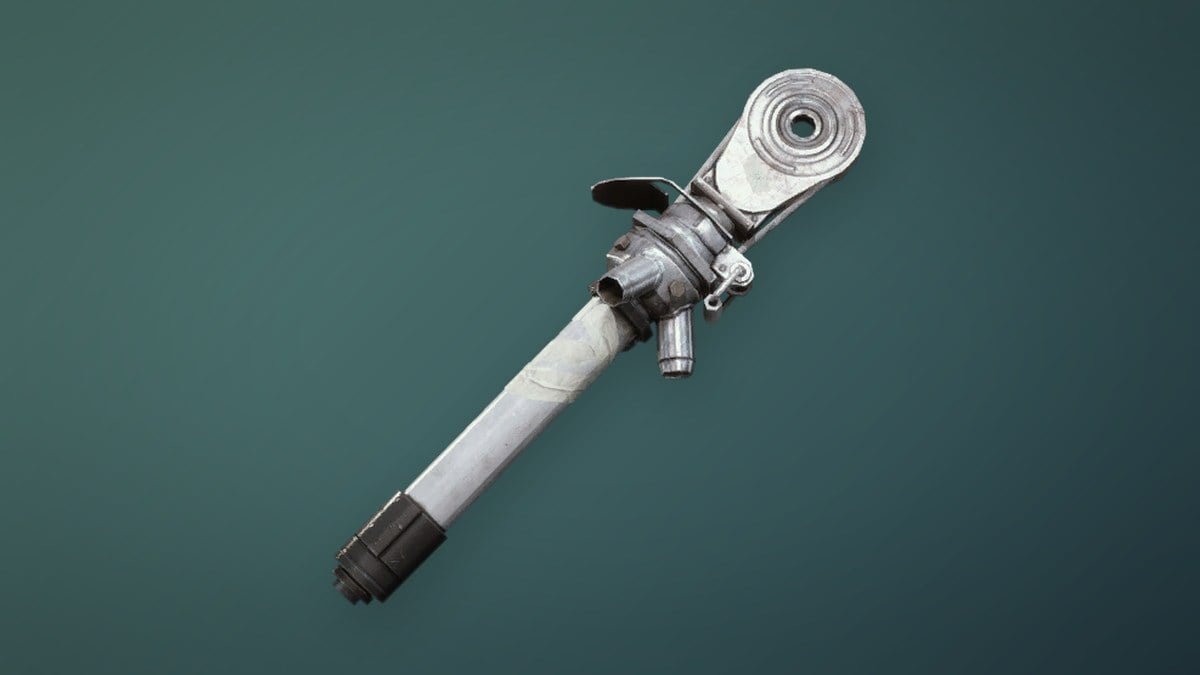
You can find Wire in Electrical and Mechanical containers on the map, but bringing one from your stash removes any chance of a wasted trip to the tower. The quest only becomes available after Pendola Pass itself unlocks, which happens once you have played 25 rounds.
Search three containers in the Commissary Supermarket
Visit the Commissary Supermarket, centrally located on the map beside the Railyard. Its many linked structures hold plenty of loot, making this the quickest objective to finish. Enter the buildings and open three containers in any of the indoor rooms. Cardboard boxes, metal bins, red lockers, and blue plastic trash bins each qualify.
Only containers inside the building register. Looting shelves or crates along the outer rim of the structure does nothing for the counter, so make sure you are searching within the walls. You do not need to take anything, and the objective still ticks even if another Raider already emptied the box. The breachable room on the east side holds a row of lockers you can clear in seconds.
A Shredder patrols this building and can corner you in the tighter rooms, so keep an exit in mind while you loot.
Patch the antenna on the tallest Railyard tower
Go to the Railyard on the map’s southeast side. As you near the area, look for the tower that rises above the others; the antenna is on its roof. Reaching the top requires your climbing tool, since there’s neither a ladder nor a zipline already in place.
Inspect the Cielo Sereno Observatory control room
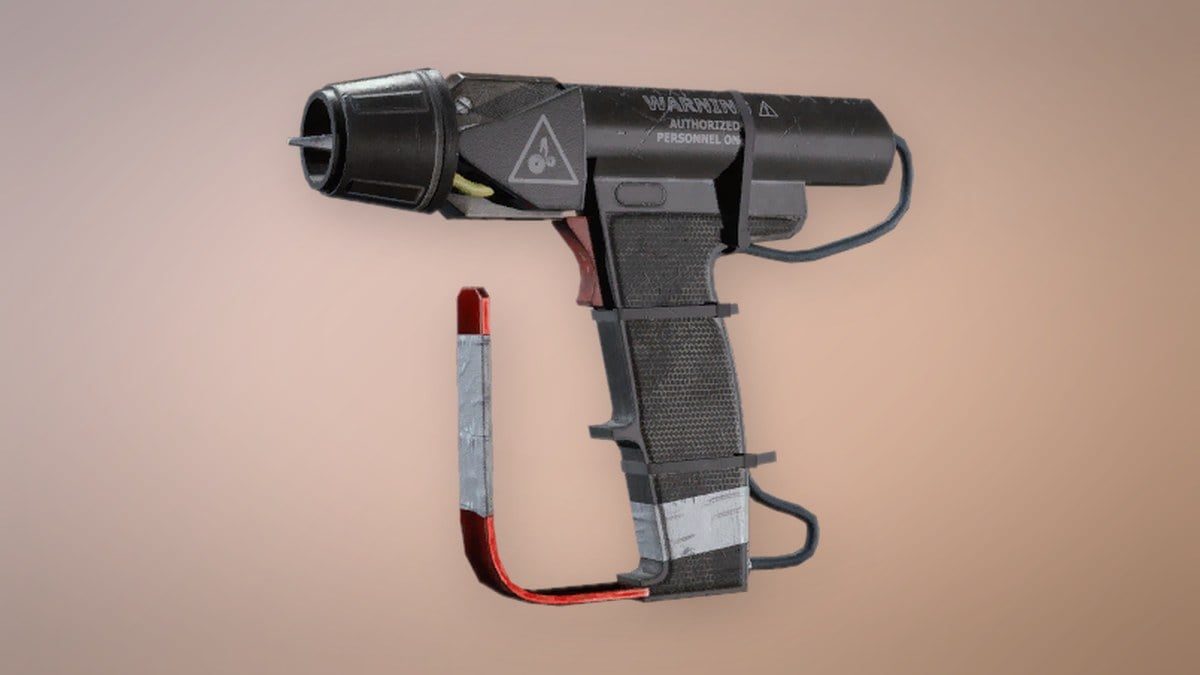
The Cielo Sereno Observatory sits on the mountain in the northeast corner of the map. Getting there can be a trek if you spawn far away, and it is a high-tier loot zone, so expect ARC patrols and other Raiders on the climb. The building has several entrances, so pick whichever approach keeps you out of trouble.
Head up the stairs and move toward the southern part of the facility. The control room overlooks the cliffs on the east side, and the power console sits near the building’s left outer edge, roughly under the “n” in Sereno on the map screen. Interact with the battery box on the console and accept the “Inspect the Tech” prompt. Your Raider takes a harmless jolt of electricity, and the objective clears.
A Bastion patrols this area alongside smaller ARC. Leave it sleeping unless you want its full loot, because the fight can destroy valuable salvage nearby.
Destroy 20 ARC enemies
You can complete this objective while traveling to the other three, regardless of where you are or which enemy type you fight. Each machine counts as one kill, so target weaker foes to build the total with less risk. Wasps, Hornets, Ticks, Poppers, Fireballs, Fireflies, Snitches, and Skulkers are quick to defeat and frequently appear in groups.
Railyard, Old Town, and the Cielo Sereno Observatory carry a high concentration of lower-tier ARC, which makes them good spots to pad the counter while you clear the map tasks. Indoor Fireballs and Ticks tend to cluster, and a stack of Seeker Grenades thrown at passing flyers is a quick way to close out the last few. Steer clear of Bullies and Bastions, which deal heavy damage, and expect to spread this across two or three runs if you are solo or low on ammo and meds.
Turn in the quest and claim your rewards
Once all four objectives show as complete, take a Ballistic Gondola back to Speranza, since the standard Tube extracts do not reach this map. Open the quest menu, speak to Celeste, and select Claim. The rewards drop straight into your inventory and the quest clears from your active list.
| Reward | Type |
|---|---|
 Breathtaking Snow Globe Breathtaking Snow Globe | Epic Trinket |
| Osprey I | Rare Sniper Rifle |
 Medium Shield Medium Shield | Rare Gear |
| 5,000 XP | Experience |
The Medium Shield blocks a solid chunk of incoming fire, with a 70 charge, 42.5% damage reduction, and a 5% movement speed penalty while it holds. The Osprey I is a useful pickup for future Pendola Pass runs, where a long-range weapon pays off on a wide, open map that leaves you exposed to flying ARC.
With the quest turned in, you are free to move on to the rest of the Frozen Trail tasks, including Clean Hands, Tracks of the Beast, and Sizing Things Up, all set across the same frozen summit.