Technical Difficulties Walkthrough in Gears of War: E-Day (Act 4 Chapter 2)
Cross Kalona by rail past the Grinder and Reavers, marking 3 Hard Cases and 2 Supply Caches on the route.
Cross Kalona by rail past the Grinder and Reavers, marking 3 Hard Cases and 2 Supply Caches on the route.
by AllThingsHow Staff
Technical Difficulties, the second chapter in Act 4 of Gears of War: E-Day, is a brief rail journey through Kalona. It opens in a dark access tunnel just after the subway shutter drops at the close of Hope and Ruin. From the station below the opera plaza, the squad rides a subway to Allfathers Avenue Station, heads up to street level, then boards an elevated sky train bound for Prospect Bay. An attack brings the sky train down as it reaches the end of its route.
Quick answer: Take the eastbound subway to Allfathers Avenue Station, climb past the Grinder to the street, beat two Reavers, then board the eastbound sky train and defend it to the end of the line.
Chapter facts and loadout
This chapter follows a straight path and takes around 13 minutes to complete. It displays no clock, countdown, or time limit. Your carried loadout is fixed:
Prototype Lancer
Gut-Puncher
Snub
Machine Gun Sentry in the equipment slot
Adrenaline Injector as Tactical Gear
Five fights fall along the route: Drones on the first platform, Locust at a red-lit stop halfway, a Grinder in the ticket hall at Allfathers Avenue, Drones and two Reavers in the street under the sky train trestle, and the sky train itself. The HUD objectives change in order from “Find a working subway train” to “Ride the eastbound subway” (with “Subway will be leaving soon” added at the mid-line stop), then “Get up to the streets” (with “Kill the Locust” under it), and finally “Ride the eastbound sky train” with “Activate the train”, “Defend the train” and “Kill the Reavers” in turn.
The route below marks 3 Hard Cases and 2 Supply Caches, plus the chapter’s two collectibles; others may sit off this path.
Follow the marker down the tunnel to a brick junction with a departures board headed EMERGENCY ALERT and a Kalona Hotel poster. “HARD CASE NEARBY” and “SUPPLY CACHE NEARBY” appear on the way.
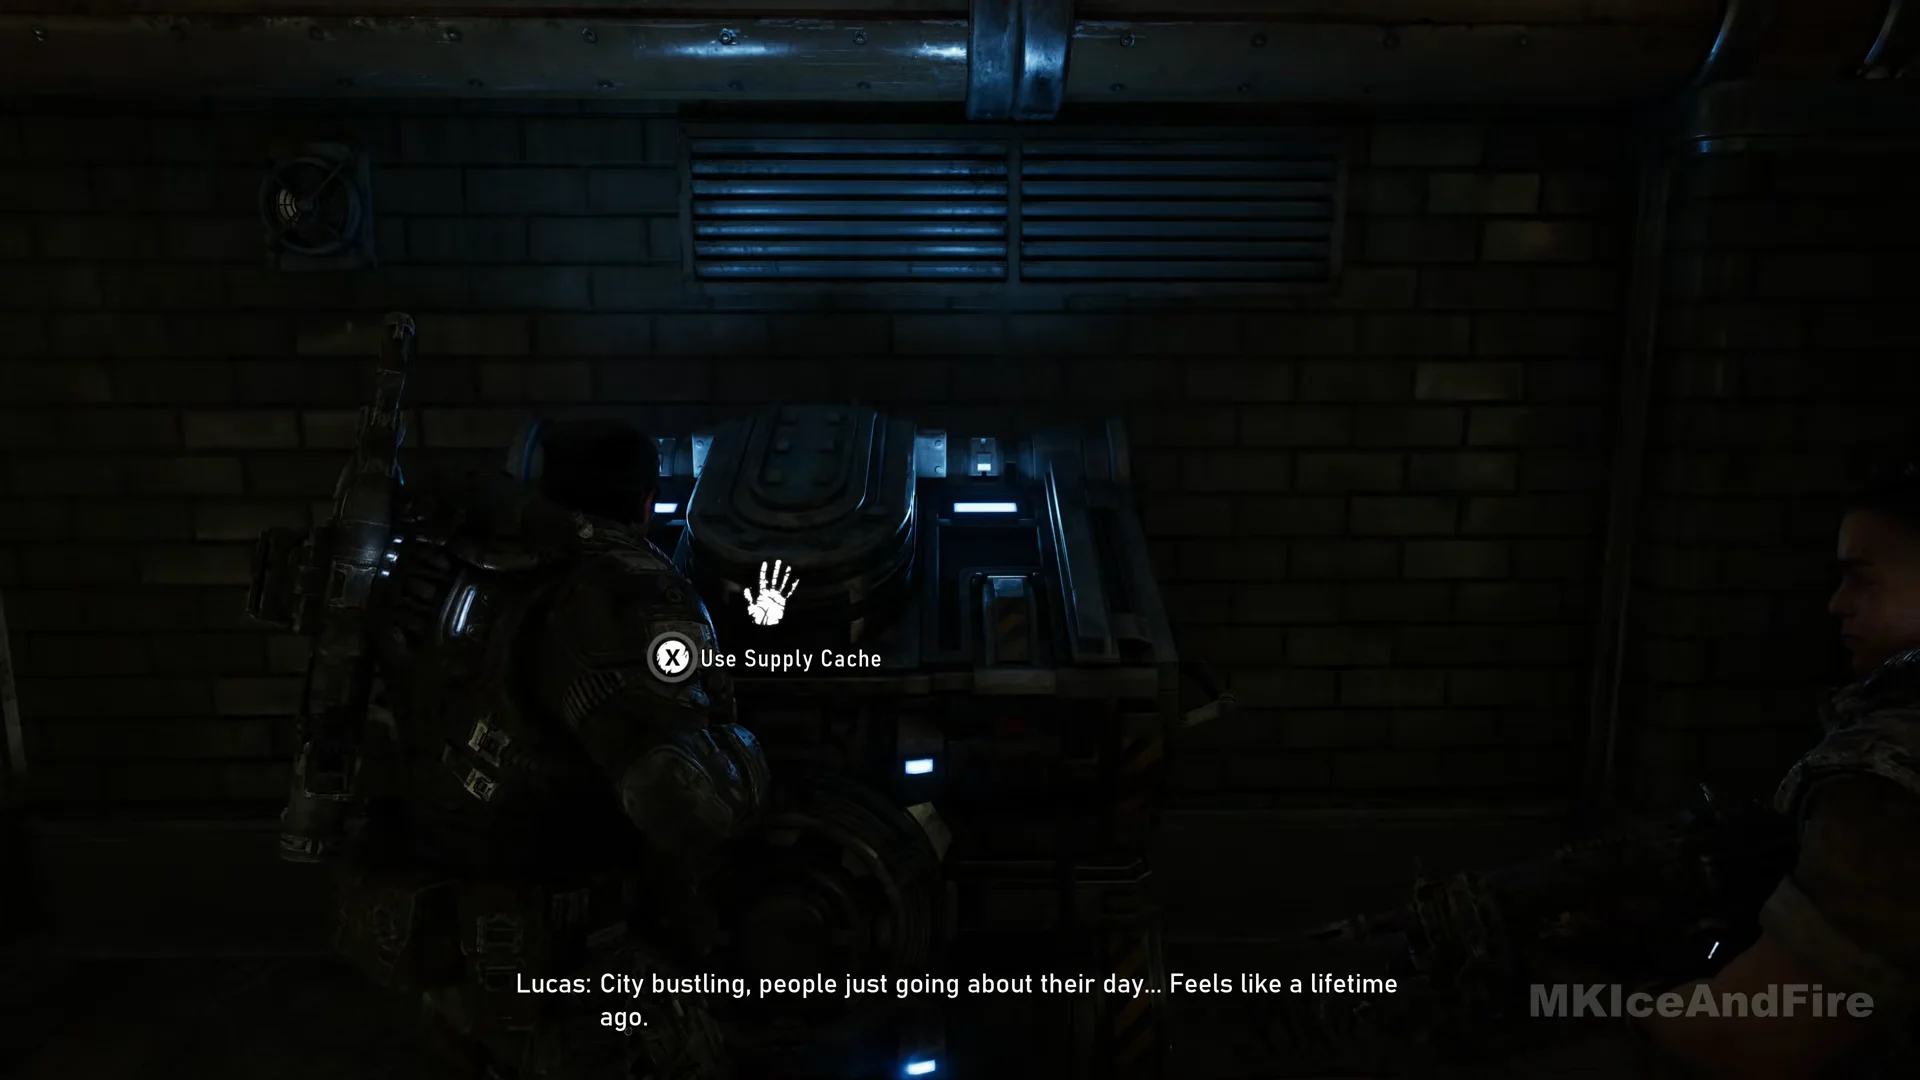
A few steps away, use the blue-lit Supply Cache set against the brick wall by selecting “Use Supply Cache”. Refill the Gut-Puncher and rifle before rounding the corner into the first fight.
Continue onto the platform and check the signs above: Westbound goes to Palma Station, while Eastbound goes to Terminus Station. Take the Eastbound route. One train passes straight through without stopping, so it is not yours.
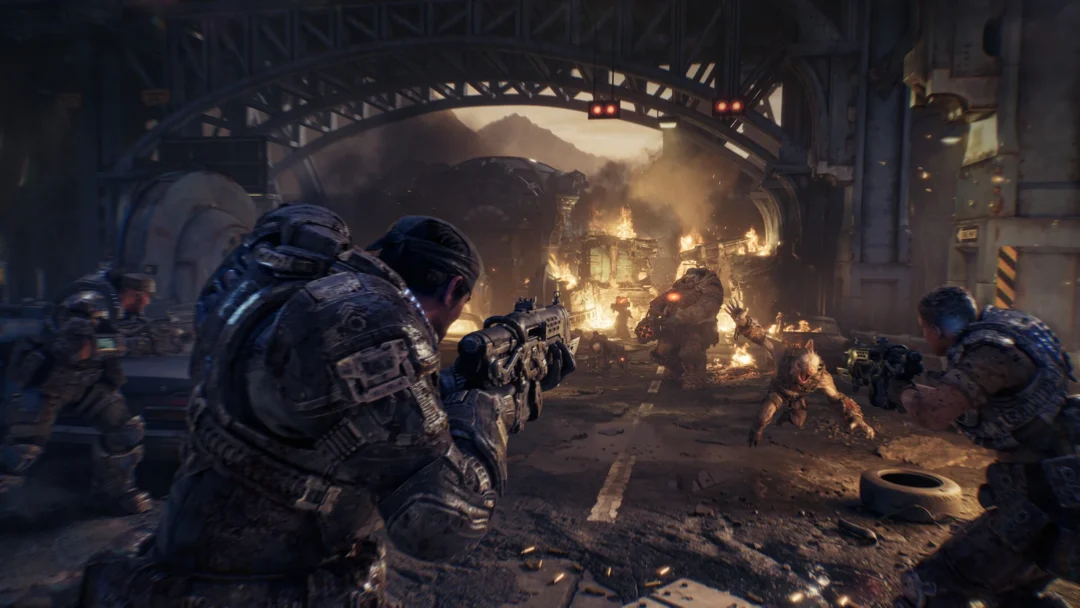
Hold the platform against the Drones from cover at the low metal bin and the entrance vending machines. As they move across, open with Gut-Puncher shots into the group, switch to the Prototype Lancer, and chainsaw any Drone that charges the bin.
Restock before the next train. Dead Drones drop Lancer Mk1 rifles, an ammo crate sits on the platform floor, and a Ripper lies on the platform edge. The loudspeaker announces the next train.
The train slows into a station lit red by flares. Locust fire through the doors and windows while a Scorched Drone throws frag grenades into the car. Crouch behind the orange seat backs and fire out through the open doorway and window frames, moving along the car whenever a grenade lands.
When “Subway will be leaving soon” appears under “Ride the eastbound subway” and the loudspeaker warns the doors are closing, go straight back through the nearest door. The objective is struck out as soon as Marcus is aboard.
This stop provides no timer, countdown, or seconds display, and the screen gives no explanation of what follows if you fail to catch the train. When the warning appears, simply return through the nearest door.
The loudspeaker identifies Allfathers Avenue Station as the next stop. At the front of the lead car, shoot through the windscreen at the Locust on the track; the train takes care of the rest.
At the dark platform where the ride finishes, head away from the stairs beneath the green EXIT sign. On the tiled wall above a bench, beside a pale blue bin, you’ll find the NO 80 Graffitied Poster.
Enter the ticket hall, where the NEWSSTAND kiosk is on your right and a broad EXIT staircase stands across the hall. A Grinder emerges at the bottom of the stairs, spraying long bursts from its heavy machine gun. Use the low counter at the entrance for cover and stay crouched while it shoots.
Between the Grinder’s bursts, hit its head and chest with the Prototype Lancer; if you have Gut-Puncher grenades left, those work too. Keep attacking until it drops. If your health falls, click both sticks to use the Adrenaline Injector.
Cross the turnstiles and climb the long staircase. The gate to the street at the top won’t open, so take the plain metal door alongside it, then follow the passage lined with posters and ascend the next flight.
Find the second Supply Cache on the upper concourse, where the floor has a compass-star design and the transit K emblem. Select “Use Supply Cache” and replenish all your gear, especially the Gut-Puncher.
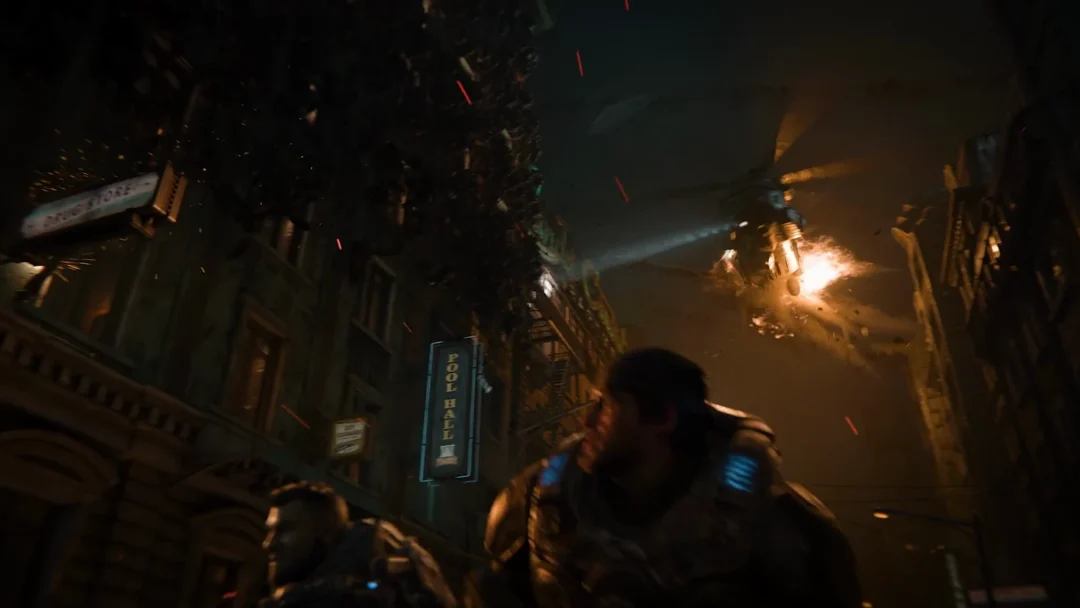
Marcus emerges beside a yellow Kalona City taxi beneath the sky train line’s yellow arches, and “Kill the Locust” appears. Drones engage on foot among the cars, followed by two Reavers, one after the other. Advance using the vehicles for cover: start at the taxi, then move to the sedans and the burnt pickup farther up the street.
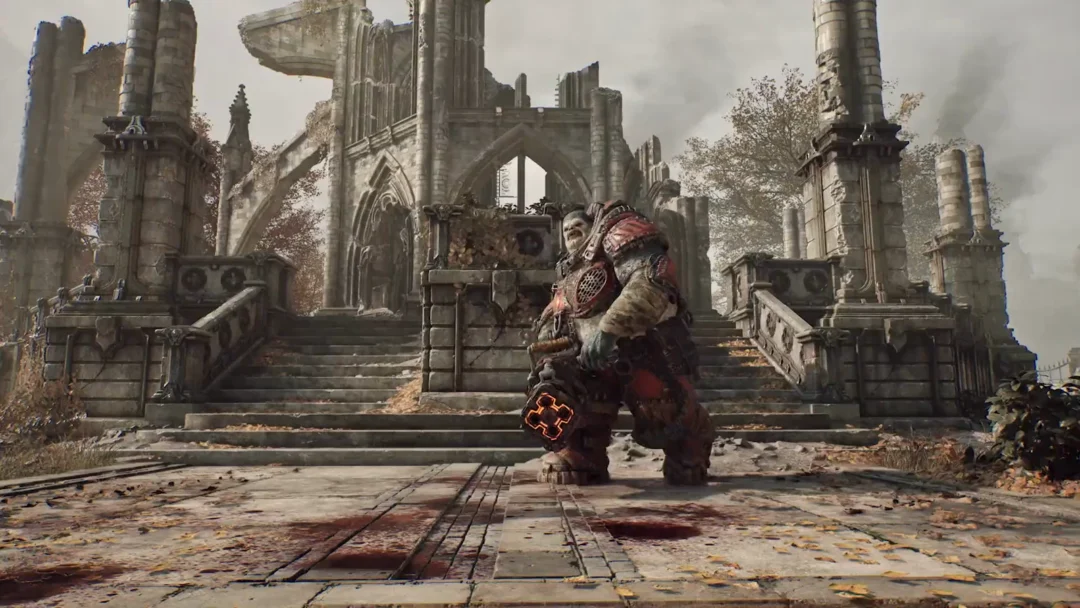
The first Reaver swoops in low carrying a Locust rider. While the squad shoots, send Gut-Puncher grenades into its body and head until it erupts in a fireball. Stay behind a car and keep your distance, since a grounded Reaver strikes anything nearby.
Keep an eye on the Drones during the fight; their rifles can hit Marcus from multiple directions and knock him down. When that happens, the display turns red and a row of arrows appears under “DOWNS REMAINING”. A squadmate revives Marcus, using up one arrow.
Once the street is clear, “Get up to the streets” is crossed off. During the fight, a “HARD CASE NEARBY” prompt points to the case on the station steps.
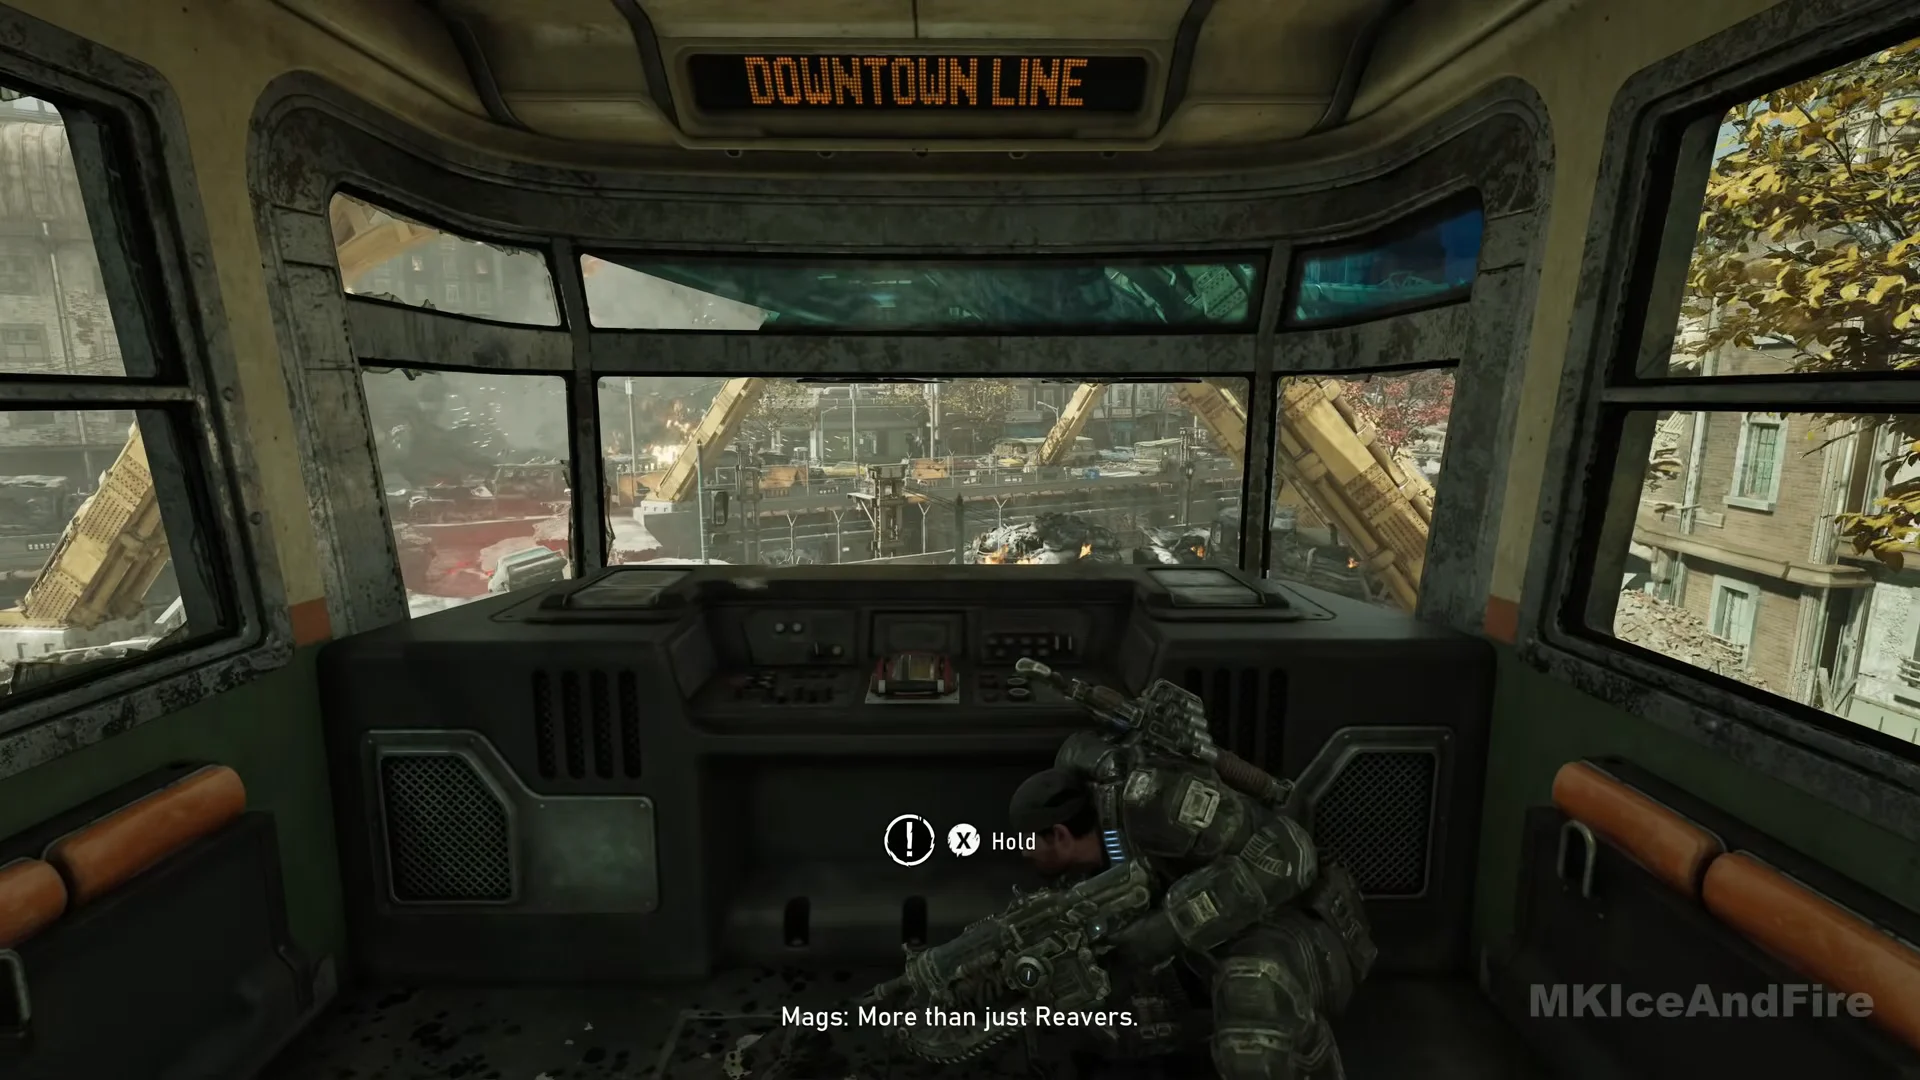
The rear car on the platform is wrecked; an ammo box rests on its floor. Head forward into the lead car, identified by the DOWNTOWN LINE marking, and continue through it to the driver’s cab.
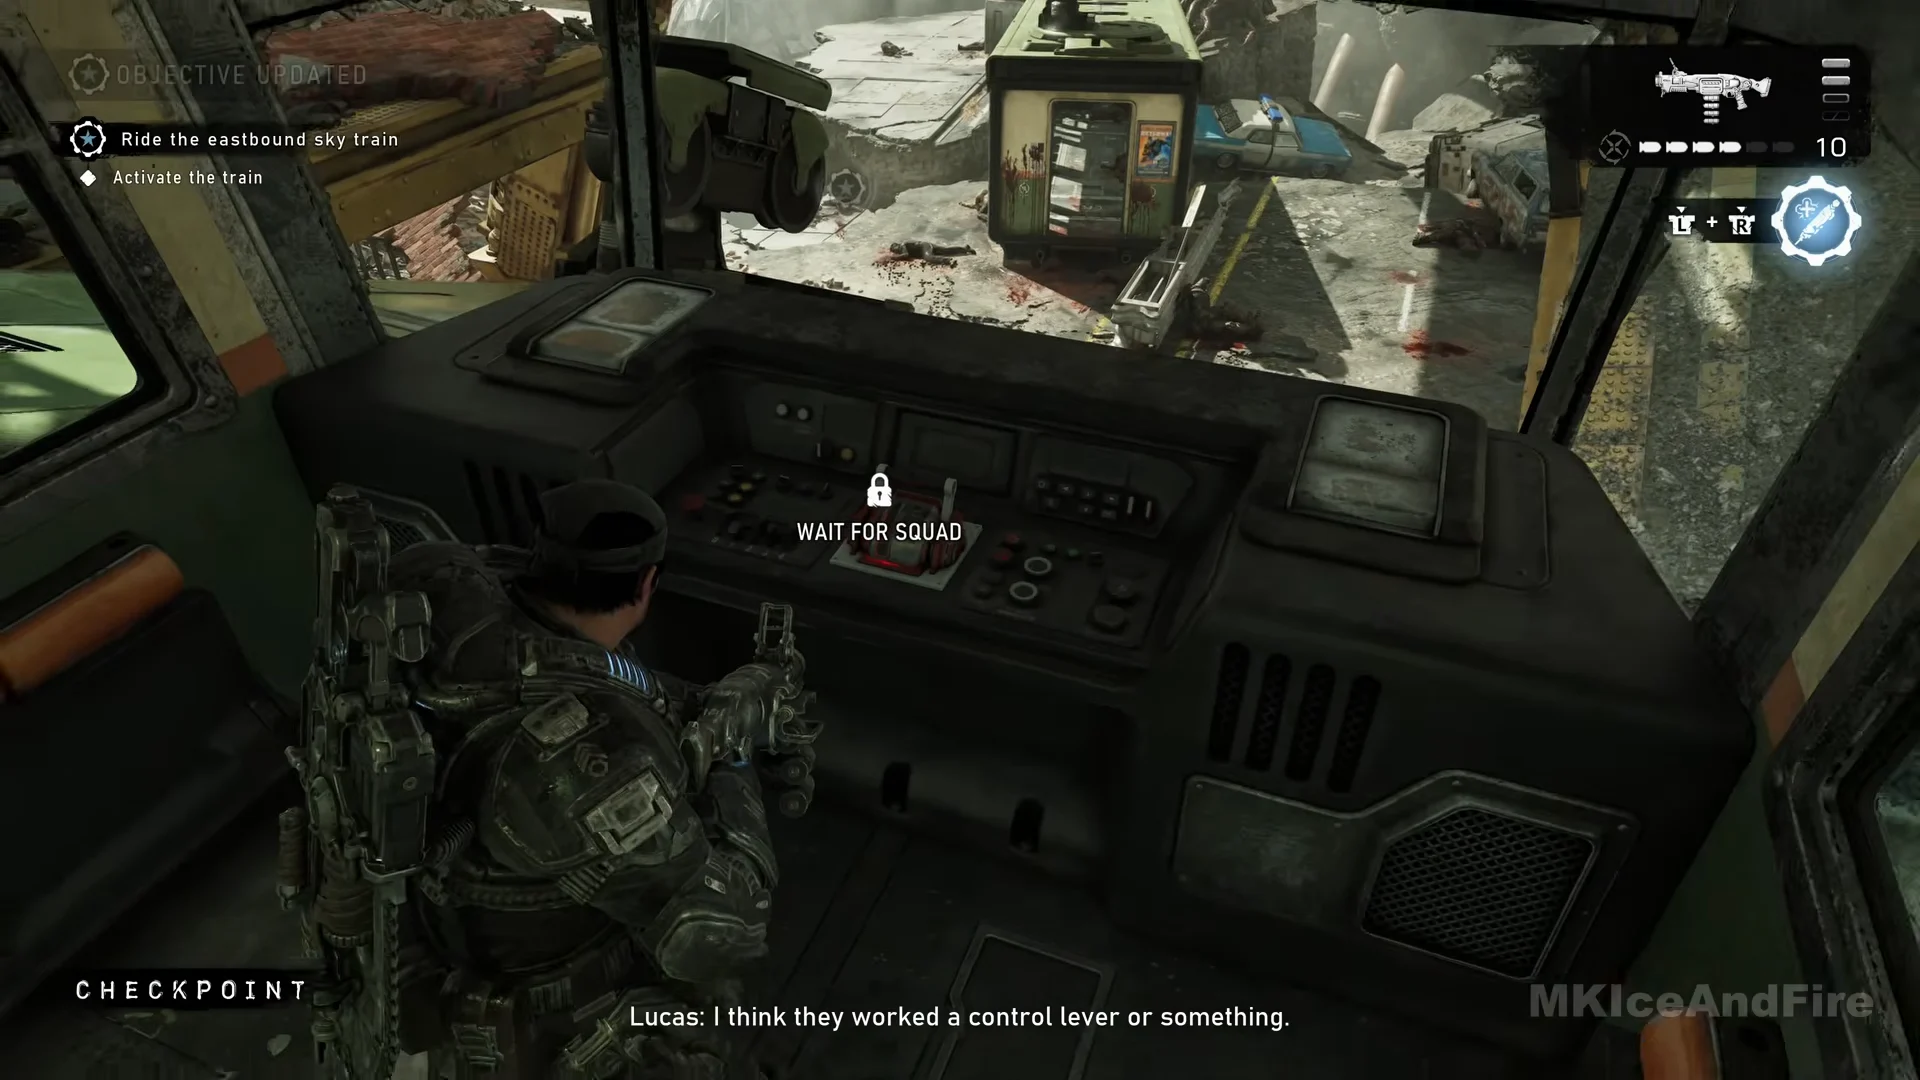
To complete “Activate the train”, wait until the squad is aboard: until then, a padlock and “WAIT FOR SQUAD” appear at the console lever. When the lock disappears, pull the lever. It turns green and the train sets off.
492:44Sky train cab lever lockedThe cab lever stays padlocked under WAIT FOR SQUAD until everyone is aboard, then lights green to start the train. Shown at 492:44 in MKIceAndFire’s video. Image: The Coalition
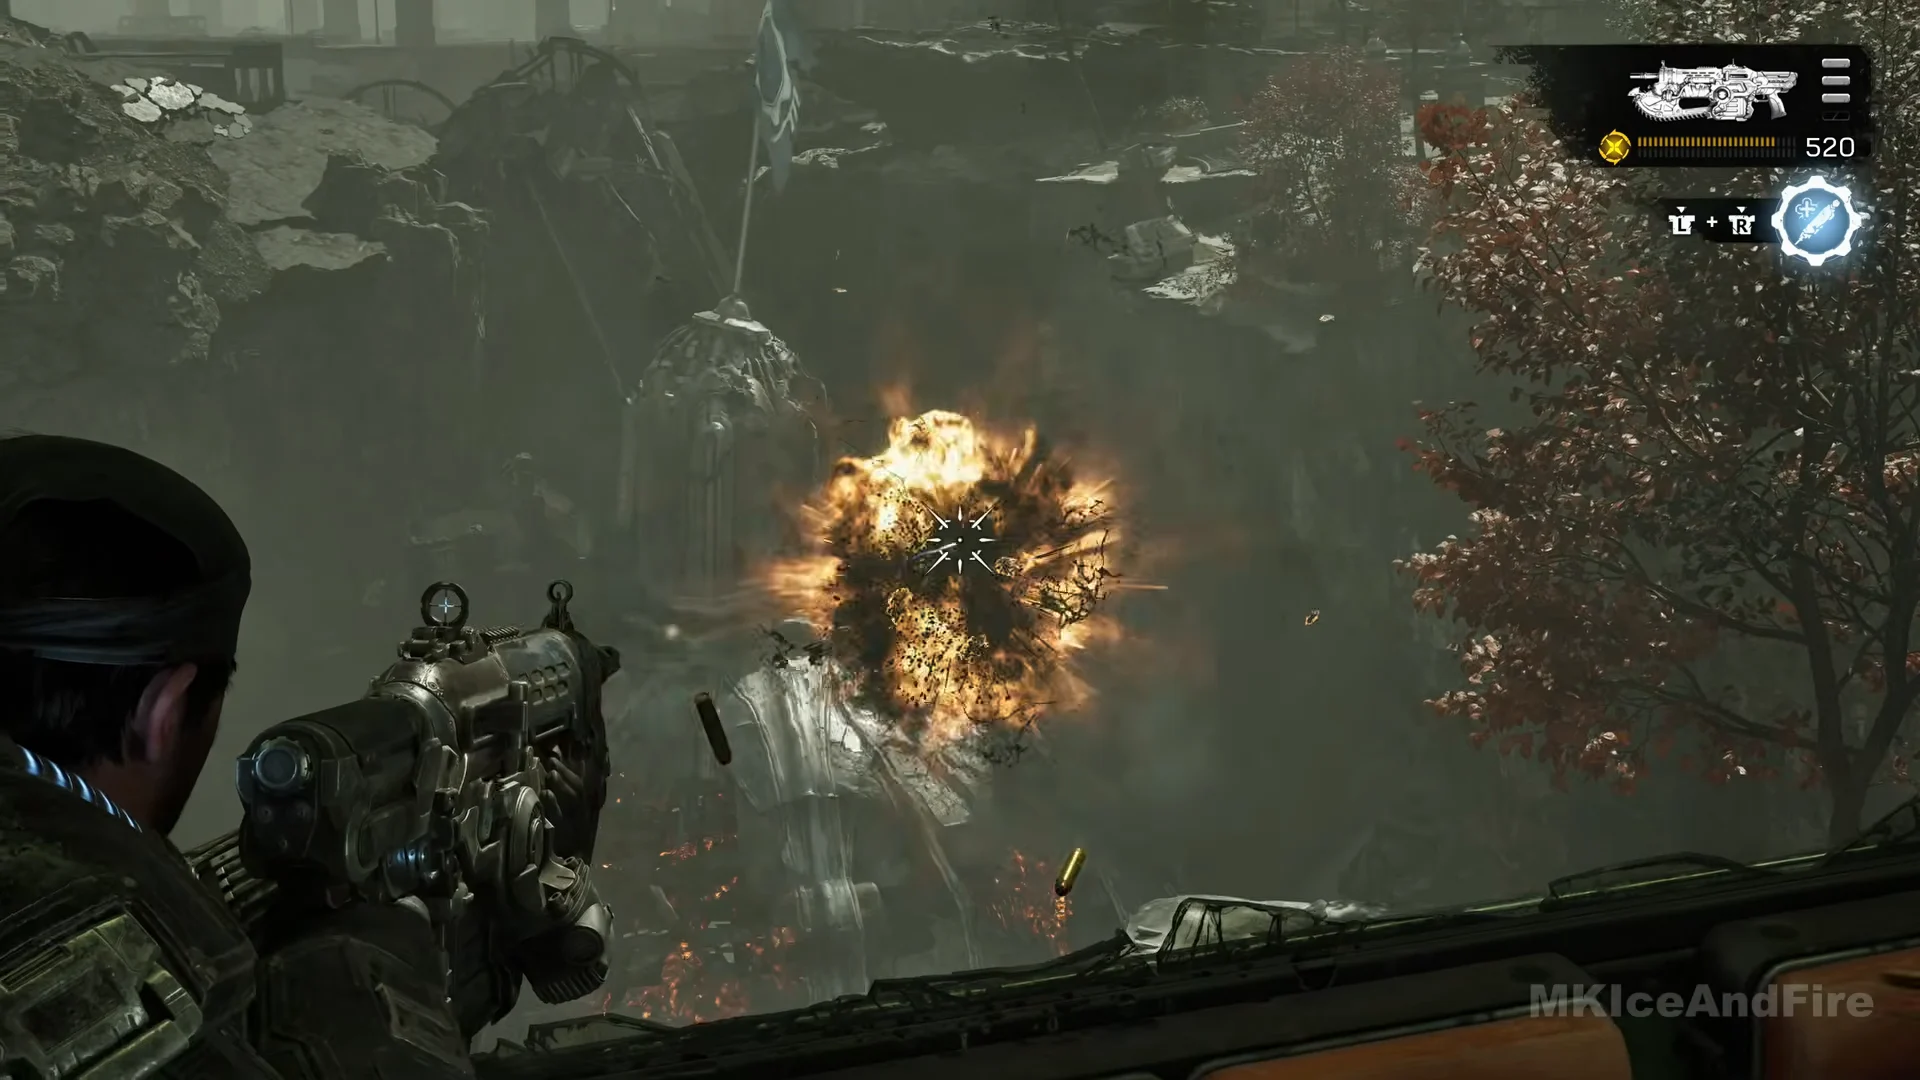
The train stops dead on the trestle and the loudspeaker reports a minor technical fault. Flying creatures come at the windows while shots arc in from the ruins. Crouch at a window frame and shoot the fliers with the Prototype Lancer before they reach the car; they burst in the air when hit. Black spatter on the screen means one got through close by.
Just before an impact, an exclamation mark, X, and “Hold” appear at screen center. Press and hold X to brace until the hit is over. This prompt returns several times along this stretch.
At a station platform, Locust shoot into the car from point-blank distance as the train goes past. Duck below the windows or fire at them while they slide by.
The prompt “Kill the Reavers” appears below “Ride the eastbound sky train” as the Reavers fall in behind and the train’s rear begins breaking apart. Cease fire and follow the squad forward through the cars.
A cutscene takes over as the sky train smashes into the end-of-line station and comes to rest. The squad picks itself up in the lead car with nobody lost, and the Tough as Nails title card follows.
Collectibles, Hard Cases and Supply Caches
There are two collectibles in the chapter; at the beginning, the map screen shows 0/2 COLLECTIBLES. You can find both along the main route.
Collectible
Location
COG Tags of Sergeant Aman Landry
On the floor by a dead Gear at the pillar right beside the train, on the red-lit platform.
NO 80 Graffitied Poster
On the tiled wall above a bench by a pale blue bin, at the dark Allfathers Avenue platform, away from the green EXIT stairs.
Three Hard Cases sit along the same path.
Hard Case
Location
#1
Under the Kalona Hotel poster at the opening brick junction tunnel.
#2
In the station corridor’s side room, on the floor before the metal lockers.
#3
Beside the railing on the round balcony landing along the climb to the sky train platform.
Two Supply Caches let you reload between fights:
Against the brick wall in the opening tunnel, a few steps from the first Hard Case.
On the upper concourse with the compass-star floor, before the roll-up gate out to the street.
Clearing the sky train and reaching the lead car ends Technical Difficulties and rolls straight into Tough as Nails, with the squad back on foot in Kalona and the Prospect Bay power problem next.