Hope and Ruin Walkthrough in Gears of War: E-Day (Act 4 Chapter 1)
A route through the cathedral, cemetery, Regalia Hotel, Kalona Square and the Spire Opera House down to the subway.
A route through the cathedral, cemetery, Regalia Hotel, Kalona Square and the Spire Opera House down to the subway.
by AllThingsHow Staff
Hope and Ruin opens Act 4 of Gears of War: E-Day and plays out across a ruined city district rather than a single corridor. You move with Commander Zee’s group at first, then push on alone as Bravo toward an old port-control antenna to call for help. The chapter takes roughly 50 minutes, and it carries one main HUD objective along with two optional detours.
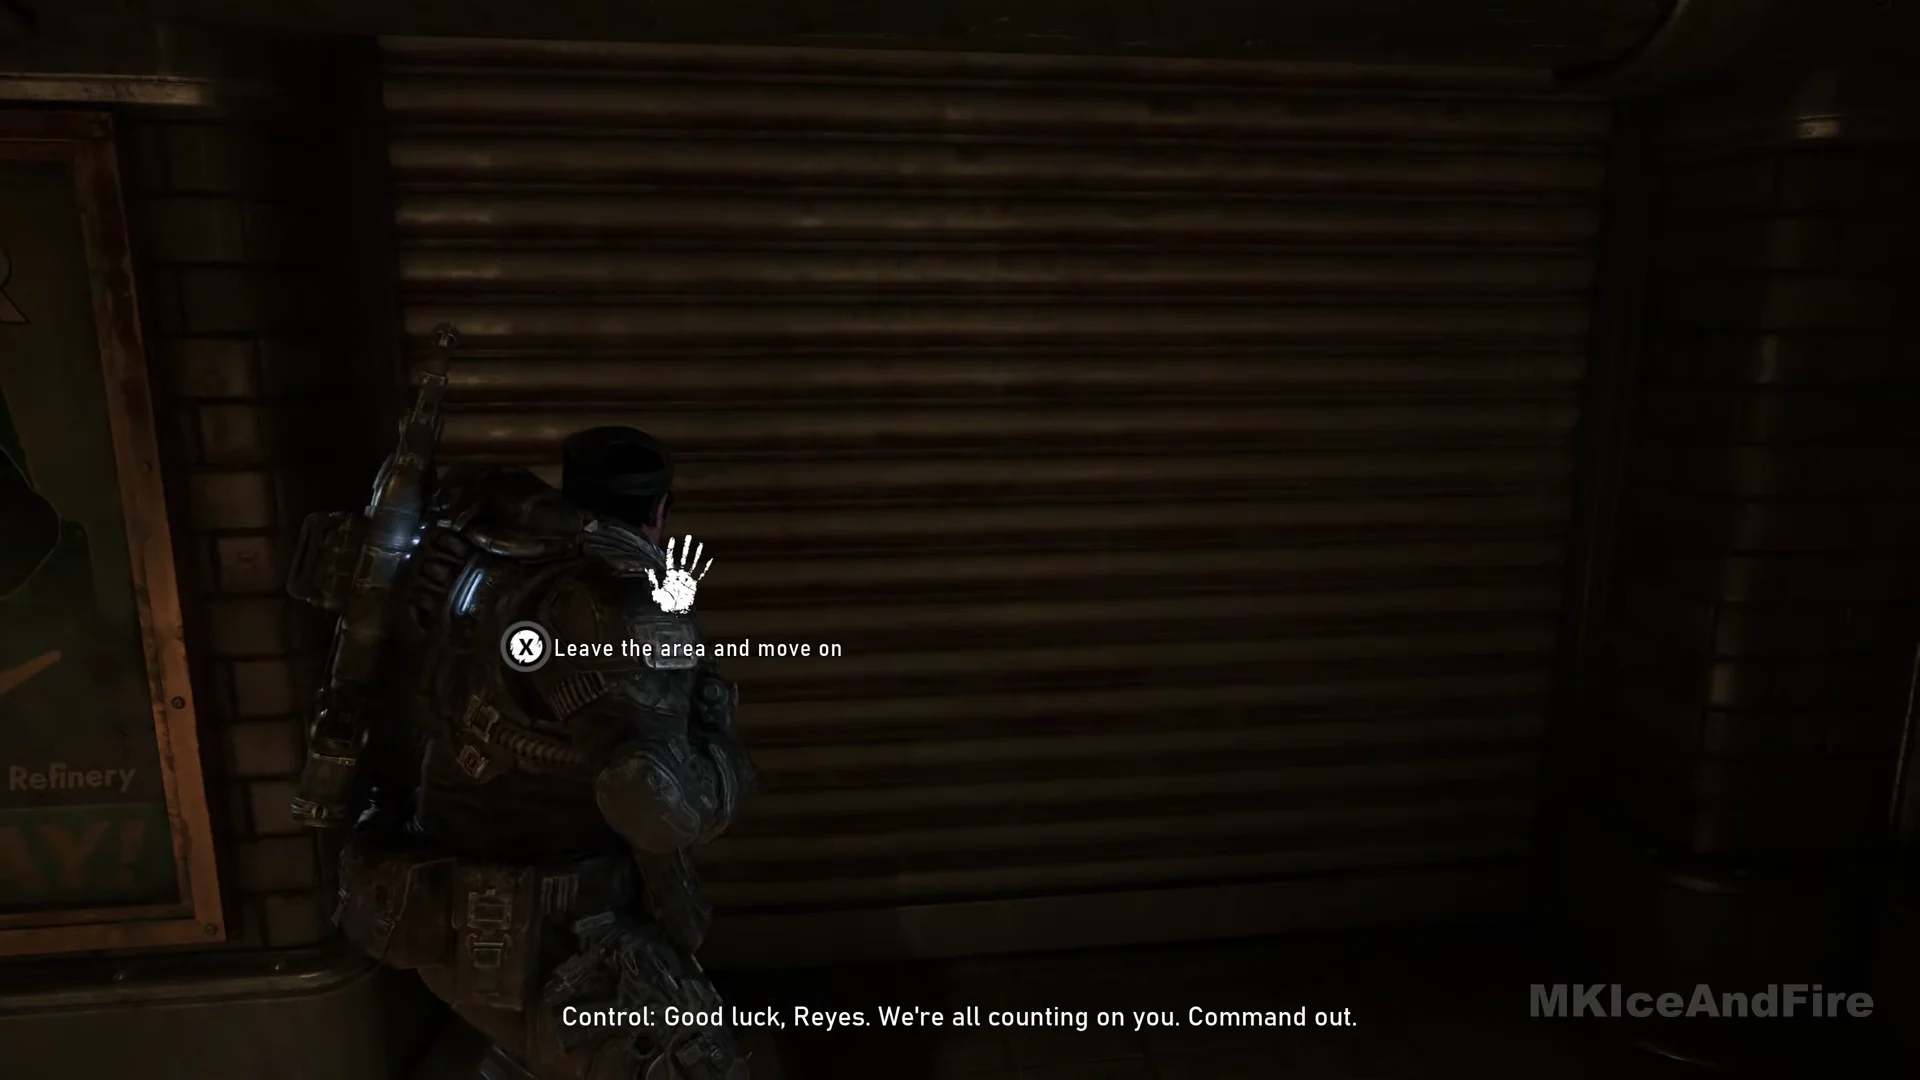
Quick answer: Follow the single objective “Reach the district gate station” through the cathedral, cemetery, Regalia Hotel, the plaza and Kalona Square, then the Spire Opera House, and finish by using the “Leave the area and move on” prompt at the subway shutter.
This route passes nine Hard Cases and both secondary objectives, but it is not an exhaustive sweep of everything in the district. “Reach the district gate station” is the HUD line that appears later on the road, and it is not what is said at the map table.
Objectives and rewards in Hope and Ruin
Neither detour begins until you hold X at its marker, and each one pays out two mods on completion. Along the way you pass 13 collectibles, nine Hard Cases and two Supply Caches.
Secondary objective
Where to start
Rewards
Missing Convoy
Marker in the park, Cooper Commons, before the stone arches
Braced Capacitor (Stim mod), Mobile Targeting Laser (Torque Bow mod)
R.I.G. Experiment
At the R.I.G. machine in the ruined university hall off Kalona Square
Eleven collectibles sit on the direct path and two are a few steps off it. The off-route pair are marked below; take them at the exact spots listed, since the markers do not point them out.
#
Collectible
Location
1
COG Tags of Sergeant Major Hank Rustin
Awarded automatically on the fort terrace
2
Message From The Coalition
Ledge of the memorial shrine, lower courtyard
3
COG Tags of Sergeant Betsy Barnes
Pavement by the arched wooden door, first street corner
4
Regalia Hotel VIP Guest List
Front desk in the hotel lobby
5
dISPUTE Magazine
Ground by the pickup truck in the covered alley
6
Anniversary Card and Tickets to Khindago
Wooden counter in the upstairs cafe room
7
COG Tags of Specialist Harrison Alexieff
Round stone tree planter above Cooper Commons
8
Statuette of Roman Kalona
Counter inside the red souvenir shop
9
COG Tags of Specialist Dale Maddoc
Rubble pile below the R.I.G. terrace railing
10
Blood Splattered Ulk Plushie
Pavement by the dark sedan before the steps
11
Lighter Darker Opera Program
Balcony floor by the flower planter, opera house
—
A Handwritten Letter, in Vasgari (off route)
Raised terrace of Cooper Commons behind the monument
—
COG Tags of Specialist Mei Aoi (off route)
Street outside the opera house, behind the ambulance
Control starts on a fort terrace with the objective “Get your orders”. Collectible 1, COG Tags of Sergeant Major Hank Rustin, is awarded automatically here.
At the first street corner in town, grab collectible 3, COG Tags of Sergeant Betsy Barnes, from the bloodied pavement in front of an arched wooden double door.
Open the Hard Case against the wall past the round windows, then walk on round the cathedral toward the cemetery. “Get past the Cathedral” is struck out.
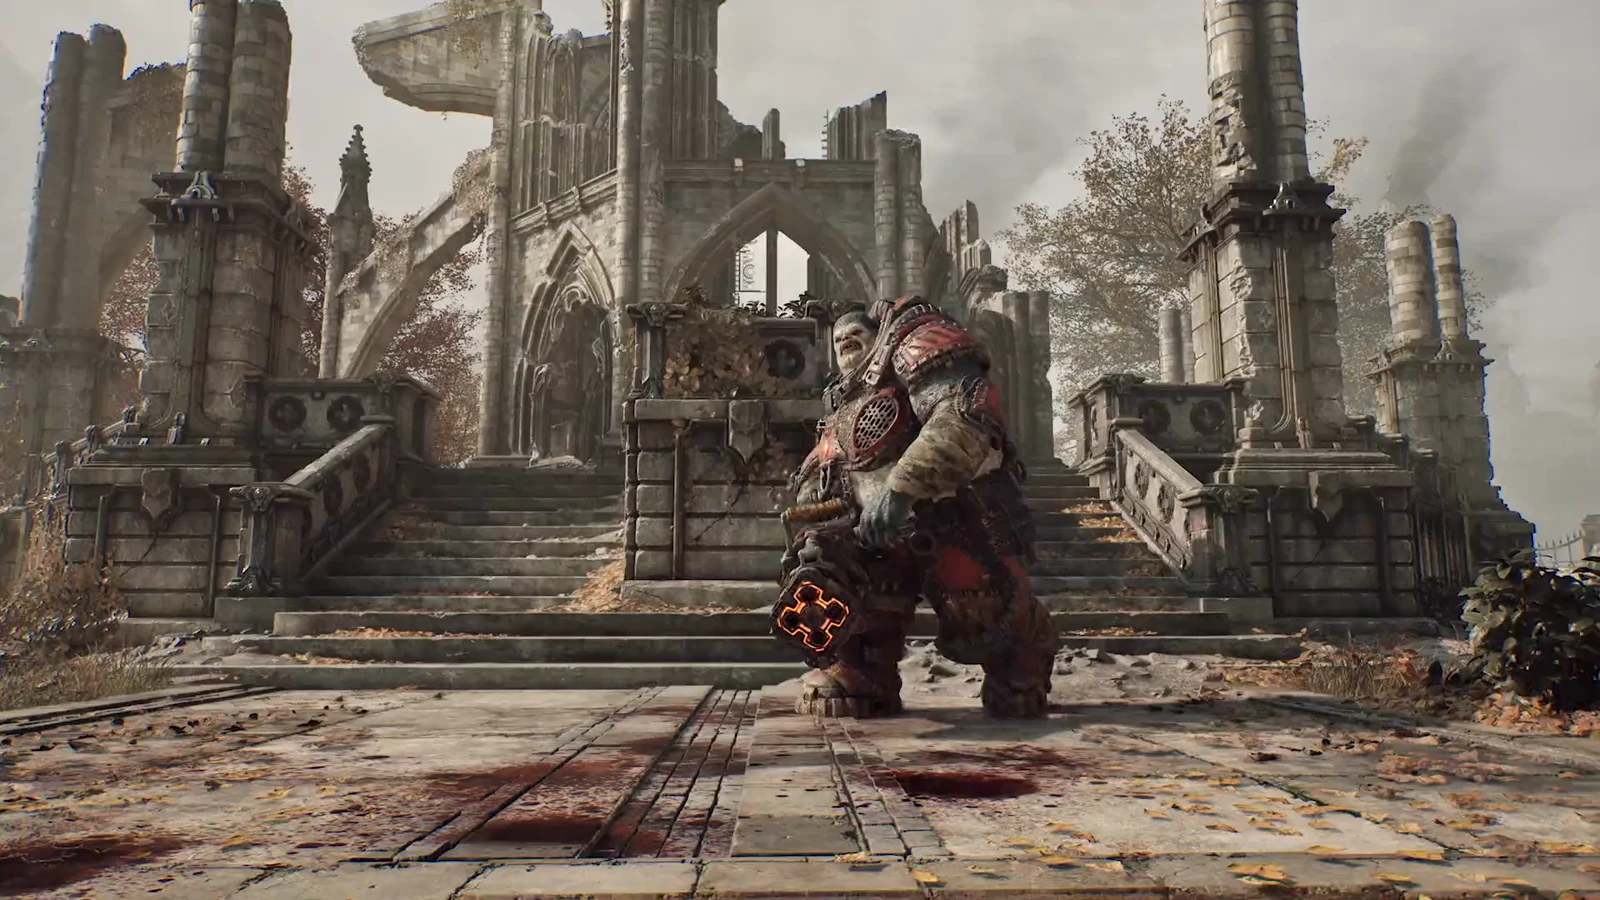
The last wave has big armoured Locust with harpoon guns. Use up the Gut-Puncher on them, then switch to the Lancer. The objective changes to “Meet the others at the gate”.
Inside, Wretches drop from the lobby walls and stairs. Clear them with Lancer bursts. “Reach the Kalona Square” appears, followed by “SIDE OBJECTIVE DISCOVERED”.
Take the stone steps on the right and the passage with the EXIT sign into a small court with a fountain. The Hard Case here is under the HONOR STREET sign on the arch wall.
A sniper fires from an upper corner window ahead, under the objective “Kill all the enemies in the plaza”. Go through the archway on the right and up the outside stairs into that building’s second floor, a bookshop.
From the front window ledge, shoot the Locust in the plaza and the windows opposite with the Lancer. The line is struck out and “Reach the Kalona Square” returns.
Open the Hard Case in the storeroom of the ground-floor cafe. Collectible 6, Anniversary Card and Tickets to Khindago, is upstairs in the small counter room, on the wooden counter under the mug shelves, next to the espresso machine.
In the park, Cooper Commons, go to the marker in front of the building with a row of stone arches. It reads “SECONDARY OBJECTIVE / MISSING CONVOY / HOLD X TO START”. Hold X to begin.
The step is “Kill the Spore Matrons”, floating gas-sacs that release small spiked mines. From under the arches, fire the Lancer at the glowing centre of each and pop any mines that drift close.
Finish the last Matron from the stone staircase across the plaza. Completing this pays out the Braced Capacitor (Stim mod) and the Mobile Targeting Laser (Torque Bow mod).
Cross the park past the monument. The off-route collectible A Handwritten Letter, in Vasgari, sits on the raised stone terrace of Cooper Commons behind the big monument, against the balustrade where framed paintings and cardboard boxes are stacked next to two green bins. It lies on the ground between the boxes and the paintings.
Go up the wide stairs and collect 7, COG Tags of Specialist Harrison Alexieff, at the round stone tree planter in the raised court above Cooper Commons.
Go down the street and climb the rubble into a red souvenir shop. “Reach the Kalona Square” is struck out. Take collectible 8, Statuette of Roman Kalona, from the shop counter.
With “Kill all the Locust in the square” active, shoot the Grinder on the road from behind the red sill of the shop’s front window. Drones and Scorched Drones are with it.
When the Grinder falls, run to its body by the yellow car and pick up its gun, the TROIKA, with X. Carry it up the stone stairs on the right to the raised promenade.
When the Gut-Puncher shows “NO AMMO”, keep the Lancer on the Corpser’s face from the balustrade, then clear the last infantry along the curved balustrade. The line is struck out and only “Reach the district gate station” remains.
Go through the arches of the ruined university hall off the square. At the R.I.G., the tall yellow machine with blue lights, hold X at “HOLD X TO START”.
For “Defend the machine”, Locust come out of red smoke in the courtyard and climb the stairs. From the terrace by the machine, fire the Gut-Puncher down the stairs.
Stay out of the courtyard. Stepping too far brings up “LEAVING MISSION AREA. YOU WILL FAIL THE MISSION.”.
Force open the tall iron gate across the tracks and go uphill. Collectible 10, Blood Splattered Ulk Plushie, is on the right-hand pavement beside the dark sedan, before the steps.
Up the steps is the Spire Opera House plaza, with the objective “Kill all the Locust in the plaza”. From the curved stone planter with red flowers, shoot the Drones and Scorched Drones at the parked cars.
An acid beast like the one on the tram street lobs green sacks that leave acid on the ground, then jumps onto your cover. Back off the planter when it lands and hold Lancer fire on its head and mouth until it bursts.
Push on through the stalled tram car. Another beast comes with the last group near the opera house. Put Gut-Puncher grenades into its mouth, then the line is struck out.
The off-route COG Tags of Specialist Mei Aoi lie on the street outside the opera house, behind the white and red ambulance next to the red medical bags, a few steps from the telephone booth. Pick them up before leaving the street.
Run to the round subway entrance. At the closed shutter in the concourse the prompt is X, “Leave the area and move on”. Using it ends the district, so pick up anything you still want before you interact with it.
Once you use the shutter, “Reach the district gate station” is struck out and the next title card, Act 4, Chapter 2: Technical Difficulties, follows. That transition is your confirmation the chapter is finished. For the contents of the nine Hard Cases passed on this route, check a dedicated Hard Case reference.