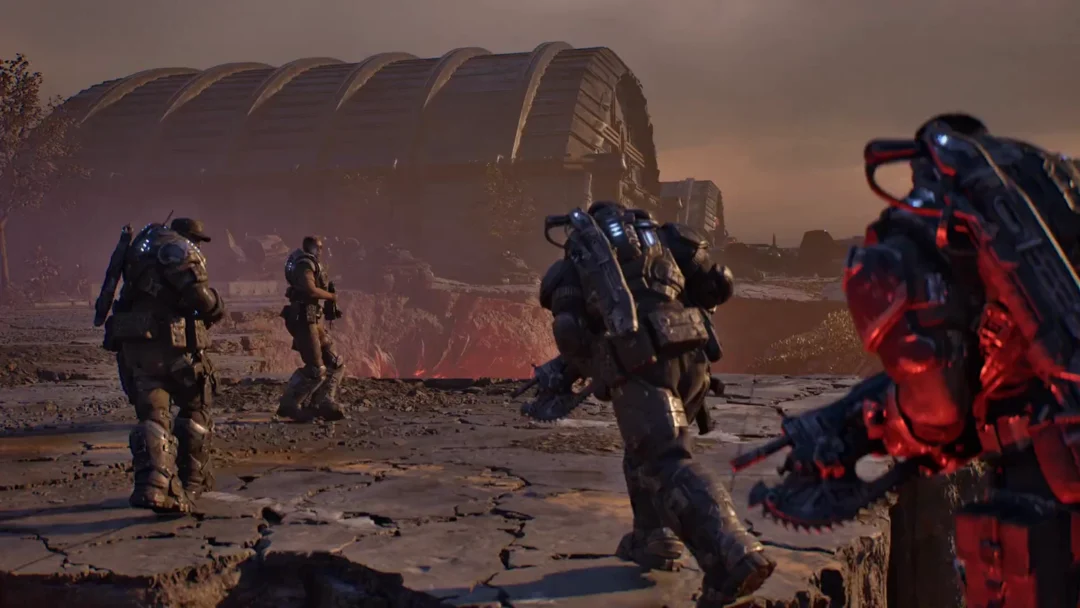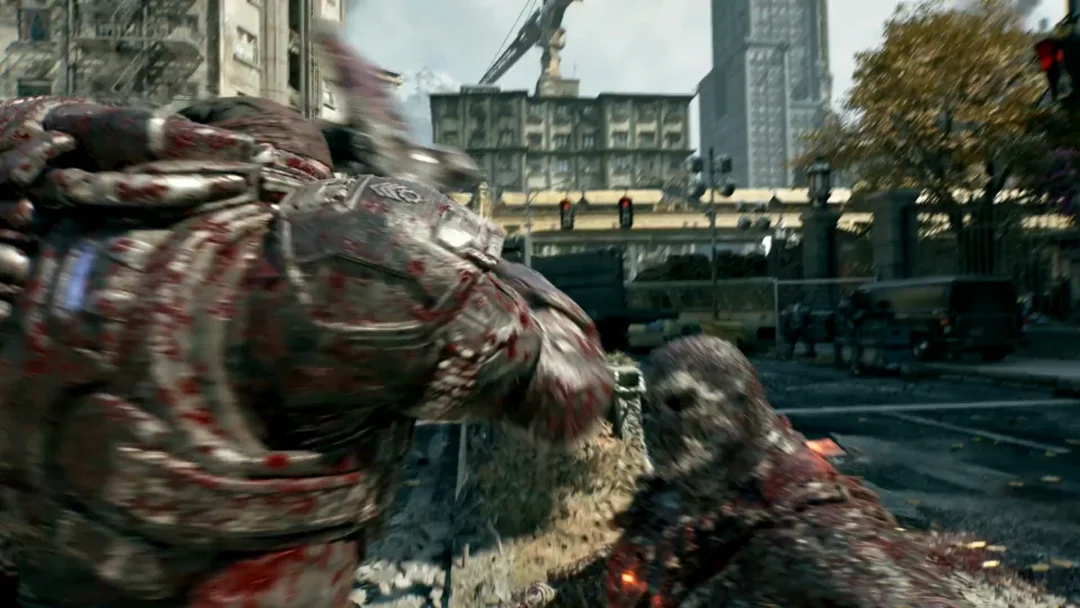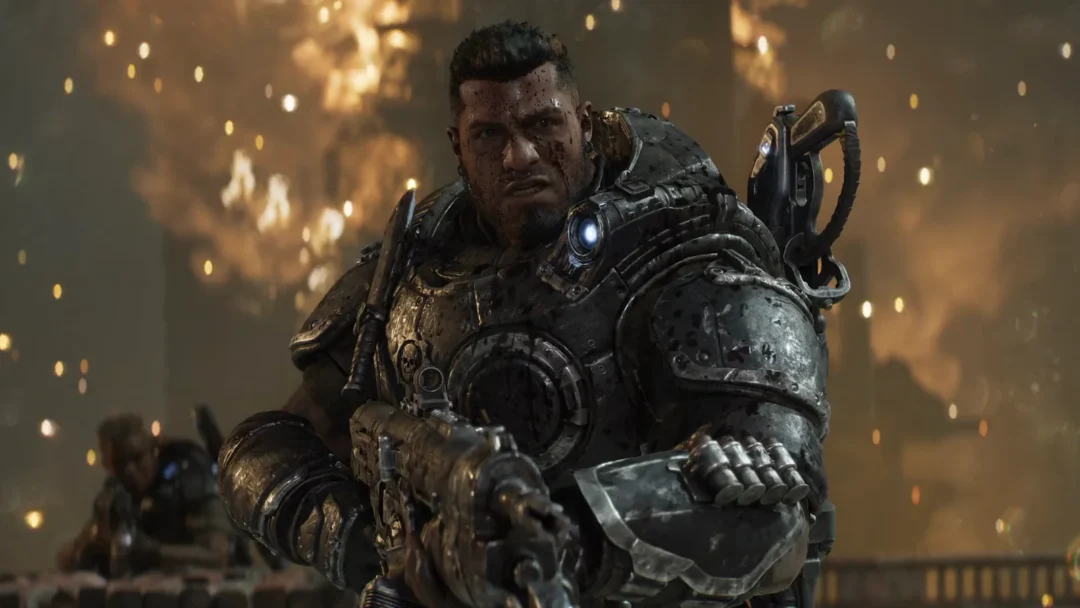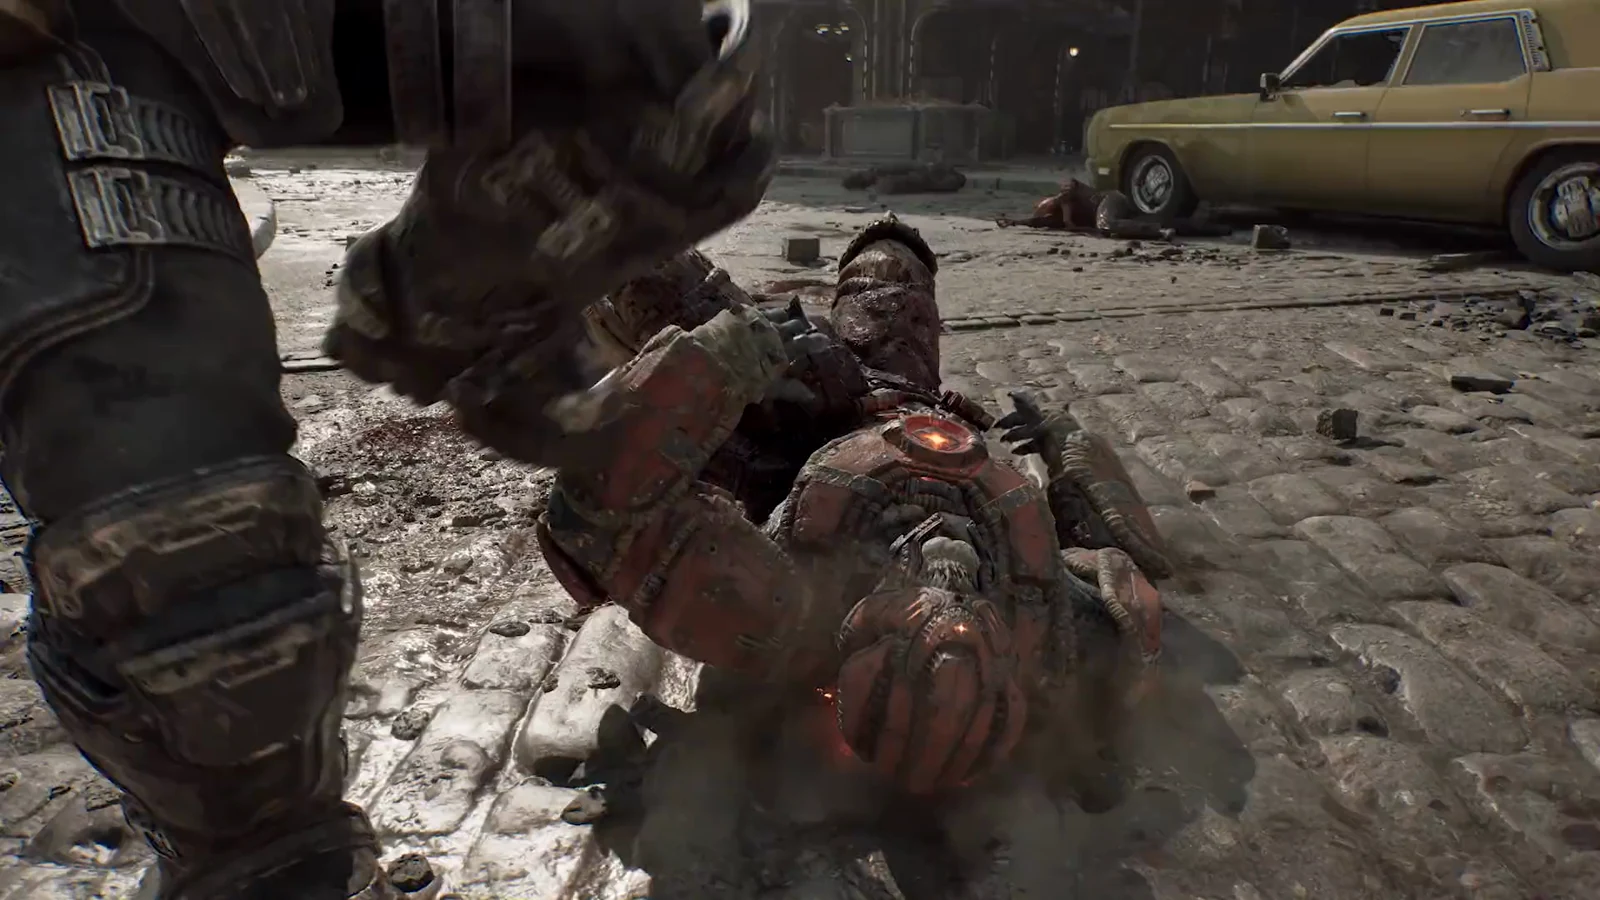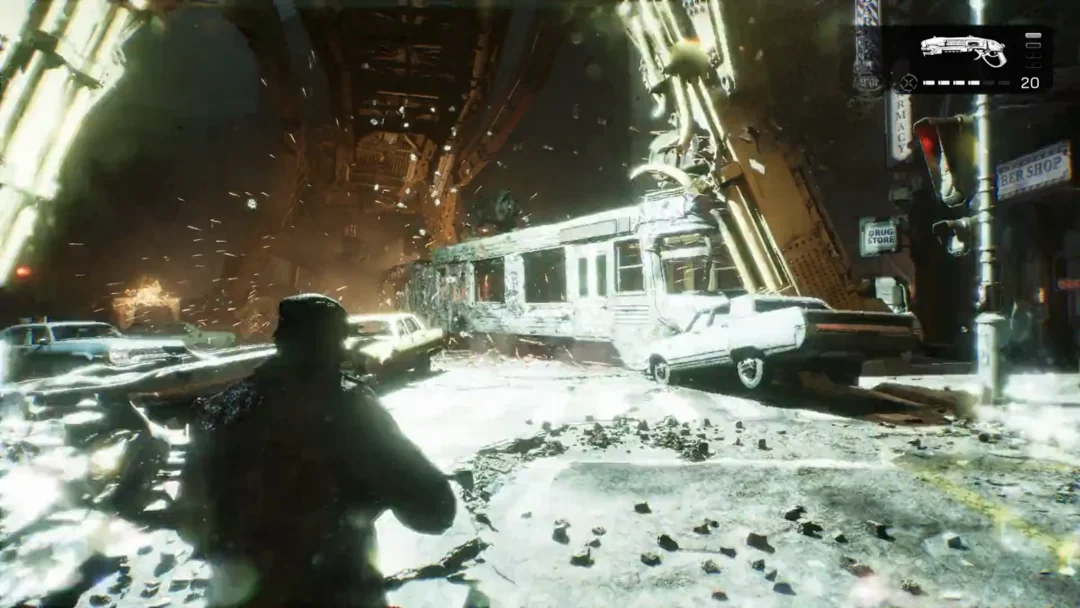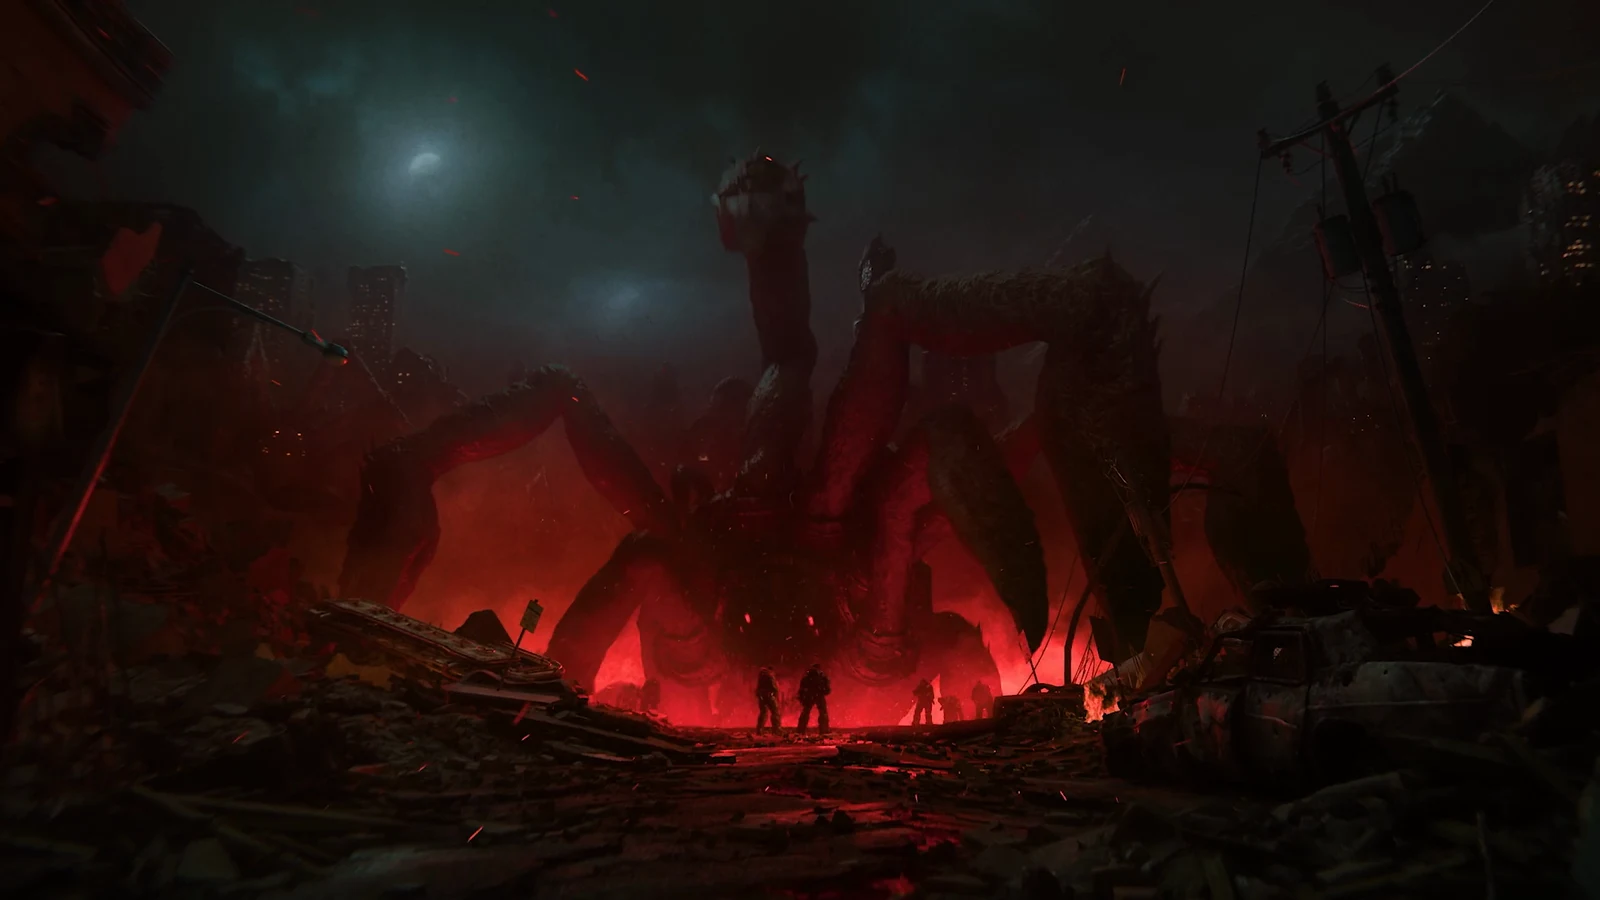
The campaign ends with The Fall of Kalona, set entirely on the Allfathers Legacy Bridge. A King Raven delivers Bravo to the upper deck, and the evacuation vessel must wait in the harbor until the bridge is handled. The chapter lasts about 21 minutes from its opening title card to its closing one: around 16 minutes of gameplay followed by five minutes of cutscenes.
Quick answer: Push across the upper deck, drop to the lower deck and climb to the east control room, pull the switch, survive the first Vraahk fight, reach the detonator, then empty Vraahk’s health bar in the second fight.
What you carry into the chapter
You start with a Prototype Lancer 600, a Gut-Puncher 14, a Snub 136, and grenades. A heavy weapon is waiting before every hard stretch, so you rarely fight a tough enemy with your base loadout alone. Expect to pick up a Heavy Boomshot, a Grinder’s heavy machine gun, a Troika outside the control room, a launcher from a second Boomer, and a second Troika near the end.
The HUD objective runs through a fixed sequence as you go: “Raise the bridge” > “Raise the bridge / Reach the lower deck” > “Raise the bridge” struck out > “Reach the west control room” > “Kill Vraahk” > “Reach the detonator” > “Kill Vraahk”. There is no time limit anywhere in the chapter.
Upper deck: push to the toll booth
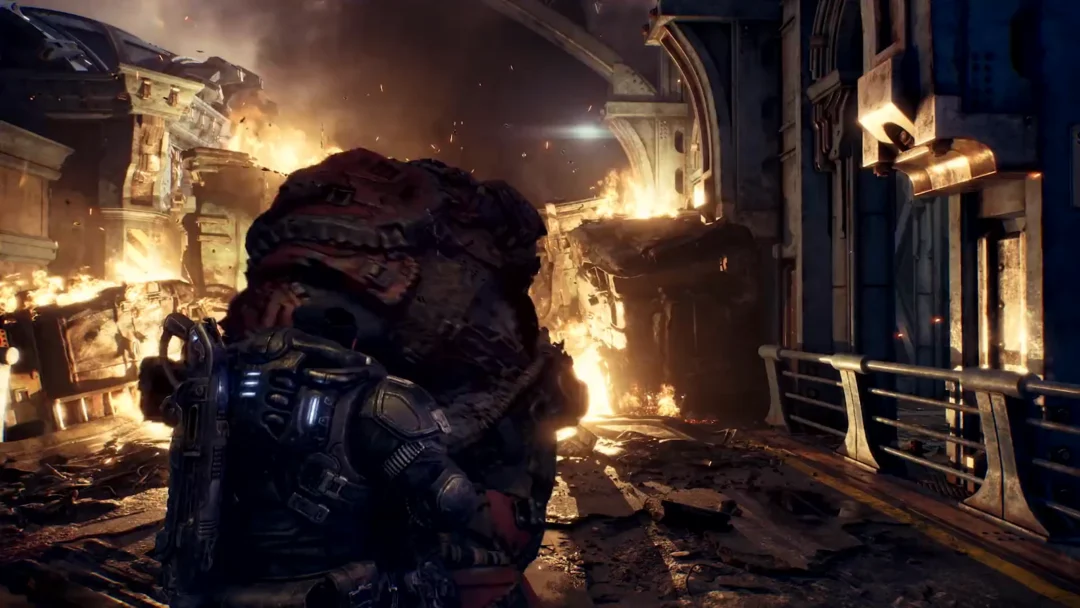
The marker shows roughly 200M. Abandoned vehicles clog the road: an ambulance with flashing lights, a van, and police cars. Scorched Drones and a Scorched Sniper defend the route from behind red barricades and flaming debris.
Start at the police car, using its open door and bonnet for cover, then advance to the blood-smeared red barrier. The Gut-Puncher makes quick work of the barricade, but every strike sets the road alight. Let the flames die out before crossing.
Grab the loose grenades and the Ripper lying on the road here, and top off the Gut-Puncher at the ammo box further up the deck. Once the road is quiet, follow the railing to the sandbag wall and the toll booth with the “STOP” sign.
A look prompt at the booth tilts the camera up to the Gears the Locust leader has strung from the bridge girders. The squad calls him the Impaler. Looking is optional and changes nothing in the fight.
Alton Hau’s COG Tags at the toll booth
The COG Tags of Sergeant Alton Hau sit on the road by the toll booth, behind the rear of a burnt-out car and next to a red barrier that faces a “MILITARY ZONE” barricade. The prompt reads “PICK UP.” Grab it and the War Journal’s Act 5 tab updates to show the chapter at 1 of 3. This is the only collectible you pick up directly on this route.
Lower deck and the Boomer
“OBJECTIVE UPDATED” adds “Reach the lower deck” under “Raise the bridge”. The upper road is blown away ahead, so walk to the broken edge and drop. A second ambulance is on the lower level; take the ammo beside it and use the vehicle for cover. A Boomer emerges from the collapsed area ahead, accompanied by Locust infantry.
The Boomer says “Boom” before every rocket. Be behind the ambulance when it does, then lean out and fire. Shooting from the ambulance’s rear corner with the Prototype Lancer, and with help from the squad, brings it down in about half a minute. Its launcher then lies by the overturned car as a Heavy Boomshot holding 7 rockets, with ammo boxes near the body. “SUPPLY CACHE NEARBY” appears as you climb the tilted slab of road at the end of the deck.
The road below the east control room
At the top of the slab the east control room sits across a stretch of road lined with big round winch housings, a burning truck, and a “MILITARY ZONE” crate. A Grinder is posted up top and Scorched Drones hold the road below.
Pull the switch in the east control room
Follow the railed walkway past the delivery van toward the building. A Troika with a full 96 rounds lies beside a large dead Locust on the walkway. Take it, because it can be carried through the control room and straight into the first Vraahk fight.
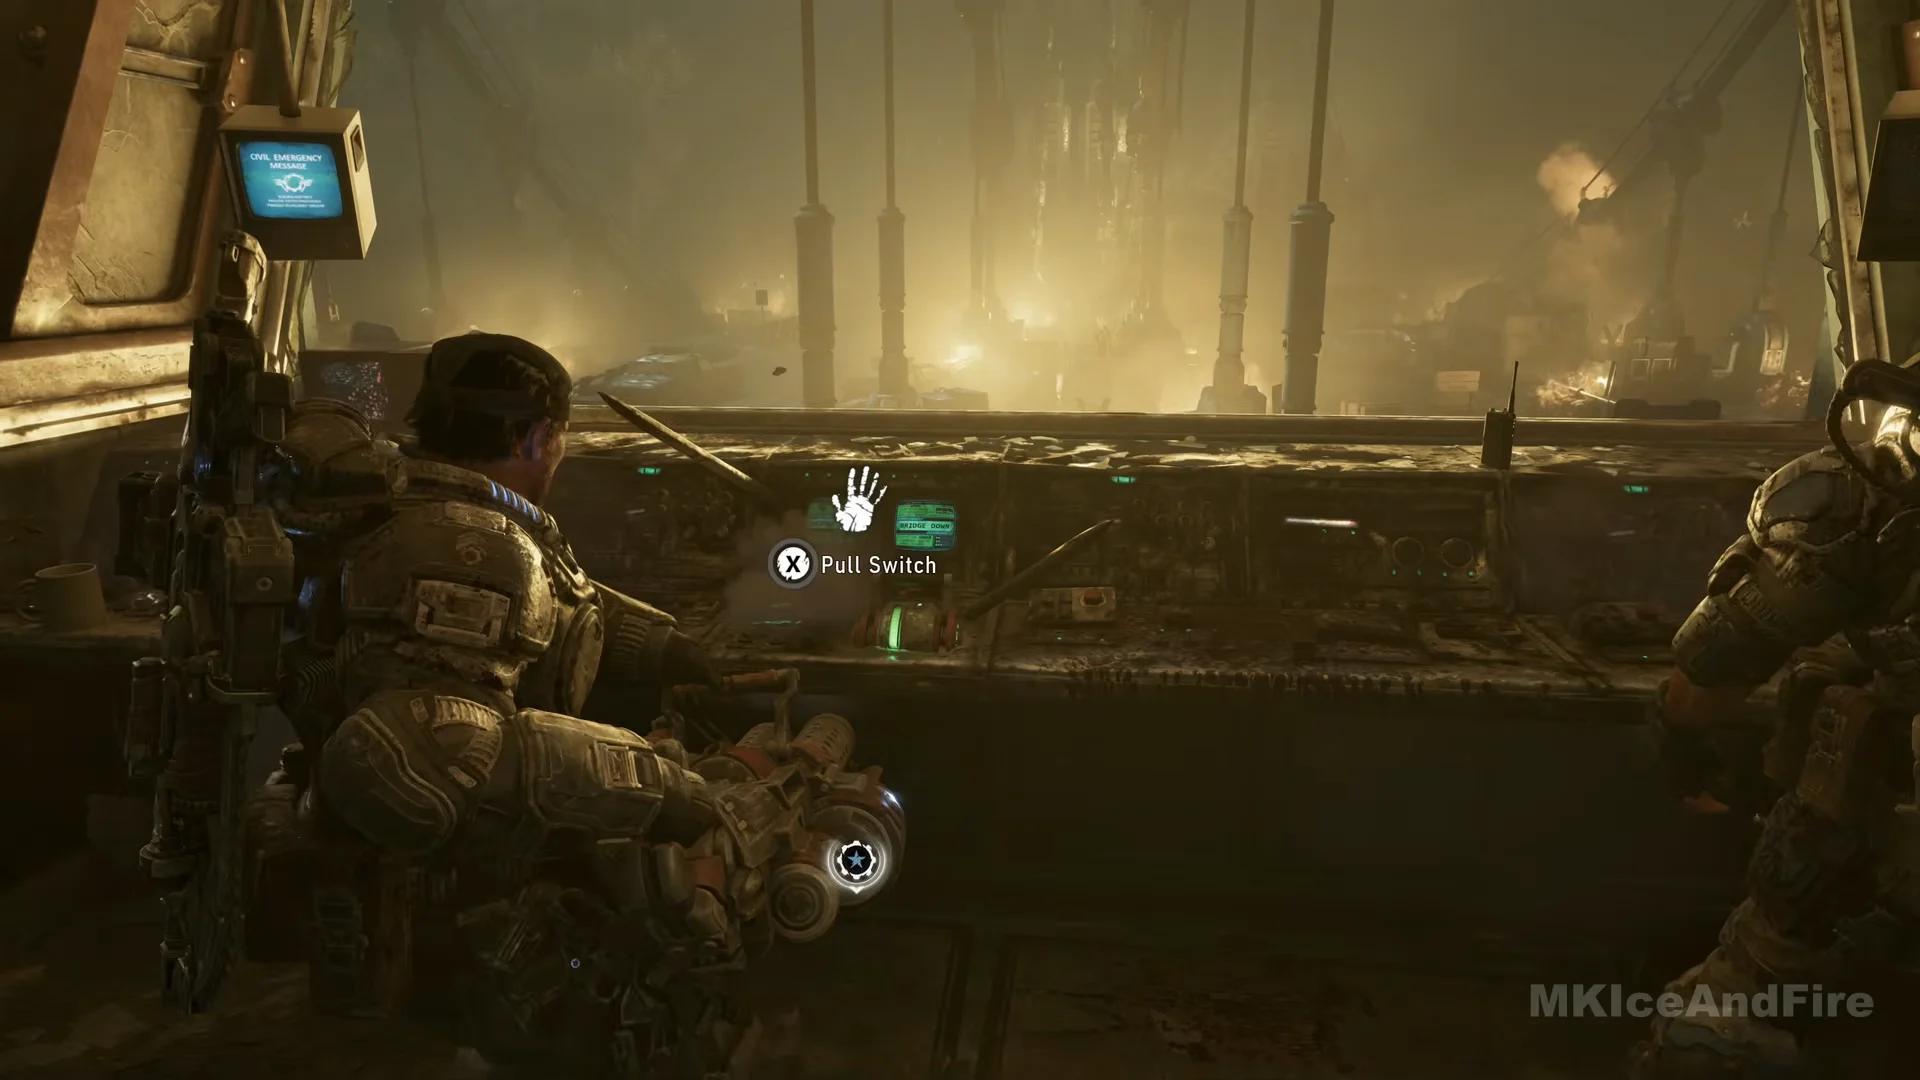
Kick open the ornate metal double doors, go up the steps, and pass the barred gate to hit a checkpoint. There is an ammo box in the corridor, and any weapon on the floor here shows a crossed circle instead of a pickup prompt while the Troika is in your hands. A battered console runs beneath a broad observation window in the main room, with “EAST CONTROL ROOM” lettering above. At the lever in the middle of the console the prompt reads “Pull Switch” with X. Pull it: the deck outside starts to lift and “Raise the bridge” is struck out.
First Vraahk fight on the deck
About twenty seconds after the switch, the room floods red, alarms sound, and the span stops because it has jammed, and the barred gate you came in through is locked. The objective updates to “Reach the west control room”: go to the broken end of the observation window and drop to the deck. A cutscene follows: Vraahk stands on a burning barricade with a bundle of Imulsion canisters, then jumps down in front of the squad.
This first fight cannot be won. A thin health bar floats over Vraahk, and the fight ends itself in a cutscene once the bar reaches about half. Fight well, but do not expect to drop him here.
Stay at range behind the machinery block and the low concrete block at the near end. He throws canisters that burst into glowing green Imulsion pools, so never stand or take cover in one. When a thin purple line runs from him to you, he is lining up a spike shot, and you need a solid block in the way.
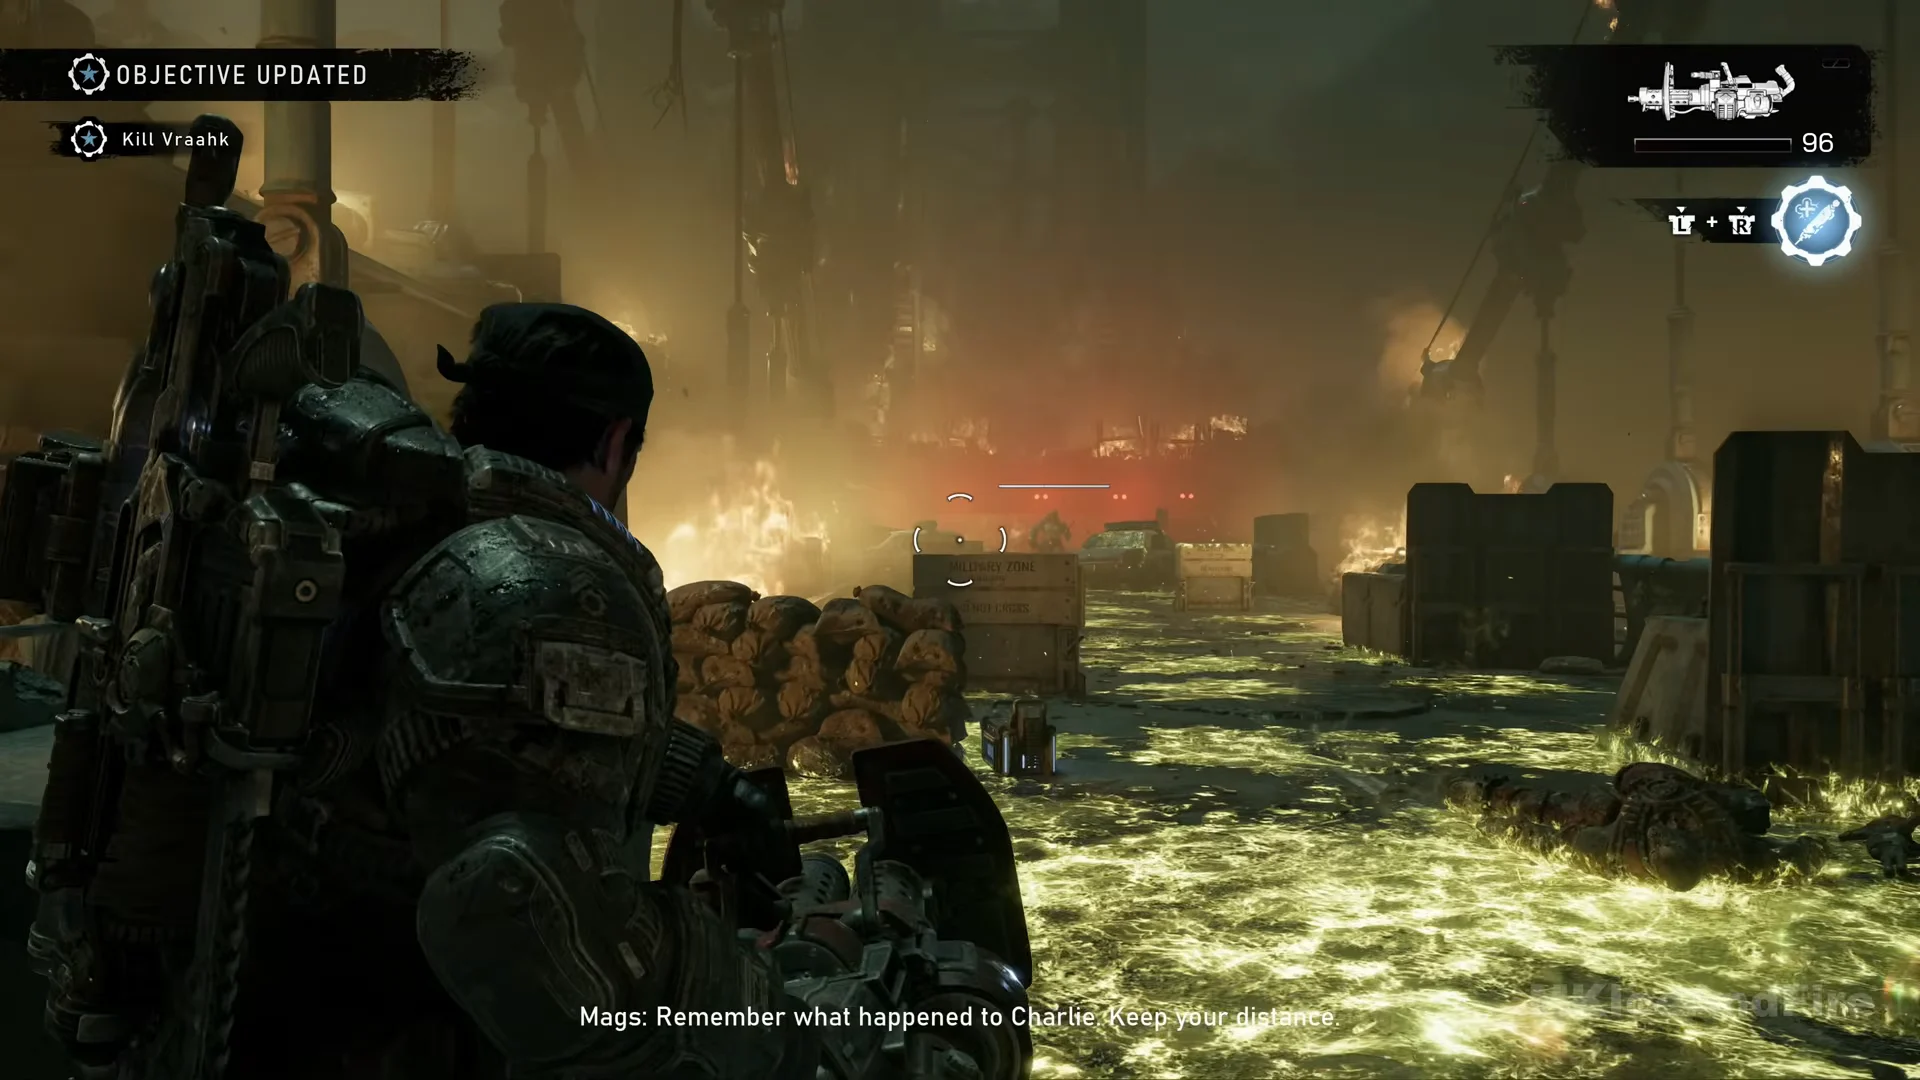
A dependable sequence is to fire the Troika from that first cover until its ammunition is nearly spent, switch to the Gut-Puncher at the central barrier beside the “SPEED LIMIT 30” sign to set him on fire, then use the Prototype Lancer. Vraahk summons Wretches, followed by Tickers, then Locust infantry; deal with any that reach your cover before returning your attention to him. At about half health, a scene plays: Dom runs alone for the detonator, Vraahk pins him under a boot, and Marcus tackles Vraahk away. The squad abandons its control room plan and chooses to destroy the bridge instead.
The run to the detonator
The Gut-Puncher is empty after the fight, so plan to refill it along the way.
Second Vraahk fight
A cutscene takes the squad through the car and drops them to the road beyond, where the detonator is in sight and Vraahk is standing in front of it. The objective reads “Kill Vraahk” again and “SUPPLY CACHE NEARBY” appears. His health bar is back, starting at about half, and this time it can be emptied.
Open with your leftover heavy-weapon rounds straight down the road from the first block, then switch to the Gut-Puncher and fight in a rhythm of firing and ducking. Vraahk walks straight at whoever is hurting him, even while burning, so when he closes in, cross the road or climb onto a walkway and shoot down over the rail. Ammo boxes in the road and on a walkway refill the Gut-Puncher mid-fight.
There are no Wretches or Tickers here, though he throws canisters more frequently. Once the Gut-Puncher displays “NO AMMO,” his health is nearly depleted; a few seconds of Prototype Lancer fire will finish the job. When the bar empties, he falls to his knees, Marcus calls for the detonator, and a checkpoint activates. That checkpoint marks the end of the fight; the chapter’s ending follows.
How the chapter ends
The call to blow the bridge goes to Lucas, and the charges on the cables start to go off. Vraahk gets back up and throws Marcus down, Marcus reaches his Lancer and brings the chainsaw up through Vraahk’s right arm, and the deck blows apart. Vraahk falls with the wreckage, Marcus catches the broken edge, and Dom and Mags haul him back up.
At sunrise, civilians and Gears board the ship, and Mayor Shaw and Captain Grey meet Bravo. The ship is bound for Port Farrall and Bravo is stood down. A King Raven then arrives and Gill, Tai, and Zee step off, with Zee alive and Lucas handing back his COG tags. Marcus and Dom watch Kalona burn from the rail before the screen cuts to the “GEARS OF WAR E-DAY” title card and the credits.
Collectibles in The Fall of Kalona
The chapter’s War Journal entry lists 3 collectibles. The COG Tags of Sergeant Alton Hau are one, picked up on this route at the toll booth. Another tile in the chapter row is titled COG Tags of Sergeant Bryce Valen. Separately, Carlos Santiago’s COG Tags and Photo is awarded automatically: during the credits, a bottom-right notification reads “Carlos Santiago’s COG Tags and Photo Found!” and there is nothing to collect manually. For collectibles outside this route, use a dedicated collectibles guide.
Common questions
- Can the bridge actually be raised? The switch starts it lifting, but it jams on its own about twenty seconds later, and the chapter moves on to the detonator instead.
- Does the timer below the ammo counter impose a time limit? No. It tracks the injector’s cooldown, which lasts about 45 seconds, and keeps running outside boss fights too.
Work heavy weapons into the fights in order and keep moving out of the green Imulsion pools, and the final chapter stays manageable from the upper deck all the way to the detonator.