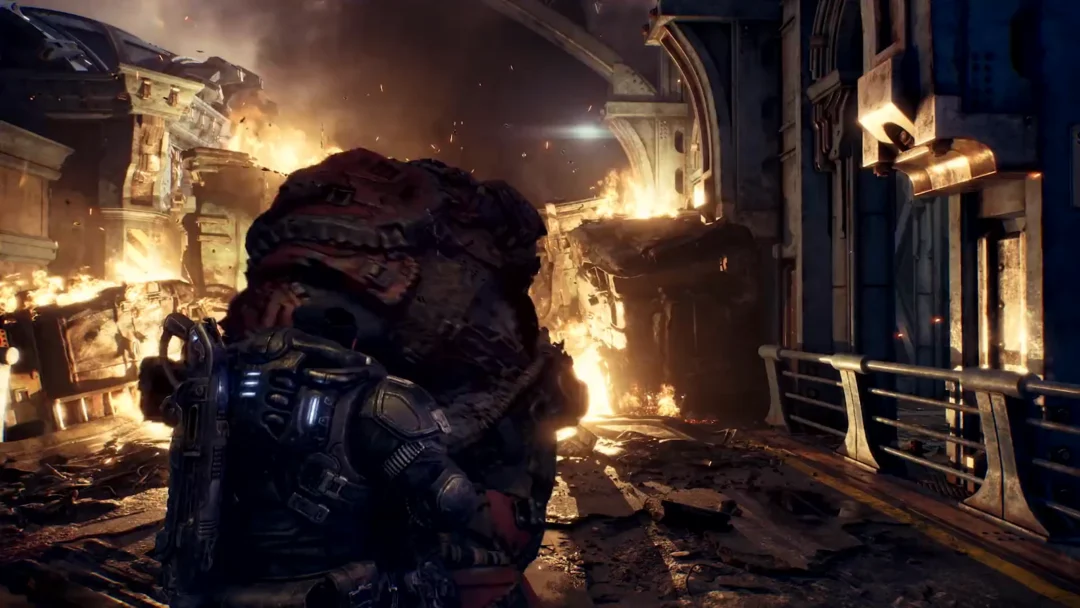
Once Bravo Squad reaches the first open district in Gears of War: E-Day, the fastest way to find everything hidden in the streets is to lean on two built-in tools: Tac-Com and the map. One points you at nearby items in the world, the other lays out the whole district with a legend. Used together, they turn a messy sweep into a short checklist.
Quick answer: Hold LB to bring up Tac-Com, which shows your objective and markers for nearby items, then press the View button to open the district map with its legend and collectibles counter.
Hold LB for Tac-Com
Press and hold LB to switch on Tac-Com. The picture drains to grey, and your current objective is written across the top left, something like “Investigate the muster point” or “Get Mags’ meds.” A round star marker hangs over where you need to go, with the distance printed above it in metres and a small arrow beneath. Walk toward it and the number drops.
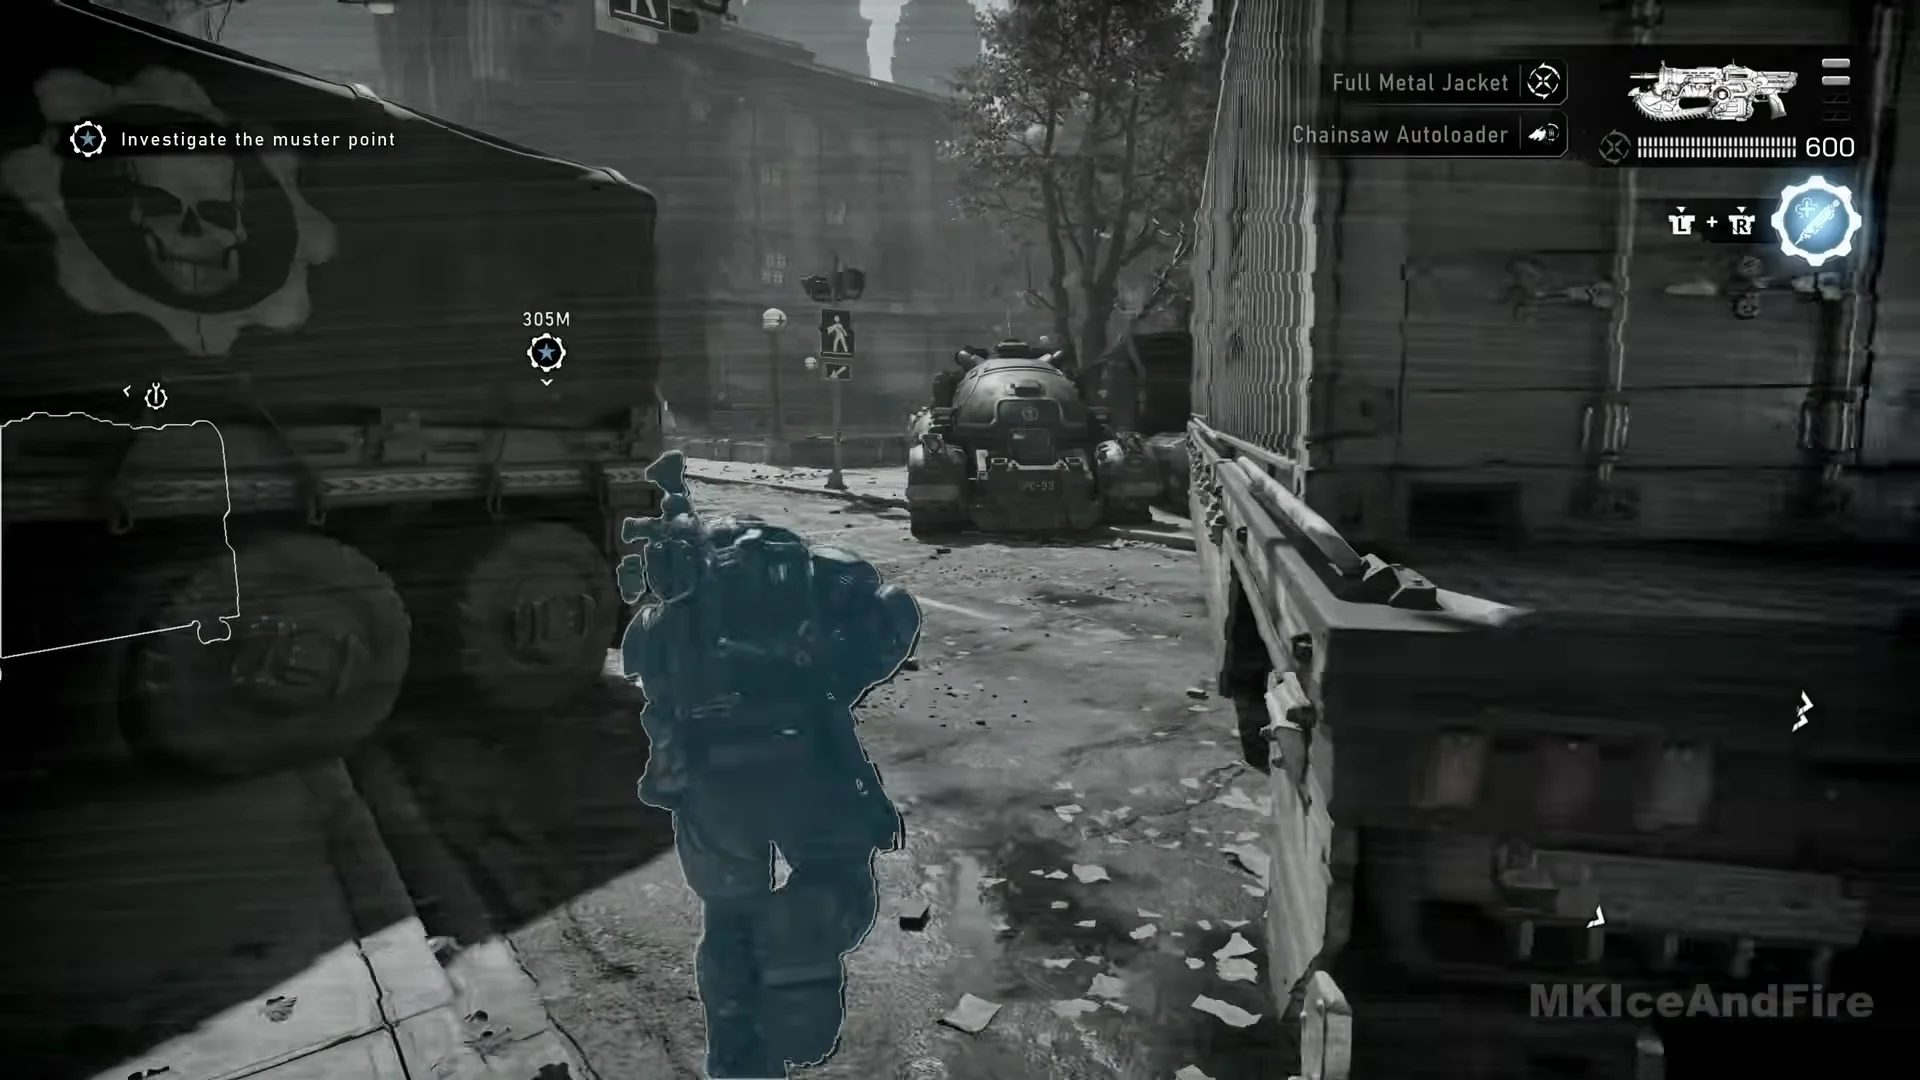
Tac-Com identifies more than your objective. Nearby Supply Caches, Hard Cases and collectibles receive markers of their own while you hold LB. White symbols along the screen margins indicate off-screen items; a wrench set inside a cog denotes a Supply Cache.
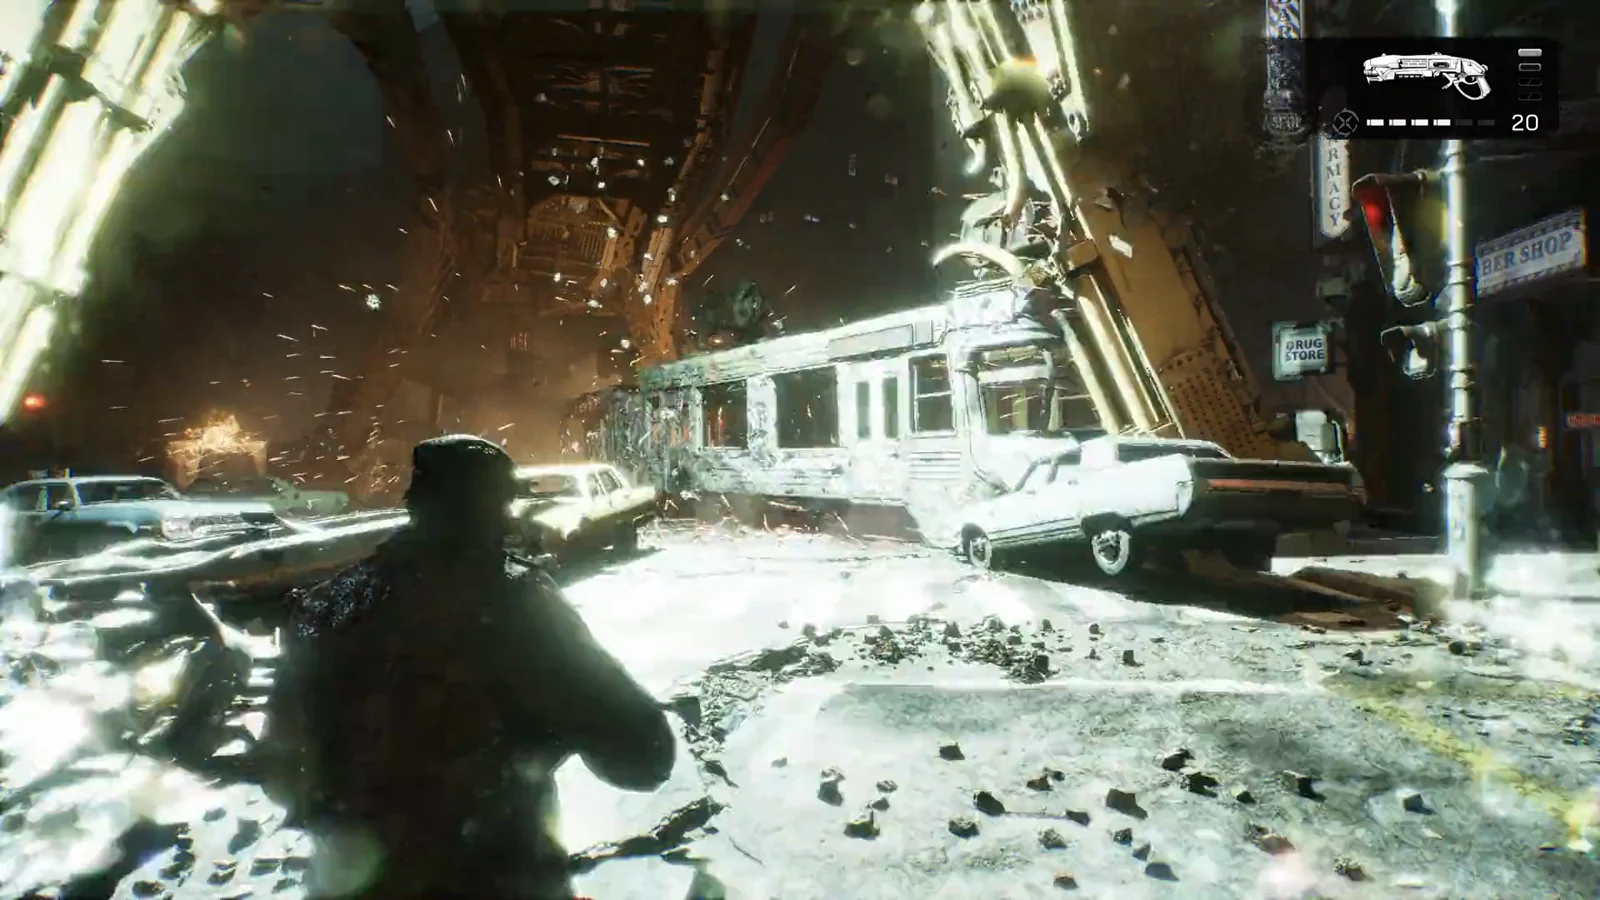
Your allies appear in the display as well: Marcus and the rest of your team are rendered as blue outlines, visible through smoke and walls. At the upper right, beside your weapon, Tac-Com names the mods installed on the gun you’re carrying—for example, “Full Metal Jacket” and “Chainsaw Autoloader” for the Prototype Lancer, or “Shaped Charge” for the Gut-Puncher.
The view only lasts while you hold LB. Let go and the colour comes back, so keep the button down while you scan the street.
Open the district map with the View button
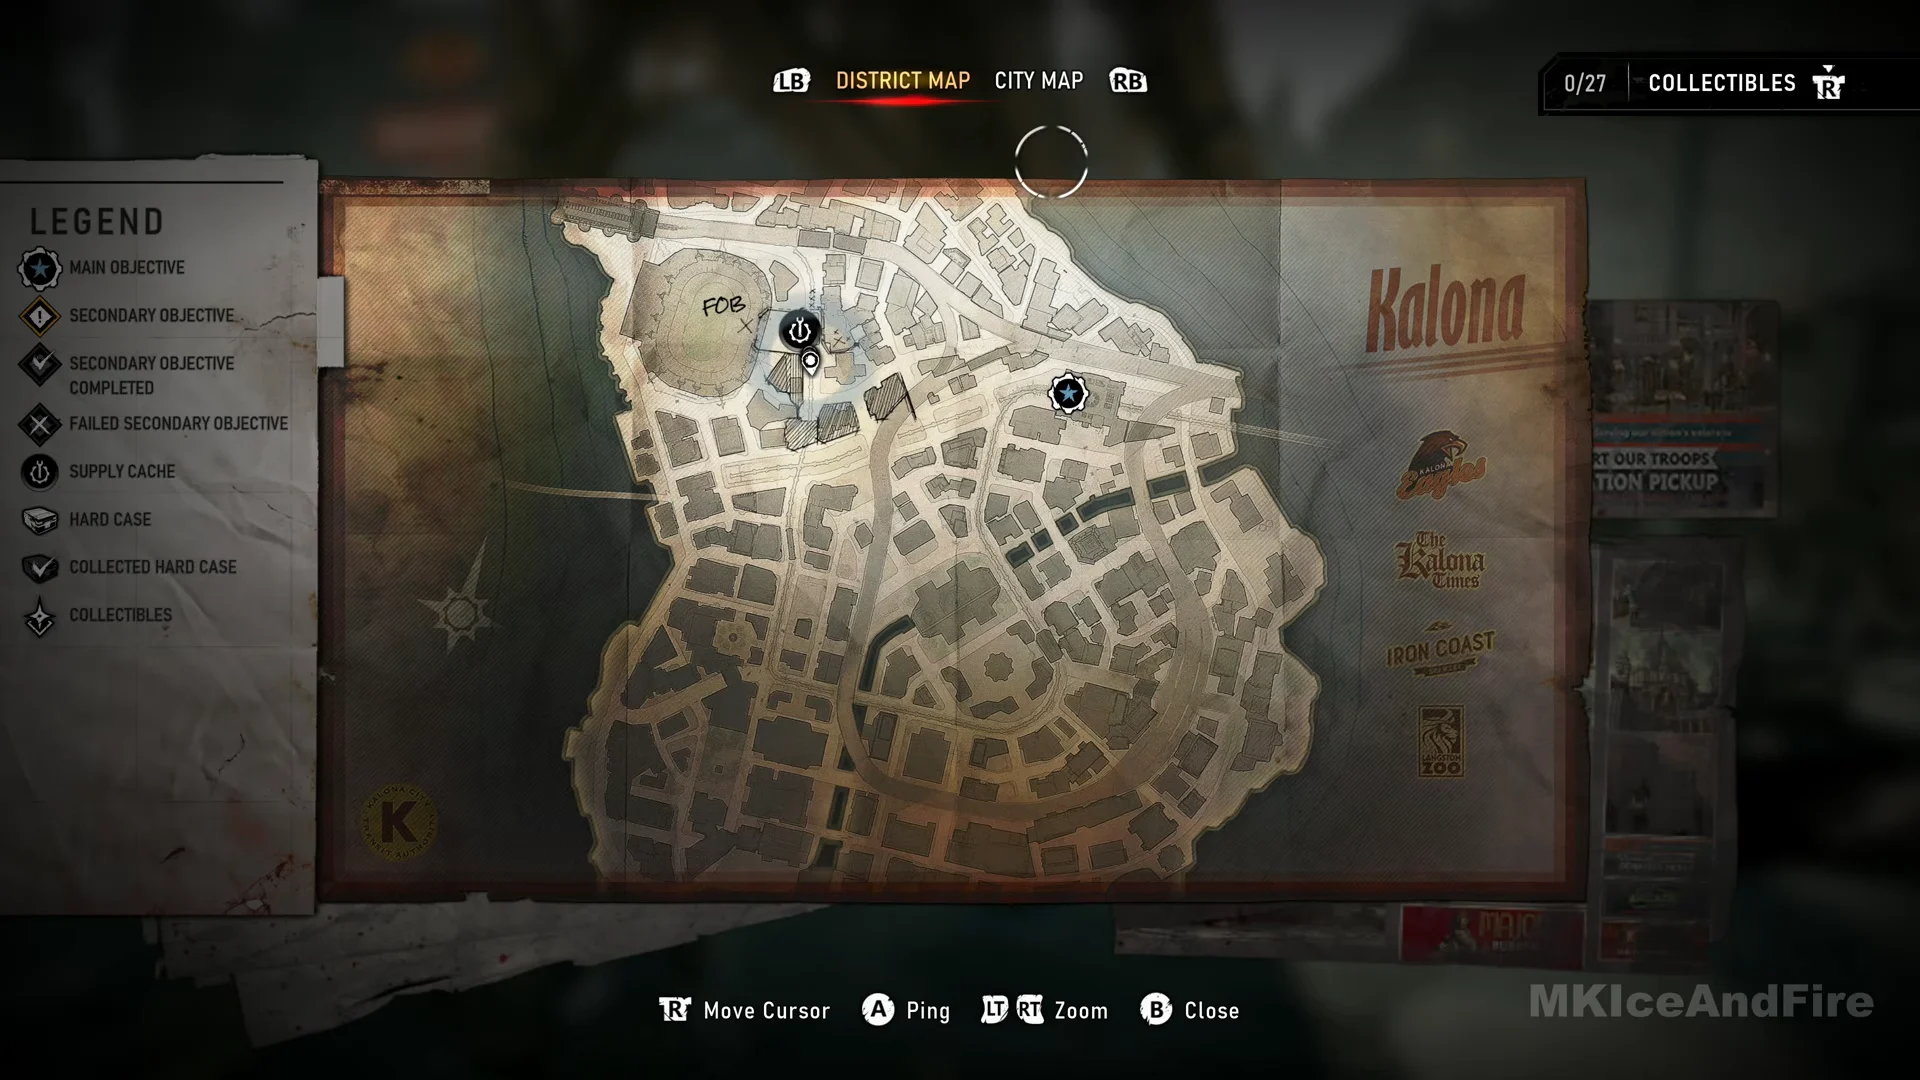
Tabs at the top switch between LB DISTRICT MAP and RB CITY MAP. The bottom bar holds the controls: right stick to Move Cursor, A to Ping, LT and RT to Zoom, and B to Close. Zoom all the way out and a LEGEND panel appears on the left, listing eight entries in order: MAIN OBJECTIVE, SECONDARY OBJECTIVE, SECONDARY OBJECTIVE COMPLETED, FAILED SECONDARY OBJECTIVE, SUPPLY CACHE, HARD CASE, COLLECTED HARD CASE and COLLECTIBLES.
Reading the icons
| Icon | What it marks |
|---|---|
| Round cog badge with a blue star | Main objective |
| Diamond with an exclamation mark (ticked when done, crossed if failed) | Secondary objective |
| Round dark badge with a wrench in a cog | Supply Cache |
| Small white open crate | Hard Case |
| Dark badge with a tick | Collected Hard Case |
| Pale four-pointed diamond | Collectible |
Rest the cursor on any icon and a label names it, so a dark wrench badge reads “Supply Cache” when you hover over it.
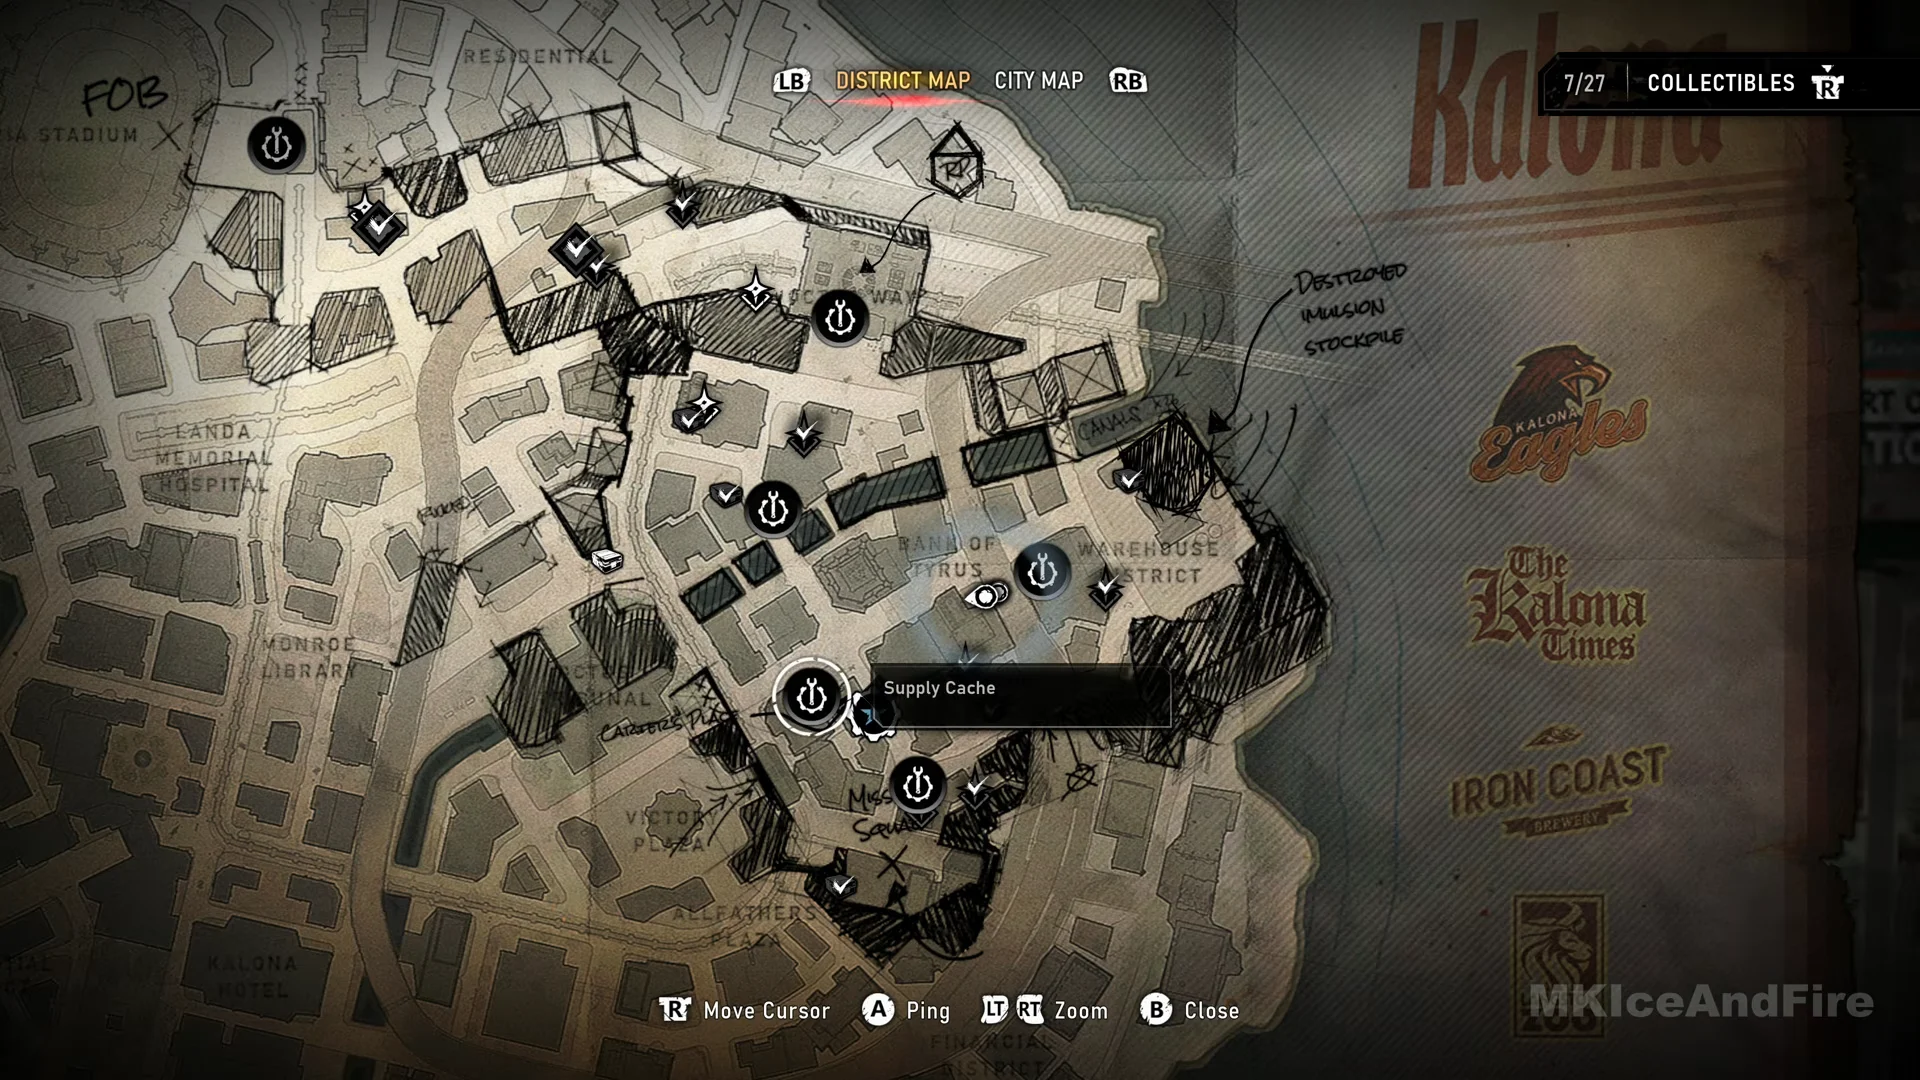
The chapter’s collectibles counter sits at the top right next to the word COLLECTIBLES and a click-right-stick glyph. In Hold the Line it starts at 0/27 and climbs as you pick things up. The counter tracks collectibles only — the map gives no running count of Hard Cases, so you have to eyeball the crate icons yourself.
The icons are not all on the map from the start. Your first look shows little more than the main objective and a single Supply Cache by the stadium; the crates, caches and collectible diamonds appear as you push through the district and reveal each area.
The nearby alerts do the watching for you
Two prompts slide in on the left edge of the screen when something is close. “SUPPLY CACHE NEARBY” arrives with the wrench-in-cog icon, and “HARD CASE NEARBY” arrives with a crate icon. The small glyph after the text is the View button, telling you to open the map, where the item sits right next to your position marker.
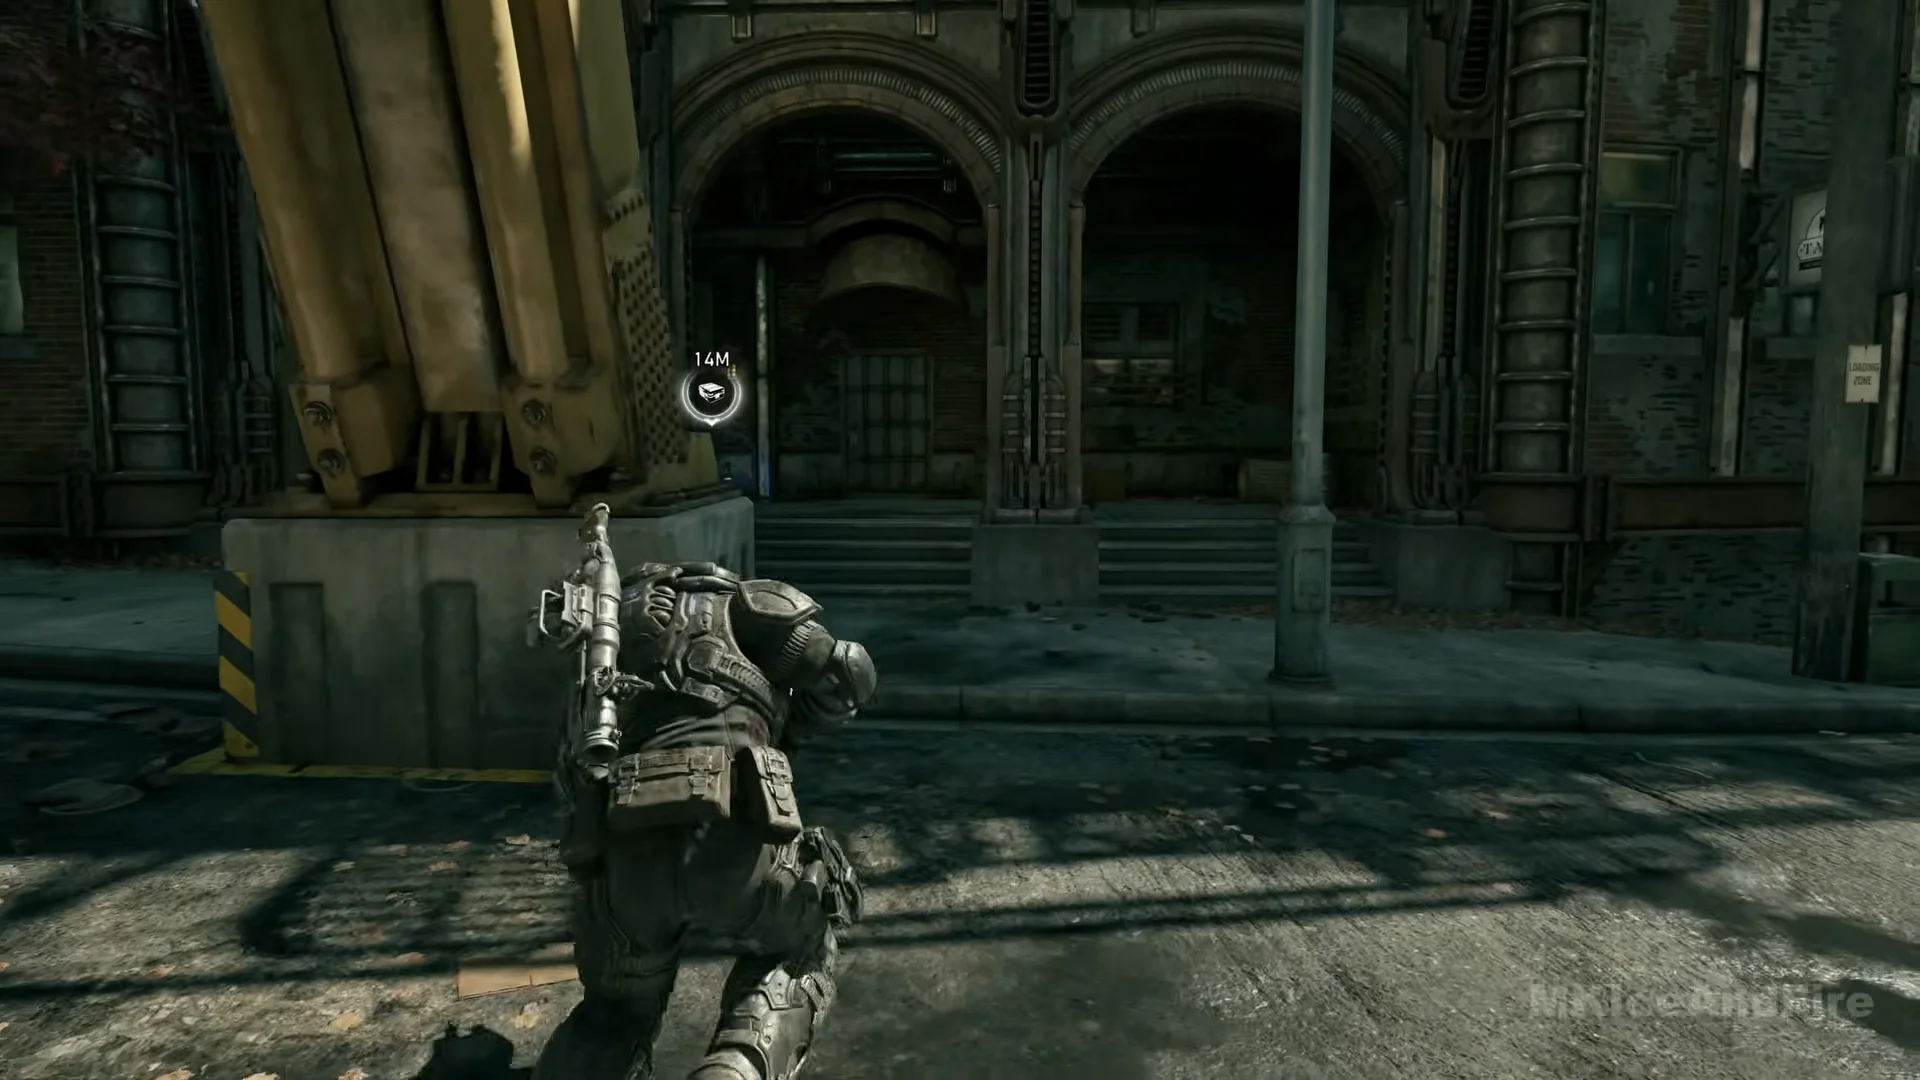
A Hard Case alert also places a white crate symbol and its distance in the world above the case, letting you head straight to it without holding LB.
Once you crack a case open, “HARD CASE EMPTIED” flashes up and its map icon changes to the dark badge with a tick, which is how you tell cleared crates from the ones you still need.
A routine for clearing a district
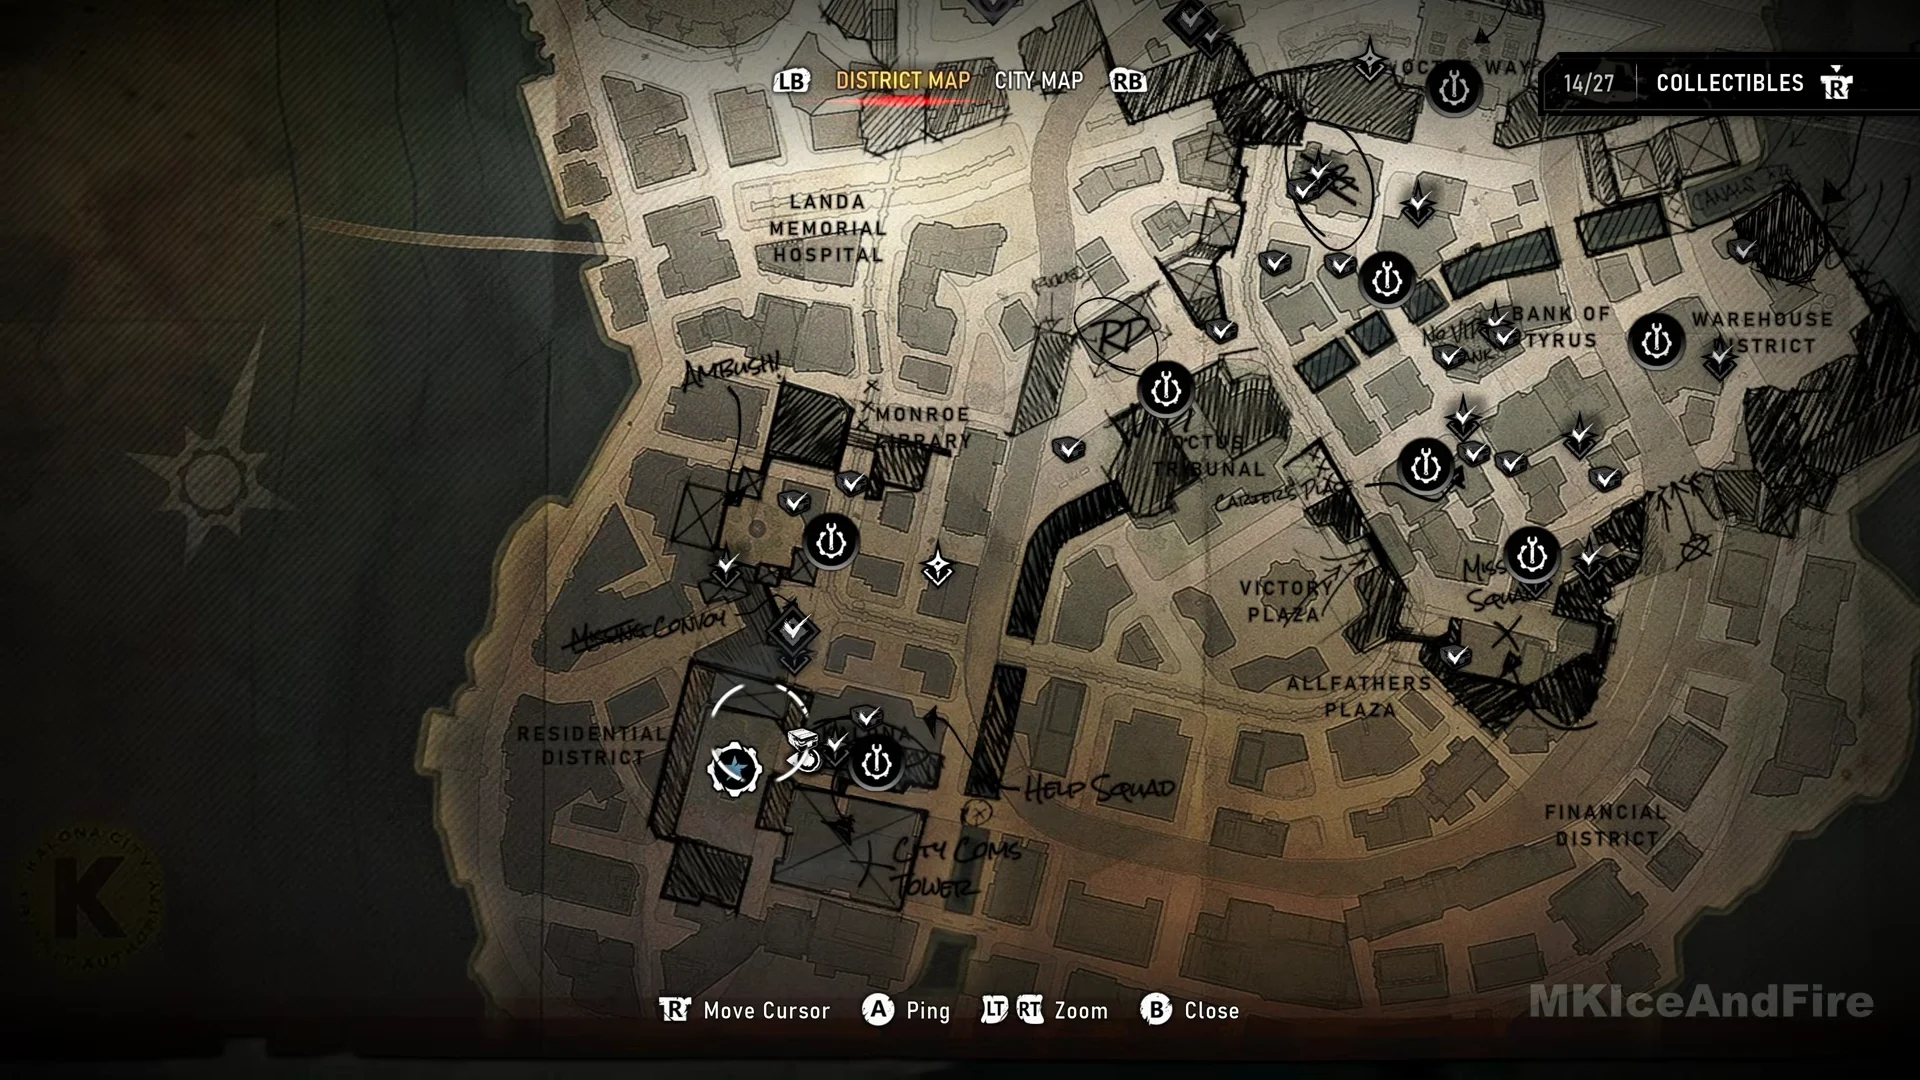
Where the map and alerts appear
The district map with these icons shows up in the open chapters. That means Hold the Line (27 collectibles), Last Foothold (14), Hope and Ruin (13) and Tough as Nails (14). Tac-Com, on the other hand, works everywhere, so you can hold LB for the objective marker and squad silhouettes even in the tighter, linear chapters.
Act 2, Chapter 2, Hold the Line, introduces these features in the game’s first open district. After you exit the stadium, a “VIEWING THE MAP” card appears in the street. Following the first Bilefrog fight, the “TAC-COM” card tells you to hold LB to view your objective and locate Collectibles, Supply Caches and Hardcases. At the beginning of Act 3, Chapter 3, Last Foothold, the map card appears again, with an added reminder to use the map to locate places you have yet to visit. From then on, use both tools to explore Kalona’s hidden corners without guessing.