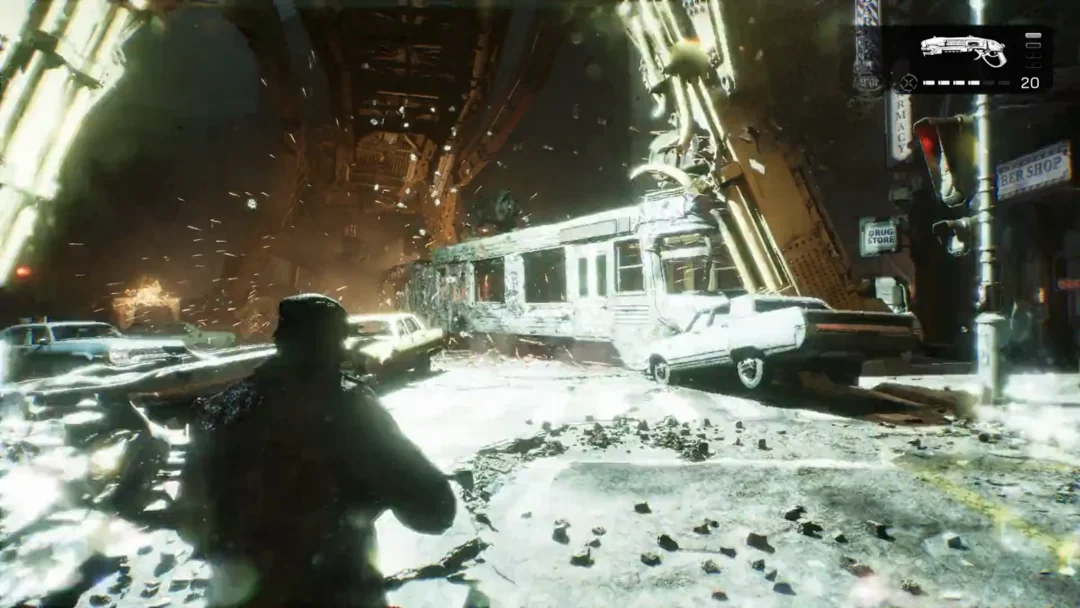
In Gears of War: E-Day, sentries and traps occupy your equipment slot—the grenade position at the top of the weapon wheel. The game supplies them just before a defensive fight, piled on crates behind your line. The challenge is collecting them quickly and setting them during the lull before enemies arrive.
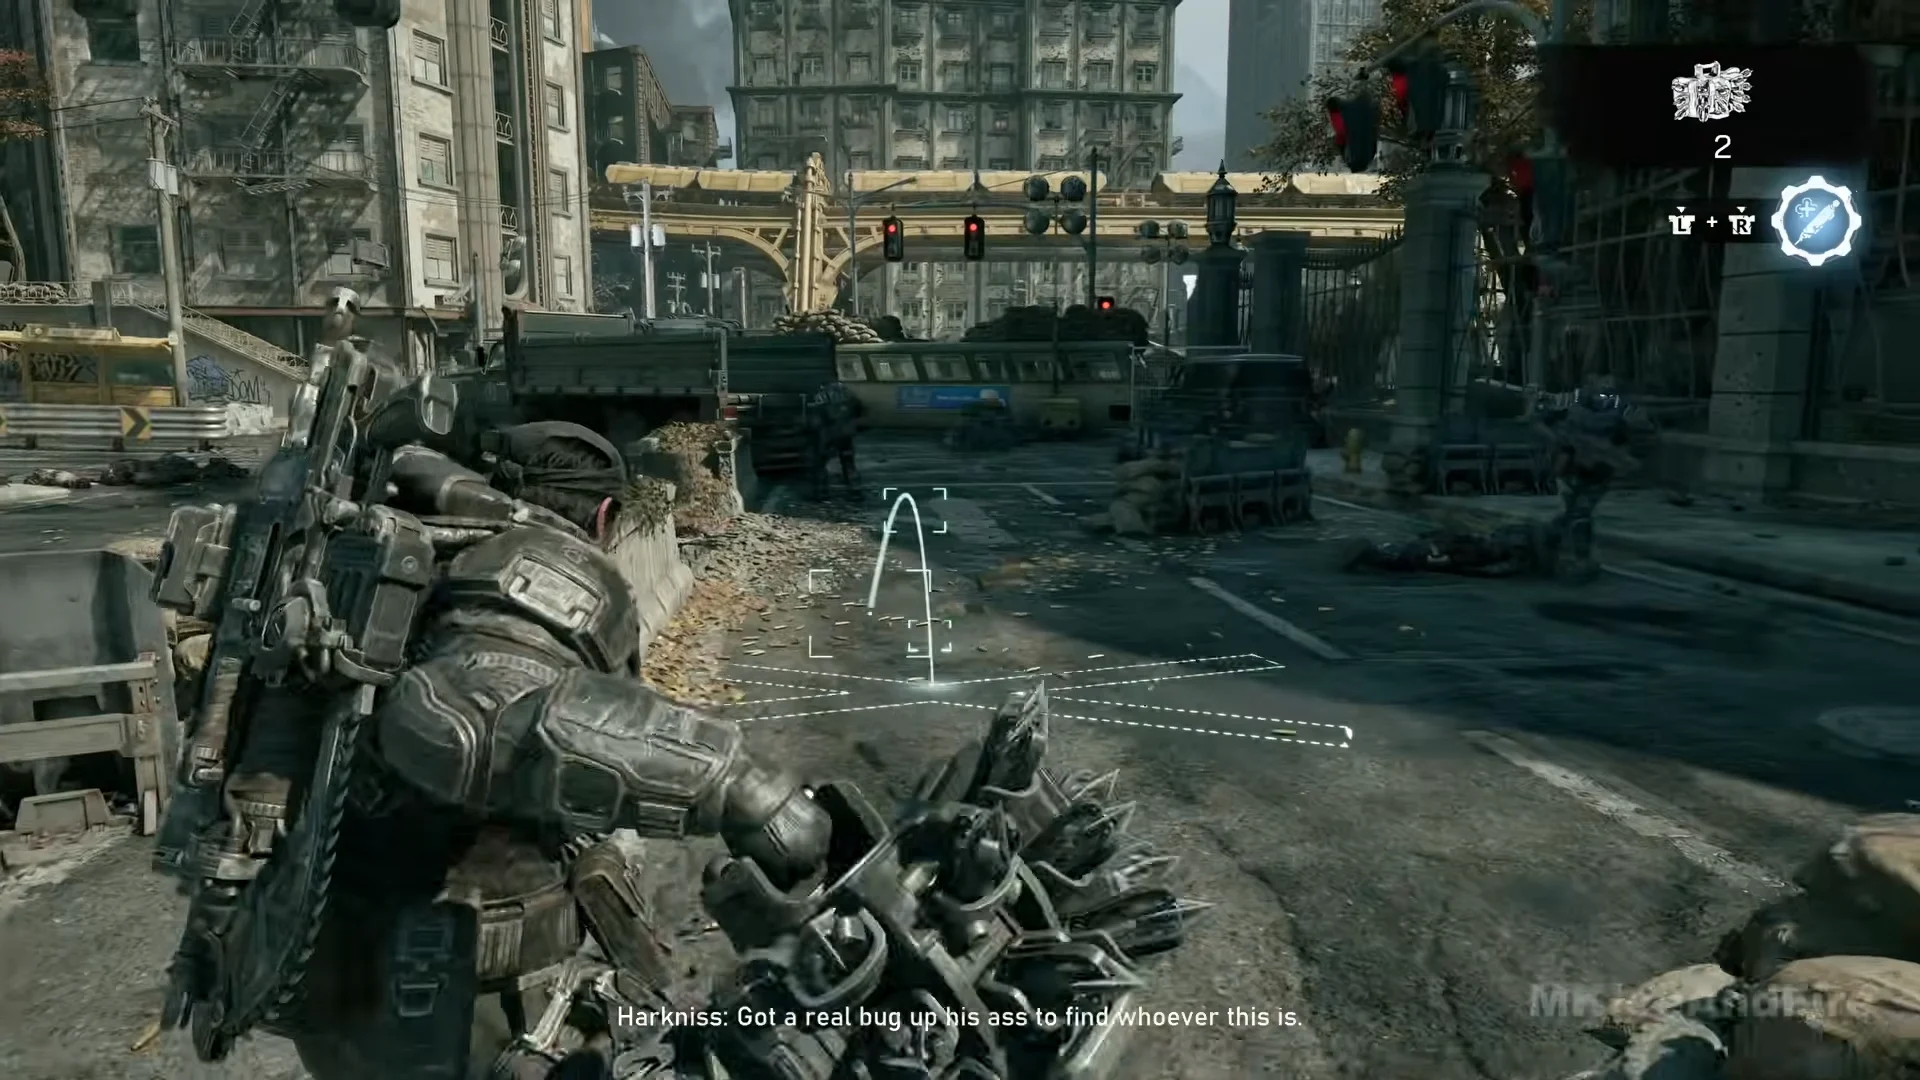
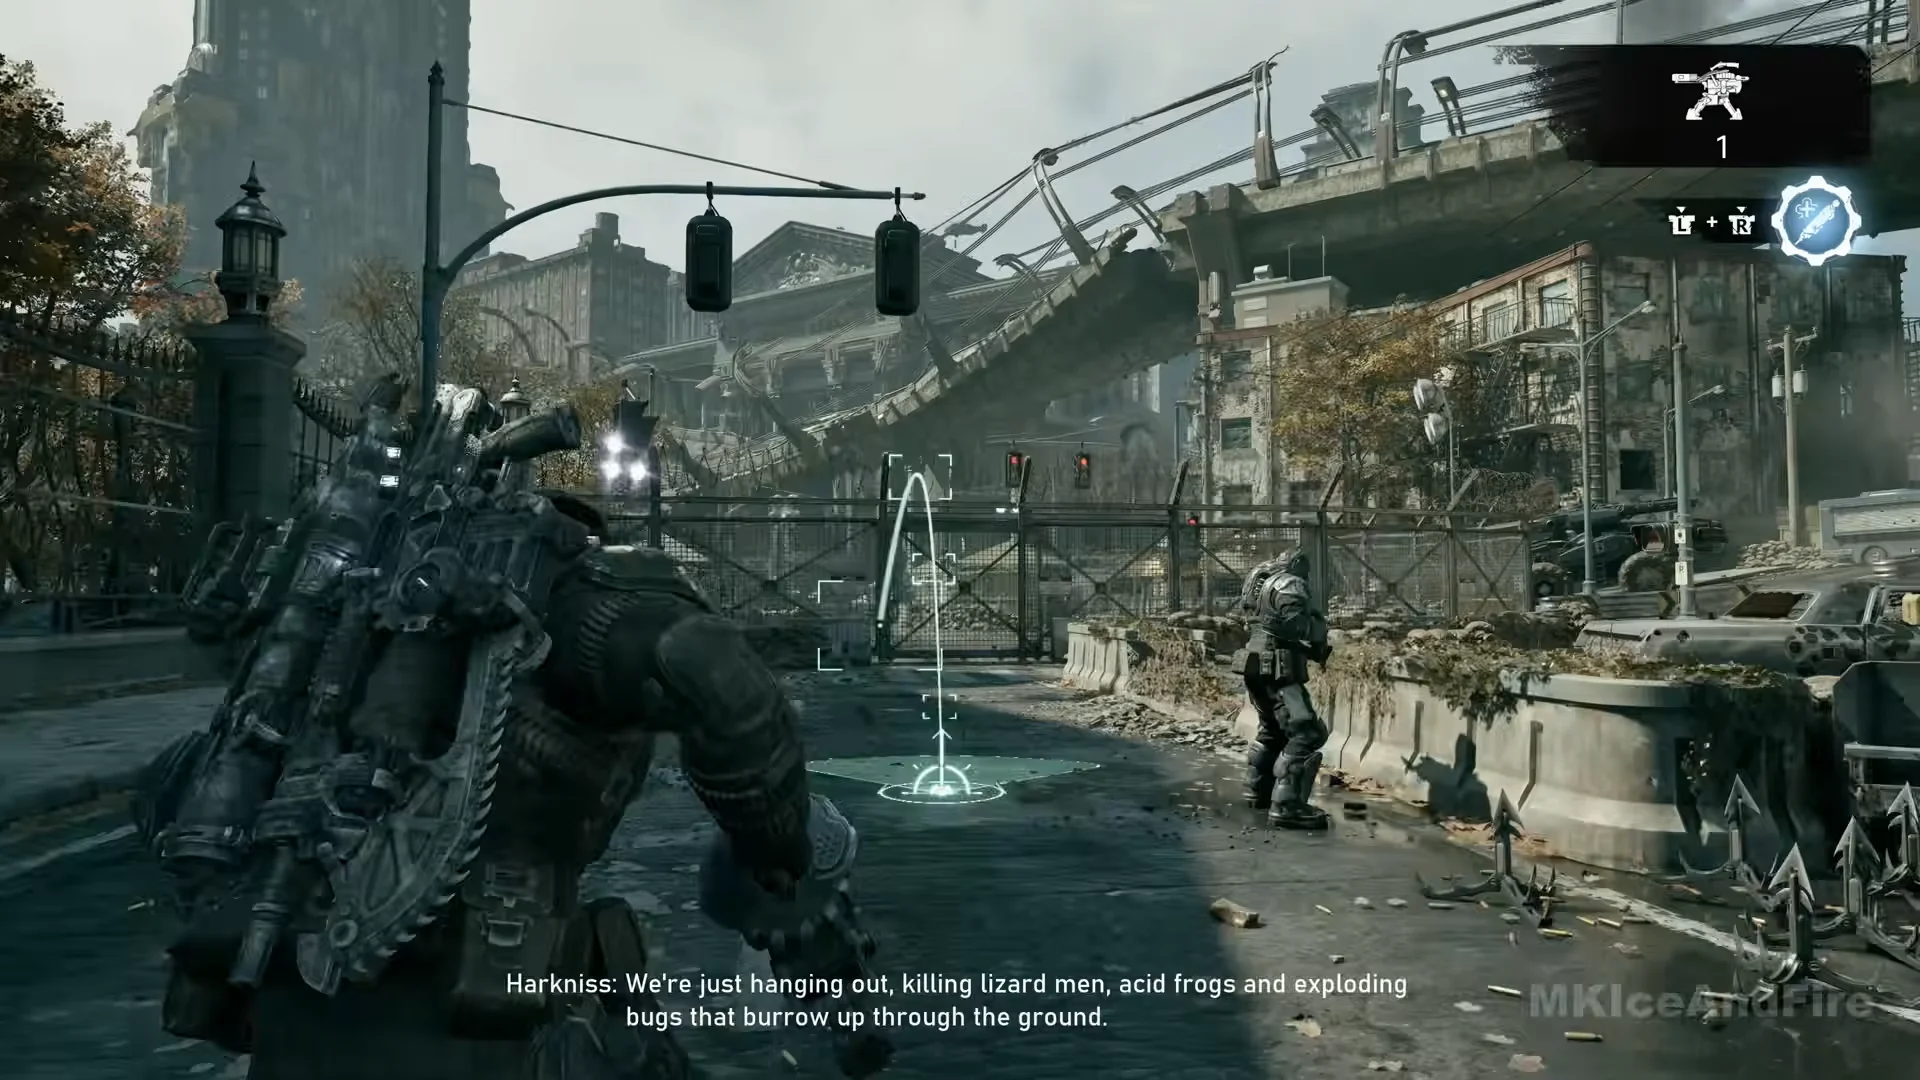
Quick answer: Walk to a crate, press X to take a kit, select it like a grenade, aim the arc at the ground and release to place it. You carry two at a time, and you trade grenades for them while they occupy the slot.
The three deployables and what each one does
All three count as carried gear rather than installed defenses. Vulcan turrets attached to sandbags let you climb in with X and pull them free; these are portable kits you pick up, carry, and position wherever you choose.
| Deployable | Type | What it does |
|---|---|---|
| Machine Gun Sentry | Turret | A fixed-position weapon that keeps up sustained, direct fire on enemies |
| Spike Trap | Barrier | Low spiked barrier laid across a path |
| Mortar Sentry | Turret | Lobs shells on its own; appears late in Act 4 |
The Machine Gun Sentry and Mortar Sentry both fire on their own once placed. The Spike Trap is passive, meant to carpet the lane enemies have to run down. The Mortar Sentry only turns up in Act 4, so for most of the campaign you are working with the first two.
How to pick up and place a sentry or trap
The kits sit on top of supply crates as small models, with the item name floating over an X glyph, so you will see “MACHINE GUN SENTRY” or “SPIKE TRAP” as you walk up. The process is the same for every one of them.
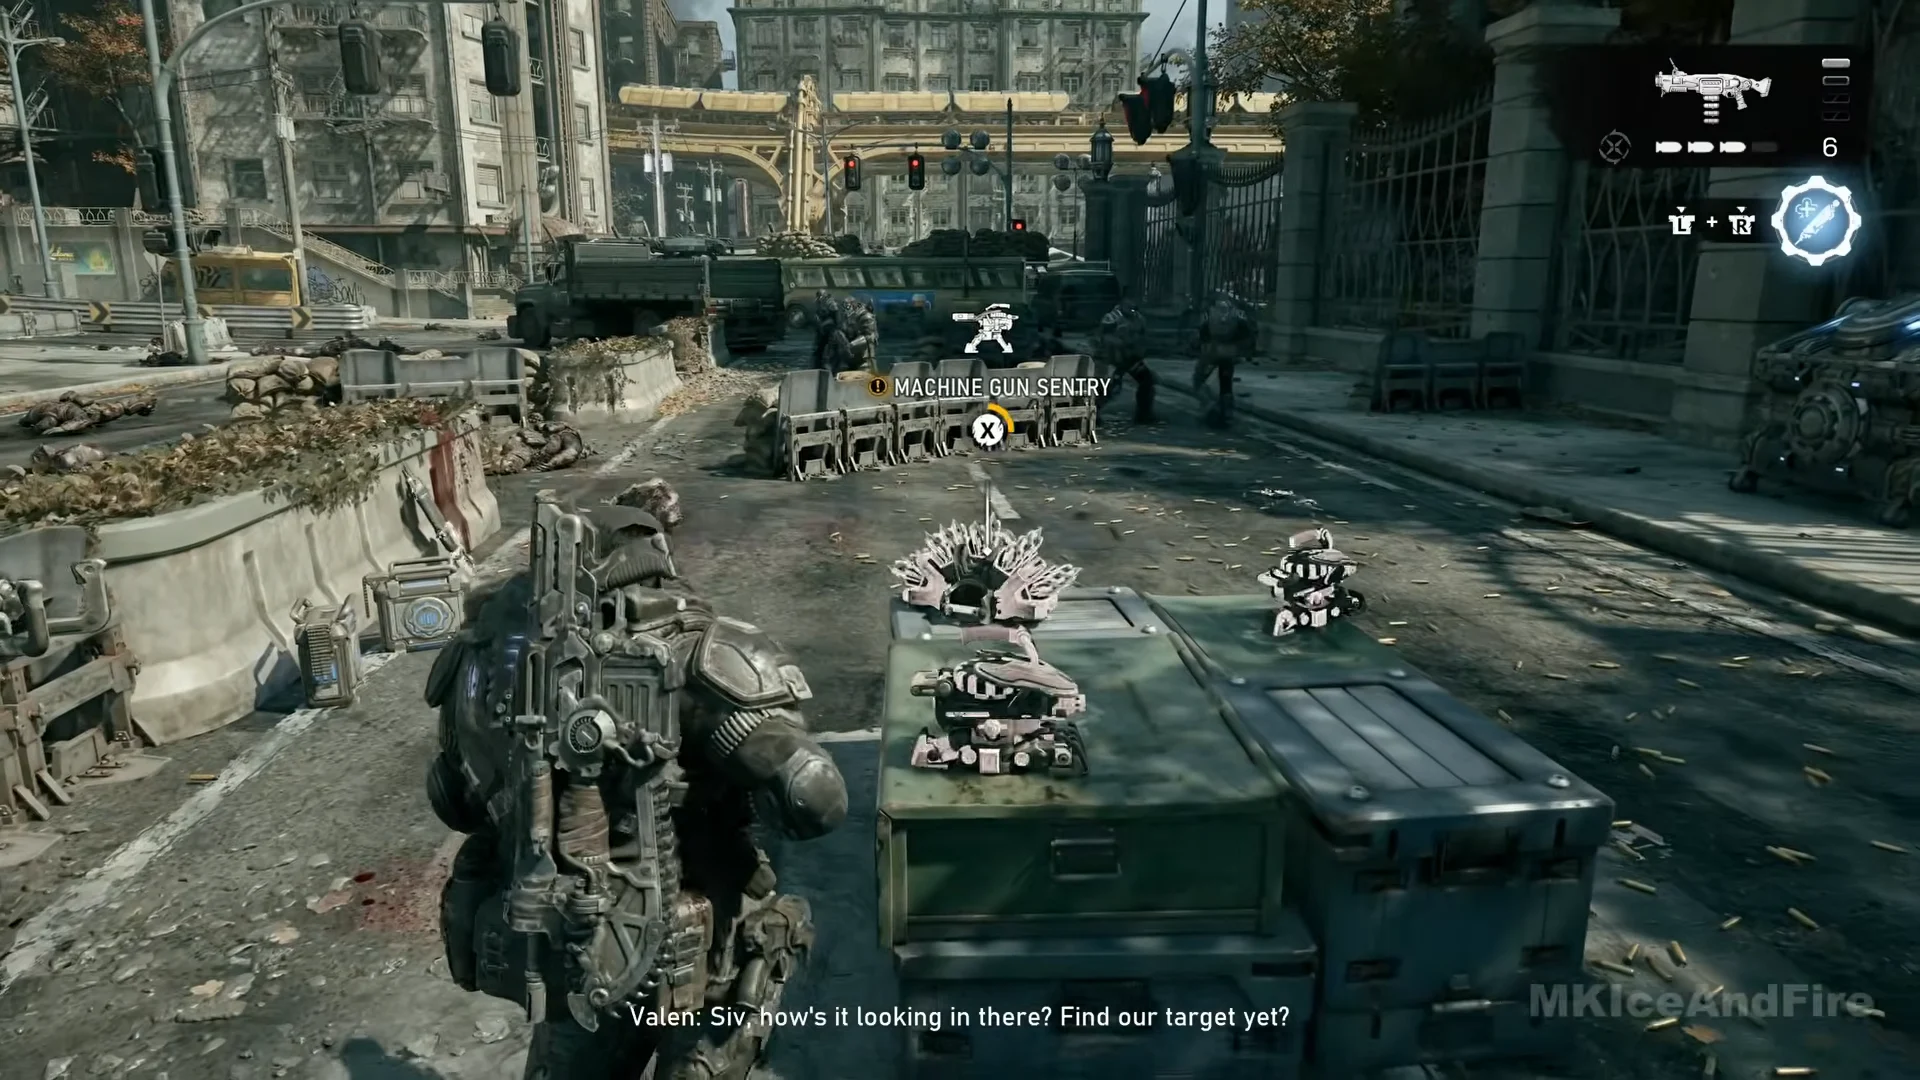
The equipment slot holds one kind of item at a time. The moment a sentry is sitting in it, you have no grenades until you swap back at a crate, a ground pickup or a Supply Cache. At the courthouse crate, a Frag Grenade pickup appears on the ground right after you take the sentry for exactly this reason.
After unlocking a type, you can find it in Supply Caches as well. Open a cache to see the Machine Gun Sentry listed in its EQUIPMENT 1 slot, with a count of 2/2.
The courthouse defence, wave by wave
Your first sentry and first Spike Trap both appear at the courthouse, in Act 2 Chapter 2 HOLD THE LINE, under the objective “Defend the courthouse”. Three waves come up the avenue from under the wrecked overpass, and the green crates sit in the middle of the road behind the barrier line.
Fairlight hangar: no build phase, so grab fast
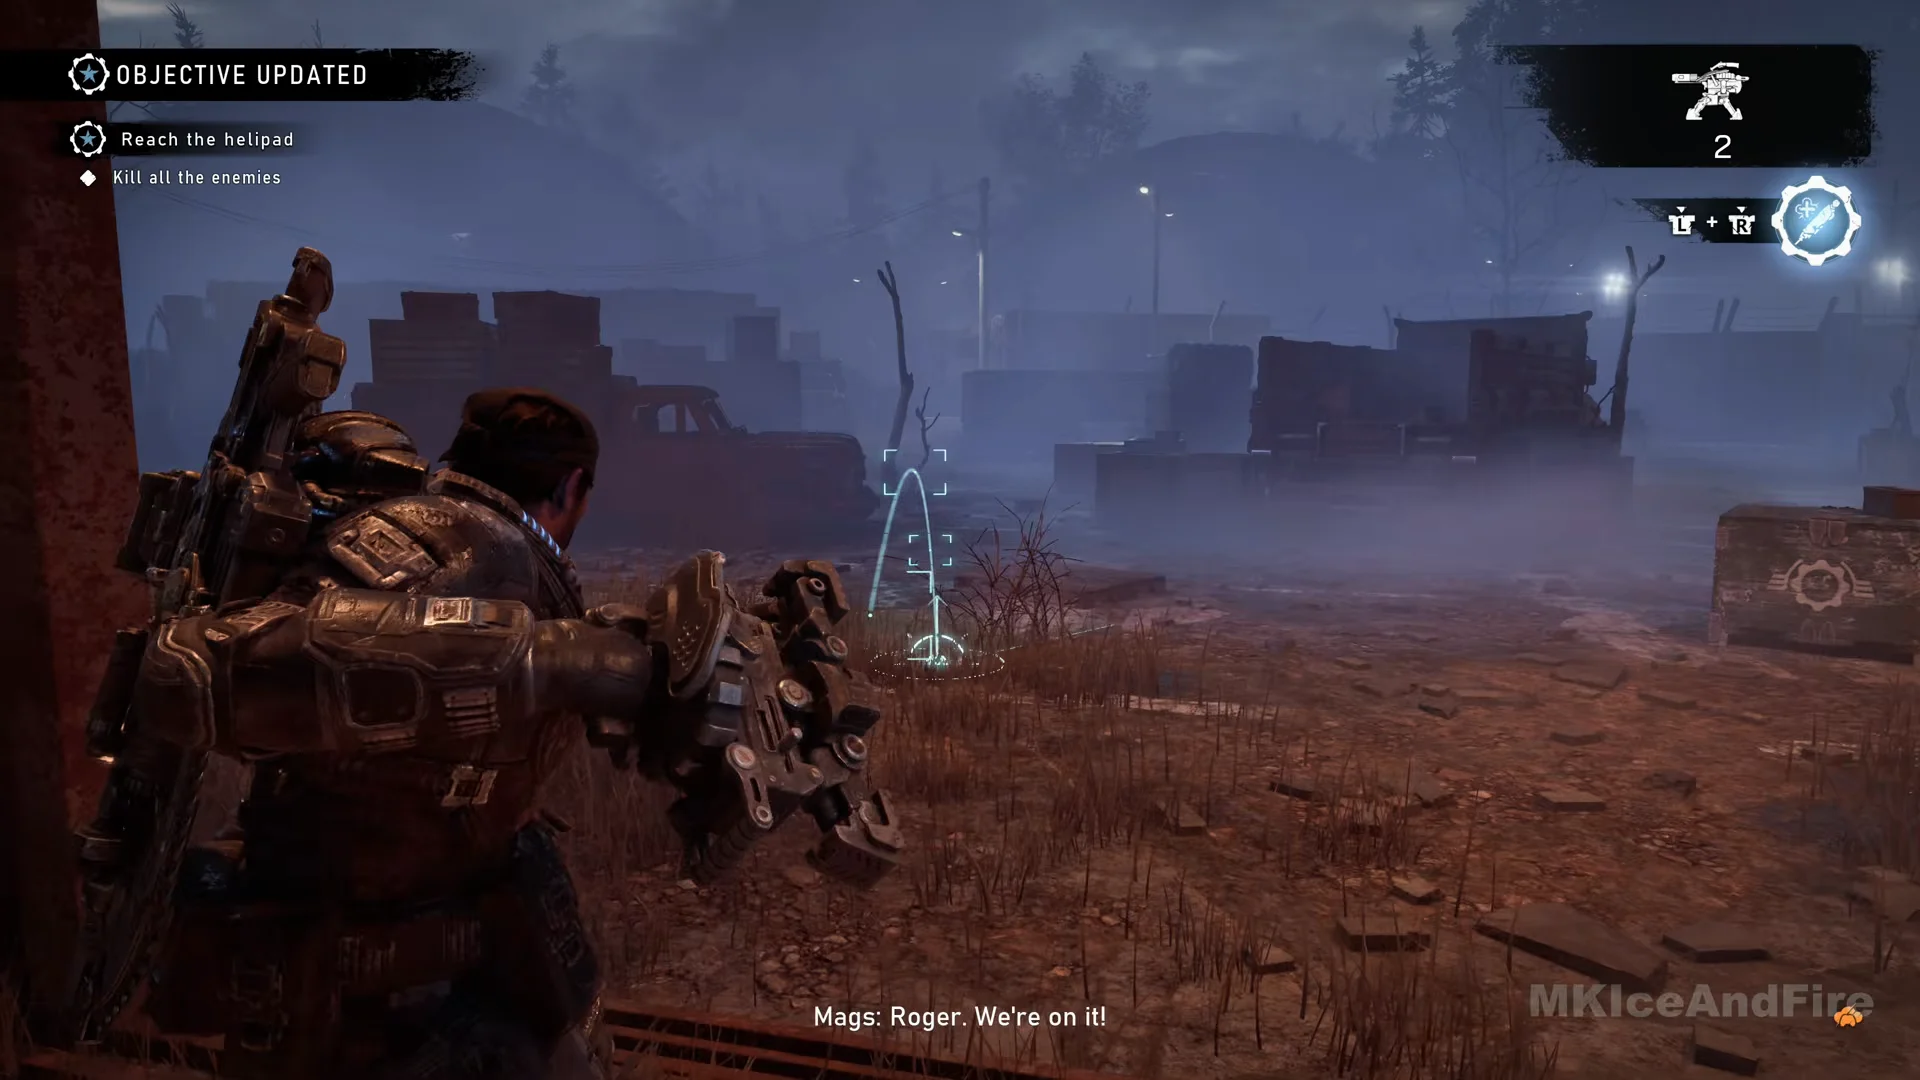
On the route to the helipad in Act 3 Chapter 1 STRANDED, you’ll find ammo in the hangar bay, along with a Machine Gun Sentry on one crate stack and a Spike Trap on another near the door. There’s no formal setup phase here. While you’re still aiming, the objective changes to “Reach the helipad” and the step reads “Kill all the enemies”.
Grab the sentry first and place it facing the yard, then go back for the Spike Trap and lay it on the approach the enemies use. Do it quickly, because the fight starts the moment you are ready.
Power station: carry the kits out to the yard
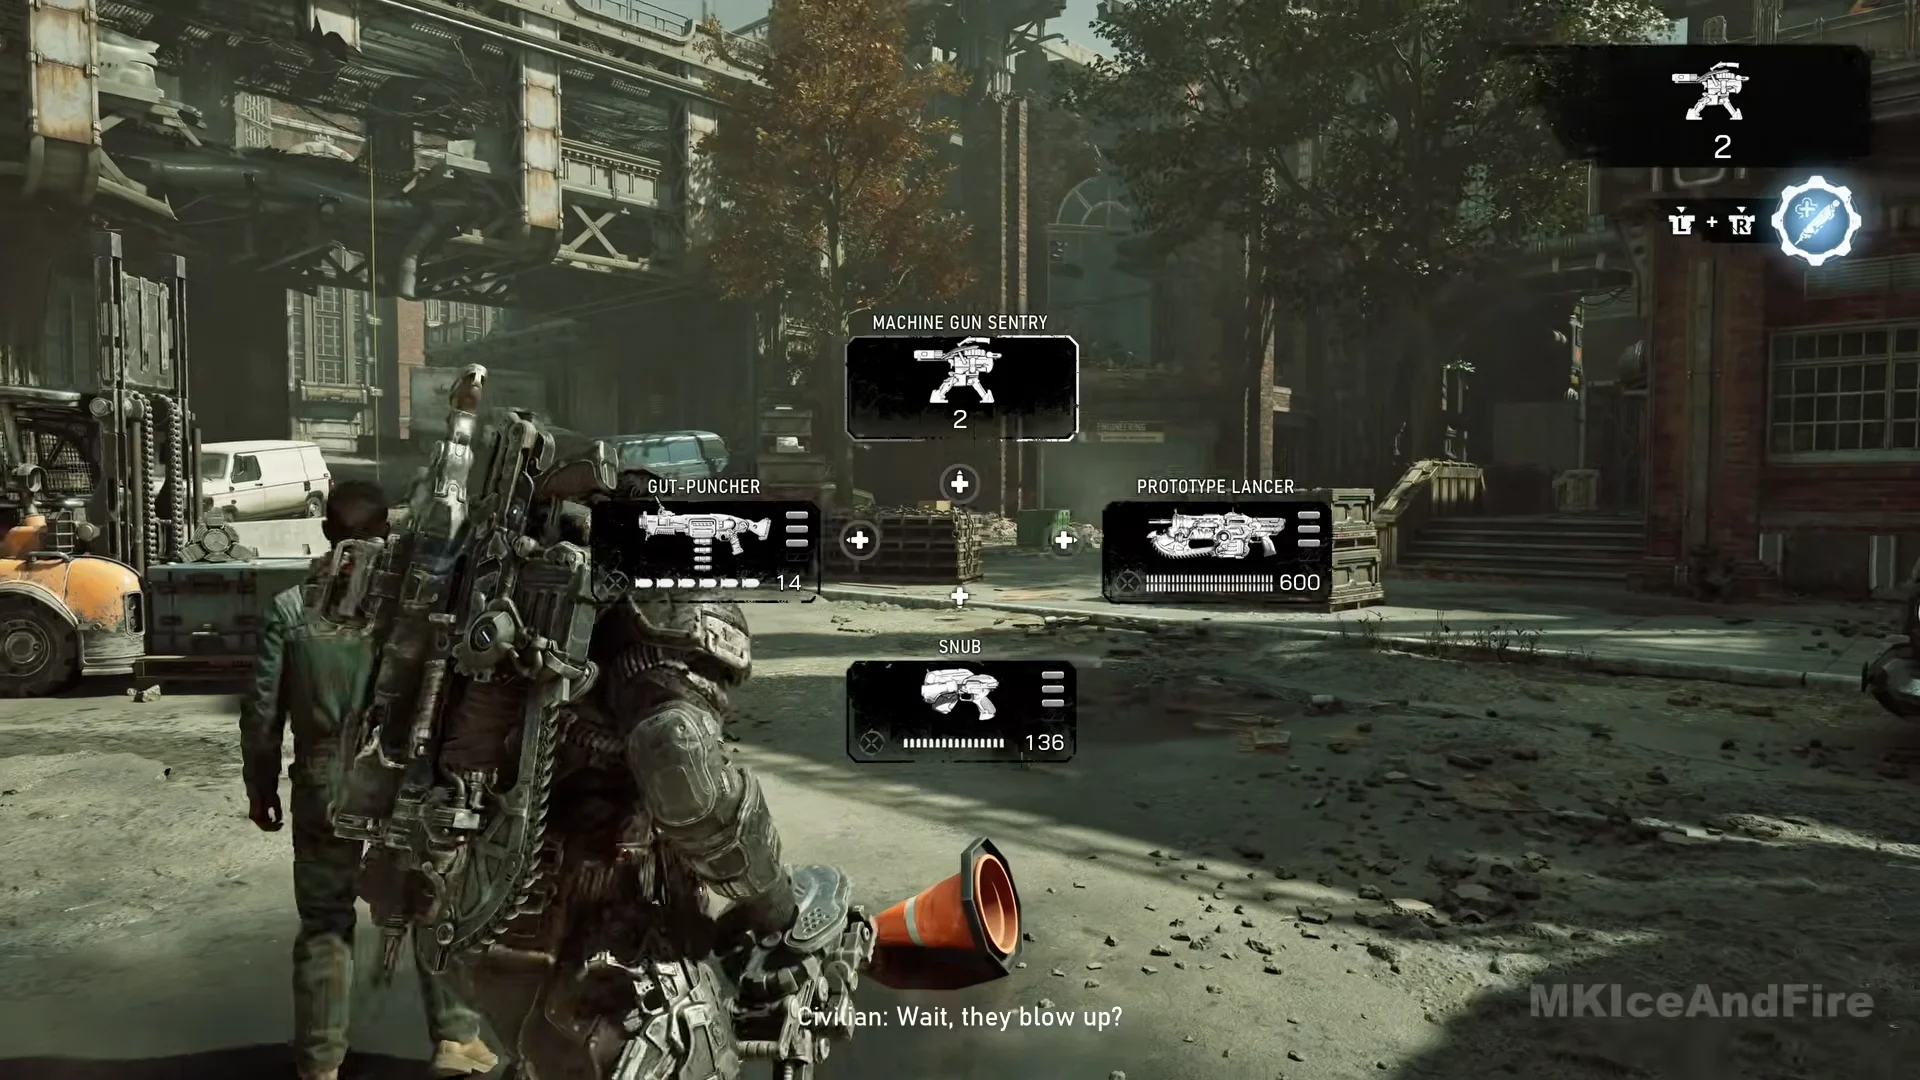
Act 4 Chapter 3 TOUGH AS NAILS puts Machine Gun Sentry kits inside the station, and the civilians ask you to carry them out and place them wherever seems best before the attack. You still move two per trip.
Set them down covering the street and the yard, go back for more while there is time, then take your own position for the fight. This is the same pickup-and-drop loop as the courthouse, just with the crate indoors and the kill zone outside.
The Mortar Sentry in Act 4
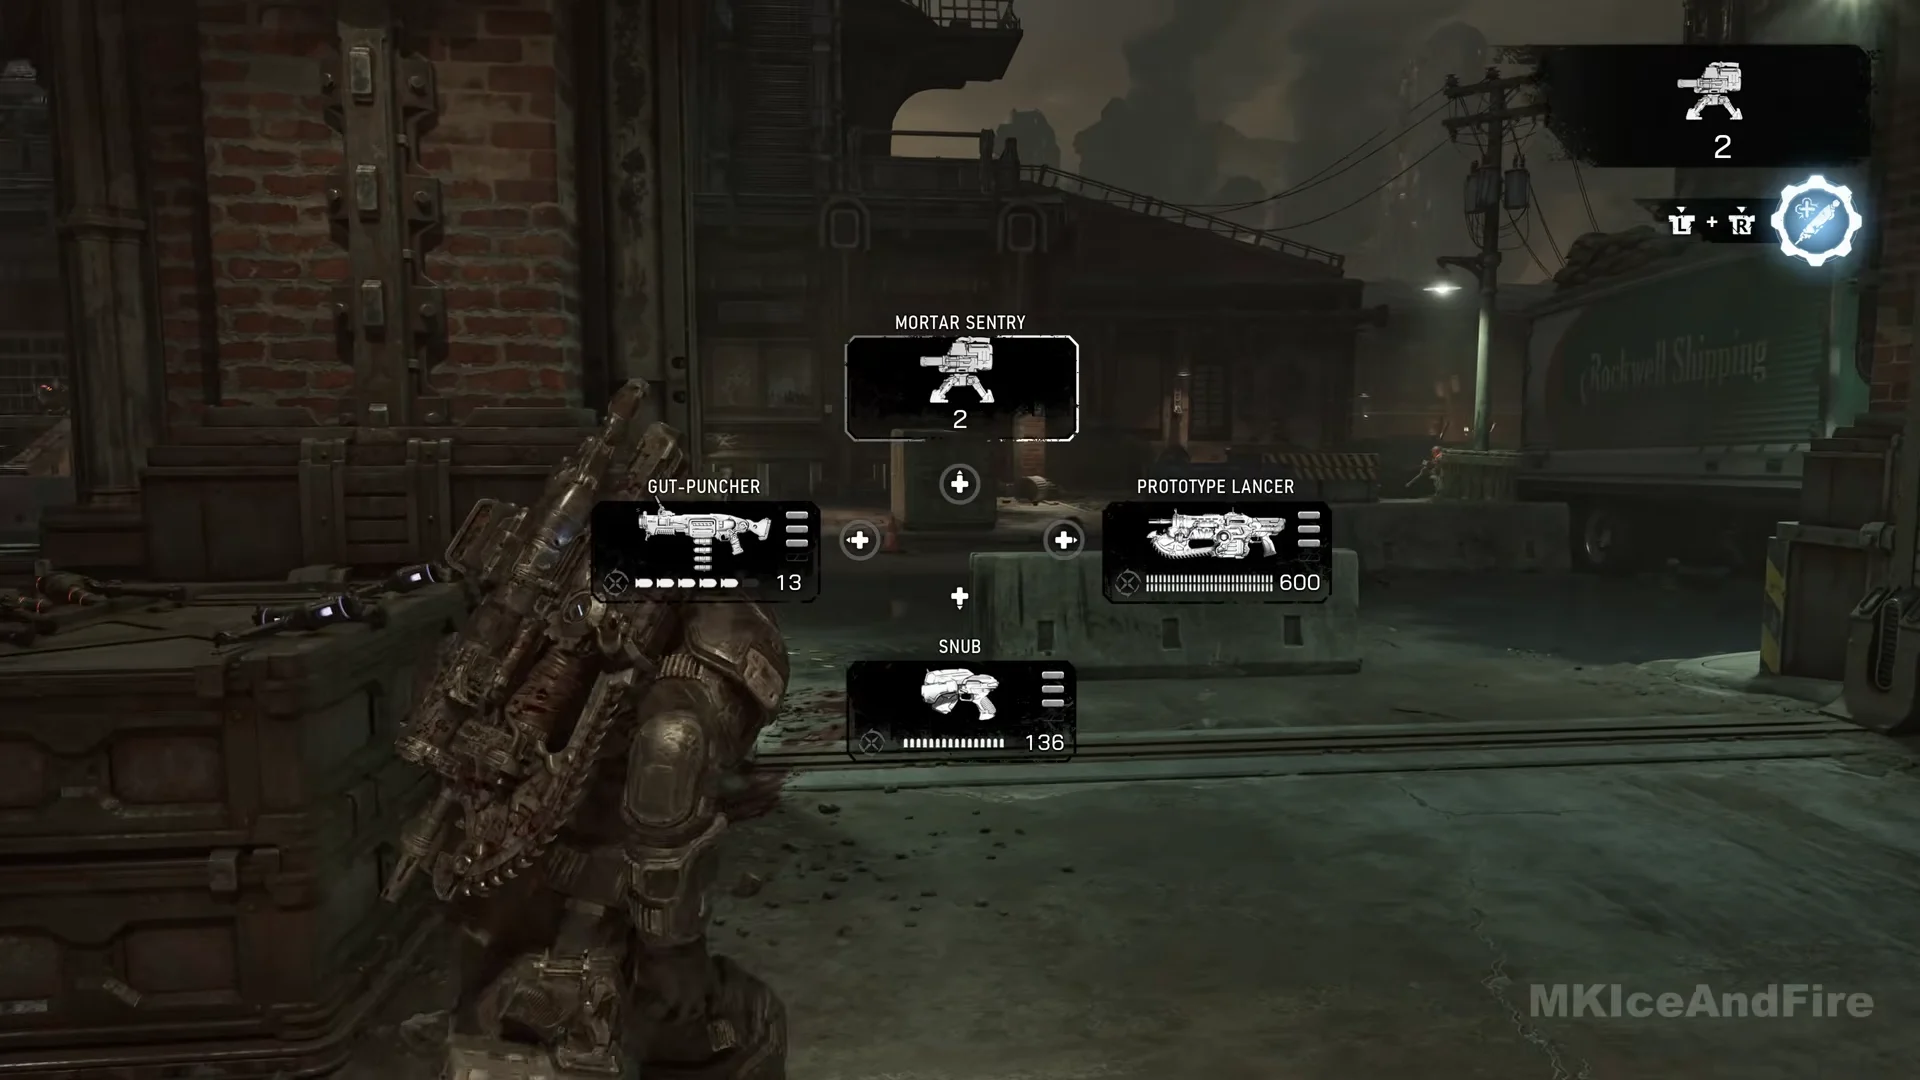
The Mortar Sentry first appears at the start of Act 4 Chapter 5 PATHS DIVERGE, sitting on a cluster of rusty barrels on the right-hand pavement. Machine Gun Sentries are nearby, with another at the depot window, so you can mix both types here.
Pick up and place the Mortar Sentry just as you would a Machine Gun Sentry; you can carry two at a time. Set both behind the depot’s concrete road barriers before Locust emerge from the street one by one. The counter starts at 2 and falls to 1 after you place the first.
Placement rules that hold across every fight
- Point sentries toward the enemies’ approach, leaving clear ground beyond the cone.
- Lay the Spike Trap across the lane enemies must run through, not off to the side next to cover.
- Begin placing your equipment as soon as the build step becomes available. The next wave starts on its own, whether or not you’re ready.
- Swap back to grenades at a crate, a pickup or a Supply Cache once the deployables are down, since the slot only holds one type.
Treat the quiet build moment as the whole point. The game stacks the crates beside the line precisely because it expects a defence there, so the players who spend those seconds grabbing and planting kits walk into each wave with the fight already half-won.