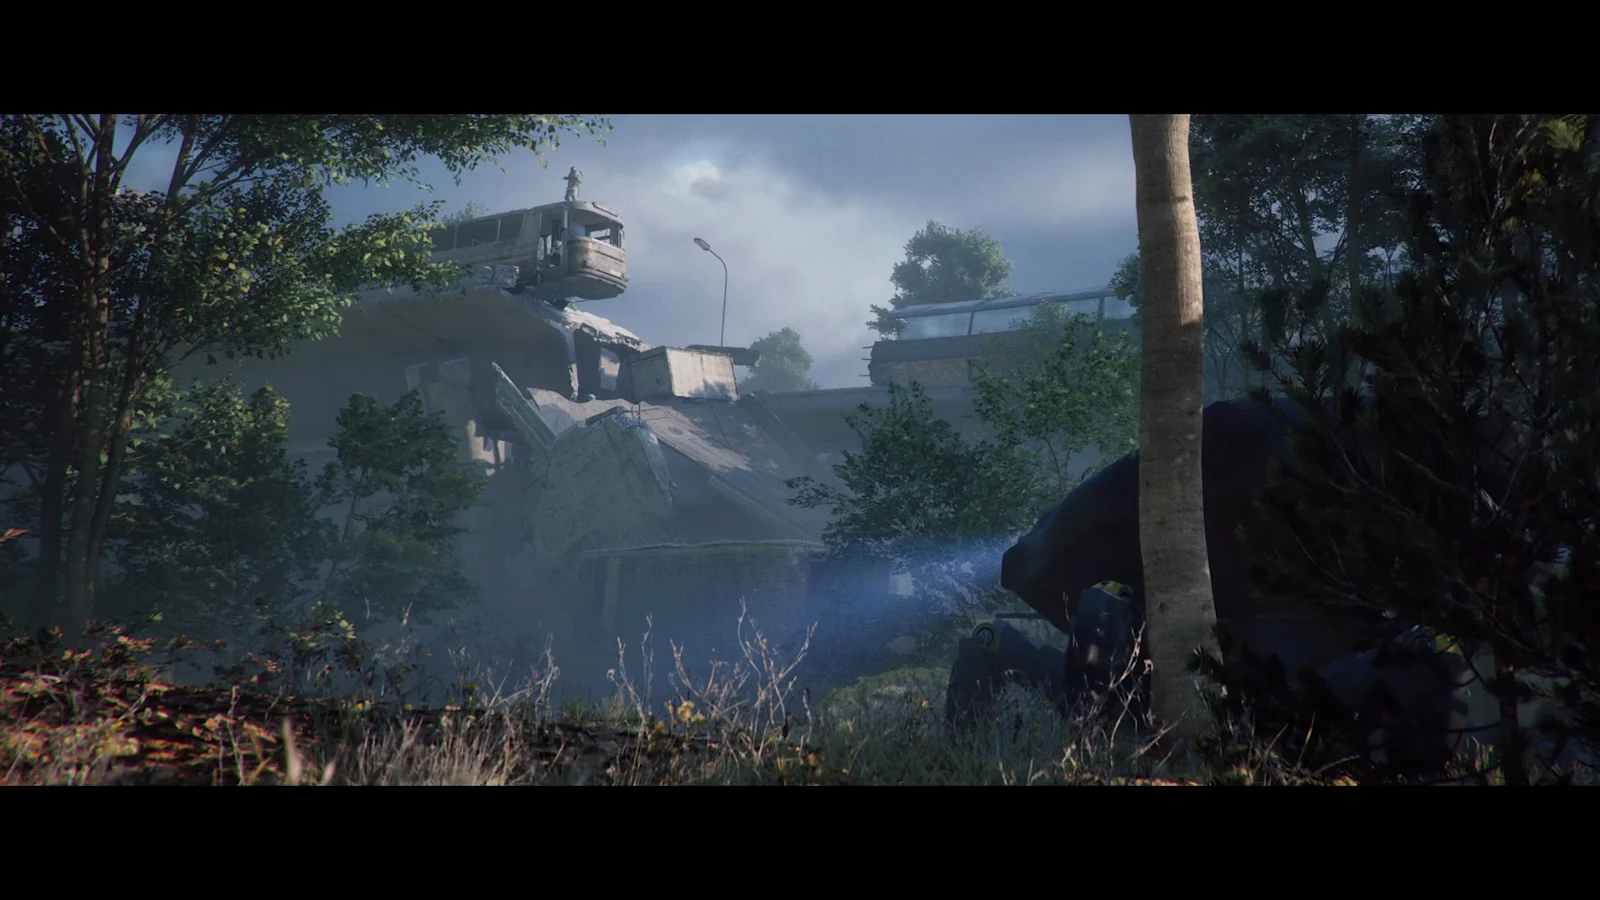
The Outpost is your first real foothold on the surface in Arc Raiders. Unlike the hideout beneath Speranza, this is a private base topside, and it carries the Research Station that lets you push guns to the new fifth quality tier. Installing the Frozen Trail update does not hand it to you. You earn it by clearing a project.
Quick answer: At Level 18, select Outpost from the Speranza menu. Finish the Sheltered Retreat Project in order: photograph a farm building at Ruined Homestead, submit the construction materials, and deal damage to airborne ARC and a Bully.
What you need before you start
At Level 18, the Sheltered Retreat Project is added to your Projects list. To view it, open the Speranza menu and choose Outpost from the tabs at the top. The base remains unavailable until you finish every stage; completing the third unlocks it permanently.
You can scroll through every stage before you begin, which is worth doing. A lot of players sell or recycle the construction materials early and then burn extra raids replacing them. Set those items aside the moment you see the requirements.
| Stage | Objective | Reward |
|---|---|---|
| Research Topside Living Conditions | Photograph a farmland house at Ruined Homestead on Blue Gate | Camera Blueprint |
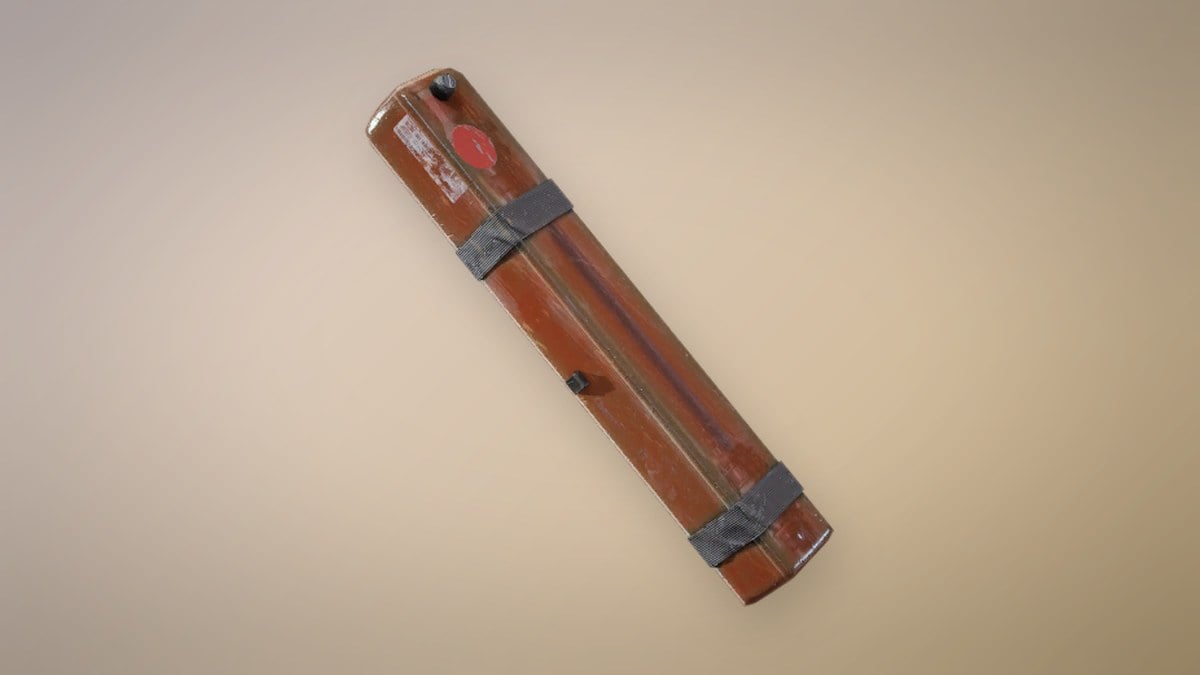
| Gather Building Materials | Hand in 3 Planks, 5 Sheet Metal, 10 ARC Alloy, 3 Advanced Electrical Components | 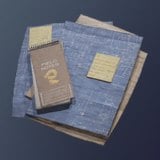 Red Light Stick Blueprint Red Light Stick Blueprint |
| Safeguard the Building Site | Damage flying ARC and a Bully | Decorative Chair, 15 Planks, 5 Durable Cloth |
Stage 1: Photograph a house at Ruined Homestead
Research Topside Living Conditions, the opening stage, takes you to Blue Gate to photograph a house on farmland. Have a Camera equipped in your loadout. Merely standing outside or gazing at the building won’t count; you must capture an image to finish the objective.

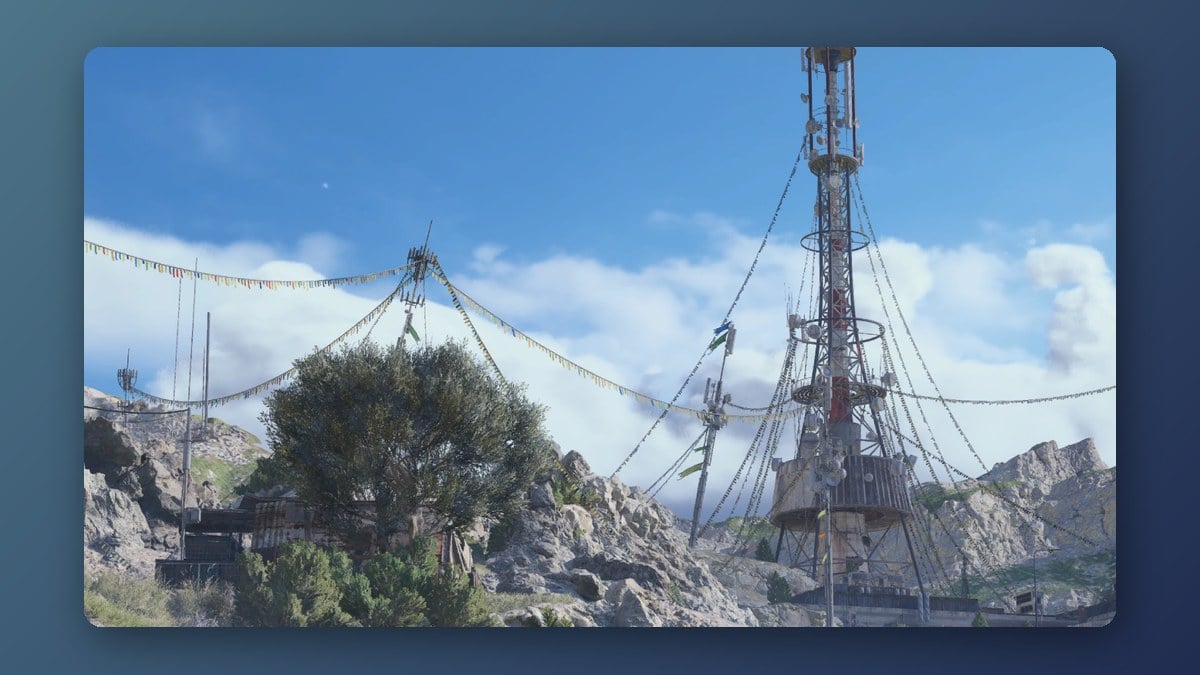
Keep an eye out for Spotters, since a Bombardier patrols nearby. Combat isn’t required. Take a low-noise approach, snap the photo, then depart.
Stage 2: Hand in the building materials
Gather Building Materials requires only an item turn-in; items already in your Stash are eligible. Pick up the four required items across however many raids it takes, then visit the Sheltered Retreat Project and submit them.
| Material | Amount | Where to get it |
|---|---|---|
 Planks Planks | 3 | Any map; fastest bought from Celeste with seeds |
| Sheet Metal | 5 | Industrial POIs; Stacking Yard and Customs House on Riven Tides are strong farms |
 ARC Alloy ARC Alloy | 10 | Uncommon drop from ARC machines like Wasps and Hornets on any map |
 Advanced Electrical Components Advanced Electrical Components | 3 | Rare loot from Electrical POIs |
Planks and Sheet Metal are new items that show up widely, and Celeste is the quickest source for both. ARC Alloy and Advanced Electrical Components can only be looted, so hold onto them rather than feeding them into other crafts.
Stage 3: Damage the ARC around the site
Safeguard the Building Site drops the gathering for combat. You need to meet two damage thresholds to protect the construction effort.
- 800 damage to flying ARC enemies
- 300 damage to a Bully
Both appear at Pendola Pass. Flying ARC are everywhere, so seven or eight kills clears that part. If only the flying portion is left, Spaceport is an easy spot to top it off.
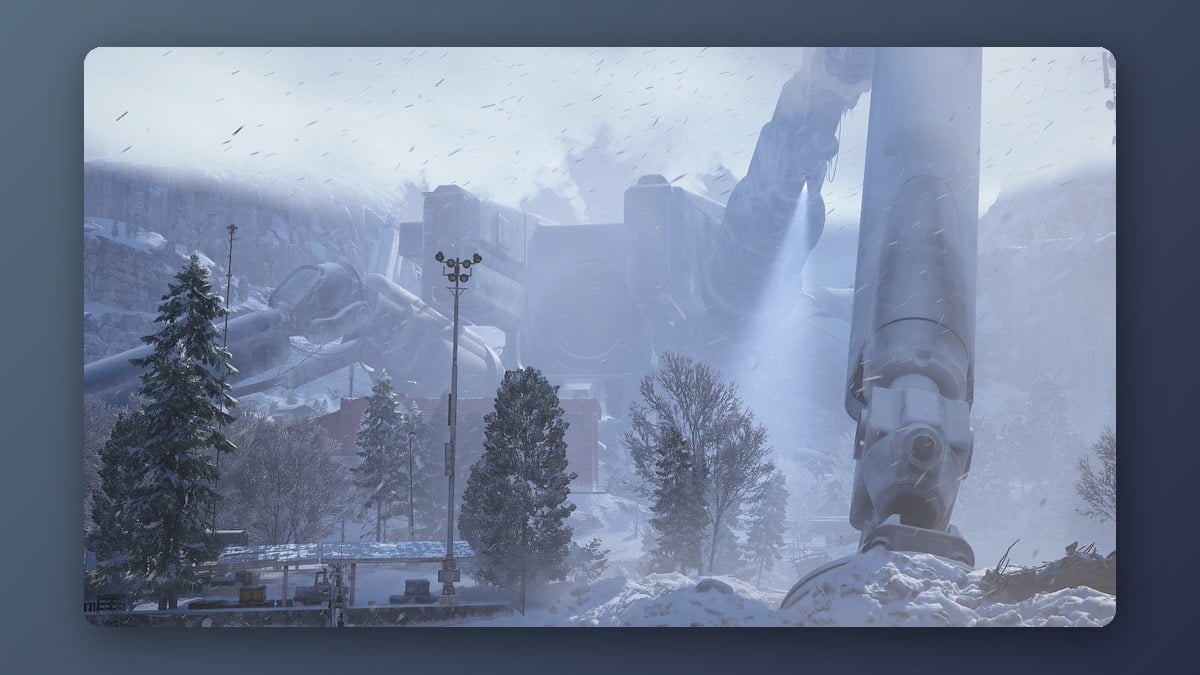
The Bully is a durable machine with 3,000 health that rushes directly toward you. For 300 damage, try a Hullcracker, a pair of Wolfpacks, or Trigger Nades. Staying inside a building or on a roof keeps it from getting close.

Bullies don’t appear reliably on Pendola Pass. They often arrive during fights involving other Raiders, which means finding one could take multiple matches.
How to confirm the Outpost unlocked
Clearing stage three makes the Outpost permanent. Your main lobby changes and a new background showing the surface base appears, which confirms it worked. You also receive a Decorative Chair, 15 Planks, 5 Durable Cloth, and the Red Light Stick Blueprint from the earlier stage, giving the base a small starting set of items.
At launch, you can’t walk around inside the Outpost. Construction, decoration, and research are all managed through menus, with no way to move your Raider through the base. The area is single-player; friends can’t enter it with you.
What the Outpost gives you
The base brings together three systems. Two change how it looks, and one changes how your weapons perform.
- Research Station — use it to investigate Blueprints without depending on random drops, and access advanced weapon customization.
- Weapon amplification — bring eligible firearms up to quality tier five.
- Furniture — Find Designs and craft them to furnish your base. The Frozen Trail update brings 100 Furniture Designs.
In the Workshop tab, provide the required items to place the Research Bench in its added slot. Treat Furniture Designs like Blueprints: pick one up on a raid, learn it, and make the item at the Research Station. Designs only change appearances, so build up the Research Station first if weapon power is your priority.
Research Station and Amplified Weapons
At the Research Station, craft Blueprints and Designs, and carry out amplification research. Projects use Research Points earned topside; some also call for specific materials and an in-match task, such as dealing a set amount of damage with a particular weapon.
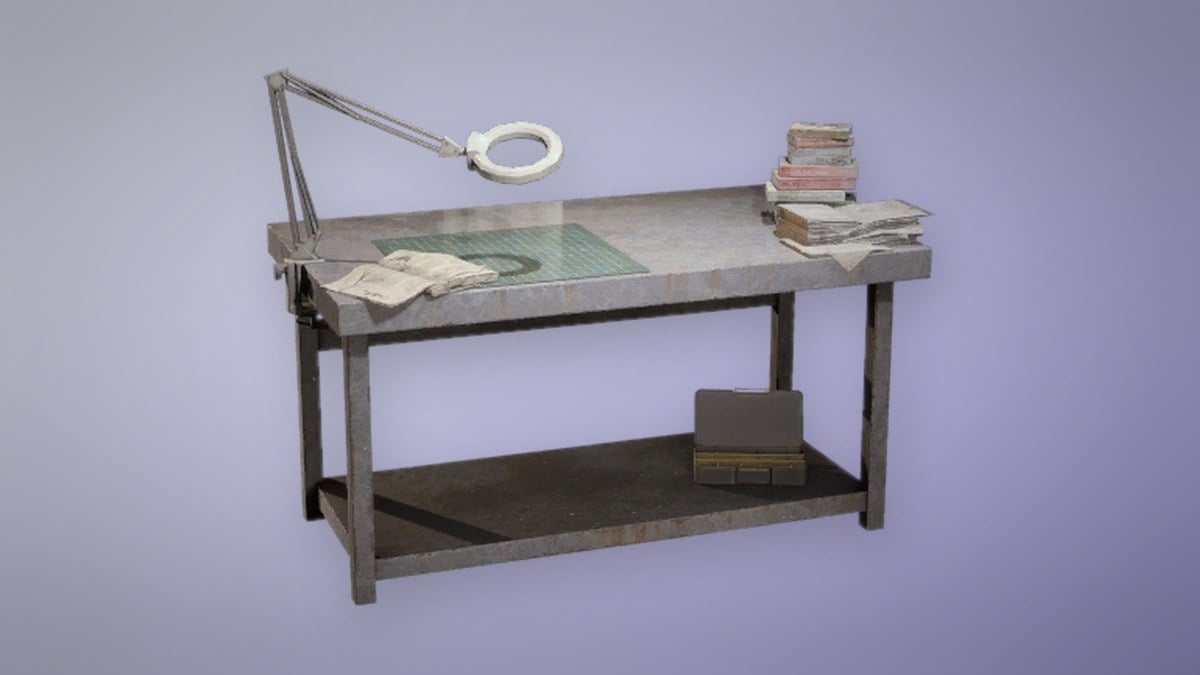
To bring a weapon to quality tier five, first fully upgrade the Research Station. Frozen Trail supports amplification for 15 guns, offering branching options that alter their behavior. For instance, the Burletta can fire automatically, the Renegade can receive a scope, and the Rattler can use incendiary ammo or a greatly expanded magazine. Applied amplification is permanent and cannot be reversed. The Stiletto and Bantam follow this research route too, but their Blueprints remain obtainable as regular drops.
How to upgrade the Outpost
As the base grows, the Research Station grows with it. Adding rooms costs materials, and every room asks for the same set of items.
| Room | Cost |
|---|---|
 Panoramic Room Panoramic Room | 3 Steel Cables, 20 Sheet Metal, 3 Cable Strippers |
 Timeless Room Timeless Room | 3 Steel Cables, 20 Sheet Metal, 3 Cable Strippers |
 Chalet Room Chalet Room | 3 Steel Cables, 20 Sheet Metal, 3 Cable Strippers |
Your stock of crafting materials sets your build speed, since every expansion spends them. Keep Steel Cables, Sheet Metal, and Cable Strippers in reserve so a single bad raid does not stall you. Put early materials into the Research Station before anything else, because it is the only Outpost upgrade that touches combat power, and whoever maxes it first reaches amplified weapons first.