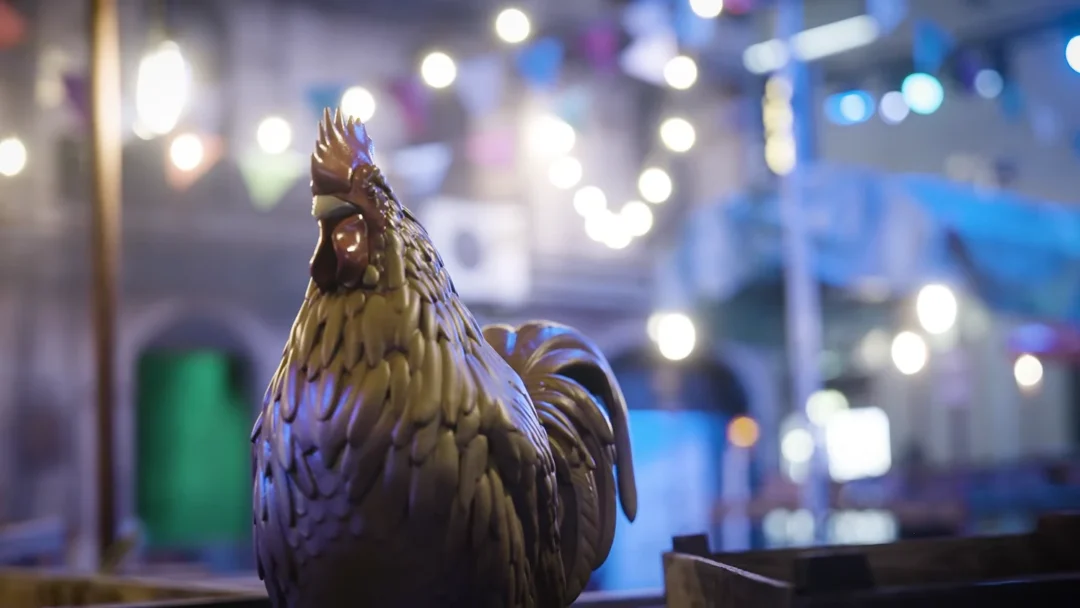
The locked exit door with the little duck sticker on its scanner is the last thing standing between Aidan and the way out of the cult’s basement in Clive Barker’s Hellraiser: Revival. The item that opens it is the S&M Duckie, and you earn it by completing a rotating puzzle on a Leviathan statuette during the “Escape the cult” objective.
Quick answer: Grab the Leviathan Tip from the side office near the duck-marked door, insert it into the statuette in the paintings hallway, rotate the sections until all the lines connect, and claim the S&M Duckie to unlock the exit.
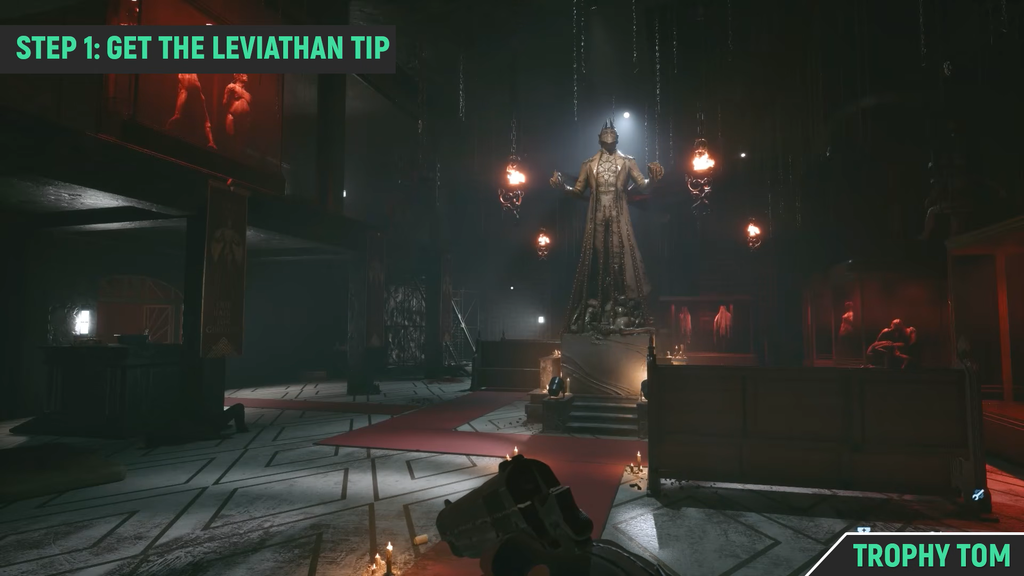
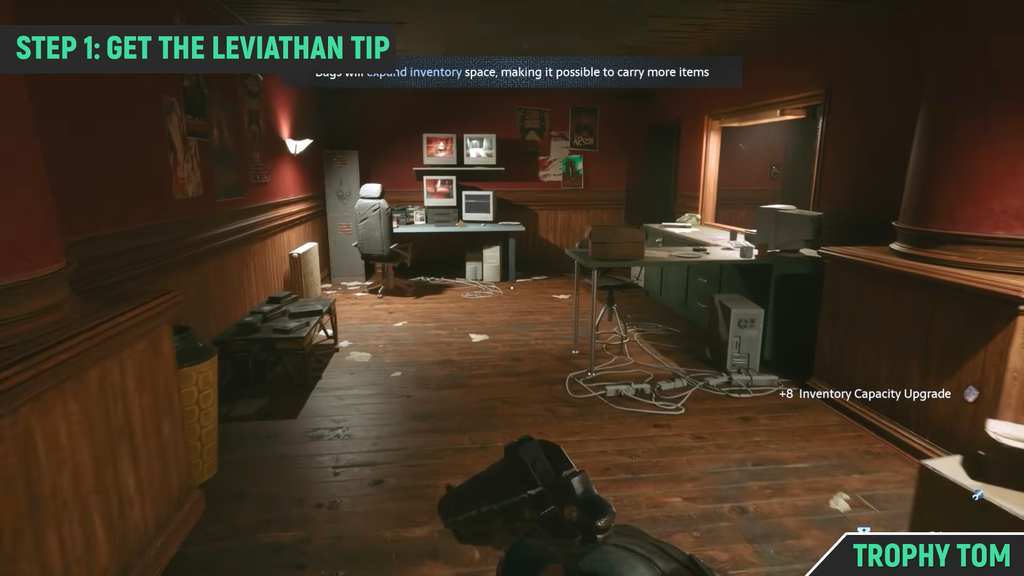
Find the Leviathan Tip in the side office
You pass the statuette puzzle early, in the hallway lined with paintings right after you sneak past Bruno, but it stays sealed until you return with the missing piece. That piece sits in a small office much deeper into the level.
Solve the Leviathan statuette puzzle
Take the Leviathan Tip to the shrine room, then pass through the double doors leading to the paintings hallway. At the podium, interact with the diamond-shaped statuette to fit the missing piece into it. This starts the puzzle.
The statuette has four sections. Three of them rotate and one stays fixed. Your only goal is to turn the movable parts until the maze-like lines connect cleanly across every face. Rotate a section by pressing A (Xbox) / X (PlayStation).
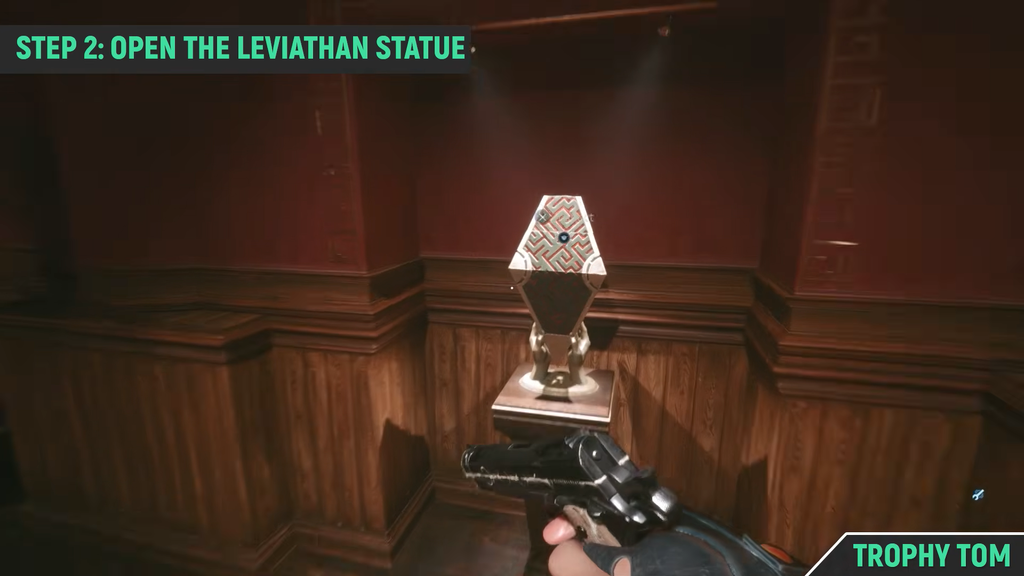
If that sequence doesn’t align your puzzle, the arrangement can present slightly differently. Another working order is rotating the center section once and the bottom section twice. Either way, keep adjusting until every line connects, then open it.
Inside is the S&M Duckie, the key that opens the duck-reader door back near the office.
Open the exit door and beat the armored cultist
The route back is not clear. An armored cultist carrying a shotgun blocks the way, and his blasts do heavy damage and can knock you to the ground.
With a blunt weapon, such as a spiked baseball bat, position the statue to shield you from a shotgun blast. Then rush him and swing; this enemy goes down in only a few hits from a blunt weapon. For ranged combat, if you have the ammo, shoot him in the head until the armor breaks, then finish him with a clean headshot.
With him down, return to the EXIT door and use the S&M Duckie on the scanner beside it. The door unlocks, and Aidan moves on into the next part of the level. If the scanner doesn’t respond, you’re likely at a different locked door, so confirm you’re at the one with the duck sticker on its reader.