Someone Else’s Shoes takes you back to Stella Montis to track down androids tied to Project Pathos. It runs across three objectives: scan a working android anywhere on the map, scan a specific android in Research Lab 3 inside the Medical Bay, then reach the Control Room in the Western Tunnels to pull security footage. You can spread the work over more than one raid if needed.
Quick answer: On Stella Montis, scan any active android, then scan the android on the bed in Research Lab 3 in Medical Research, then interact with the console in the Control Room in the Western Tunnels. Return to Celeste in Speranza to claim rewards.
Before you start
Someone Else’s Shoes unlocks after you finish Home to Roost for Shani, and completing it opens Empathetic Prototypes for Lance. Everything happens on Stella Montis, which carries a difficulty rating of 4 out of 5 and opens up once you have played 24 rounds.
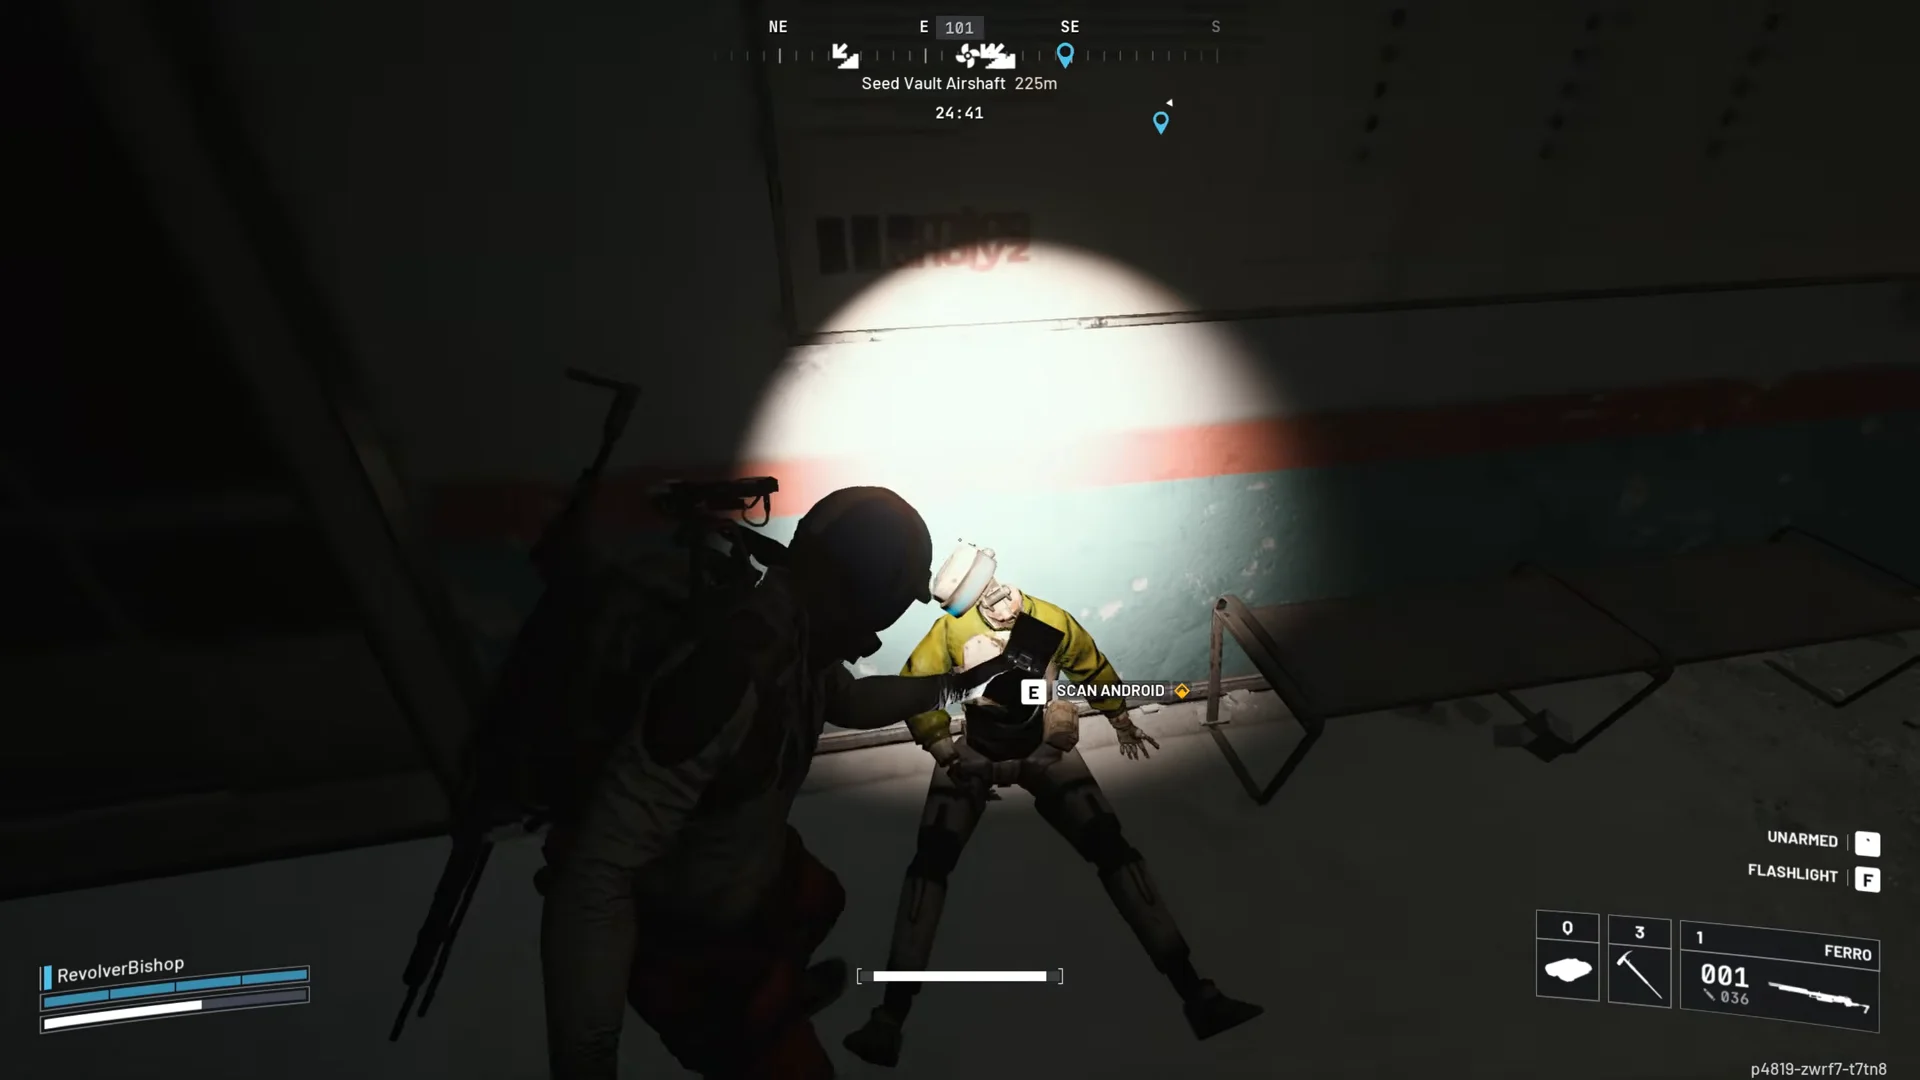
Only active androids can be scanned. Look for a blue light flickering in the eyes. A fully powered-down android lying in a hallway will not give you the scan prompt, so skip the dead ones and keep moving until you find one that still has power.
Scan any active android on Stella Montis
The first objective accepts any live android anywhere on the map, and the spawn point is randomized, so there is no single fixed room that always has one. To cut down on walking, head straight to the Medical Research area on the western side. It usually has a working android sitting against a wall, and the next objective is in the same building.
When you find one with its lights on, walk up and use the [E] SCAN ANDROID prompt. The objective ticks over as soon as the scan finishes.
Scan the android in Research Lab 3
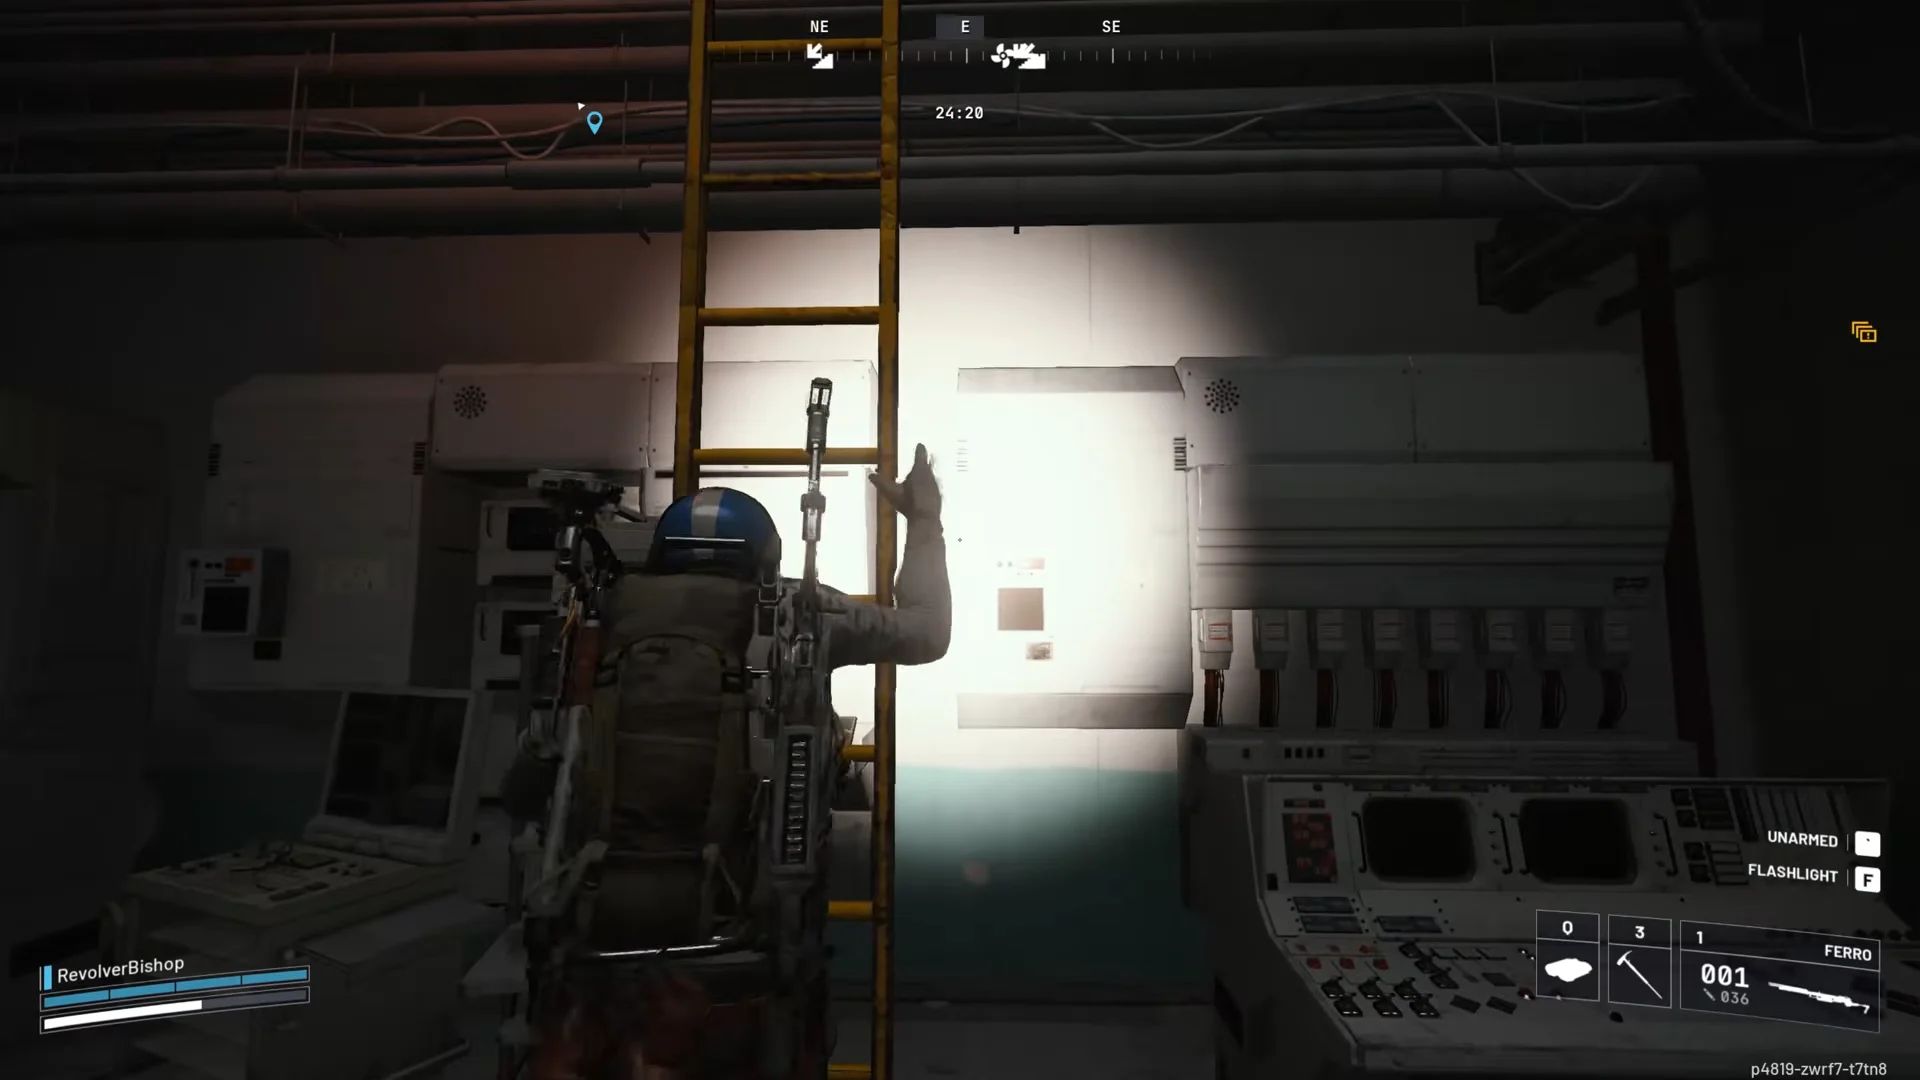
Next you need the android in Research Lab 3, which sits inside the Medical Research building. From the central research room, climb the yellow ladder up to the upper floor.
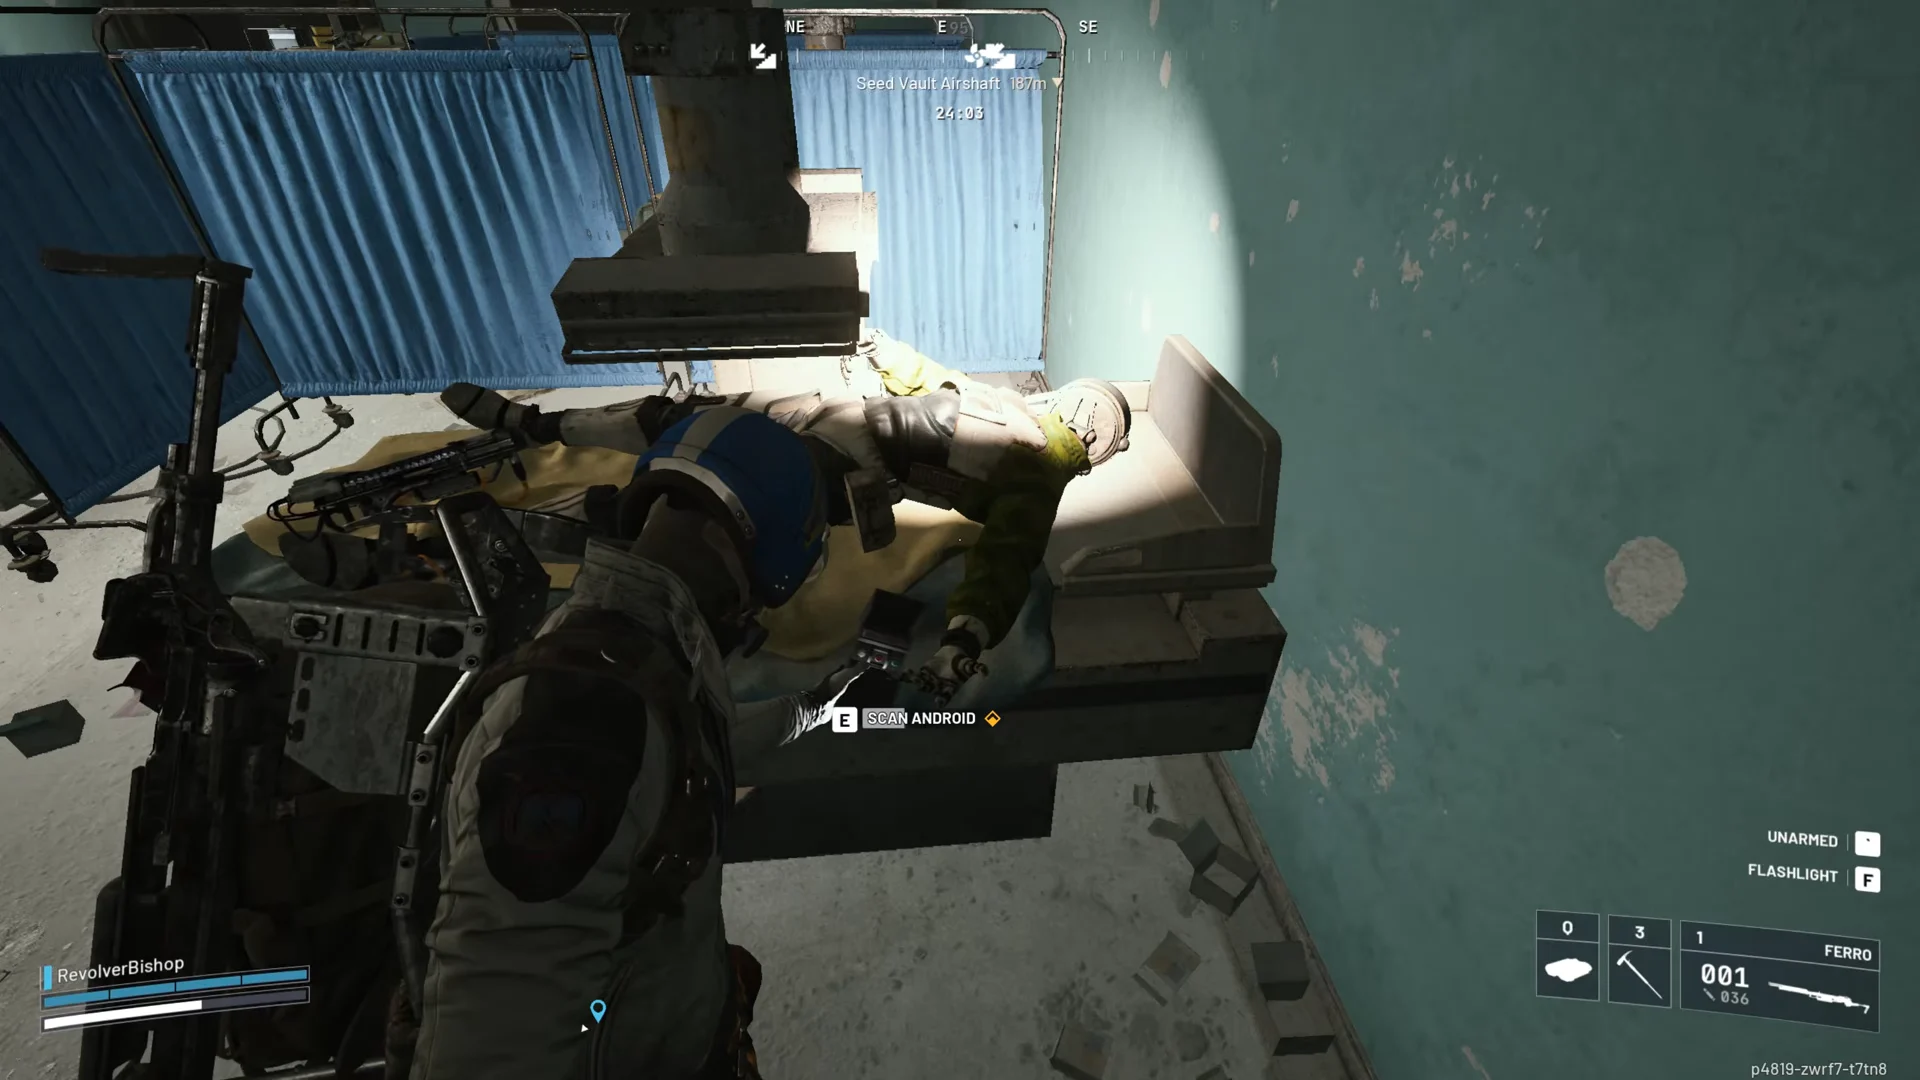
Research Lab 3 sits in the southern section of the upper floor. Step inside and look to the right for an android strapped to a medical bed. Interact with it to clear the second objective.
Reach the Control Room in the Western Tunnels
The last objective sits in the Western Tunnels, in the northwest corner of the map. Make your way to either the Lobby Metro Station or the Loading Bay, then drop down to the track level.
Once you are on the tracks, follow the rails toward the Western Tunnels. You will pass through the Collapsed Tunnel stretch as you head in.
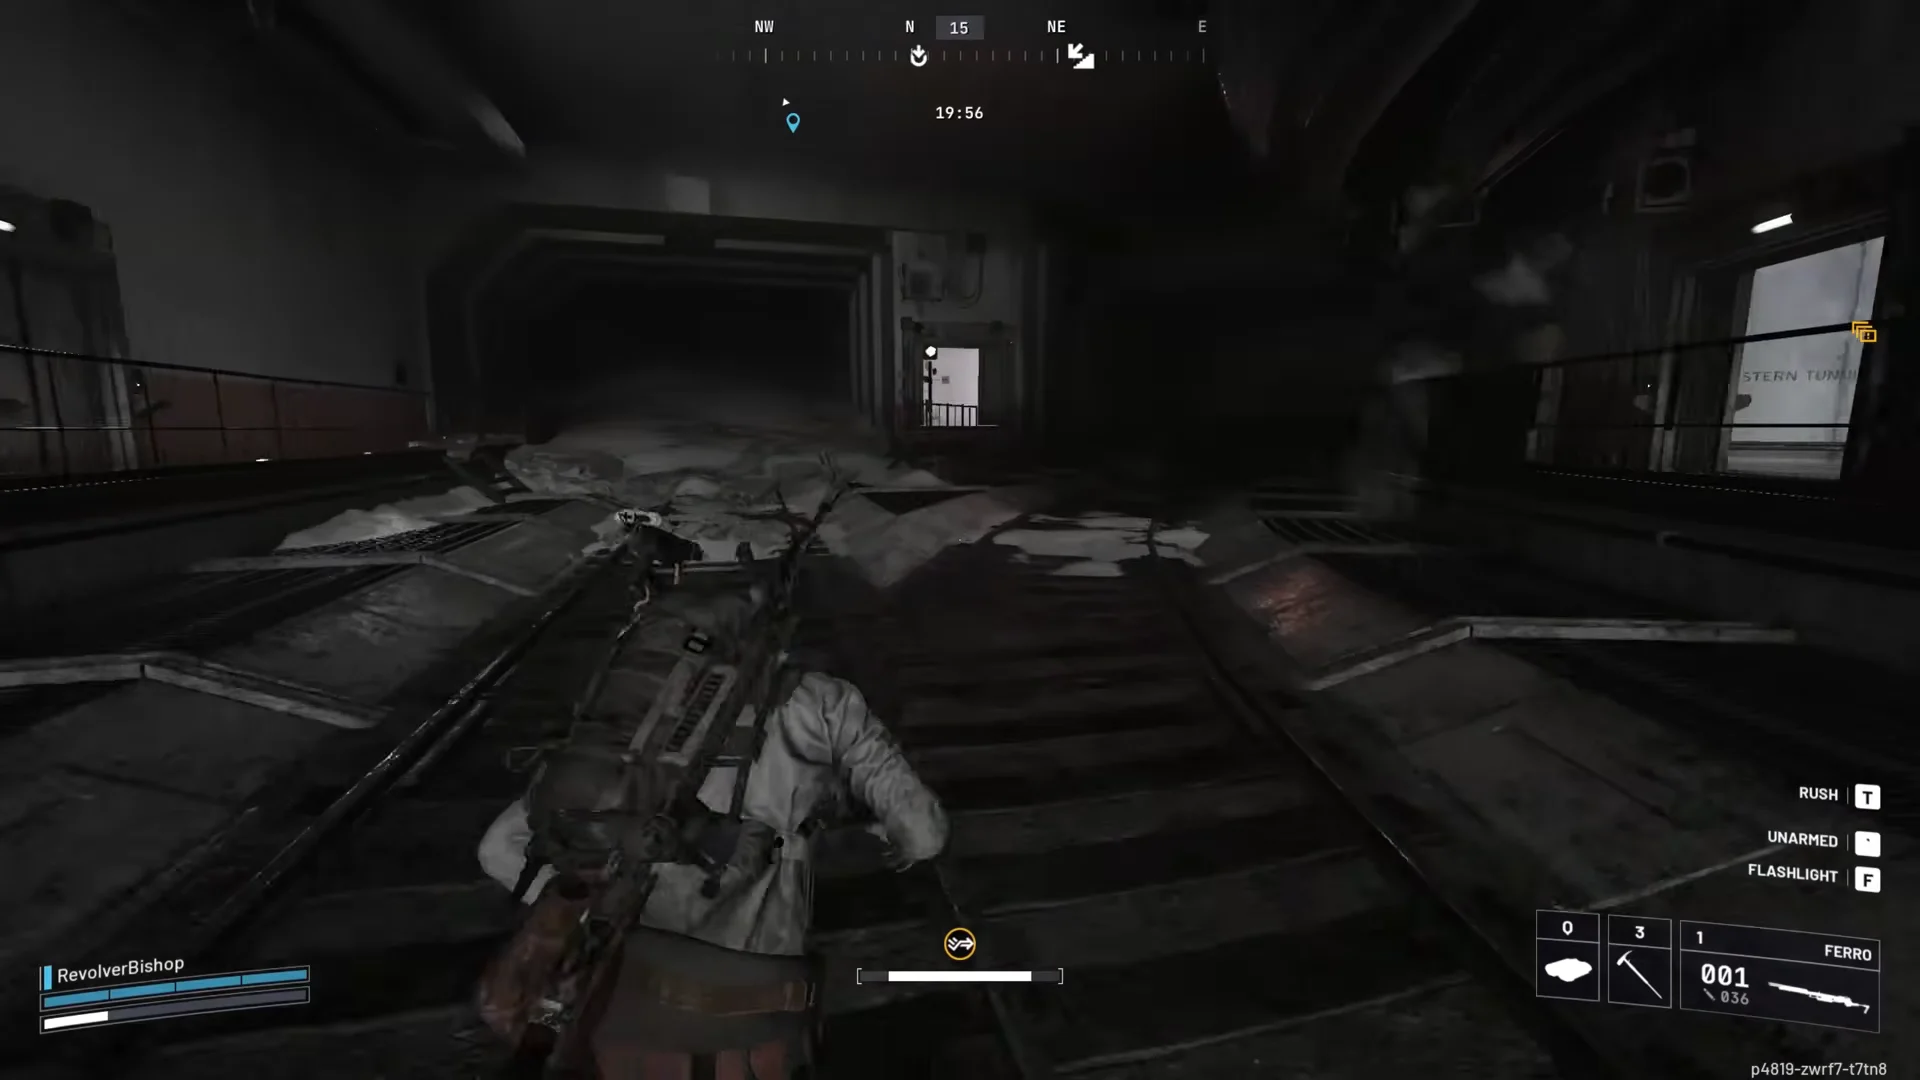
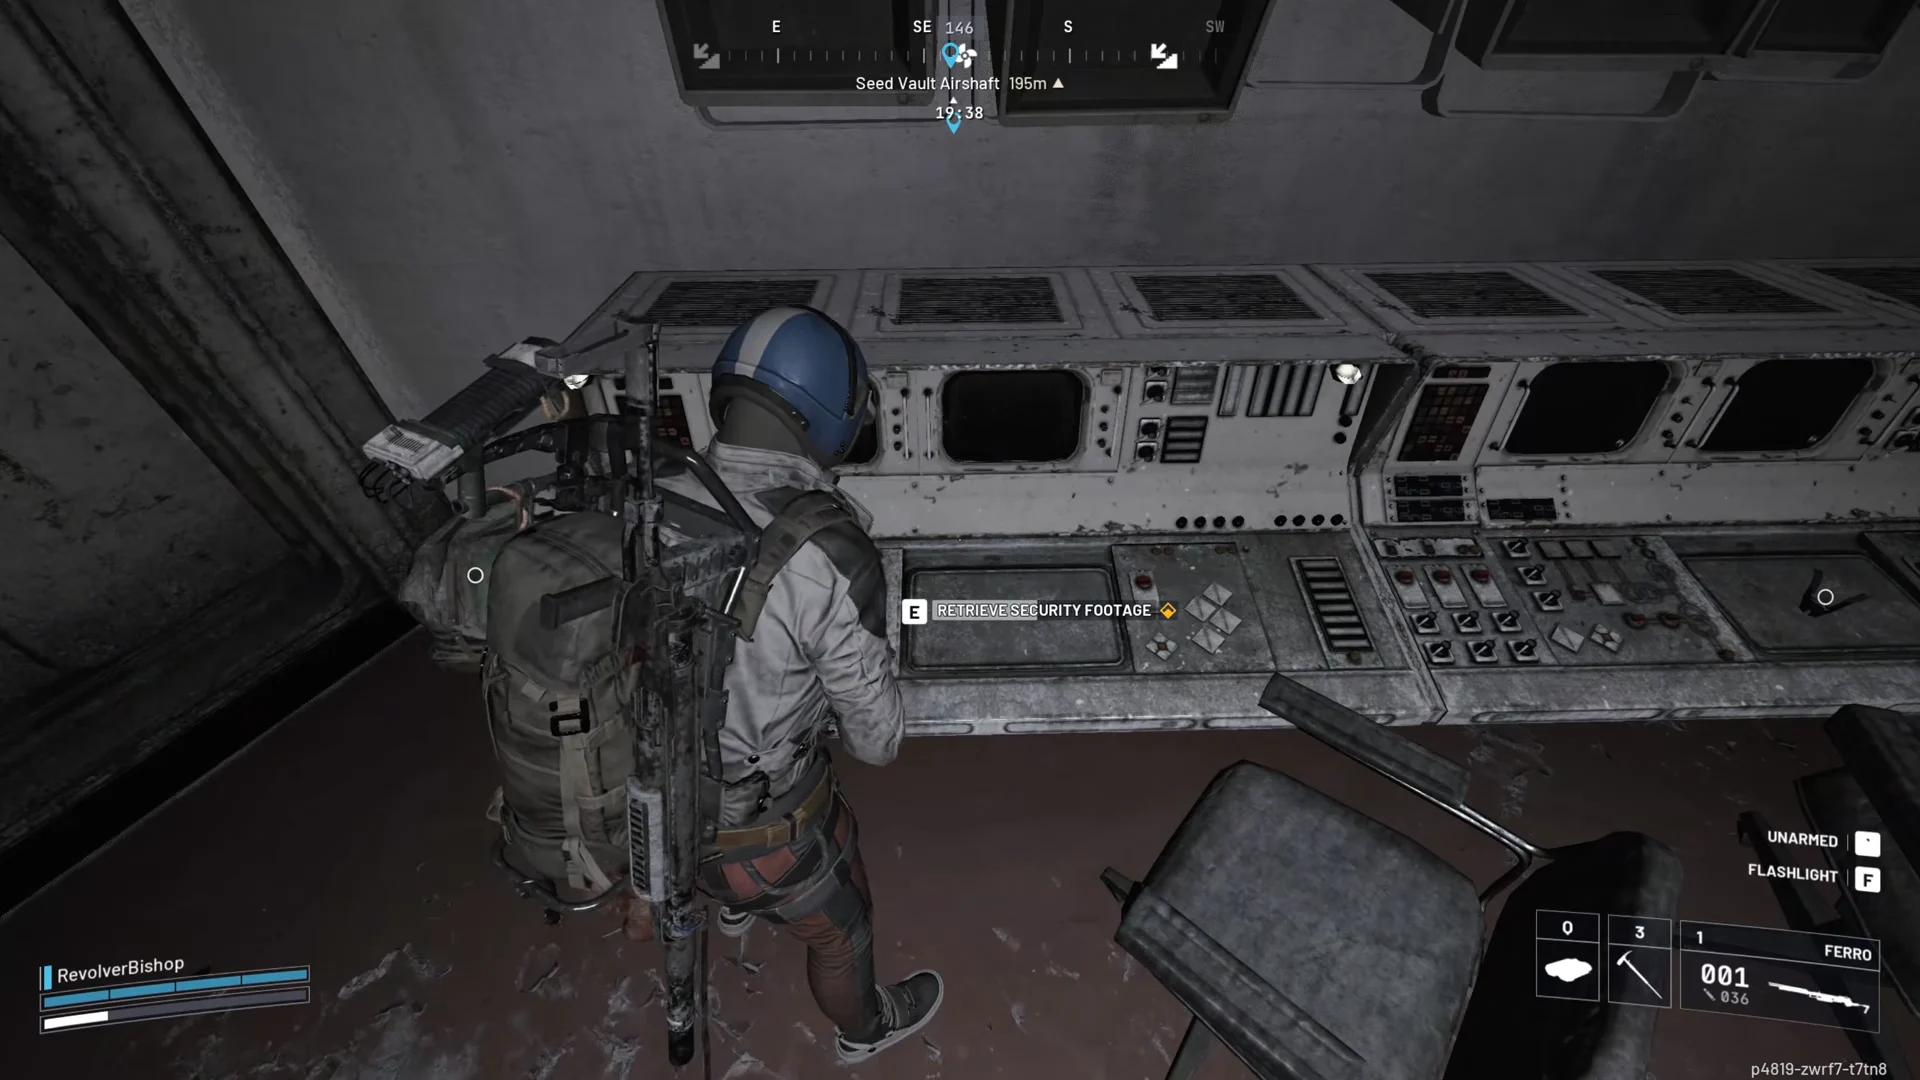
Inside the tunnels, look for a small lit side room, the Control Room. Head in and use the [E] RETRIEVE SECURITY FOOTAGE prompt on the subway control console. That interaction completes the quest. If someone has already been through, there may be loot left on the desk, but the console you need is the one with the footage prompt.
Hand in the quest and claim rewards
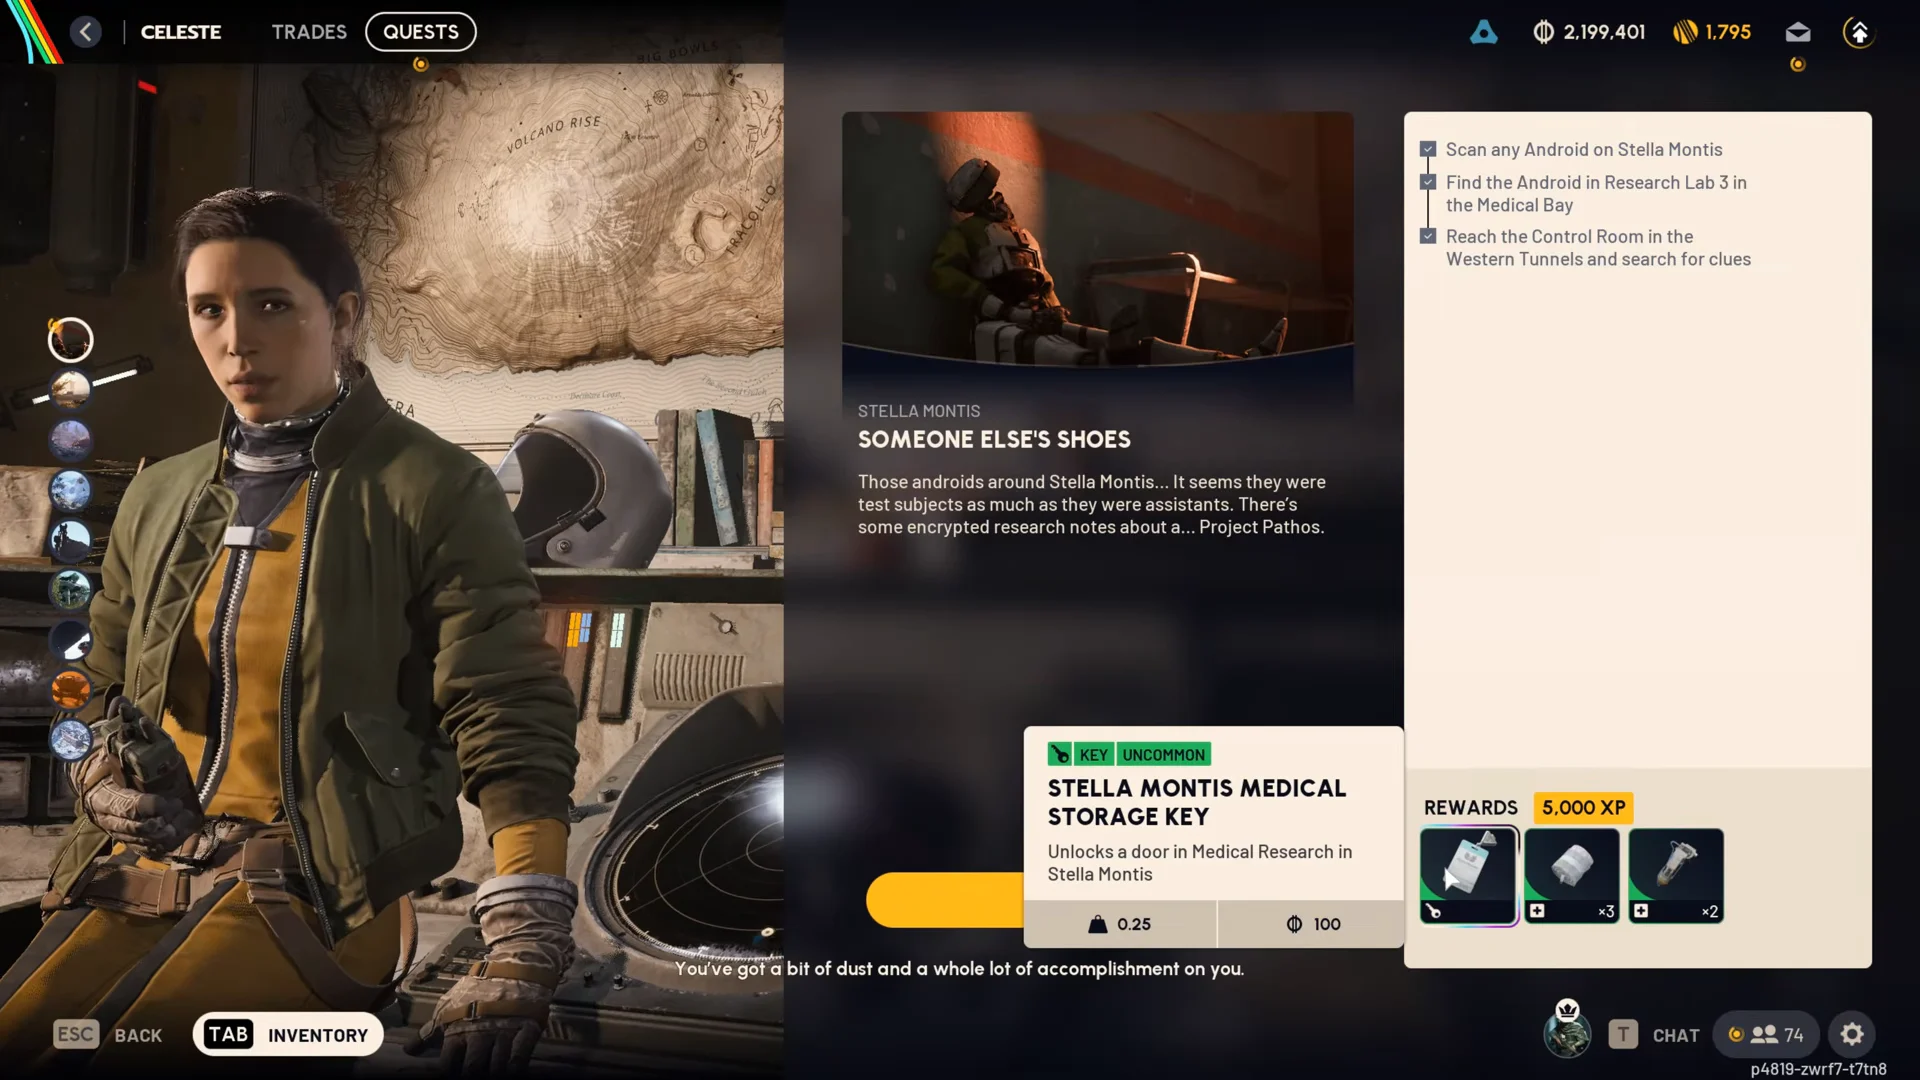
Extract from Stella Montis and head back to Speranza. Talk to Celeste and open the Quests tab to turn in Someone Else’s Shoes. You will know it worked when the quest shows as complete and the rewards land in your inventory.
| Reward | Quantity |
|---|---|
 Stella Montis Medical Storage Key Stella Montis Medical Storage Key | 1 |
 Herbal Bandage Herbal Bandage | 3 |
 Shield Recharger Shield Recharger | 2 |
| Experience | 5,000 XP |
The Uncommon Stella Montis Medical Storage Key opens the Medical Research door on Stella Montis, so save it for future runs. Each Herbal Bandage restores 3.5 health per second for 10 seconds and takes 1.5 seconds to use.