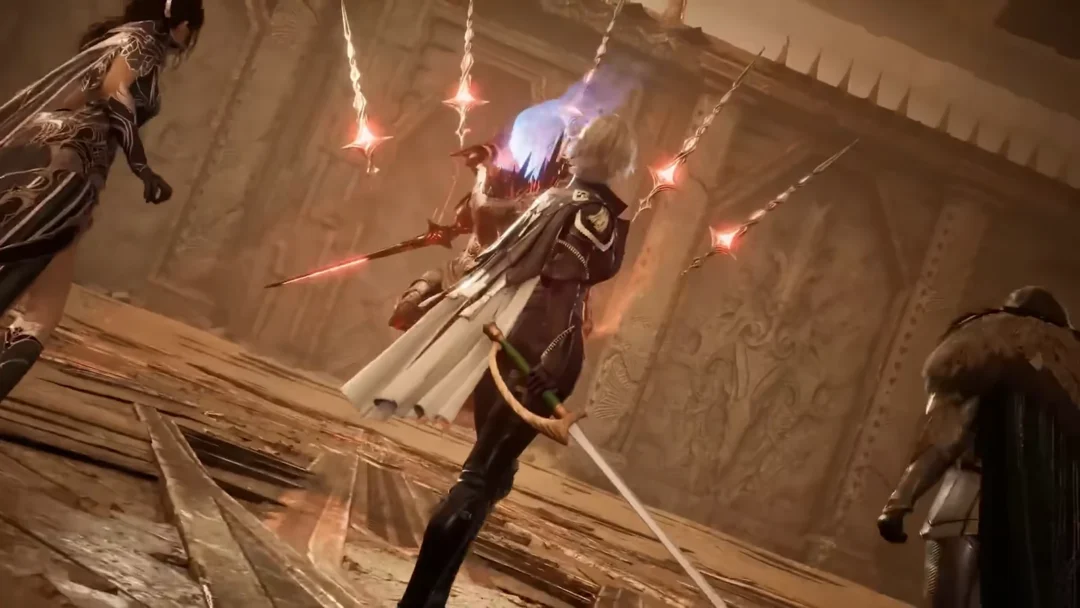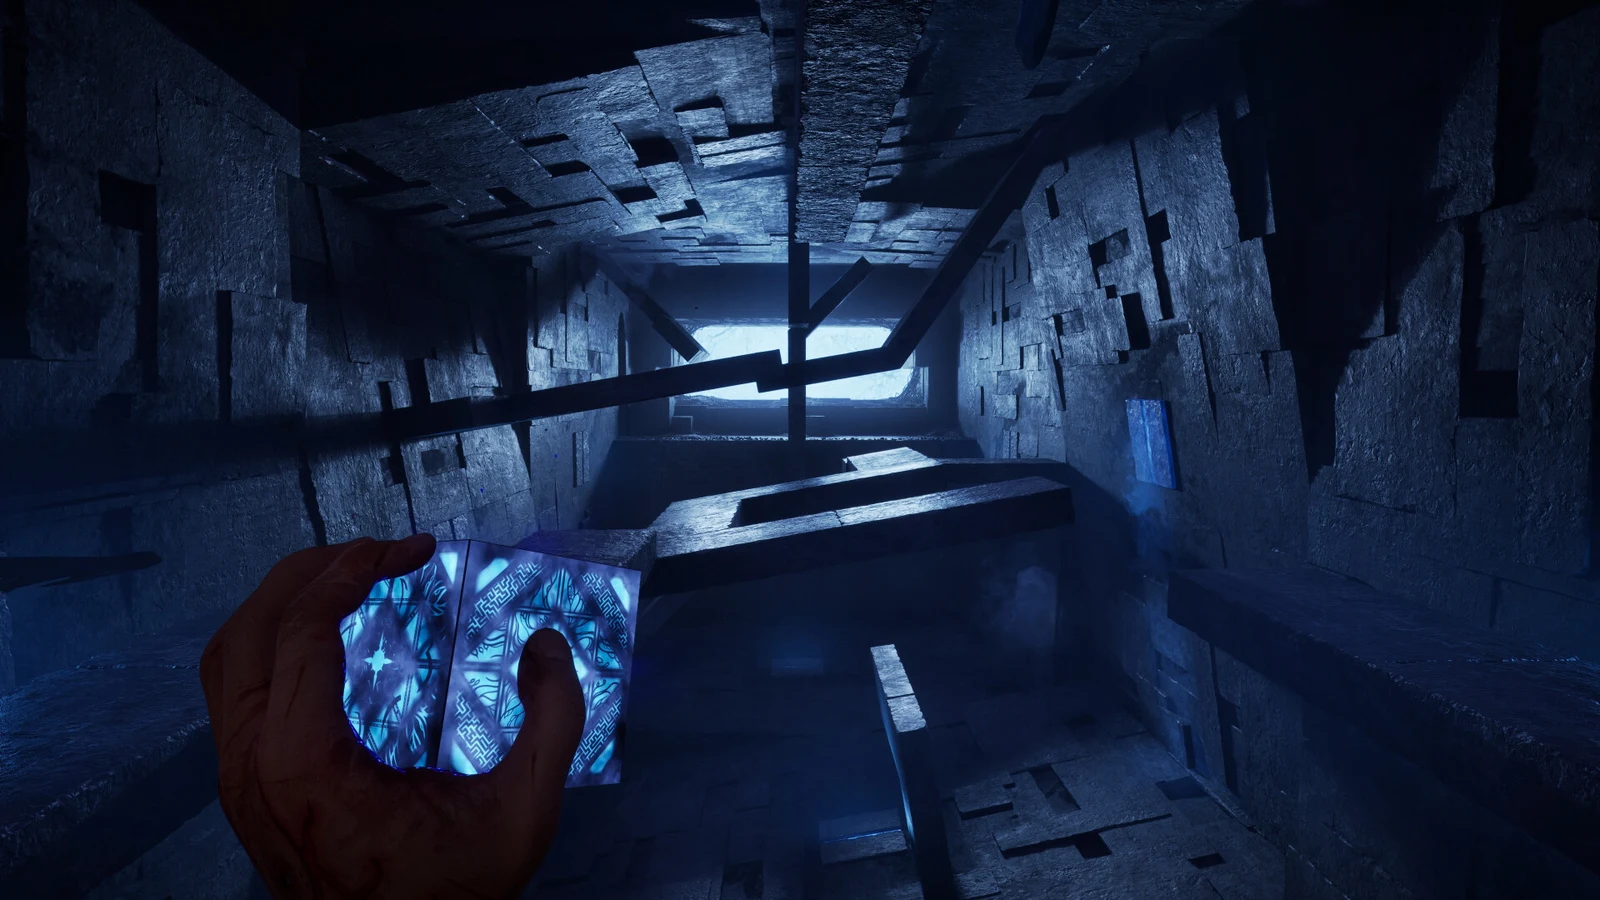
The Field of Souls is a fog-choked expanse of broken stone that Aidan crosses in Clive Barker’s Hellraiser: Revival after his first meeting with Pinhead. It is where the hunt to rescue Sunny finally points at something concrete. Scattered across the ruin are ornate pillars, and each one holds a trapped soul. One of them holds Sunny, and reaching it is the whole purpose of the trek through the mist.
What the Field of Souls is
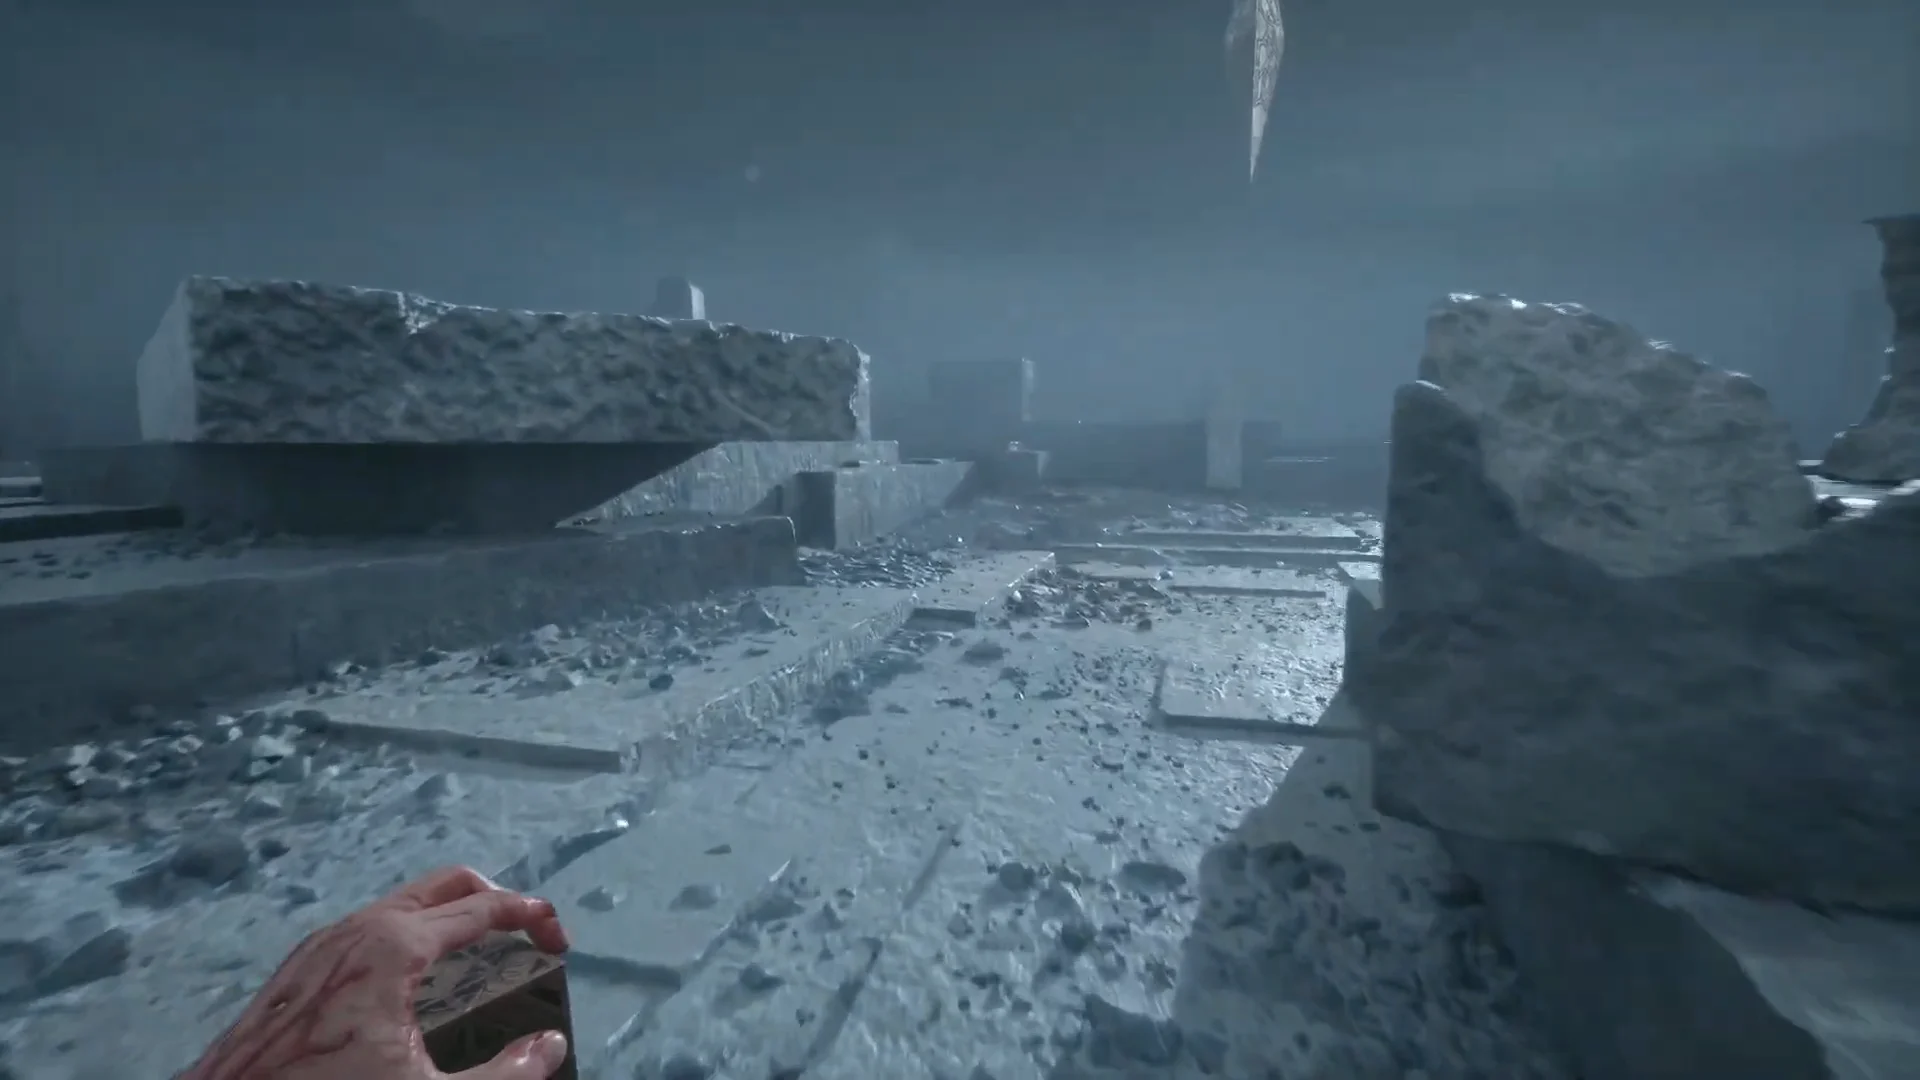
The area reads as a labyrinth of toppled masonry wrapped in dense fog. Aidan moves on foot through the stone blocks, crouches under low archways, and threads narrow passages to keep progressing. The route is linear in spirit but tangled in layout, so the sense of being lost is part of the design.
Throughout the walk, Aidan carries the Genesis Configuration in his left hand. It is the game’s version of the series’ puzzle box, described in the interface as an object that “interacts with otherworldly phenomena.” The box is both a key and a tool, and in the Field of Souls it functions as the thing that unlocks a soul’s pillar.
Reaching Sunny’s pillar
At the end of the route, Aidan climbs a short set of stone steps toward a tall green pillar. Sunny is imprisoned inside it, and she calls out for help as he approaches. An objective marker in the upper-left corner reads “Free Sunny’s soul,” and a prompt to use the item appears at the base of the pillar.
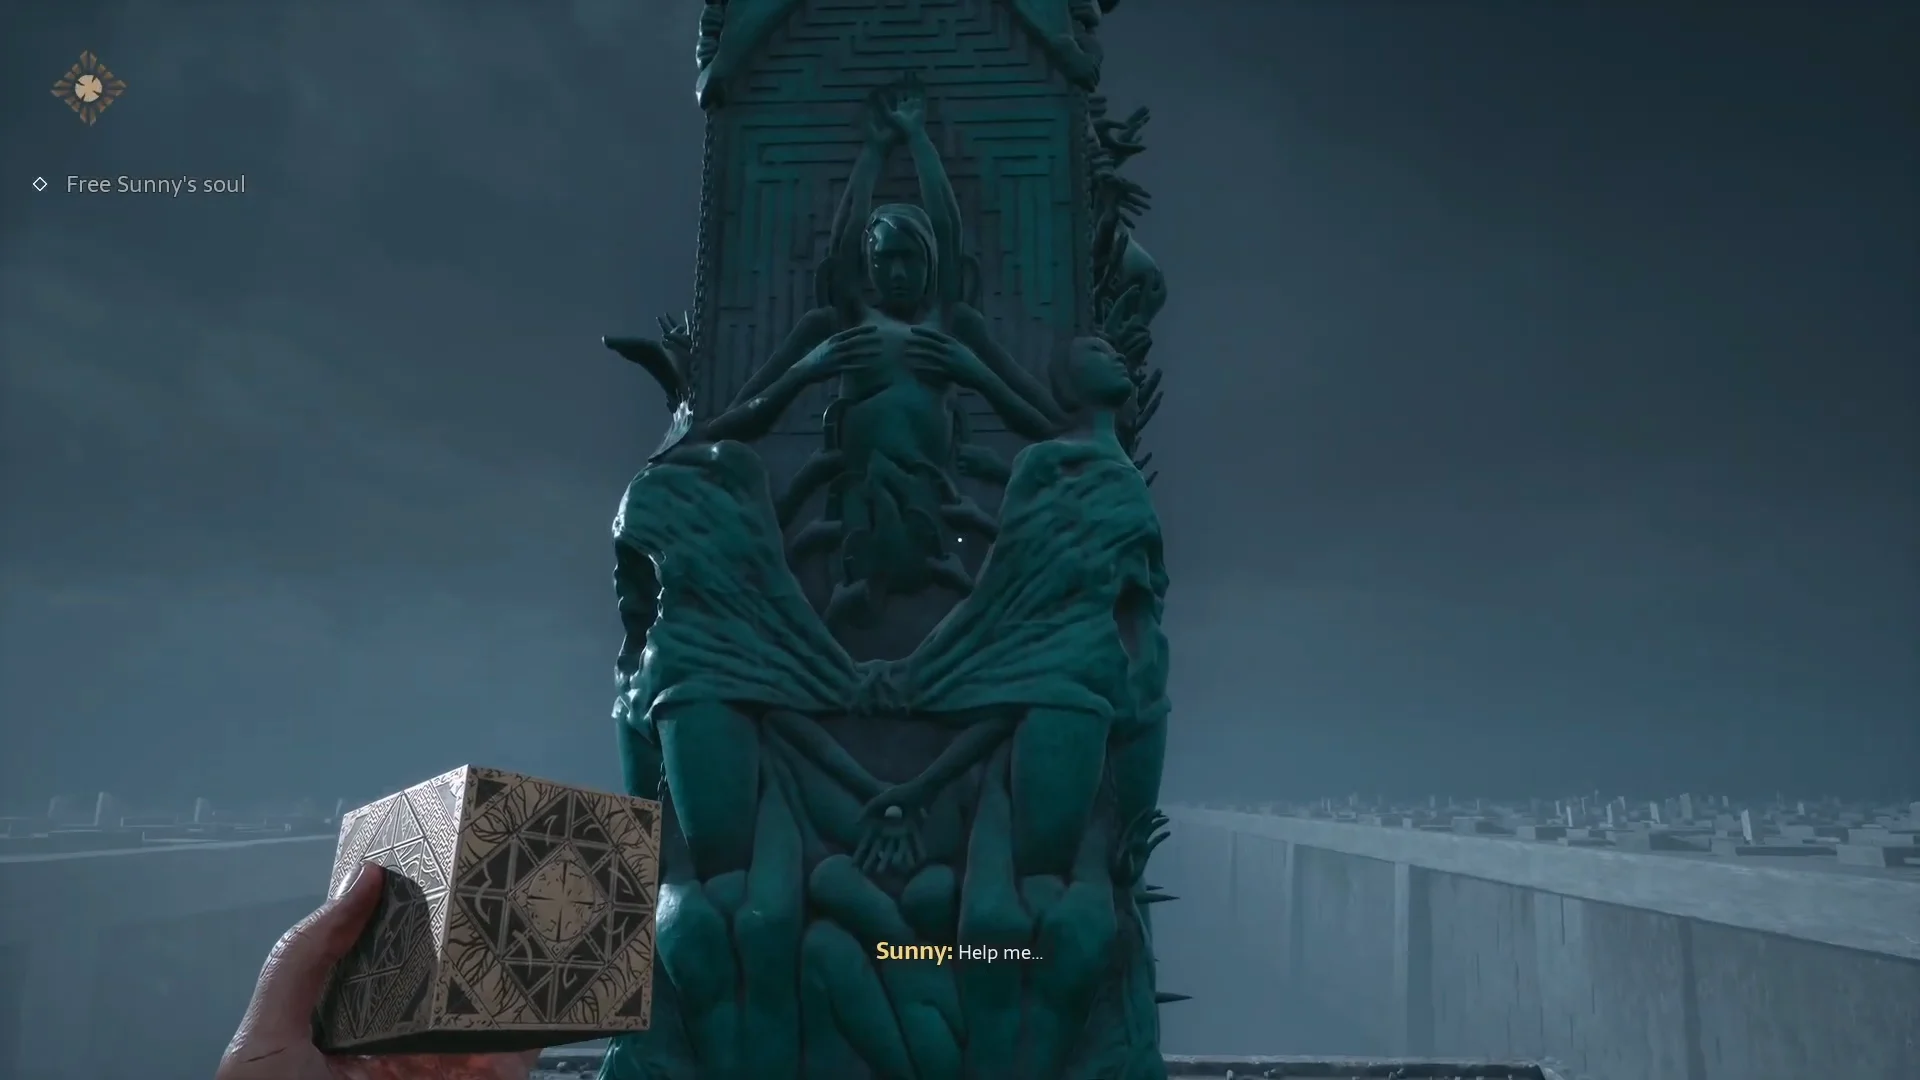
Interacting with the illuminated indentation on the pillar opens the Configuration puzzle. This is the lock that stands between Aidan and the next chapter of the story.
How the Genesis Configuration puzzle works
The puzzle is a small three-dimensional shape-matching challenge. The box’s unfolded structure sits on the right, and a blue silhouette on the left shows the target shape it needs to match. The goal is to reshape the box until it mirrors that outline, then slot it into the opening.
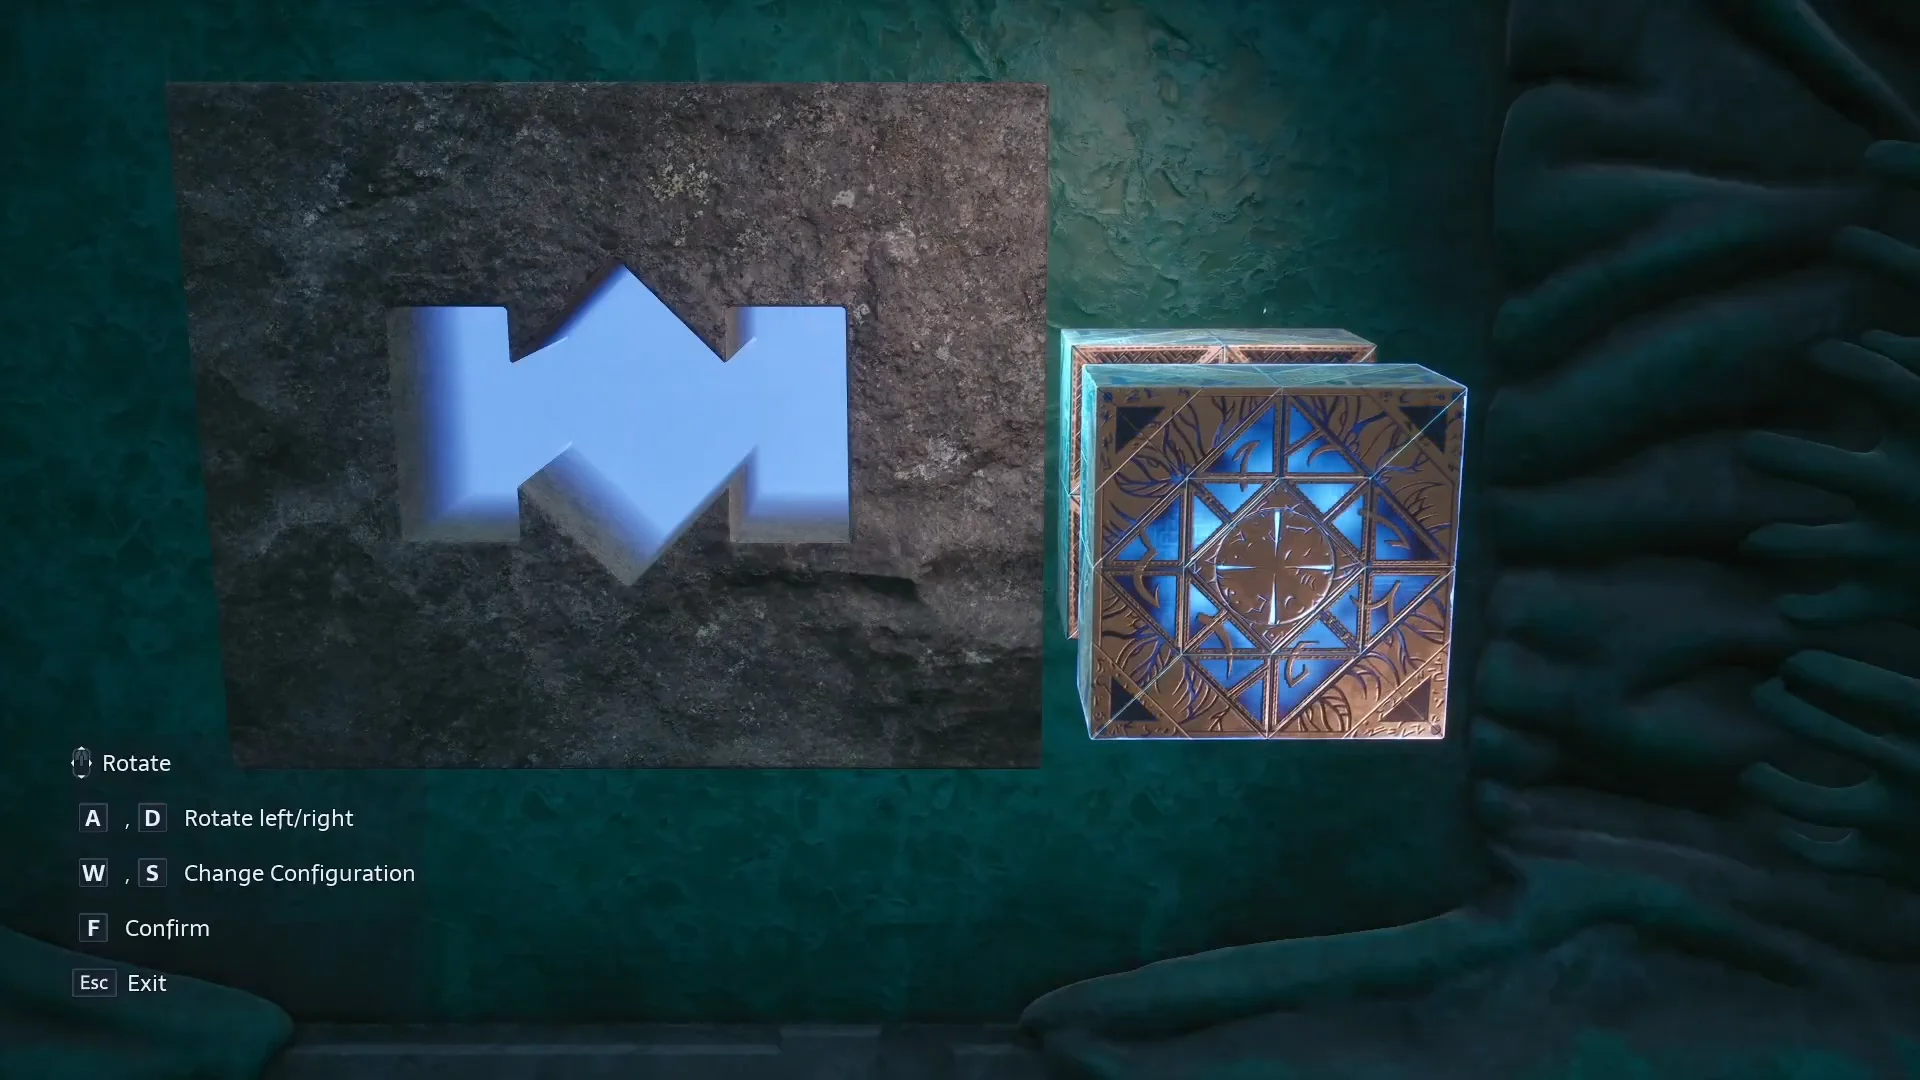
Two separate actions drive the solution, and keeping them distinct is what makes the puzzle click. Rotating a face turns the current end, while changing the configuration swaps the box into a different unfolded form. The on-screen controls label them plainly.
AandDrotate the shape left or right.WandScycle through the box’s configurations.Fconfirms and inserts the box;ESCexits the interface.
The correct answer is a symmetrical horizontal winged form, where the central cube tilts into a diamond and the side brackets extend downward to mirror the blue outline. The intended sequence is to rotate one end a single time, flip to the opposite end, and change its configuration twice without rotating it. Confirming that shape matches the pillar’s lock.
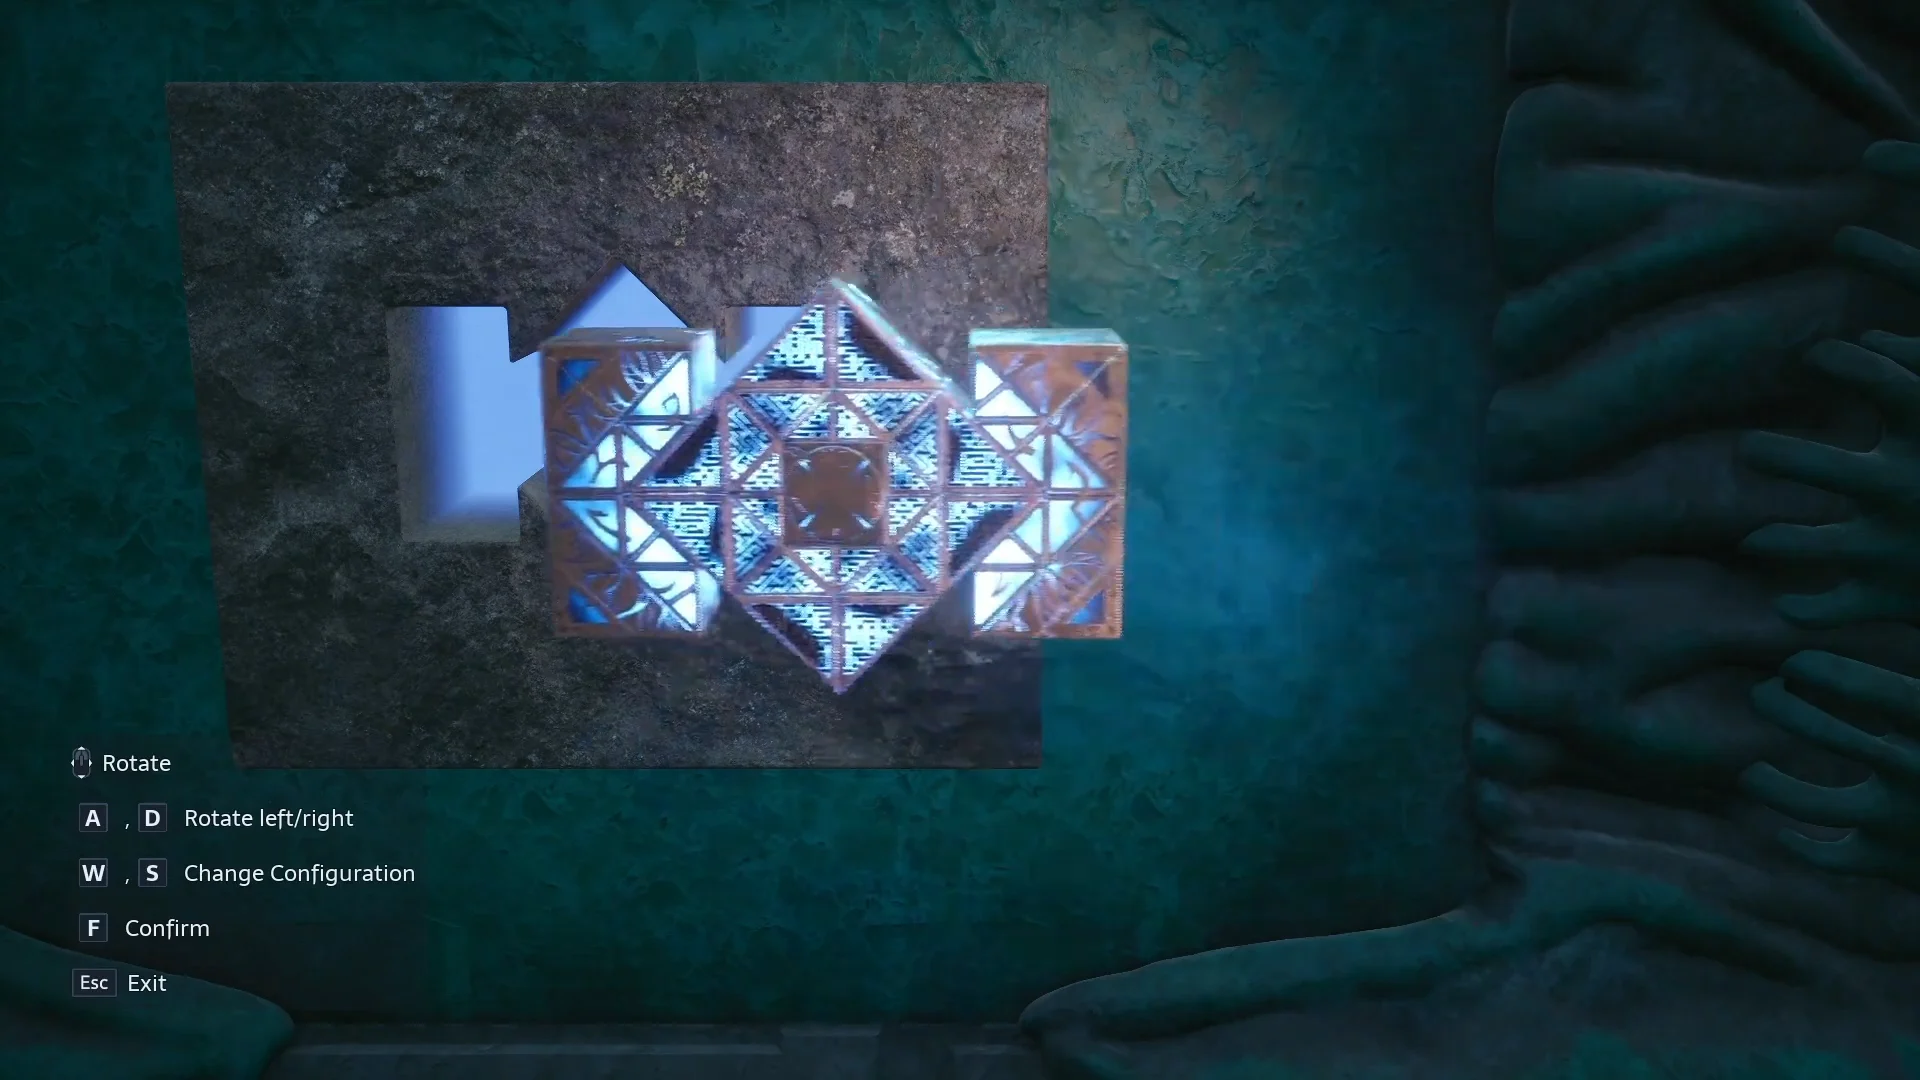
When the shape fits, the box locks into the wall with a jolt of electricity and the mechanism activates.
What happens after the pillar activates
Inserting the box triggers a brief flashback. A short cinematic shows Sunny lying in bed in tears while Aidan rests his hand against her cheek, a quiet memory of the two of them before the Labyrinth.
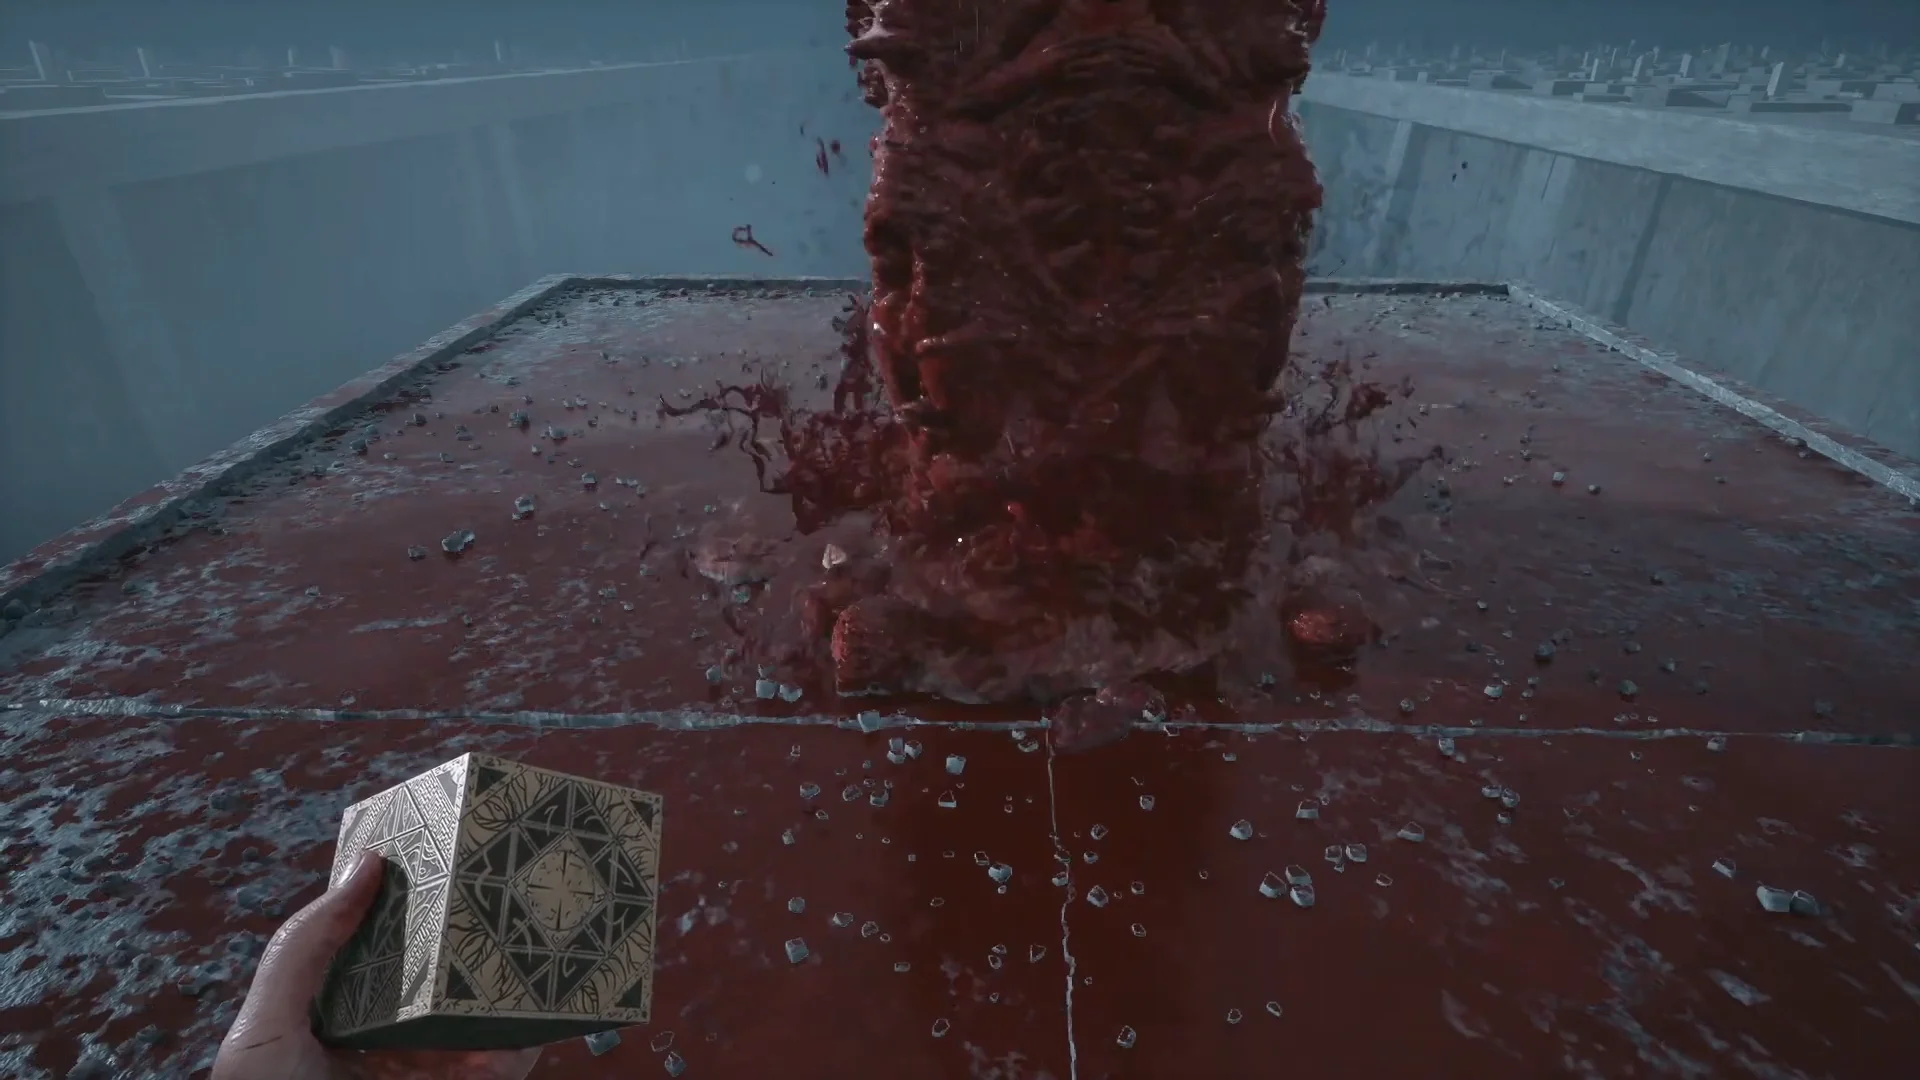
The tenderness does not last. The green pillar rapidly dissolves into a boiling, splashing pool of blood, and Aidan panics, crying out for Sunny as he realizes what has happened. Freeing her soul does not restore her the way he expected.
This turn sets up the next major objective of the game. Sunny is no longer trapped in the pillar, but her condition is far worse than Aidan hoped, and releasing her soul alone is not enough. From here, the story pushes him toward retrieving three hearts for Sunny, carrying the campaign into new areas, fresh enemies, and more puzzles built around the same Configuration box that opened her pillar.