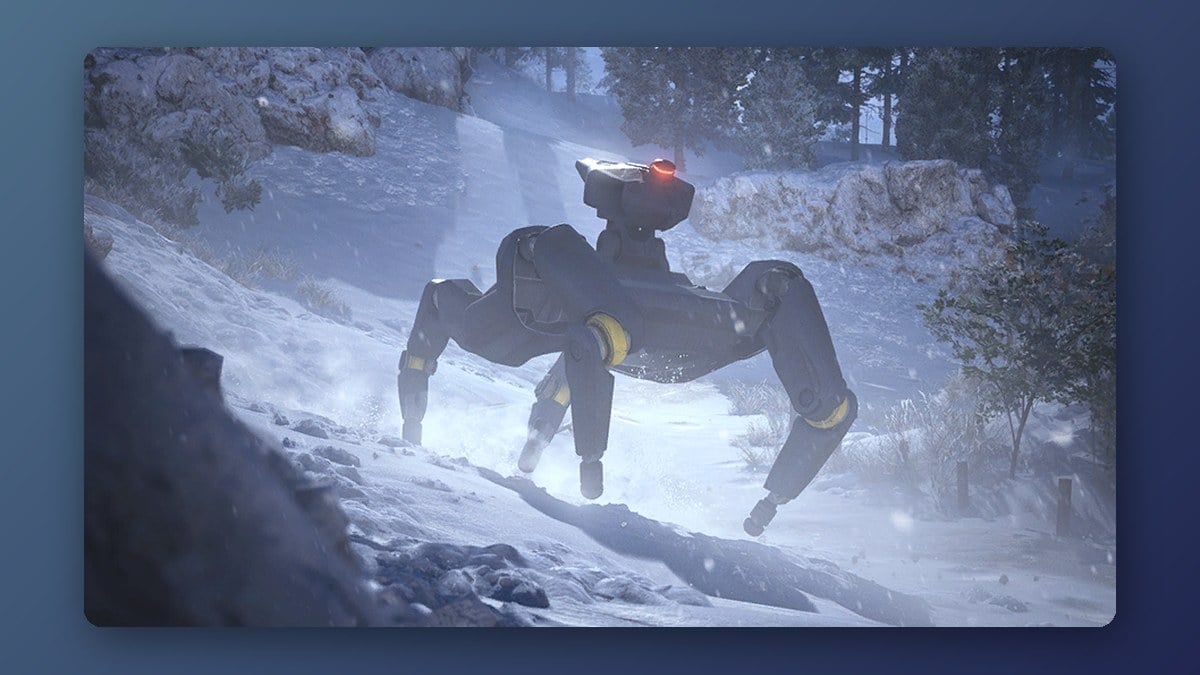
The Bully Fragmenter is an Epic crafting material added to ARC Raiders in the Frozen Trail update, and there is only one way to get it. You have to kill a Bully, the four-legged ARC machine that stalks the new Pendola Pass map, then dig the Fragmenter out of its scattered remains before anyone else does.
Quick answer: Kill a Bully on Pendola Pass, then loot its main body and cannon first. Only Bullies drop the Fragmenter, and you can usually expect about one per kill.
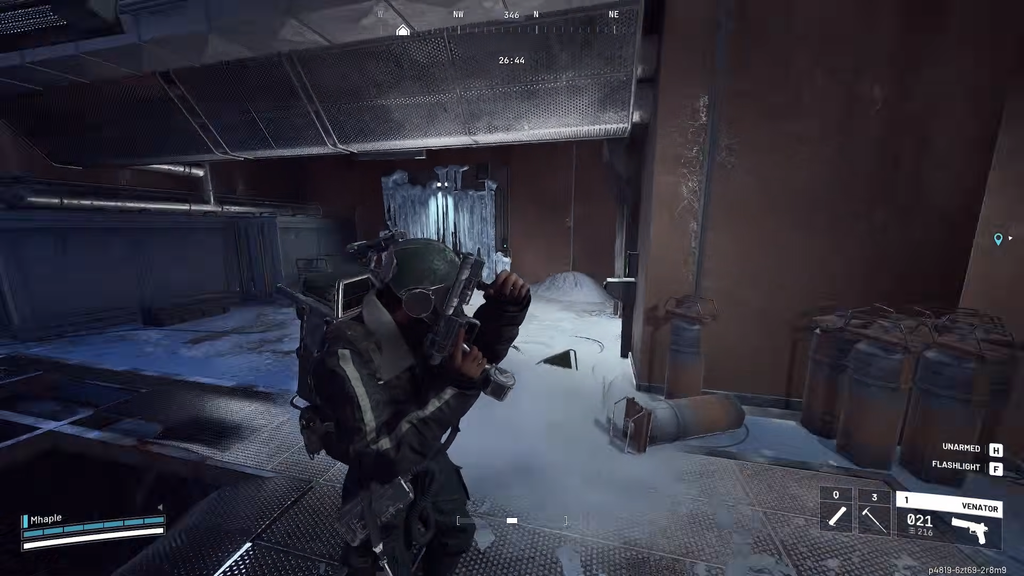
What the Bully Fragmenter is used for
Two things make the Fragmenter worth chasing. It is required for a new quest, and you need it to push your Research Table to Level 3 at your Outpost. Keep any spares in your stash rather than burning them, since both uses demand the material directly.
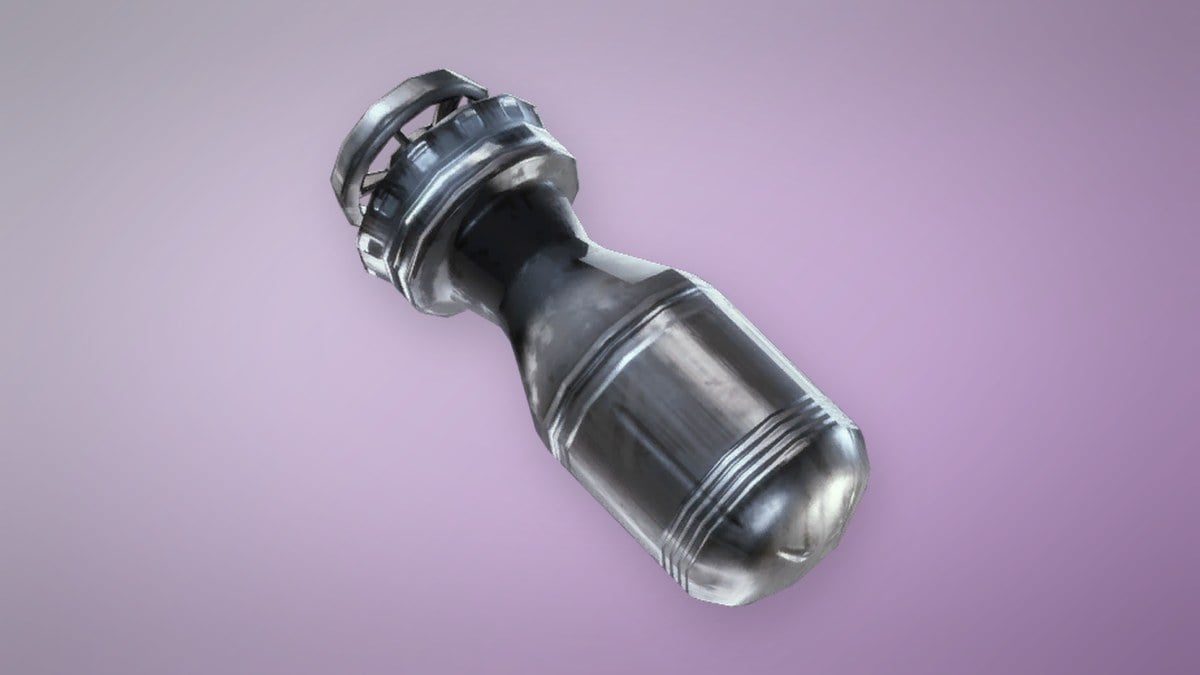
It is also a recyclable, so you can break it down into crafting materials such as Explosive Compound and ARC Alloy instead of holding onto it. On top of that, the Fragmenter doubles as a throwable. Lob one and it splits into a cluster of explosions, the same kind of attack the Bully throws at you. It is wasted out in the open, so save it for a doorway, a room, or directly under another ARC.
Where Bullies spawn on Pendola Pass
Bullies only roam Pendola Pass, the snowy map that arrived with Frozen Trail. They do not appear on the other maps right now, so this is the drop you queue into if you want Fragmenters. There are eight spawn sites across the map, and the machine patrols rather than sitting in one spot, so treat the areas below as search zones instead of fixed markers.
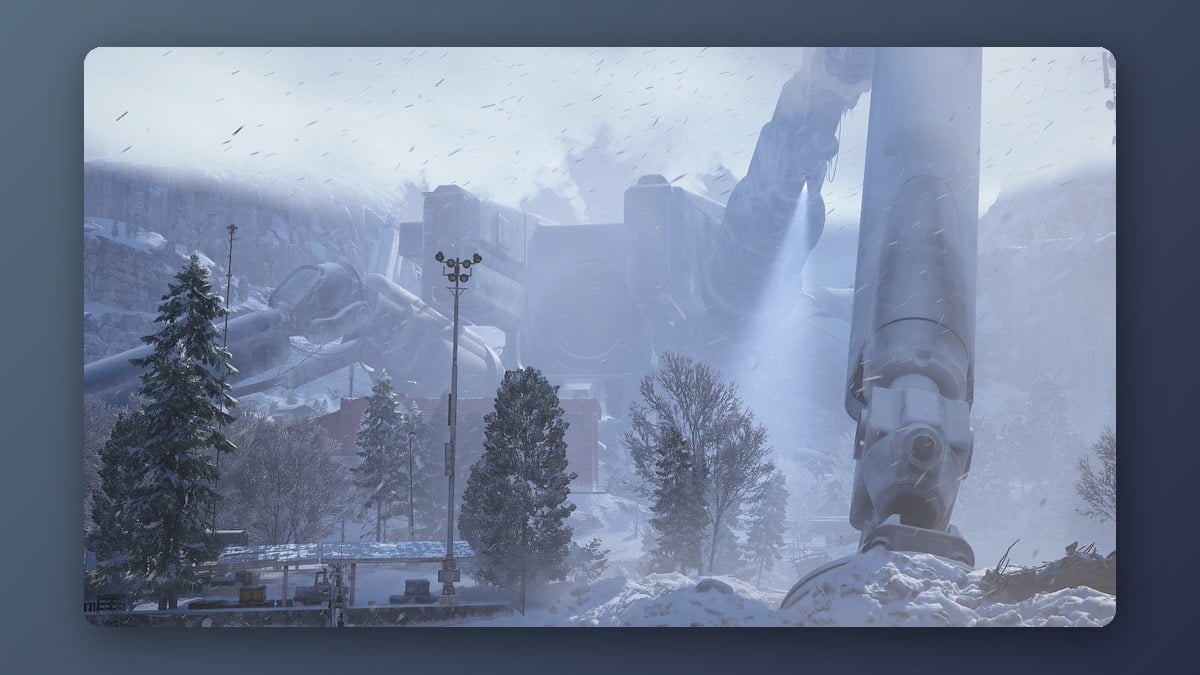
| Area | Where to look |
|---|---|
| North of Railroad Junction | Around the train and the nearby terrain |
| Commissary Supermarket | Both sides of the building |
| East of the Fallen Emperor | Patrol the surrounding ground |
The Bully chases you across rocky ground and keeps its momentum, so pick a fighting spot with solid cover before you make any noise. A building or narrow passage takes away its speed and gives its cluster bombs less room to land.
How to take down a Bully
The Bully is a heavily armored, highly mobile ARC that fights at every range. Up close it fires a shotgun blast, and from a distance it lobs a volley of grenades that go off a couple of seconds after they land. Its charging body attack deals 85 damage per hit, and it uses hit-and-run tactics, closing the gap, firing, running past, and circling back.
Bully weak points and health
Aim for the yellow joints on each of its four legs. These are the main weak points, and breaking the legs dismembers the machine much like a Leaper, cutting its mobility. Do not waste rounds on the armored torso, which is wrapped up tight and will chew through your gear. The main cannon is a second target: strip the armor covering it to expose a yellow weak point underneath, then shoot that to disable the weapon.
| Part | Health |
|---|---|
| Body | 3,000 |
| Head | 1,600 |
| Upper leg | 500 |
| Lower leg | 400 |
| Leg joint | 400 |
| Heavy armor plate | 90 |
| Light armor plate | 48 |
| Head armor | 48 |
Weapons that cut through its armor
You want high damage and reliable accuracy so you can hit those small, moving joints. The Hullcracker is the standout pick for dedicated Bully hunting. It fires explosive projectiles, and the launch patch pushed its armor damage up by more than 50 percent while lowering its damage to fragile parts, which makes it excellent for stripping armor plates from a safer distance. The Rascal is the other strong Fragmenter-farming option.
For raw armor penetration, the figures below show damage per shot against ARC armor. Skip light ammo weapons like the Stiletto and Bantam, which bounce off the Bully.
| Weapon | Penetration | Armor damage |
|---|---|---|
 Jupiter Jupiter | Very strong | 180 |
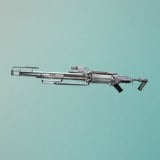 Aphelion Aphelion | Strong | 125 |
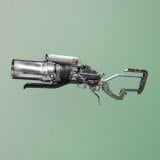 Dolabra Dolabra | Strong | 75 |
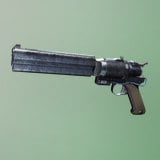 Anvil Anvil | Strong | 60 |
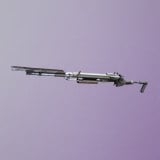 Ferro Ferro | Strong | 60 |
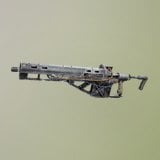 Bettina Bettina | Strong | 32 |
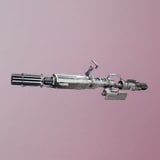 Equalizer Equalizer | Very strong | 20 |
Grenades and mines
Explosives shorten the fight, though some are pricey to spam. Here is what works and what it costs you.
- Showstopper Grenades — stall the Bully’s erratic movement so you can line up clean shots on the leg joints or exposed cannon.
- Deadline mines — two will destroy a Bully, but sticking one to its body while it is moving is tricky.
- Wolfpack Grenades — around four are needed per Bully, which is only worth it if you are sitting on a big supply.
Hold one leg in place, set a Deadline below it, and move out of range as its countdown expires. If you brought Showstoppers, activate one to freeze the machine, then focus your fire on one limb.
Looting the Fragmenter from the wreckage
Once the Bully goes down it shatters into a pile of separate lootable pieces, and the Fragmenter can hide in any of them. Head straight for the main body and the destroyed gun first, since those have the best chance of holding it. Expect roughly one Fragmenter per kill, so plan for a grind if you need several.
Fighting a Bully is loud, and other Raiders will hear it. Move fast once it is down, grab the Fragmenter, and drop it into your Safe Pocket so you do not lose it if things go wrong.
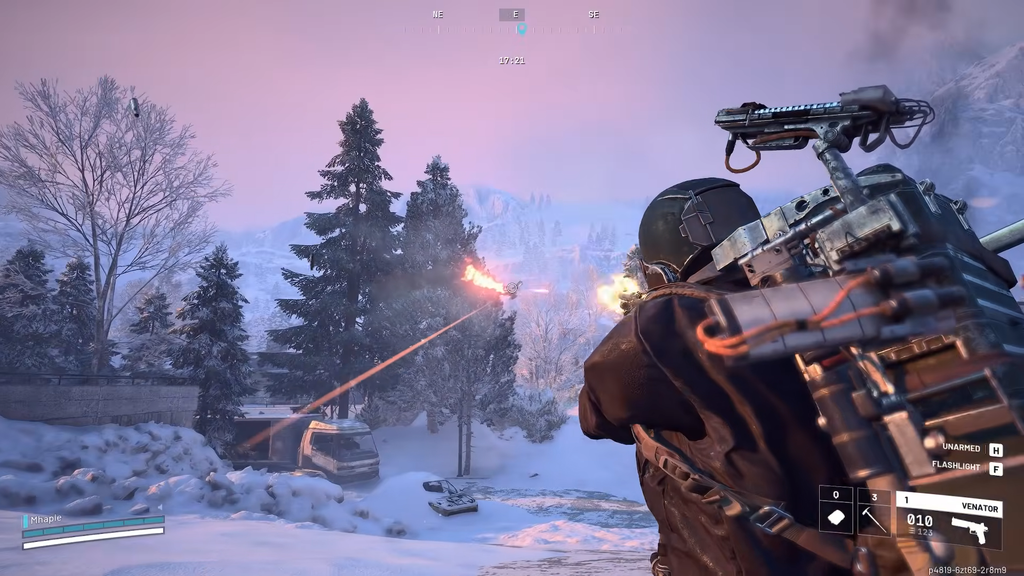
Completing Bait, Fetch, Blast
The quest that sends you after the Fragmenter is Bait, Fetch, Blast, handed out by Apollo. It asks you to destroy a Bully, which counts whether you wreck the whole machine, blow off its head, or break all four of its legs.
Because the Fragmenter also feeds your Level 3 Research Table, getting it back out of the raid matters more than squeezing in extra kills. Once you have what you came for, head to extraction and bank it.