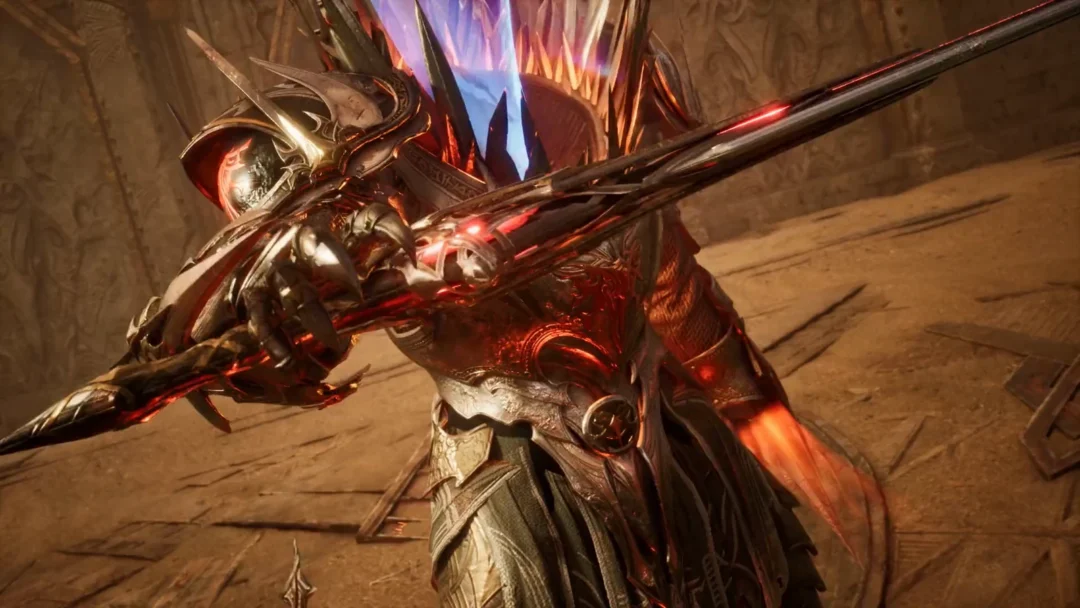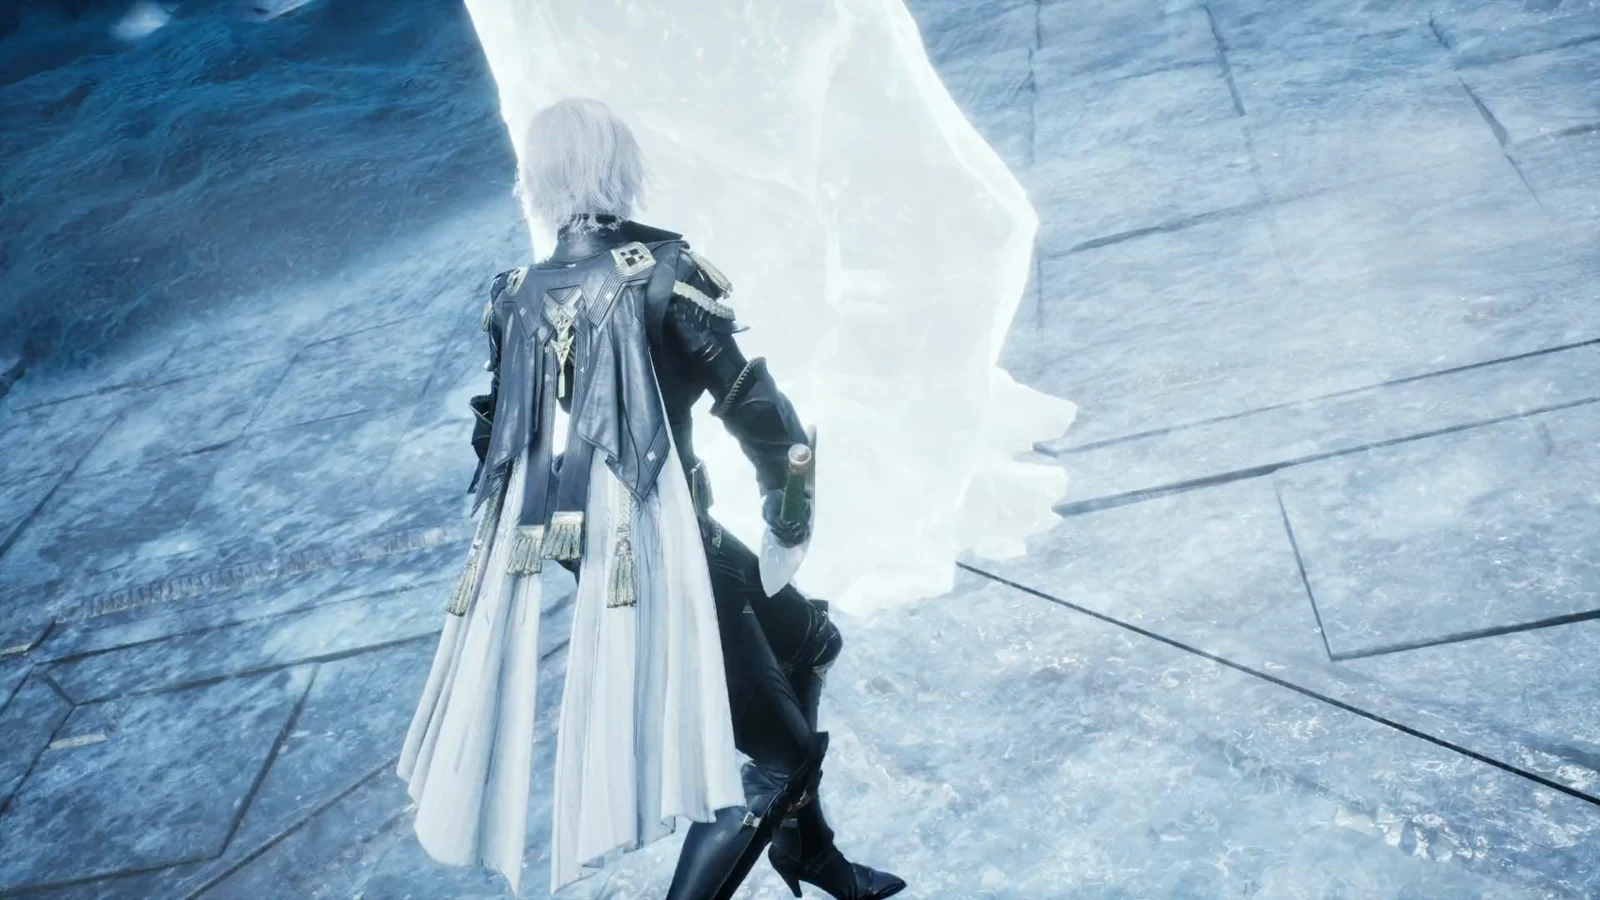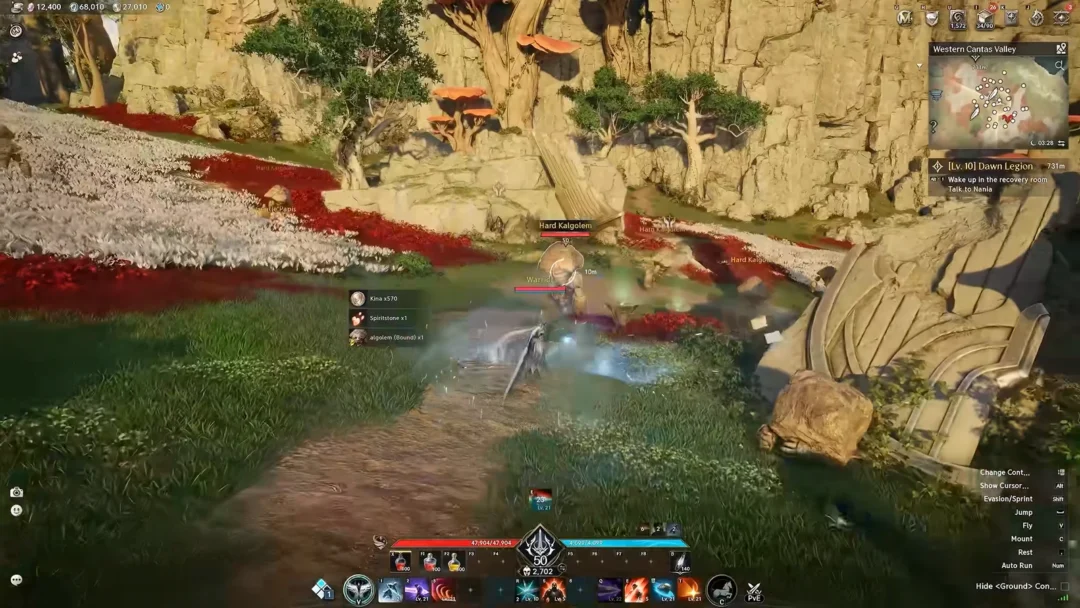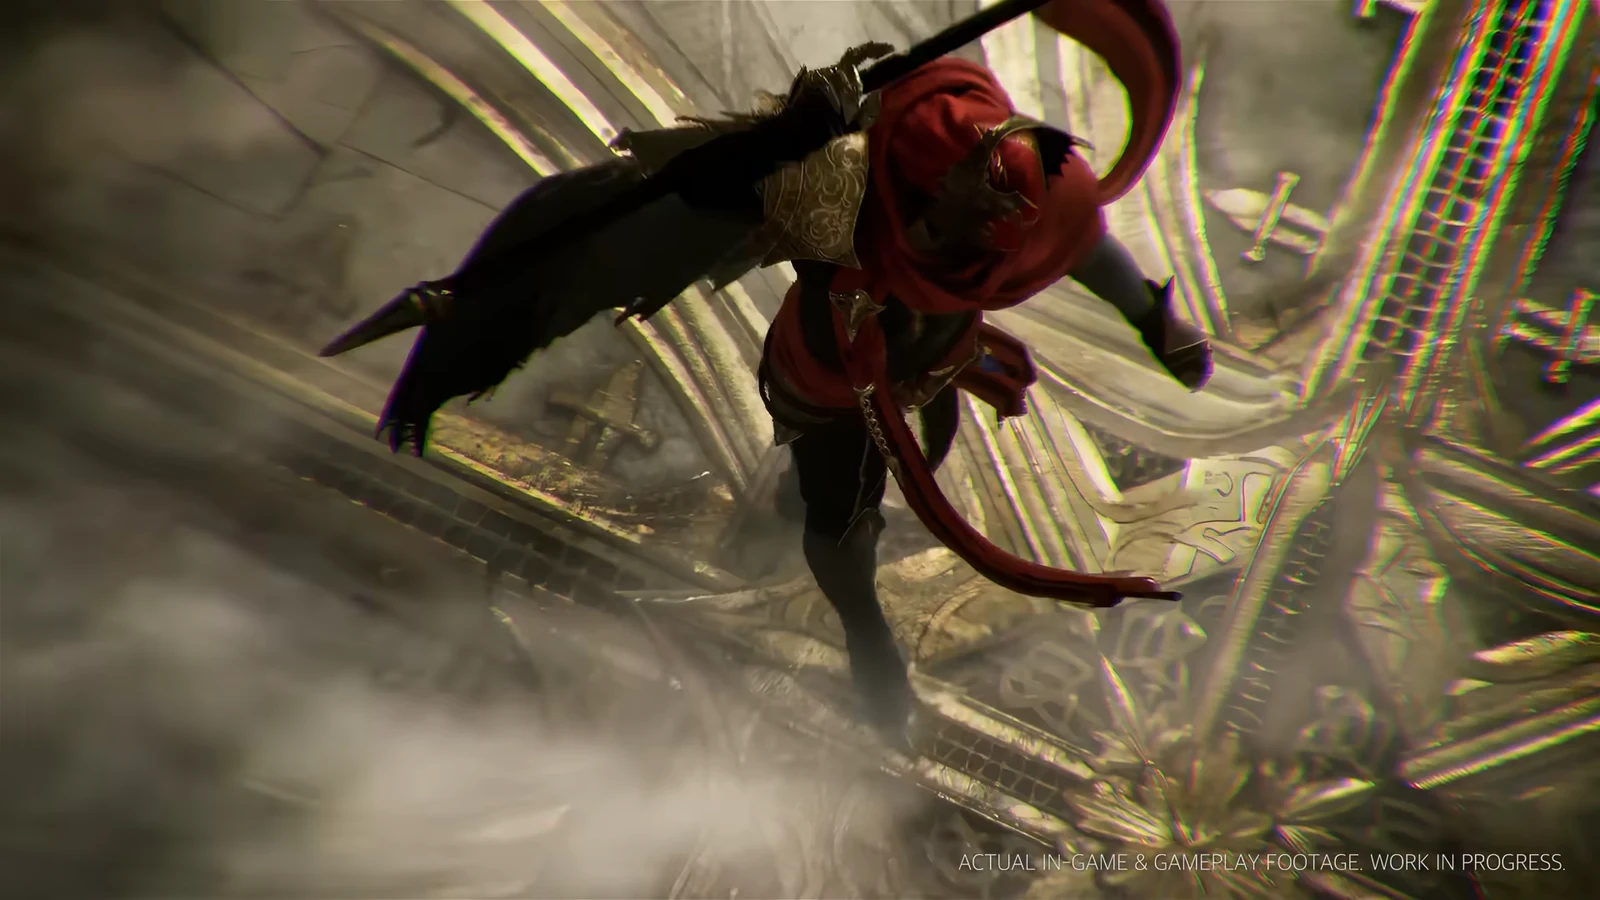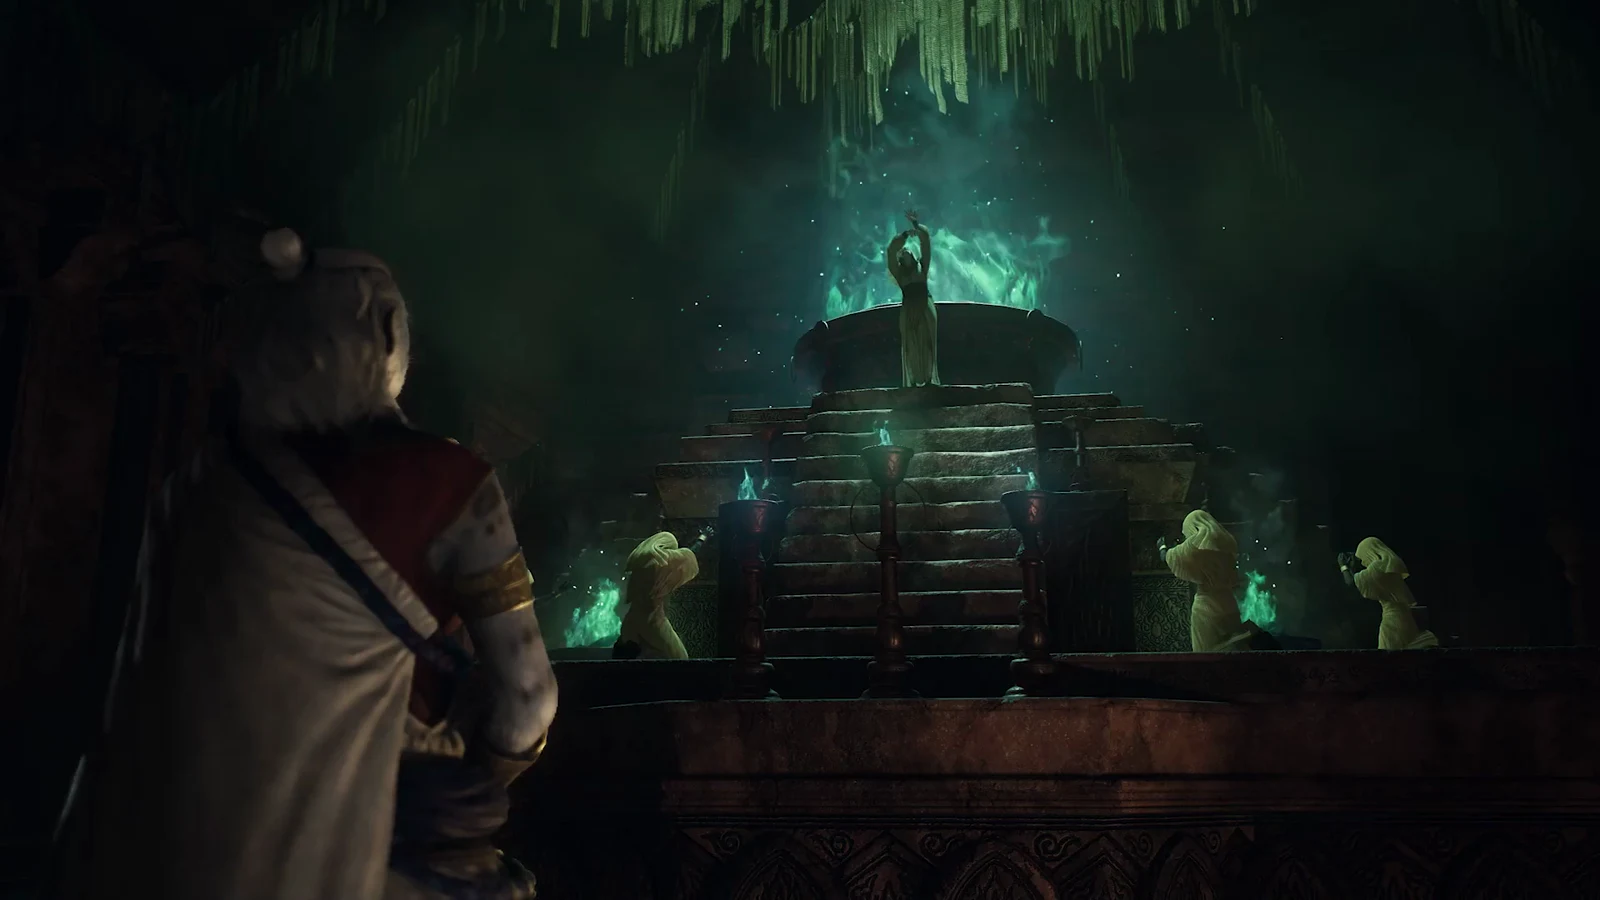
In Aion 2, Fire Temple is a party dungeon set in a volcanic cavern, with three major bosses and the fallen Silent Judicator Kromede trapped inside beside the relics she stole. The footage follows a five-player Conquest clear on the 3-star setting from a Templar tank’s perspective: the group goes directly from one major fight to the next, keeps threat through powerful fire attacks, and opens the Odyle Energy Cube at the end. It clearly shows how the dungeon plays when your gear is up to the challenge.
Quick answer: Fire Temple has two versions — Exploration opens at level 35, Conquest at level 45 with 2,100 Item Level. Both are 1-5 players with a 60-minute limit, ending at Kromede’s Desire.
Entry requirements: Exploration vs Conquest
Fire Temple is a Tier 3 expedition with two difficulty settings that share the same layout and bosses but ask for very different characters. Exploration is the learning version. Conquest is where the stronger gear drops, and it gates you behind a hard 2,100 Item Level check that is separate from Combat Power or Gear Score.
| Setting | Unlock level | Item Level | Odyle Energy |
|---|---|---|---|
| Exploration | 35 | 500 | 30 |
| Conquest | 45 | 2,100 | 40 |
Both versions allow 1 to 5 players and cap the run at 60 minutes. Meeting the 2,100 Item Level floor is the minimum to enter, not a sign the clear will be easy — a full party gives you room to recover from mistakes while you learn the fire mechanics.
The route through the temple
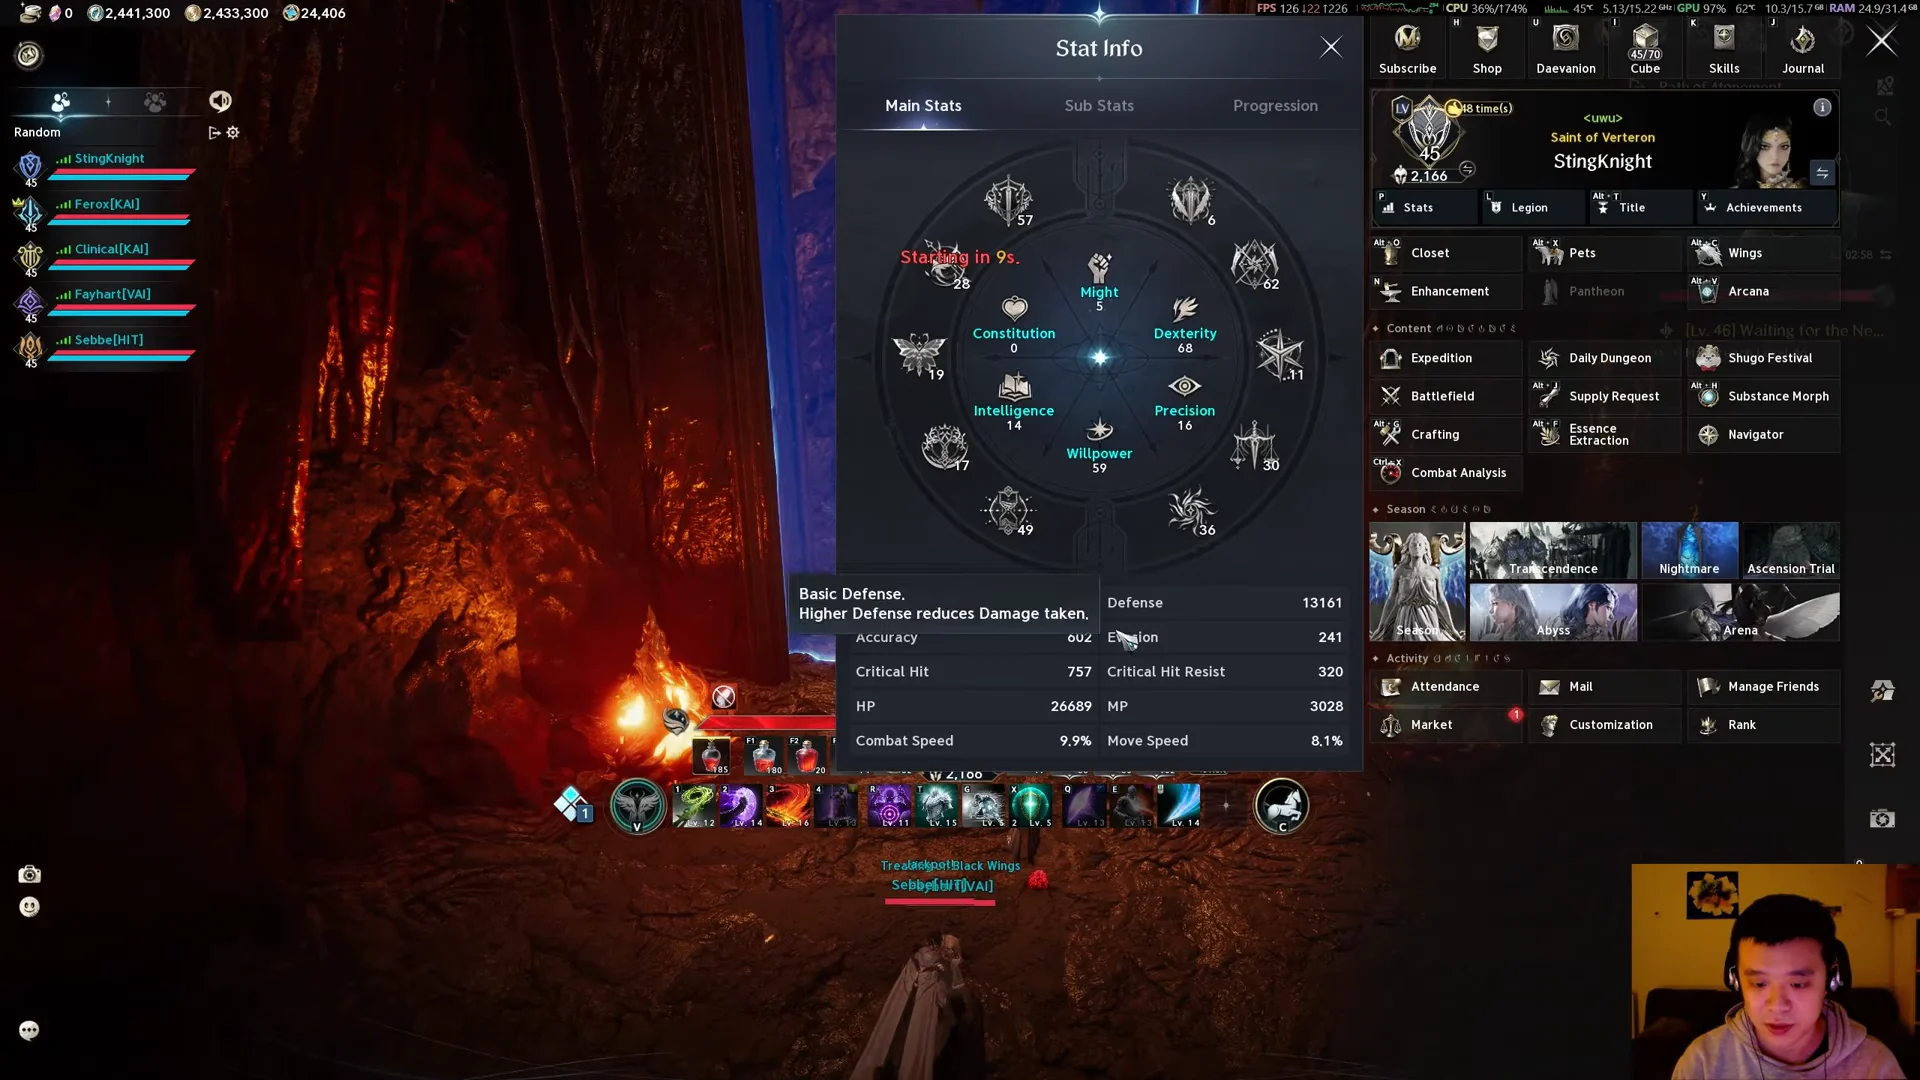
The dungeon opens on the Path of Atonement, a rocky corridor of magma pools and fire spirits. A Conquest party built for speed dashes past the trash packs and heads for the boss arenas, since the clear only requires the bosses, not every mob. Along the way sits Silver Blade Rotan, an optional elite that can be skipped if the goal is a fast run.
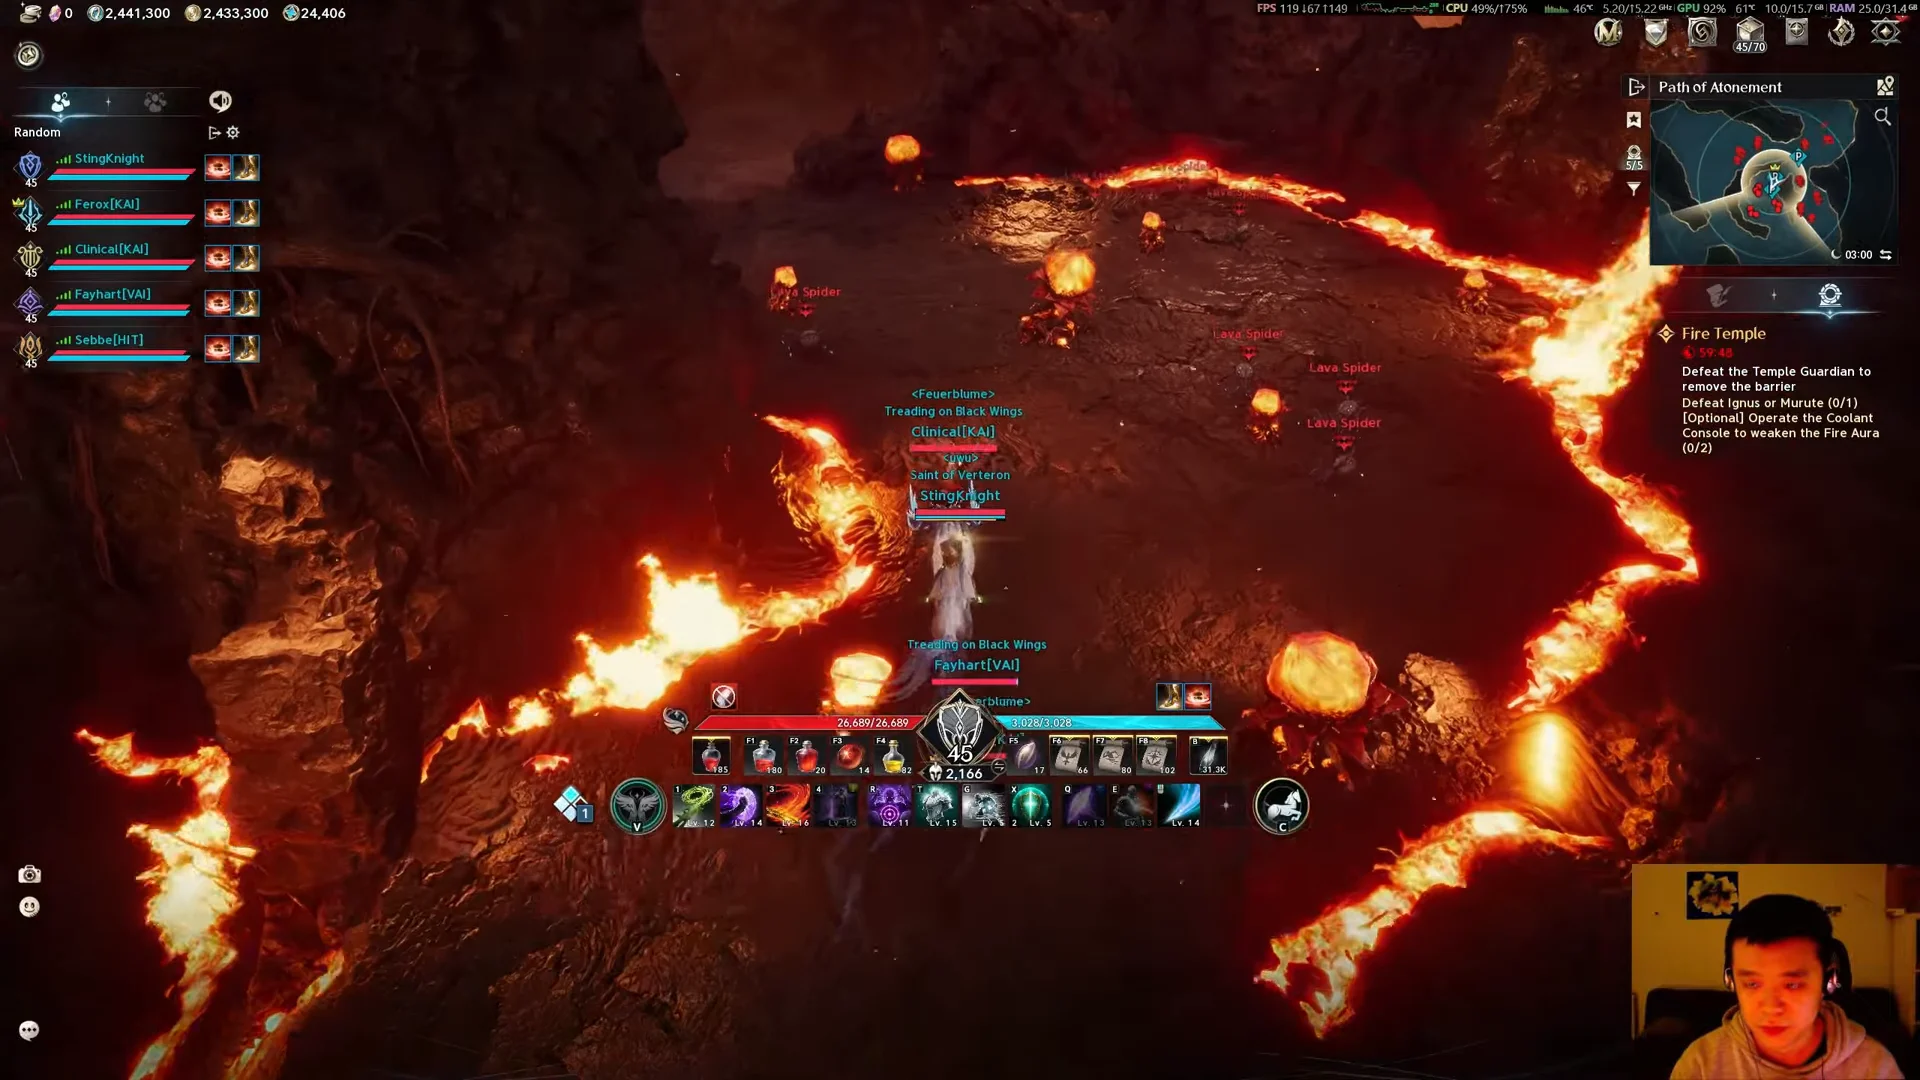
From there the party crosses the Burning Scarp, a stretch of rocky ledges and lava flows leading up to the second boss platform, then glides down the Fire Corridor toward the Mirror Altar where the final fight waits. Merciless Spark Spirits patrol the Burning Temple and Fire Corridor and will aggro if you linger.
The bosses and what they do
All four encounters sit at level 37. The two mid-bosses have readable patterns; Kromede’s Desire is the wall the run is really testing.
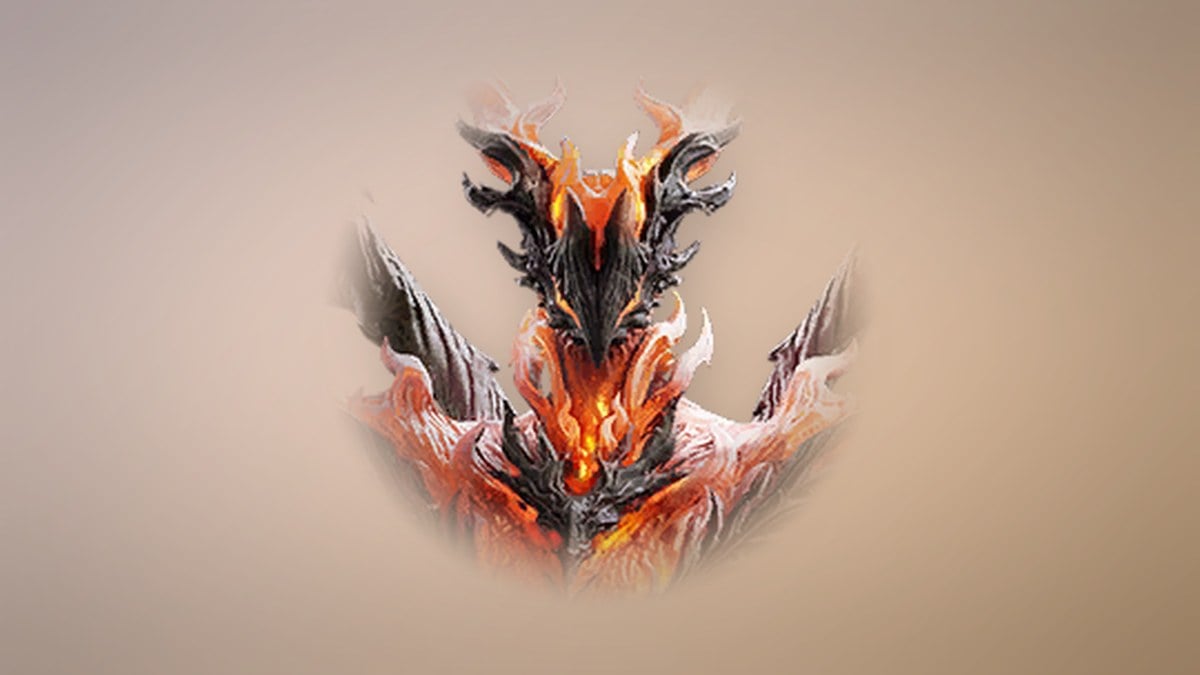
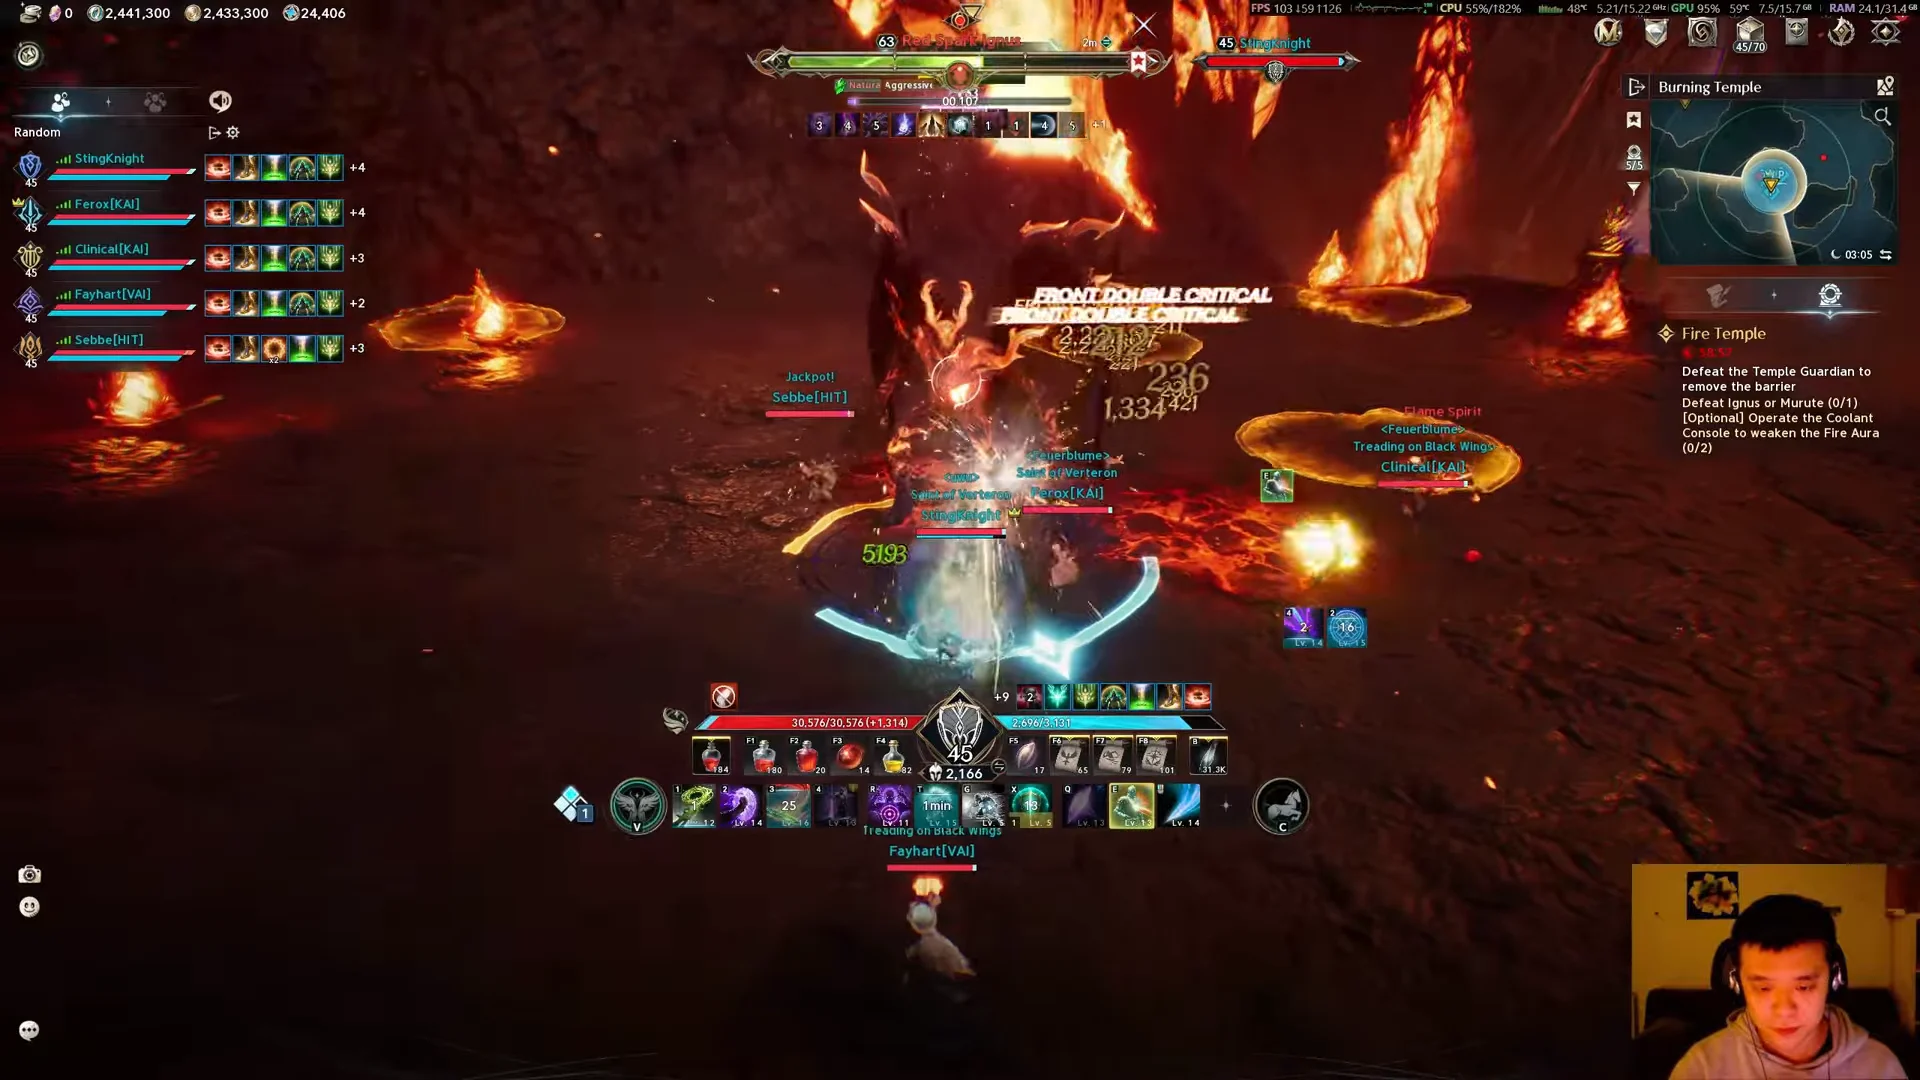
Red Spark Ignus
Red Spark Ignus releases ring-shaped fire blasts and patches of burning terrain; step clear of them while keeping your damage up. It tags players, causing lava pools to form beneath them; anyone marked should place the pools at the arena’s edge to preserve the safe area in the middle. The boss rushes the tank and leaves AoEs in its path.
Black Smoke Murute
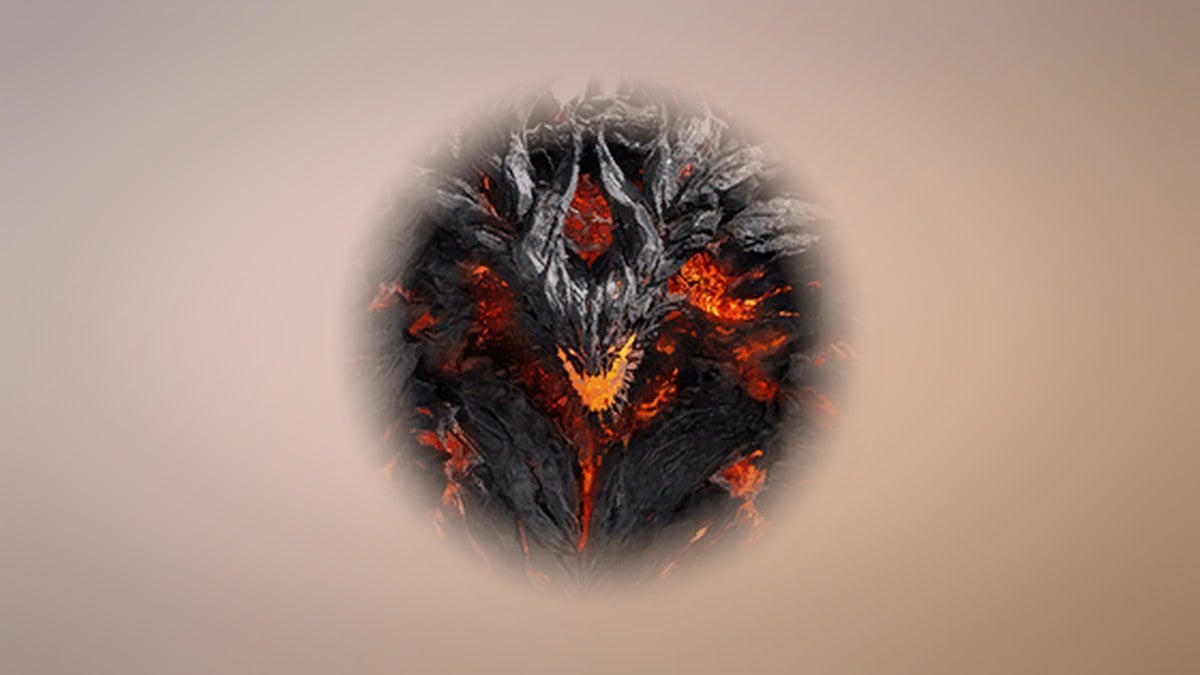
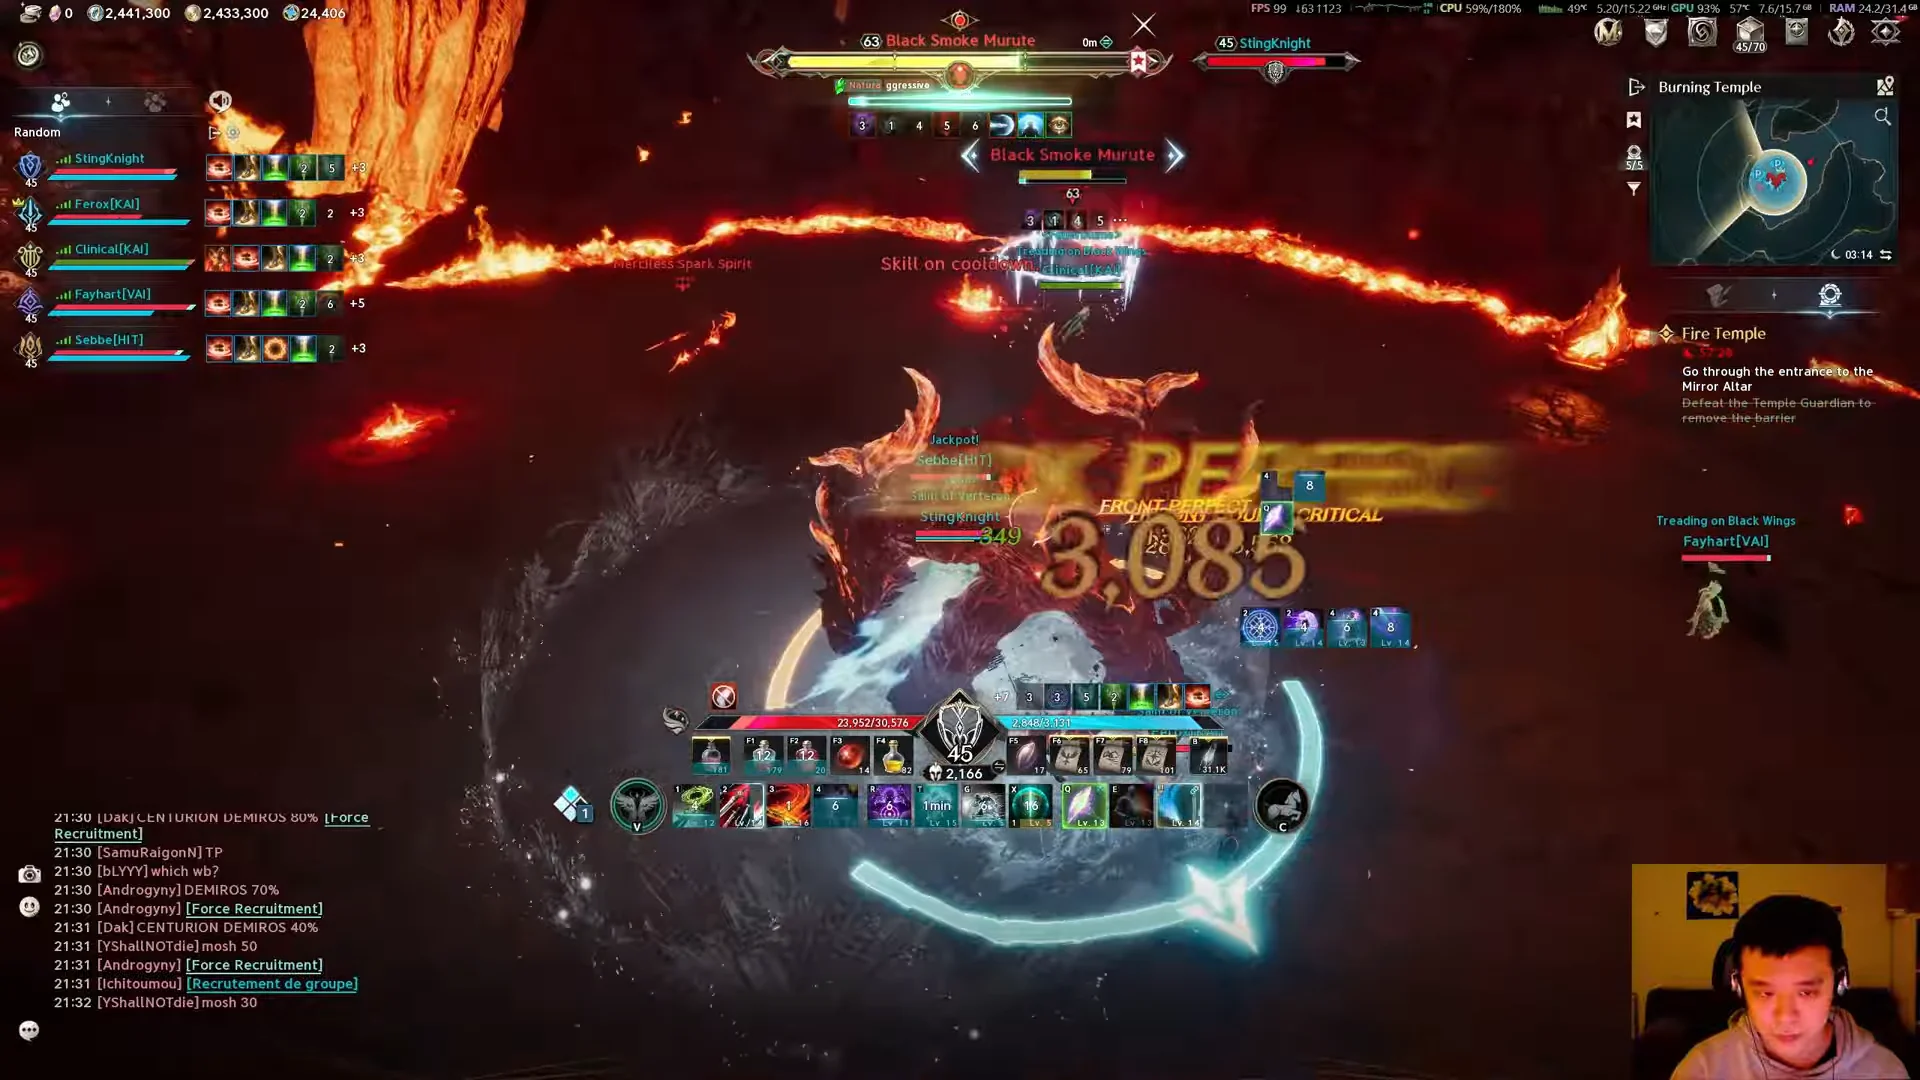
Black Smoke Murute uses punishing physical smashes and forward cleaves. The tank should point it away from the party and raise a shield for its strongest blows. Several moves resolve after a pause: circles appear beneath players once the animation has played, so don’t dodge before the attack develops. At about half health, it unleashes stomp waves that expand out from the boss.
Kromede’s Desire, the final fight
Beyond the Mirror Altar door, an unskippable cutscene shows Kromede engulfed in flames, then the battle starts. Make sure the entire party has entered the boss area first, as anyone arriving late may be locked out. The tank should face her away from allies, and melee should stay at her back to avoid her sword swings.
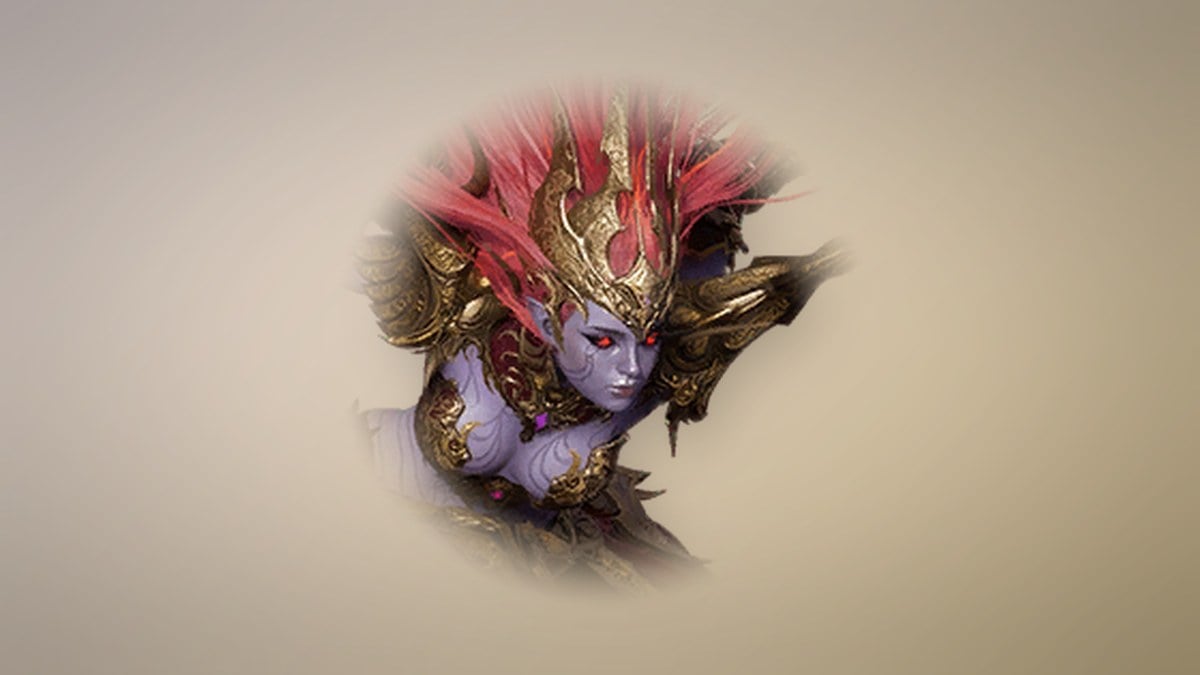
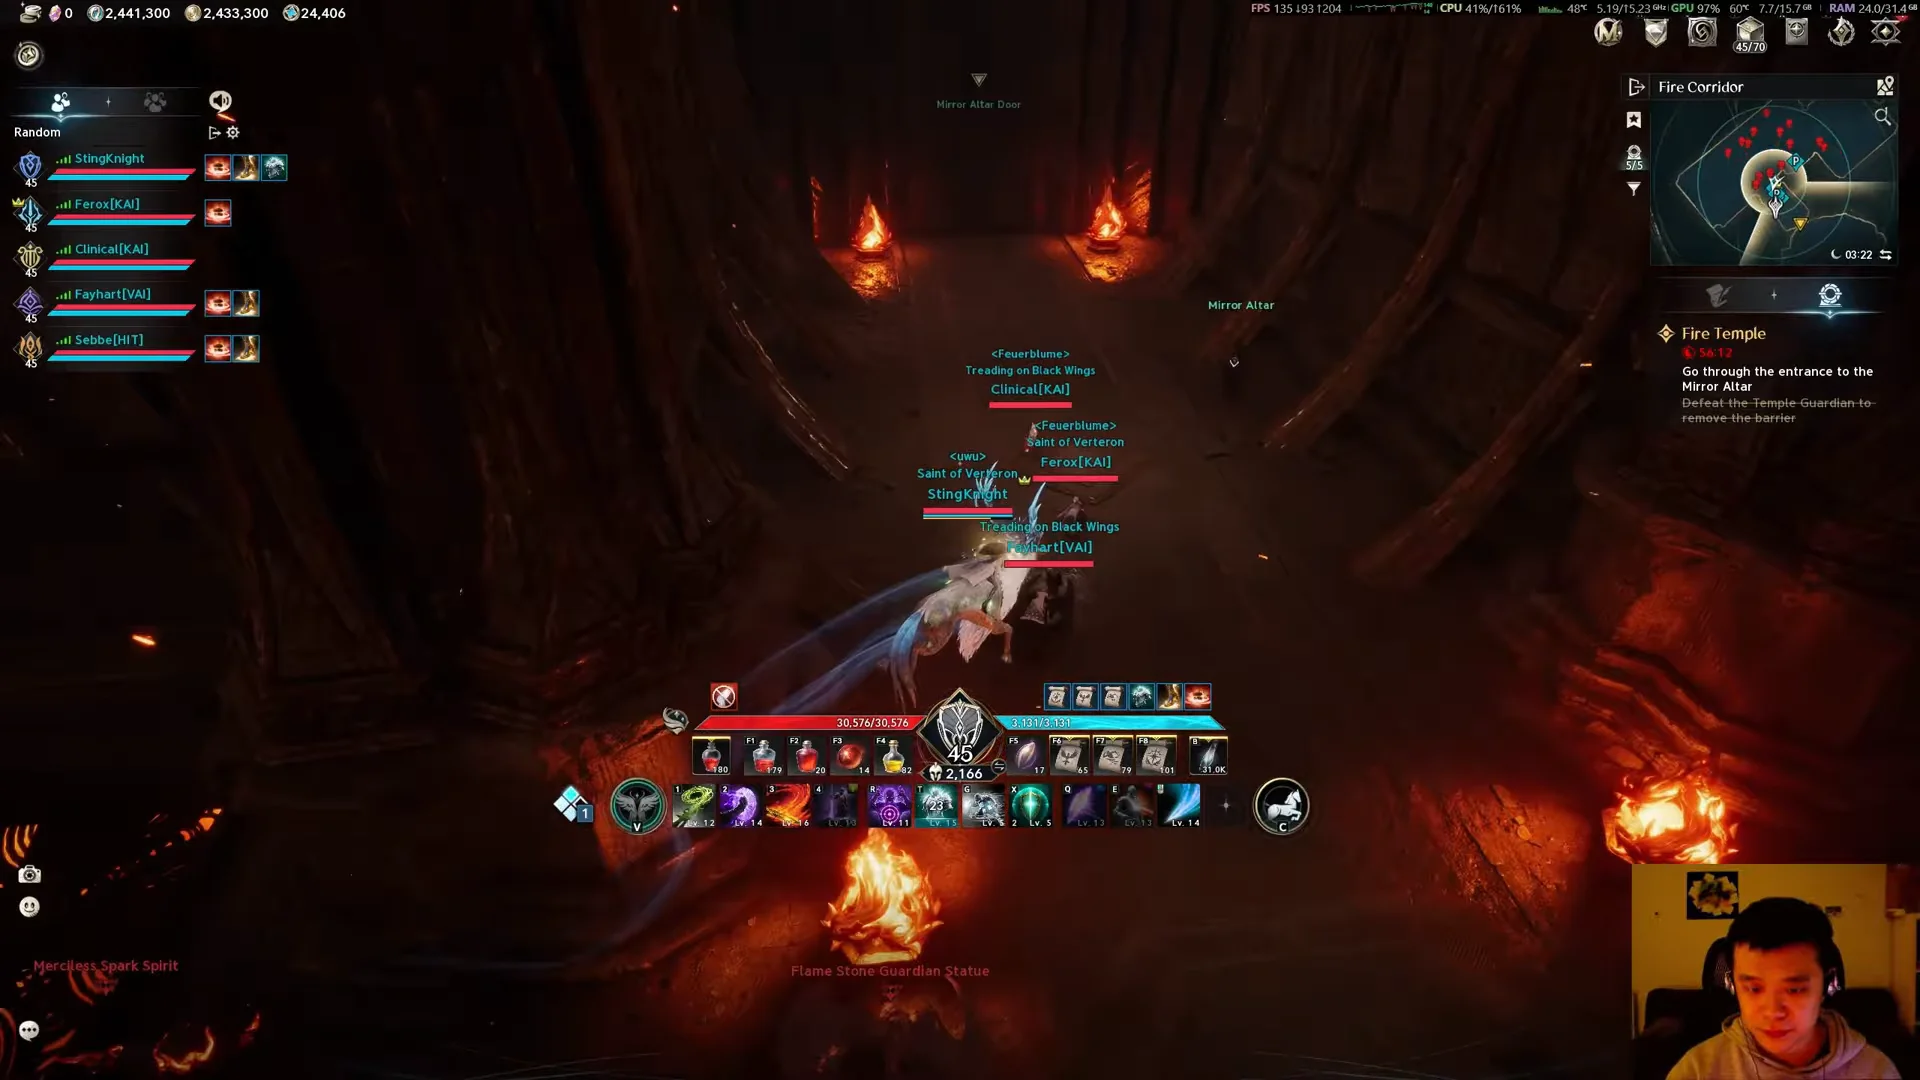
Her main attacks come in quick succession. Burning Arrow traces red paths toward players, then sends fire along them, so leave any marked path immediately. She also uses rings of flame, broad lava floods that cover the floor, and powerful dives from the air that must be blocked or shielded.
At about 70% health, she becomes invulnerable and begins Flame Walls, sending moving barriers of fire across the arena with safe gaps between them. Find an opening early and move through it instead of spending all your Stamina right away. In Conquest, fire projectiles also emerge from the sides as the walls advance. A tougher Flame Wall phase follows near 35-40% health, adding more projectiles and fire zones; Kromede clones appear later and increase the AoE pressure.
Staying alive beats maximizing damage here. Losing several players during the wall phases is what turns a run into a wipe.
Kromede’s Desire also exists as a separate Tier 4 boss challenge set in Fire Temple, running 10 stages with recommended Combat Power climbing from 3,500 to 3,950 across them.
Boss loot tables
Each boss adds its loot pool to the Odyle Energy Cube, which is why clearing both mid-bosses before Kromede matters for a full payout. The Judicator epic armor set is the main draw, and Kromede’s Desire carries the best odds on every piece. Here are the per-piece Epic drop rates by boss.
| Epic drop | Red Spark Ignus / Black Smoke Murute | Kromede’s Desire |
|---|---|---|
| Judicator Gloves | 6.8% | 15.2% |
| Judicator Cloak | 6.8% | 15.2% |
 Judicator Earrings Judicator Earrings | 6.8% | 15.2% |
| Judicator Helm | 5.4% | 12.2% |
| Judicator Pauldrons | 5.4% | 12.2% |
| Judicator Boots | 5.4% | 12.2% |
| Judicator Greaves | 4.5% | 10.2% |
| Judicator Breastplate | — | 7.6% |
 Silent Necklace Silent Necklace | 5.4% | — |
Kromede’s Desire additionally drops the Unique accessories Wrathful Ego at 3.6%, Enraged Kromede Ring at 1.7%, and Enraged Kromede Earrings at 1.3%, along with Durable Balaur Scale, Leather, Horn, and Balaur’s Essence at 30% each and an Amplify Stone Fragment at 20%. Black Smoke Murute also carries Murute Earrings and the Corrupted Judicator pieces at roughly 8-10%. Across all its drops, Fire Temple has 111 obtainable items in total.
Odyle Energy and the reward cube
Rewards come from the Odyle Energy Cube opened after the clear, and claiming it costs Odyle Energy — 30 for Exploration, 40 for Conquest. You can hold up to 560 Odyle Energy, or 840 with a membership, so plan your runs around that pool. Conquest provides the stronger gear, including the Enraged Kromede accessories, which makes it the better place to spend energy once it is unlocked.
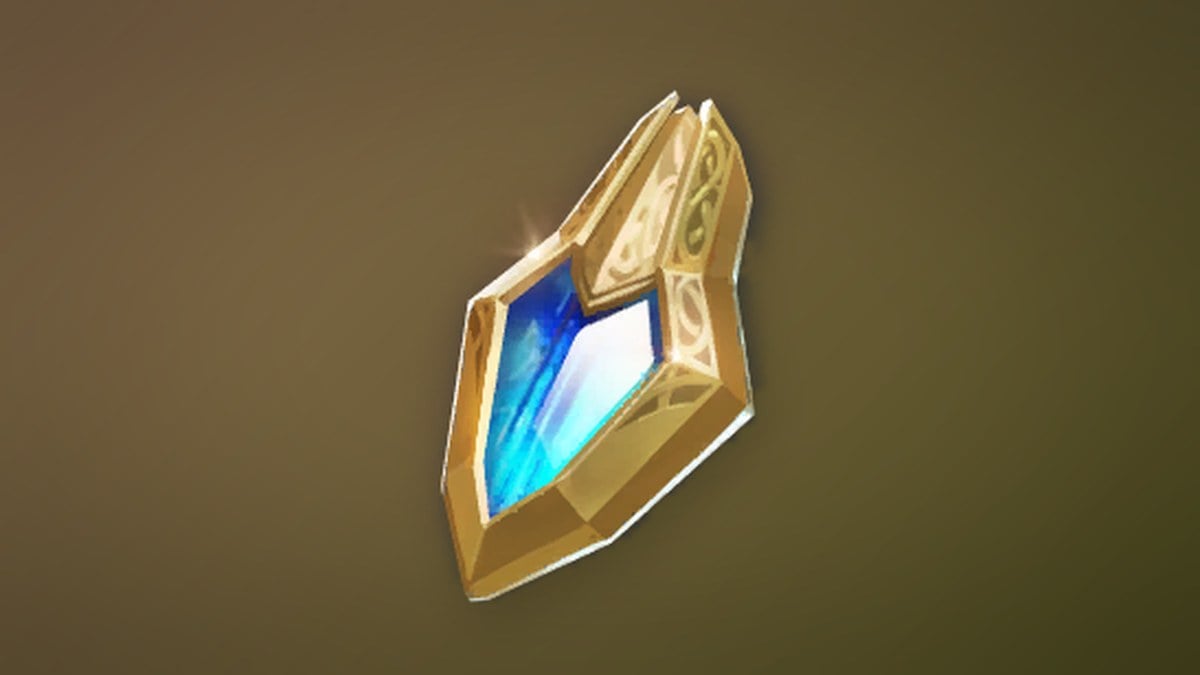
After the boss falls, the arena floor fills with green Odyle gathering nodes that require Professional Lv. 50 gathering to collect, and the central Odyle Energy Cube hands out randomized gear, upgrade materials, and consumables. You know the run worked when the Expedition Complete banner appears, followed by the clear achievements — Fire Temple Conquest Clear, plus Speedrun I and Perfect Clear when the run is fast and clean.
Why the Templar holds up here
The run is played from a Templar, Aion 2’s pure Tank class. It wields a Longsword and shield and carries 36 skills in total, including stigma options like Taunt, Doom Shield, Nezekan’s Shield, and Shield of Protection. That kit is built for exactly what Fire Temple asks of a tank: holding threat on a boss that wants to face the party, and blocking the heavy single hits from Black Smoke Murute and Kromede’s dive attacks.
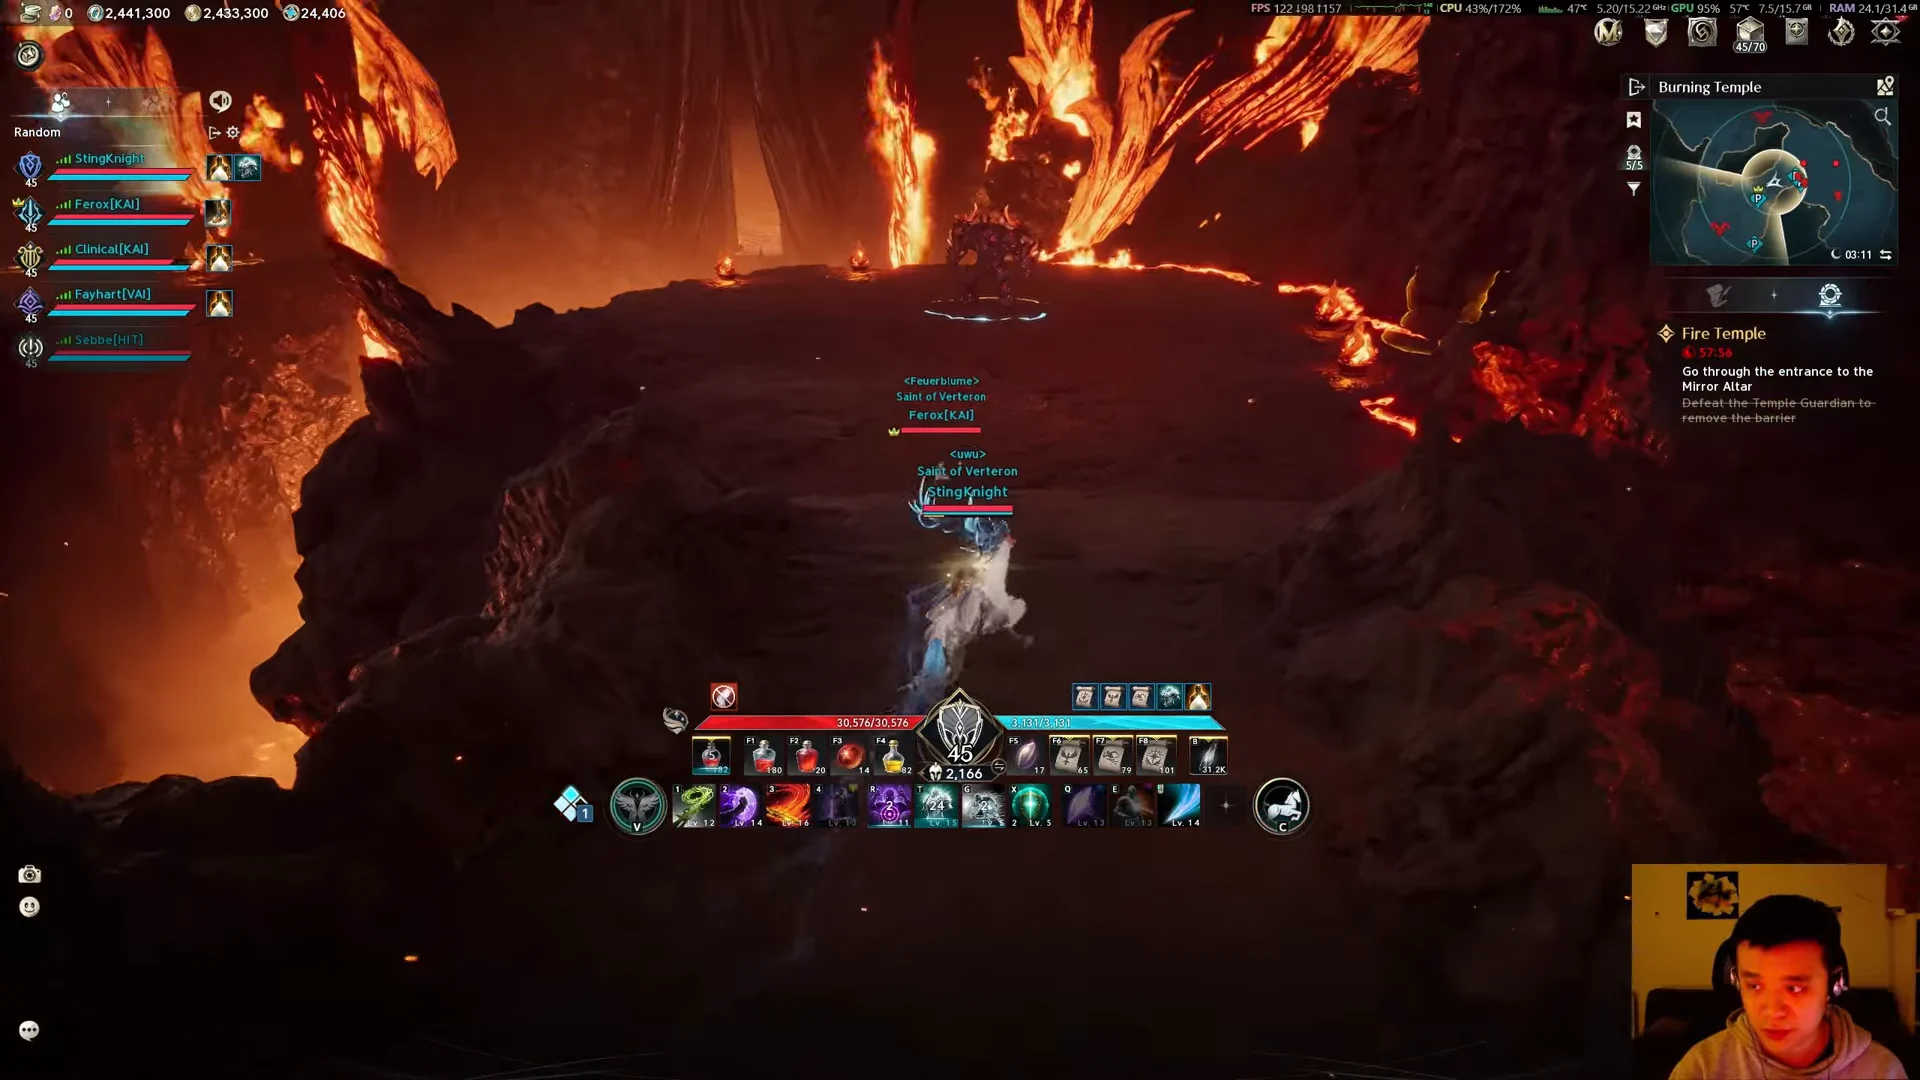
The character shown runs a high Defense value of 13,141 against 16,086 HP, which is the kind of durability profile that lets a Templar sit in the boss’s face through the fire phases while the group handles damage. That stat spread, rather than raw Attack, is what carries a tank through a dungeon this reliant on standing in one place and surviving telegraphed hits.