Pain Pillars are vertical stone pedestals topped with an organic, fleshy bulb that opens when you interact with it. Each one you activate raises Aidan’s maximum health, and collecting all five unlocks the There Are No Limits trophy. They sit across several Labyrinth visits in Clive Barker’s Hellraiser: Revival, and a few are tucked behind rotating geometry or a short puzzle rather than sitting on the main path.
Quick answer: There are five Pain Pillars, each tied to a story objective. Walk up to the pedestal and press the Interact prompt (X Increase Health) to activate it. There is no chapter select, so activate each one before leaving its area.
All five Pain Pillars at a glance
Each pillar appears during a specific objective. Check your journal to confirm the current objective rather than trying to recognize one Labyrinth corridor from another. Seeing a pillar does not count toward the trophy; you must interact with it.
| Pillar | Objective | Needs a puzzle? |
|---|---|---|
| Pain #1 | Free Sunny’s Soul | No |
| Pain #2 | Give Charlotte’s Heart to Sunny | Trigger a rotation |
| Pain #3 | Exit the Labyrinth | Cube and flame puzzle |
| Pain #4 | Give the Sister of Mercy’s Heart to Sunny | No |
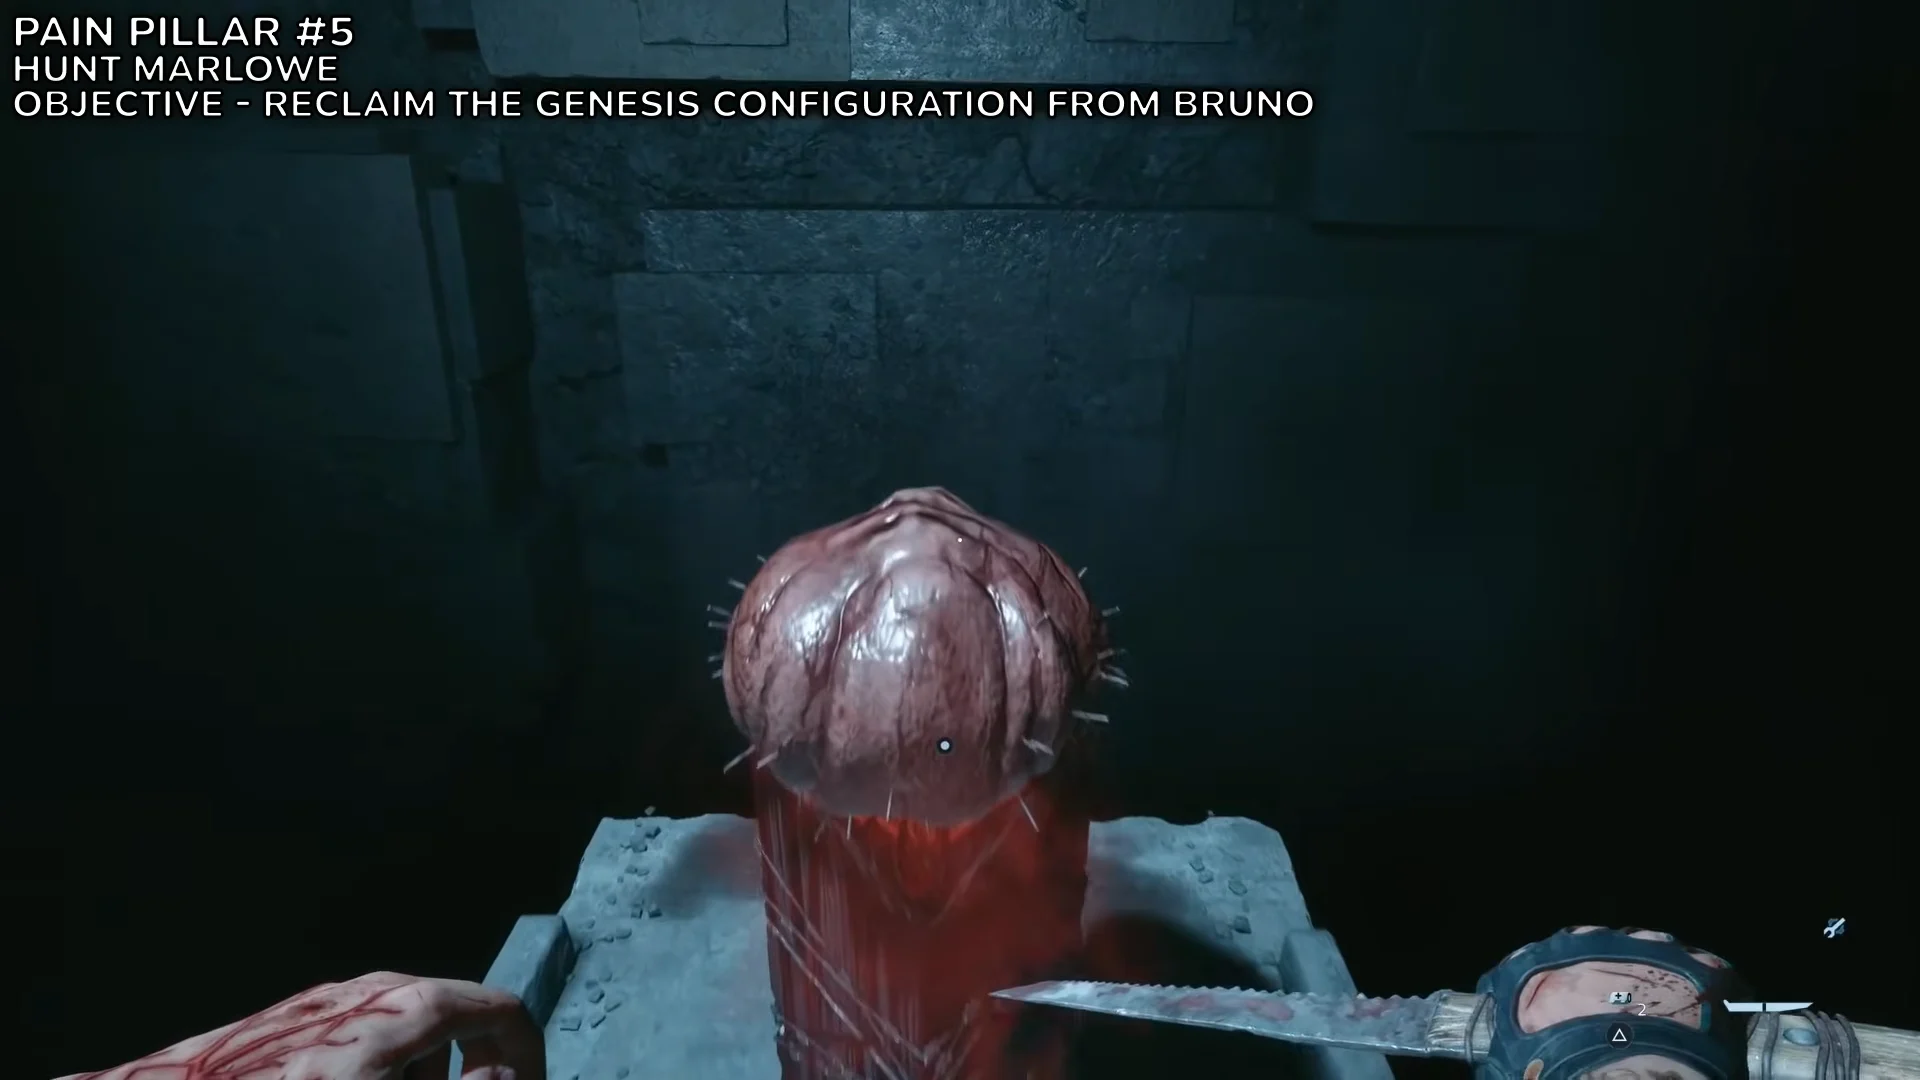
| Pain #5 | Reclaim the Genesis Configuration from Bruno | Tile rotation door |
The Labyrinth is mostly one-way and the game has no chapter select. Make a manual save before each maze exit so a missed pillar does not cost you an entire playthrough.
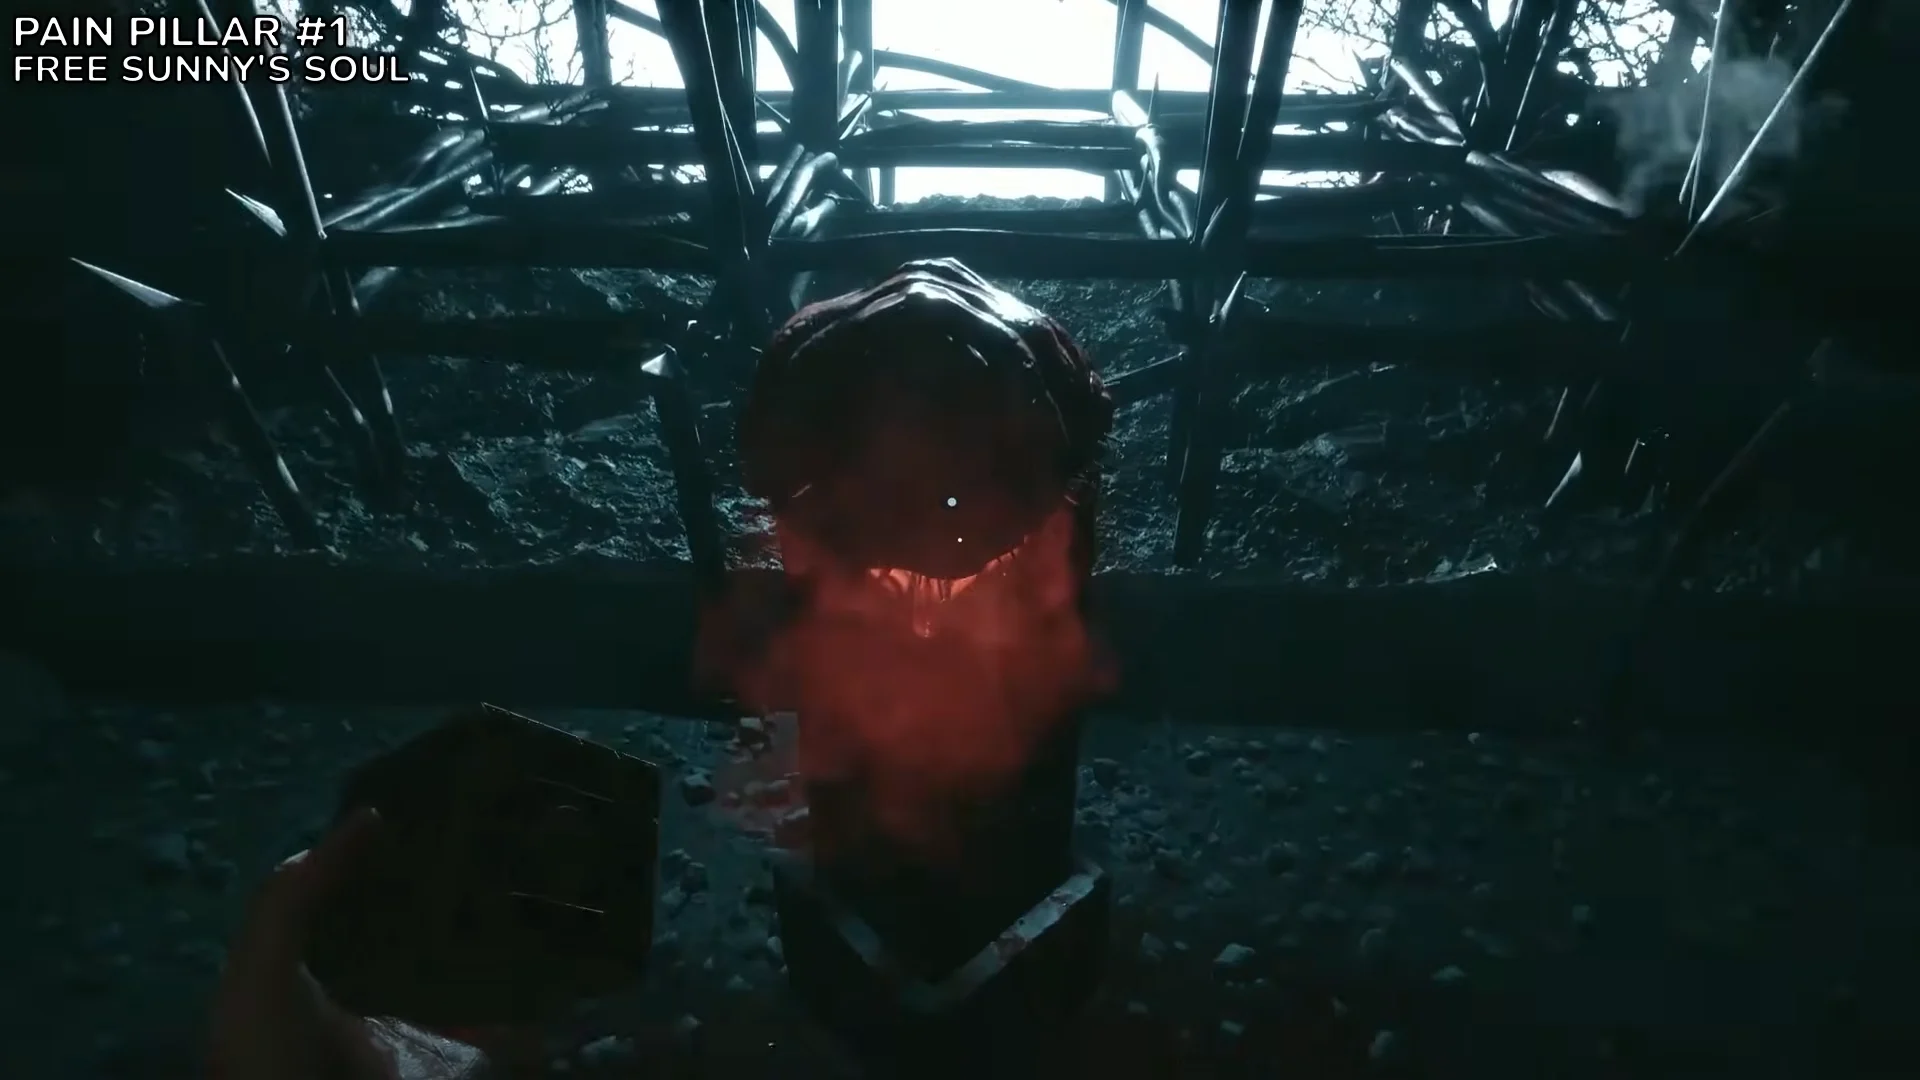
Pain Pillar #1 – Free Sunny’s Soul
In the opening major stretch of the Labyrinth, follow the corridor where a diamond-shaped trap spins and slides from side to side. At the junction beyond it, find the bloody gap in the wall and take right. The next room contains four more sliding diamond traps; get past them to the health pillar at the opposite end.
Activating your first pillar of either type also earns The Further Regions of Experience, so this interaction pops two trophies at once.
Pain Pillar #2 – Give Charlotte’s Heart to Sunny
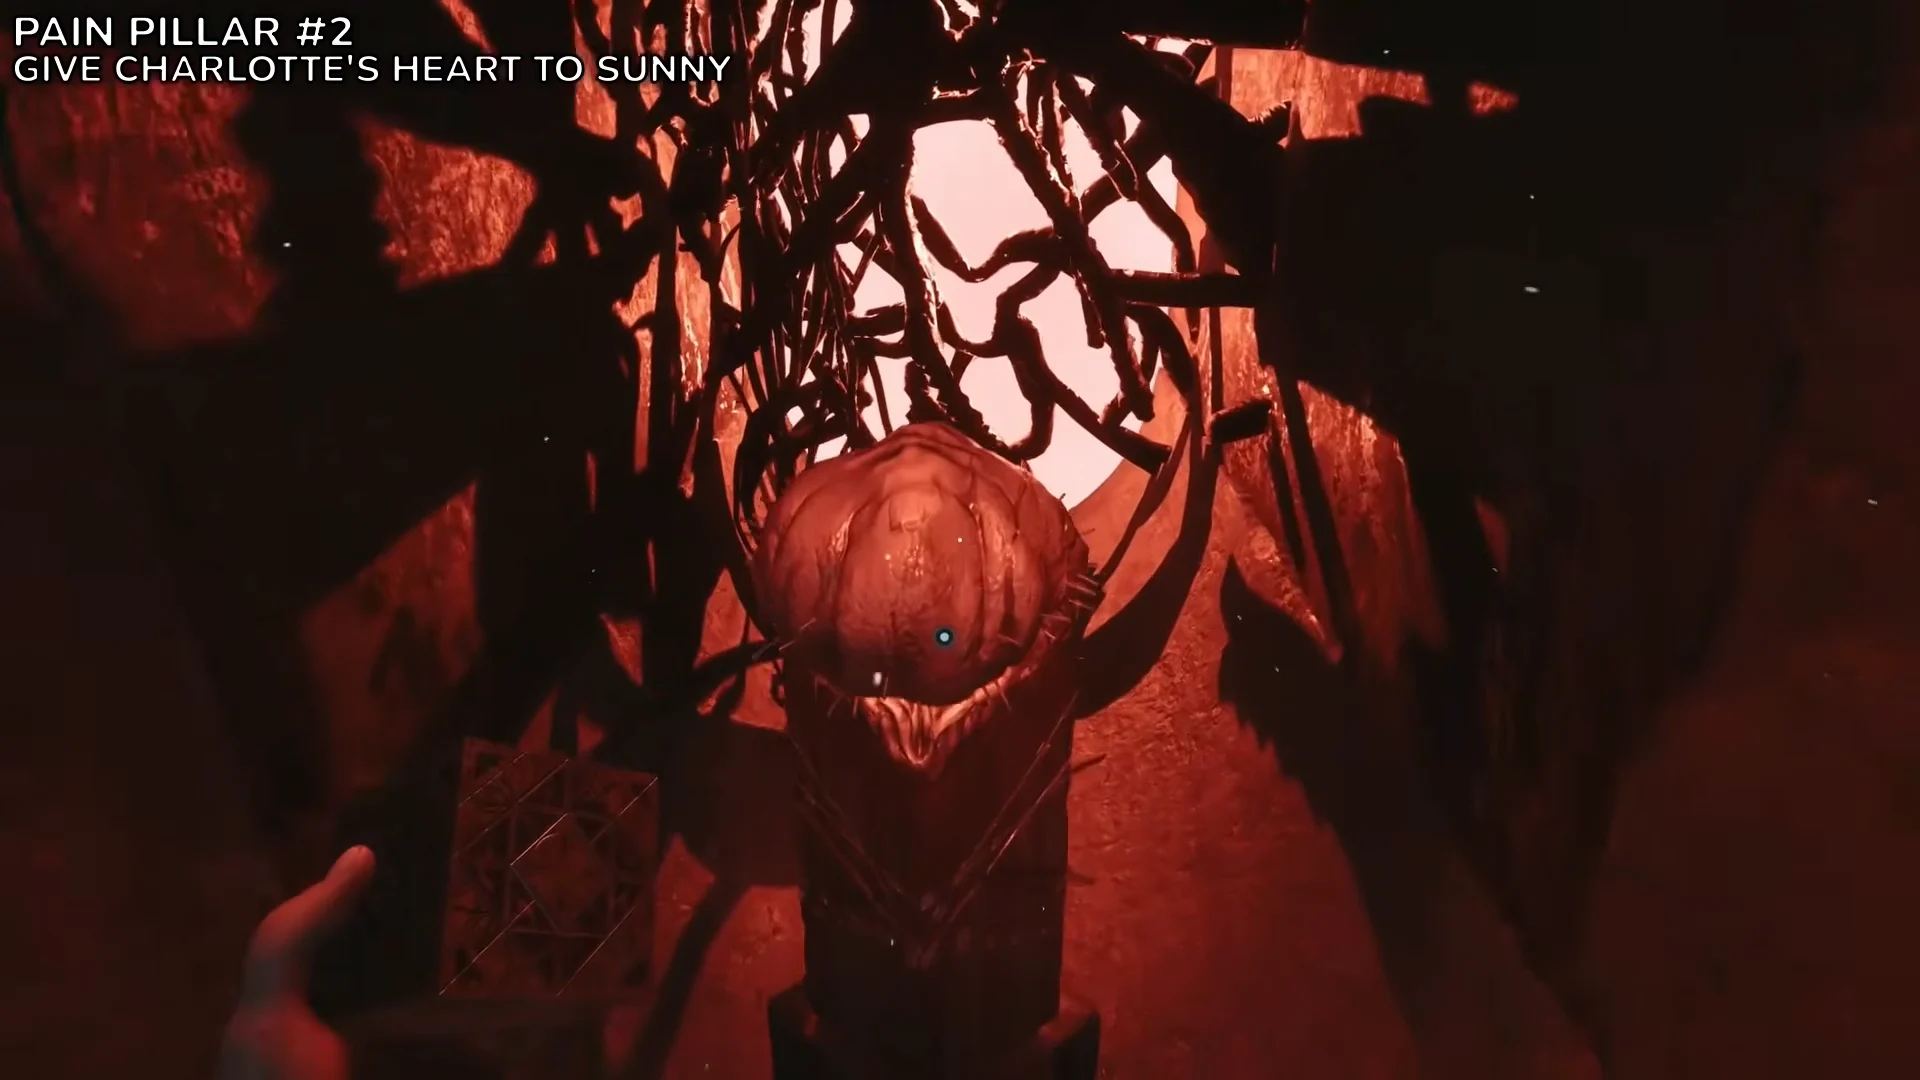
After the Charlotte encounter ends, go back to the Labyrinth while Give Charlotte’s Heart to Sunny is the active objective. Travel down the corridor lined with wall spikes and overhead meat hooks, then move past the two spikes projecting from opposite walls.
Turn left at the next intersection and walk to the dead end. Watch the section ahead rotate, then backtrack through the spikes and turn right. That rotation opens the route leading to the health pillar. If the passage still looks blocked, you have probably missed the left-hand dead end that triggers the geometry change.
Pain Pillar #3 – Exit the Labyrinth
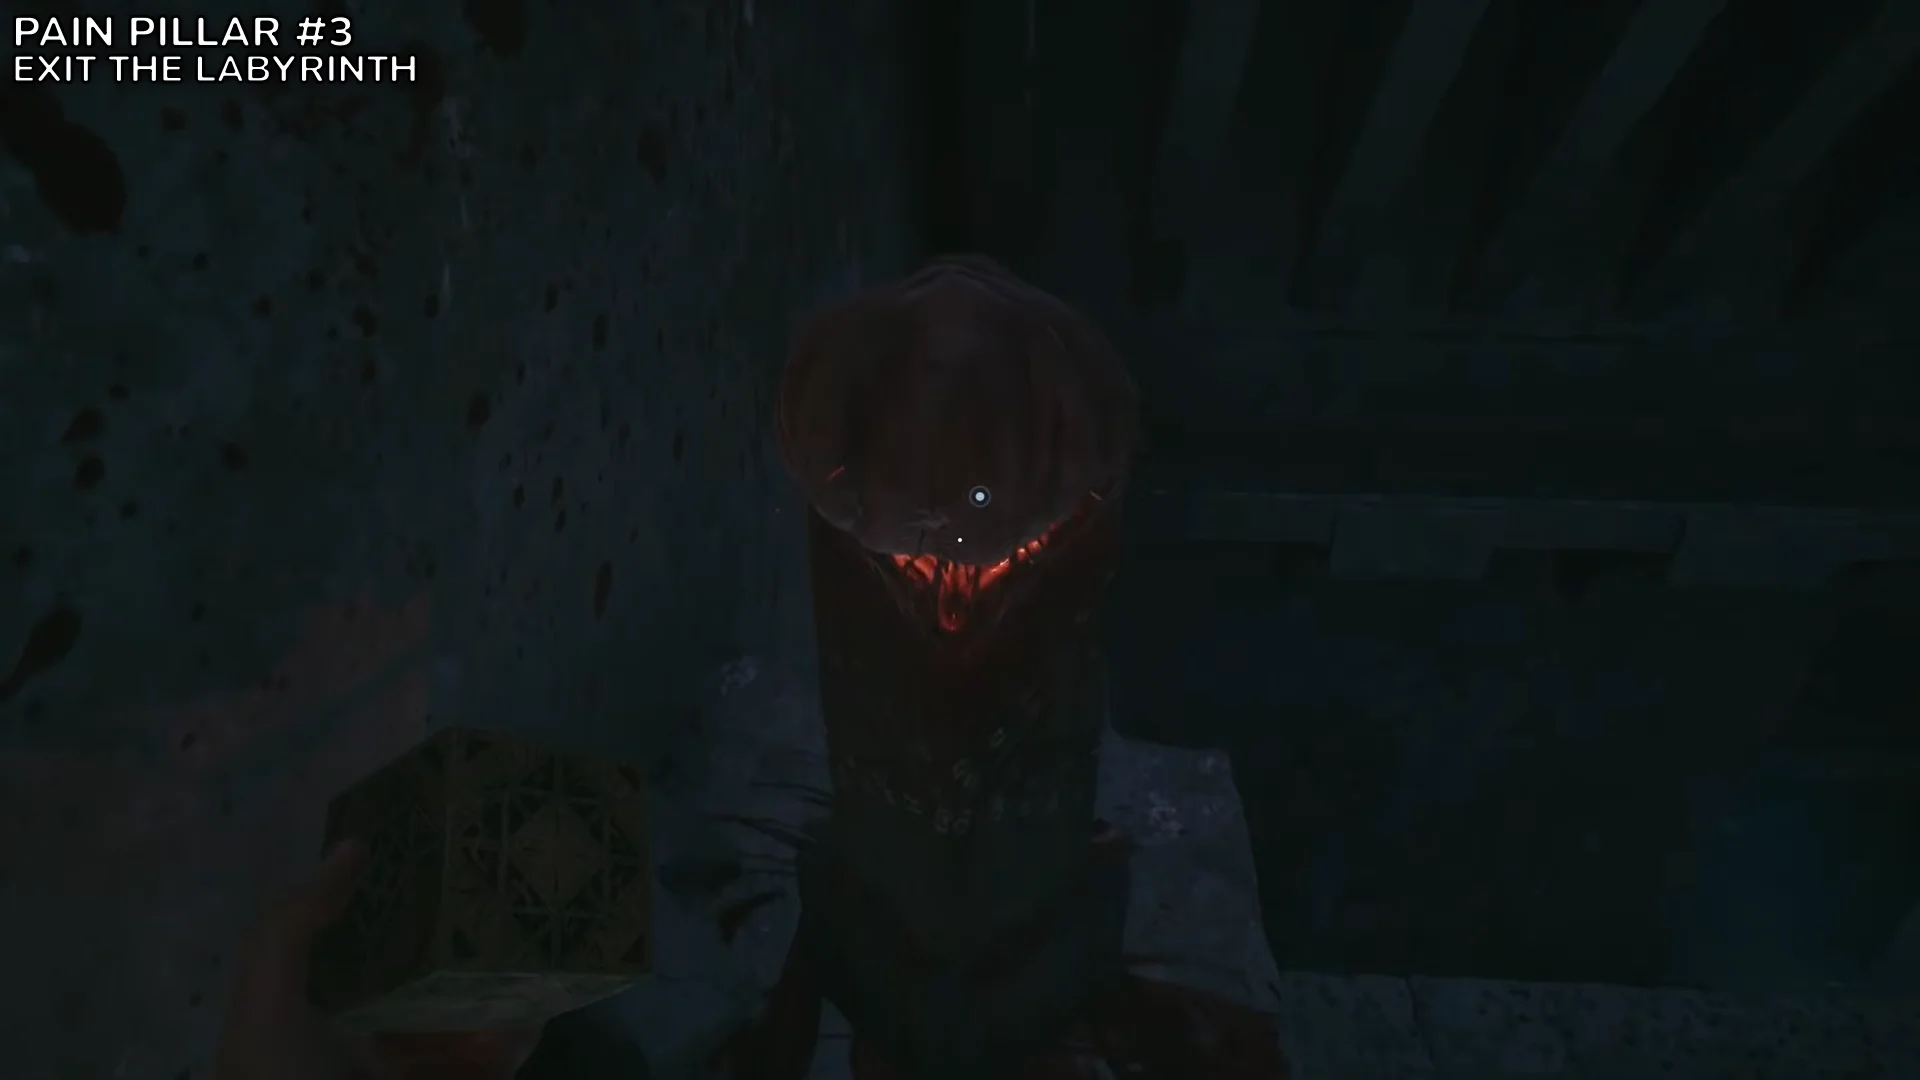
During Exit the Labyrinth, this pillar is concealed by a movable-cube puzzle. Climb the ladder, then enter the chamber where staircases move; two Labyrinth Cubes are on the left.
Pain Pillar #4 – Give the Sister of Mercy’s Heart to Sunny
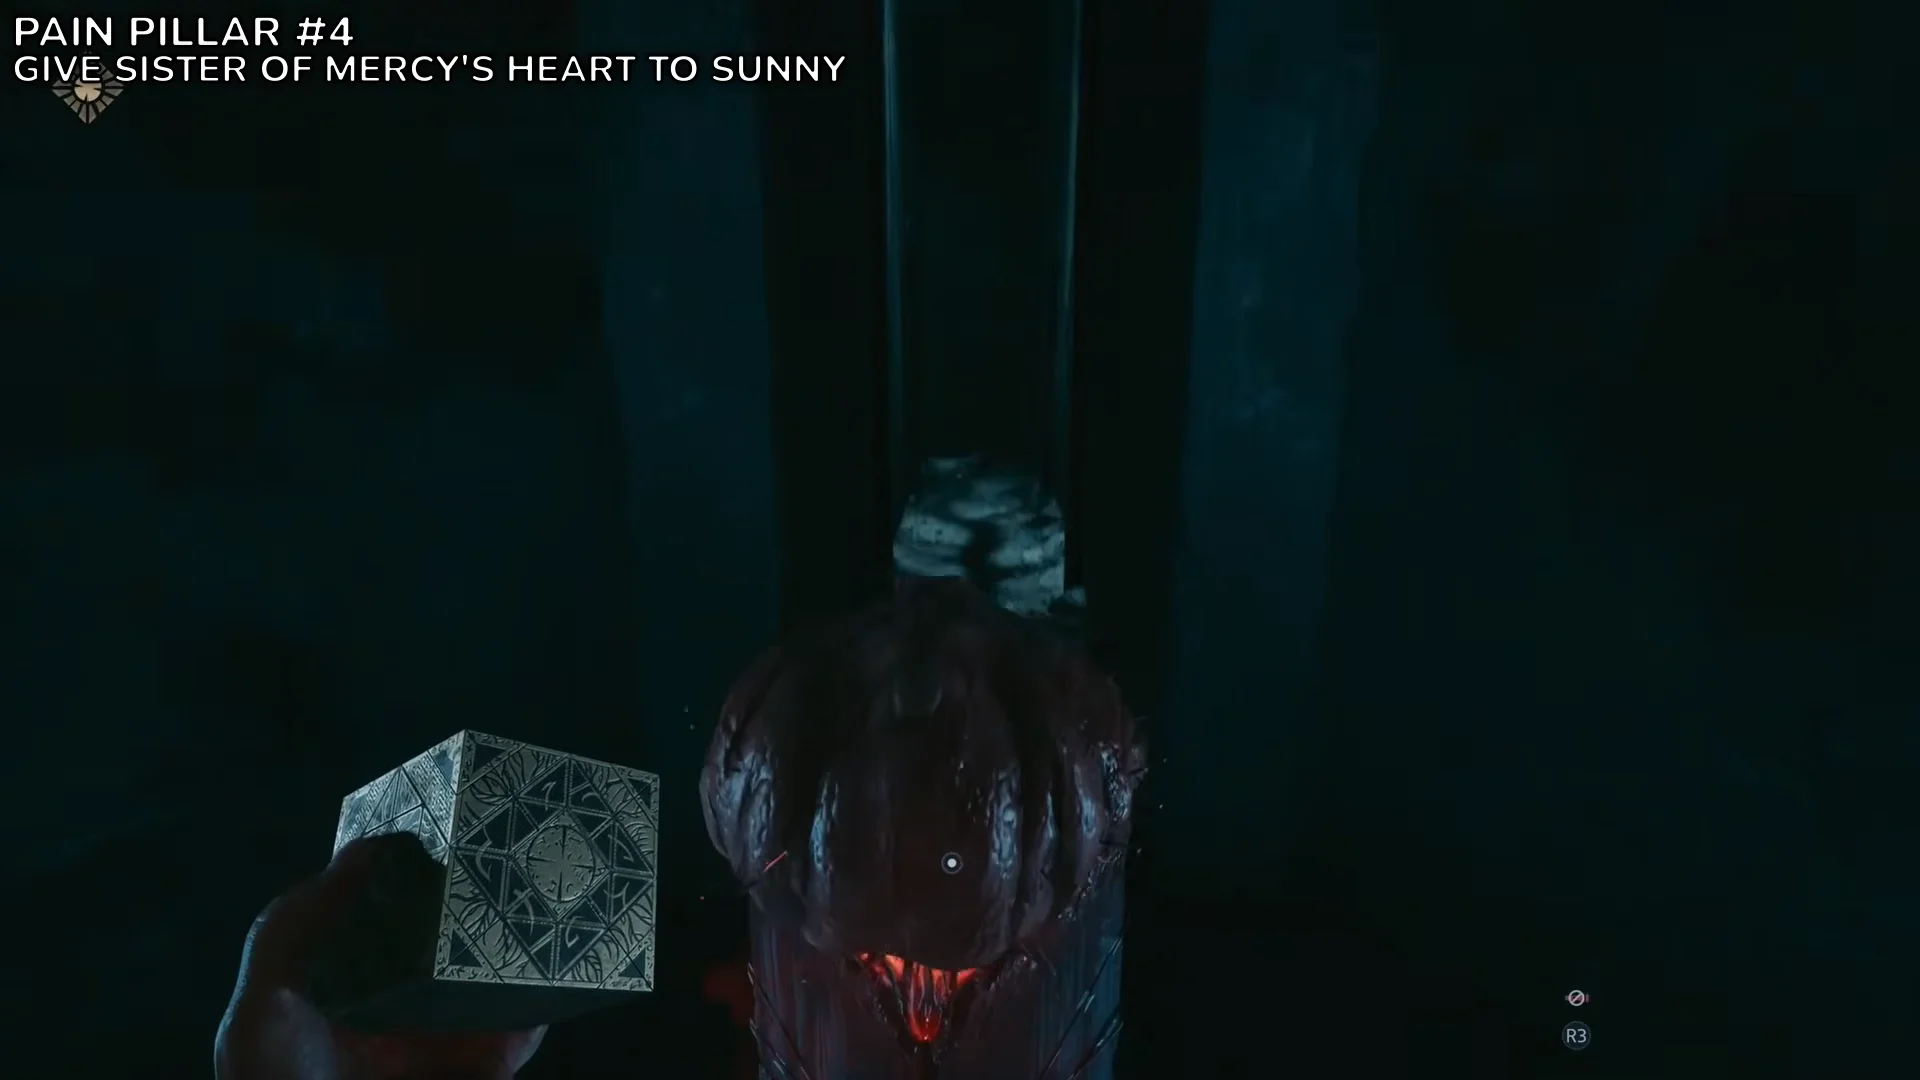
Once the Sister of Mercy fight ends, return to the Labyrinth during Give the Sister of Mercy’s Heart to Sunny. The pillar is right on the main path through a long, arched stone hall marked on your map. There is no puzzle to solve, so watch the walls and interact with the pedestal as you pass. If this is your fifth pillar, the Pain trophy may unlock here.
Pain Pillar #5 – Reclaim the Genesis Configuration from Bruno
During Hunt Marlowe, after you recover the Genesis Configuration from Bruno, you reach an ornate metal door set with a four-tile rotation puzzle. The last Pain Pillar is in the chamber directly behind it. Each tile shows part of a figure, and the door only opens once the full image lines up.
- Turn the upper tile until the face above and its halo line up.
- Turn the tile at left until the facial features and collar shown on the figure at that side are aligned.
- Set the tile just right of center so its image lines up with the right figure’s face and hand.
- Turn the lowest tile until the drapery and torso design along the bottom form a complete pattern.
Once all four pieces match, the door slides open to reveal the fifth pillar. Use the left and right controls to move between tiles and the up/down inputs to rotate the selected one.
Do not confuse this with the image lock by the well, which opens the way to the Statue’s Tongue. Later in the game, the final Pain Pillar is concealed beyond another painted door.
How to confirm the trophy unlocked
Each pillar shows the X Increase Health prompt when you approach it, and the organic bulb opens as you interact. Your maximum health bar extends immediately after activation. Once all five are active, There Are No Limits unlocks. If you finish a Labyrinth section without the expected pillar, check the current objective name against the five above before you move on, since there is no way to walk back once the walls close behind you.