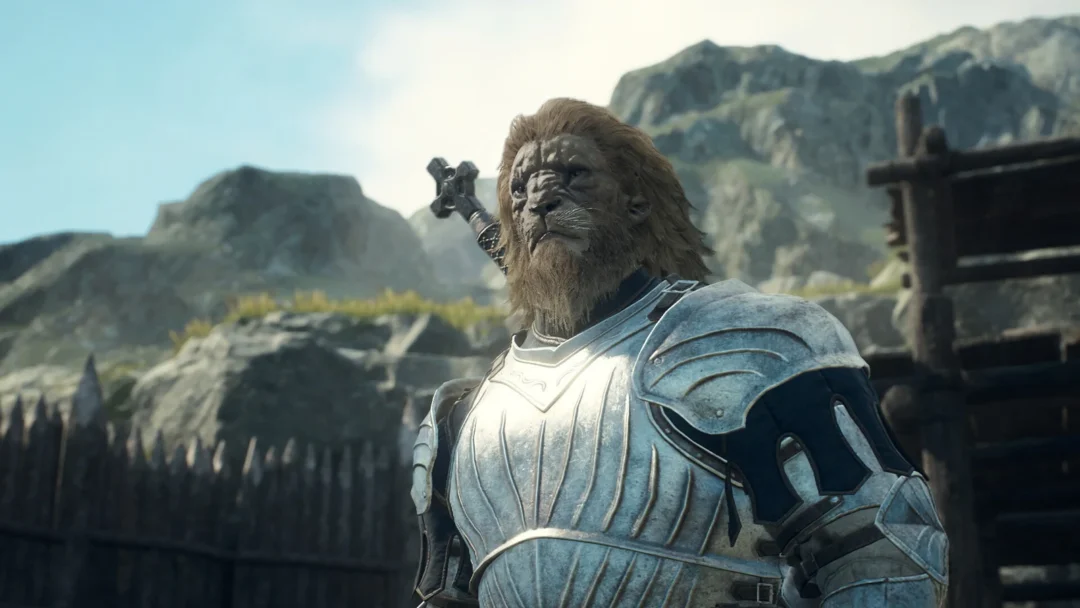
The Precipitous Catacombs is trial number 6 of the Lost Rites in Dragon’s Dogma 2: Dark Arisen, and it is built entirely around the bow. You shoot barred doors and rubble walls open, you fight across gaps you cannot cross until the far side is clear, and you only get through the sealed door at all if your Arisen is an Archer or Magick Archer.
Quick answer: Switch your Arisen to Archer or Magick Archer, open the sealed door in the Battahl rock face, then beat the wight, the two medal-studded stone giants, and the drake. Grab the Offering Flame, Catamount Jacket and Glasrew Galea from the 11 chests inside.
Where to find the Precipitous Catacombs in Battahl
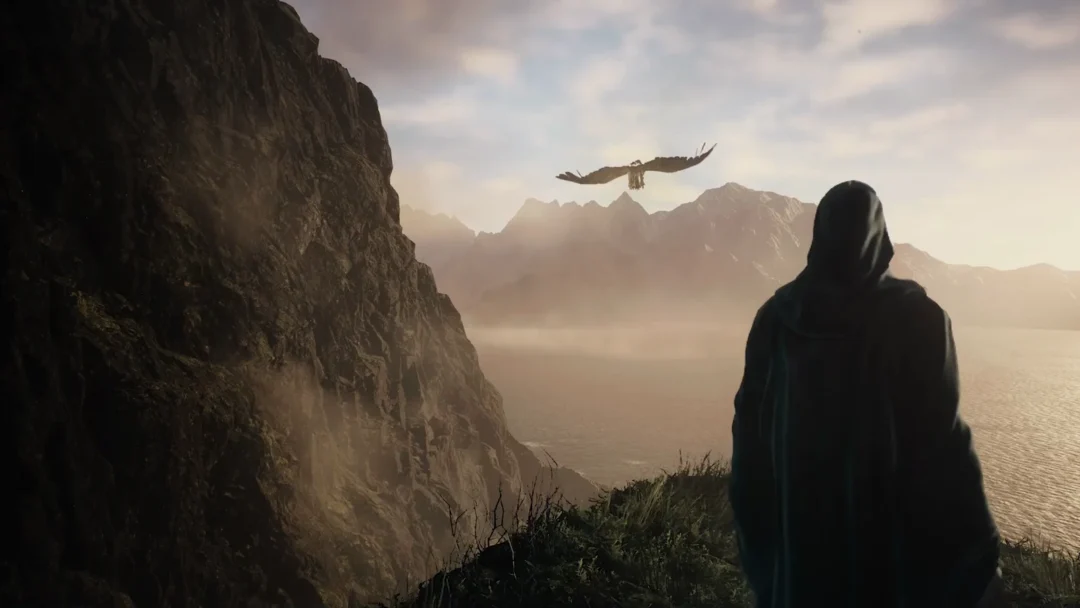
In Battahl, the entrance is set in an exposed rock face. You can reach it without going into a cave, mine, or hideout, and there is no tunnel to explore. If the marker is missing from your map, choose Proving Ground Compass from the Items menu. The game then confirms discovery of the lost proving grounds.
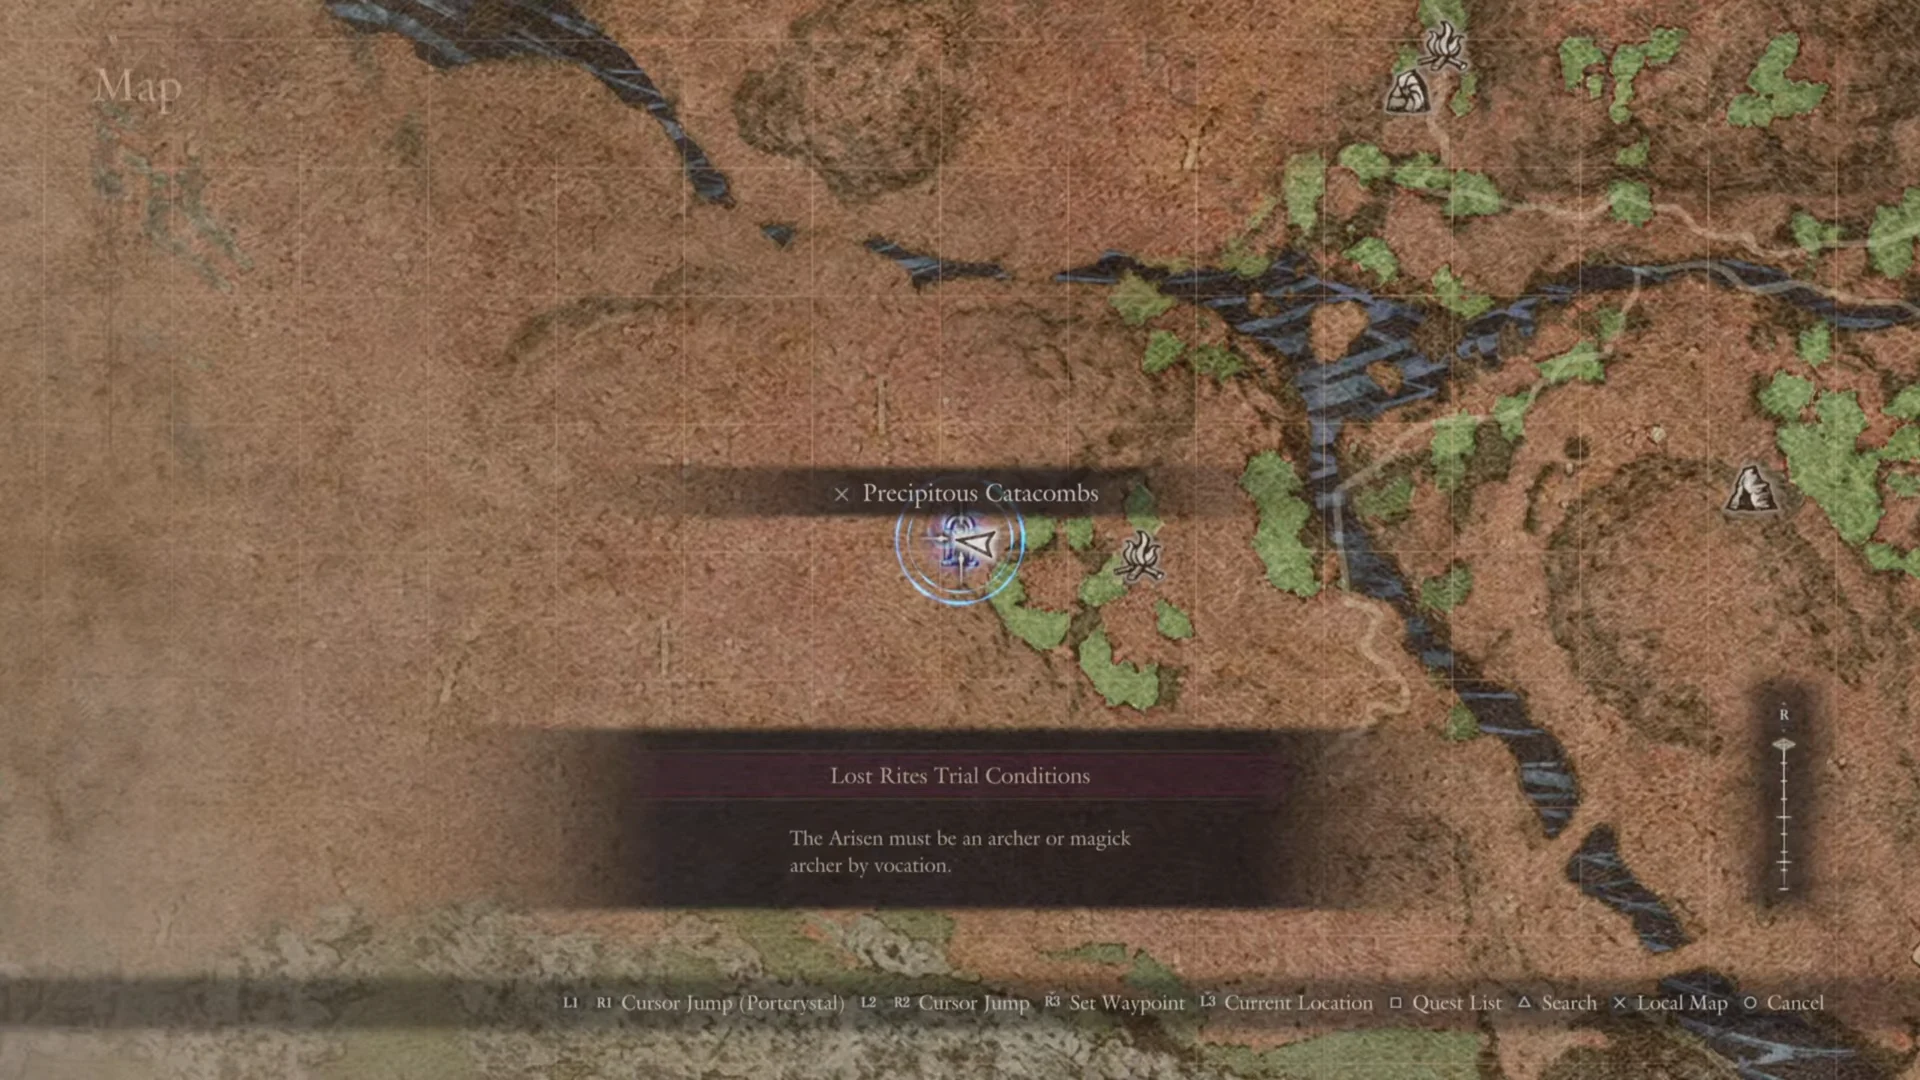
On the world map, hover the cursor over the marker. The label reads “Precipitous Catacombs,” and a box titled “Lost Rites Trial Conditions” shows the entry rule. The marker sits on bare, sand-coloured high ground on the west side of a deep river canyon, with a campsite icon a short way to its east.
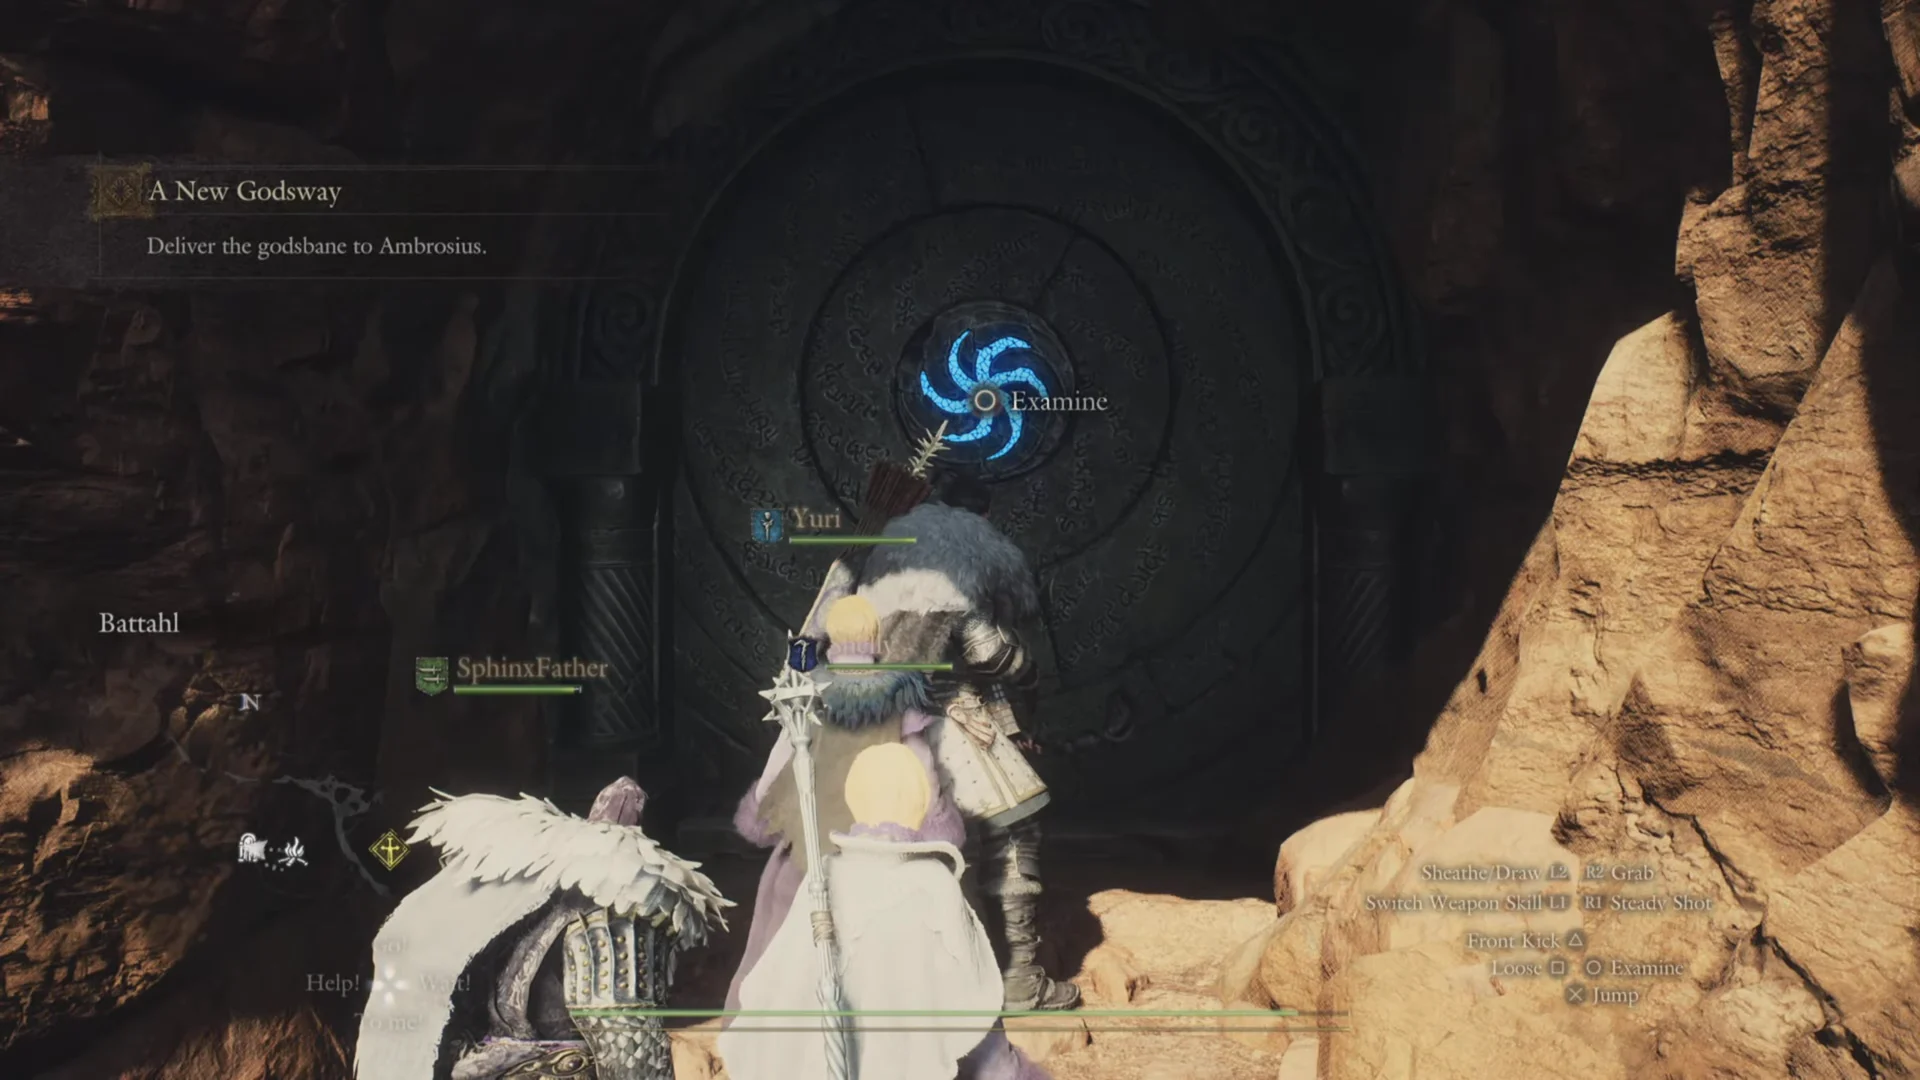
On foot the area label reads “Battahl.” The door itself is a round stone seal with a glowing blue pinwheel emblem and rings of runes, recessed in a dark rock wall with sunlit boulders to its right.
Entry condition: Archer or Magick Archer only
The door words its rule plainly: “The Arisen must be an archer or magick archer by vocation.” Only the Arisen’s vocation is checked. Your pawns can be anything, so an Archer Arisen gets in with a Thief, a Mage and a Sorcerer alongside.
Change vocation before you travel, because the seal reads whatever class you are currently in. The Status menu’s Vocation tab is where to confirm it: the line under “Current Discipline” must read Archer or Magick Archer. Examine the door, confirm, and the seal opens as the “Precipitous Catacombs” banner appears.
Clearing the way to the wight
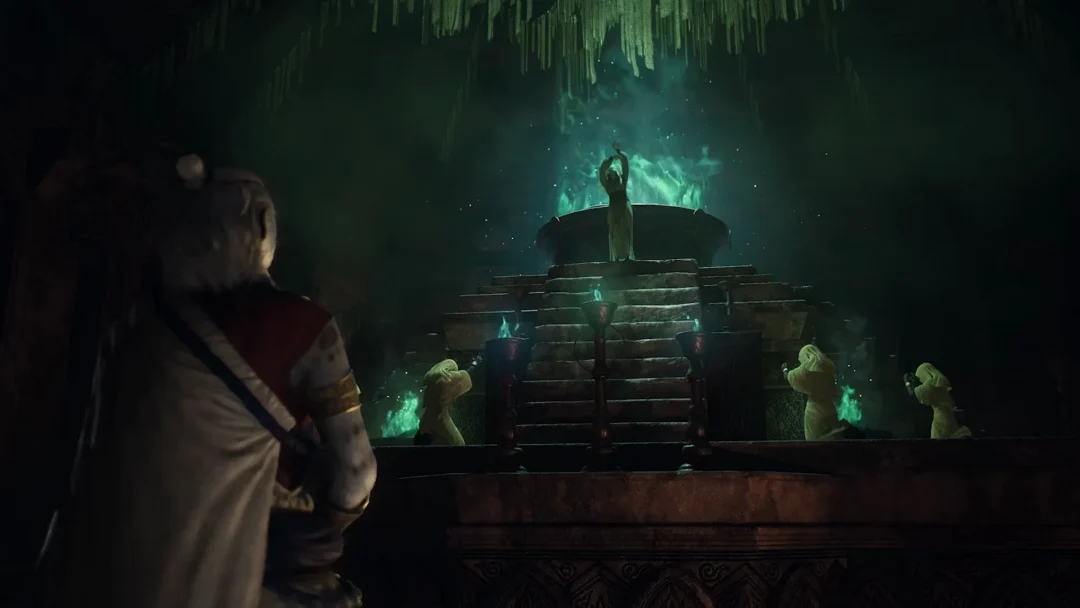
First boss: the wight in the burial hall
Approaching the sealed burial hall summons a red-robed floating caster with a boss bar. A pawn names it a wight and says its kind fears holy light above all else. It hovers, throws purple lightning and dark blasts that knock you flat, and raises skeletons.
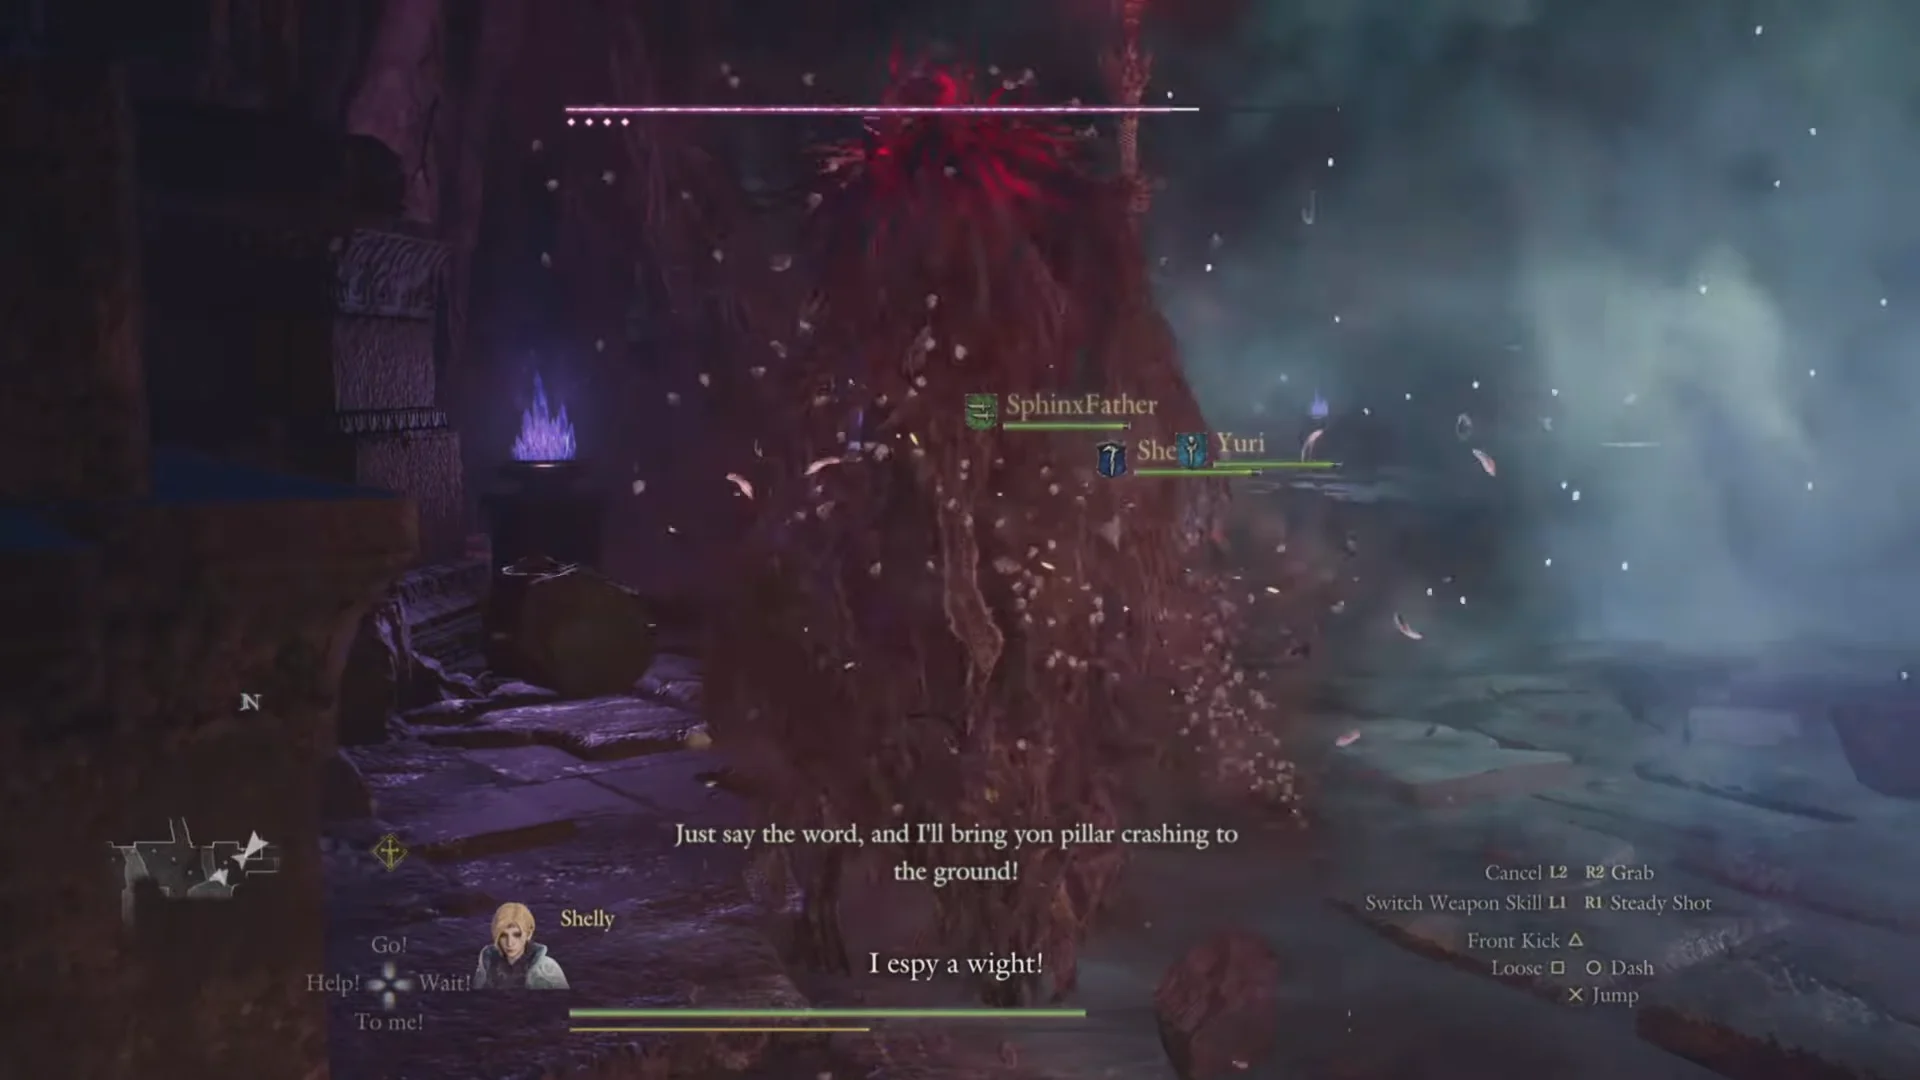
Keep shooting it from range while your pawns cast. When it aims lightning your way, step back into the corridor to break line of sight. Holy magick is what the pawns recommend against it. Once it drops, the carved sealed archway opens.
Past the archway a broken riftstone sits in a side alcove. Holding Examine restores it for 90 RC and opens a Riftstone of Remembrance, letting you summon pawns you have met before.
The chasm, the Glasrew Galea, and the stone giants
Final boss: the drake
The last fight is a round ruined hall with its roof broken open to the sky, ringed by pillars and stone warrior statues. A black dragon with glowing red eyes and a glowing chest drops in through the opening, and the pawns call it a drake. Its boss bar is the longest gauge in the trial.
Its floor-sweeping stream of fire can kill an Arisen with around 2,200 Health outright, so keep pillars between you and the flames. It also calls down purple lightning on where you stand, swings claws and tail to knock you flat, and hovers near the roof to rain magick. Pawns warn that drakes can seize control of pawns’ minds.
The glowing heart on its chest is the weak point. Shoot the heart from range, and your pawns will call out when it lies bare. Enough damage makes it collapse on its belly, which opens a long window. You can also bring it down from the air with arrows and pawn lightning. Revive fallen pawns by holding Revive, and keep a Wakestone ready, since the prompt to use one turns a death into a second try.
Defeating it yields several Brinebeast Ore, a Ring of Dragonsbane, and a Ferrystone. The ring boosts your might against every kind of dragonkin.
Boss weaknesses to plan your loadout
The two large bosses here, the wight and the drake, have fixed elemental and physical profiles for their species. The versions inside the trial are corrupted and their toughness and line-ups can shift by game mode, but the weaknesses are a reliable guide for what to pack.
| Enemy | Base Health | Weak to | Resists / immune |
|---|---|---|---|
| Wight | 76,500 | Strike, Ranged physical, Holy | Resists Slash, Fire, Ice, Lightning; immune to Blighted, Sleep, Frostbite, Unconscious |
| Drake | 100,000 | Ice | Resists Fire; immune to Caught Fire |
The wight is weak to ranged physical and holy attacks, matching the pawns’ holy-light advice. The drake leans into ice and shrugs off fire, so an ice-bolt skill set pairs well with sustained shots at the heart.
All 11 chests and their rewards
There are 11 placed chests, and not all of them sit on the straight line from the door to the drake. Together they hold:
- 58,000 G
- Explosive Arrow x20
- Blighting Arrow x5
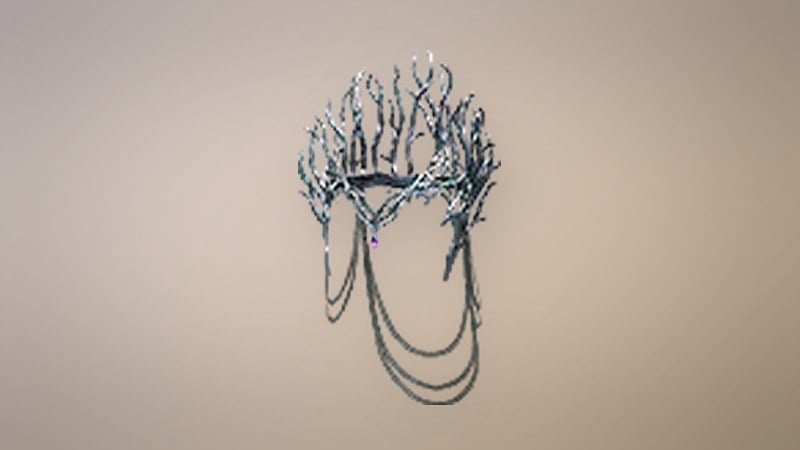
- Glasrew Galea x1
- Archaic Boots x1
- Allheal Elixir x1
- Offering Flame x1
- Portcrystal x1
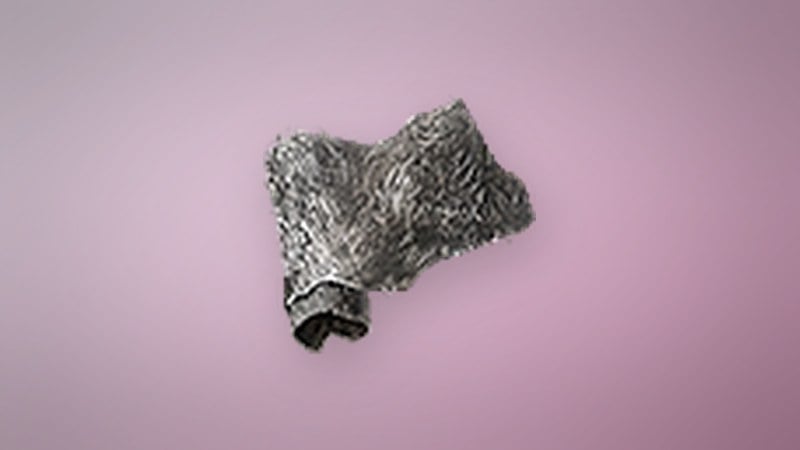
- Catamount Jacket x1
- Geirolul’s Helm x1
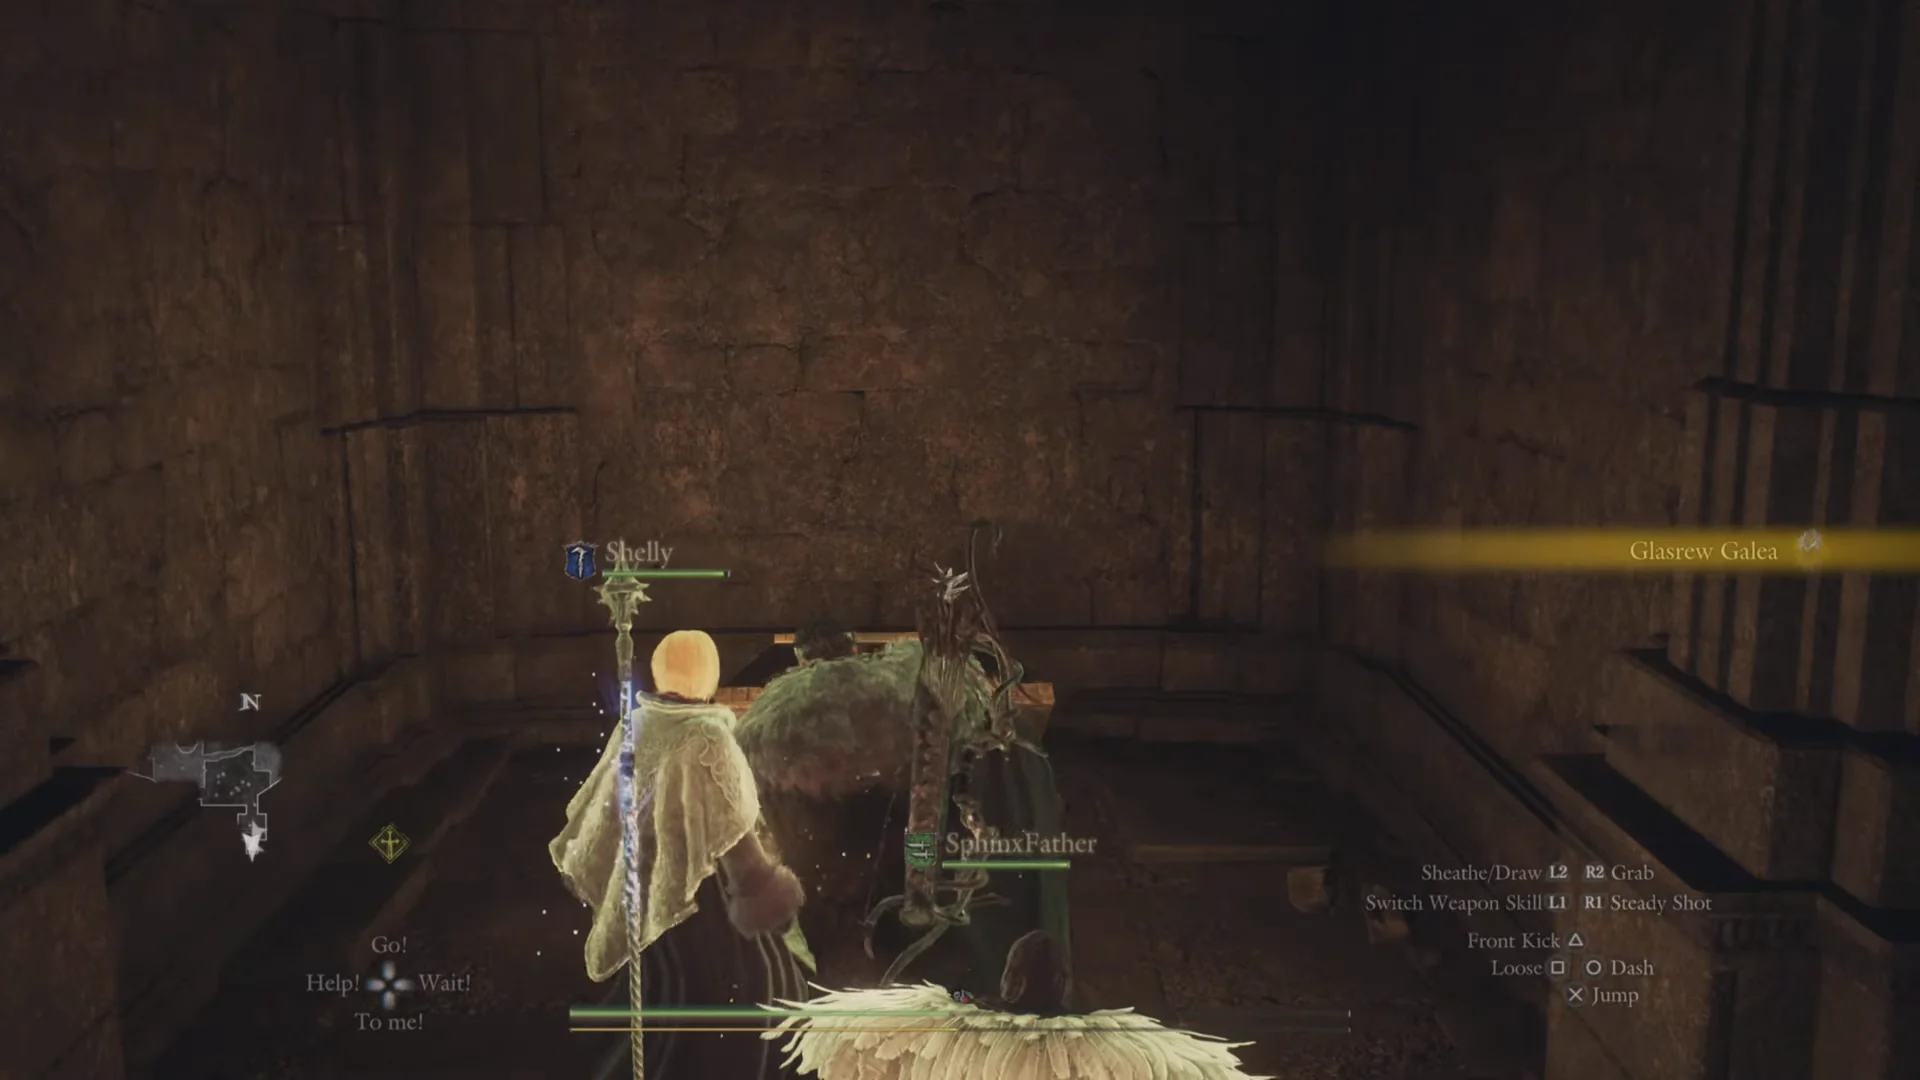
Three of these chests have fixed, easy-to-find spots. The Glasrew Galea is in that small side room after the chasm. The other two share the drake’s hall.
| Reward | Where it is |
|---|---|
 Glasrew Galea Glasrew Galea | Back wall of the small stone room off the corridor after the chasm, behind the bloated undead |
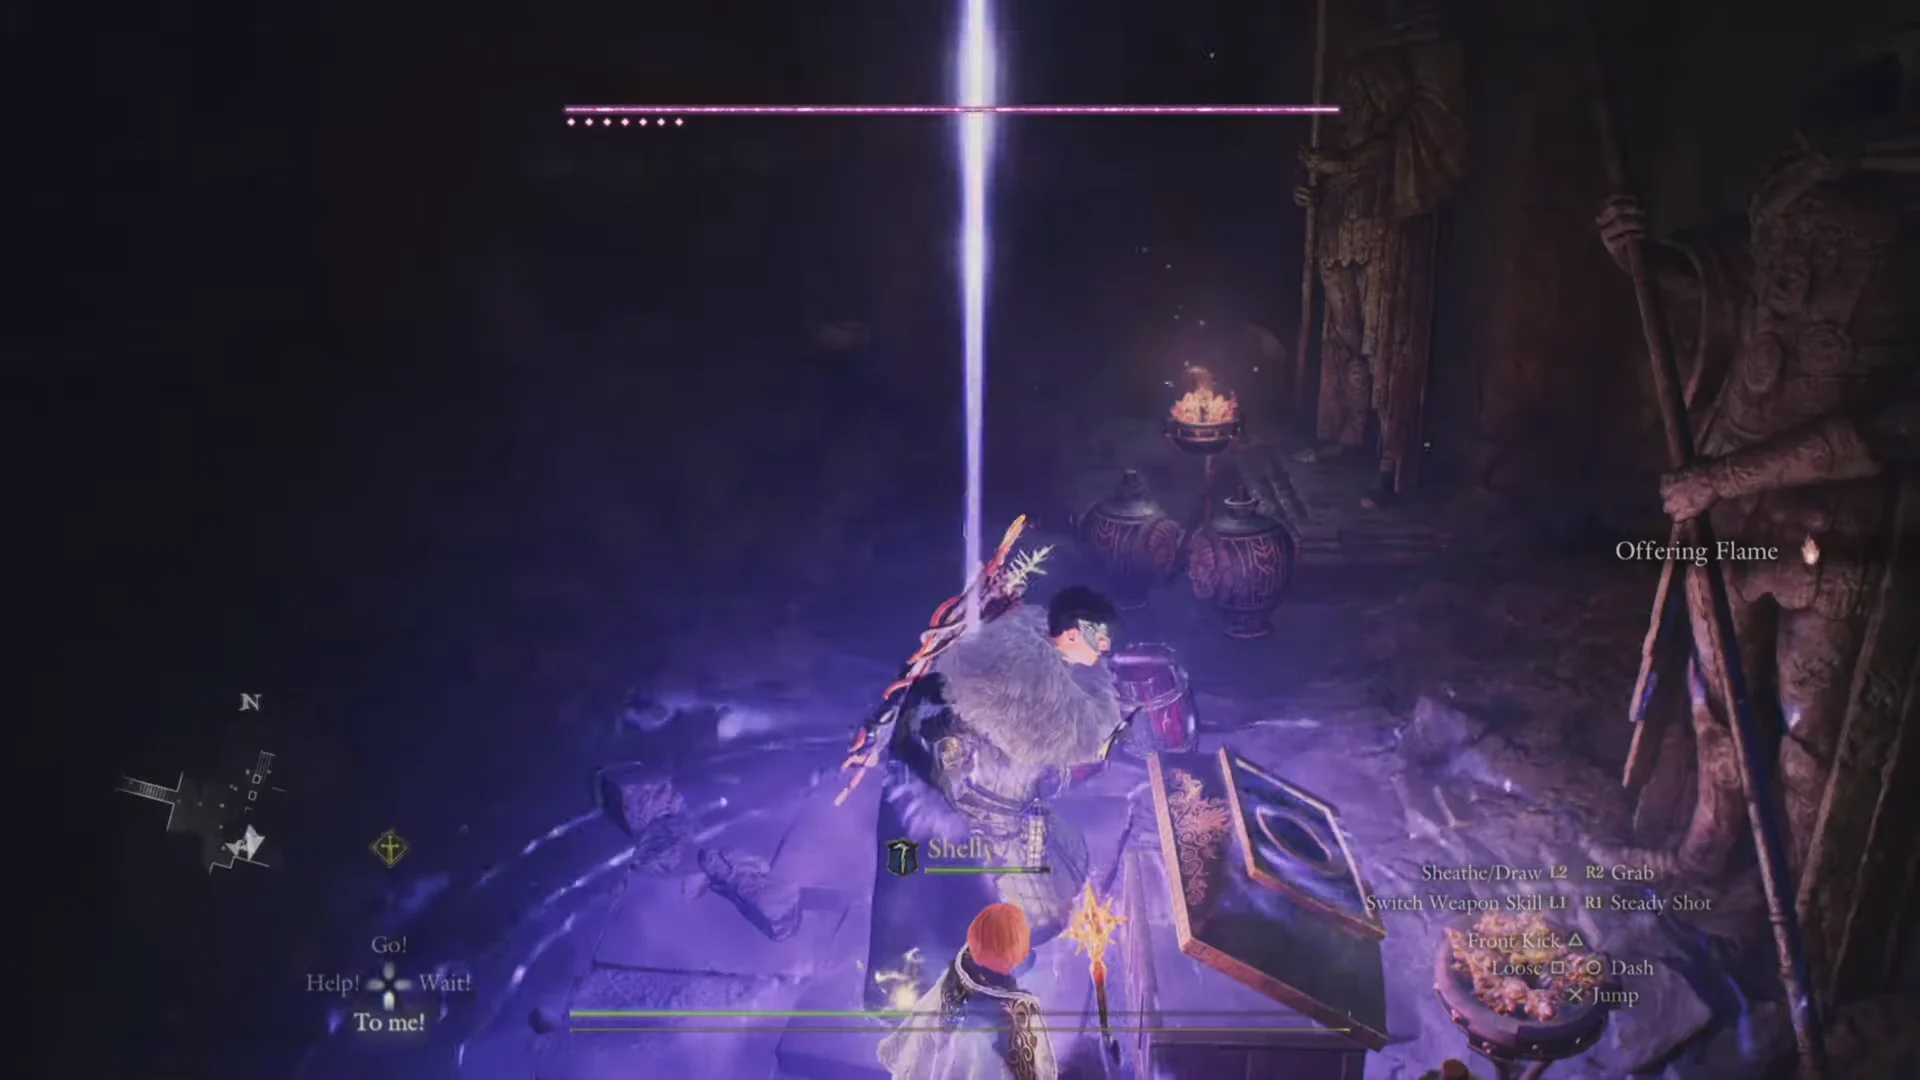
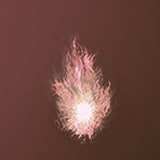 Offering Flame Offering Flame | Outer corridor of the drake’s hall, on the floor between tall clay jars and a lit brazier, in front of a spear-holding statue |
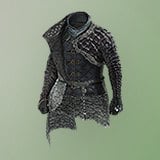 Catamount Jacket Catamount Jacket | Wall niche of the drake’s hall, at the feet of another stone warrior statue |
You can open the Offering Flame chest before killing the drake, but its lightning may strike the chest while you do. The Offering Flame withstands the cold and serves as an offering for boons at the Obelisks of Benediction in Norgan.
The Portcrystal chest is somewhere off the direct path; search side rooms and ledges. Smaller corrupted enemies found throughout the trial may also drop Brinebeast Fragment, a material for enhancing equipment.