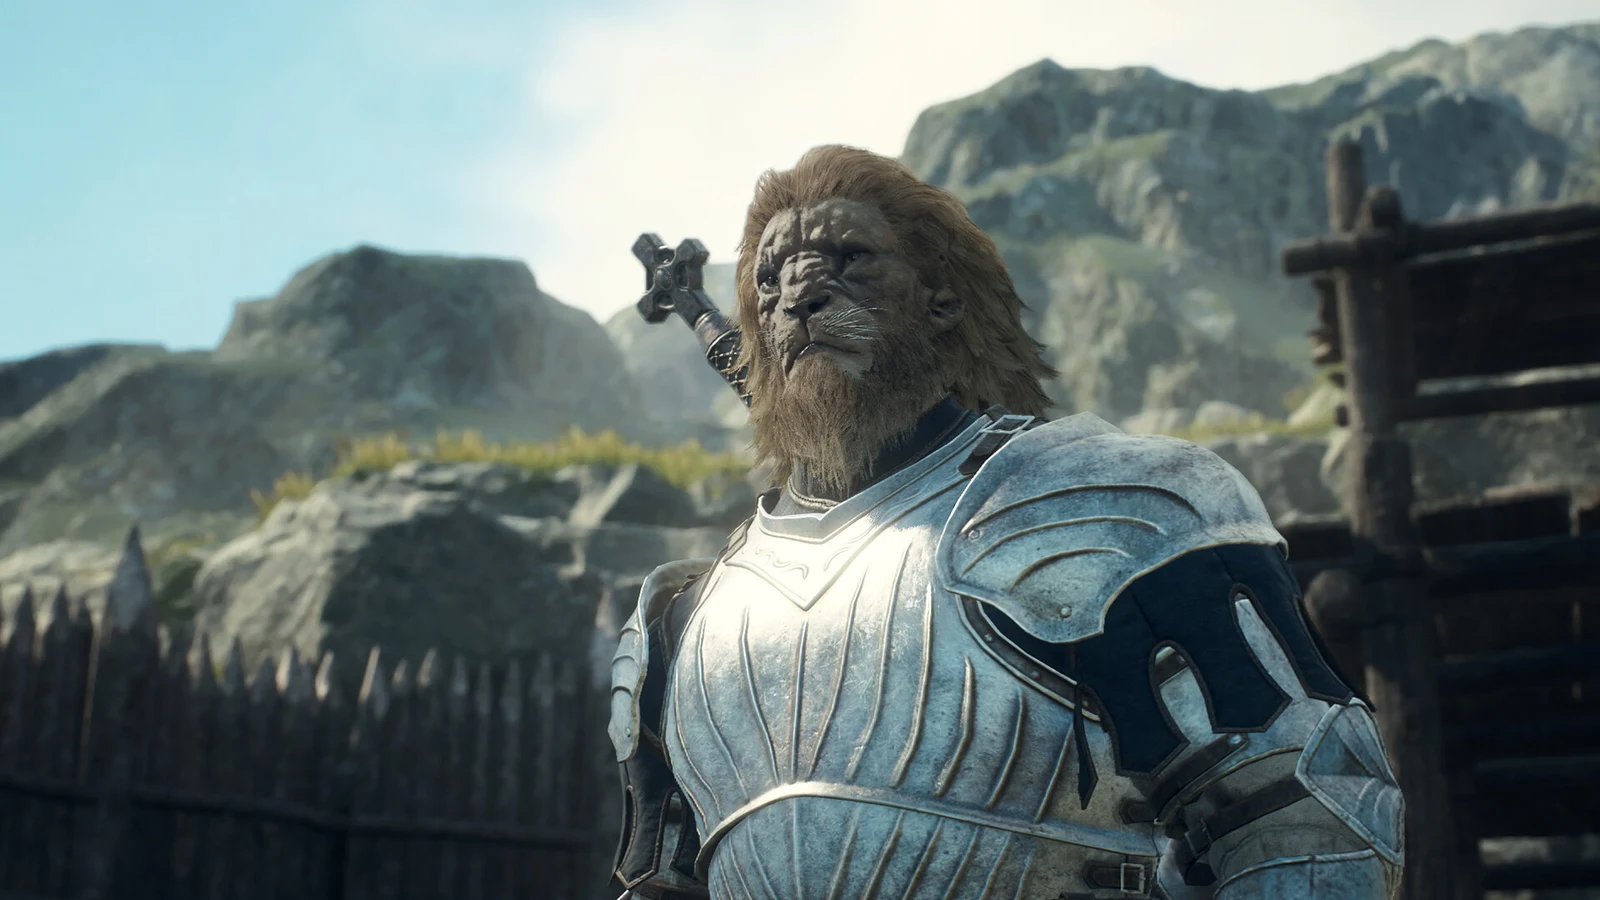
In Dragon’s Dogma 2: Dark Arisen, 35 armour pieces share a description saying the Lost Rites have fortified them, and each reduces damage from the enemies found in the trials. A separate group of nine weapons lies in sealed chests at one proving ground, which can be opened only with Ephemeral Keys. The list below names every piece, its eligible vocations, and the proving ground for pieces in placed chests.
Quick answer: There are 35 Lost Rites armour pieces and nine Ephemeral Key weapons, plus a Fighter shield. The weapons come from the Seafloor Sepulcher’s sealed chests, and one Ephemeral Key opens one sealed chest.
The Proving Ground Compass points you toward forgotten proving grounds across Vermund and Battahl. The tables show which trials have chests containing specific armour pieces. Any remaining pieces come from a trial’s reward hoard when you complete it, or from its most powerful enemies.
Head armour (13 pieces)
Several of these helmets and circlets are restricted to magick-leaning vocations. A placed chest means the piece is sitting in that trial’s treasure, ready to grab.
| Head piece | Weight | Wearable by | Placed chest |
|---|---|---|---|
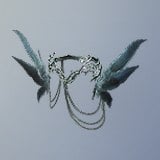 Azurequill Circlet Azurequill Circlet | 0.48 kg | Mage, Sorcerer, Mystic Spearhand, Magick Archer, Trickster | Mired Conduit |
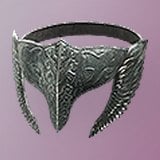 Band of Dunscaith Band of Dunscaith | 2.45 kg | Every vocation | Interminable Corridor |
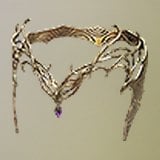 Canopy of Plenty Canopy of Plenty | 0.6 kg | Every vocation | Embersand Mine |
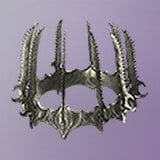 Crown of Blades Crown of Blades | 2.36 kg | Every vocation | Wyrmsblood Arena |
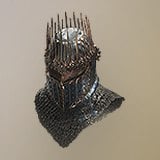 Crown of the Mad Sovran Crown of the Mad Sovran | 3.05 kg | Every vocation | Sunken Spire |
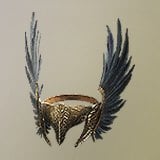 Geirolul’s Helm Geirolul’s Helm | 1.85 kg | Every vocation | Precipitous Catacombs |
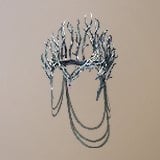 Glasrew Galea Glasrew Galea | 0.55 kg | Mage, Sorcerer, Mystic Spearhand, Magick Archer, Trickster | Precipitous Catacombs |
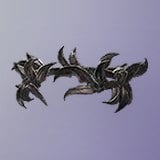 Glory Laurel Glory Laurel | 1.33 kg | Every vocation | — |
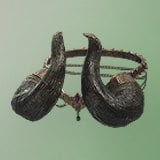 Horns of Moloch Horns of Moloch | 2.6 kg | Every vocation | Molten Gauntlet |
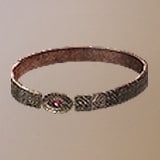 Mystic Eye Mystic Eye | 0.6 kg | Every vocation | Daemons’ Corral |
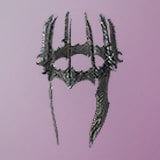 Ophidian Diadem Ophidian Diadem | 2.2 kg | Every vocation | Interminable Corridor |
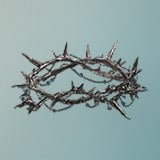 Thorns of Agony Thorns of Agony | 1.12 kg | Every vocation | Molten Gauntlet |
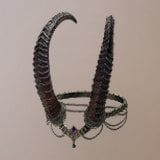 Wyrmhorne Helm Wyrmhorne Helm | 2.1 kg | Every vocation | Seafloor Sepulcher |
Body armour (10 pieces)
Body pieces split cleanly along vocation lines, with the heaviest plate reserved for Fighter, Warrior and Mystic Spearhand. Only two of the ten are in placed chests.
| Body piece | Weight | Wearable by | Placed chest |
|---|---|---|---|
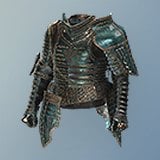 Allegoric Plate Allegoric Plate | 6.33 kg | Fighter, Warrior, Mystic Spearhand | — |
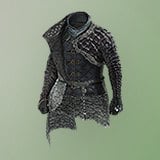 Catamount Jacket Catamount Jacket | 3.9 kg | Archer, Thief, Mystic Spearhand, Magick Archer | Precipitous Catacombs |
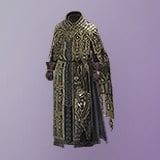 Circumventor’s Burthen Circumventor’s Burthen | 3.11 kg | Mage, Sorcerer, Trickster | — |
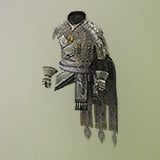 Dragonscoil Harness Dragonscoil Harness | 4.45 kg | Mage, Sorcerer, Trickster | — |
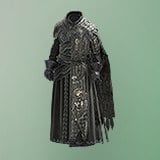 Eldritch Threnody Eldritch Threnody | 2.32 kg | Mage, Sorcerer, Trickster | — |
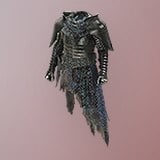 Kibisis Coat Kibisis Coat | 4.46 kg | Fighter, Warrior, Mystic Spearhand | — |
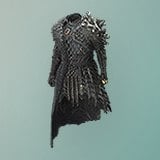 Lex Talionis Lex Talionis | 4.61 kg | Archer, Thief, Magick Archer | — |
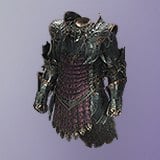 Plate of the Mad Sovran Plate of the Mad Sovran | 6.59 kg | Fighter, Warrior, Mystic Spearhand | Mired Conduit |
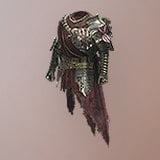 Triumpher’s Guerdon Triumpher’s Guerdon | 5.48 kg | Fighter, Warrior, Mystic Spearhand | — |
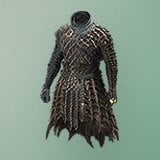 Wyrmscale Cuirass Wyrmscale Cuirass | 5.63 kg | Fighter, Archer, Thief, Warrior, Mystic Spearhand, Magick Archer | — |
Leg armour (12 pieces)
Leg pieces round out the set, with five held in placed chests and the rest coming from trial rewards or the trials’ strongest foes.
| Leg piece | Weight | Wearable by | Placed chest |
|---|---|---|---|
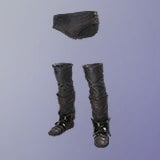 Archaic Boots Archaic Boots | 2.14 kg | Every vocation | Precipitous Catacombs |
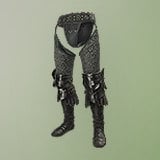 Fleetstride Cuisses Fleetstride Cuisses | 2.36 kg | Fighter, Archer, Thief, Warrior, Mystic Spearhand, Magick Archer | — |
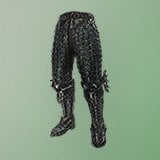 Greaves of the Mad Sovran Greaves of the Mad Sovran | 3.0 kg | Fighter, Warrior, Mystic Spearhand | Molten Gauntlet |
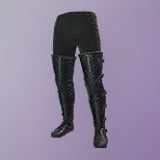 Insidiator’s Boots Insidiator’s Boots | 2.88 kg | Every vocation | — |
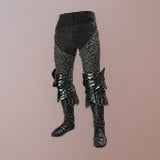 Meteoric Cuisses Meteoric Cuisses | 2.81 kg | Fighter, Archer, Thief, Warrior, Mystic Spearhand, Magick Archer | — |
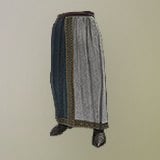 Padarn’s Wrap Padarn’s Wrap | 1.6 kg | Every vocation | Embersand Mine |
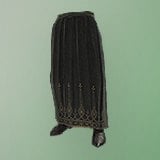 Pyrolytic Cloth Pyrolytic Cloth | 1.9 kg | Mage, Sorcerer, Trickster | — |
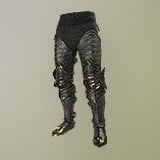 Reaper’s Tread Reaper’s Tread | 3.55 kg | Fighter, Warrior, Mystic Spearhand | — |
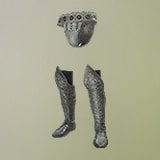 Sanctified Boots Sanctified Boots | 2.12 kg | Mage, Sorcerer, Mystic Spearhand, Magick Archer, Trickster | — |
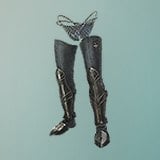 Staunch Sabatons Staunch Sabatons | 2.21 kg | Fighter, Archer, Thief, Warrior, Mystic Spearhand, Magick Archer | Sunken Spire |
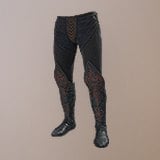 Steelsilk Sabatons Steelsilk Sabatons | 2.35 kg | Archer, Mage, Thief, Sorcerer, Mystic Spearhand, Magick Archer | — |
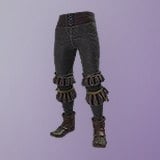 Wildskirl Breeches Wildskirl Breeches | 2.65 kg | Archer, Mage, Thief, Sorcerer, Mystic Spearhand, Magick Archer, Trickster | Wyrmsblood Arena |
Ephemeral Key weapons (9, plus a shield)
Each chest requires one Ephemeral Key to open; the first holds the Fighter sword and shield together. When an evil eye is killed, the weapon absorbs its magicks, changing both its power and its special skill.
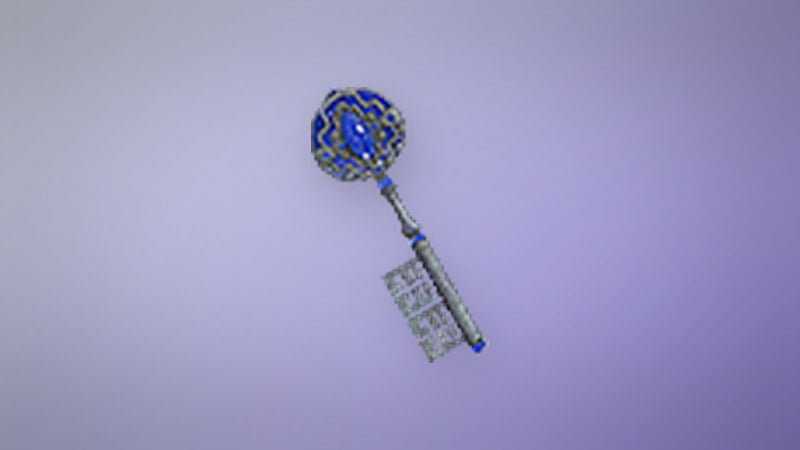
Each of the nine weapons has four special skill slots and sells for 40,000 G. The shield, Celestial Crux, carries two special skill slots.
| Weapon | Vocation | Weight | Skill slots |
|---|---|---|---|
 Seraphic Spar Seraphic Spar | Fighter | 6.23 kg | 4 |
 Celestial Crux (shield) Celestial Crux (shield) | Fighter | 5.48 kg | 2 |
 Skygill Skygill | Archer | 5.76 kg | 4 |
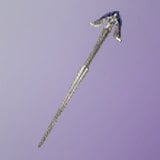 Peregrine Totem Peregrine Totem | Mage | 5.65 kg | 4 |
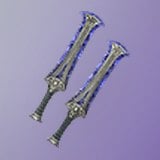 Talons of the Magpie Talons of the Magpie | Thief | 4.71 kg | 4 |
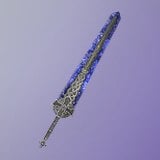 Blade of Aldose Blade of Aldose | Warrior | 10.95 kg | 4 |
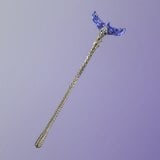 Selenic Cane Selenic Cane | Sorcerer | 6.59 kg | 4 |
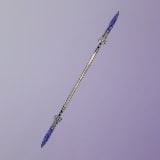 Oscine Oscine | Mystic Spearhand | 5.9 kg | 4 |
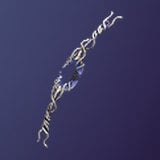 Parhelion Parhelion | Magick Archer | 5.04 kg | 4 |
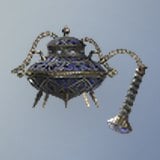 Beckoning Delight Beckoning Delight | Trickster | 4.75 kg | 4 |
Clearing Wyrmsblood Arena for Crown of Blades and Wildskirl Breeches
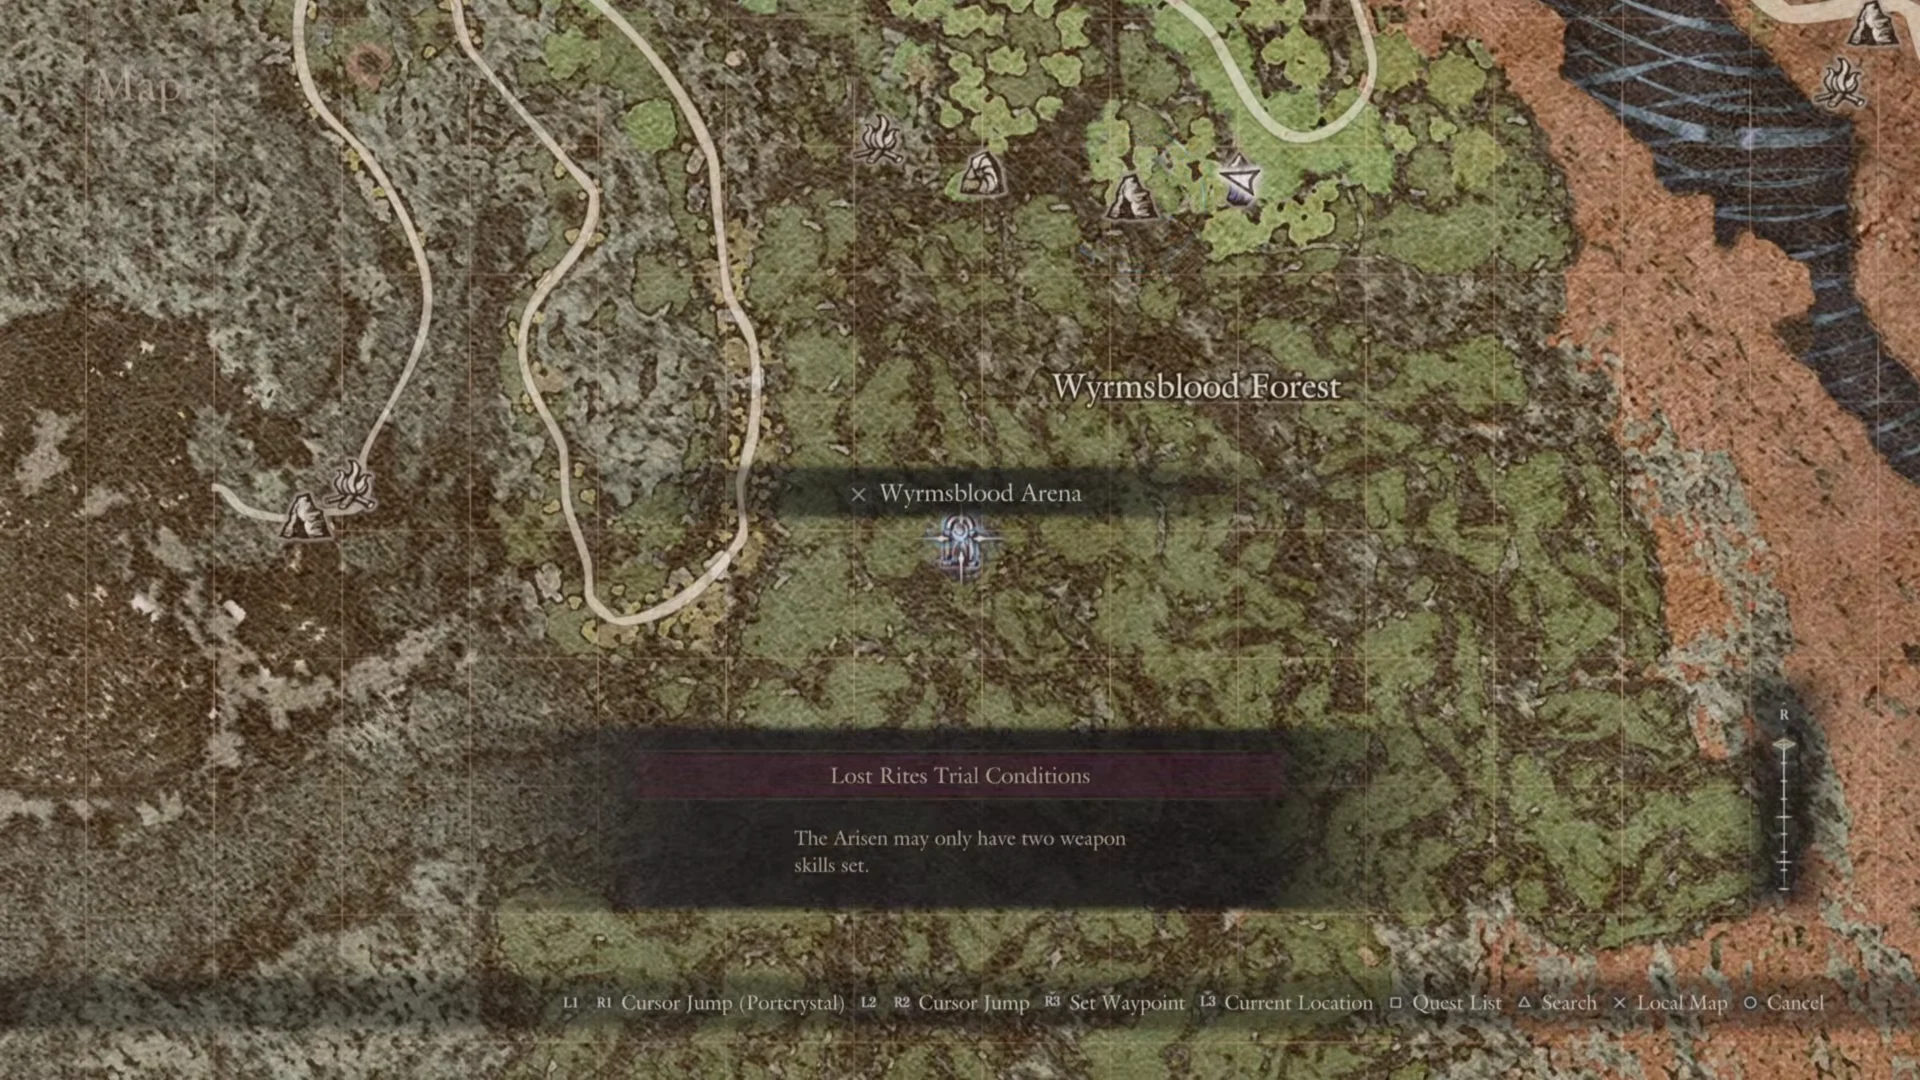
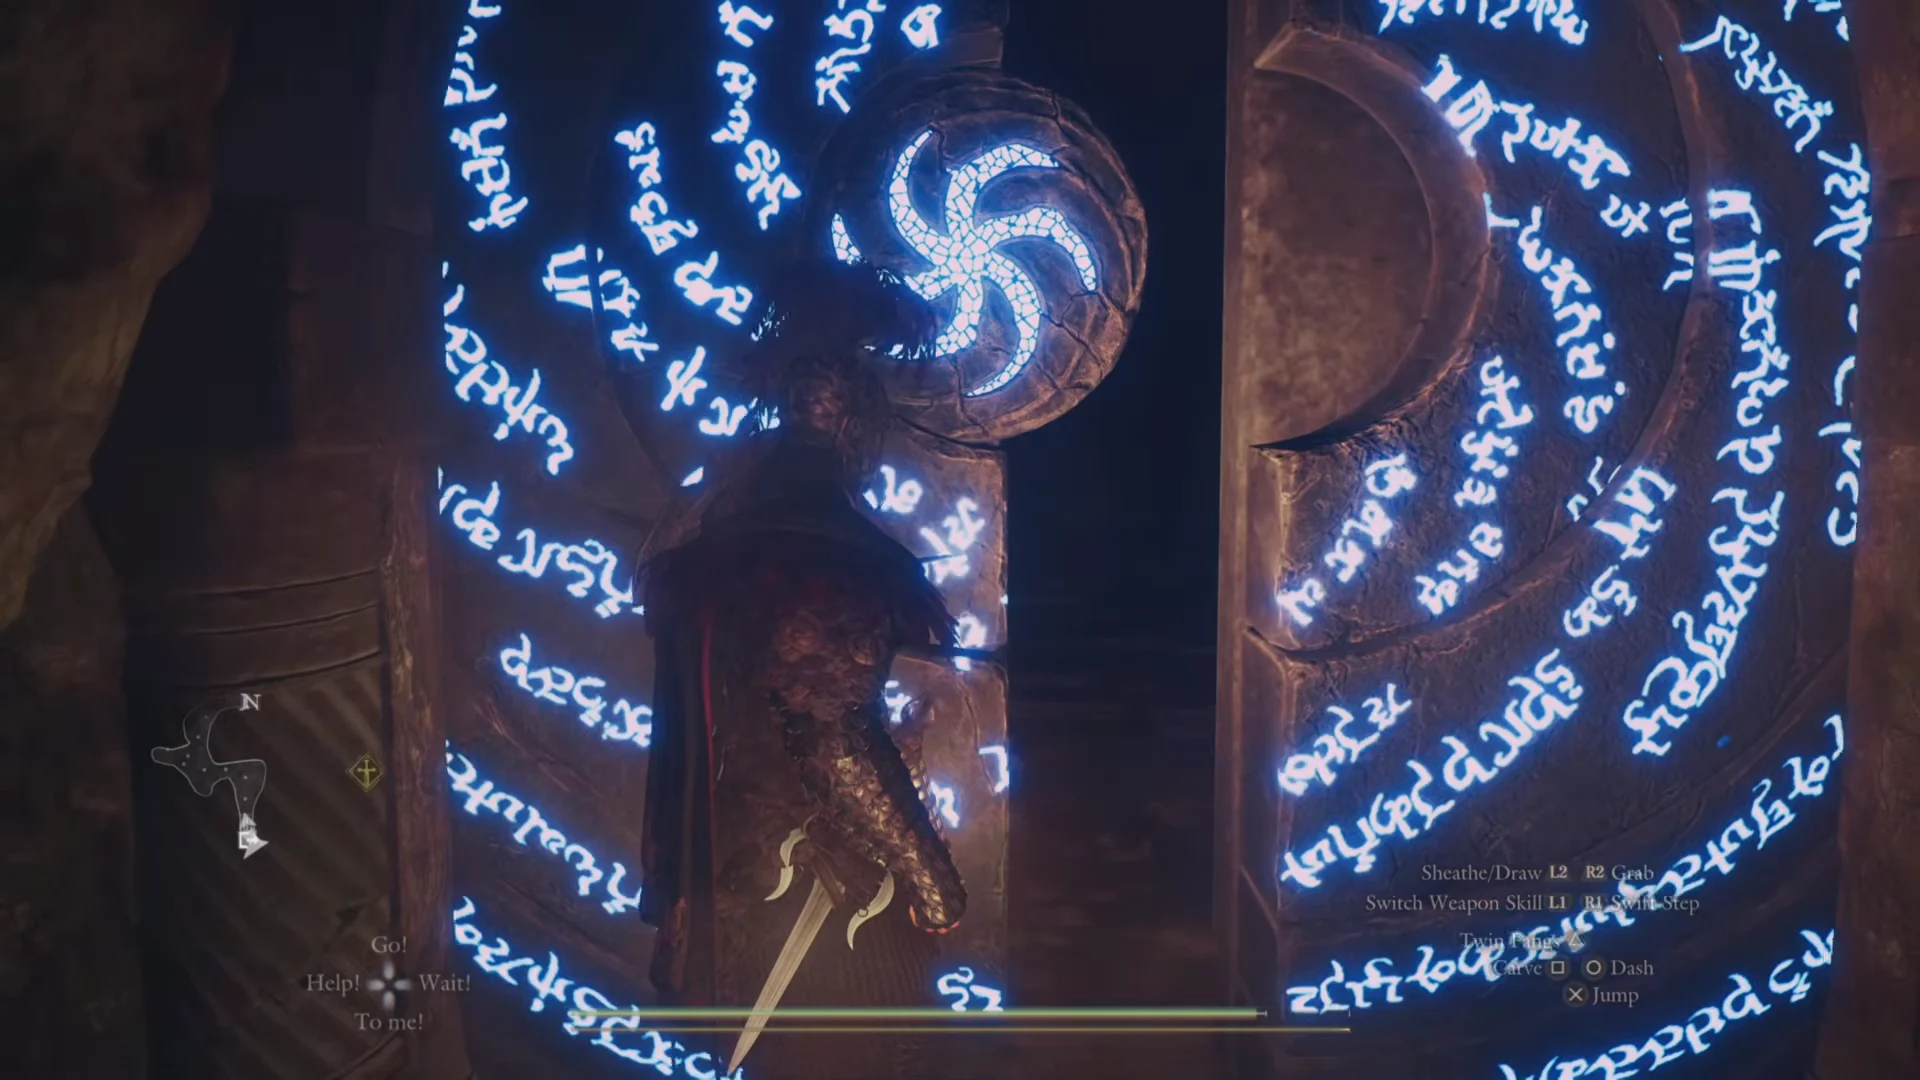
Two of the placed pieces above, Crown of Blades and Wildskirl Breeches, sit inside Wyrmsblood Arena. The trial gates your loadout at the entrance, so set up before you go in.
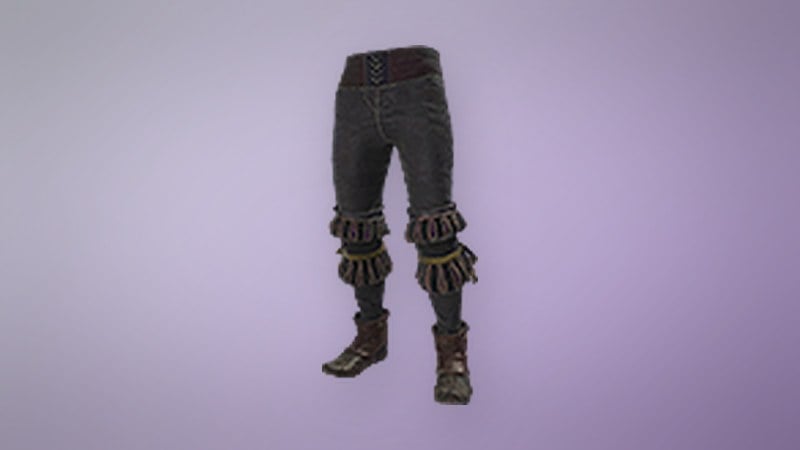
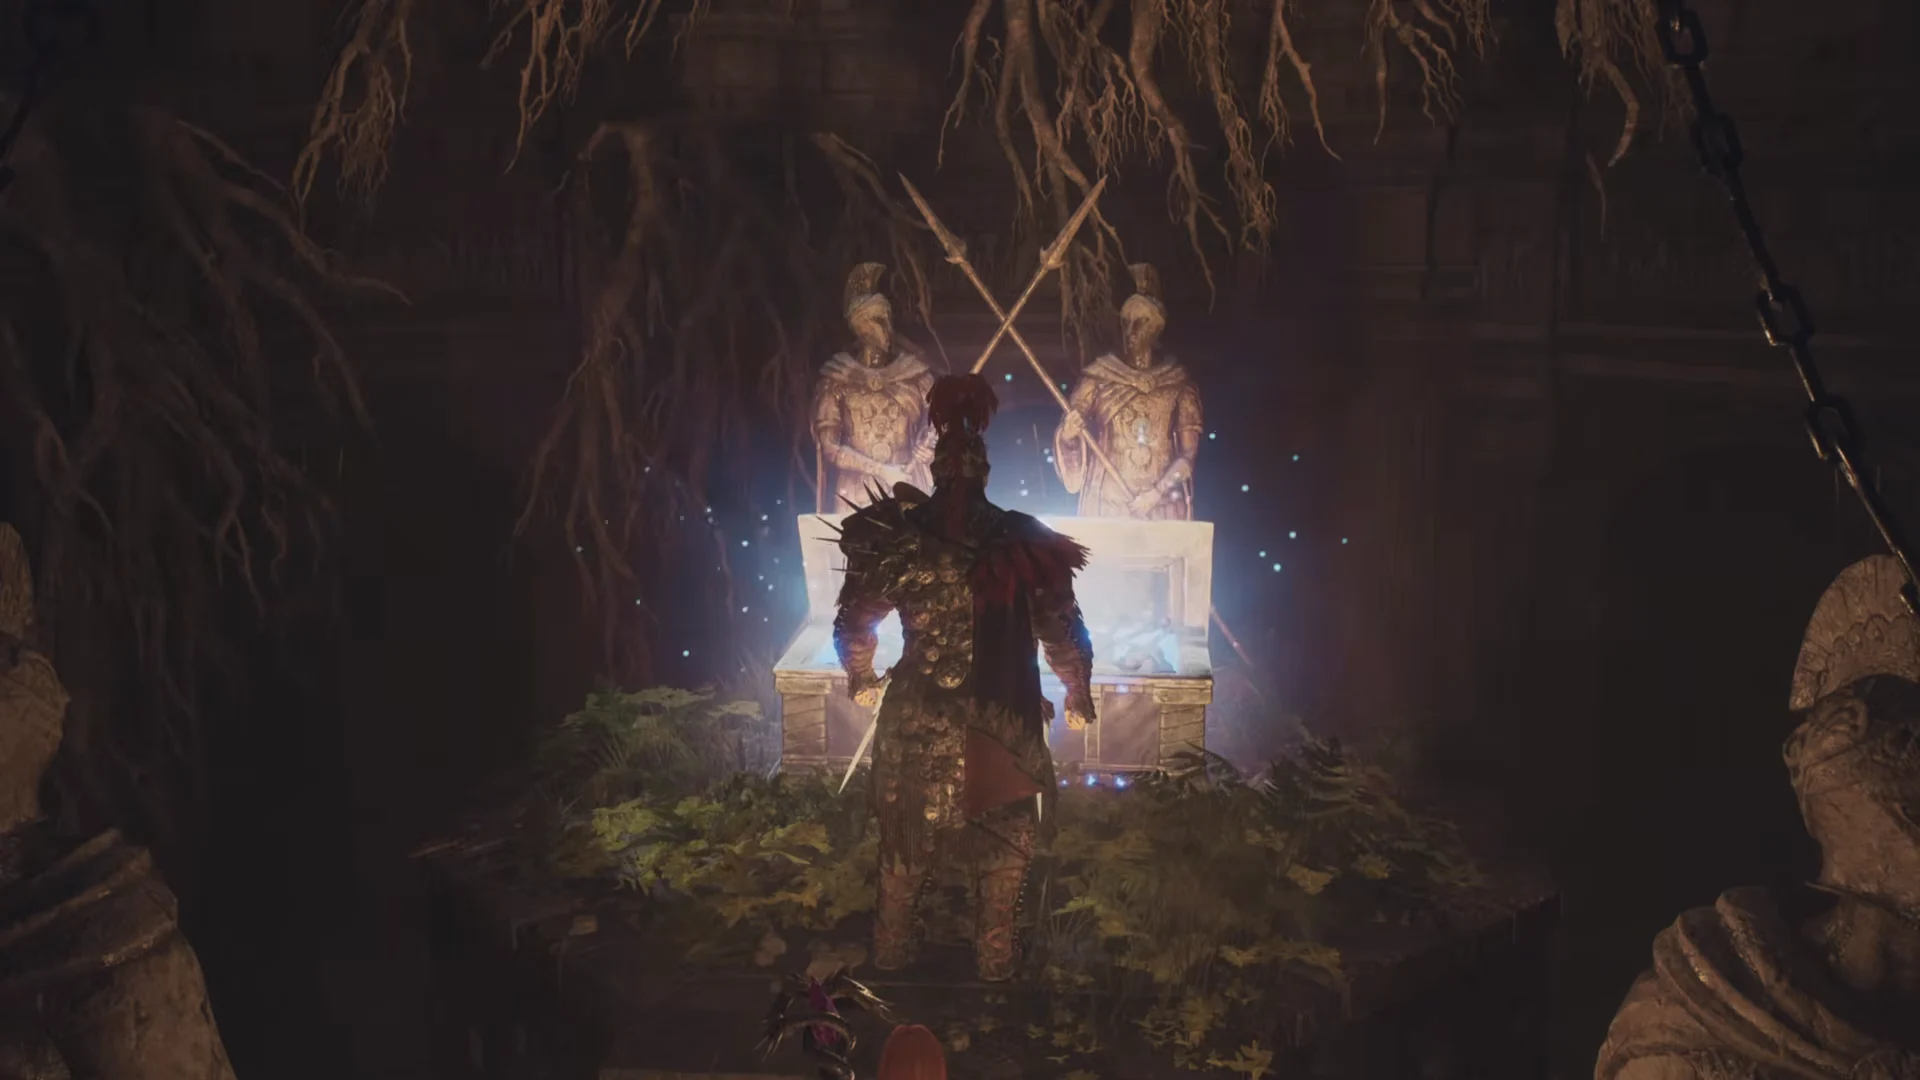
That chest gives an Offering Flame.
Lost Rites trials, entry conditions and chest counts
Each trial has its own entry rule and its own number of chests to clear. Use this as a planning table before you set out, since several trials change your party or vocation requirements.
| Trial | No. | Entry condition | Chests |
|---|---|---|---|
| Devilkin Hollow | 1 | No conditions | 1 |
| Daemons’ Corral | 2 | No conditions | 7 |
| Sunken Spire | 3 | No conditions | 11 |
| Interminable Corridor | 4 | All party members Very Light | 15 |
| Wyrmsblood Arena | 5 | Only two weapon skills set | 6 |
| Precipitous Catacombs | 6 | Arisen must be archer or magick archer | 11 |
| Mired Conduit | 7 | Complete four or more Lost Rites trials | 13 |
| Embersand Mine | 8 | No grimoires or enchanted weapons; no fire, ice, lightning or holy archmagick skills | 7 |
| Shrouded Warren | 9 | Only the Arisen’s main pawn may join | 9 |
| Molten Gauntlet | 10 | No conditions | 9 |
| Seafloor Sepulcher | 11 | No conditions (sealed chests need Ephemeral Keys) | 16 |
| Final Proving Ground | 12 | Must have cleared Molten Gauntlet and Seafloor Sepulcher | 14 |
The Seafloor Sepulcher has 16 chests in total and nine sealed chests. The sealed ones are the only source of the Ephemeral Key weapons, and its inscription warns that a brittle key wins you a single treasure, so plan which weapon you want before you use a key.