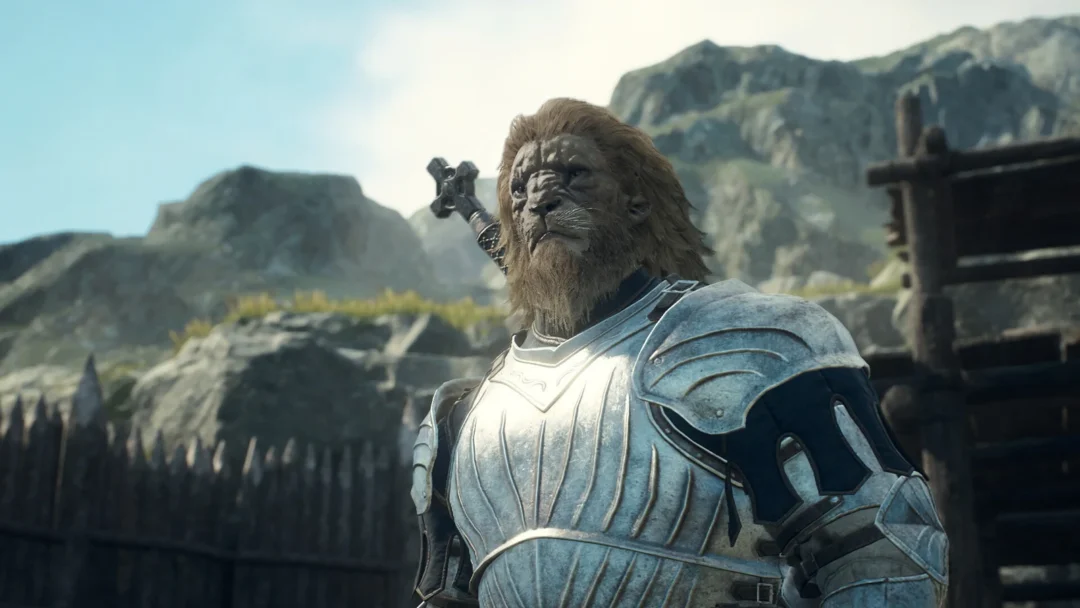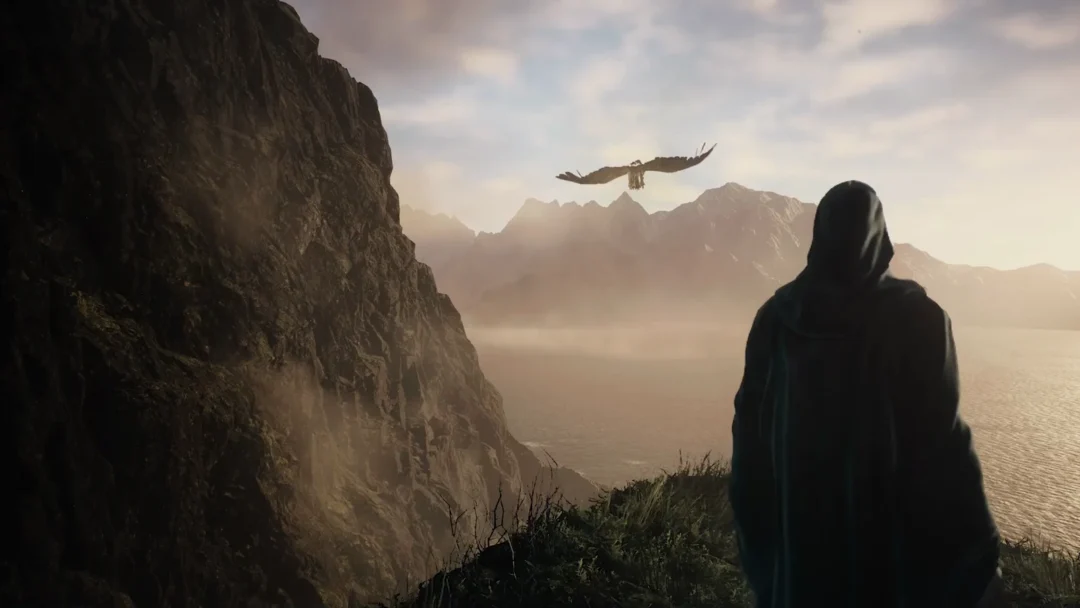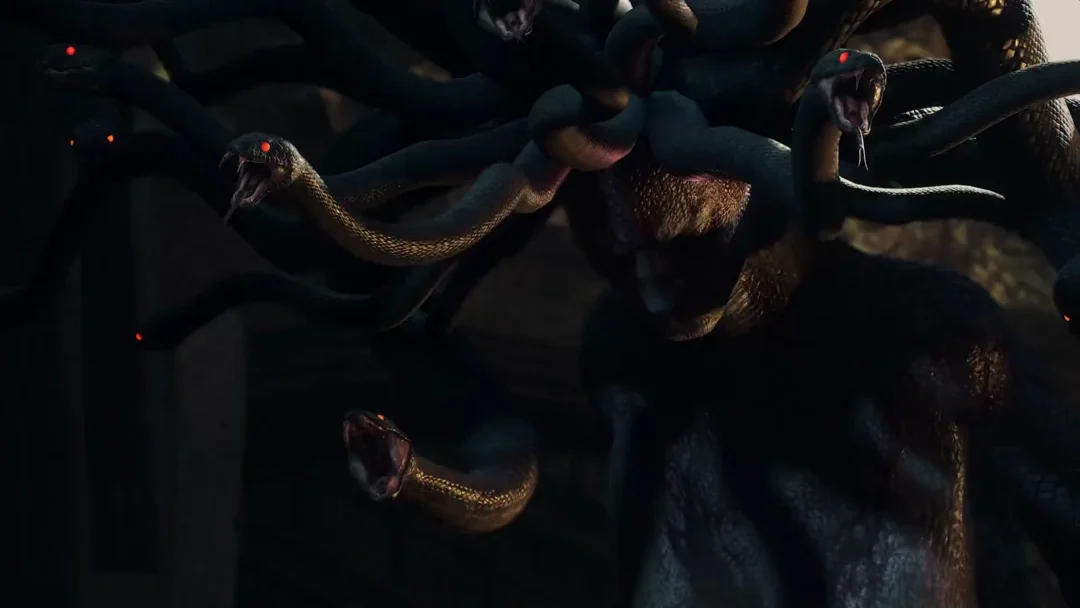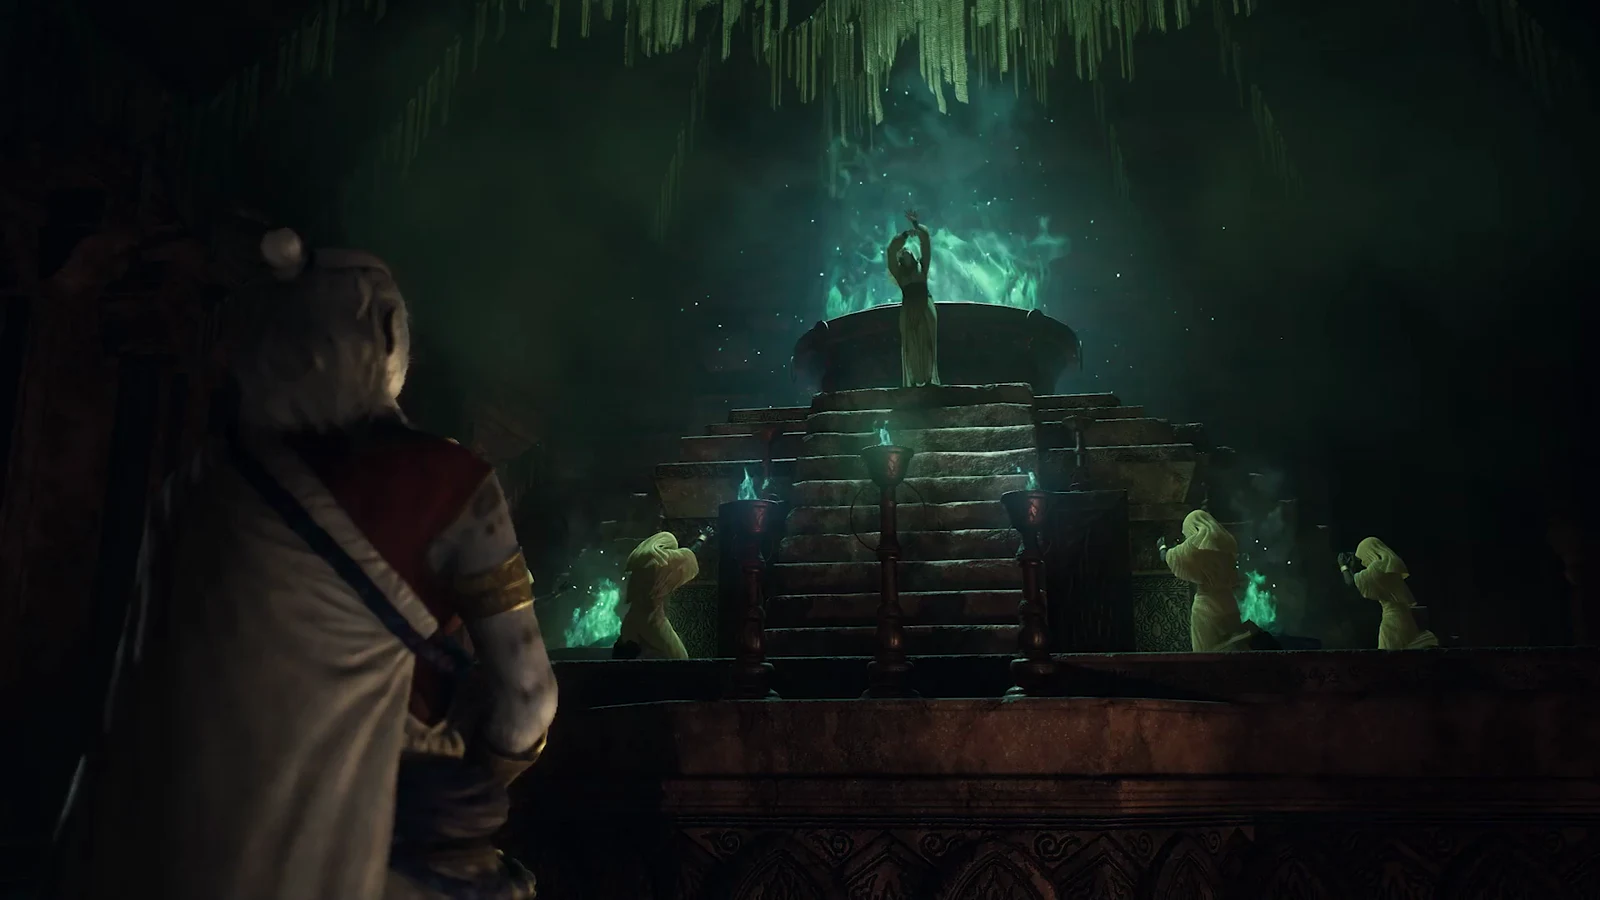
Shrouded Warren ranks ninth among the Lost Rites proving grounds in Dragon’s Dogma 2: Dark Arisen. Its locked entrance is built into an exposed cliff face, with no cave or named ruin on the approach. Inside, the trial limits your party to two, sends you through connected ruin corridors and cave passages full of hammers, then ends in a foggy arena and a lone large gold coffer.
Quick answer: Shrouded Warren is Lost Rites trial 9. Only you and your main pawn may enter; hired pawns wait at the door. The end coffer pays 100,000 G.
Where to find the Shrouded Warren door
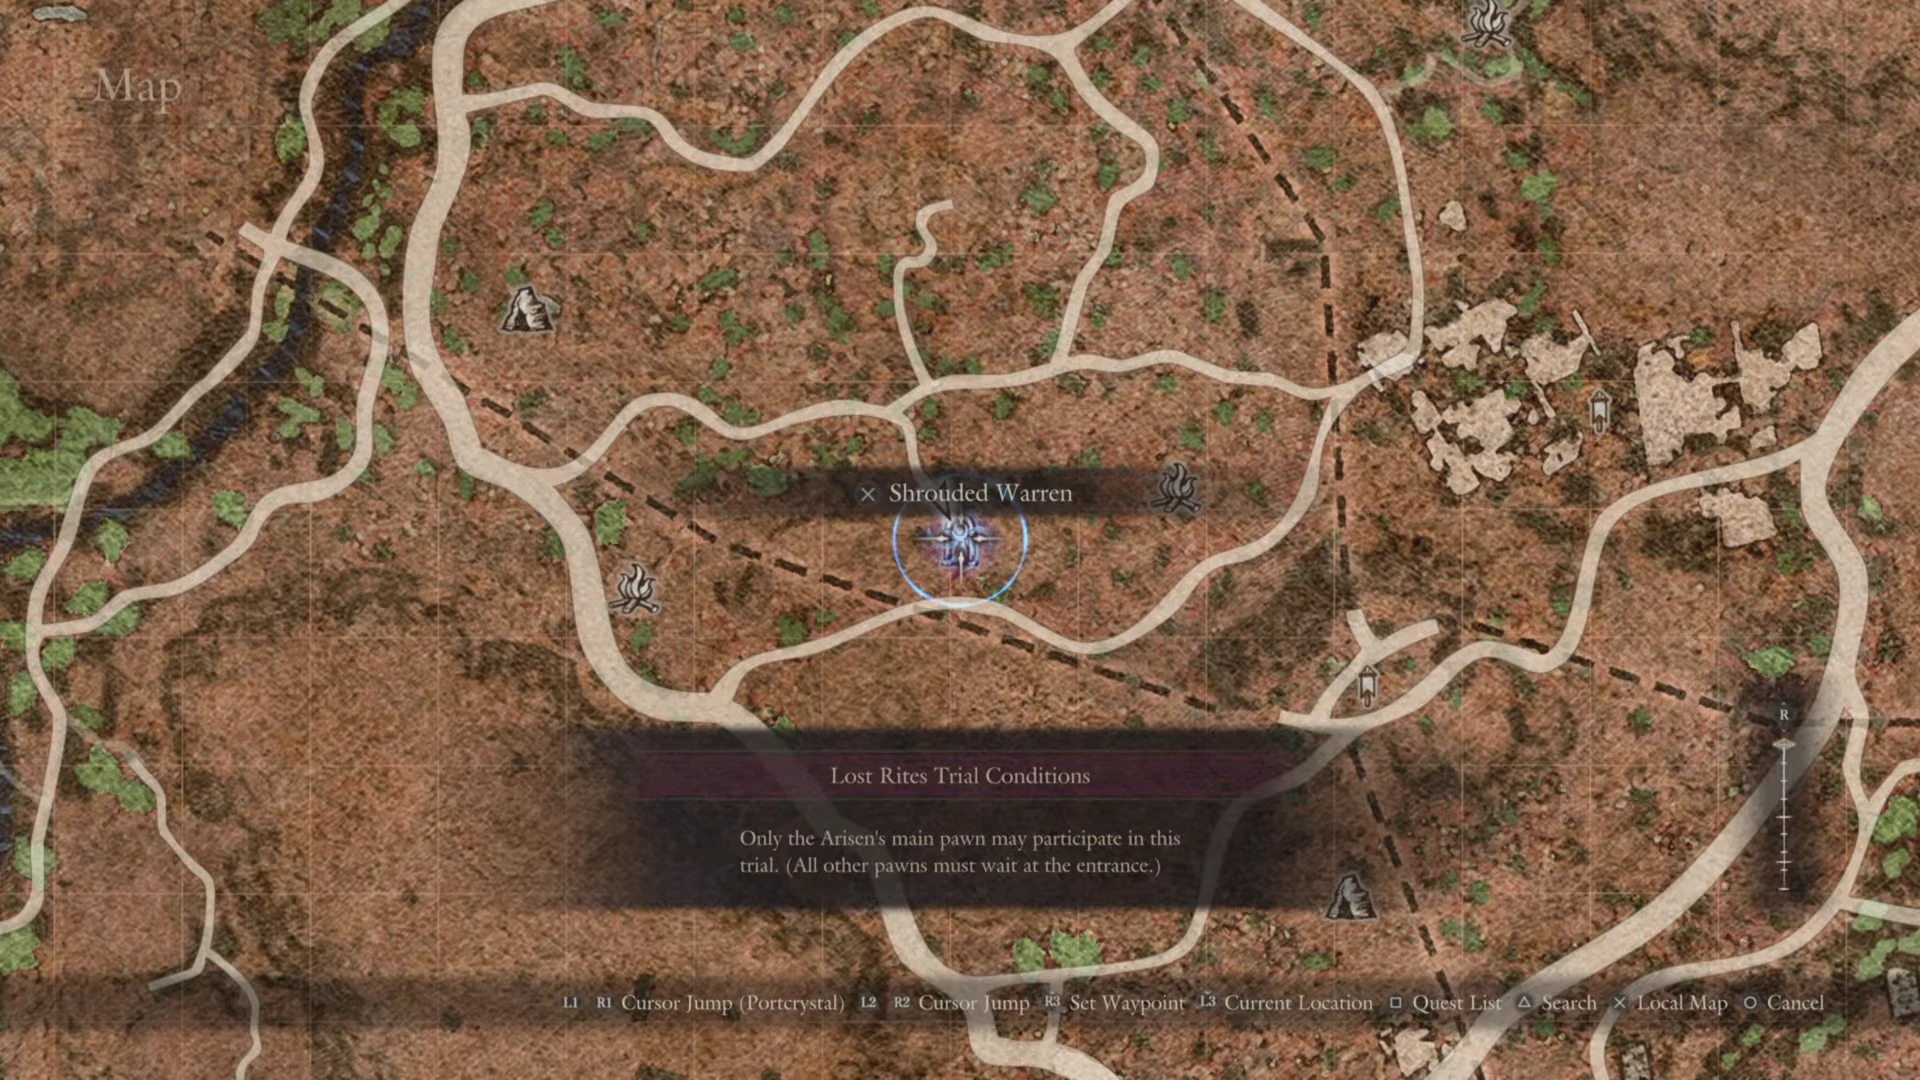
Open the Proving Ground Compass from the Items menu if the marker has not appeared on your map yet. The proving ground sits in the orange desert part of the map, inside a loop of roads, with a patch of pale ruins drawn to its north-east. Put the cursor on the marker and the label reads “Shrouded Warren,” with a box titled “Lost Rites Trial Conditions” showing the entry rule.
By day, you can see the circular stone door set into a stratified cliff. Its blue, glowing pinwheel symbol is visible from far away, and no tunnel lies between you and the entrance.
Shrouded Warren entry condition: main pawn only
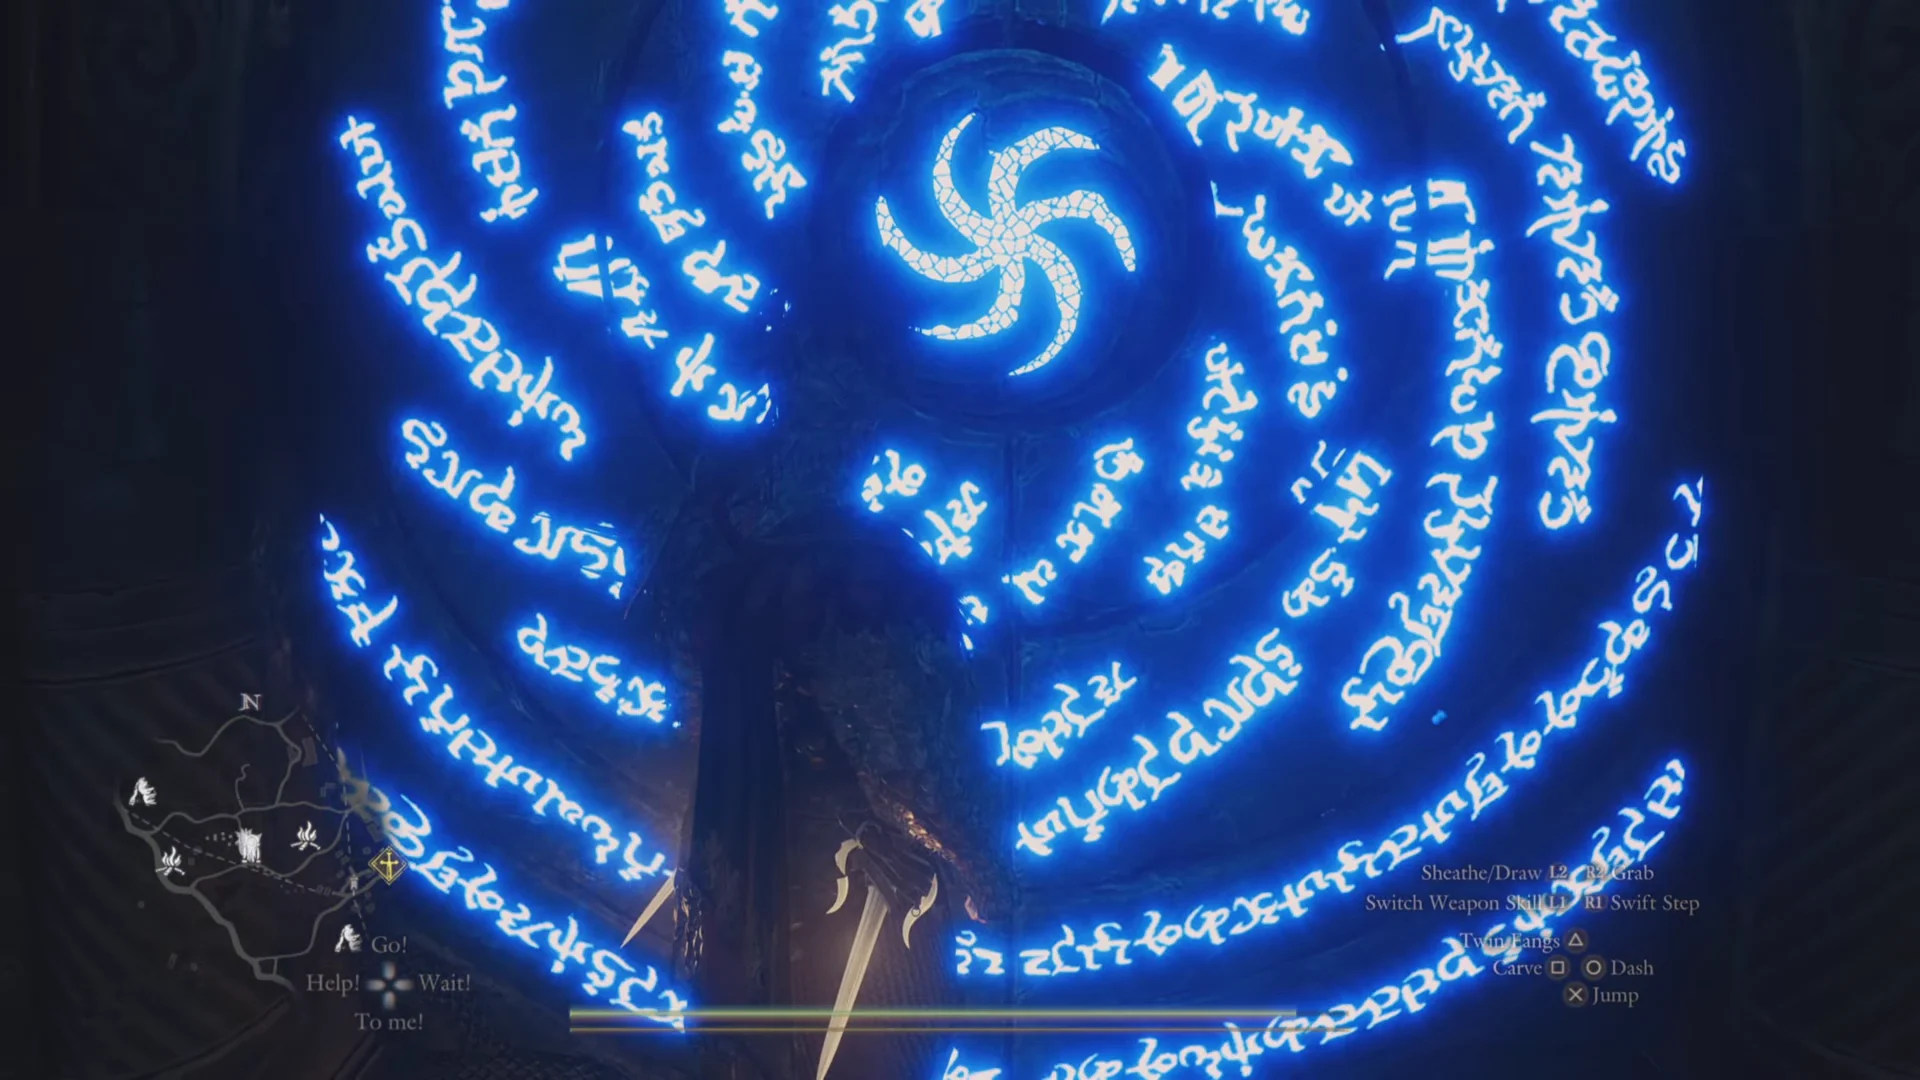
The rule reads exactly: “Only the Arisen’s main pawn may participate in this trial. (All other pawns must wait at the entrance.)” At the door the game shows this with a Confirm prompt, the rings of script on the seal light up blue and turn, and the door opens.
There is no need to dismiss hired pawns beforehand. Even with all four party members present, the entrance opens; the two hired pawns remain at the entry point. Only your main pawn accompanies you beyond it, leaving just two characters for the battles inside.
Your waiting pawns remain visible in the Items menu, each showing a red “Far” marker next to its level. Select an item and choose Give, and their names will be disabled; only your main pawn is available. You cannot transfer loot to pawns waiting at the entrance while inside.
Choose your duo before entering. Your main pawn must cover healing, tanking, and damage, and there is nobody else available to revive you.
Manage weight before the hammers pile up
Six chests contain hammers, creating a substantial burden for a two-person team. If the Arisen enters at Light, picking up hammer number three raises the load to Heavy, while number four makes it Very Heavy. Those heavier loads drain stamina and slow movement, a serious disadvantage in a fight with only two of you.
The simplest way to manage the weight is to transfer hammers to your main pawn. In Items, select a hammer, choose Give, and send it over while the pawn remains Very Light and has capacity. Start with both characters as light as possible to leave room for the haul.
Chest locations along the route
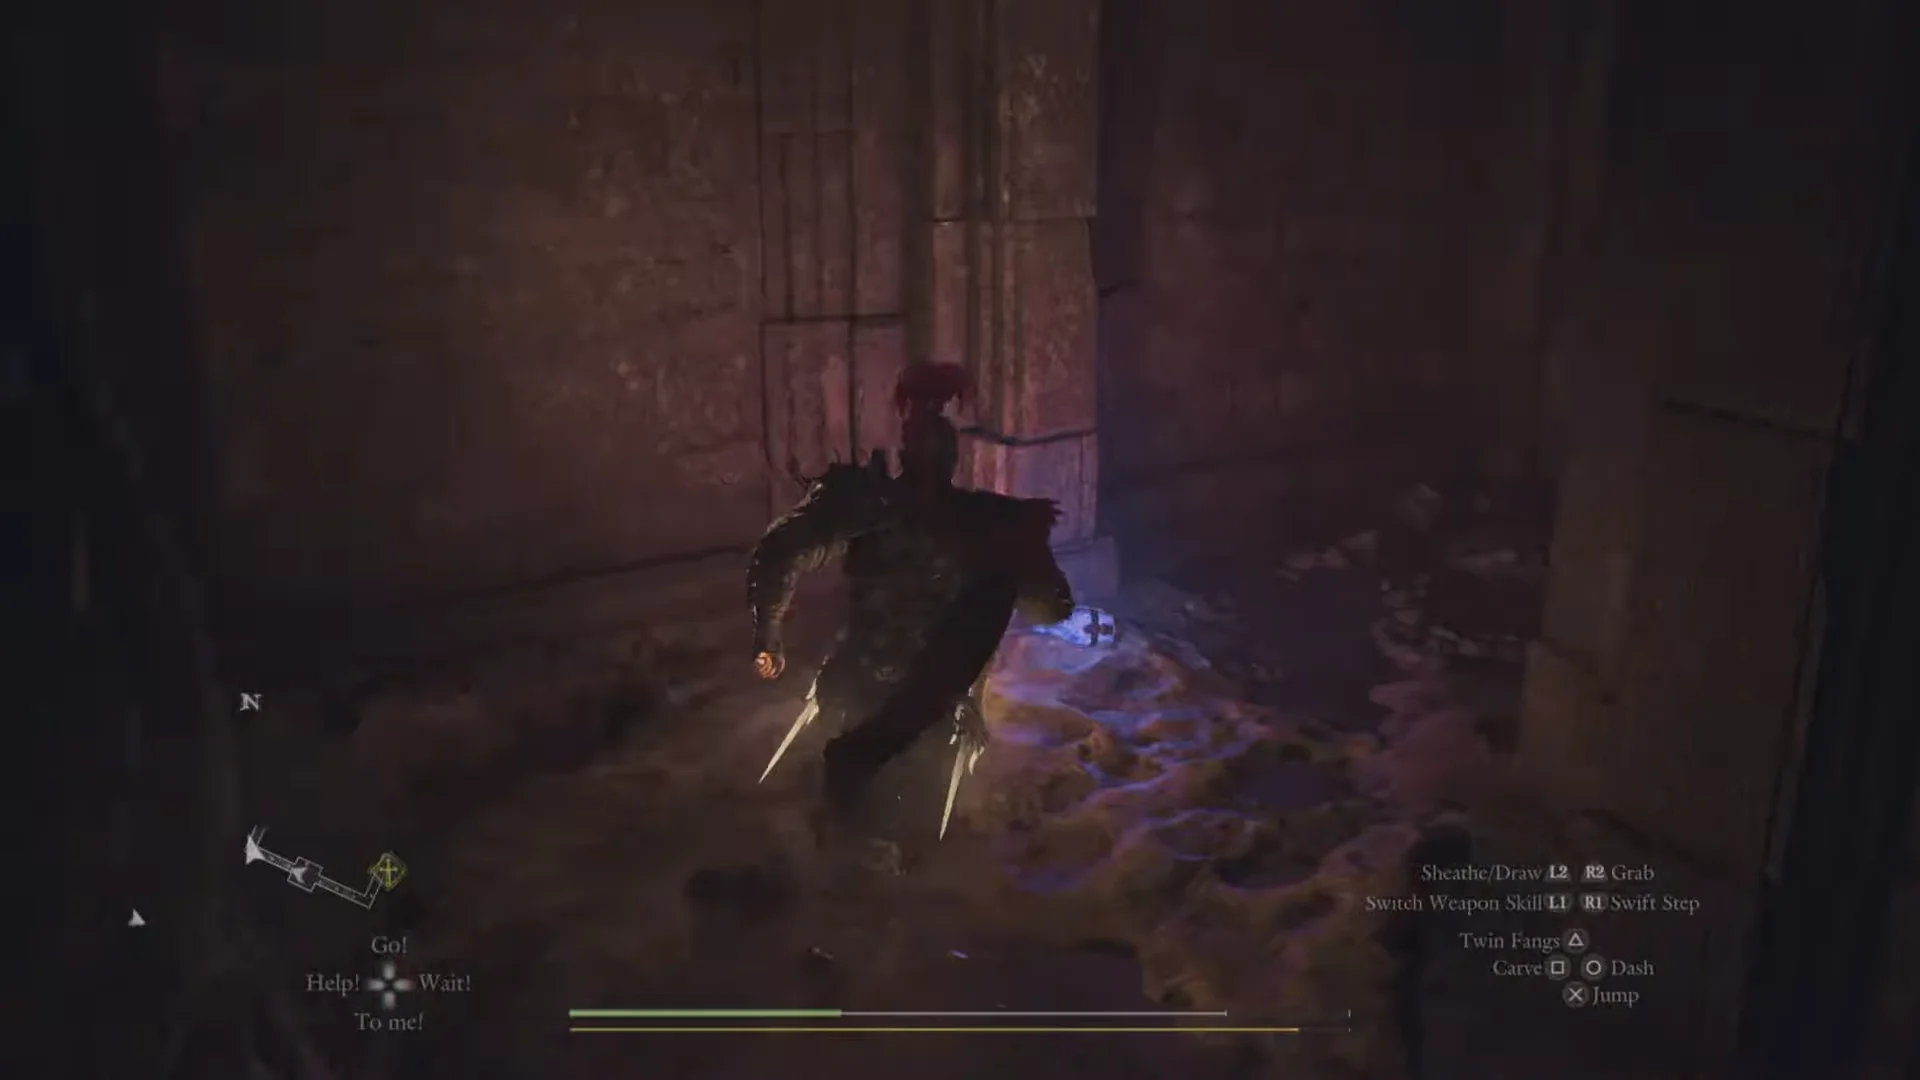
Starting in the entry cave, follow the upper ledge, descend the wooden ladder, then take on the small enemy groups, including a hobgoblin your pawn identifies. The chests you can locate along this route are listed below. Open each one as you reach it to keep the sequence straight.
- Steel Urchin — in the urn alcove on the left, right after the first fight. The chest beside it holds Exquisite Dried Spud x2.
- Steel Urchin (second) — at the top of the stairs where winged enemies swoop, tucked among roots beside a column.
- Savagery Extract x2 — Look for a banded chest beside a pillar in the natural cavern, close to the skeleton of a massive beast. The tonic is separate from the reward set.
- Black Matter — The ornate red-and-gold chest rests against the rear wall of the side cave, on its raised rock shelf. The same shelf has 550 G and Igneous Melody lying on it; collect those as well.
- Eyecrusher — beside the giant clay urn in the brazier-lit ruin hall.
- Sand-Patterned Camping Kit and another Eyecrusher — Both chests sit next to one another in the urn room immediately before the arena.
This list does not cover the chests holding the second Black Matter, the Allheal Elixir and the Abyssinal Neck Wrap.
The final fight in the misted arena
A gateway hung with roots leads into a dark chamber with broad stone steps, rock spikes on the floor, and a carved archway sealed by a pink-red barrier between two purple torches. A short scene plays as you enter, and the fight starts. The enemies here are armoured, man-sized figures wrapped in purple mist, each with a short health bar over its head. No name is shown and no bar appears at the top of the screen.
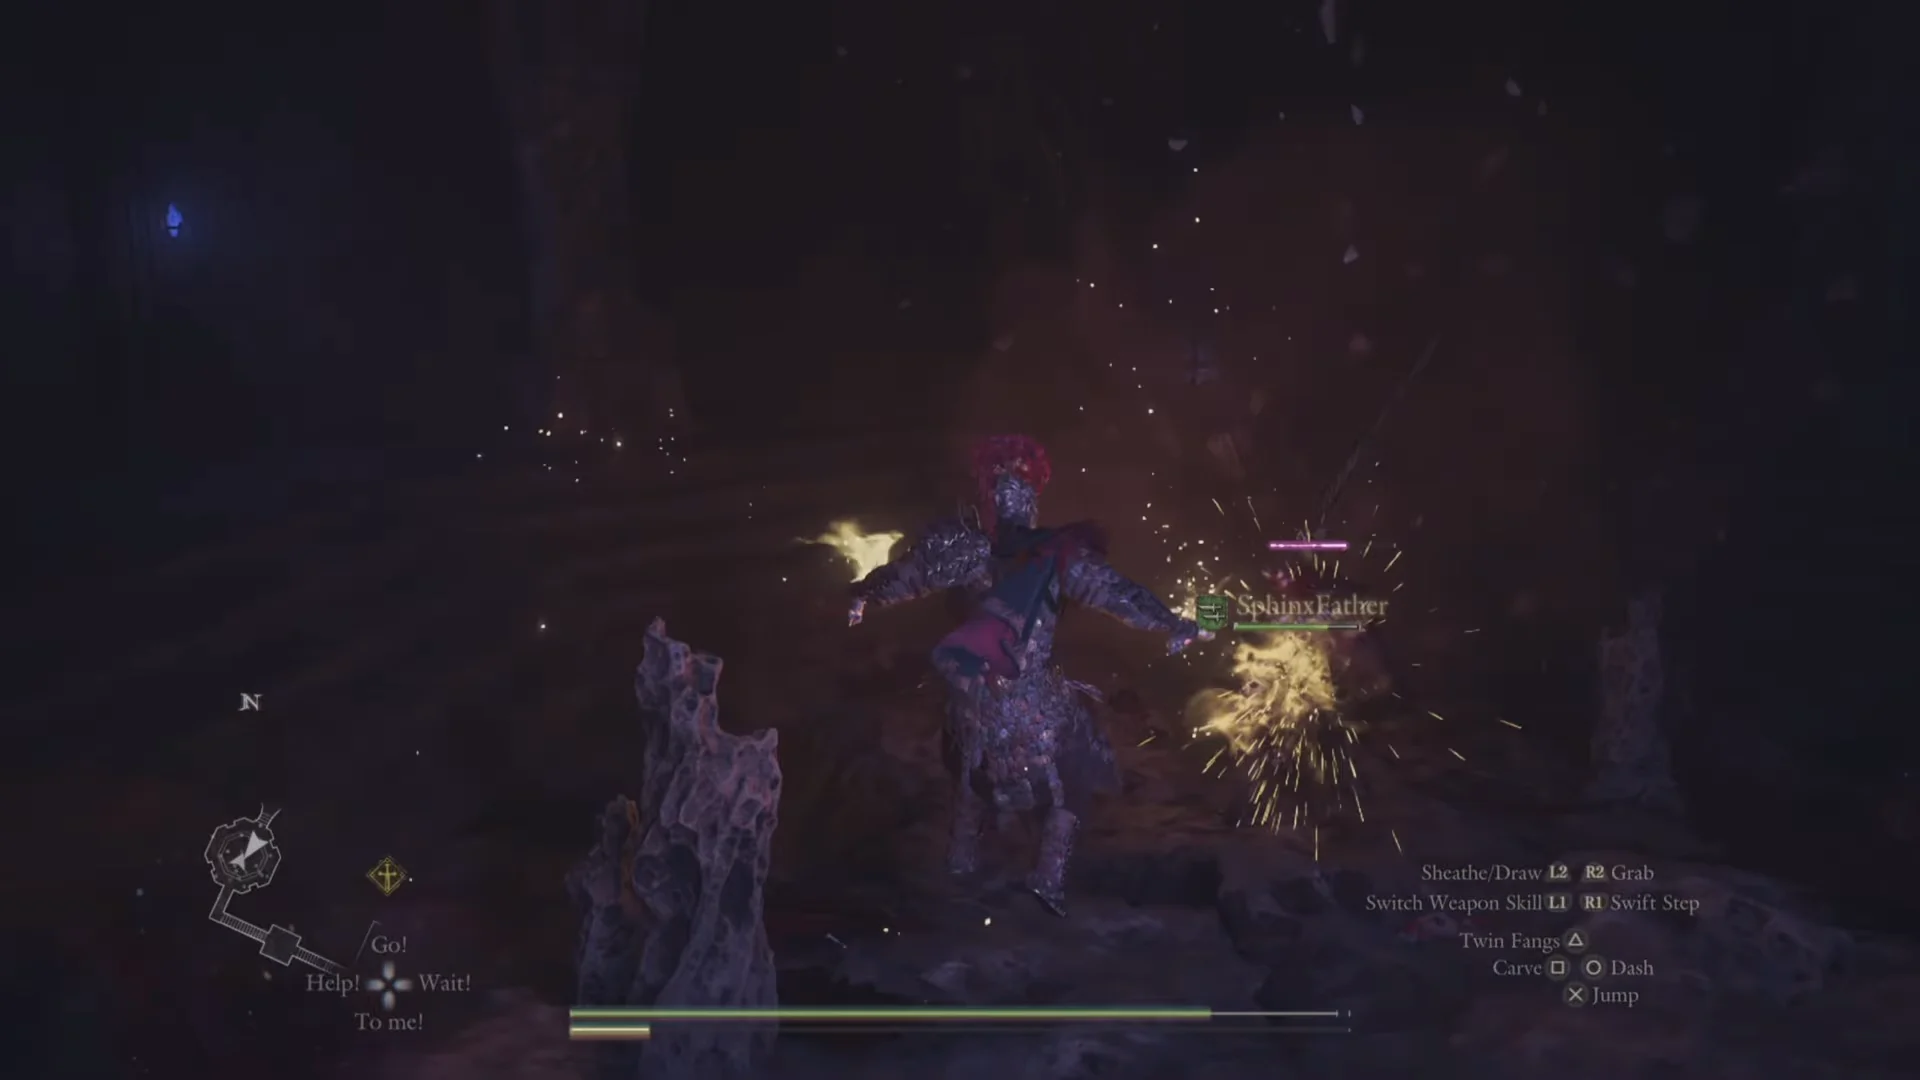
Their powerful swings can kill even a strong Arisen at full health in one blow, so carry Wakestones. Have your main pawn draw their attention while you attack from the rear. If your pawn uses a heavy weapon to topple an enemy, take the chance to land a full combo. Defeat the weaker foes first to keep the pair together, and revive your pawn immediately if it goes down; without it, nobody can revive you.
When you defeat the last enemy, the carved door’s seal is lifted. Brinebeast Ore is scattered on the floor afterward. Collect it before moving on; it upgrades equipment.
Claiming the 100,000 G coffer
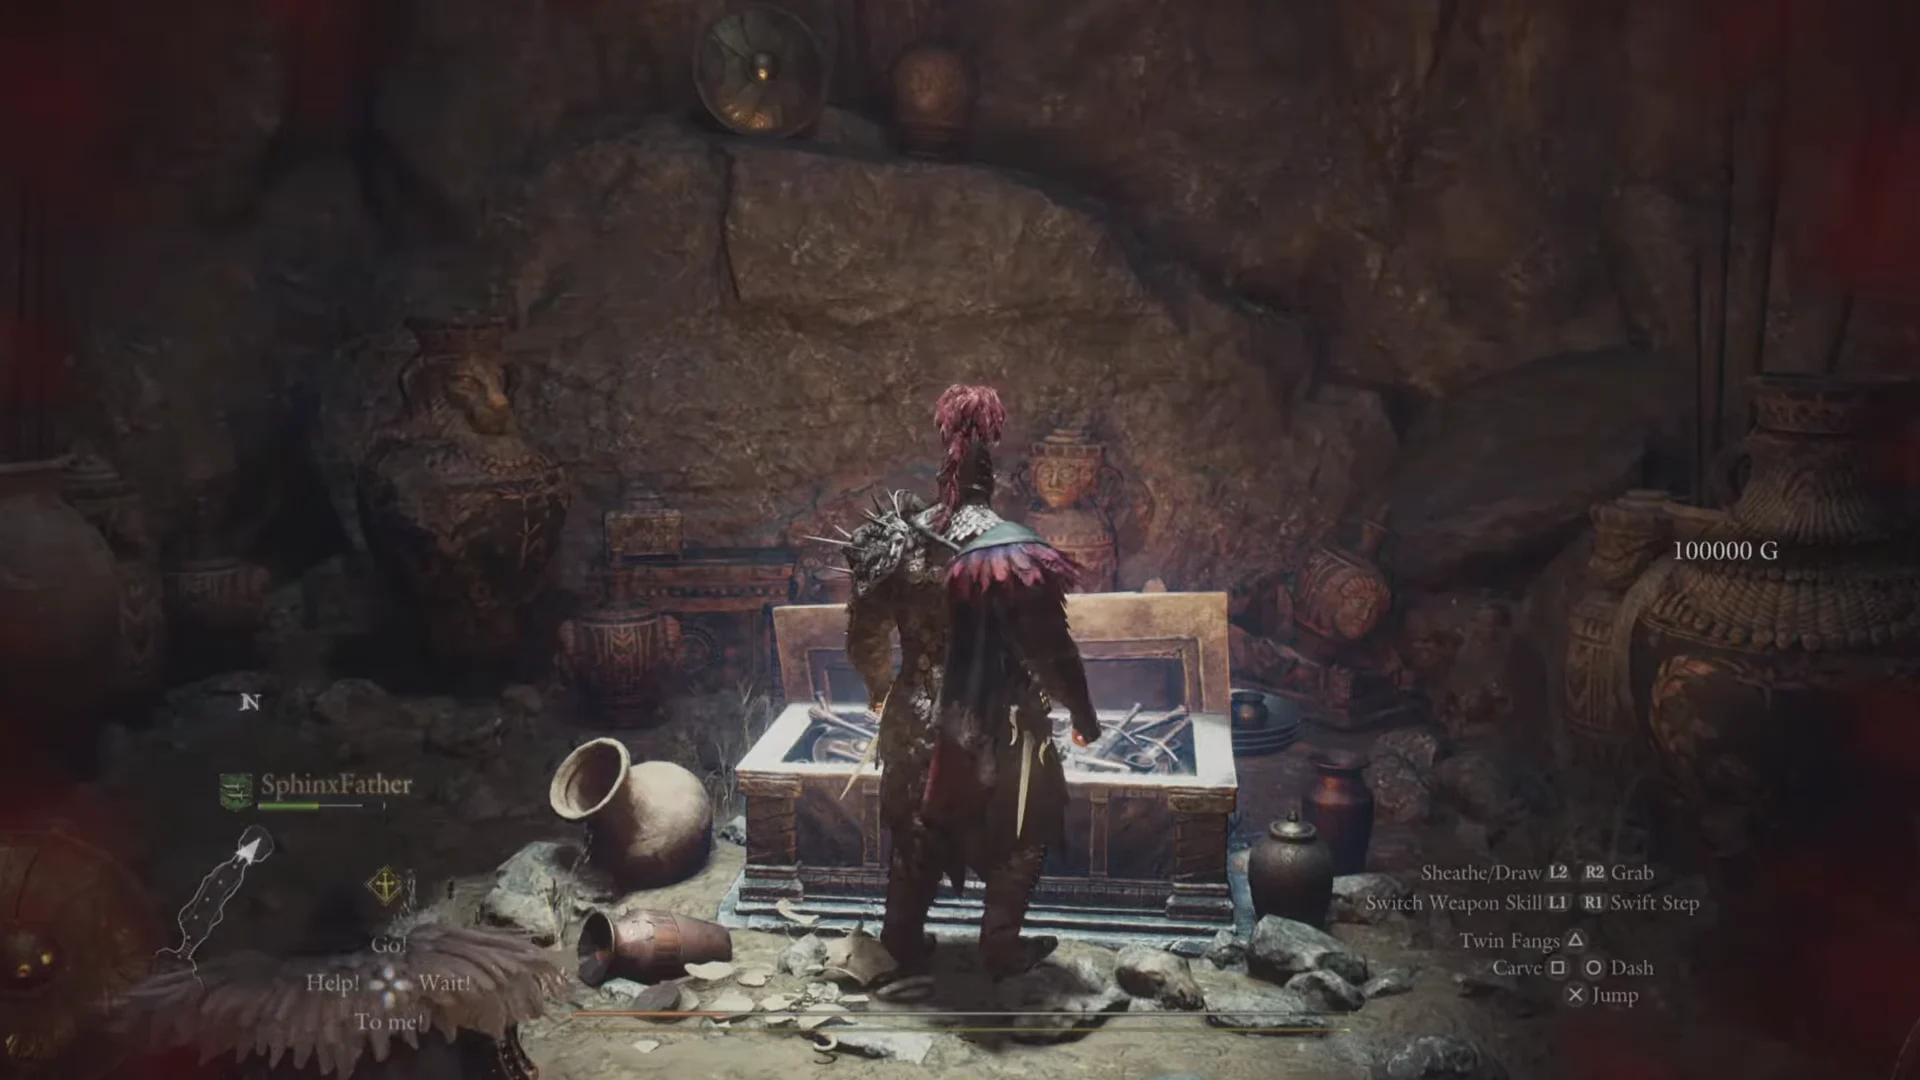
The beasts of a conquered proving ground may return after a few in-game days, not always the same ones and not forever. The map icon changes when they do, so you can tell before heading back in.
Shrouded Warren chest rewards in full
The proving ground has nine placed chests. Between them they hold the items below. The end coffer’s 100,000 G is counted separately from these.
| Item | Quantity |
|---|---|
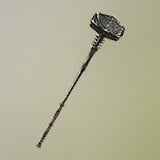 Black Matter Black Matter | 2 |
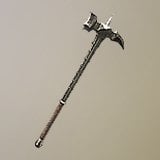 Eyecrusher Eyecrusher | 2 |
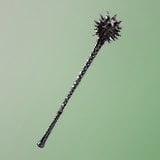 Steel Urchin Steel Urchin | 2 |
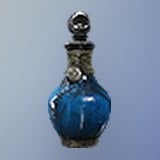 Allheal Elixir Allheal Elixir | 1 |
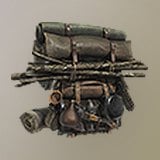 Sand-Patterned Camping Kit Sand-Patterned Camping Kit | 1 |
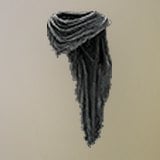 Abyssinal Neck Wrap Abyssinal Neck Wrap | 1 |
The three hammers are Steel Urchin, Black Matter, and Eyecrusher. Specially refined Black Matter is exceptionally heavy and delivers concussive force. Steel Urchin’s spiked steel head gouges targets, while its mass can knock them down. Eyecrusher combines bludgeoning with clawing and is particularly damaging to cyclopean foes. The Sand-Patterned Camping Kit is sturdy and suited to camps in Battahli soil, where monsters prowl.
Eyecrusher stats
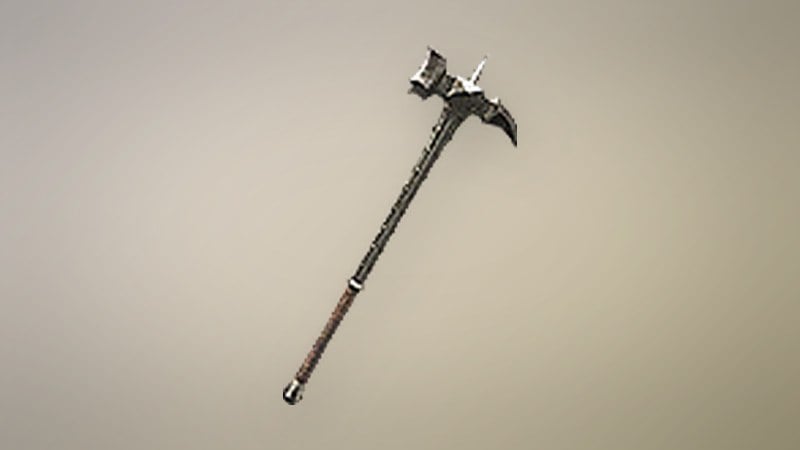
Eyecrusher is a Warrior hammer. It buys and sells at 19,900 G and 6,640 G, and is sold at Celeste’s Smithy for 19,900 G.
Abyssinal Neck Wrap stats
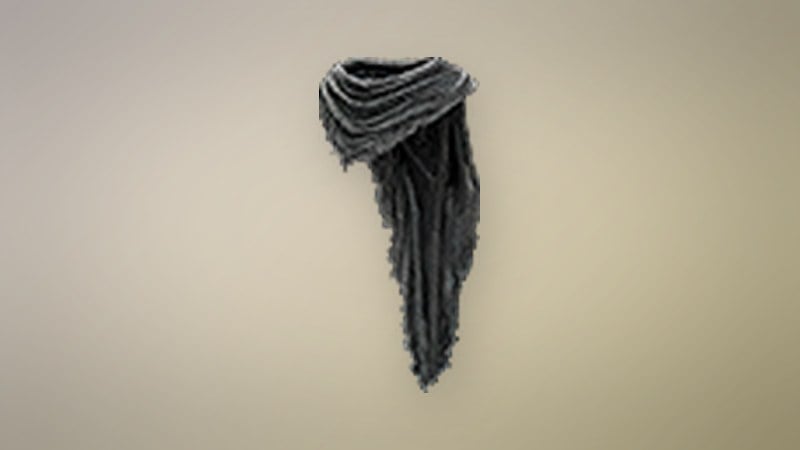
The navy Abyssinal Neck Wrap can be worn by Fighters, Archers, Mages, Thieves, Warriors, Sorcerers, Mystic Spearhands, Magick Archers, and Tricksters. It provides Sleep Resistance 3 and Blighted Resistance 3, weighs 0.73 kg, and has a buy price of 17,000 G and a sell price of 6,800 G.
How Shrouded Warren compares to other Lost Rites trials
Shrouded Warren is one of several Lost Rites proving grounds, each with its own entry rule and chest count. Use the table to see where trial 9 sits among the others you can reach with the Proving Ground Compass.
| Trial | # | Entry condition | Chests |
|---|---|---|---|
| Devilkin Hollow | 1 | None | 1 |
| Daemons’ Corral | 2 | None | 7 |
| Sunken Spire | 3 | None | 11 |
| Interminable Corridor | 4 | All party Very Light | 15 |
| Wyrmsblood Arena | 5 | Arisen may set only two weapon skills | 6 |
| Mired Conduit | 7 | Complete four or more trials first | 13 |
| Embersand Mine | 8 | No grimoires, enchanted weapons, or elemental/holy archmagick skills | 7 |
| Shrouded Warren | 9 | Main pawn only | 9 |
| Molten Gauntlet | 10 | None | 9 |
| Seafloor Sepulcher | 11 | None | 16 |
| Final Proving Ground | 12 | Clear Molten Gauntlet and Seafloor Sepulcher first | 14 |