Lost Connection is a House Camp side quest that sends you after a missing boy named Brian, following four tape recorders across the snow to a painted Moon cult sign. Along the way you choose what to tell his father, Sean, and one answer that works opens his storage chest and the key inside it.
Quick answer: Take Anna’s quest in the Church, follow four tapes to the Moon cult sign, report to Anna, then tell Sean the Moon Cult took his son to unlock his chest and key.
Start Lost Connection with Anna in the Church
Anna hands out this quest inside the Church at House Camp, under the CHURCH banner. Walk up to her for the “Press F Talk” prompt and pick “What is it? [Side Quest]”. Her surname appears as Ivashchenko on the talk prompt and as IVASCHENKO in the dialogue header; both are the same person.
Work through her lines until you reach “Point the way. [Accept Quest]” and select it. The LOST CONNECTION banner appears and the journal sets your goal to find out what happened to Brian.
Collect the four tape recorders
Listening to a recorder plays a brief message and reveals the marker for the following tape. Its prompt reads “Recording / Press F Interact”; listening also triggers the “New recording” notice. Pick up the tapes sequentially.
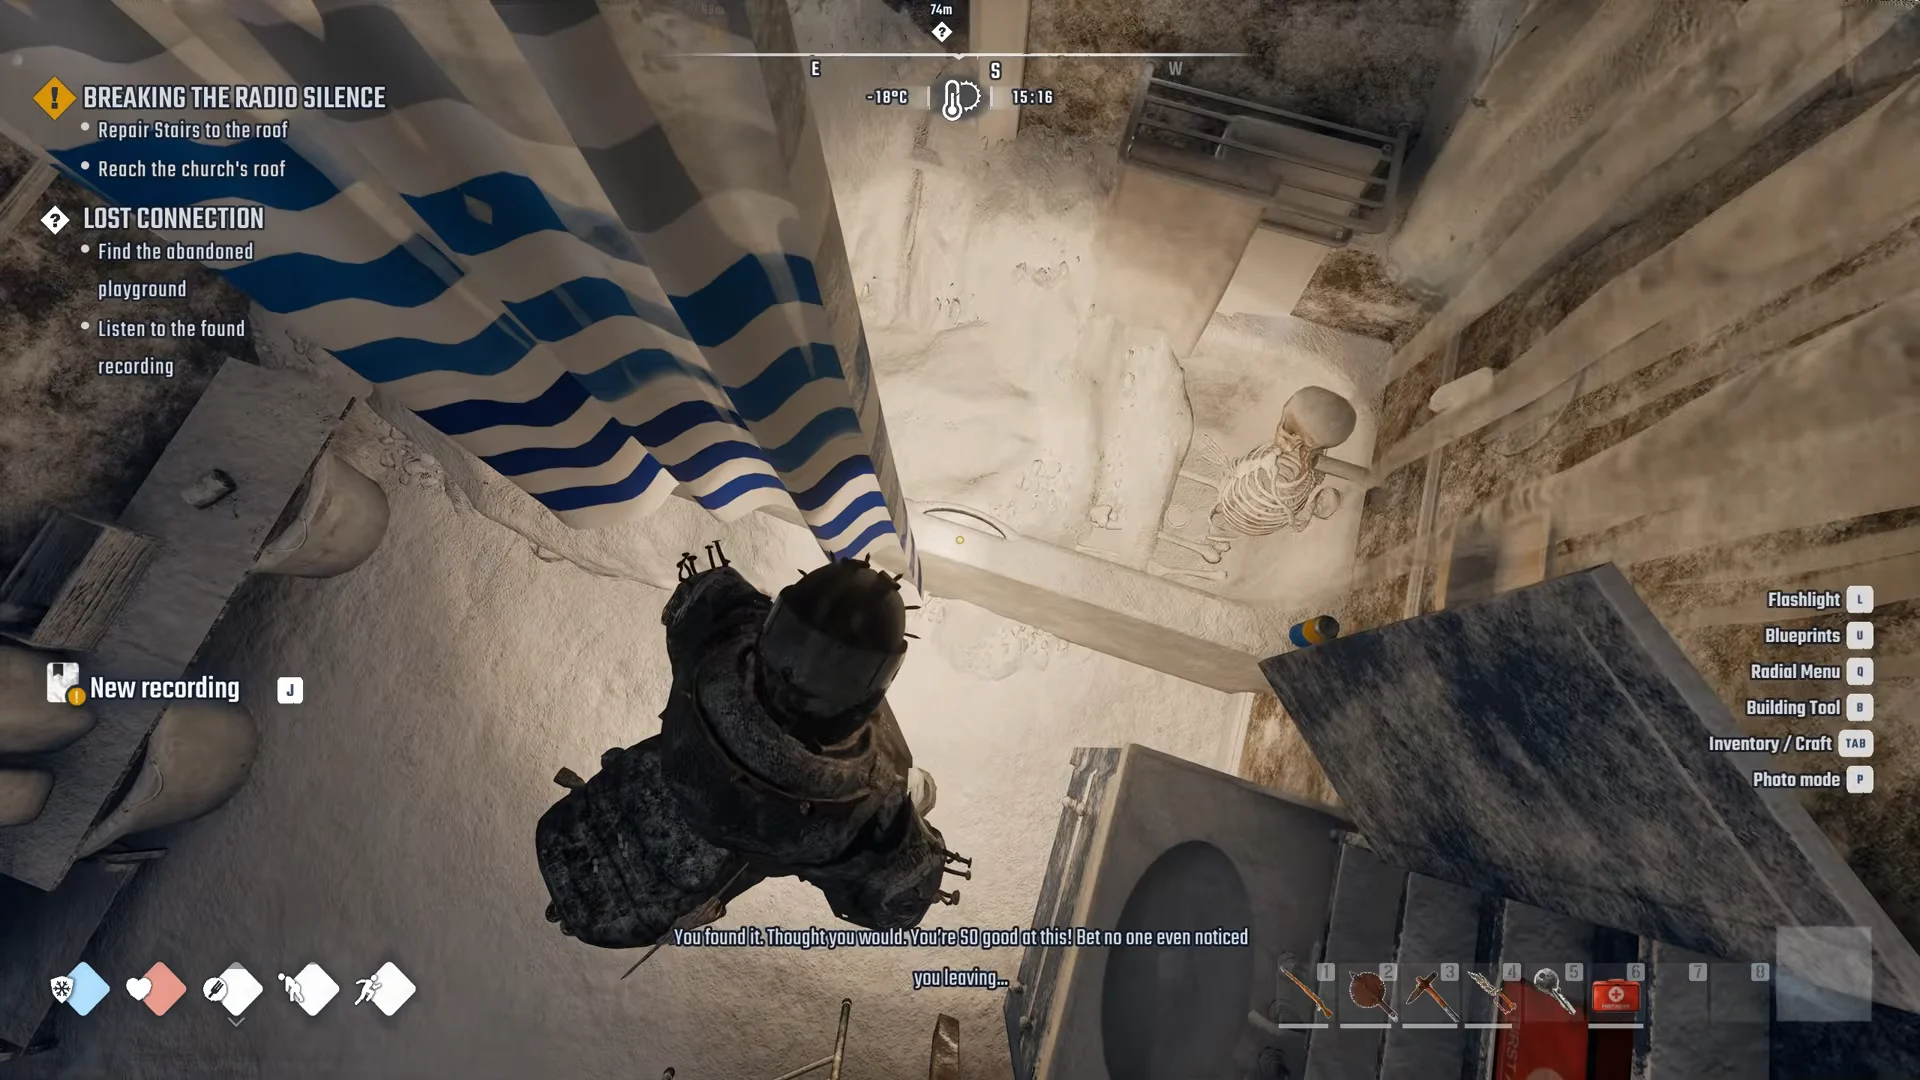
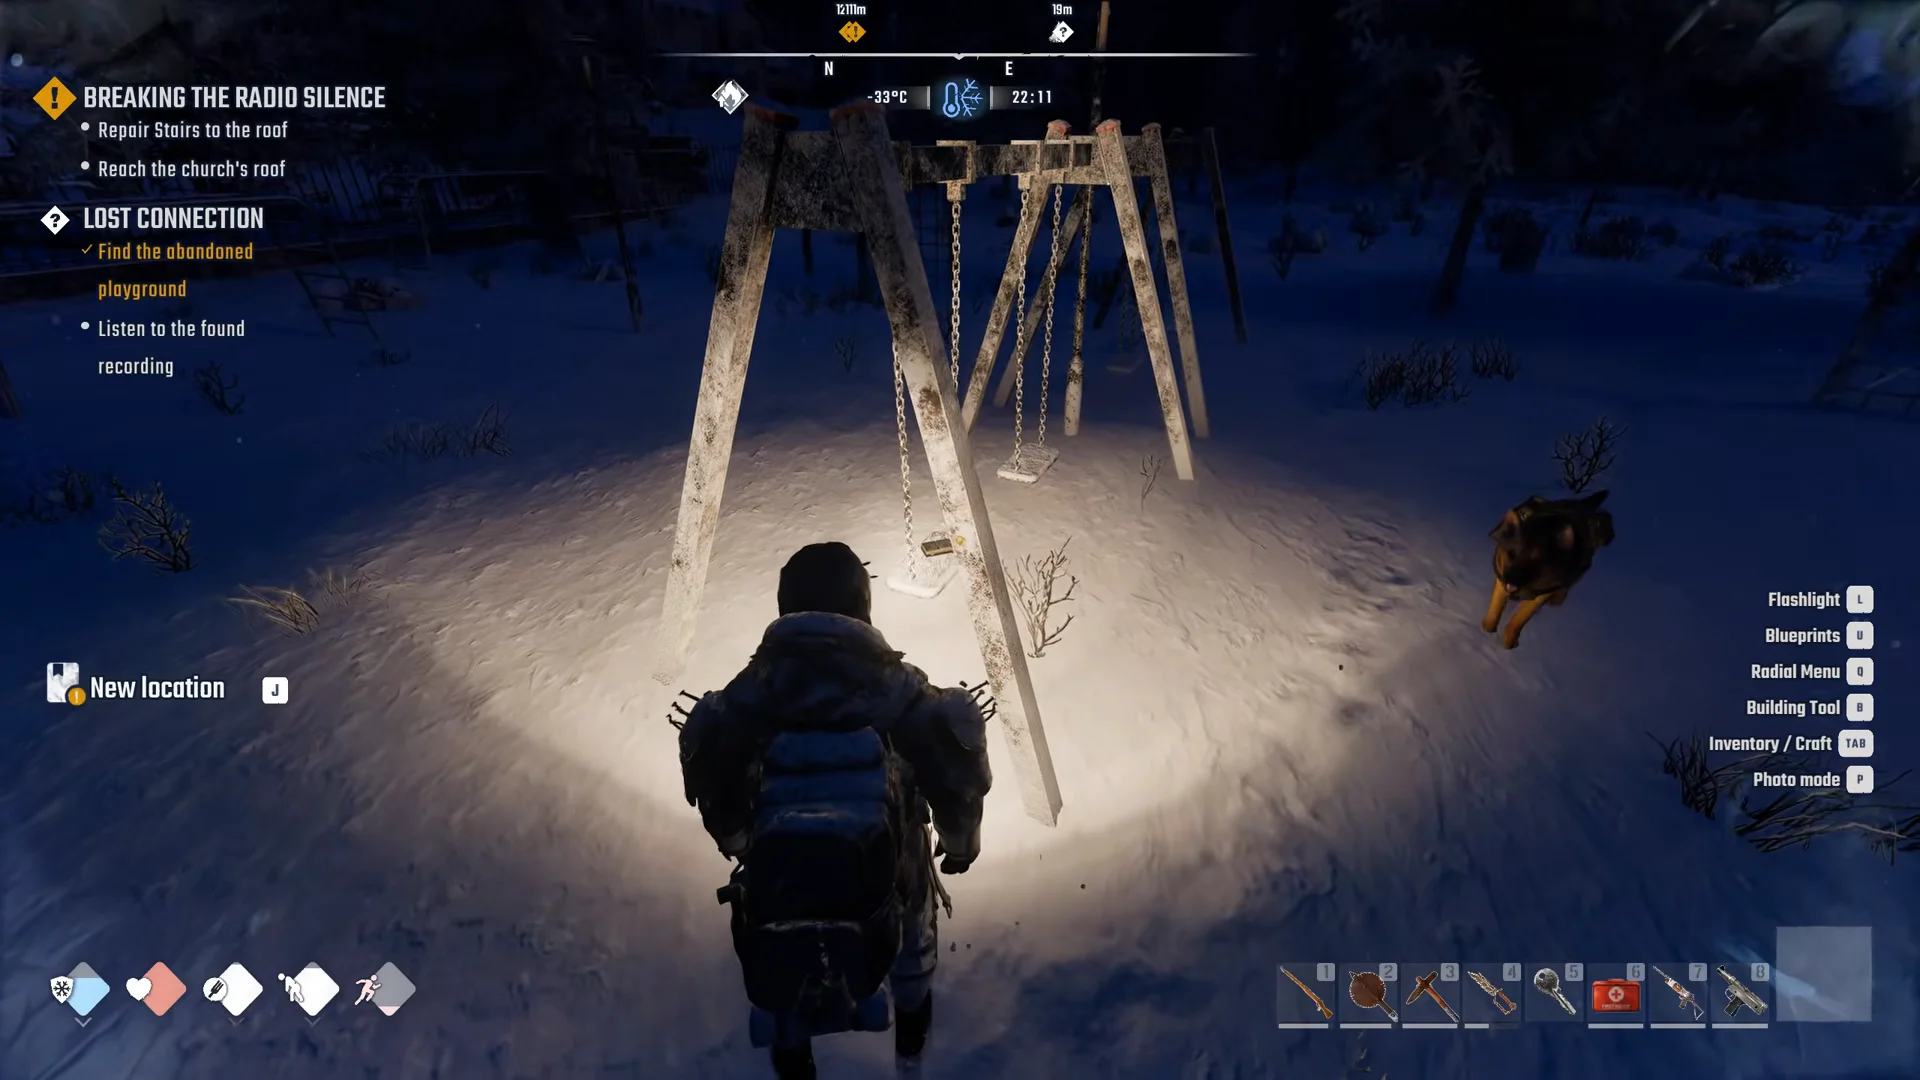
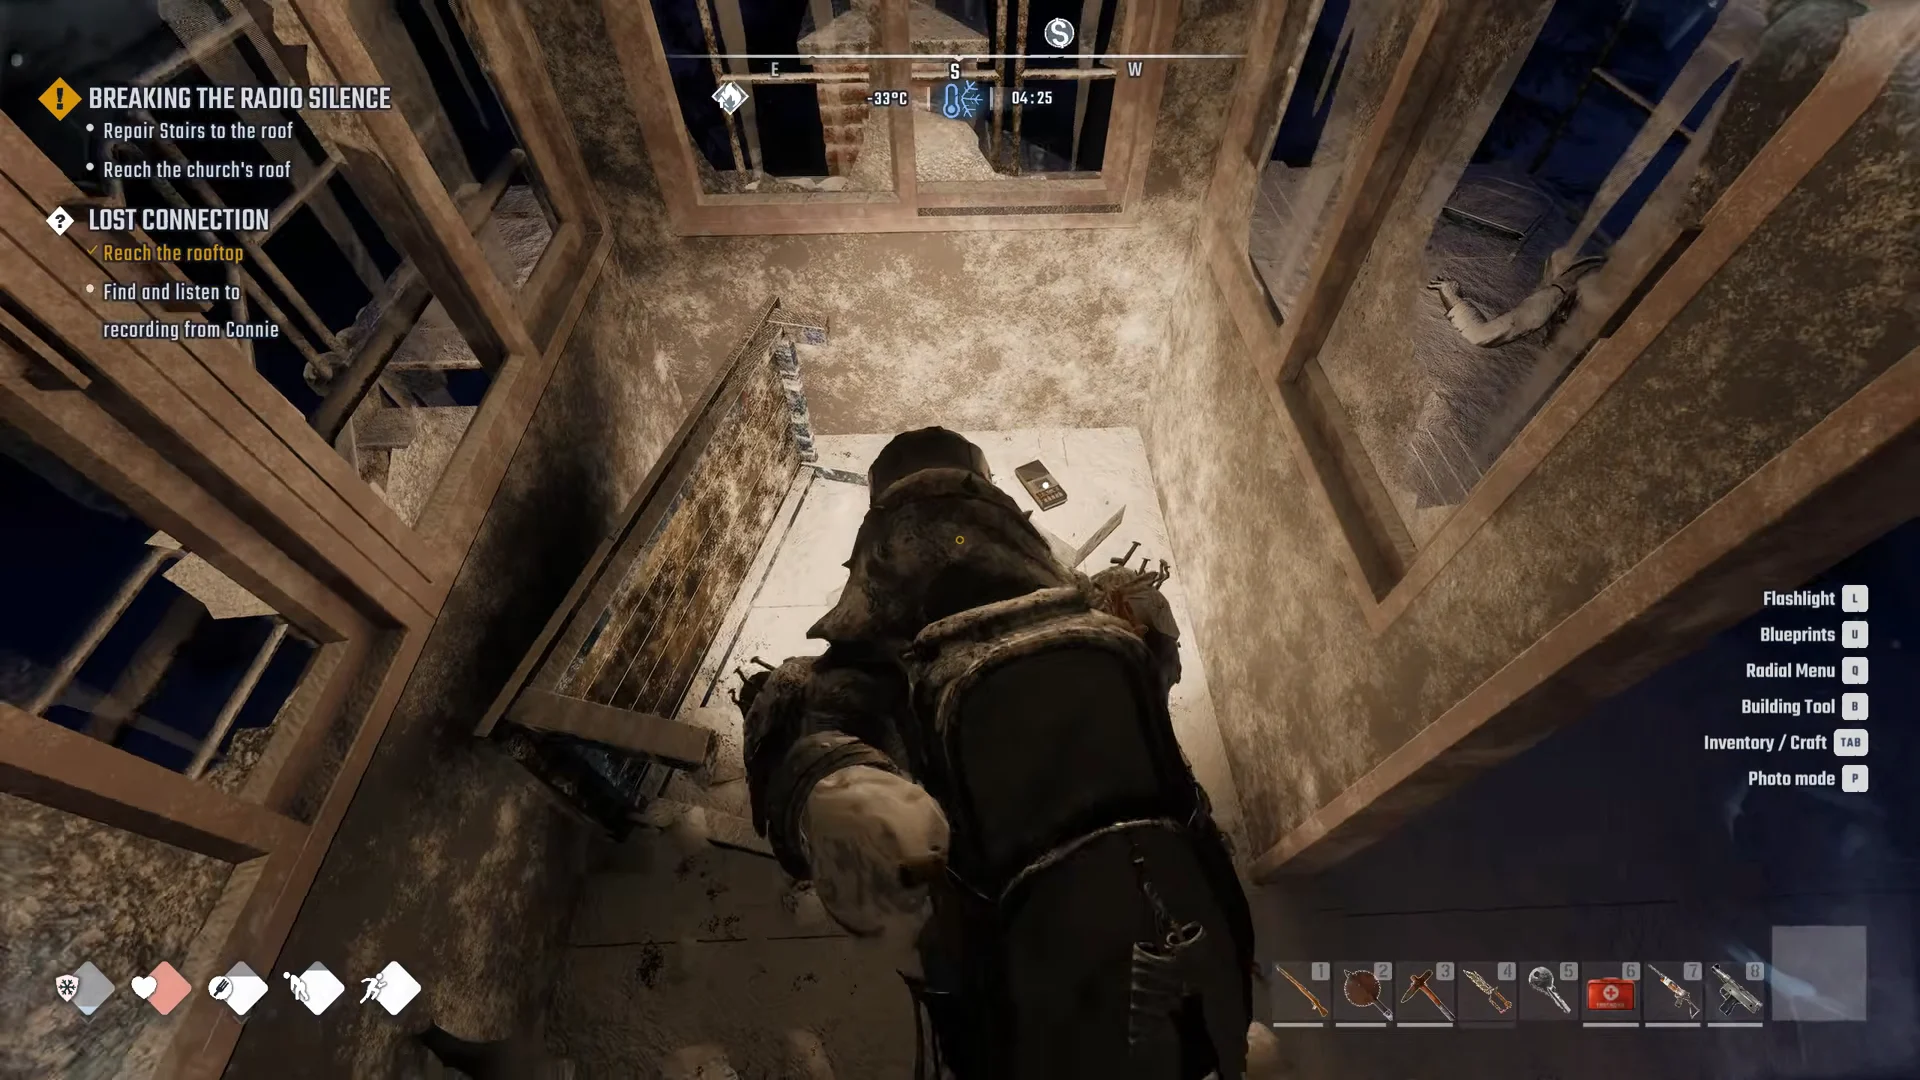
Interact with the Moon cult sign
Below the lookout platform, an upright slab carries a painted emblem of a horned skull with a crescent moon. Walk up for the “Moon cult sign / Press F Interact” prompt and use it. This clears the remaining lines, including the optional “Look for the hidden recording,” and switches your objective to “Report back to Anna.”
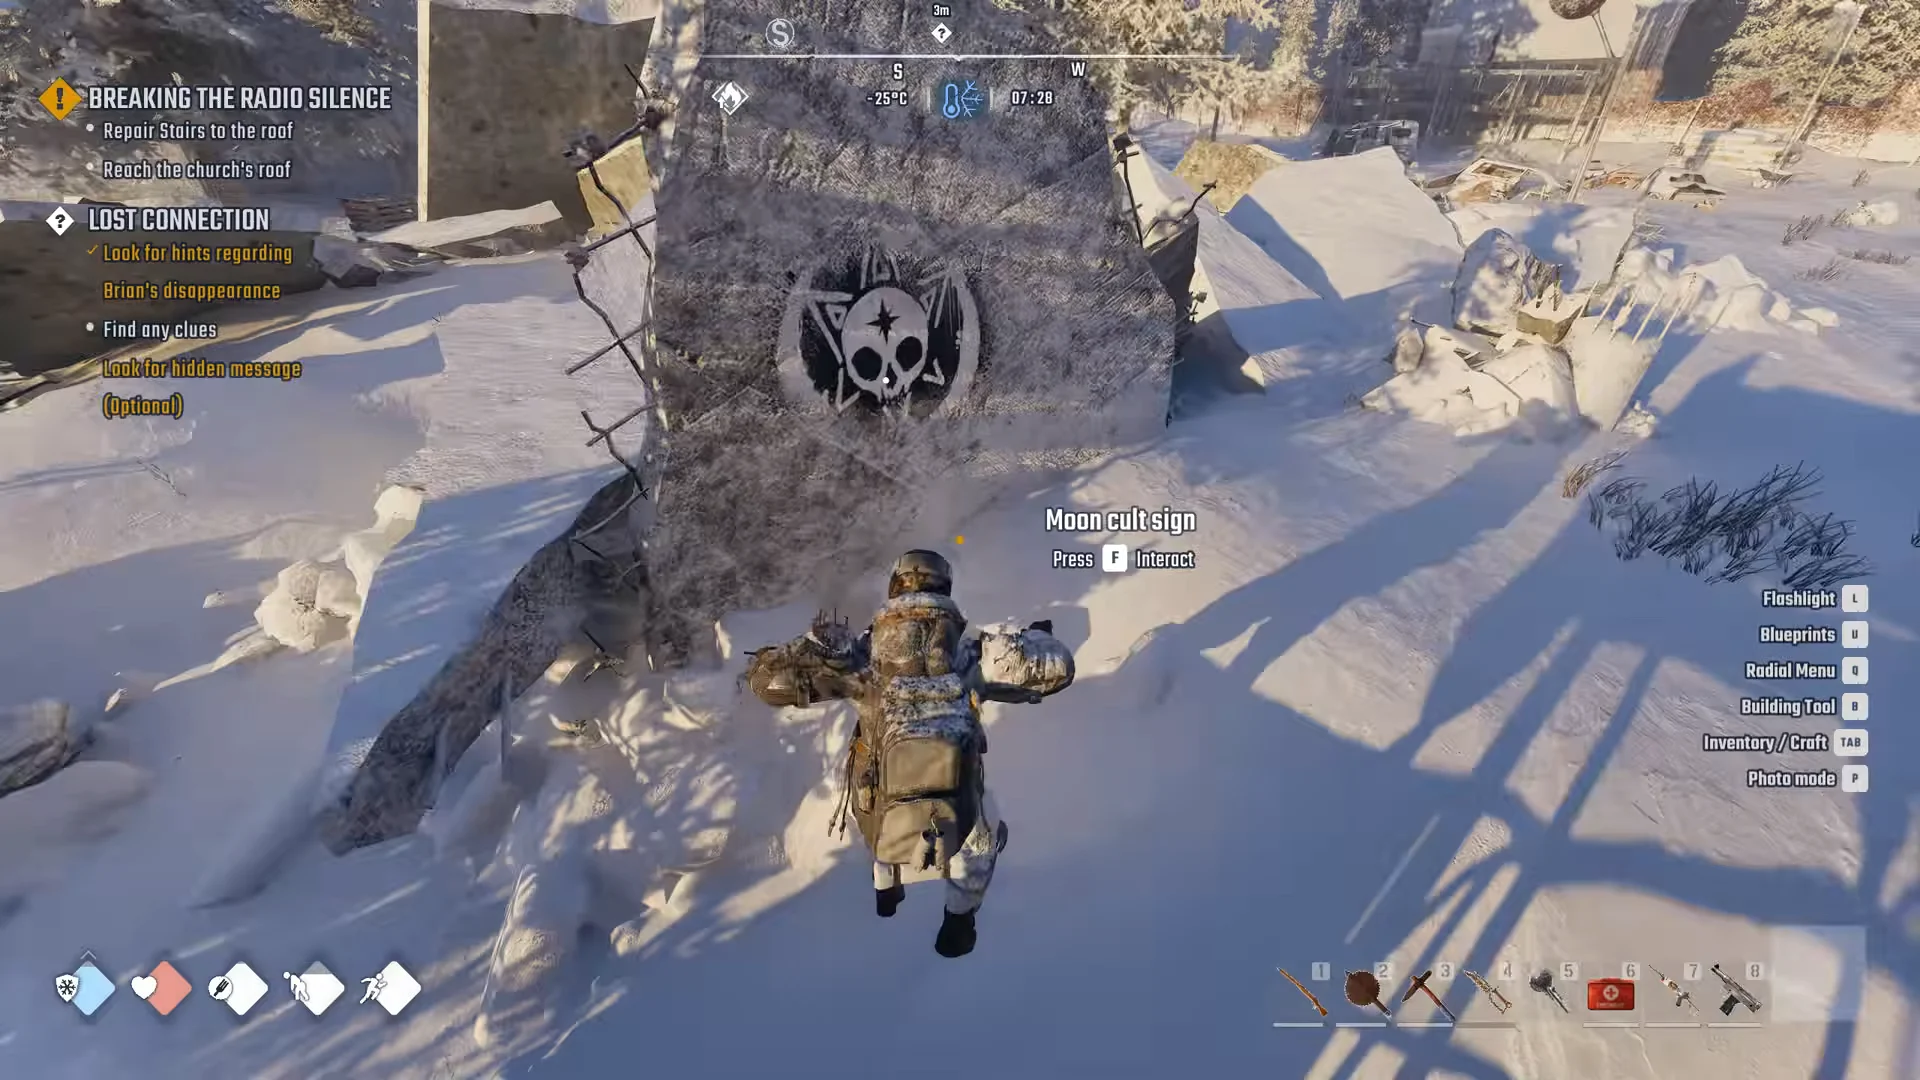
Report to Anna and refuse to lie
Go back to the Church via GATE F and speak with Anna. Begin by selecting “About Brian… [Finish Quest]”. She wants you to tell Sean that his son is dead to keep him from searching for him. One route that works uses these dialogue choices in sequence:
- “The Moon Cult took him.”
- “They manipulated him.”
- “I found a recording, I think it’s for you. [Play recording]”
- “You want me to lie?”
- “I won’t lie to him.”
After “I won’t lie to him.” the tracker updates to “Speak with Sean about Brian’s disappearance.”
What to tell Sean
Back at Sean’s house, the first set offers three lines: “Your son had a friend his age.”, “The Moon Cult kidnapped your son.”, and “Your son is dead. [Lie]”. To reach the final set, you can start with “Your son had a friend his age.” and work through the follow-ups; the last set offers “The Moon Cult kidnapped your son.” and “Your son is dead. [Lie]”.
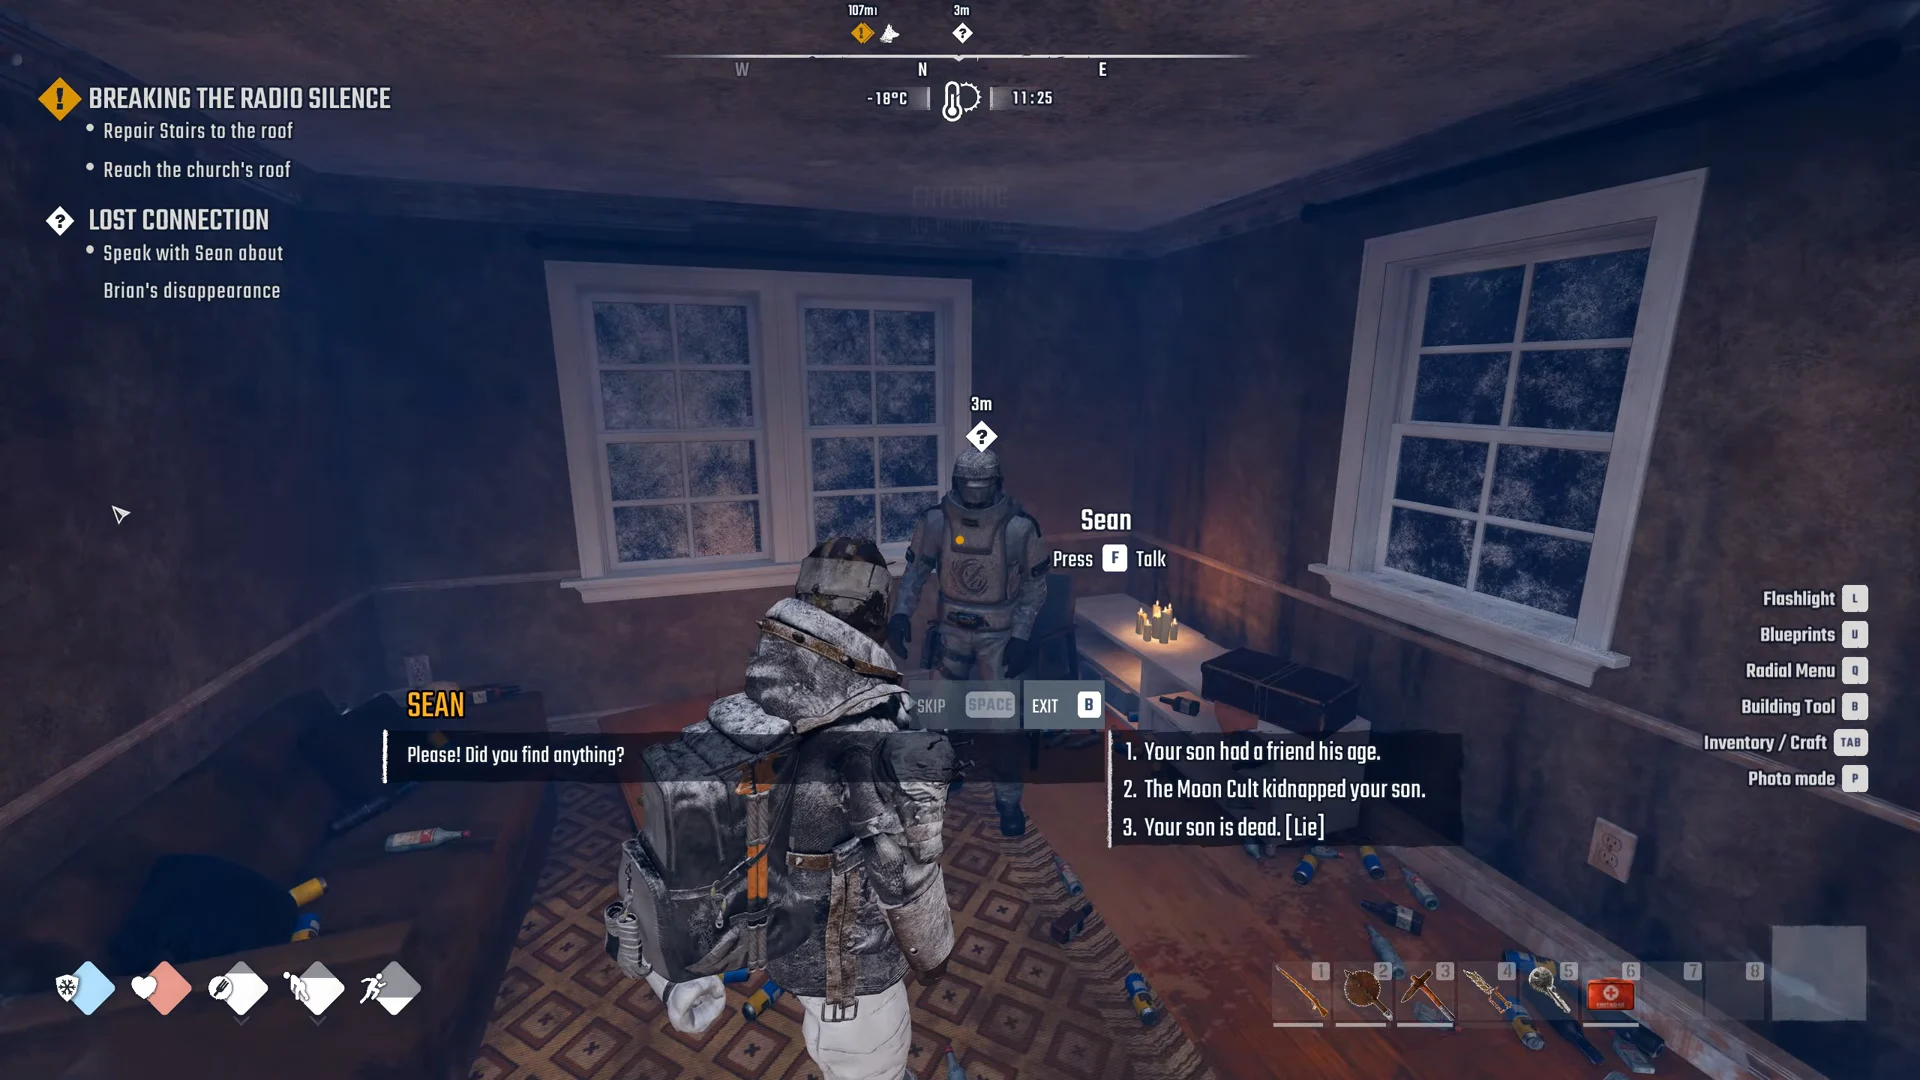
Choose “The Moon Cult kidnapped your son.” Sean learns his son is still alive, is grateful, and allows you to take the contents of his chest. The tracker then reads “Talk to Anna.”
Open Sean’s chest and the barred stash room
Press F beside Sean to open “Sean’s storage chest”. Inside are 100 Bucks, Sean’s key, several medkit pouches—including a Medkit AFAK—and 10 Beer in a stack. Keep Sean’s key for the next step.
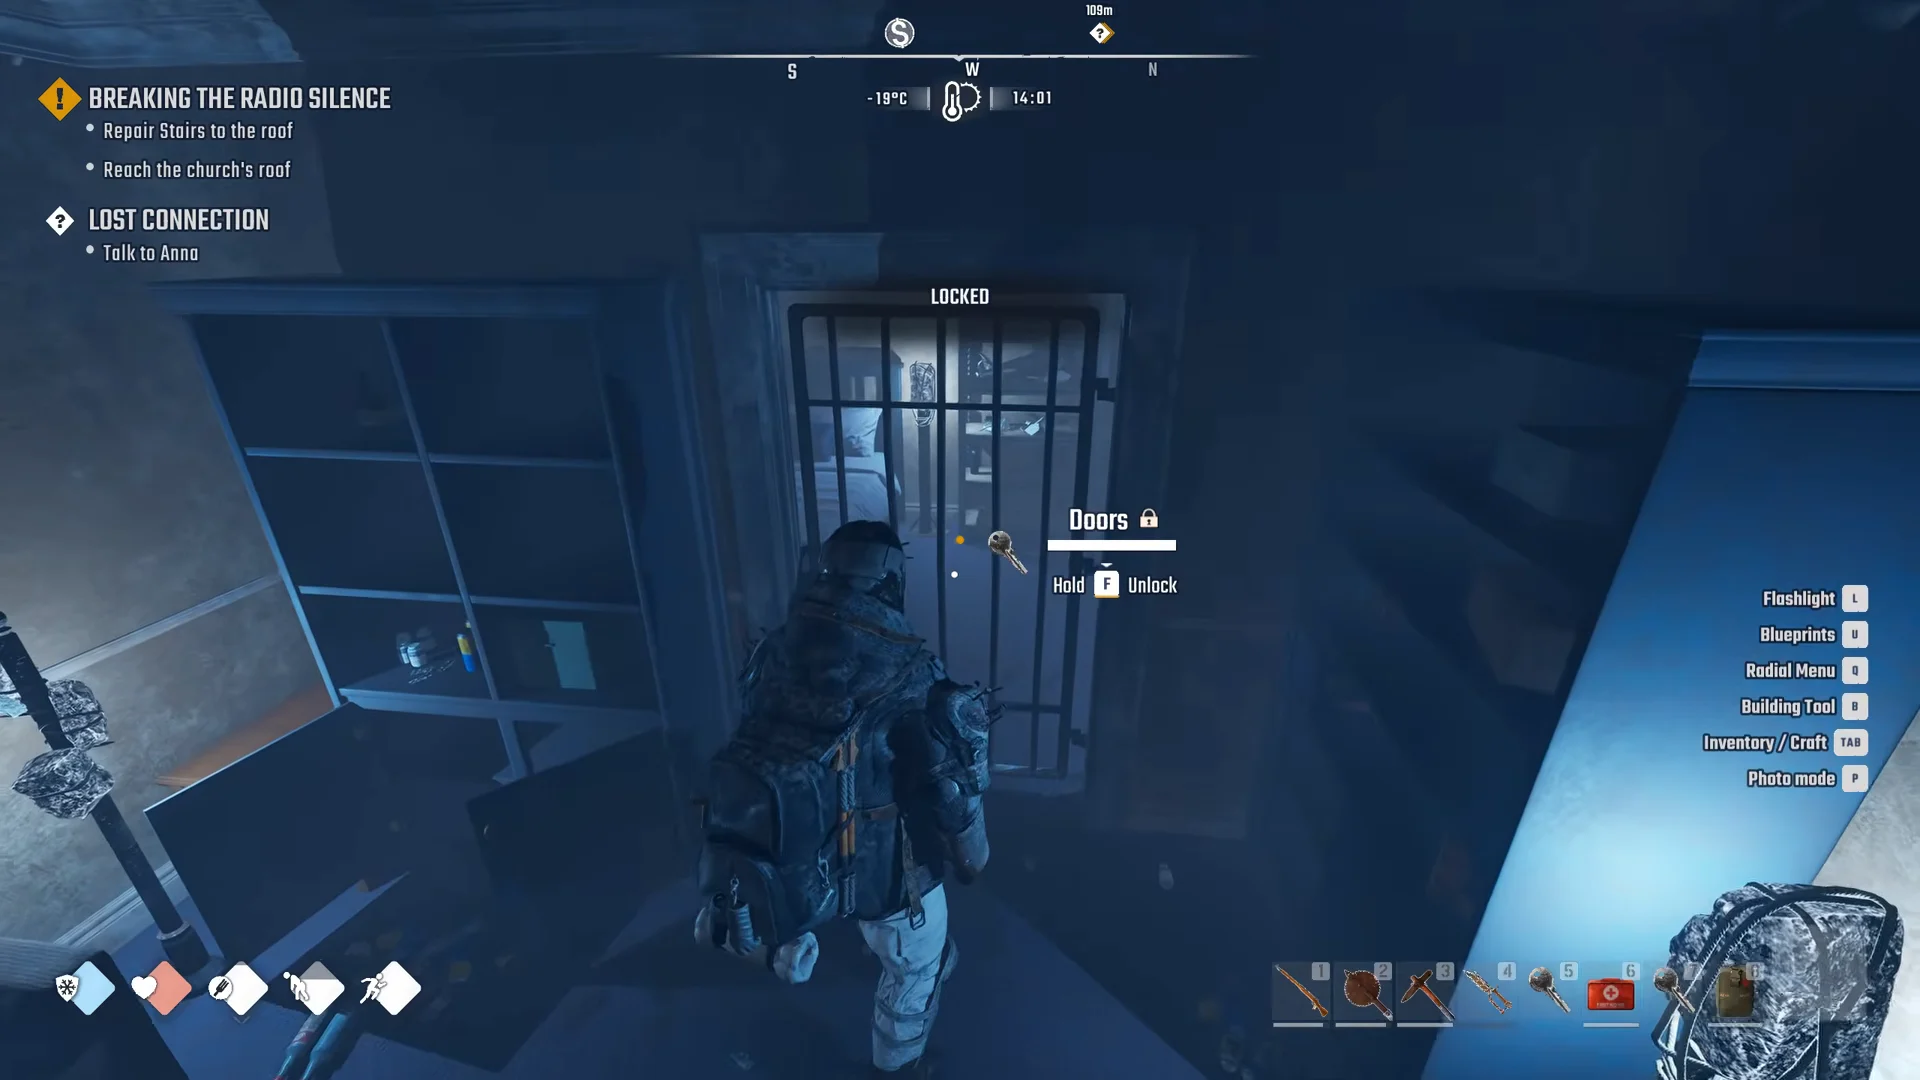
The stash itself sits behind a barred iron door in the back rooms of the same house. At the door you get “LOCKED / Sean’s key used to unlock” and “Doors / Hold F Unlock.” Holding F consumes the key (“-1 Sean’s key”) and opens a small room with a bed, a lamp, and metal shelving stocked with Metal Junk, Wire, Processed Plastic, Plastic Junk, bottles, and canned food. Clear some inventory space first, since “INVENTORY FULL” stops pickups.
Finish with Anna and claim the reward
Return to the Church and speak with Anna. Select “About Brian… [Finish Quest]”, followed by “I just talked with Sean…” Once the tracker reads “Collect the reward”, open the box that appears on the floor near Anna by pressing F to finish the quest.
When the quest ends, the screen displays LOST CONNECTION / QUEST SUCCEEDED and grants +1 Ultra Dish (H/W/E) and +25 Bucks. The box also holds Health & Warming Dish.
What can block you
A few things can stall the route, so plan around them before you set out:
- At night, Promenade and the rooftops can trigger BONE-CHILLING COLD and COLD ZONE warnings. Take a deployable heat source with you, such as a Barrel Brazier.
- A broken knife will not open the rooftop Military Crate, showing “Your tool is too damaged to use!”
- “INVENTORY FULL” blocks tape and loot pickups, including everything in the stash room, so keep space free.