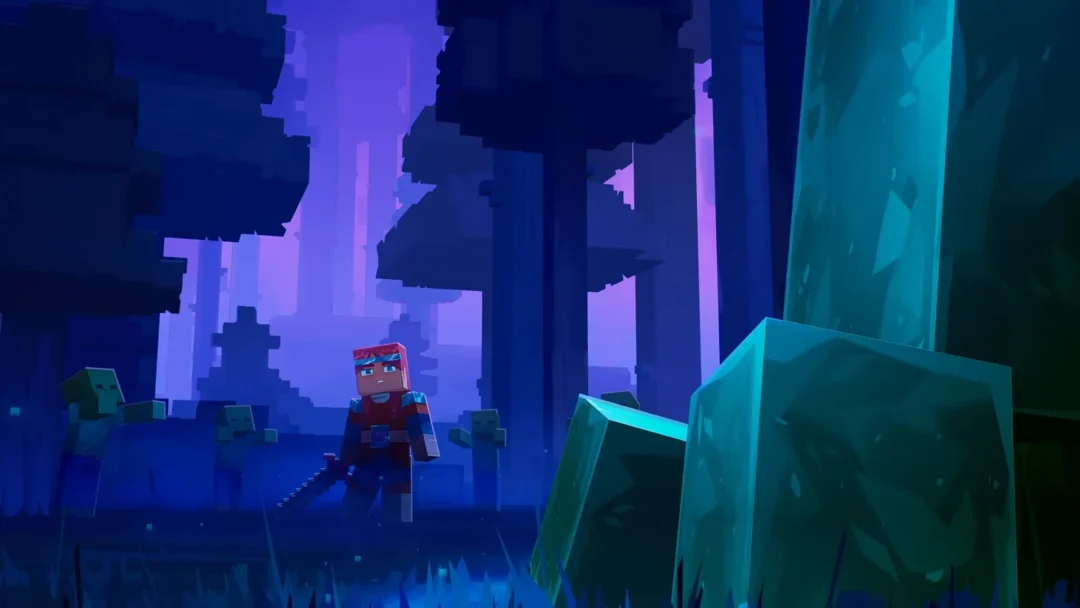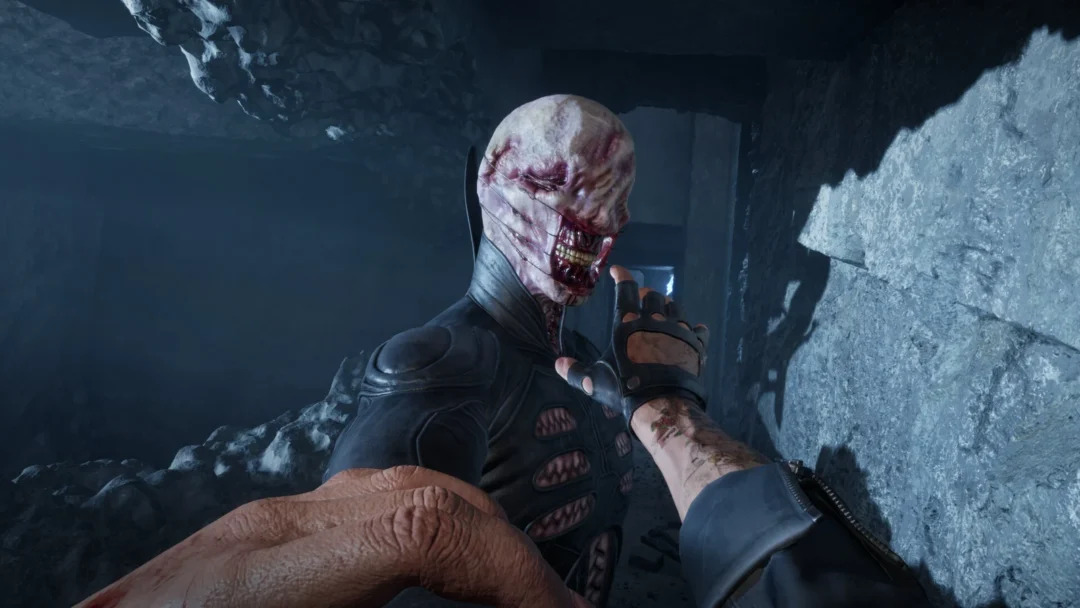
The Twisted Warden guards the portal at the bottom of the Deep Dark and is the third boss in the main story of Minecraft Dungeons II, fought during the quest Down into the Deep Dark. It is a once-ordinary warden that was warped by souls into something much larger, which is why its whole moveset leans on soul fire and a wide sonic beam. The fight rewards patience far more than raw damage.
Quick answer: Fight from range or its sides with non-soul damage, strafe sideways out of the Sonic Boom instead of backing straight away, stay out of the soul puddles, and unload during the brief collapse after its spin. The recommended level is 16.
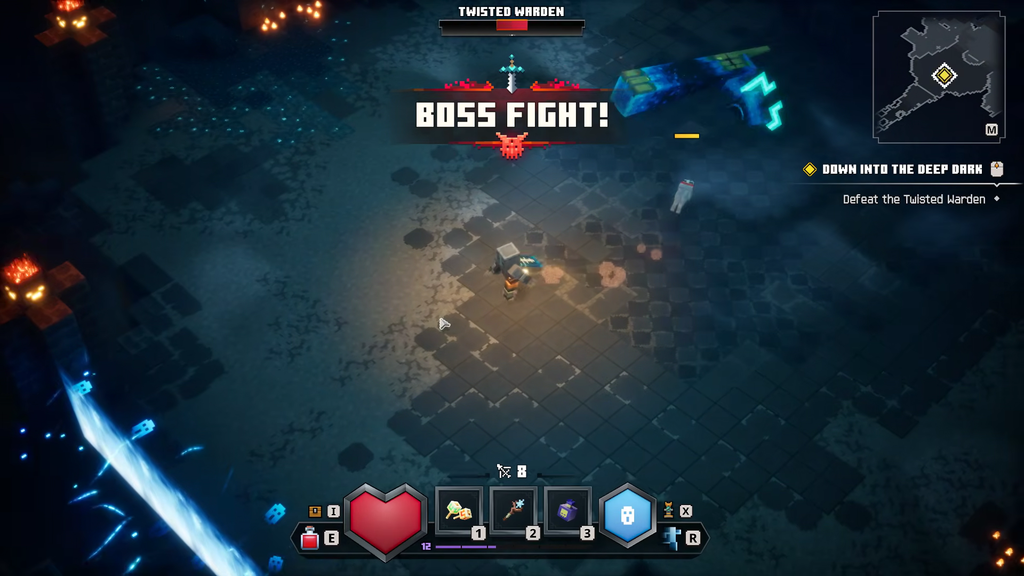
How to reach the Twisted Warden in the Deep Dark
Look for the Deep Dark entrance immediately above the Spider Caves and to the north of the Howling Woods. A minecart station lies south of it, letting you fast-travel out whenever you need to re-gear.
Work your way through the caves to the far end. Expect plenty of mobs and emeralds along the route, plus falling stalactites and gravel patches that are worth stepping around. The caves end at a long stone-brick bridge leading to an open platform, and that platform is the arena.
Clear any husks or silverfish loitering near the portal room before the Warden engages, so you are not managing trash mobs and a new boss at the same time.
Twisted Warden attacks and tells
Every attack has a readable wind-up. The table lists the damage, reach, and cooldown pulled from its ability data so you know what each move can do before you commit to a hit.
| Attack | Damage | Reach | Cooldown |
|---|---|---|---|
| Sonic Boom | 32 | 10 blocks | 3 s |
| Sonic Boom (follow-up) | 18 × 3 | 10 blocks | 3 s |
| Heavy Swipe | 22 | 5.3 blocks | — |
| Opening Swipe | 18 | 5.3 blocks | 2 s |
| Follow-up Swipe | 18 | 5.3 blocks | — |
| Soul Stars | 6 × 6 | 10 blocks | — |
| Spin | — | — | 20 s |
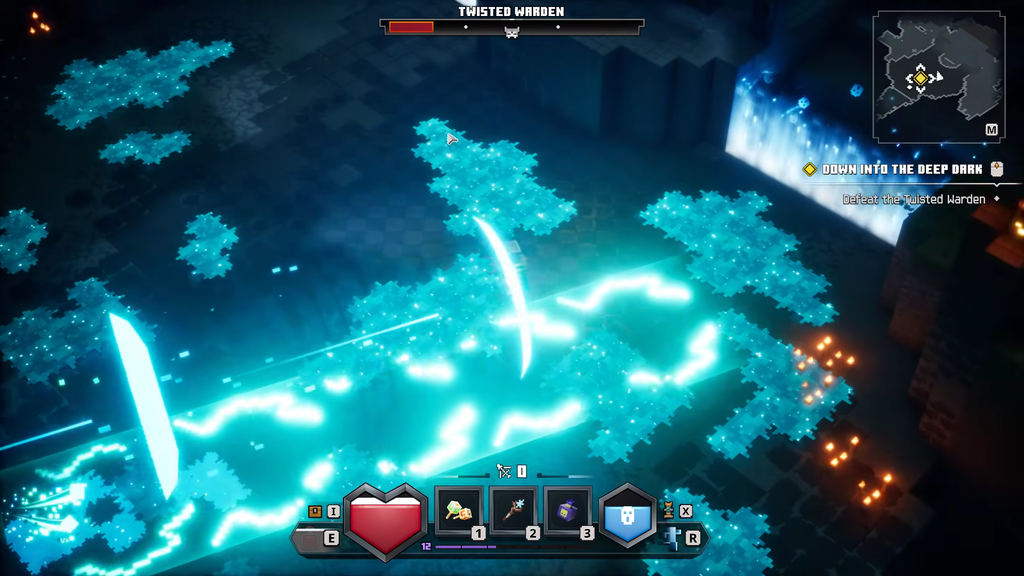
A glow building in the Warden’s maw as it bows signals its Sonic Boom charge: a broad beam that inflicts continuous damage and knockback, potentially trapping you against a wall. At the same time, it launches eight soul projectiles that track you. Move sideways instead of retreating directly; the weaker projectiles are easy to outrun.
Its melee swings form a chain of two 18-damage swipes into a 22-damage Heavy Swipe across a 75-degree arc up to roughly 5.3 blocks in front of it. The second swing flings you away, so fighting from its flanks keeps you out of the cone entirely.
Soul Puke opens its stomach and fires souls into the floor, erupting patches of soul fire across the arena. Each puddle has a radius of about 2.2 blocks, applies Soulsick for 7 seconds, and keeps ticking damage the longer you stand in it. Treat every patch, from the beam’s path or the eruption, as ground to vacate immediately rather than fight through. It also roars to summon excavators, skeletons, illagers, and flame constructs, which are useful for farming souls but dangerous if they box you in.
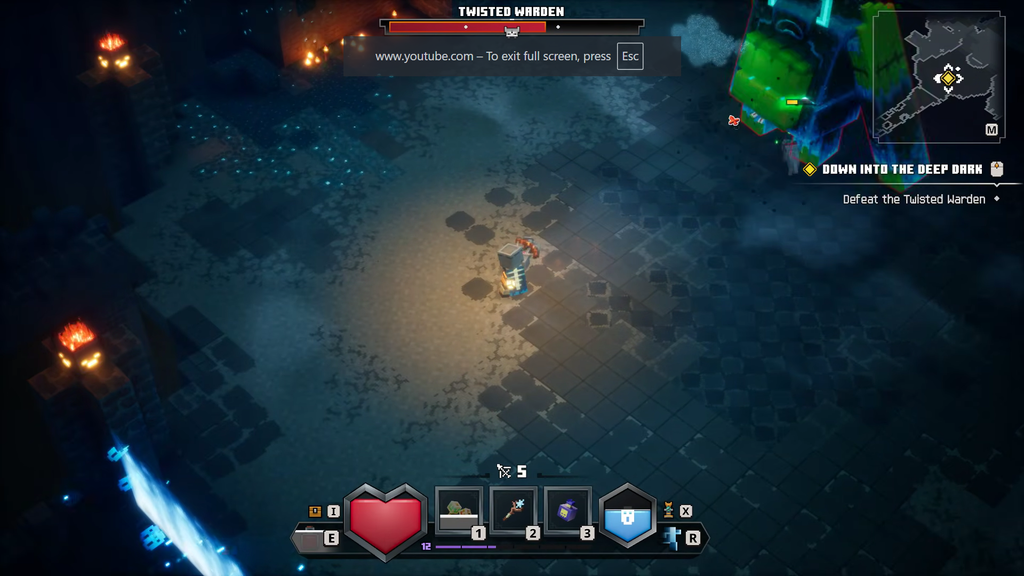
The spin attack and its punish window
When the Warden’s health is around 75%, it extends its arms and whirls in your direction, inflicting heavy damage and knocking back anything caught along its route. Ranged attacks bounce off during the spin, so keep your bow lowered. After roughly seven seconds, it drops to the ground for a short time; use that pause to land a full melee combo or unleash your strongest cooldown. The attack can stop sooner if it sends you out of bounds. The Warden rises again after about 20 seconds, generally when you get too close.
At half health the Warden staggers on the ground and its horns twist into spirals, another free damage window.
Loadout and weaknesses
The Warden takes 50% less soul damage and 20% less melee damage, so leave soul-tagged gear and enchantments like Ichor Blast or Soul Blast at home. Ranged and elemental damage work best. Bring at least one ranged option even on a melee build, since every wind-up is easier to punish from a distance than face-to-face while dodging soul fire.
- A ranged weapon for safe damage during the beam and spin phases.
- A melee weapon you can swing right after a dodge for the collapse window.
- An area or cone artifact to clear summoned adds before they surround you.
- Sustain such as Healing Smite, lifesteal, or a mobility enchant like Somersault to reposition out of puddles.
A pet talisman is strong here because a second body draws the Warden’s attention off you. Because the boss isn’t locked onto you alone, companions buy time to heal and reposition. The upper ledge with the rune blocks is also safe from its melee, which lets you plink away with a bow while sidestepping the soul waves from its chest.
Co-op multiplies its health by party size, so plan for a longer fight with more players.
| Players | Health | Multiplier |
|---|---|---|
| 1 | 1,750 | ×1 |
| 2 | 3,500 | ×2 |
| 3 | 5,250 | ×3 |
| 4 | 7,000 | ×4 |
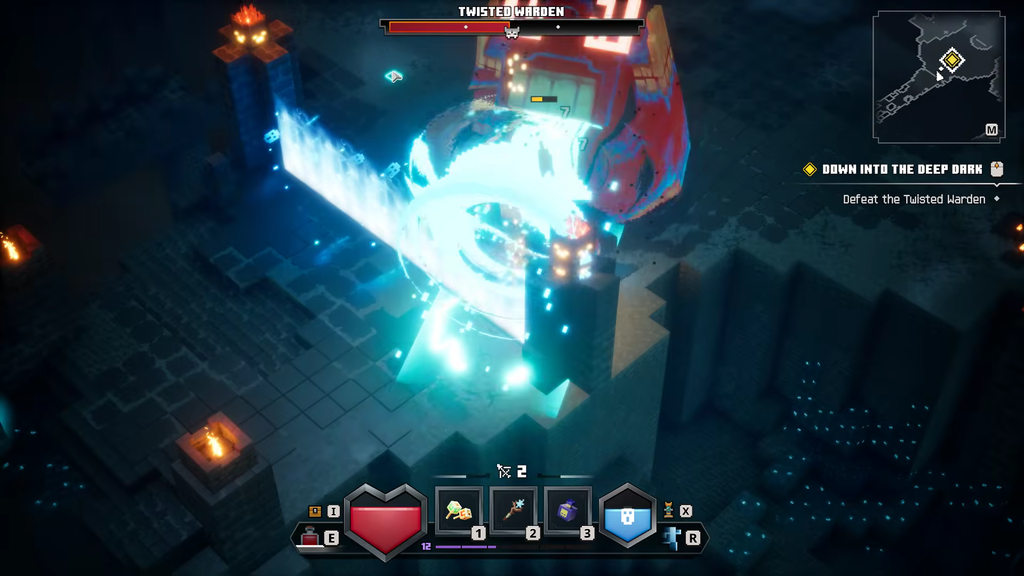
Fight order that gives you the most room
Respawn Shrines are near the arena, meaning a wipe won’t send you back to Brave Haven. Adjust your loadout, then use the Boss Totem to engage again.
Rewards and how you know it worked
As the Warden erupts into soul particles, the BOSS DEFEATED banner appears and the quest objective changes to checking on the trapped Echo Golem. This victory also unlocks the Twisted Madness achievement, worth 40G. Copper Monstrosity follows as the next story boss.
| Item | Source |
|---|---|
| Twisted Warden Vest | First completion |
| Sculk Digger Hood | First completion |
| Sculk Digger Robe | First completion |
| Sculk Digger Leggings | First completion |
| Sculk Digger Boots | First completion |
| Venomous Fangs | First completion |
| Twisted Tooth | Repeat runs |
To farm its drops, replay The Twisted Warden Revived quest and fight it again. Every item has a 16.7% chance to roll Unique, so repeat clears to pursue the Sculk Digger set and the Twisted Tooth talisman.