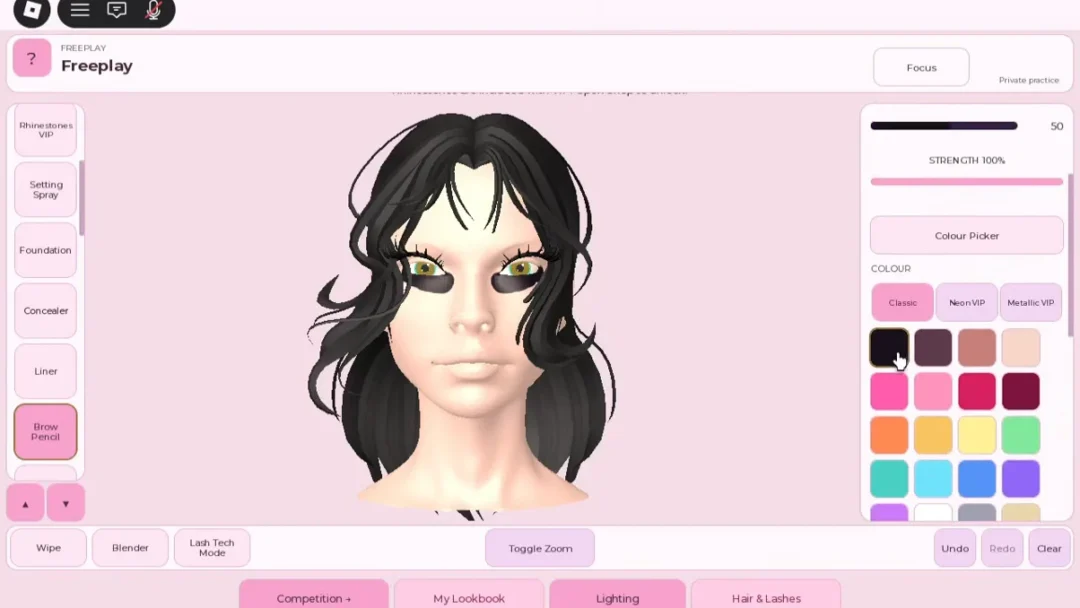
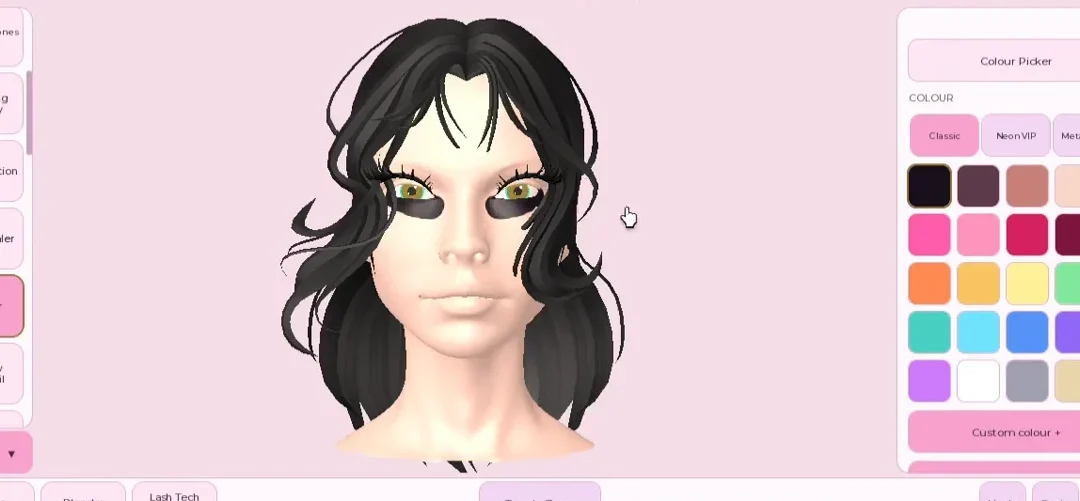
Eye colour in Makeup Mania sits in its own panel rather than in the brush tools, so you set it before you paint instead of drawing over it. The panel splits the eye into three separate parts you can colour one at a time, previews every change live on the avatar, and only saves once you confirm.
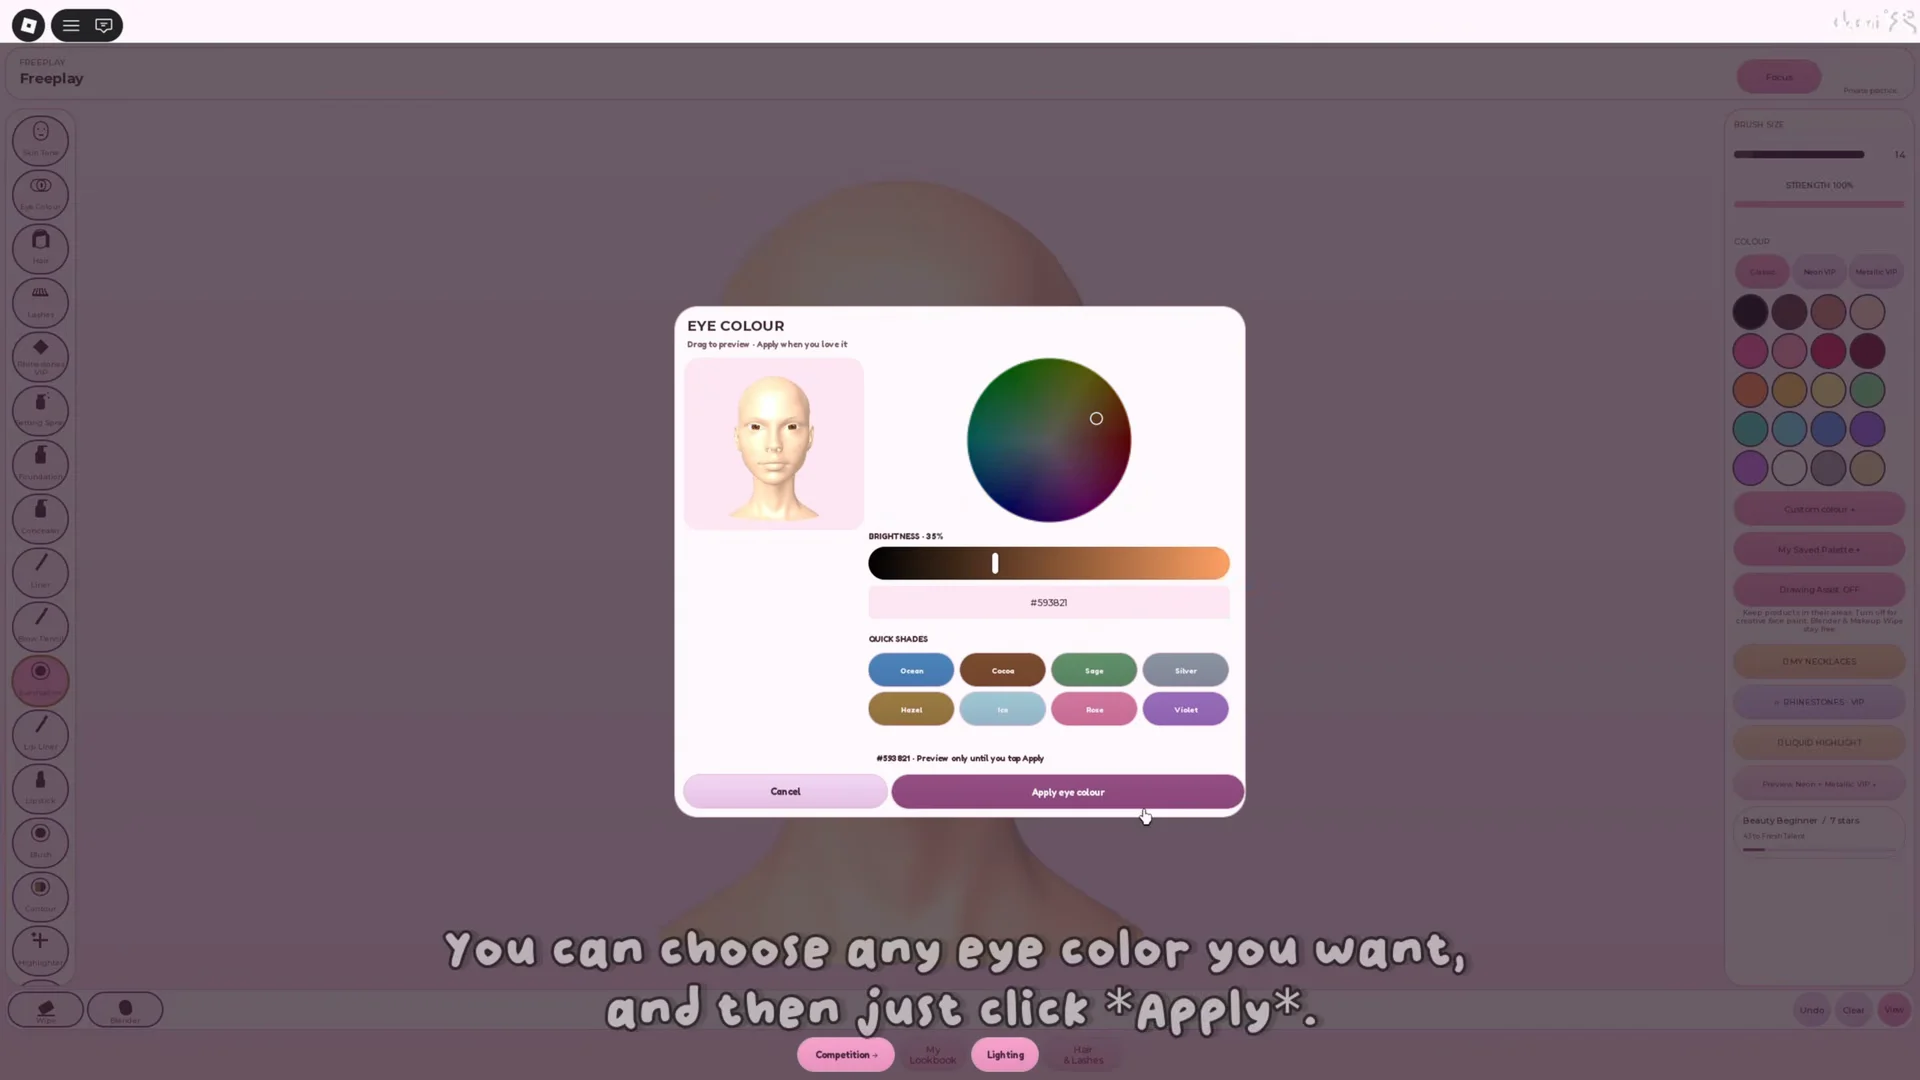
Quick answer: Click Eye Colour on the left sidebar, pick the Iris, Eye Rings, or Eye Whites tab, choose a shade on the colour wheel, then press Apply Colours to save it.
The three eye colour tabs in Makeup Mania
The Eye Colour panel carries three tabs, and each one colours a different part of the eyeball model. You can colour one, two, or all three in a single pass.
| Tab | What it changes |
|---|---|
| Iris | The main coloured part of the eye |
| Eye Rings | The ring around the pupil and iris edge |
| Eye Whites | The sclera, the white part of the eye |
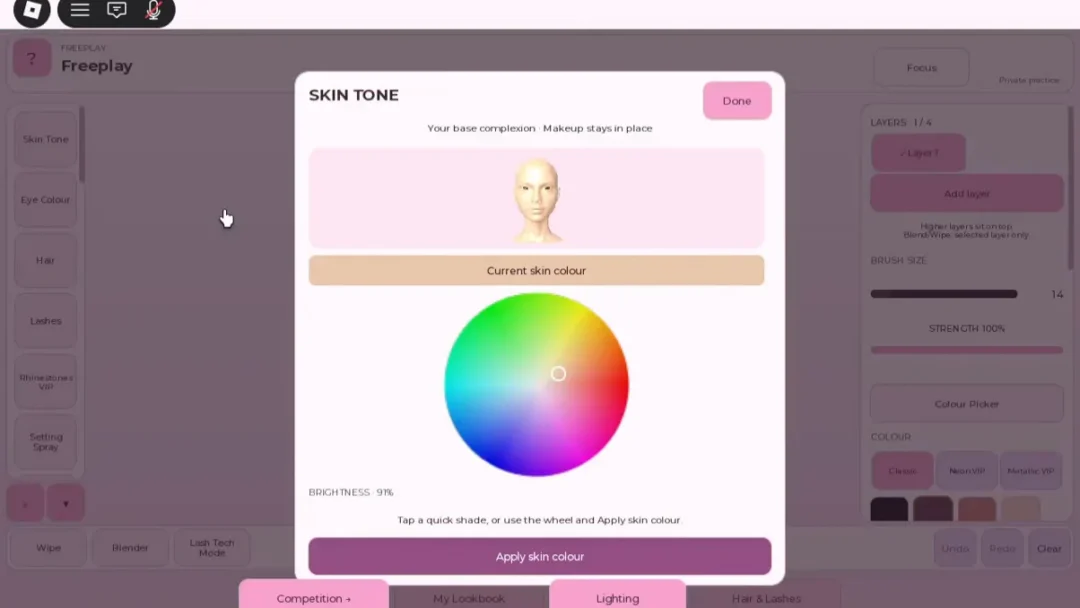
Every tab holds the same set of controls: a circular hue wheel, a BRIGHTNESS slider, a hex value readout, a Reset to Default button, and a row of QUICK SHADES for fast picks. Dragging on the wheel or slider only previews the result. Nothing commits until you apply.
How to change eye colour step by step
Setting the eye colour before you paint eyeshadow saves work, because the shade changes the whole look in one click and you will not have to rework the makeup around it afterwards.
How to know the colour saved
Until you apply, each tab shows a preview-only note next to its hex value, such as “Preview only until you tap Apply.” That label is your sign the colour is not committed yet. Once you press Apply Colours, the shade locks onto the avatar’s eye model and stays after you close the panel.
If you used Reset to Default, the panel confirms it with a “Default restored in preview” message, and you still need to tap Apply for that reset to save. Leaving the panel without applying drops any unsaved preview changes.
With the eye colour set and applied, you can move on to the rest of the look and keep the exact shade you picked through the rest of the round.