The Depths Maze is a hidden underwater passage in Fisch that holds two prizes in the same chamber: the Broken Blade needed for Nate’s Blade, and the Rod of the Depths sold for 750,000 C$. The entrance stays sealed until you place two Enchant Relics on their pedestals, and the swim through is timed against green doors that open and close on their own.
Quick answer: Place a Hexed and an Abyssal Enchant Relic on their pedestals to open the maze, then follow the blue and red crystal tunnels to the inner chamber for the Broken Blade and the Rod of the Depths.
What you need before entering the maze
Gather everything first. Both relics vanish if you leave with only one placed, so carrying the full set into The Depths saves you a return trip.
- 100% completion of Vertigo’s Bestiary.
- The Depths Key (x1) to open the door into The Depths.
- Bring a single Hexed Enchant Relic plus an Abyssal Enchant Relic.
- Diving gear for the swim — Advanced Diving Gear, Super Flippers, a Tidebreaker, or a Water Bubble.
Hexed Enchant Relics come from appraisal during a Mutation Surge or from fishing with the No-Life Rod. Abyssal Enchant Relics show up more often while fishing in The Depths with any rod carrying the Abyssal enchant.
Both the door into The Depths and the maze entrance are client-sided, so you must open them yourself. Another player cannot unlock them for you, and if you slip into The Depths without using a Depths Key on the door, the rod cannot be purchased.
For the swim itself, a Water Bubble is the safest option because it keeps you breathing underwater for the whole run. A high-tier oxygen tank or fast flippers also work, and the maze can be cleared on Basic Diving Gear if you move quickly.
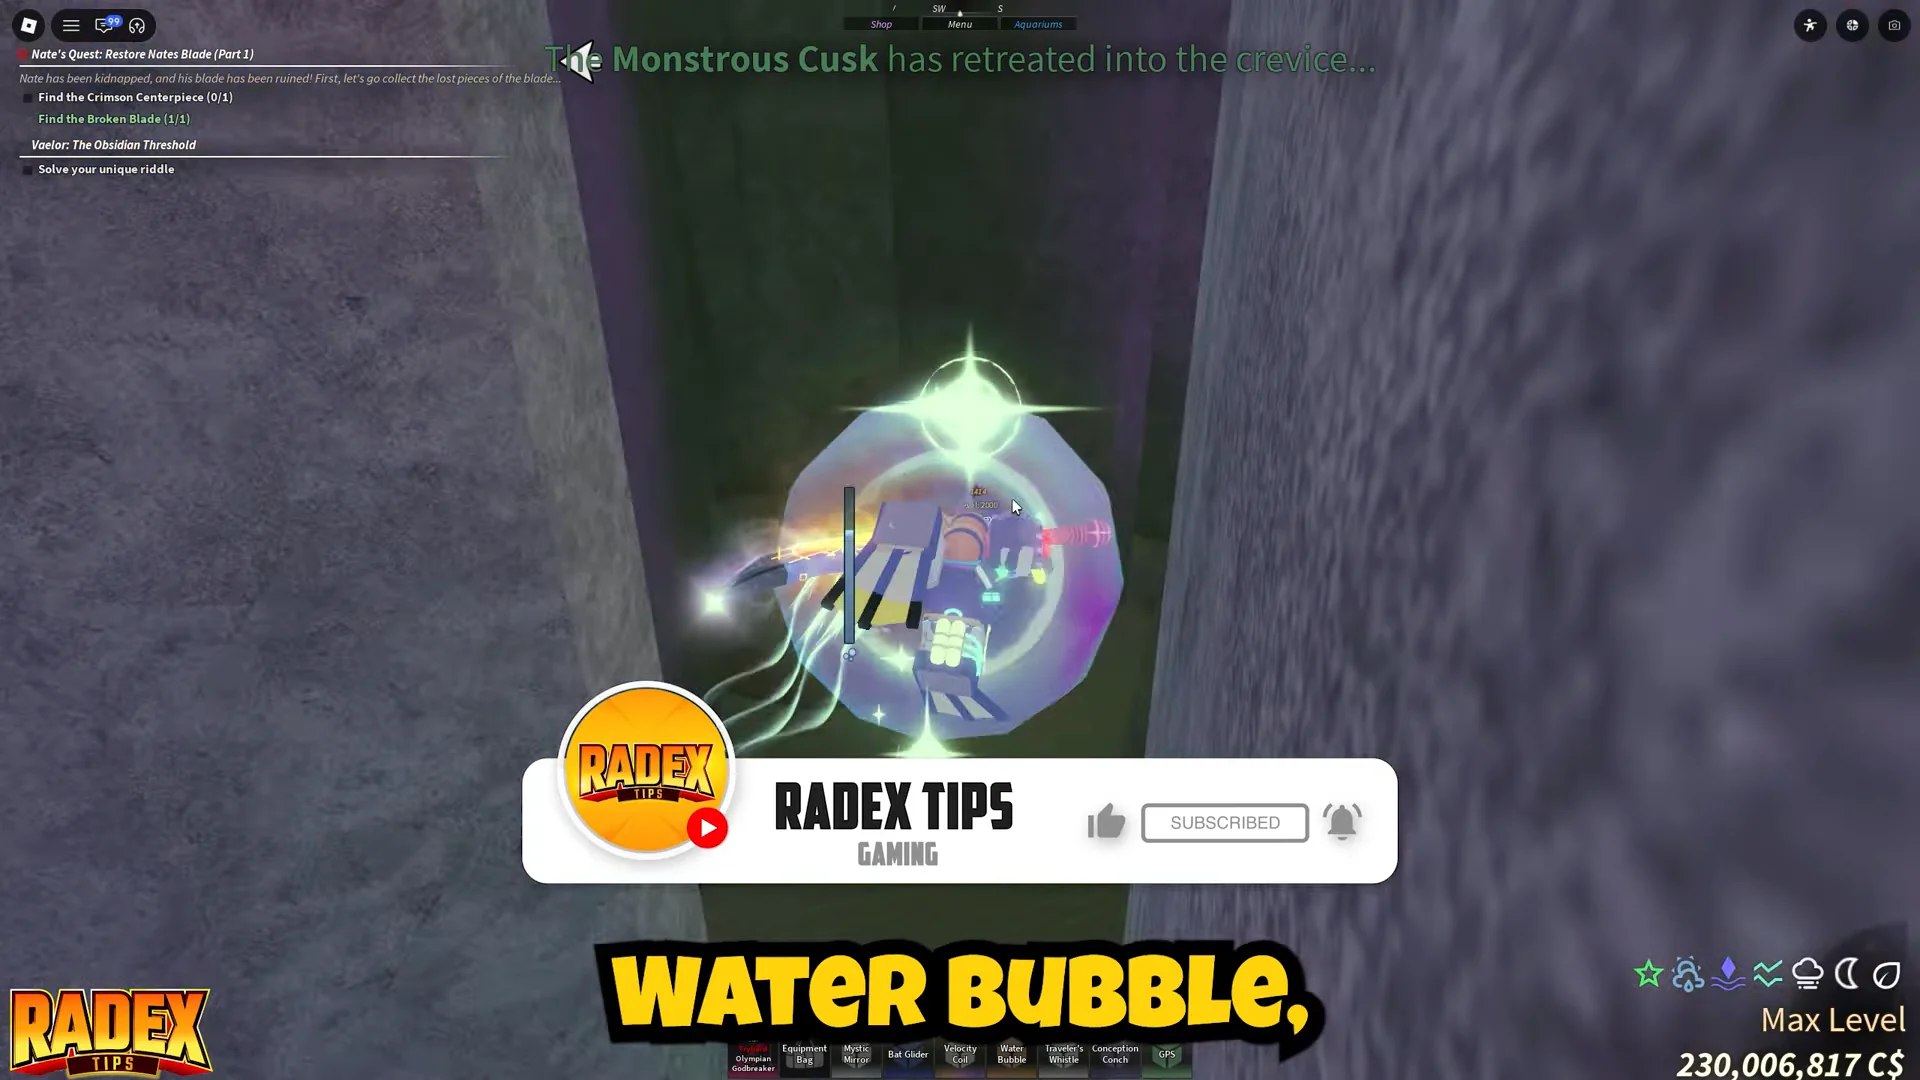
Open the maze entrance with both Enchant Relics
Travel through a Strange Whirlpool to reach Vertigo, fish up the Depth Key, and use it to open the cave door into The Depths. Two altars inside need relics before the maze opens.
Do not leave after placing only one relic. Leaving with a single relic down makes both disappear, forcing you to farm replacements before trying again.
Swim the maze route to the inner chamber
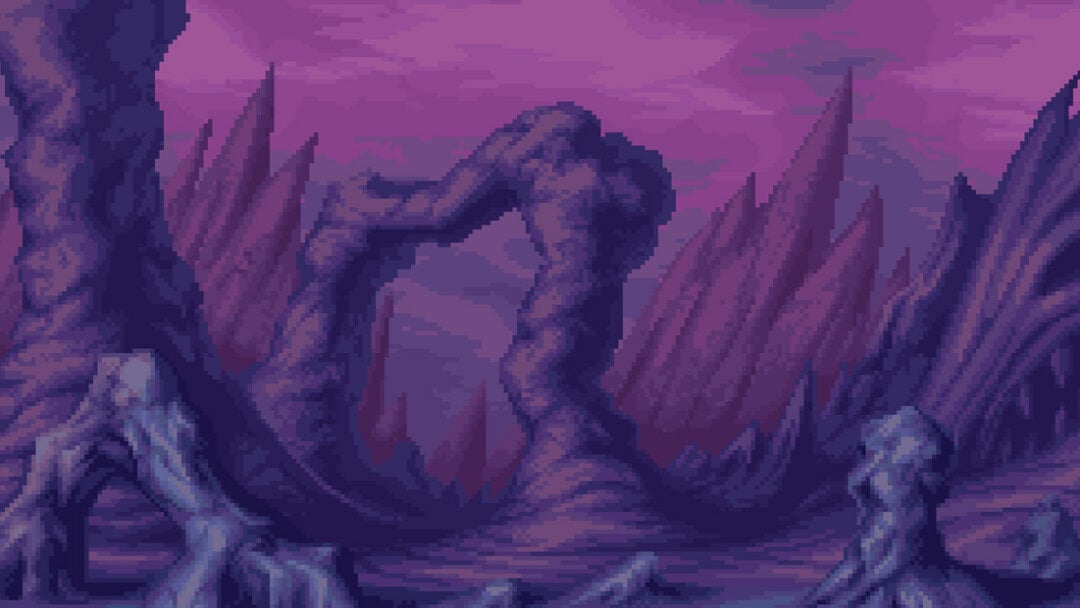
The route follows glowing crystal markers on the walls. Blue crystals lead you in, red crystals mark the final stretch into the chamber. Green doors along the way close and reopen at random, so stay near them and wait rather than backtracking.
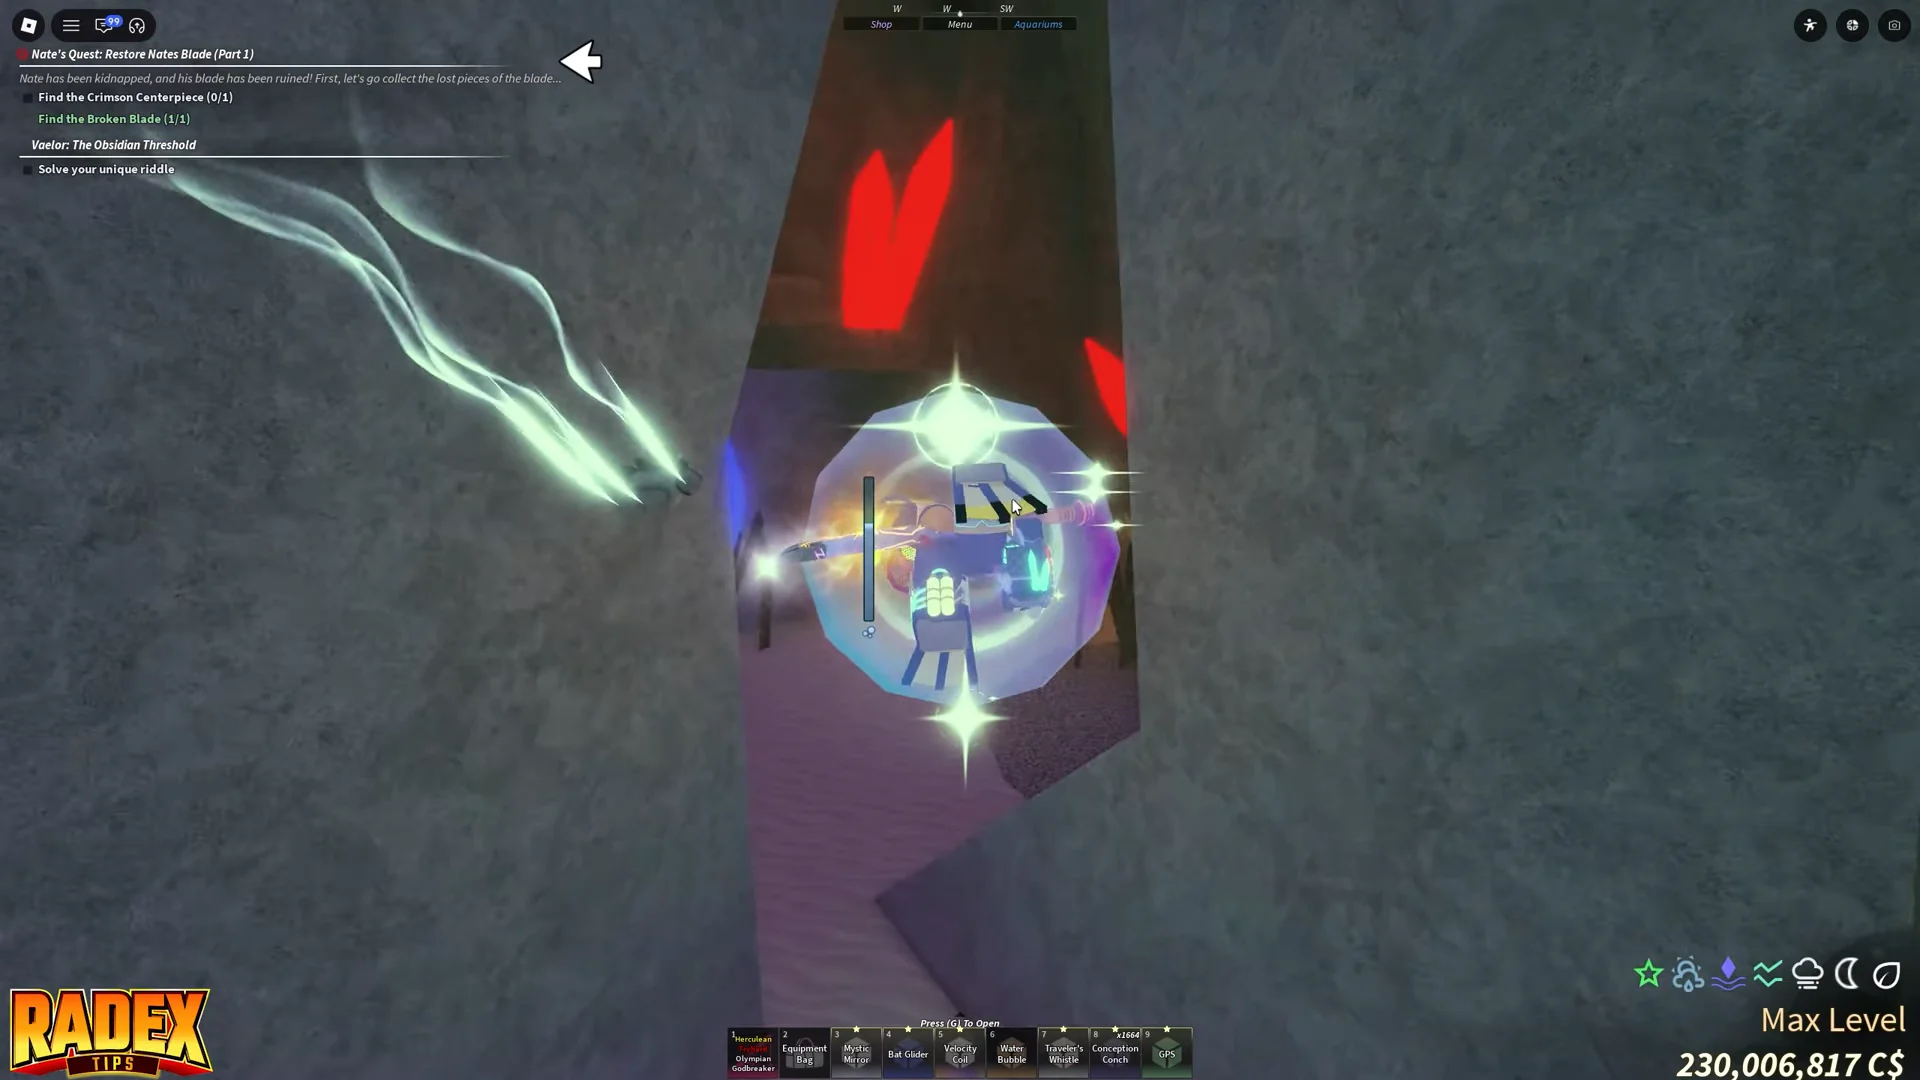
Grab the Broken Blade and buy the Rod of the Depths
Inside the chamber, a statue holds the Rod of the Depths above a pedestal, and the glowing red Broken Blade lies on the stone floor beside it. Both are collected here in the same visit.
Walk up to the Broken Blade near X: 1705, Y: -900, Z: 1445 and press [E] to pick it up. Your Nate’s Blade quest tracker updates to “Find the Broken Blade (1/1)” once it registers, which confirms the pickup worked.
To buy the rod, interact with the statue’s pedestal at roughly X: 1689.9, Y: -902.4, Z: 1437.7. A purchase prompt asks if you want the Rod of the Depths for 750,000 C$. Confirm with Yes, and it lands in your inventory along with 8,000 XP toward the Rod Journal.
Leave the maze
There are two ways out. You can retrace the crystal route back through the tunnels toward the entrance shafts, or use the faster exit built into the chamber.
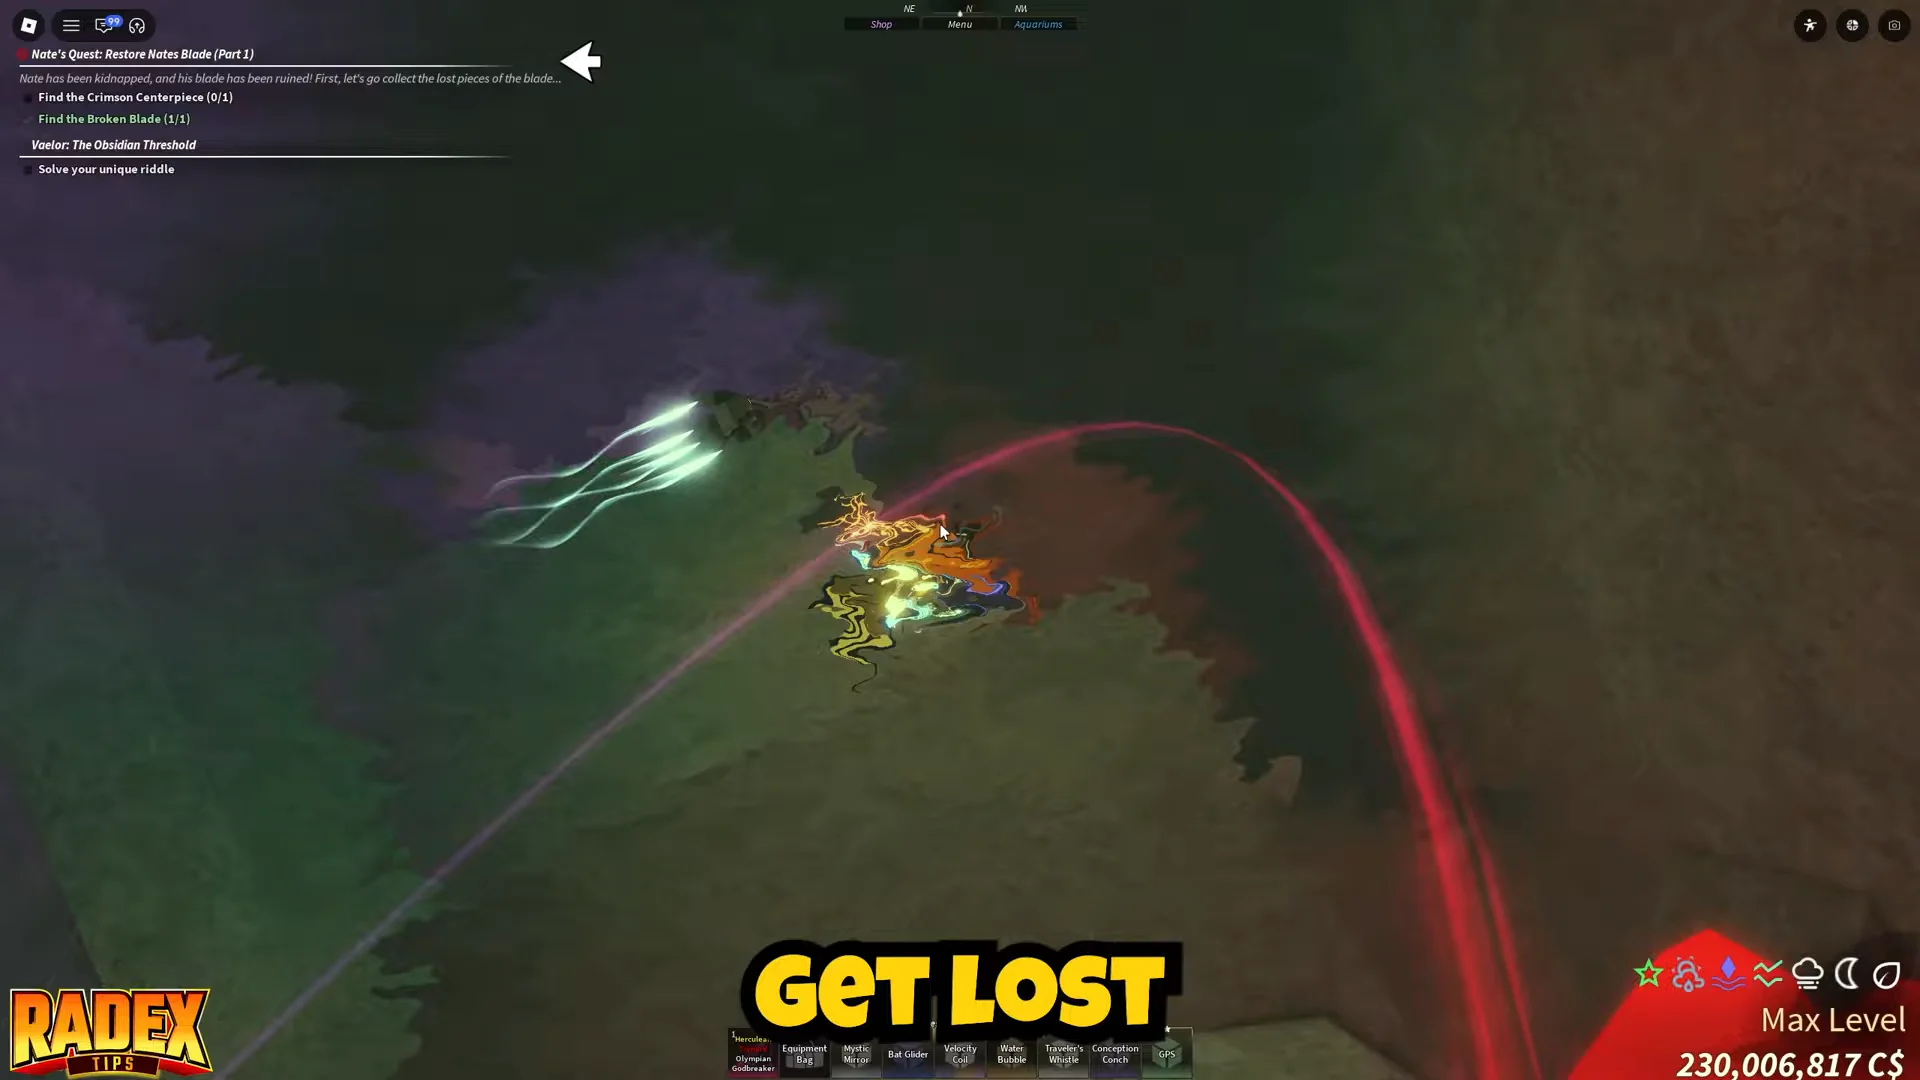
A concealed route behind the statue reaches a whirlpool. Swim through, and it sends you directly to Vertigo, so you can avoid swimming back out. From there, continue Nate’s Blade quest by bringing the Broken Blade back to Nate’s Cave.