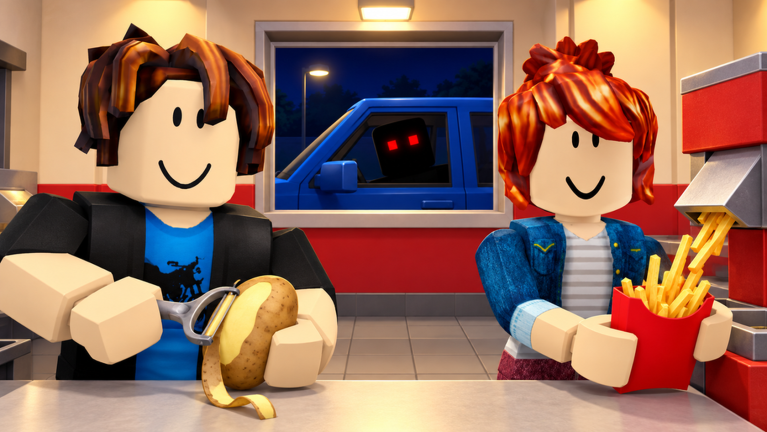
Sell Fries looks like a cozy Roblox restaurant job. You peel potatoes, drop them in a fryer, and hand cartons through a drive-thru window. The real goal is buried in the giant potato pile behind the shop, where one potato hides the key to a locked basement. Everything else, including the cash, the machines, the classes, and surviving the night, exists to help you dig that key out before the anomalies wear you down.
Quick answer: Sell potatoes for cash, then buy the Conveyor ($60), Auto Peeler ($500), Potato Robots ($1,000), and Auto Fryer ($6,000). Survive nights by countering anomalies, find the key in the pile, and unlock the basement.
Sell Fries lobby upgrades, Gems, and the free wheel
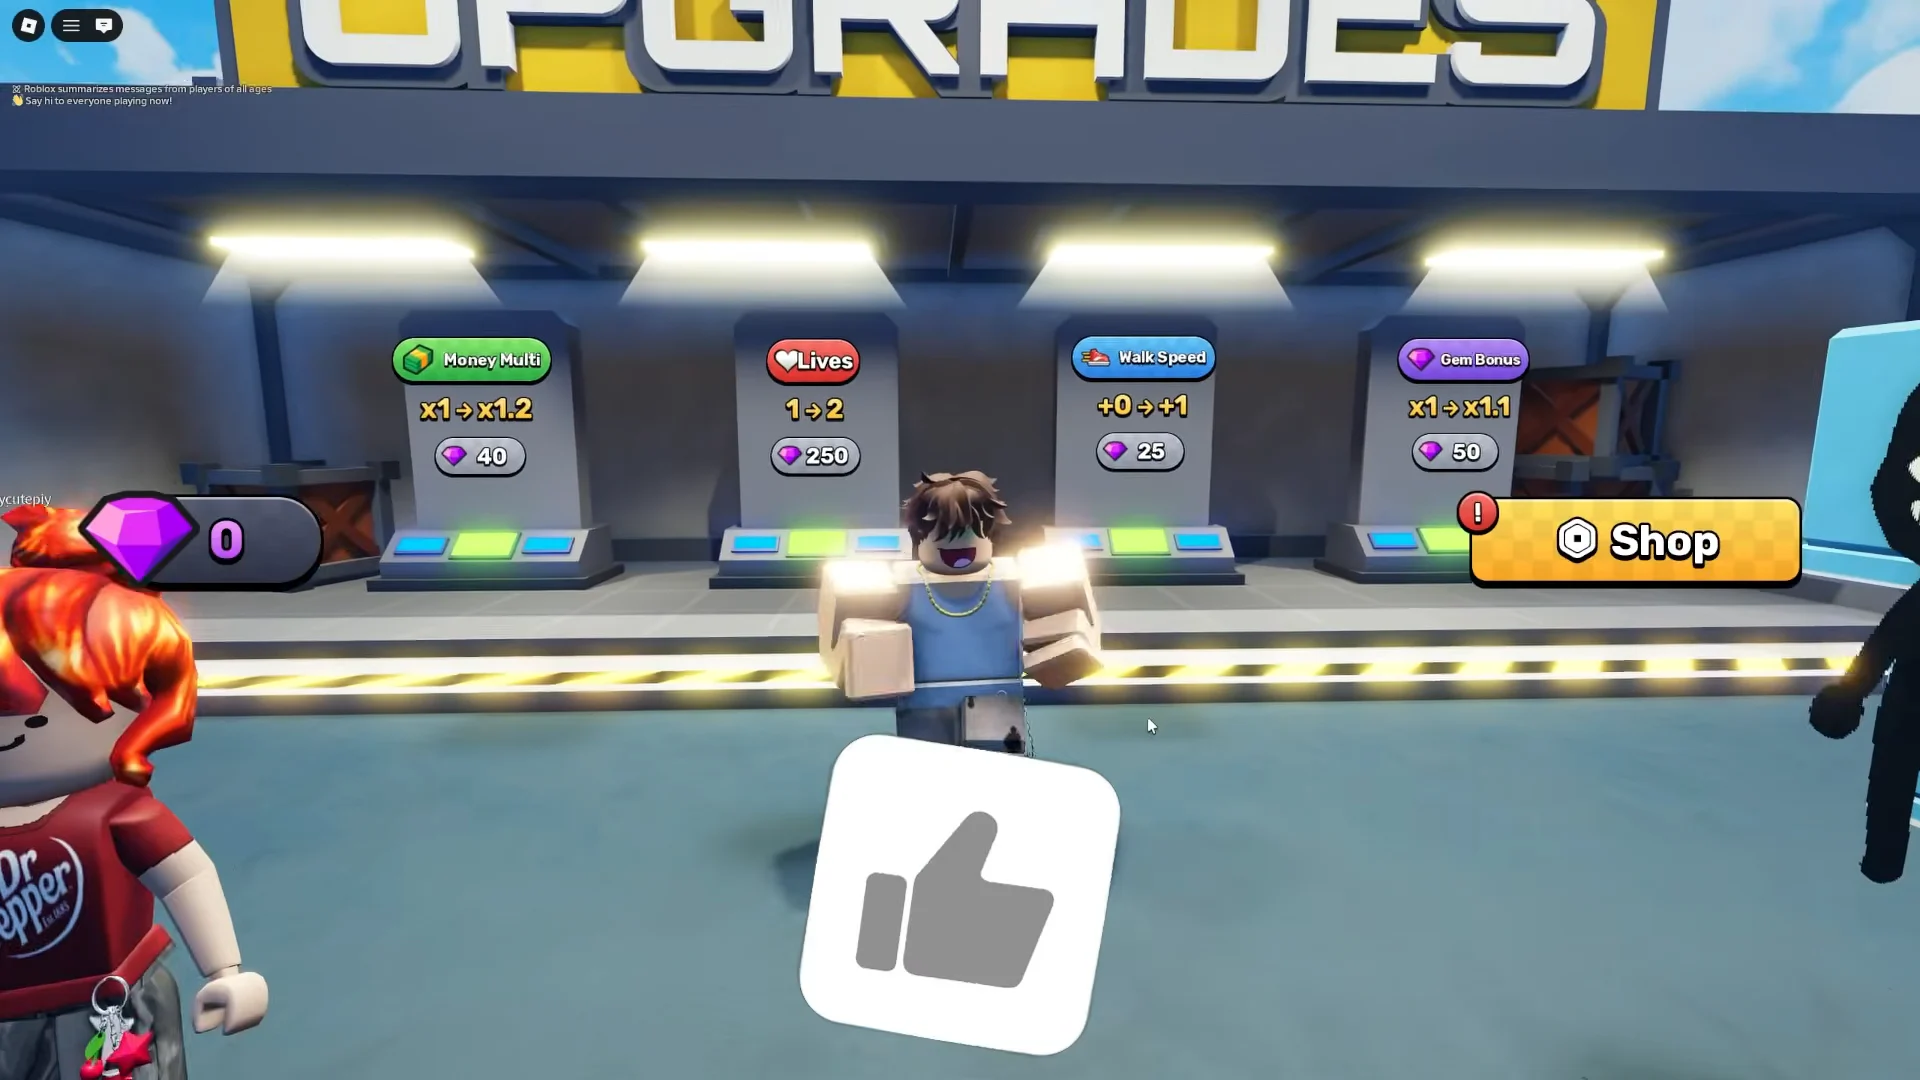
Gems are the lobby currency. You earn them by clearing runs (a win pays out 100 Gems), from the daily prize wheel, and through paid options. They buy permanent upgrades at four stations in the hub and pay for class spins, so the way you spend your first few hundred matters.
| Lobby upgrade | First level | Cost |
|---|---|---|
| Money Multi | x1 → x1.2 | 40 Gems |
| Lives | 1 → 2 | 250 Gems |
| Walk Speed | +0 → +1 | 25 Gems |
| Gem Bonus | x1 → x1.1 | 50 Gems |
Put Gems into Gem Bonus, Walk Speed, and Lives before Money Multi. Gem Bonus speeds up every future class roll and upgrade. Walk Speed shortens every trip between the pile, the kitchen, and the window. An extra life gives you a second chance on a run that would otherwise be lost.
The prize wheel gives one free spin per day. Its segments are a free Class Spin, 25 Gems, 75 Gems, a Revive, +2 spins, and a jackpot of a permanent Flamethrower. Paid extras include VIP (199 Robux, with a VIP Bucket and 50 Gems daily), a permanent 2x Gems pass (147 Robux), and a permanent Golden Vacuum (147 Robux).
Best classes in Sell Fries, ranked
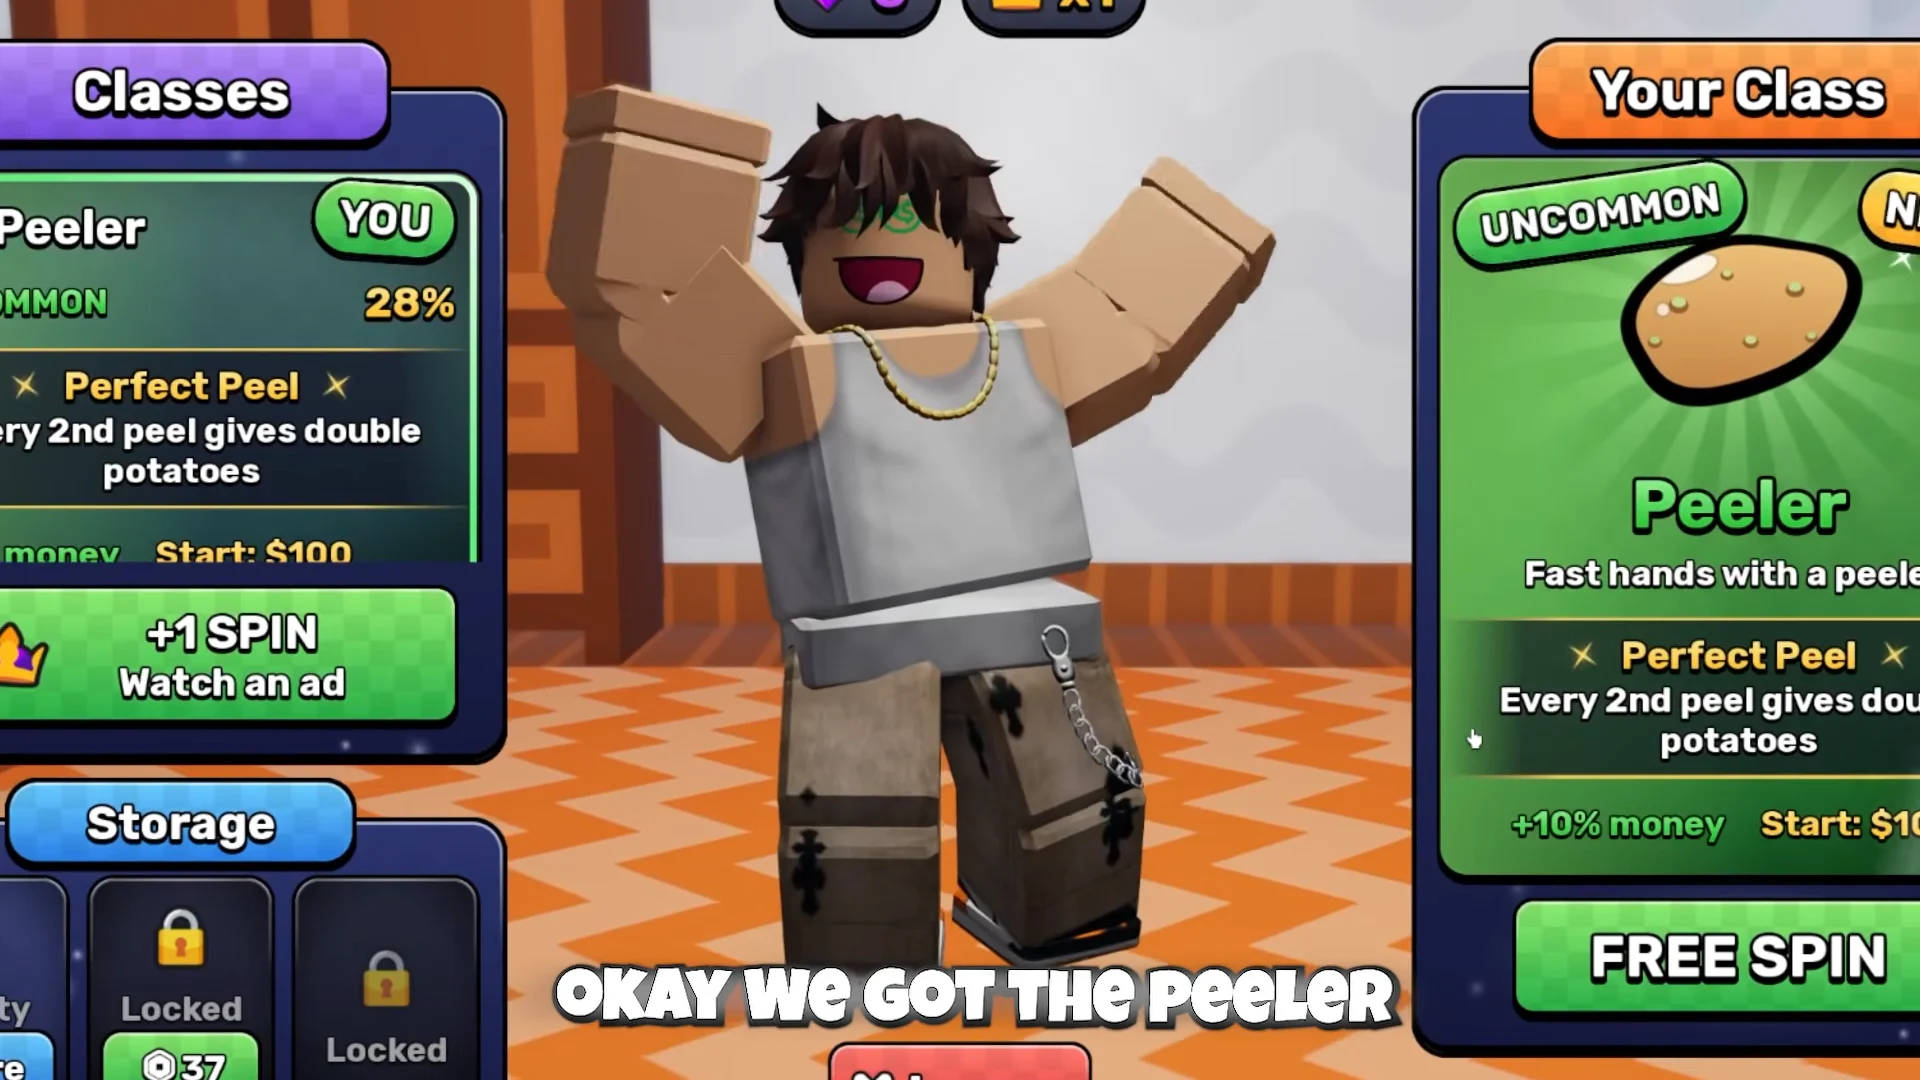
Classes come from the Classes stall in the hub. A spin costs 25 Gems. You can also watch an ad for a free spin, or redeem a Class Spin won on the wheel. The result is random across seven classes, so you can’t pick one directly. Each class adds a money bonus, a starting kit, and a passive perk, and the rarer ones add an active ability.
Most first rolls land in the common tiers. The Dishwasher and Peeler together account for 68 percent of spins, so expect one of them early.
S tier: Potato King and Fry Tycoon
| Class | Rarity (odds) | Bonuses | Starting kit |
|---|---|---|---|
| Potato King | Divine (0.2%) | +100% money, +50% gems, +3 speed | $1,000, Vacuum, Money Potion, Cross |
| Fry Tycoon | Mythic (1.3%) | +60% money, +35% gems, +2 speed | $500, Vacuum, Cola, Cross |
Potato King is the best class in the game. Its Royal Pardon passive gives the whole team bonus money and saves someone from dying once per day. Its Royal Decree ability removes every monster, revives the team, and triples sales. The catch is the odds, and spending Gems chasing it is rarely worth it.
Fry Tycoon is built for money. Compound Interest adds 25 percent of your current cash every morning, which rewards saving instead of spending. The Golden Touch ability makes you earn 5x money for 20 seconds, so trigger it right before a large sale.
A tier: Fry Cook and Head Chef
| Class | Rarity (odds) | Bonuses | Starting kit |
|---|---|---|---|
| Fry Cook | Epic (10%) | +25% money, +10% gems, +1 speed | $150, Bucket, Cola |
| Head Chef | Legendary (4.5%) | +40% money, +20% gems, +2 speed | $250, Vacuum, Cola |
Fry Cook is the strongest class that’s reasonably easy to obtain. Double Dip gives you a 50 percent chance of frying two orders, and hot oil does you no damage. Flash Fry cooks the full fryer load in one go and produces twice the output, making it especially useful before you get the Auto Fryer.
Head Chef is built for consistent service. With Order Up!, every fifth sale doubles revenue from all sales for 20 seconds; Dinner Rush boosts all team sales to triple pay for 30 seconds. You also start with a Vacuum, avoiding its $1,000 purchase.
B tier: Dishwasher, Peeler, and Runner
| Class | Rarity (odds) | Bonuses | Starting kit |
|---|---|---|---|
| Dishwasher | Common (40%) | +5% money | $50 |
| Peeler | Uncommon (28%) | +10% money | $100 |
| Runner | Rare (16%) | +15% money, +3 speed | $100, Cola |
None of these have an active ability. Dishwasher gets Soapy Hands, a 50 percent chance that monsters can’t grab you. Peeler gets Perfect Peel, where every second peel gives double potatoes. Runner gets Bait & Dash, which pulls monsters toward you but makes them 25 percent slower. They’re fine for learning the game, but reroll once you have spare Gems.
How to sell fries in Sell Fries: the manual loop
Step onto the solo match pad in the hub to teleport into the restaurant. You can skip the driving cutscene. Every dollar you earn comes from handing finished fries through the drive-thru window, and you’ll do this by hand until machines take over. Yellow arrows on the floor point between the stations.
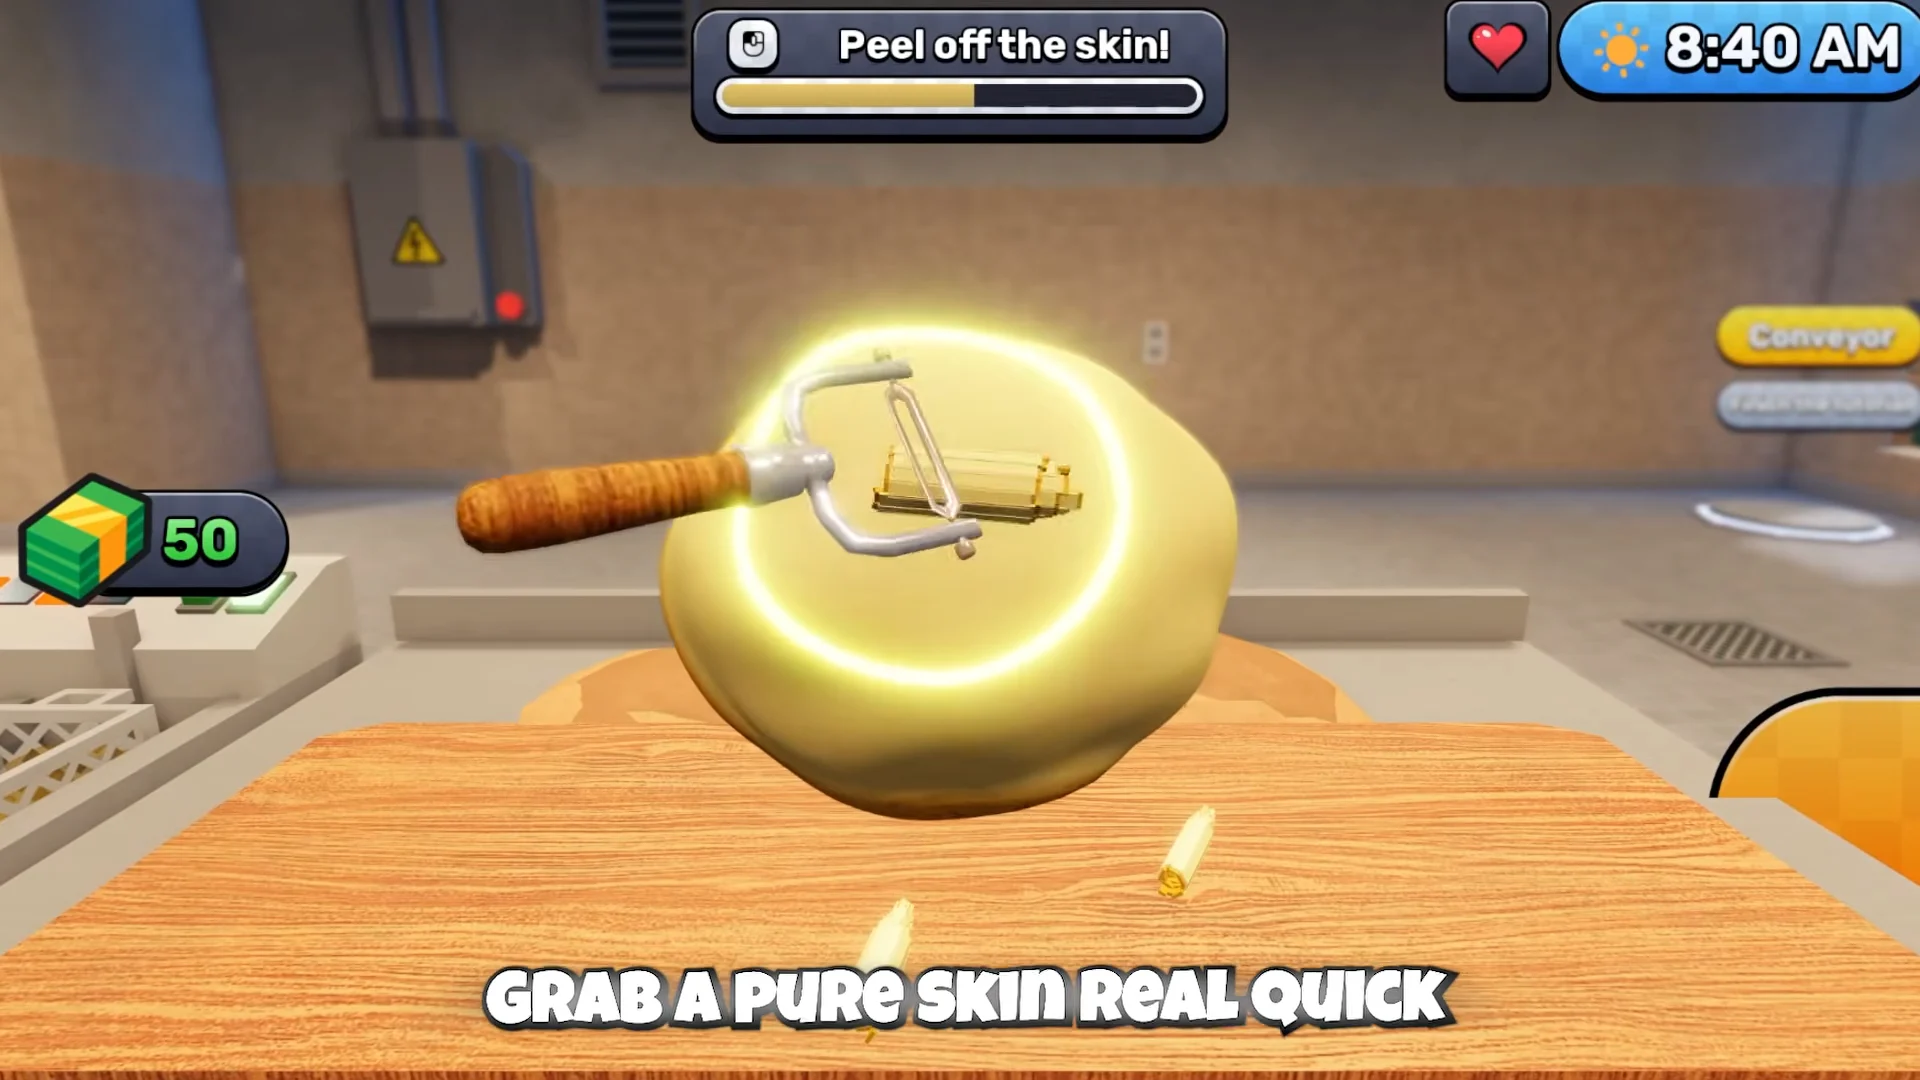
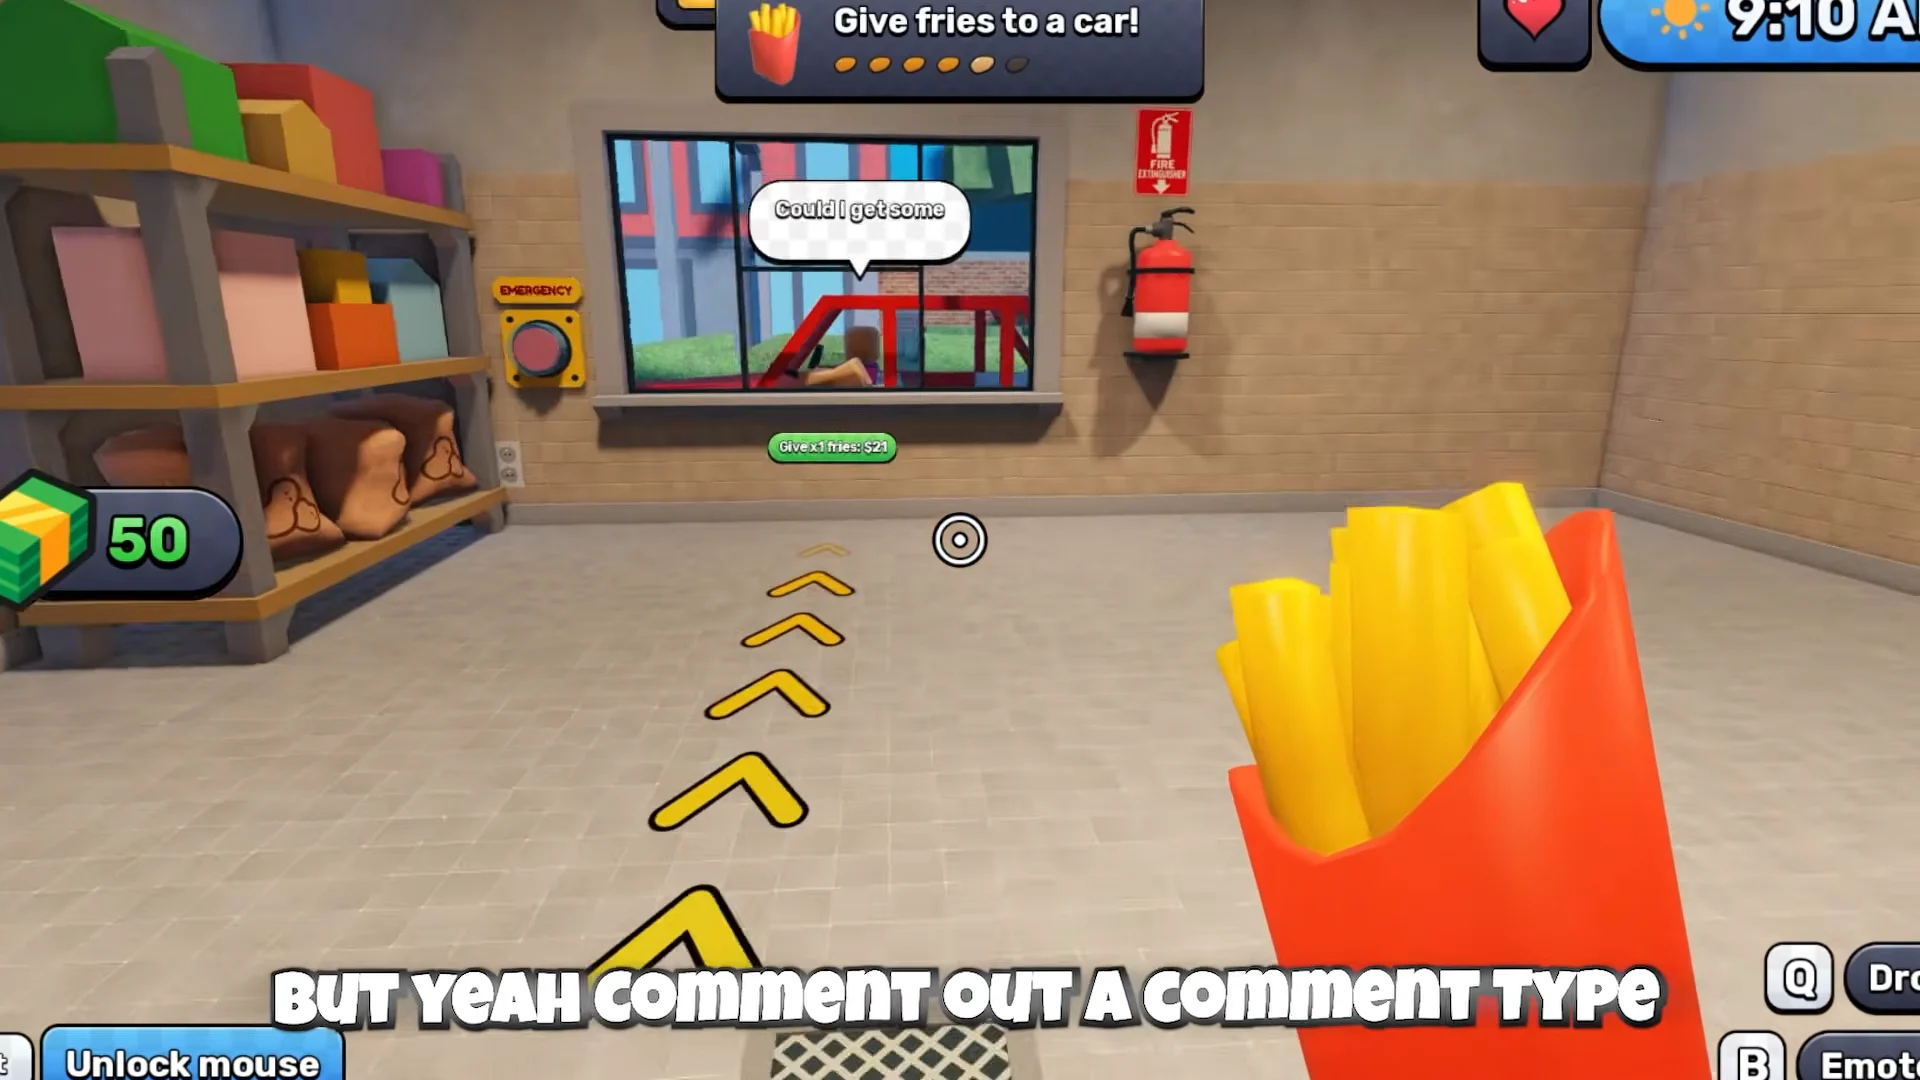
A customer waits about 50 seconds before driving off. There’s no cap on how many fries you can hand over at once, and bigger orders pay more, so cook in batches instead of serving one carton at a time. Batched orders add up fast, like 28 fries selling for $651 in one handoff.
Gold and diamond potatoes
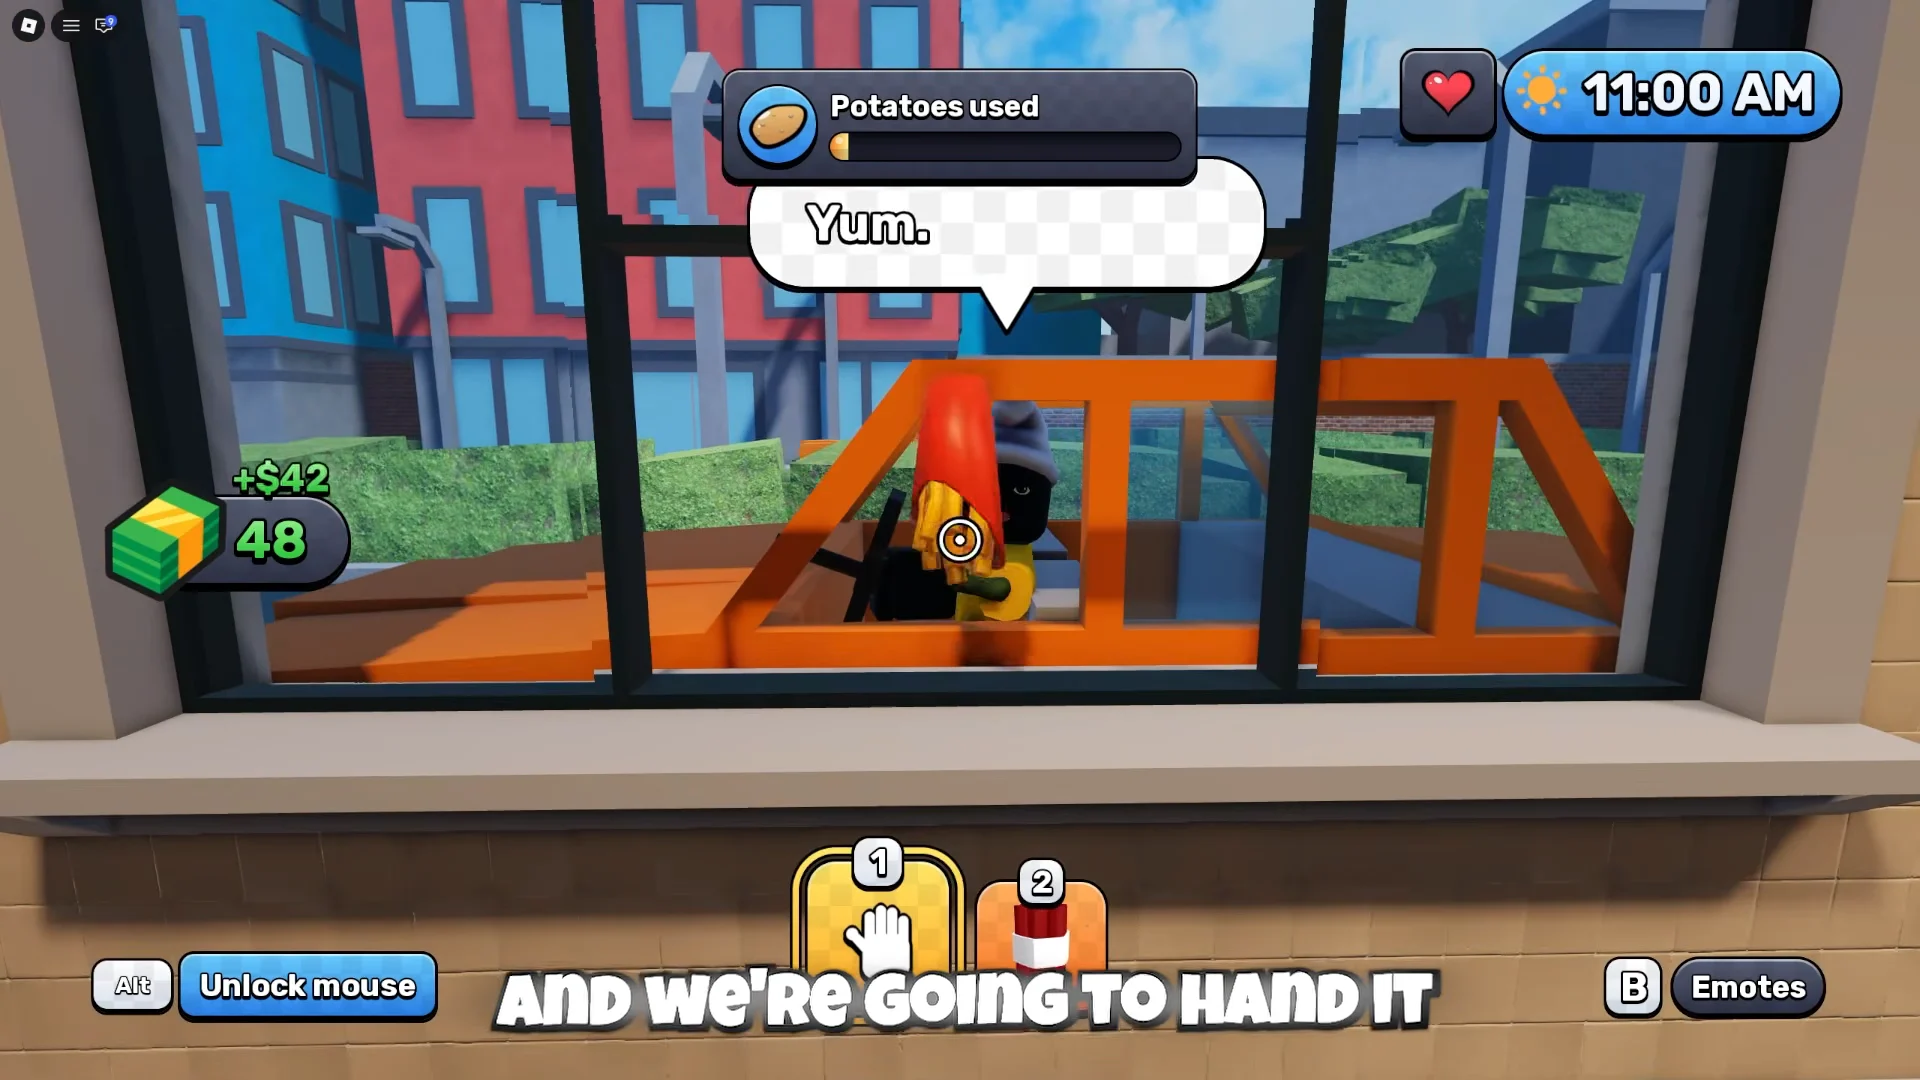
Some potatoes in the pile glow. Gold and diamond (crystal) potatoes cook into fries that sell for far more than regular stock. One golden carton pays $42, double a regular order. Dig for the glowing ones instead of grabbing whatever is on top, because a few of them can fund your first upgrades.
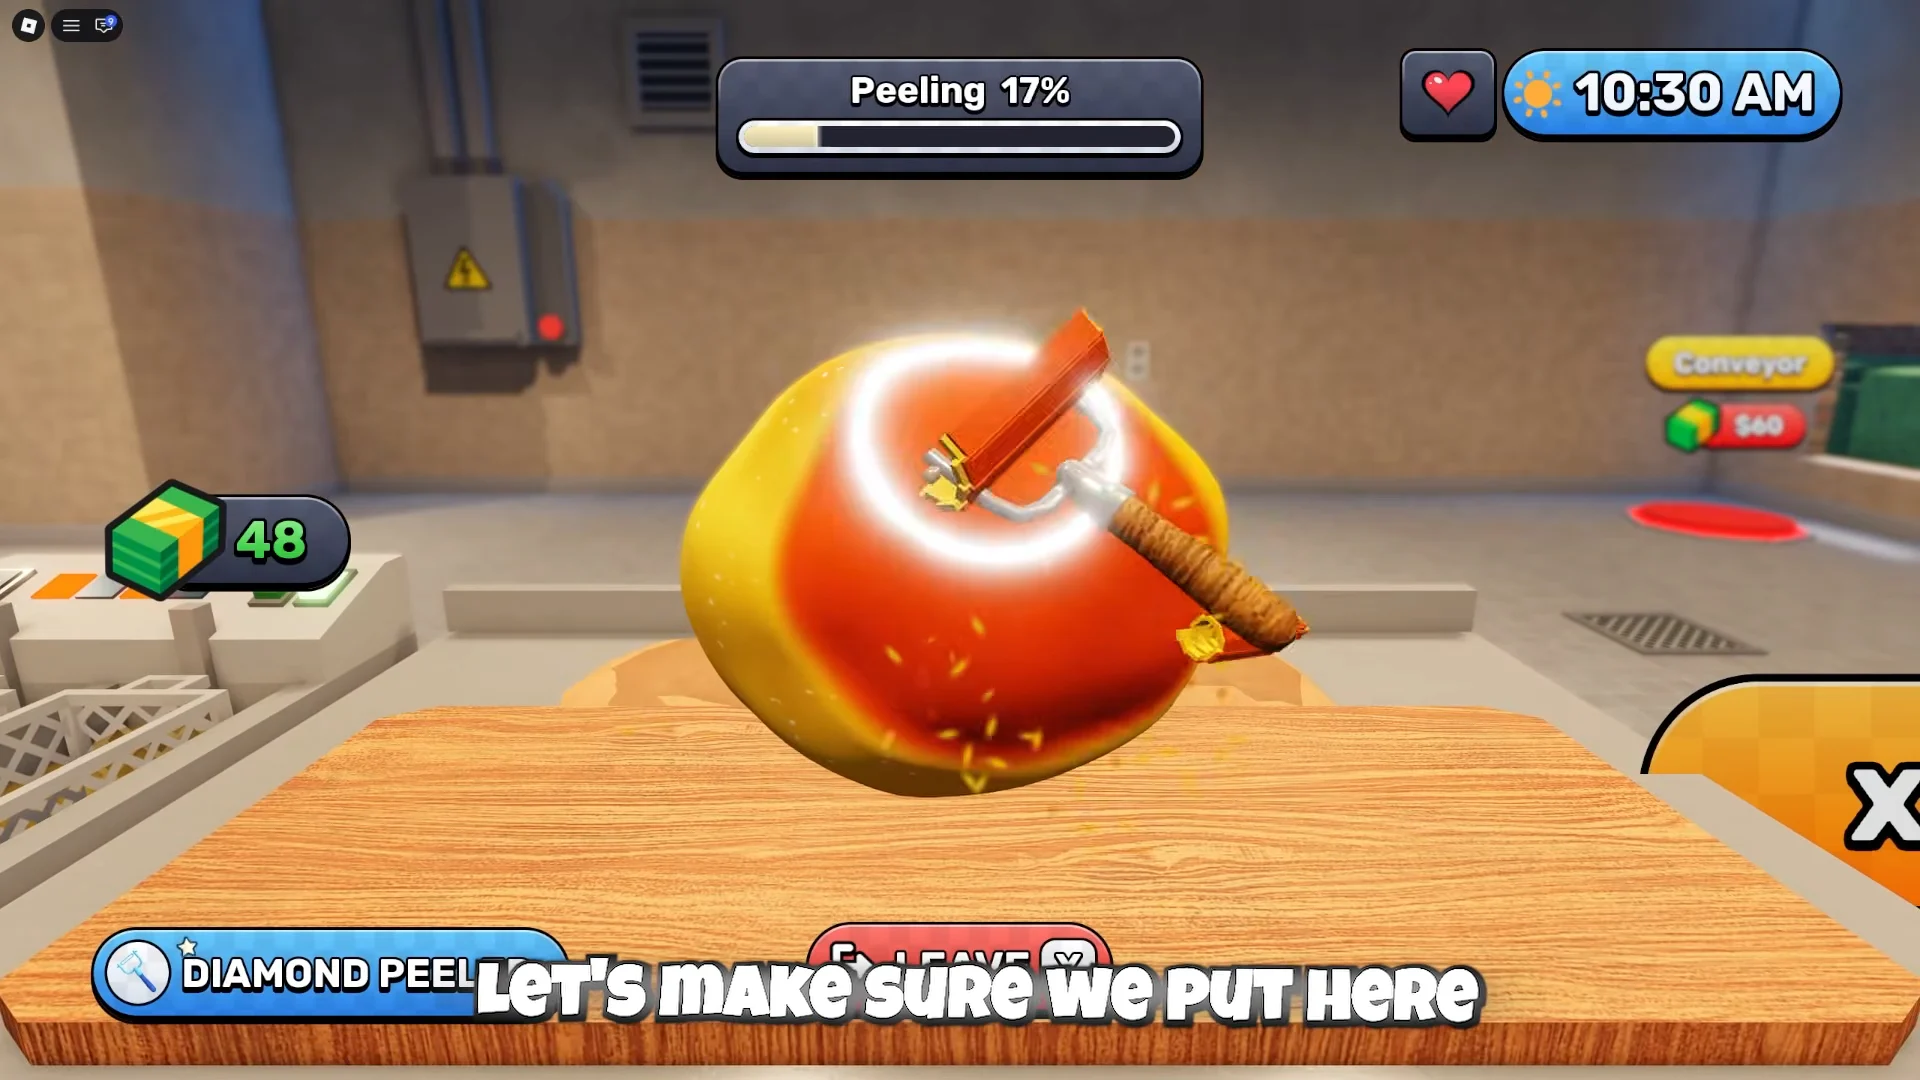
Golden fries go out through the same window as regular orders. This stays true after you automate, since the machines process whatever reaches the belt, and better potatoes make every automated sale worth more.
Sell Fries automation order: Conveyor to Fries Shooter
Your income grows each time a machine takes over a step of the loop. Buy machines in cost order so each one frees up time to earn the next.
| Machine | Cost | What it does |
|---|---|---|
| Conveyor | $60 | Moves potatoes from the pile indoors |
| Auto Peeler | $500 | Peels potatoes for you |
| Potato Robots | $1,000 | Haul potatoes onto the conveyor |
| Auto Fryer | $6,000 | Cooks peeled potatoes |
| Fries Shooter | $12,000 | Fires at window anomalies |
The Conveyor is the first purchase and the base for all automation. Its buy prompt is inside the kitchen. After buying it, you can throw potatoes onto the outdoor belt instead of carrying each one inside.
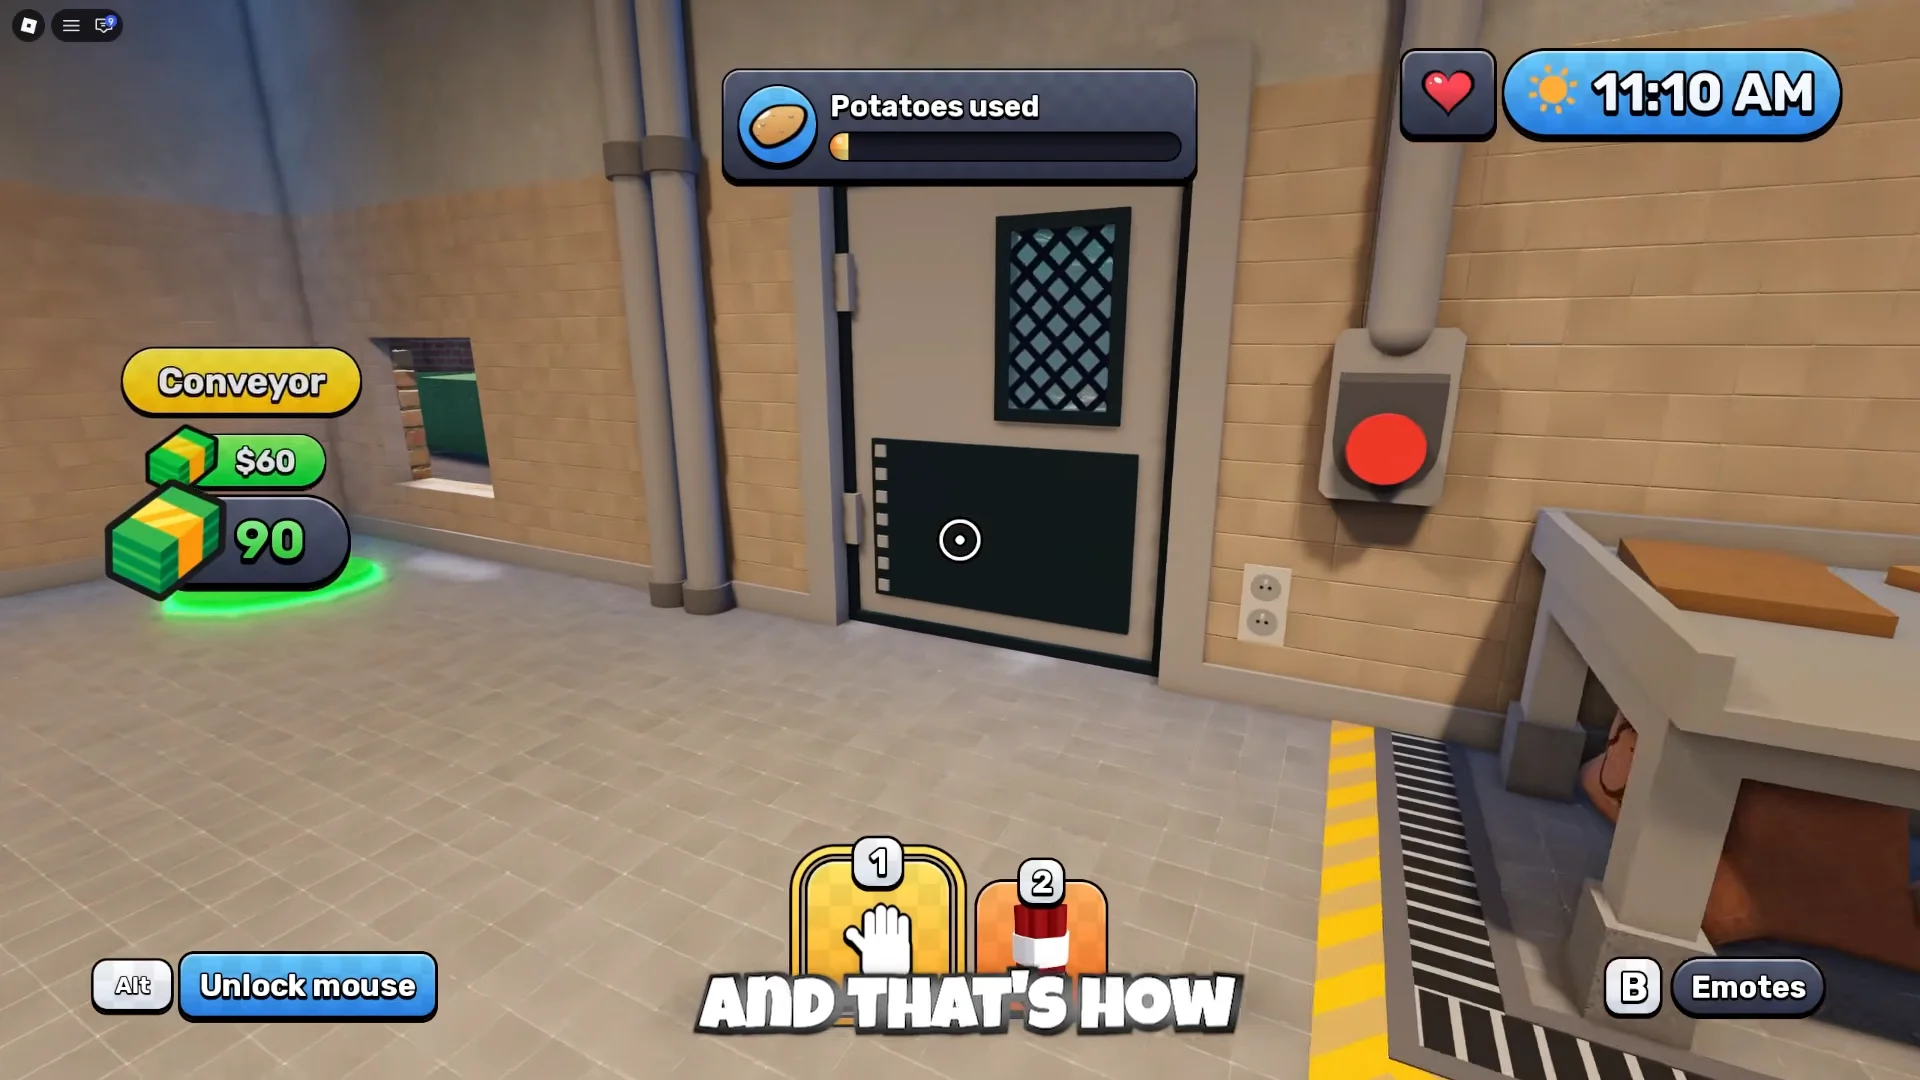
Save for the Auto Peeler next, because hand peeling is the slowest part of the loop. Potato Robots, bought outside next to the pile, keep the belt stocked while you handle sales. Their Speed, Basket, and helper upgrades increase how much they carry, and a second helper robot named Tot doubles your hauling. The Auto Fryer then takes over cooking.
The Fries Shooter sits at the service window. It doesn’t serve paying customers. Instead, it fires at window anomalies so they leave without you closing the shutter.
Keep the Fries Shooter reloaded. If it runs empty while you’re busy with another problem, the window anomaly gets in.
Kitchen shop upgrades and carrying tools
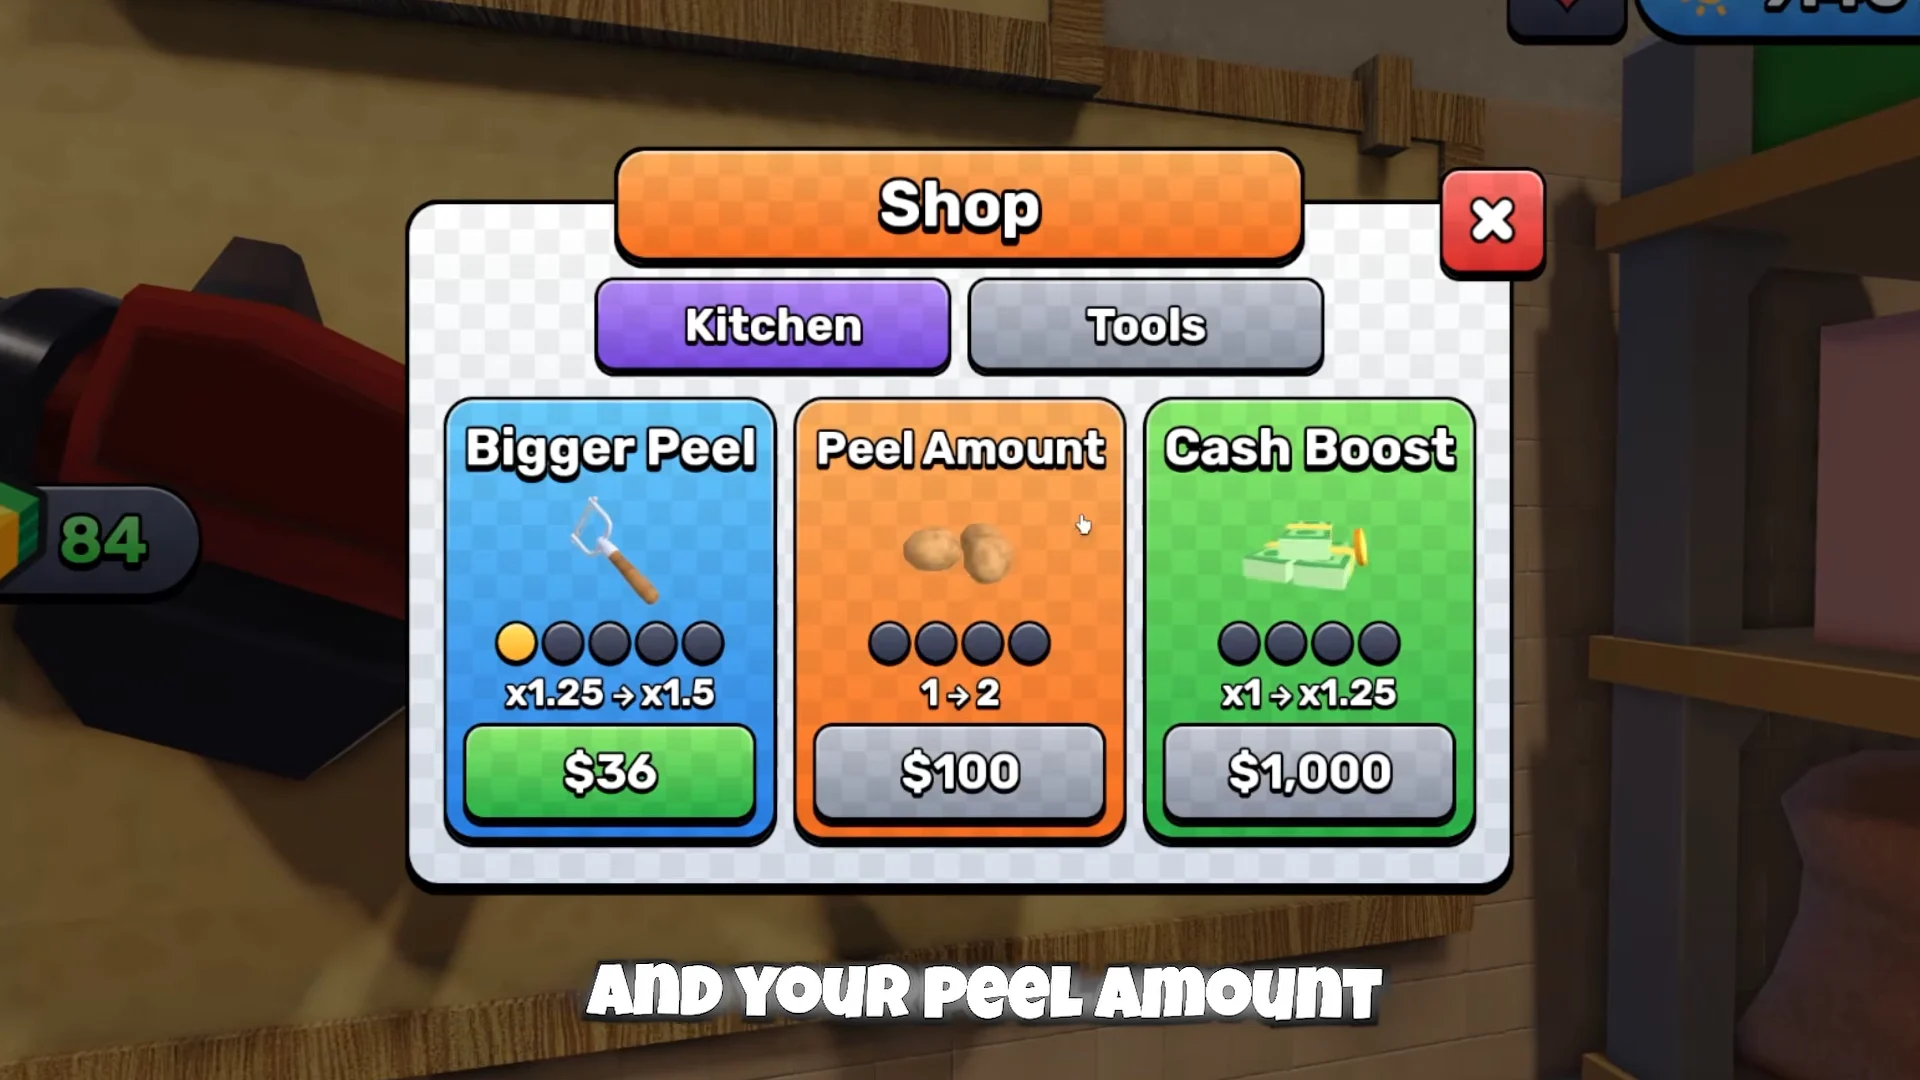
The wall shop in the kitchen has two tabs. The Kitchen tab speeds up peeling and raises payouts, and the Tools tab sells carrying gear so you move several potatoes per trip.
| Kitchen upgrade | Effect | Cost |
|---|---|---|
| Bigger Peel | x1 → x1.25 | $12 |
| Bigger Peel | x1.25 → x1.5 | $36 |
| Peel Amount | 1 → 2 | $100 |
| Cash Boost | x1 → x1.25 | $1,000 |
Bigger Peel increases how much skin each stroke removes, and it’s cheap enough to buy right away. Cash Boost multiplies every sale. It pays for itself quickly once you’re selling large batches.
| Tool | Capacity | Cost |
|---|---|---|
| Bucket | 3 (upgradable to 7) | $100 |
| Vacuum | Sucks up 8 | $1,000 |
| Golden Vacuum | Holds 20 | $9,800 or Gems |
Buy the Vacuum as early as you can and upgrade it over time. Fewer trips between the pile and the belt means faster production and faster digging for the key. The Golden Vacuum sells for $9,800 at the street shop, and it can also be bought with Gems or Robux.
Street shop items: Flamethrower, Money Potion, and Cross
During the day, a notification tells you the shop across the street is open. Its stock changes by day and ranges in rarity, so it’s worth saving cash before you visit. Items you’ll see include:
- Cola for $50
- Cross, starting at $200 and rising to $2,500 and $36k, for driving off anomalies
- Gun for $6,000, rising to $54,000, which repels entities in the parking lot
- Small TNT and TNT
- Money Potion for $13,000, a 1.5x cash multiplier
- Golden Vacuum for $9,800
- Flamethrower, a Legendary item
The Flamethrower burns through the potato pile and turns each burned pile into a large amount of cash. That clears the pile faster and speeds up the key search. It also scares off the potato-eating monster. Drink a Money Potion before you burn a pile or serve a big batch, so the 1.5x boost applies to the large payout. One boosted order paid out $1,418.
Watch for traffic when you cross the street. Getting hit by a car kills your character and forces a revive.
Morning perks in Sell Fries
Surviving a night earns a perk pick at the start of the next day. Three choices are straight upgrades, and the fourth is sometimes a stronger bonus with a drawback attached. Perks that show up include:
- Walk Faster: walk 15% faster
- Sticky Hands: keep potatoes if hit
- Night Bonus: +25% cash at night
- Growing Cash: earn +10% each day
- Robot Boss: robots 25% faster
- Tough but Slow: +100 max health, but walk 25% slower
Take health while you’re still learning how anomalies behave, and take a faster fryer or cash perks once runs feel stable. Cursed options, such as doubling night earnings in exchange for more anomaly encounters, only pay off if you can handle the extra pressure.
All anomalies in Sell Fries and how to counter them
Night runs from 8 p.m. to 8 a.m. Finish outdoor potato runs before dark. When the screen starts to glitch or static appears outside, an anomaly is active and you should head indoors. Each event shows a clear on-screen alert and has a set response.
| Anomaly | On-screen alert | Counter |
|---|---|---|
| Window anomaly | “Close the shutter!” | Hit the red Emergency button |
| Outdoor chaser | “RUN INSIDE! Get to the kitchen!” | Get inside, stay away from doors |
| Potato-eating monster | “A monster is eating the potatoes! Scare it away!” | Hold interact or use the Flamethrower |
| The Giant | “THE GIANT!” | Step out of the beam circles |
| Power outage | “NO POWER!” | Solve the fuse box wire puzzle |
| Stuck robot | “A robot is stuck! Go fix it!” | Interact with the robot |
Window anomalies appear as customers with warped faces or shadowy figures who ask for fries. Don’t serve them. Lower the metal shutter as soon as one arrives; if it gets to the counter, it will eat your fries. A Fries Shooter with ammo will take them out automatically.
The Giant spawns on the buildings across the street and marks circles on the ground where its beam will land, and each hit takes a chunk of health. It fires every few seconds, so use the gaps to finish outdoor work and get back inside. The potato-eating monster sits on the conveyor eating your stock until you scare it off.
Power outages shut off the lights and every automated machine, which stops your income. Go to the lit-up power box outside, which reads “Fix the power box! 0/1,” and connect the matching colored wires in the “CONNECT THE WIRES!” puzzle. Later outages use more wire pairs. The fix worked when “FIXED!” and then “POWER BACK!” appear, and your machines restart on their own.
How to win Sell Fries: finding the basement key
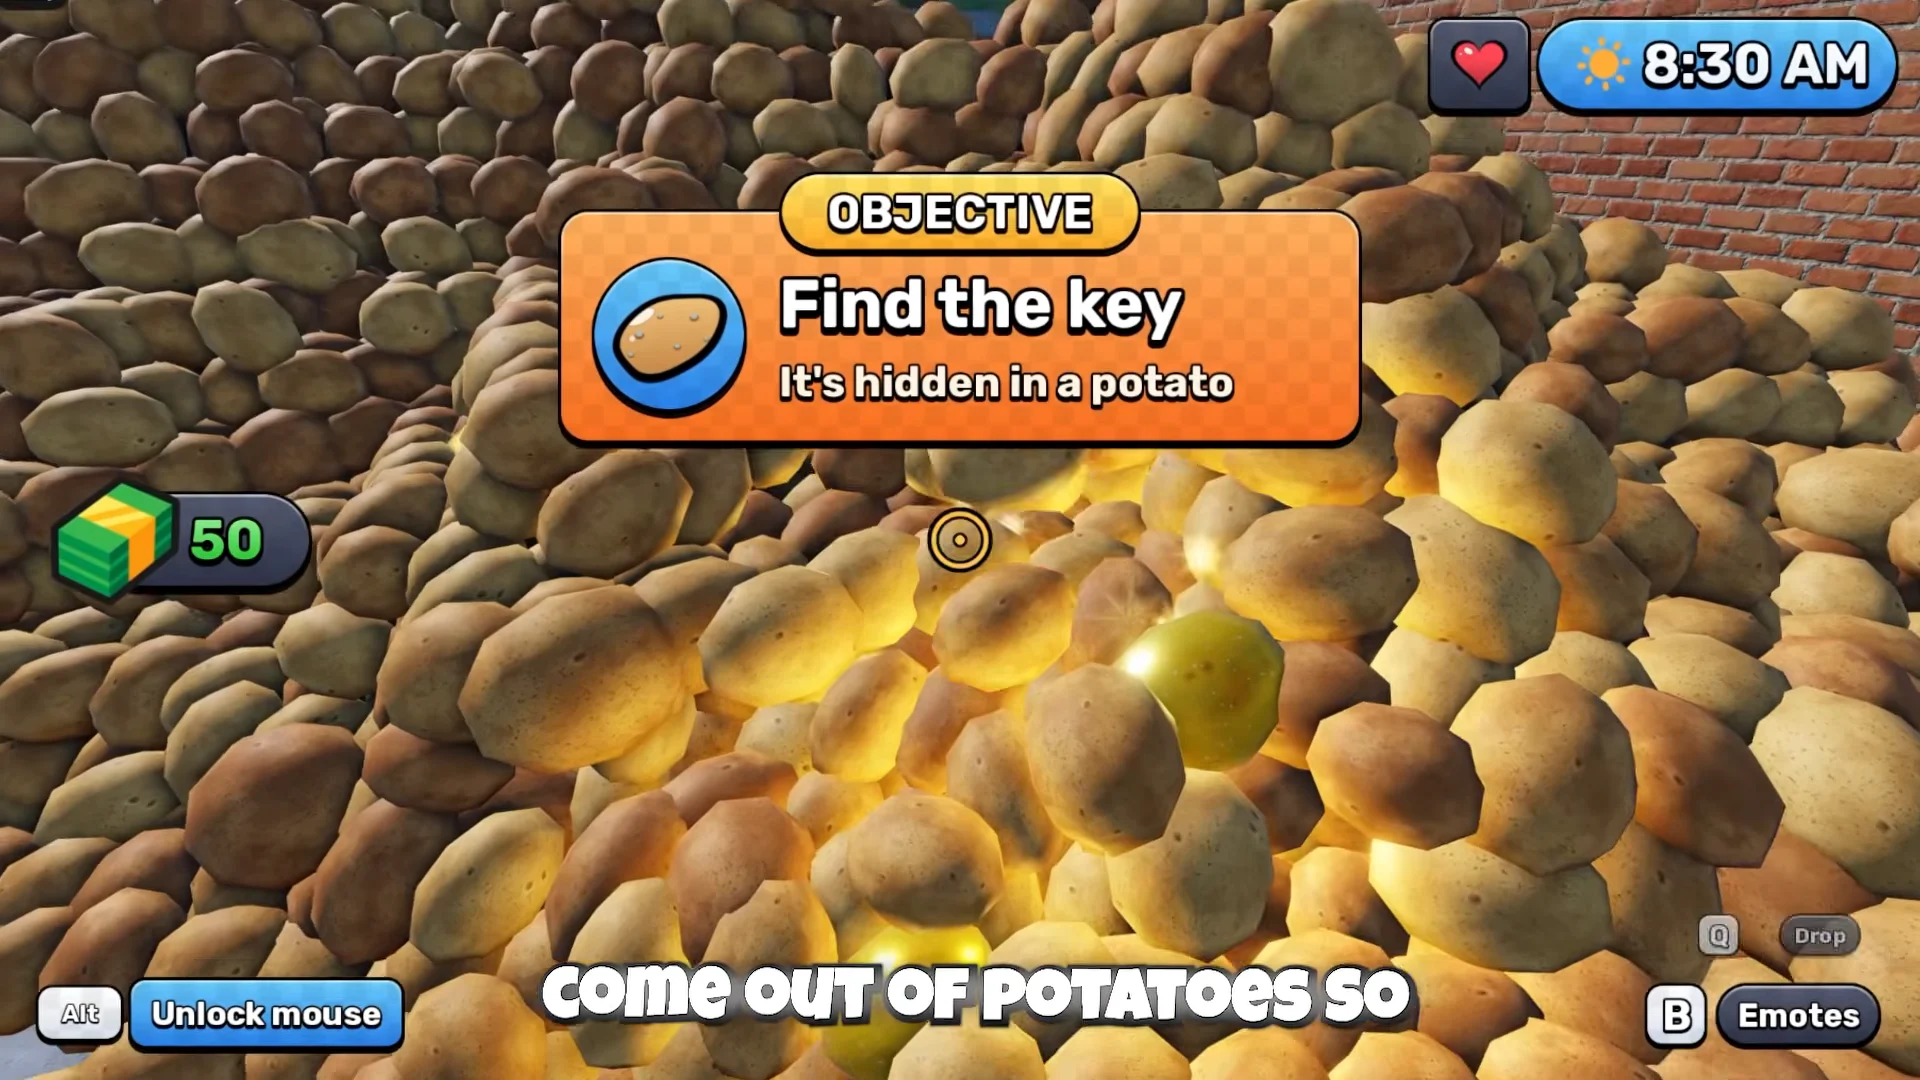
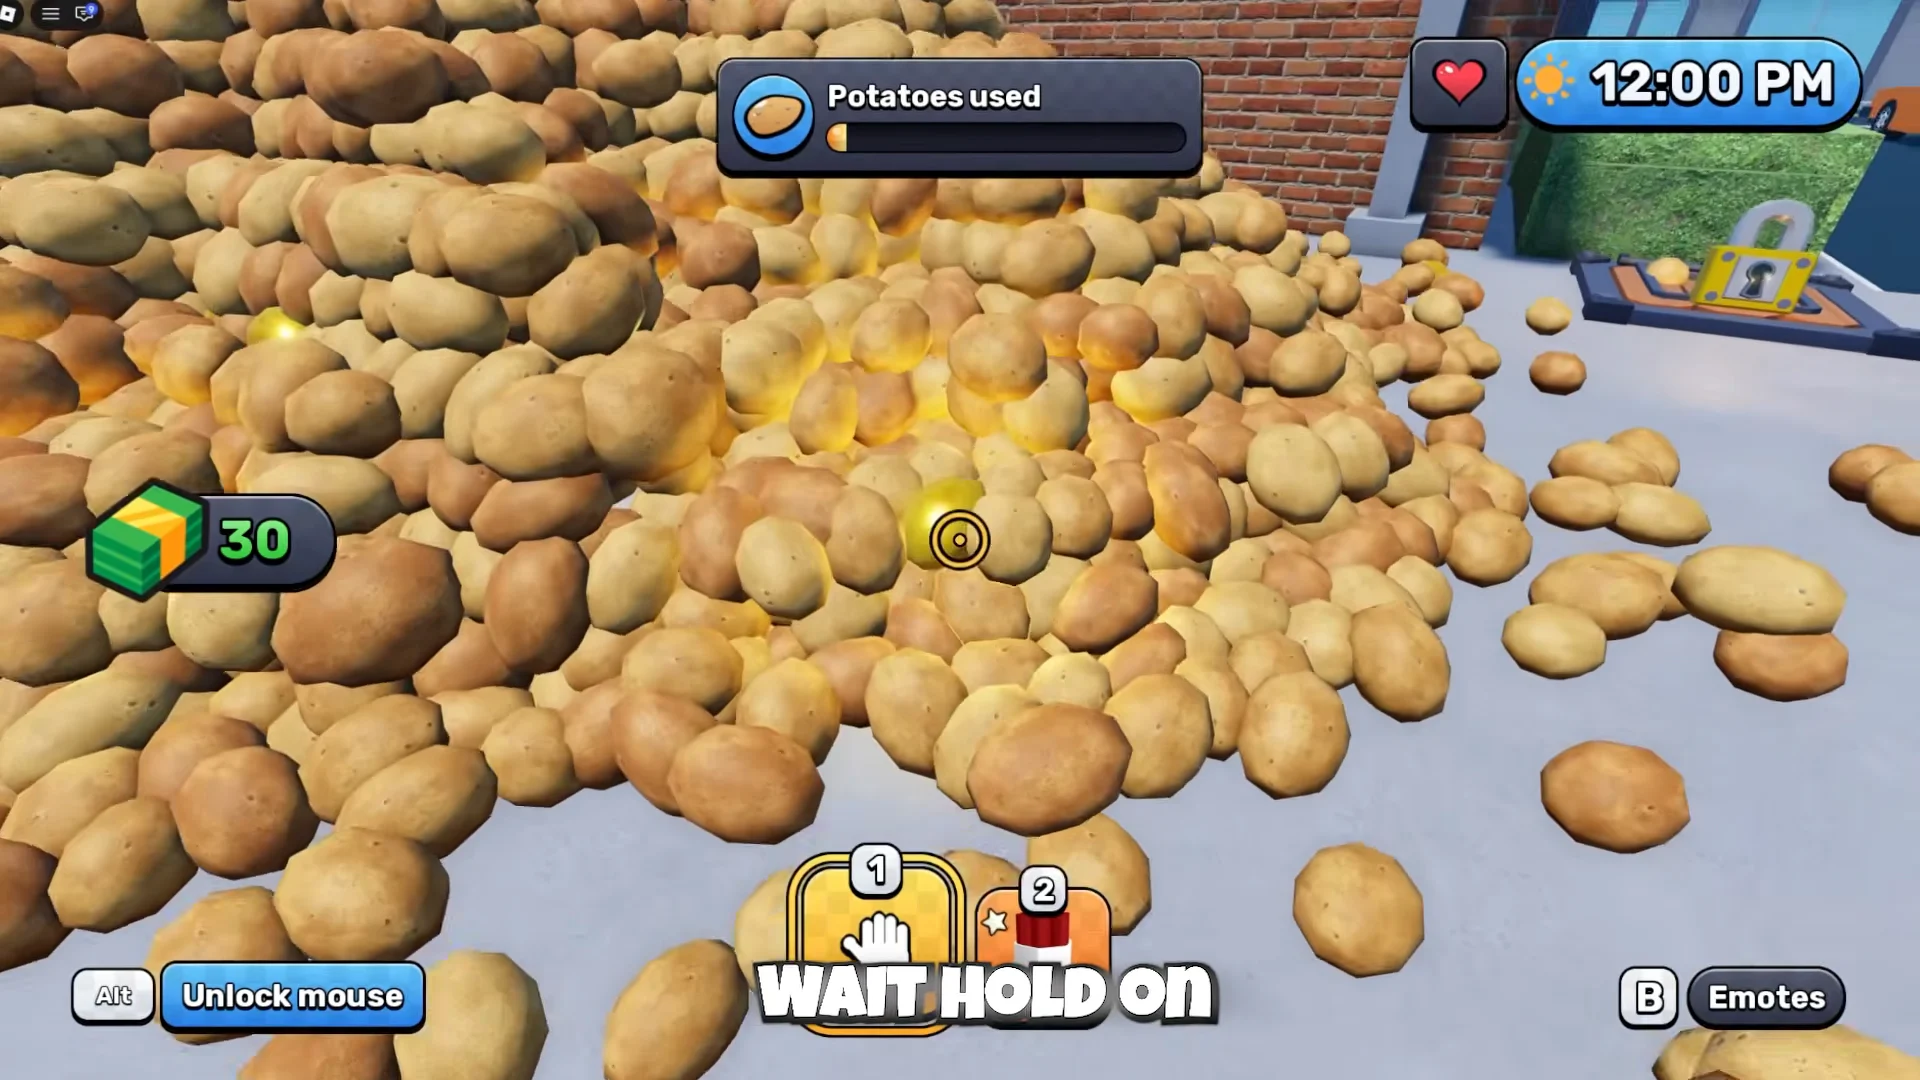
From the first minute, the match objective reads “Find the key — It’s hidden in a potato.” The basement hatch is padlocked and marked “Basement Needs a key!” Dig through the pile, ideally with a Vacuum, robots, or the Flamethrower, to get through stock fast while the machines keep cash coming in. In later days, the key can also come through the window, with a drive-thru customer handing over a golden key in a short cutscene.
A finished run brings up the “YOU WIN!” summary screen with your stats and a 100-Gem reward. Spend those Gems on Gem Bonus, Walk Speed, Lives, or another class spin before queuing up again.