Once you have Charlotte’s Heart, the task is to move it back to Sunny. That means descending into the Labyrinth, surviving its spike corridors and block puzzles, then passing through a shifting version of the apartment before you reach Sunny on the bed. The route is linear, but the traps and the looping rooms can stall you if you miss a turn.
Quick answer: Take Charlotte’s Heart, clear the Labyrinth’s spike and cube puzzles, work through the apartment’s flashback rooms, then stand beside Sunny’s remains and select Charlotte’s Heart from the inventory when the “Feed Sunny the heart” prompt appears.
Enter the Labyrinth and upgrade your stats
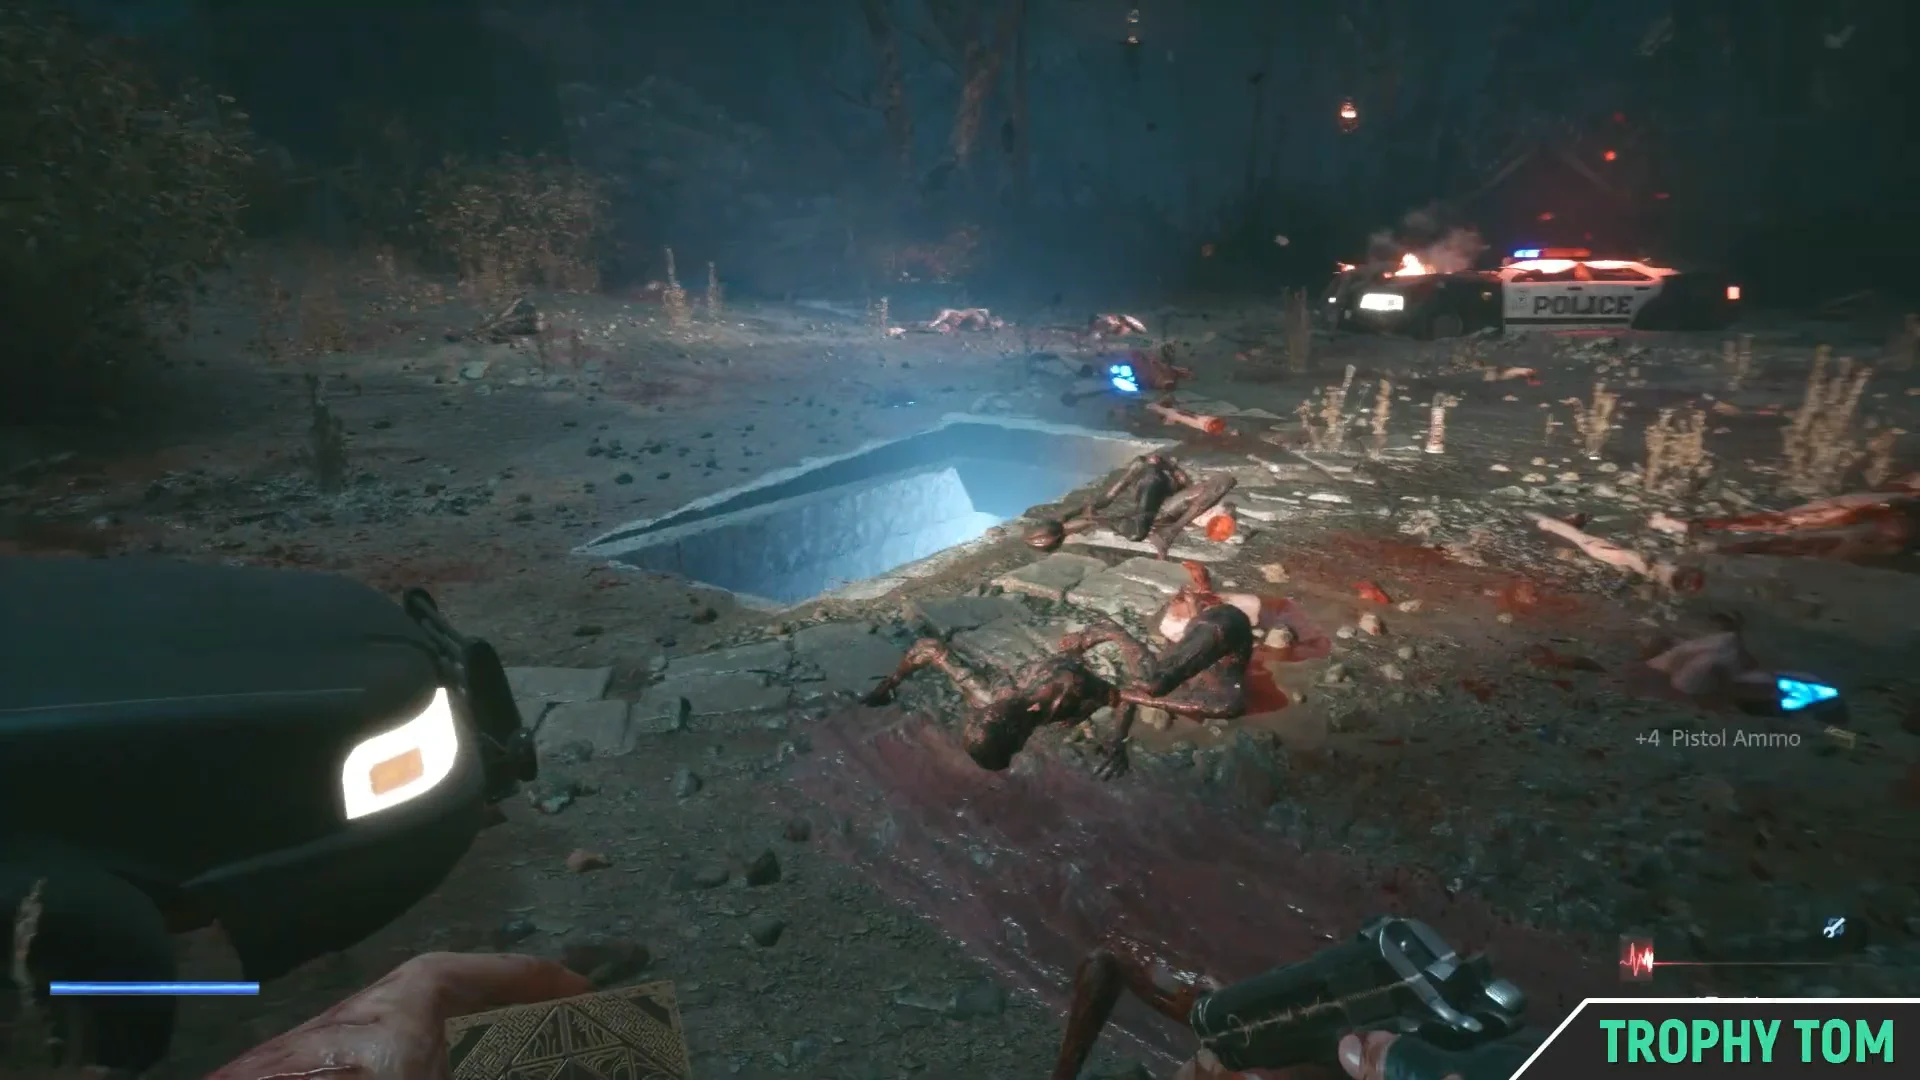
A new staircase opens after you claim the heart. Drop into the illuminated rectangular pit in the ground near the police vehicles to descend into the Labyrinth. Save your progress at the first opportunity using the X: Save progress prompt.
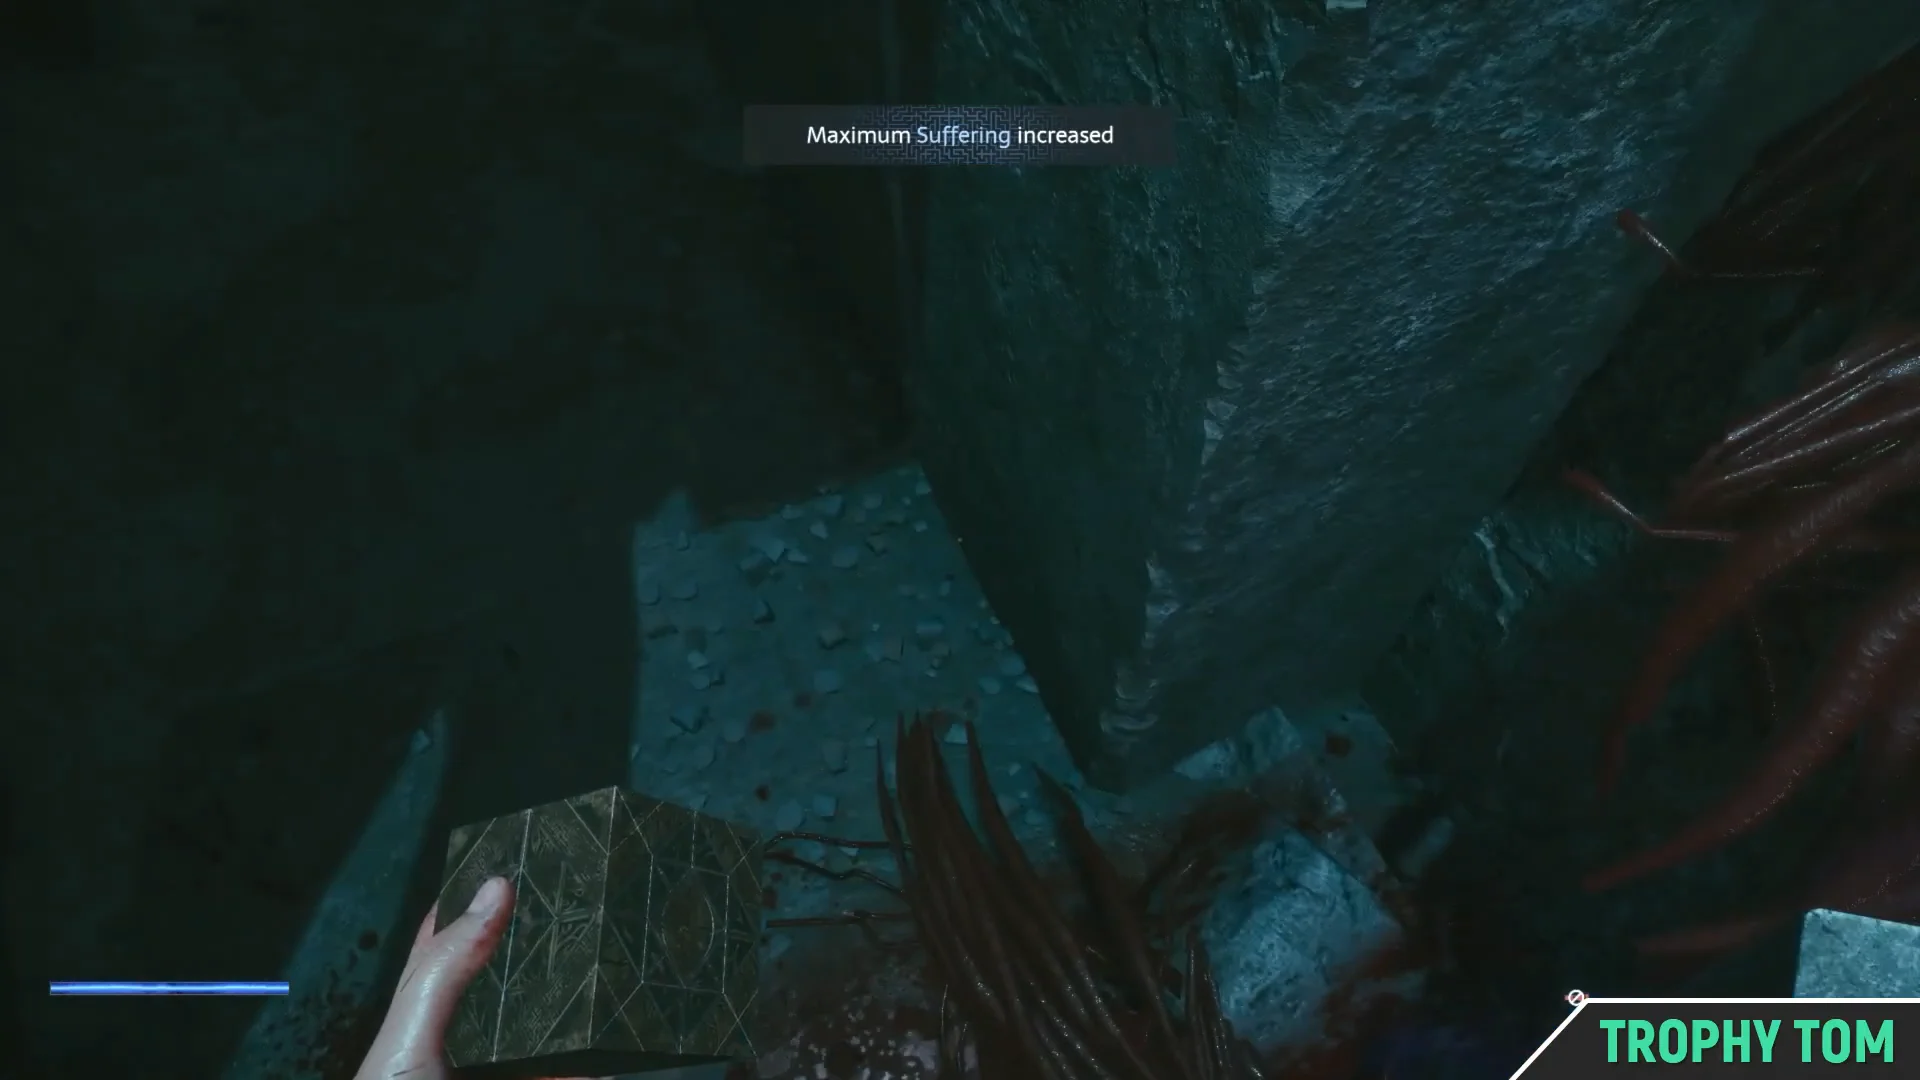
Two upgrades sit along the way. Interact with the blue-lit Suffering Pillar with the Genesis Configuration to receive the “Maximum Suffering increased” boost, which raises what the puzzle box can hold. Later, push your hand into the fleshy organ pod to trigger “Maximum Health increased.” Grab both before moving on.
Clear the spike corridors
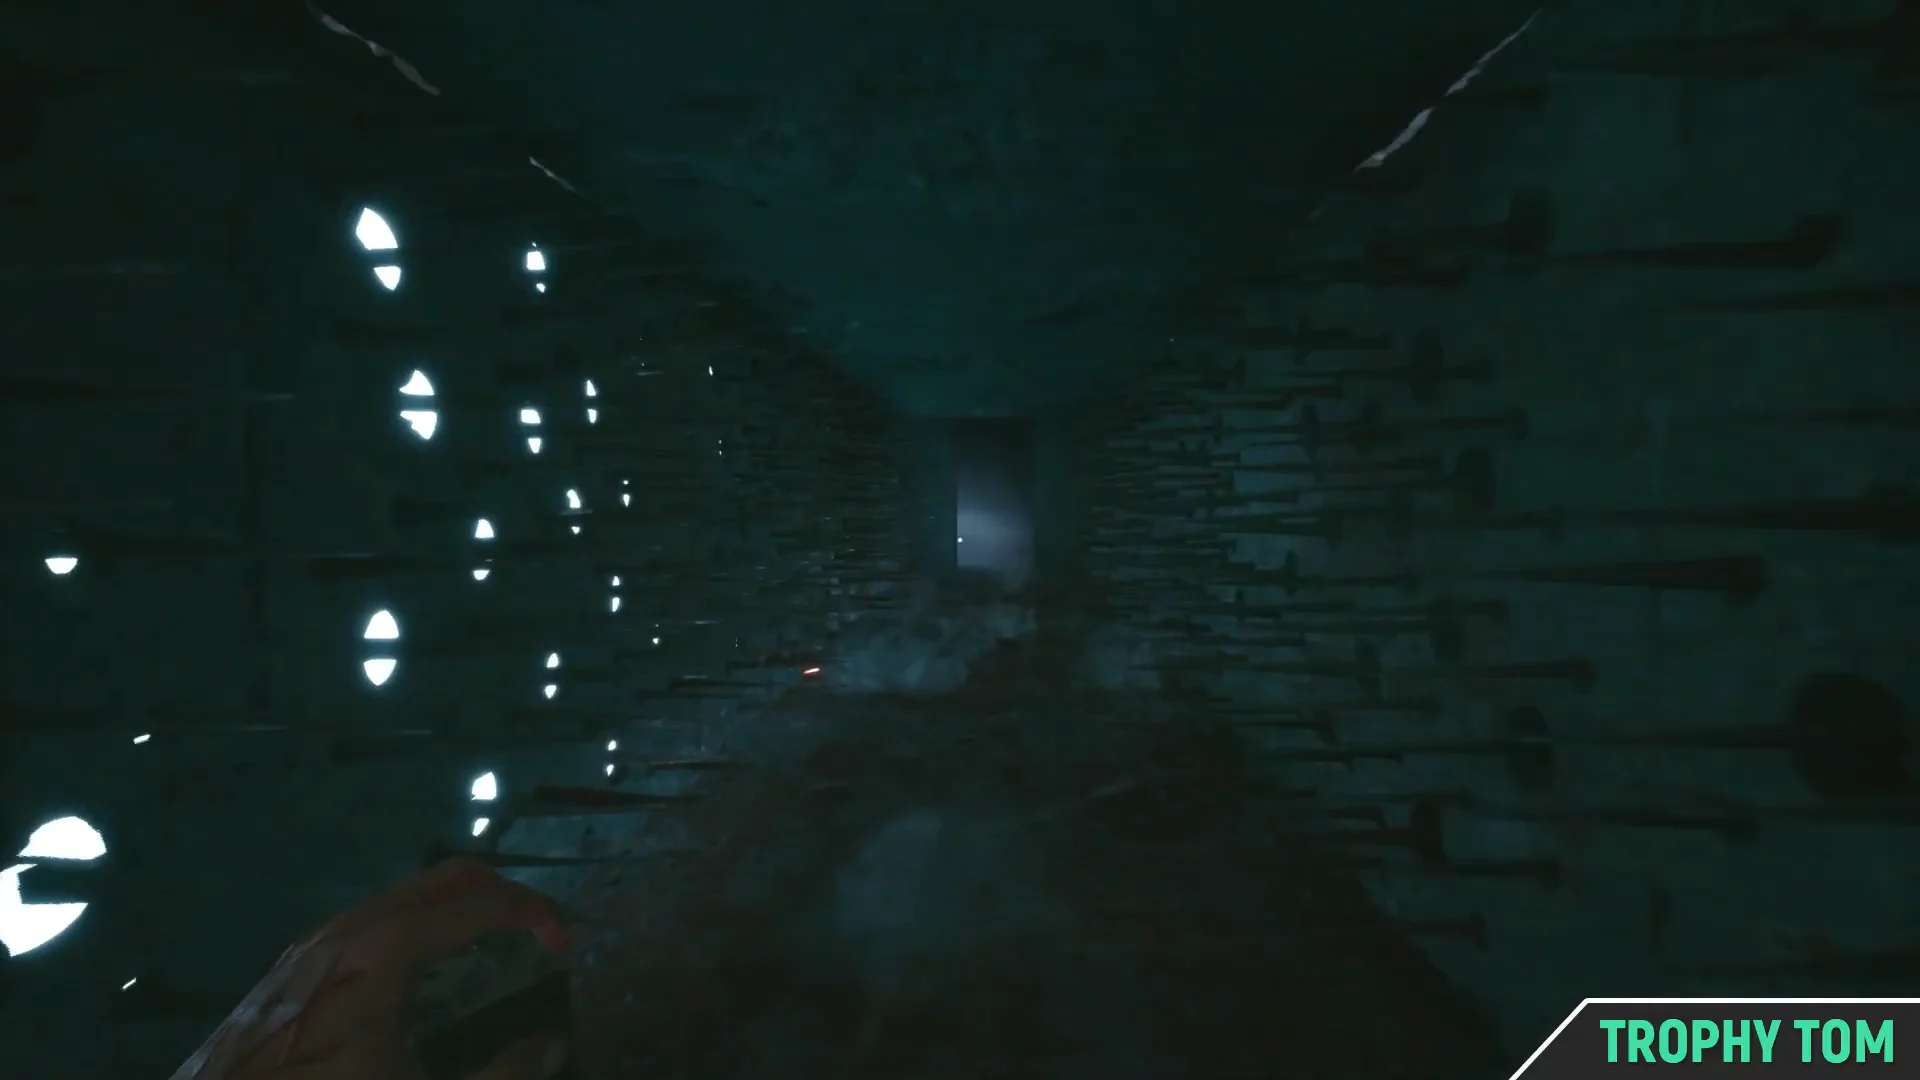
The corridors are lined with wall and floor spikes that retract on a timer. Wait for the spikes to pull back into the wall, then sprint through the gap. Crawl under the red and bloody vanes where they block the path, and keep moving past the hanging chains and hooks toward the shifting section.
At the intersections, follow the corridor until you reach a vortex in the ground. Keep watching the ceiling as well as the floor, since some stretches carry overhead spikes alongside the ground hazards.
Solve the block puzzles with the Genesis Configuration
The glowing blue stone cubes respond to the puzzle box’s telekinesis. Aim at a cube and use the L1: Release prompt to pull or shift it, clearing a safe route through the spiked corridors.
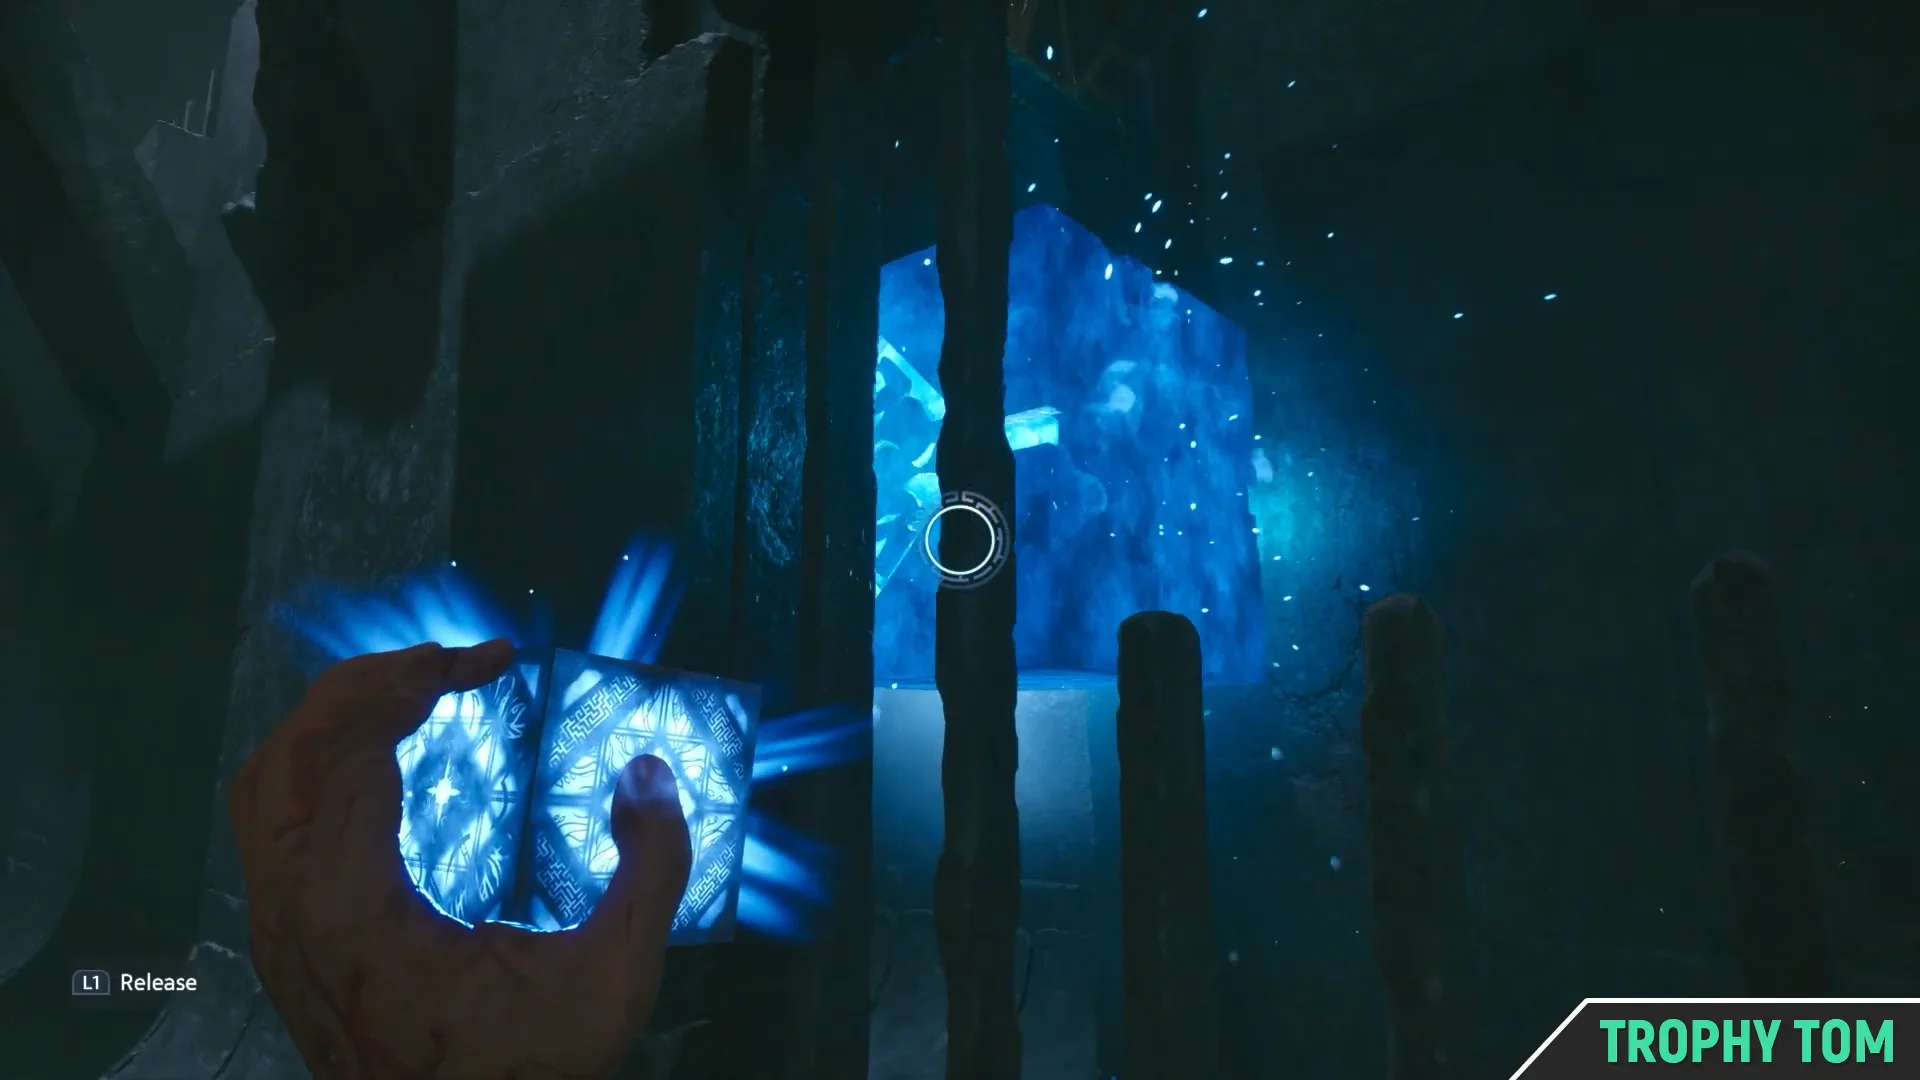
In the spike-floor room, activate the glowing blue mechanism to raise the spiked ceiling, then sprint across only while the walkway is clear.
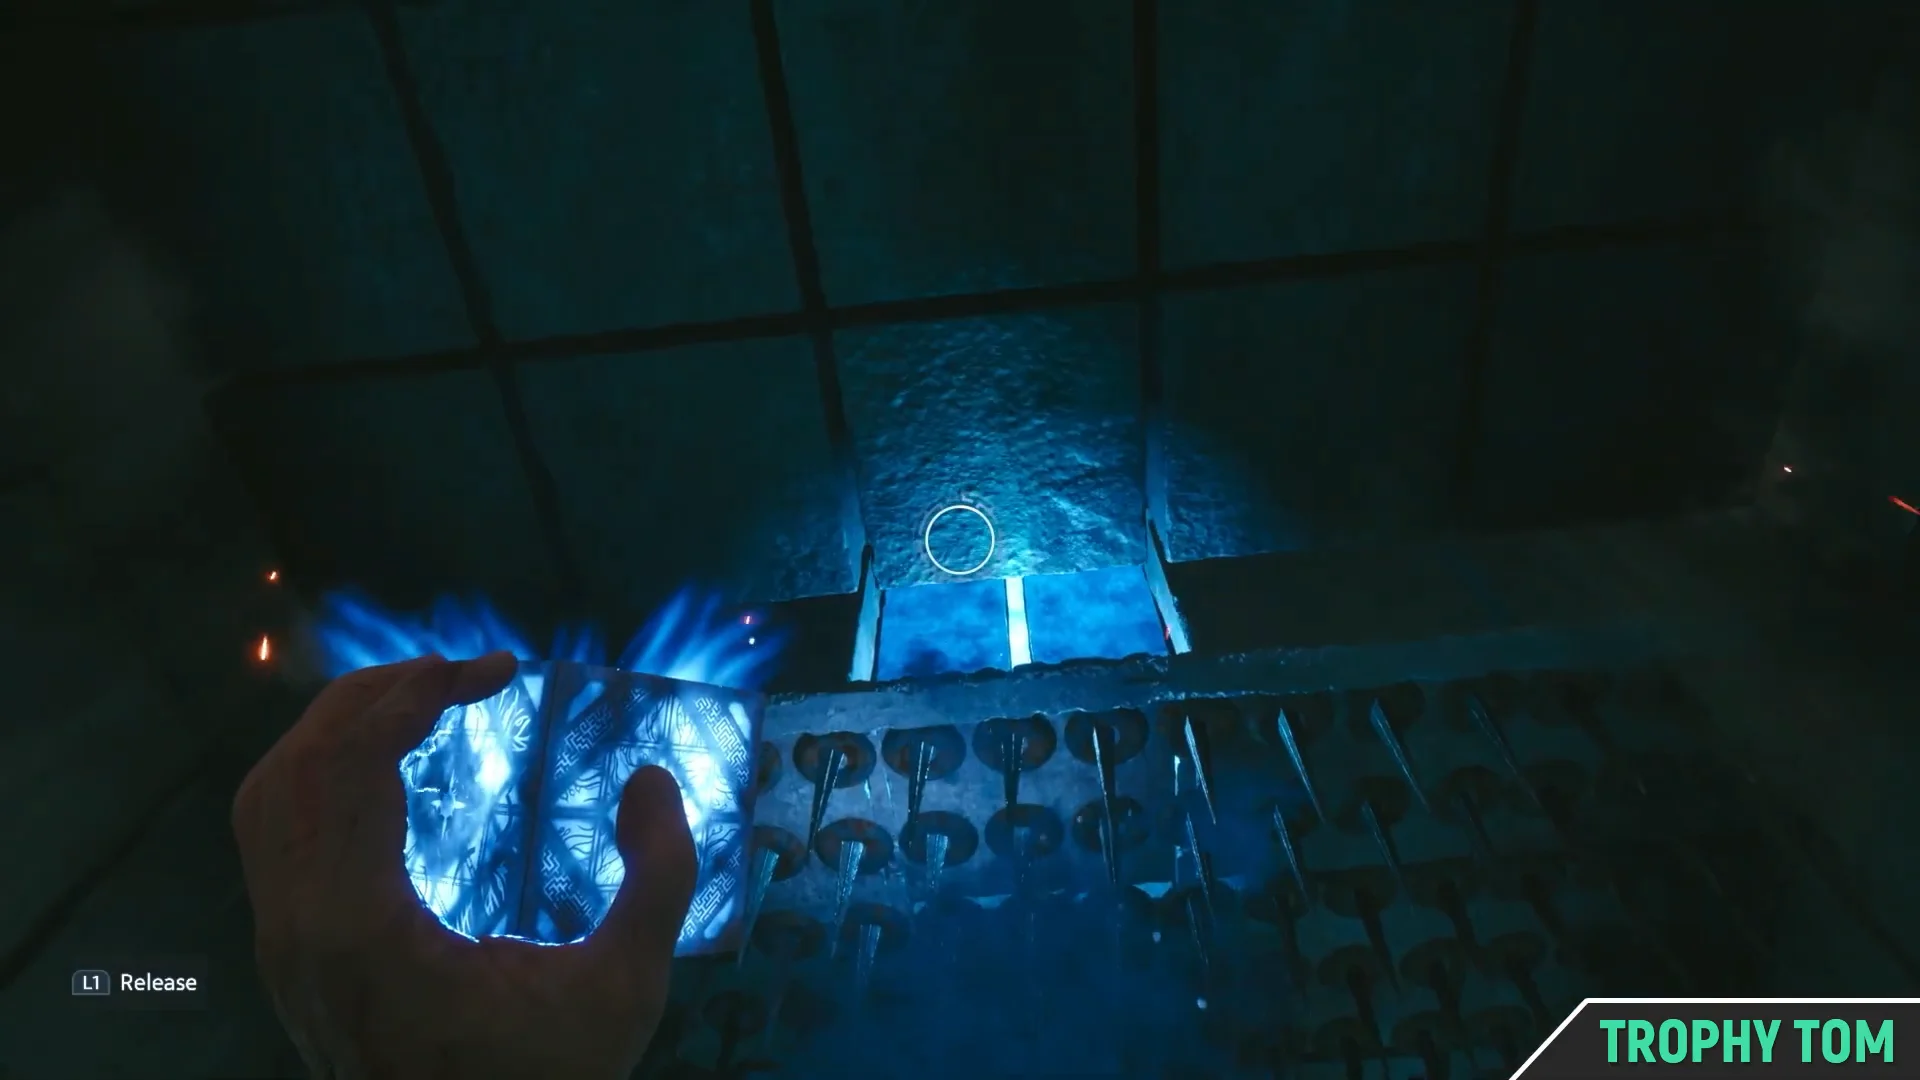
Stay on the path until you arrive at the vortex and the door leading straight into the apartment.
Work through the looping apartment
Back in the house, the first doors you meet are locked, so head forward and up the stairs to the room that opens. The sequence here moves through several interactions that each trigger a cutscene or memory.
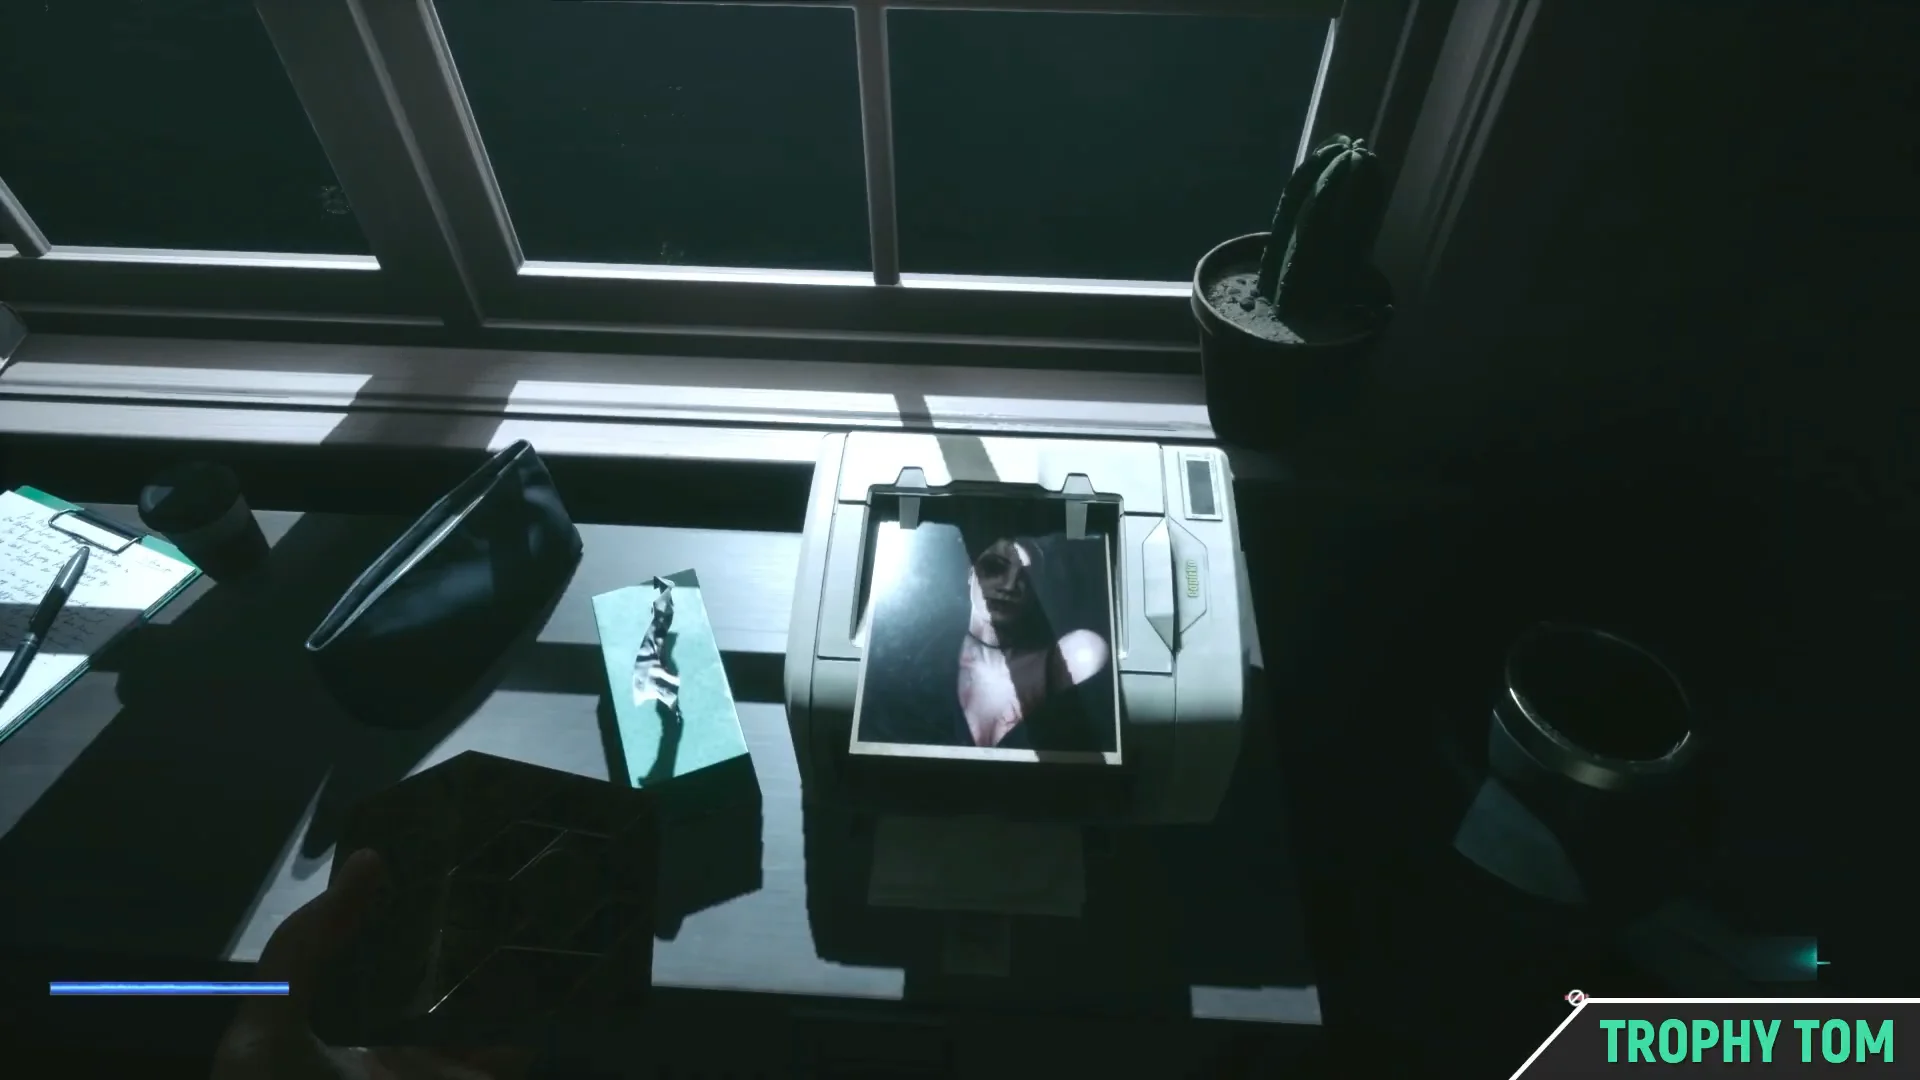
Opening the hallway doors eventually flips the corridor into a red, chain-strewn version of itself. Keep moving forward and avoid the reaching monster hands as you pass through.
Take Charlotte’s Heart and feed Sunny
Open the upstairs bathroom door. A bloody female figure stands behind the shower curtain, and interacting with the X: Take prompt gives you Charlotte’s Heart directly from her.
Head up the stairs into the bedroom hung with red banners. Skeletal remains lie on the blood-soaked bed. Stand beside the body, and when the X: Feed Sunny the heart prompt appears, open the inventory and choose Charlotte’s Heart.
The objective completes once Sunny takes the heart. She eats it but asks for more, and the next goal becomes hunting down Marlowe to claim his heart as well. That hand-off is your confirmation that this stretch is finished.