Part 3, the Salvation Arc, pulls every Flame Lord together under Eshmel and turns the campaign into a world-map management game. You split your roster into squads, rebuild a devastated map, unlock two new class tiers, and clear six sections that each end by sealing an Underworld Gate. The systems are deep, but the first moves are simple once you know the dependency order.
Quick answer: Part 3 opens through the Door of Destiny at the back of the Obelisk Chamber as soon as you clear any one Part 2 route. Finish all four Part 1 paths first so your carried-over units arrive strong.
How to unlock Part 3 and who carries over
Completing a single Part 2 route is enough to continue, and you can even skip the War Arc and still receive the Causality Secured notification. The catch is that skipping leaves your units auto-leveled instead of trained, so they come into the Salvation Arc weaker. Clearing each route properly on the Strife Obelisk is the stronger start.
Flame Lords whose Part 1 routes you finished join automatically. Every other recruit must be re-recruited in Part 3, but this time they carry no requirements, and you simply choose which route’s version of each character to bring forward. A lord you never cleared stays unavailable, and that route’s facilities (Cai’s Stable, Theodora’s Battalions, and the rest) come with the lord who uses them.
Aim for a pool of about 25 trained units before the midgame. You will eventually field up to five squads of eight, and the late battle periods ask several squads to operate at once.
How squads move on the world map
You navigate the map with squads of up to eight units that you build yourself. You start Part 3 able to control two squads at once, and the limit rises by one after each main battle until it caps at five squads by the Fifth Section. Each active squad must move or skip before the map turn ends, so two squads means two actions per turn early on.
Eshmel never joins a squad. The protagonist stays in Dagsion and can drop into any battle from there. A Flame Lord’s unique map ability only works if that lord is actually in the squad, so put Cai in the squad that needs his beast-taming and Theodora in the one that needs her recruiting.
Keep each Flame Lord (Cai, Dietrich, Theodora, Leda, and Talimun) in a separate squad so they can each run battalion deployments and material farming independently. For combat, a balanced squad holds two healers or support units, two magic attackers, two physical attackers, and two tanks, with at least one Physic staff user per squad for ranged healing.
Units omitted from all your squads still make progress. When a map turn ends in Dagsion, each reserve receives some experience and class experience, letting your bench develop while staying out of combat.
Rebuilding the world map: what to repair first
Part 2 leaves most of the map in ruins. A damaged location cannot be entered, which locks its shop, its quests, and its travel link until you repair it. Each repair spends a set list of materials from your Materials Bag, then takes a number of turns to finish. Repair in this order:
| Priority | Target | What it restores |
|---|---|---|
| 1 | Posthouses | Fast-travel carriage routes across the map |
| 2 | Temples | Master Class exams and god requests |
| 3 | Settlements and ports | Shops selling Building Materials and Master Licenses |
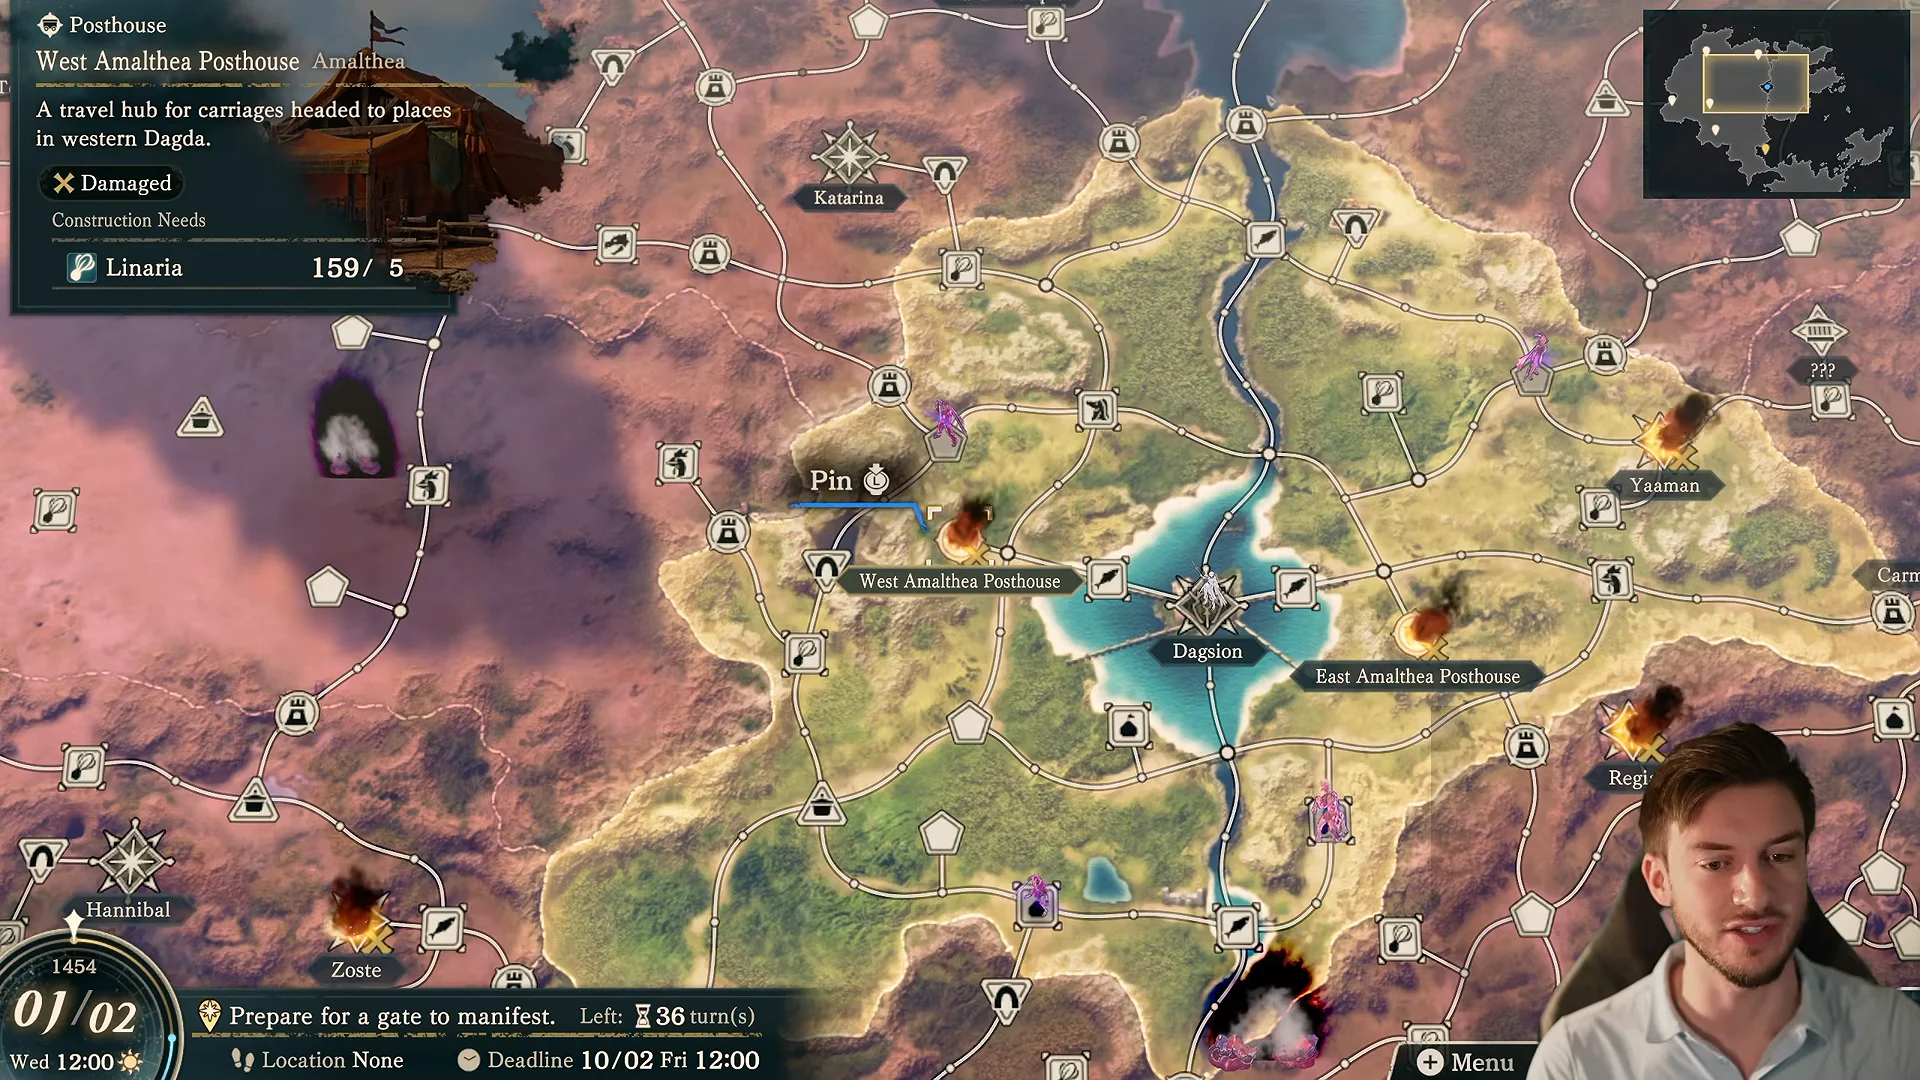
Posthouses come first because the map is huge and you revisit it constantly. Press ZR to open a shortcut menu that lists every damaged posthouse and dungeon, then route a squad to each one to rebuild the carriage network before anything else.
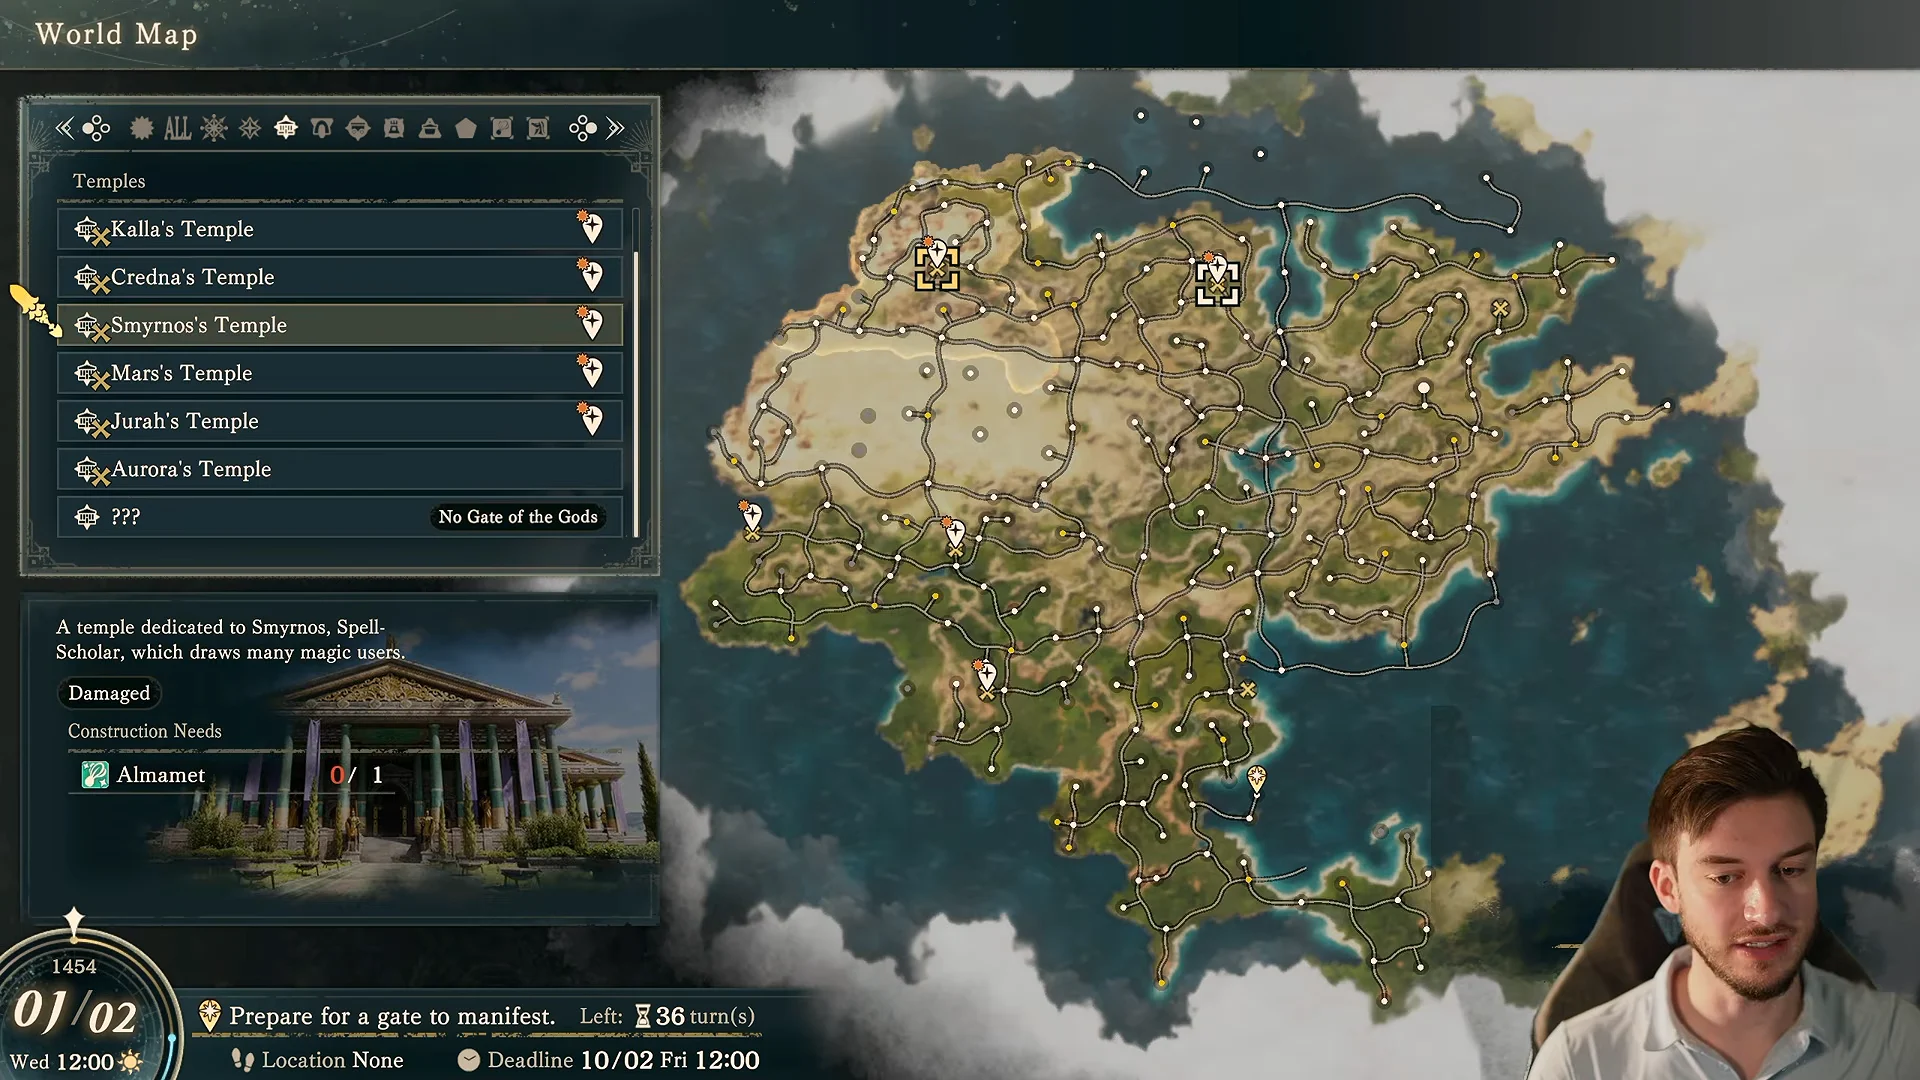
Temples are next, but repairing one does not switch it on by itself. You must also complete that god or goddess’s request before the temple’s teleport works, and those requests frequently hand you a class unlock as the reward. Aurora’s request alone unlocks War Monk, Smyrnos’s unlocks High Savant, and each one ends with a level 60 Trial Clash for a stat-boosting item.
Ordinary settlements and ports come last unless one holds a quest or shop you need right now. Rebuilding a town such as Zoste reopens its market, where you can buy the Building Materials and Master Licenses you need back home.
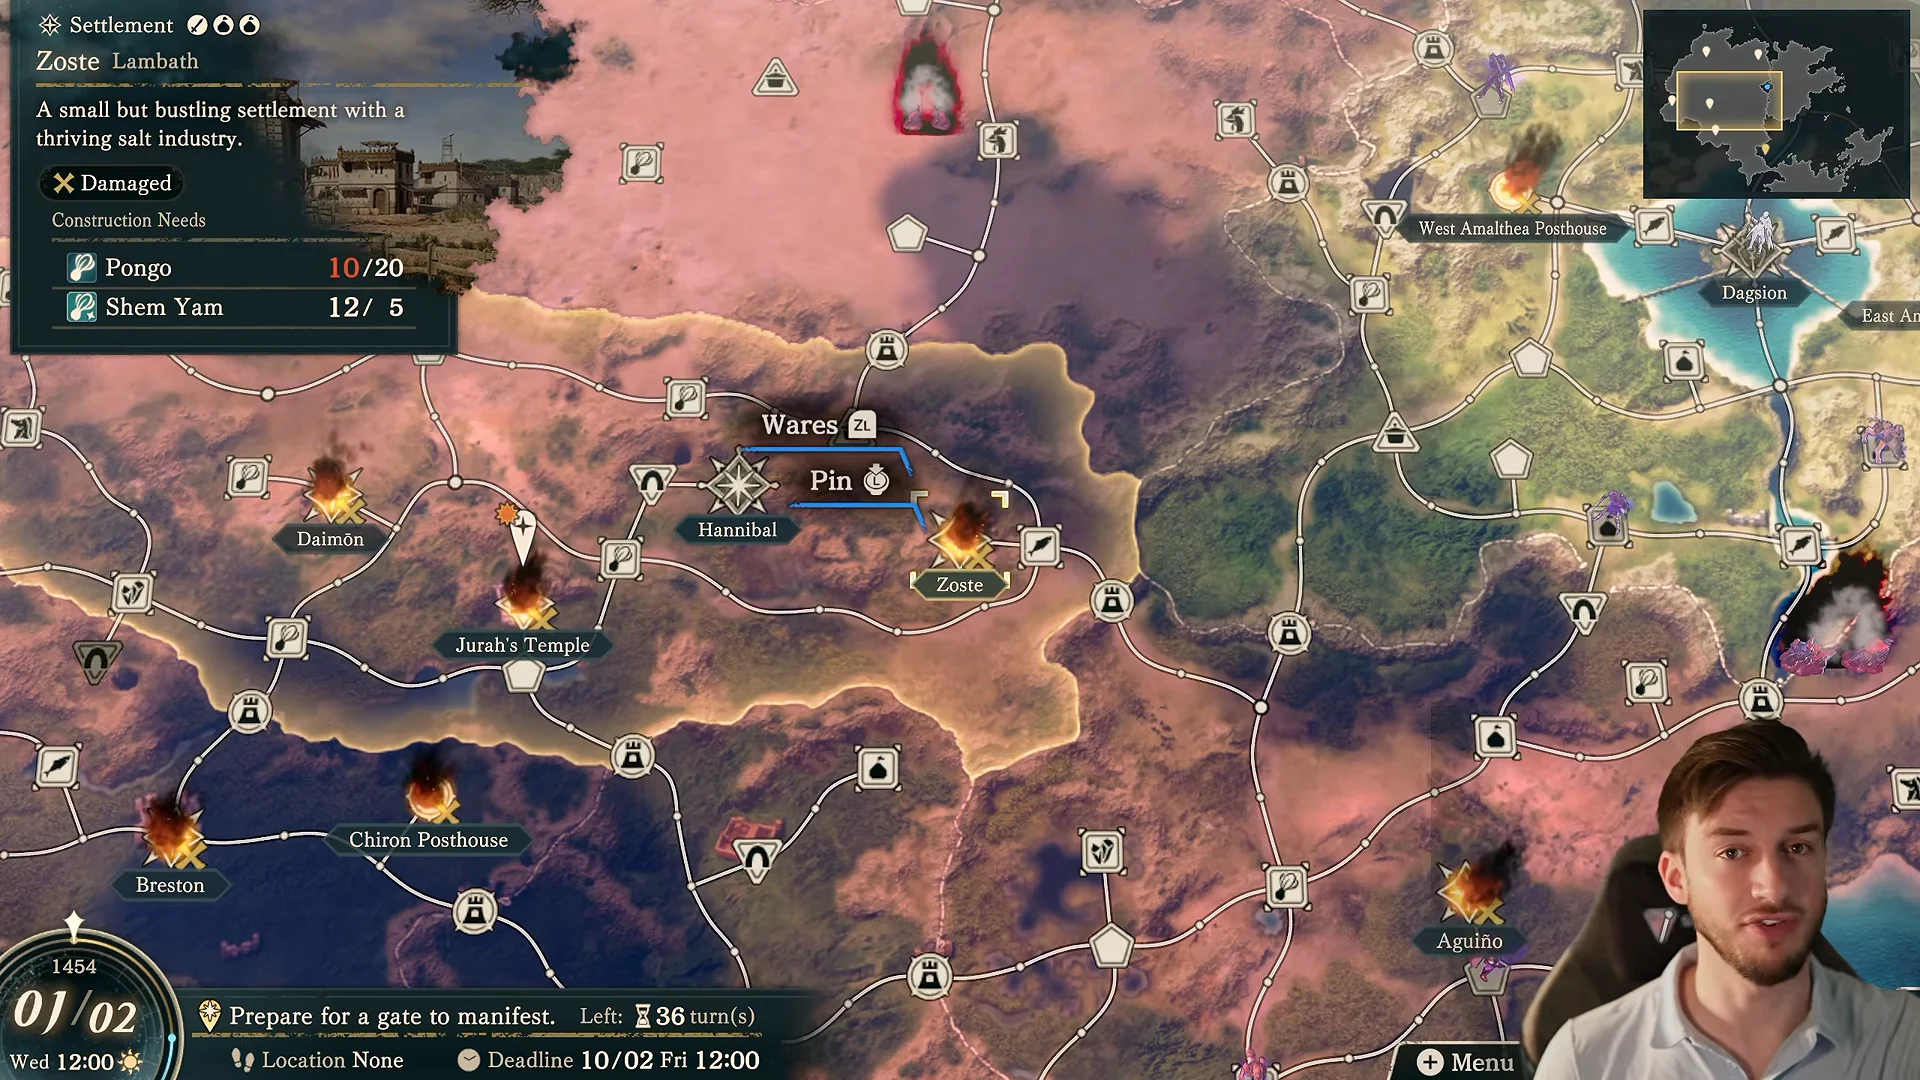
Every Part 3 subquest expires on 6/6, the end of the final Free Time. That window is generous, so there is no need to rush repairs, but do not leave them all for the last section.
Upgrading Dagsion’s base facilities
The Arena, Inn, and temples inside Dagsion are upgraded with Building Materials rather than the raw items used out on the map. Reaching the top facility tiers takes a cumulative 37 Building Materials, which is why buying a few from every town you repair is far easier than hoarding later.
| Order | Facility | Building Materials |
|---|---|---|
| 1 | Arena Plaza Level 1 | 3 |
| 2 | Inn Level 1 | Low |
| 3 | Temples | Varies |
| 4 | Arena Plaza Level 2 | 20 |
| 5 | Inn Level 2 | Remaining |
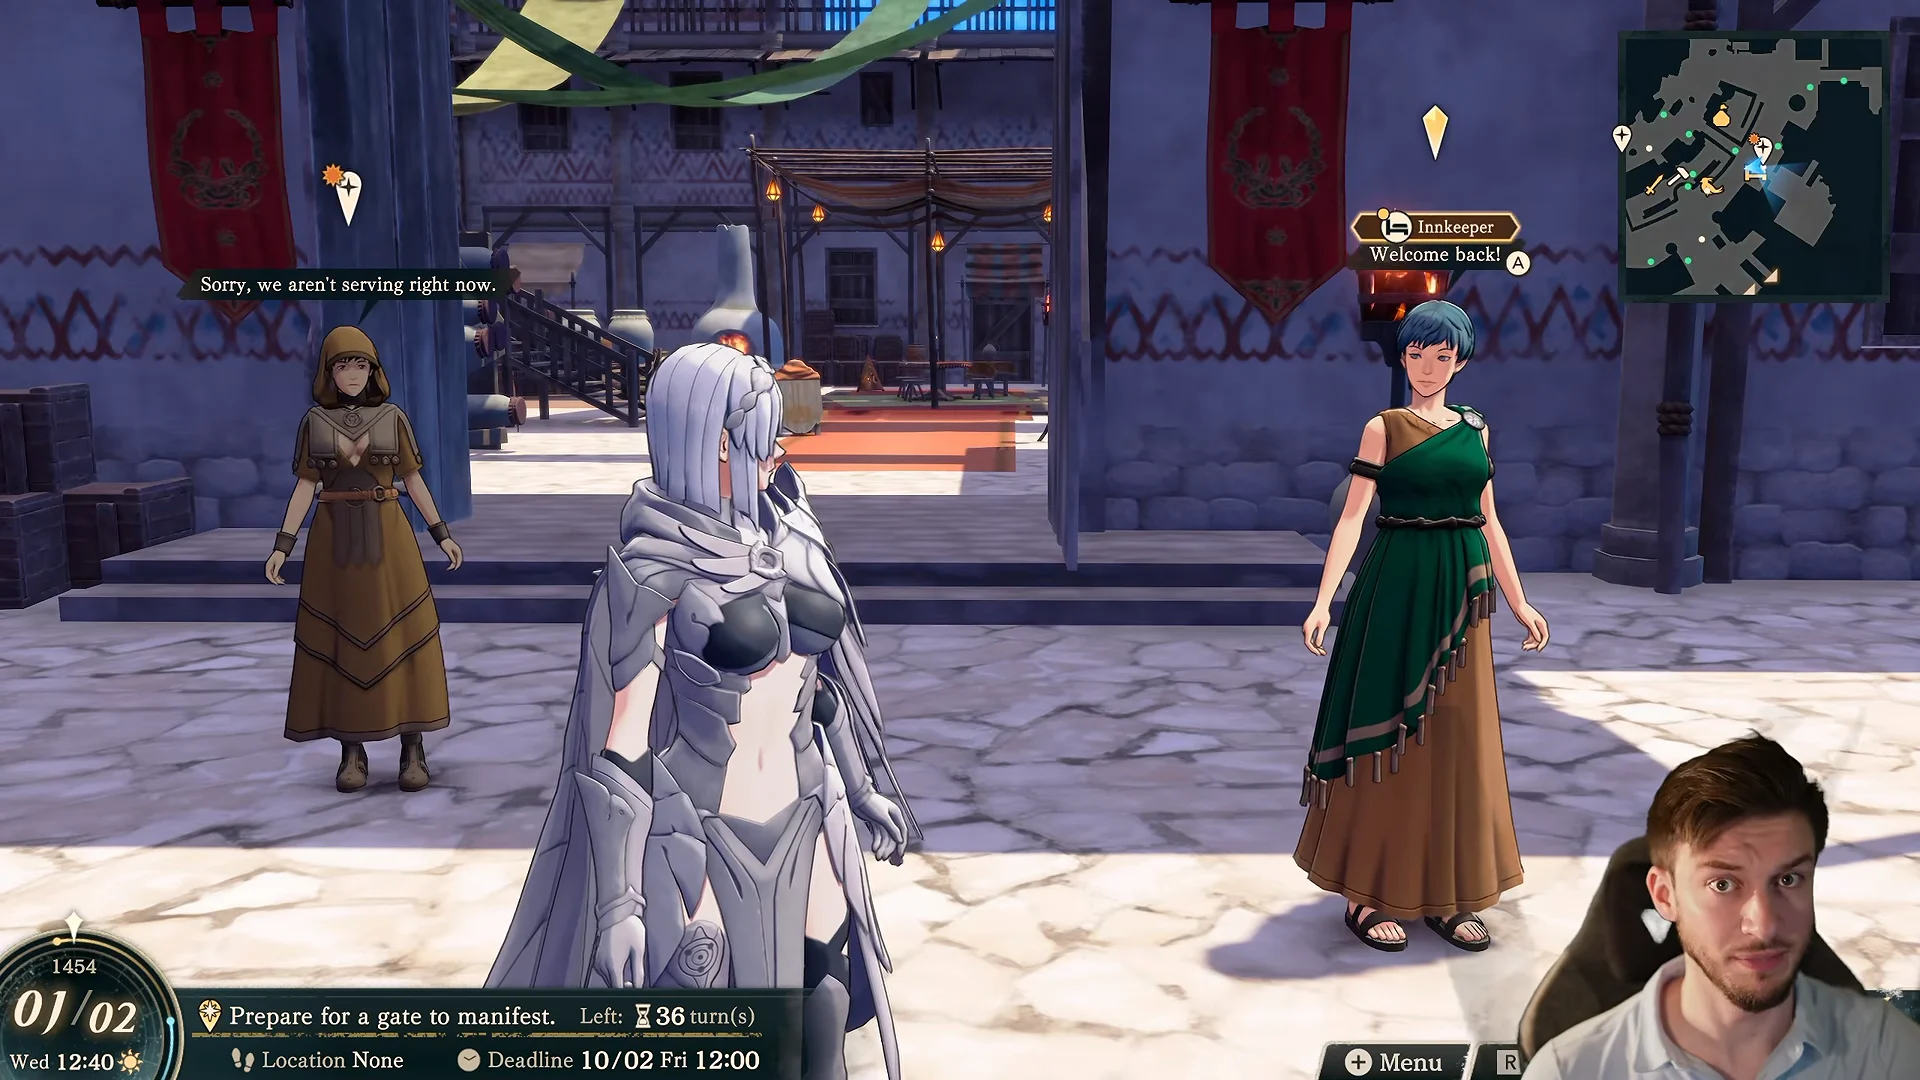
The Arena is the strongest early destination for your materials because its training bonuses apply across your whole army. Upgrade it first, bring the Inn up second, then feed temples before pushing the expensive top tiers. The automatic “Arena Construction Effort” subquest you receive at the start of the Second Section asks for three Building Materials and opens training access.
Strengthening units with Merge Causality and clear data
After recruiting a character’s Part 3 version, you can strengthen it using a copy trained along a different route. In the Obelisk Chamber, use Merge Causality at the Shrine of Causality; it costs 300 Karma Shards and keeps the better stats, skill levels, and combat arts from the two versions. Stats don’t stack—the higher value is retained. For example, a healer’s Troubadour version can boost the magic stats of the Bishop version you chose.
There is a free alternative. Replay Parts 1 and 2 to raise a character’s stats on another path, and those improved stats import into Part 3 automatically through clear data without spending any Karma Shards. Select which version of each unit to carry forward using Check Clear Data on the Strife Obelisk.
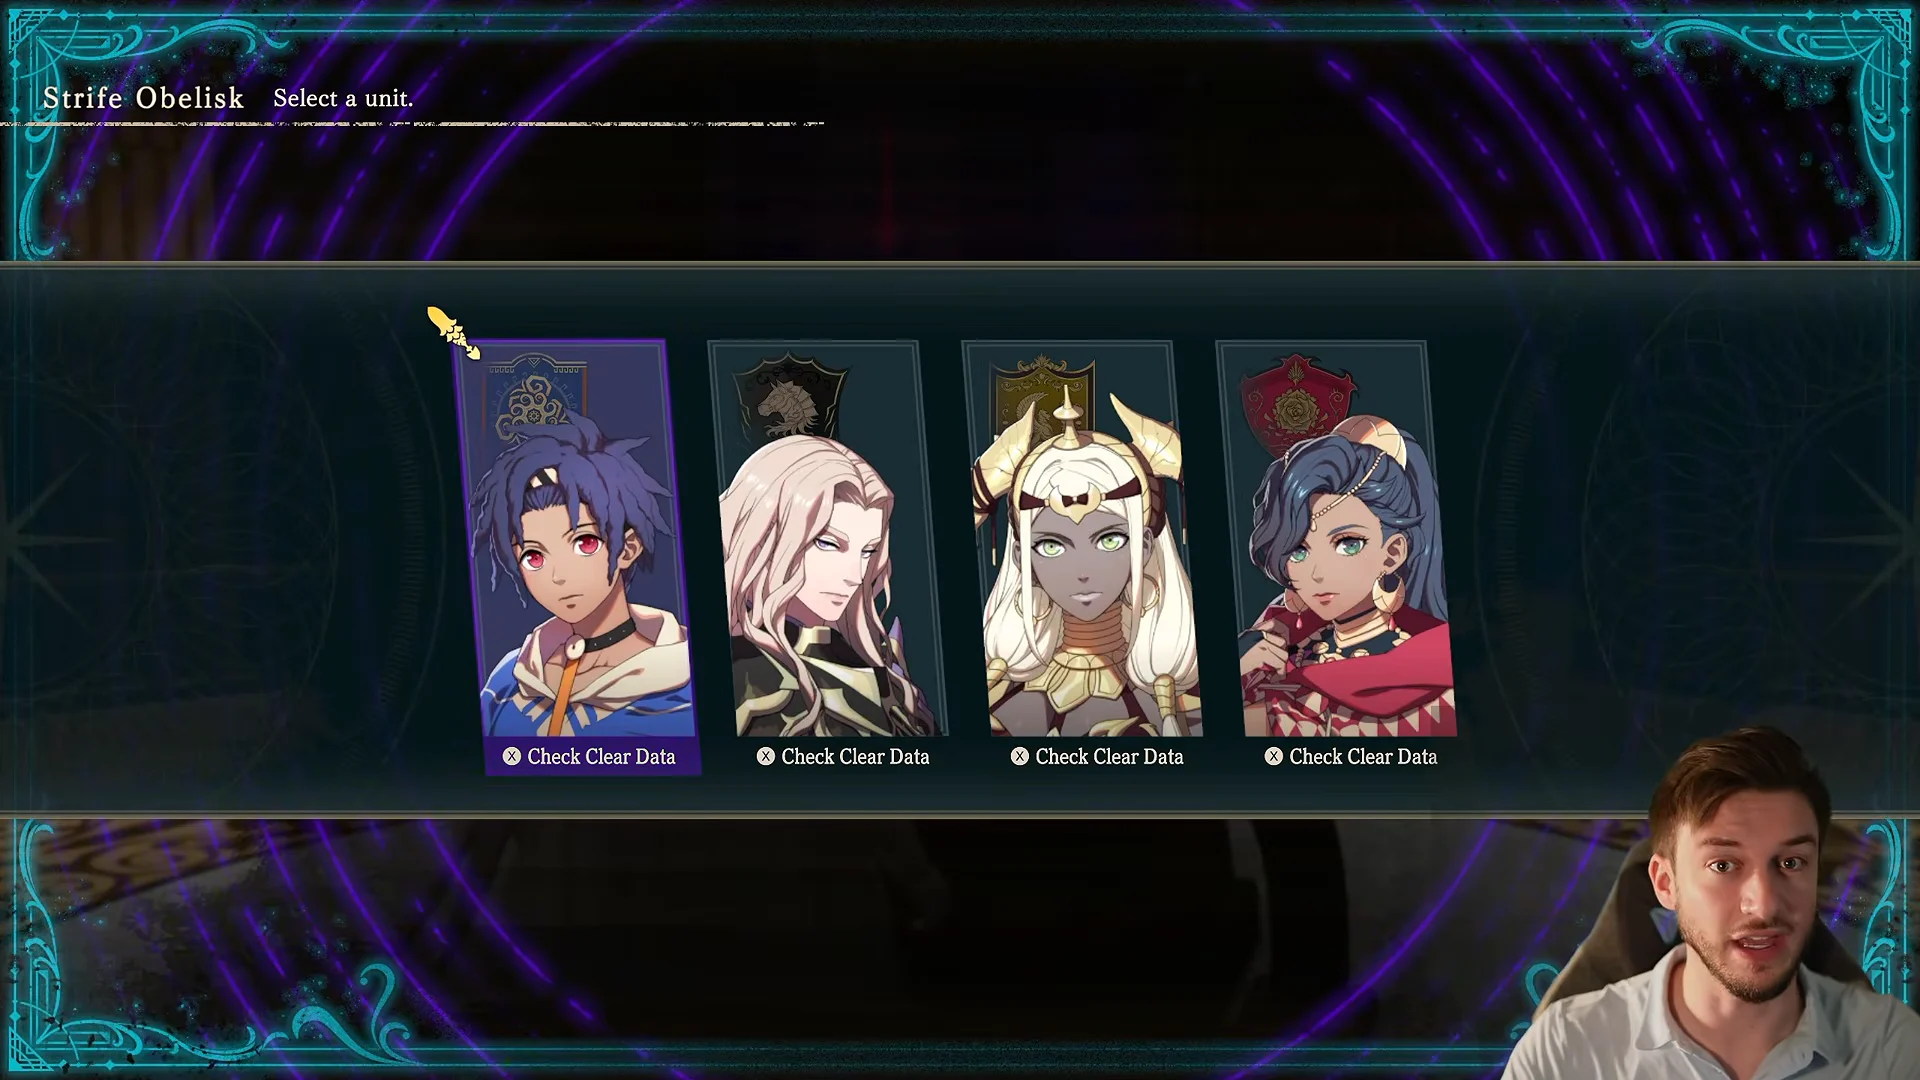
You do not need to merge everyone the moment you can. Save it for a unit about to gain a genuinely useful class, ability, or stat jump before a specific fight. The Shrine’s Drifting Reliquary also lets you spend Karma Shards to reclaim relic weapons from earlier playthroughs, with costs ranging from 500 Karma Shards for an Answerer Arisen up to 1,000 for a Chosen Sword+2.
Recruiting returning characters
Non-lord characters are found scattered around Dagsion and re-recruited for free, provided you cleared Part 2 for the route they came from. A handful have their own conditions tied to paralogues or survival, broken down below.
| Character | Requirement |
|---|---|
| Bertrand, Orchel, Lysander | Complete their Part 1 paralogues |
| Centurio | Clear the quest at Aurora’s Temple |
| Aswan and Tahania | Make sure neither of them falls in battle before Part 2 Chapter 3 ends. |
| Klapka | Keep alive during Part 3 Fifth Section |
Characters whose route you never finished may still appear in a limited capacity during certain sections, so a path you skipped does not cut them off entirely.
Master and Divine Classes
Available from Part 3, Master Classes form the standard tier above Advanced. Their steep stat demands make Level 45 a practical threshold, and units must be well developed to pass the Certification Exam. A Master License costs 5,600 Gold. Certain Master Classes also require you to repair the corresponding god’s temple and complete that god’s request before they unlock.
Divine Classes are the ultimate tier and work differently. They unlock from the Fourth Section onward, after you collect Keys of the Diadem from dungeons and repair the Temple of the Diadem. There are five keys in total, found in Heretics’ Cave, Cougar Woodlands, Sand-Shadow Fort, Enno Isle, and Giant’s-Print Fort. Each Divine Class is restricted to one character at a time, though you can strip the class off and reassign it.
Any class you unlock through clear data or a paralogue stays unlocked permanently across replayed chapters, so progress here is not lost if you revisit earlier parts.
Farming weapon upgrade materials
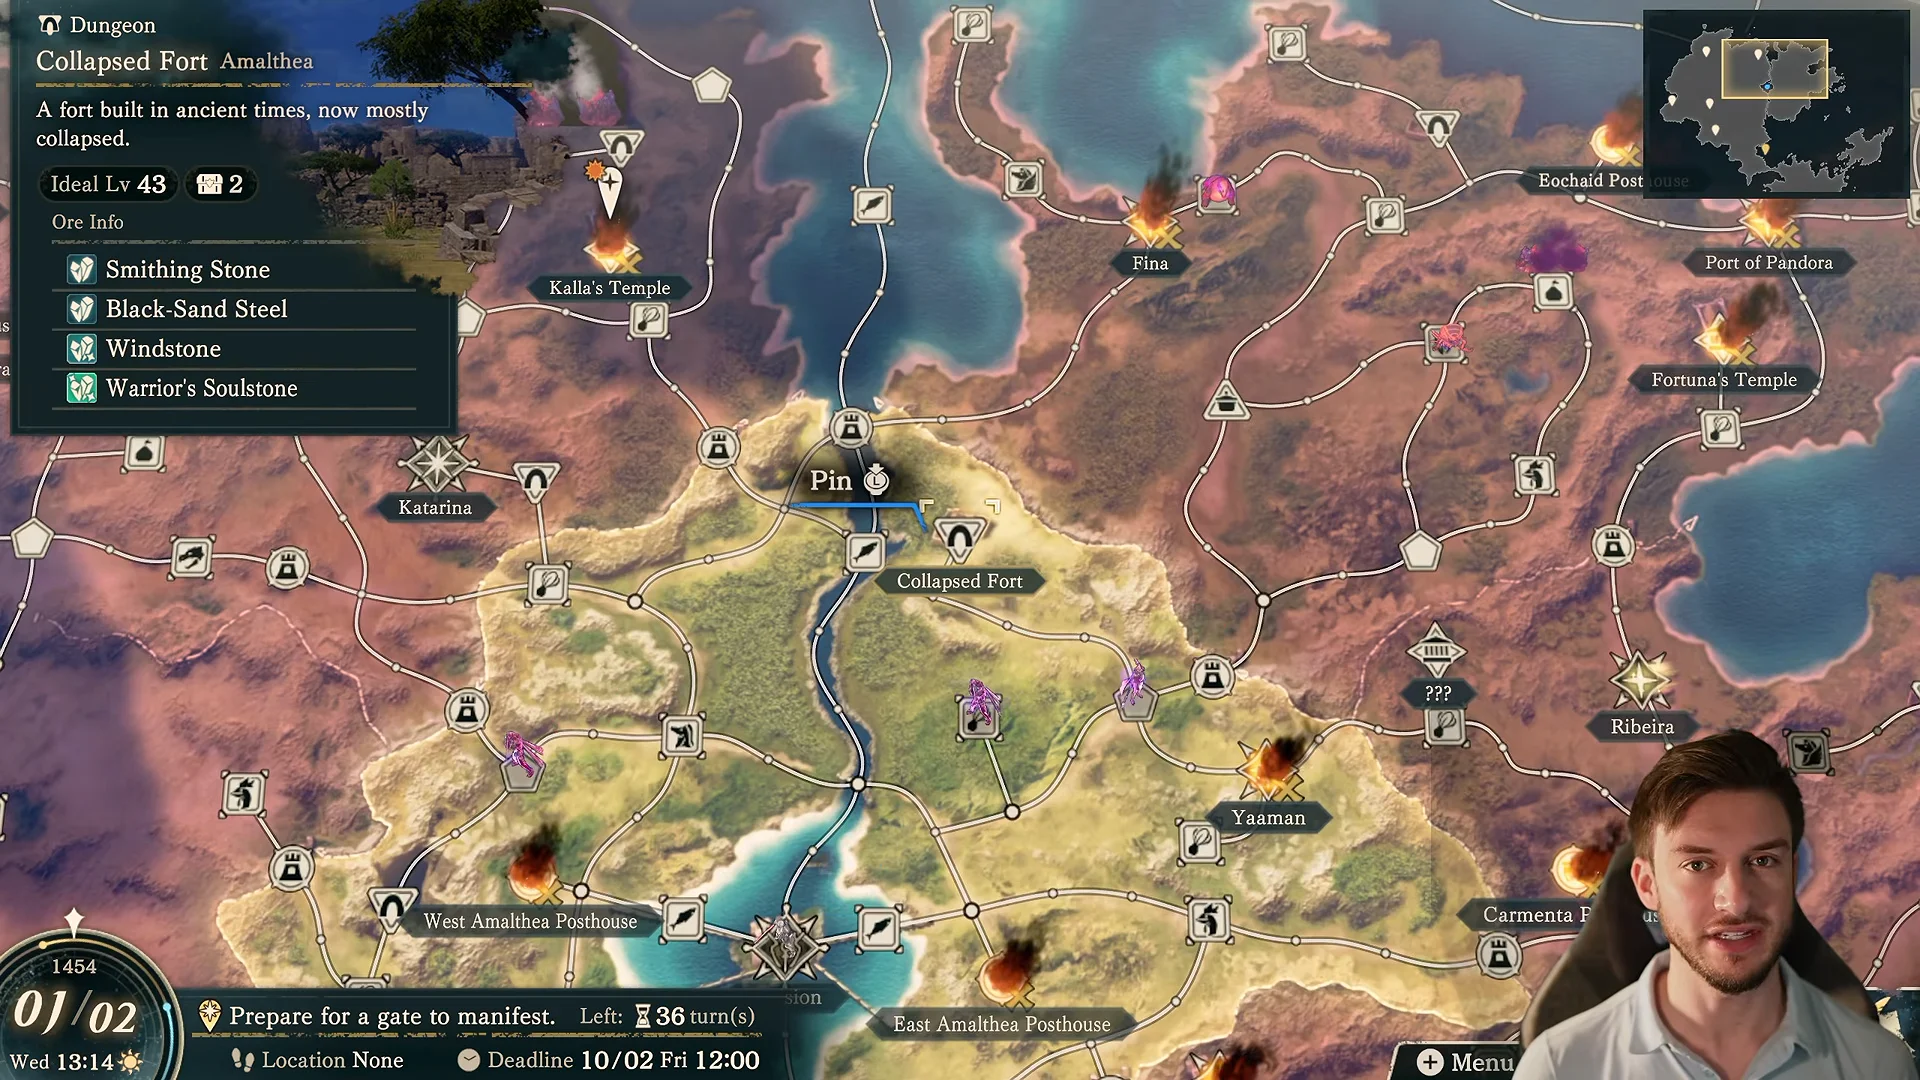
Upgrading and forging weapons needs Smithing Stones, Black-Sand Steel, and rarer ores. Assign a Flame Lord’s battalion deployment (Theodora’s works well) to cleared dungeon nodes and they will passively harvest those materials each turn while your squads do other work.
Collapsed Fort yields Smithing Stones and common ores, while Iapetus Cavern, Pyroxene Cave, and Galen Fort Ruins are the places to farm Collet and Blue Snoll. Dungeon enemy levels climb slightly with each section, and every dungeon refreshes its chests and treasure for Part 3.
Battle periods and Underworld Gates
Each section alternates Free Time with a Mission Time that ends in a Gate battle. When Mission Time begins, all squads return to Dagsion and one or more Underworld Gates appear on the map. Before you can besiege a Gate, you must dispel the miasma around it, then fight the Brimstone Lord guarding it.
The full sequence runs like this: spread squads out to purify the required nodes, intercept any enemies marching on Dagsion so they cannot damage the city, advance on the Gate once conditions are met, defeat its guardian boss, then destroy the Gate itself. Any squad standing on or next to the Gate can join the main Gate battle, and later battles allow large deployments, so you want several squads positioned there.
Assign a squad to patrol the area by Dagsion, along the route between Alcinoeus Span and Enceladus Bridge, so it can intercept incursions while the other squads deal with the Gate. The operation happens simultaneously, which means each squad must hold its own. Distribute reliable carries among your teams instead of concentrating them in a single powerhouse squad. Bow users are especially valuable in the first Gate battles, where the first two encounters include golems and flying reinforcements. Clear a Gate early to use the remaining Mission Time turns for exploration.
The six sections are The Liberation of Dagsion, True Strength, The Inheritors, The Hopes of Monarchs and the People, Song of the Living, and To the Edge of Twilight. Their turn limits climb from 36 up to 84, giving you steadily more room to maneuver as the squad cap rises.
Anna’s Shop stat boosters
Before the final push, clear out Anna’s shop in Dagsion for permanent stat boosters. Each costs 14,000 Gold, and they are the cleanest way to top off a carry unit’s weak stat.
| Item | Effect |
|---|---|
| Seraph Robe | +4 HP |
| Energy Drop | +2 Str |
| Spirit Dust | +2 Mag |
| Secret Book | +2 Dex |
| Speedwing | +2 Spd |
| Goddess Icon | +2 Lck |
Work through the Salvation Arc in that order and the sprawl settles quickly: open fast travel, buy Building Materials at every reopened town, feed the Arena first in Dagsion, and split your strongest units across squads so no single Gate battle catches you with one overworked carry and five idle benchwarmers.