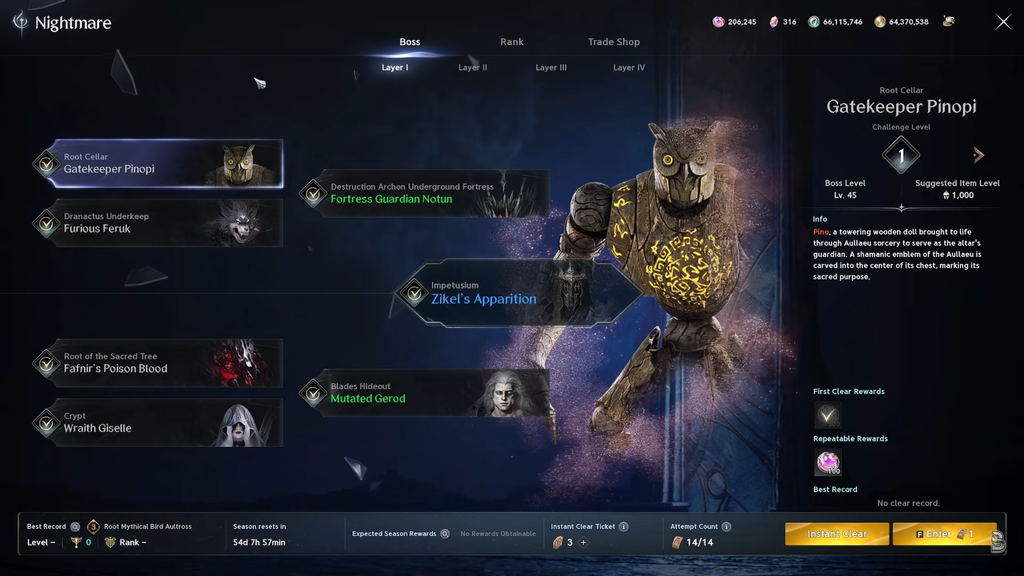
Nightmare is Aion 2’s solo boss ladder. You enter alone, pick a boss and a challenge level, and win by beating the fight within its rules. There is no party to cover your mistakes, so the mode doubles as a test of your gear, rotation, and dodge timing. Every boss scales through 10 challenge levels, and the roster grows as you push the hardest tiers.
Quick answer: Nightmare holds 26 bosses spread across four layers. Season 1’s first layer contains seven of them, unlocking at Level 45, and you work upward from the four easiest fights.
How Nightmare works
The mode opens once a character reaches Level 45. From there, a handful of simple rules govern every attempt.
- You get 2 attempts per day, which stack up to a maximum of 14.
- You lose an attempt only by defeating the boss; getting wiped uses none. Leave to upgrade your gear, then return.
- Each boss runs through challenge levels 1 to 10, with the recommended power rising at every step.
- A first clear at a higher challenge level includes the rewards for each lower level as well.
- Attempts are tracked per character, not shared across your account.
Nightmare is not the same as Nightmare Altar. Nightmare Altar is an Ascension Trial against Divided Aponos that uses the weekly Ascension entry pool. If your menu reads Ascension Trial: Nightmare Altar, you are in a different system.
Layer I bosses (Season 1)
The first layer holds seven bosses. The four Common fights come first; pushing them unlocks the two Rare bosses, and clearing those opens Zikel’s Apparition, the layer’s final encounter.
| Boss | Zone | Boss Lv | Suggested item level |
|---|---|---|---|
 Gatekeeper Pinopi Gatekeeper Pinopi | Root Cellar | 45 | 1,000–1,600 |
 Furious Feruk Furious Feruk | Dranactus Underkeep | 45 | 1,000–1,600 |
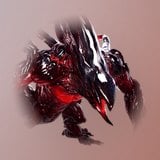 Fafnir’s Poison Blood Fafnir’s Poison Blood | Root of the Sacred Tree | 45 | 1,000–1,600 |
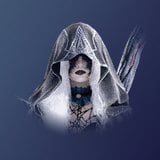 Wraith Giselle Wraith Giselle | Crypt | 45 | 1,000–1,600 |
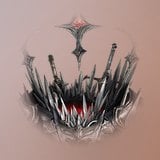 Fortress Guardian Notun Fortress Guardian Notun | Destruction Archon Underground Fortress | 55 | 1,700–2,300 |
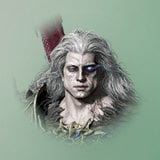 Mutated Gerod Mutated Gerod | Blades Hideout | 55 | 1,700–2,300 |
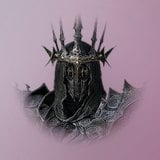 Zikel’s Apparition Zikel’s Apparition | Impetusium | 65 | 2,400–3,000 |
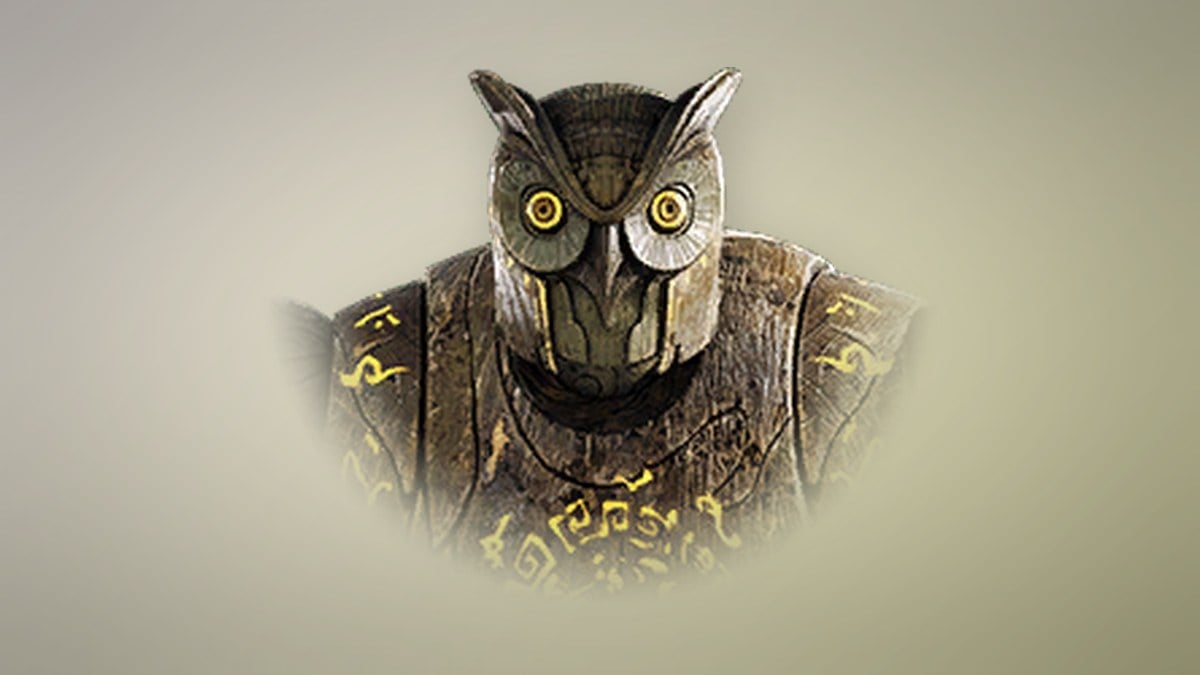
Gatekeeper Pinopi
A wooden mech with a humanoid body and an owl-like head. It moves constantly, so ranged classes have an easier time keeping up. Watch for these attacks.
- Helicopter Walk: rotates its torso, then advances on you, dealing damage over an area.
- Claw Swipe: if you stand behind it, it turns and performs a single or double swipe. The telegraph shows which.
- Slam: rotates both arms upright, then brings them down onto the ground ahead, knocking you down.
- Grab: in place of a swipe, it sometimes grabs and slams you.
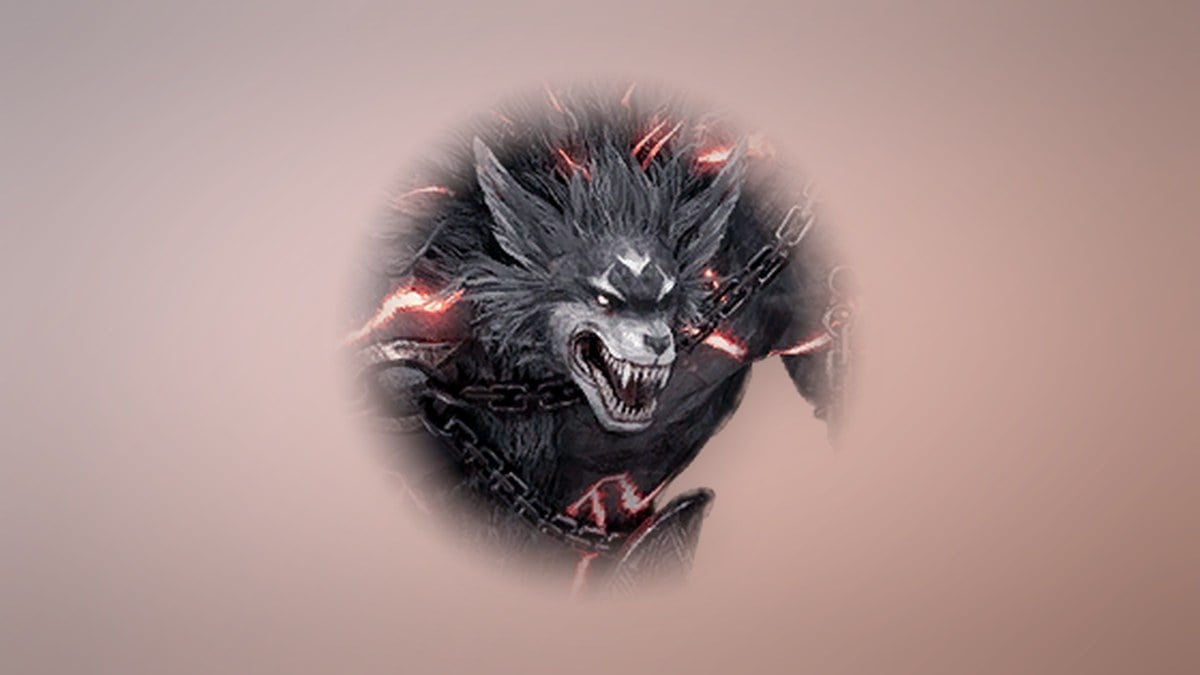
Furious Feruk
A werewolf that relies almost entirely on claw attacks and inflicts bleed. Its moves are mostly slow and predictable, and you can clear bleeds with skills or healing potions.
- Double Slash: resembles its basic claw hit but hits harder and chains into a second charged slash.
- Running Frenzy: roars, then dashes with a four-slash combo. It cannot turn mid-dash, so roll sideways.
- Frenzy: the same combo performed on the spot. Simply move clear of it.
- Uppercut Slash: steps back, then uppercuts twice, each with a different hand. Check which side before dodging.
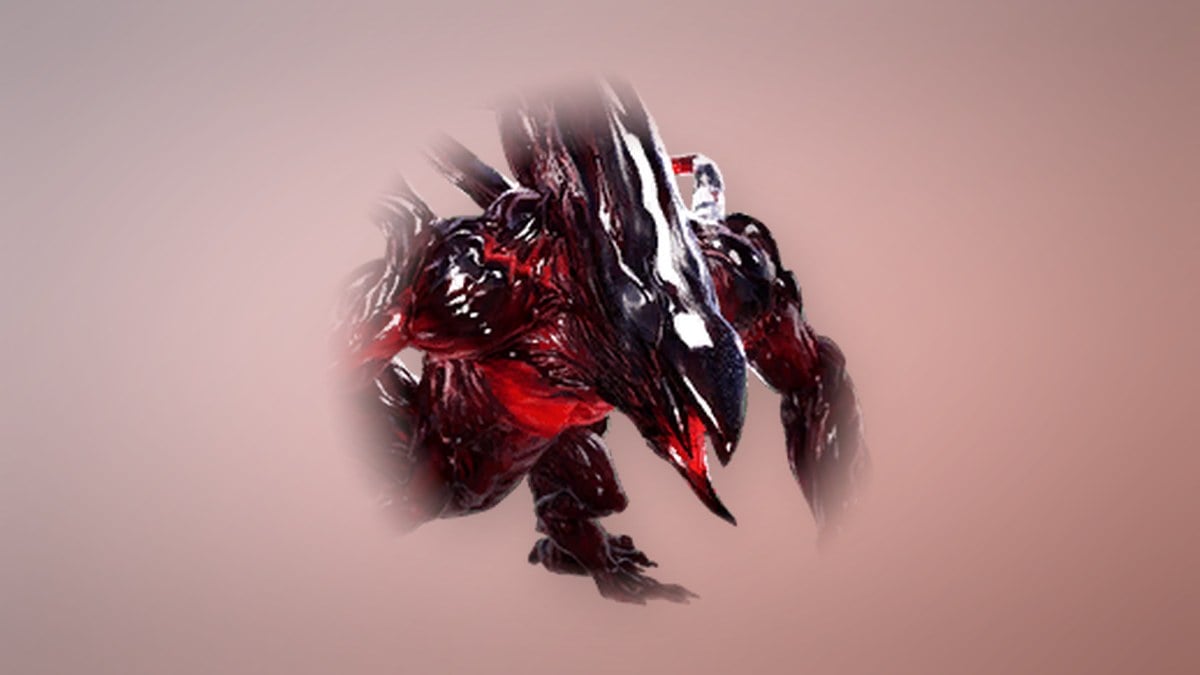
Fafnir’s Poison Blood
A mutated version of a regular open-world monster. It jumps around the arena, spawns toxic pools, and summons smaller Poison Blood minions.
- Blood Orbs: leaps high, turns into a giant orb, and fires smaller orbs that can become minions on landing.
- Tail Slam: jumps, changes direction in the air, and slams its tail down.
- Claw Swipe: a swipe that follows up with a ground slam.
- Tail Flip: a backflip that also deals damage as the animation starts.
- Blood Barrage: marks several spots on the floor and shoots orbs at them.
- Tentacle Explosion: drives tentacles into the ground for two-stage area damage.
- Sneak: burrows and resurfaces directly beneath you.
Wraith Giselle
A mobile caster who summons apparitions that attack alongside her. The copies mirror her moves, which can leave very little safe ground.
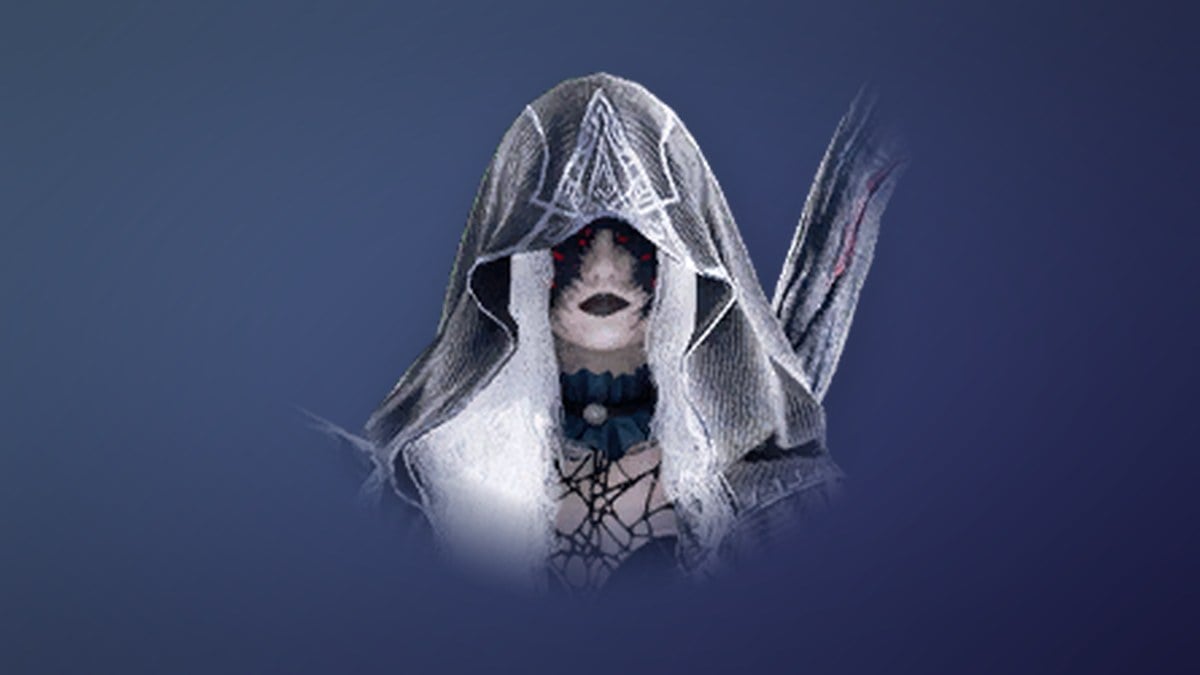
- Slam: marks a wide area under herself and slams. Her Wraiths repeat it, so watch every marker.
- Missile Barrage: marks several floor spots and rains projectiles on each.
- Summon Wraith: spawns two copies that fire orbs at you.
- Shadow Walk: she and her Wraiths turn spectral and charge in a straight line, unable to change course.
Fortress Guardian Notun
A headless iron giant that fights with swords. It expects an item level of at least 1,700, so expect a grind before you can take it on.
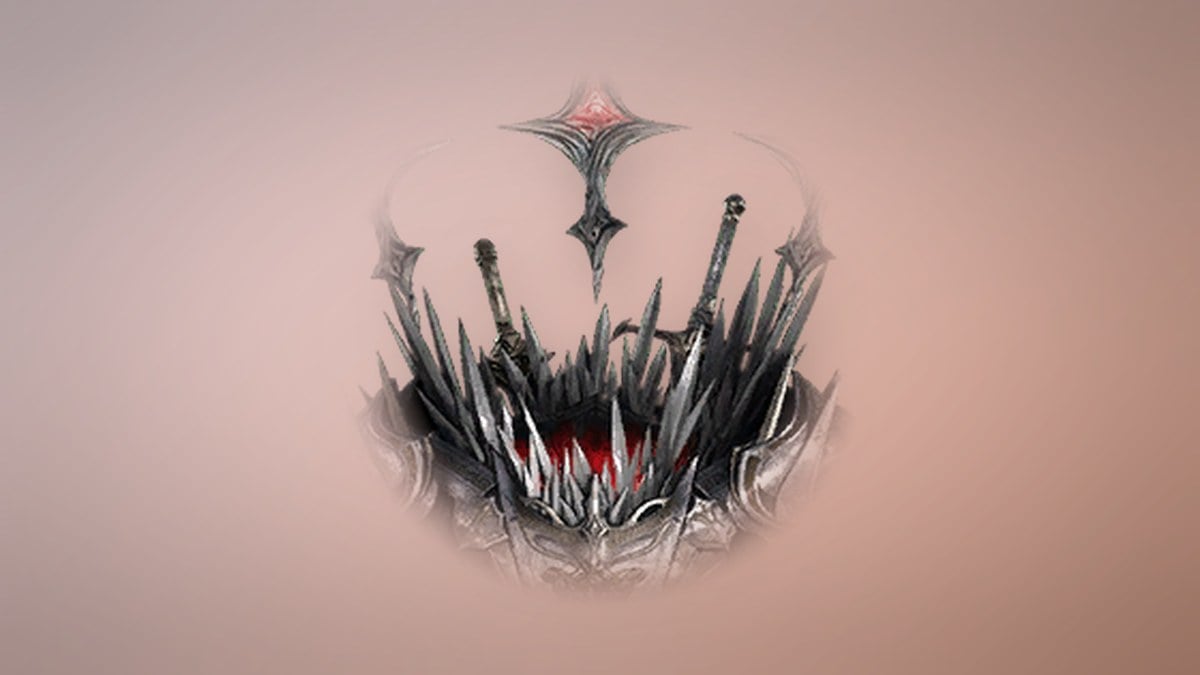
- Sword Skewer: launches five swords in a spread ahead of it. Step to the side to slip between them.
- Sword Rain: marks spots around you and drops swords on them.
- Sword Sweep: a 260-degree sweep around itself, followed by a full 360-degree sweep on the outer ring.
- Blade Barrage: sends swords straight toward you across the arena, traveling from one end to the other.
- Ground Slam: a large slam that also throws swords in several directions.
Mutated Gerod
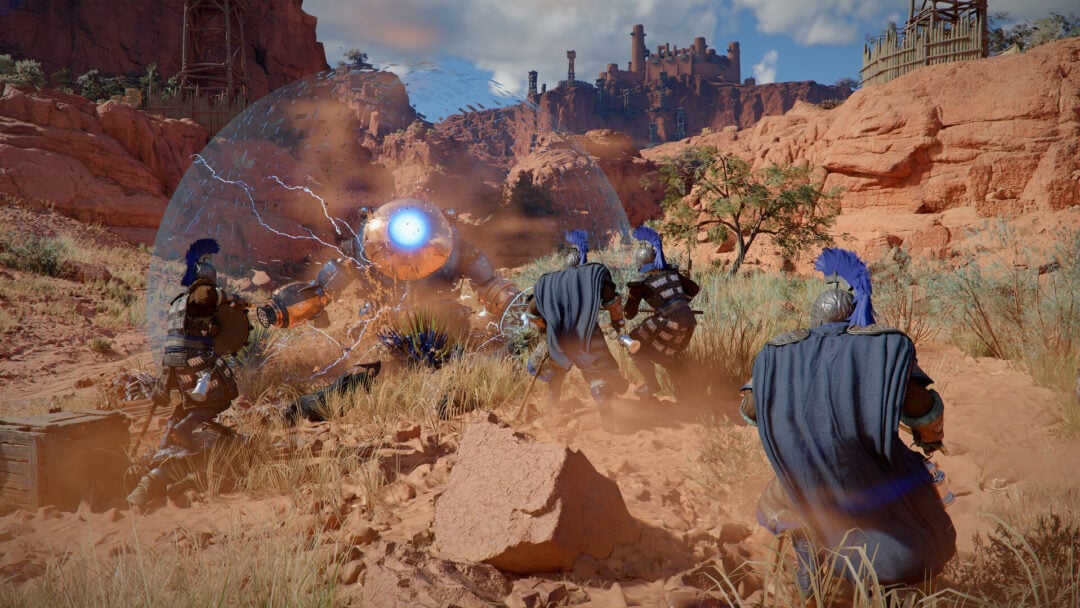
The same foe from the main story, now on the Nightmare list. It also asks for item level 1,700, and it leans heavily on wide area attacks. Melee players need to find the rotating safe spots.

- Lightning Strike: calls down lightning in a marked area, much like a slam.
- Tornado: sends a tornado in a straight line, sometimes several at once.
- Laser Beam: charges its right arm, then fires a blue laser.
- Double Sweep: floats up and sweeps twice to cover all four directions.
- Void DoT: places a large zone that damages you while you stand in it.
- Arena Slam: covers nearly the whole floor. When it teleports to the center, a safe gap opens behind it after a short delay.
- Stone Barrage: conjures stones and hurls them at you.
Zikel’s Apparition
The hardest Layer I fight and its final boss, built for an item power of at least 2,400. Bring healing potions, cleanse potions, and food.
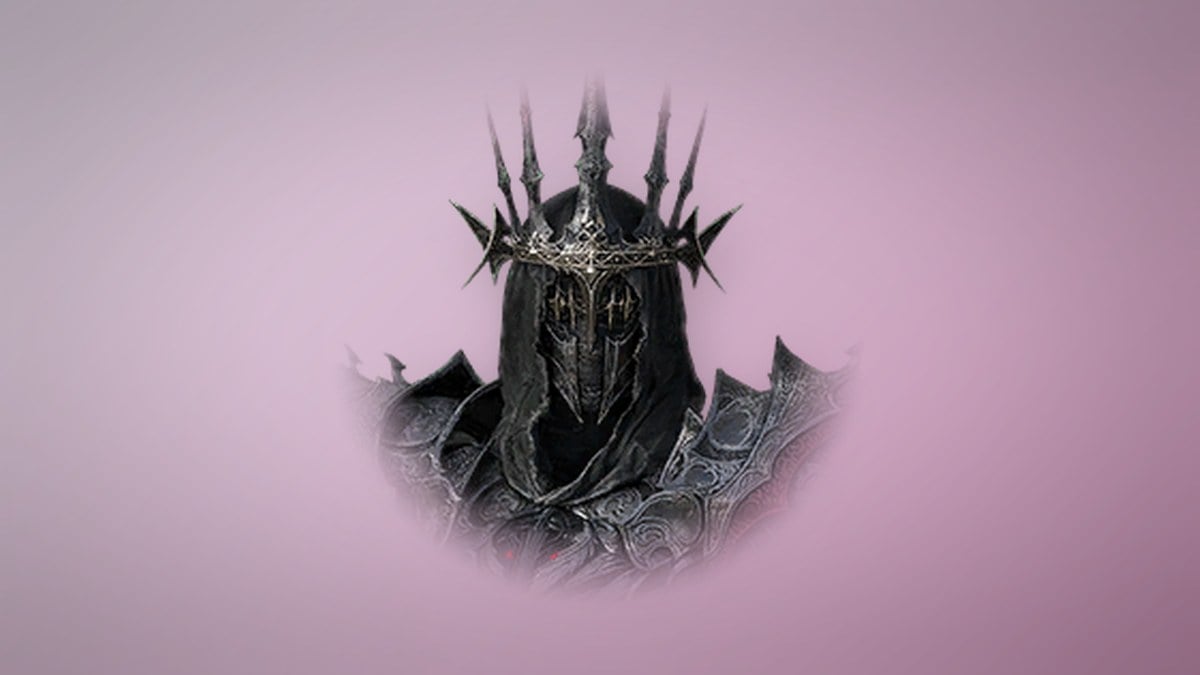
- Blade Sweep and Uppercut: advances with several sword swings, closing on an uppercut.
- Dash Slash: often triggered when you retreat, it darts to a spot ahead of you and delivers a quick slash.
- Slashing Wave: sends a wide slashing wave in your direction.
- Whiplash: reshapes its sword into a whip, then repeatedly slams it down in front.
- Slam Burst: charges a straight-line slam that leaves a safe strip behind it, then the rest of the arena explodes seconds later.
- Jump Slam: leaps up and slams the whole arena on landing. Jump to avoid the hit. It also triggers a delayed sword shower.
- Clear Gatekeeper Pinopi and Furious Feruk at challenge level 10 to unlock Fortress Guardian Notun.
- Clear Fafnir’s Poison Blood and Wraith Giselle at level 10 to unlock Mutated Gerod.
- Clear Fortress Guardian Notun and Mutated Gerod to unlock Zikel’s Apparition.
Layer II bosses
The second layer raises the floor to roughly item level 2,500 and ends with Kaisinel’s Illusion.
| Boss | Zone | Boss Lv | Suggested item level |
|---|---|---|---|
 Mutated Ulgorn Mutated Ulgorn | Blades Hideout | 57 | 2,500–2,950 |
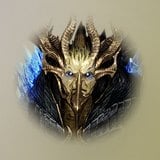 Soulreaper Rathman Soulreaper Rathman | Collapsed Oracle | 57 | 2,500–2,950 |
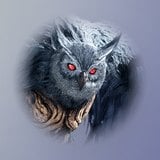 Sharp Aulak Sharp Aulak | Aullaeu Altar | 57 | 2,500–2,950 |
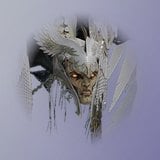 Sealed Sura Sealed Sura | Coastal Cave | 57 | 2,500–2,950 |
 Enraged Reda Enraged Reda | Illusion Hideout | 63 | 3,000–3,450 |
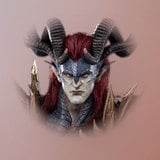 Warden Santras Warden Santras | Dranactus Underkeep | 63 | 3,000–3,450 |
 Kaisinel’s Illusion Kaisinel’s Illusion | Ardus Shrine | 70 | 3,500–3,950 |
Layer III bosses
The third layer runs from item level 3,000 up to Tyrant Tassin’s 4,200 cap.
| Boss | Zone | Boss Lv | Suggested item level |
|---|---|---|---|
 Sanctum Guardian Gauss Sanctum Guardian Gauss | Illusion Sanctum | 63 | 3,000–3,450 |
 Ritualist Aulisa Ritualist Aulisa | Aullaeu Altar | 63 | 3,000–3,450 |
| Root Mythical Bird Aultross | Root Cellar | 63 | 3,000–3,450 |
 Oathbreaker Gartua Oathbreaker Gartua | Etheria Rift | 63 | 3,000–3,450 |
 Incarnated Warding Feather Incarnated Warding Feather | Zumion Relic Storage | 70 | 3,500–3,950 |
 Modified Bargott Modified Bargott | Nahid Disposal Plant | 70 | 3,500–3,950 |
 Tyrant Tassin Tyrant Tassin | Zikel’s Sanctum | 77 | 4,000–4,200 |
Layer IV bosses
The fourth layer is the endpoint, topping out with Ascended Atheron at a suggested item level of 4,500–4,950.
| Boss | Zone | Boss Lv | Suggested item level |
|---|---|---|---|
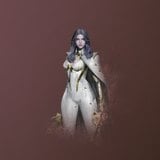 Lieutenant Hebran Lieutenant Hebran | Light Crash Site | 70 | 3,500–3,950 |
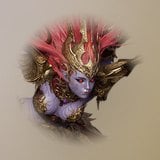 Kromede’s Desire Kromede’s Desire | Fire Temple | 70 | 3,500–3,950 |
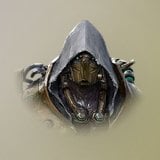 Culminant Paton Culminant Paton | Lepharist Research Center | 77 | 4,000–4,450 |
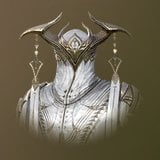 Scout Captain Ked Scout Captain Ked | Fountain of Life | 77 | 4,000–4,450 |
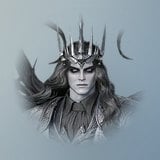 Ascended Atheron Ascended Atheron | Lepharist Research Center | 85 | 4,500–4,950 |
Unlock order for Layer I
The Season 1 ladder follows a chain rather than opening everything at once.
You do not always have to grind every lower level one by one. If your character is strong enough and the game lets you jump ahead, you can, though skipped first-clear rewards stay unclaimed.
Rewards and how to confirm a clear
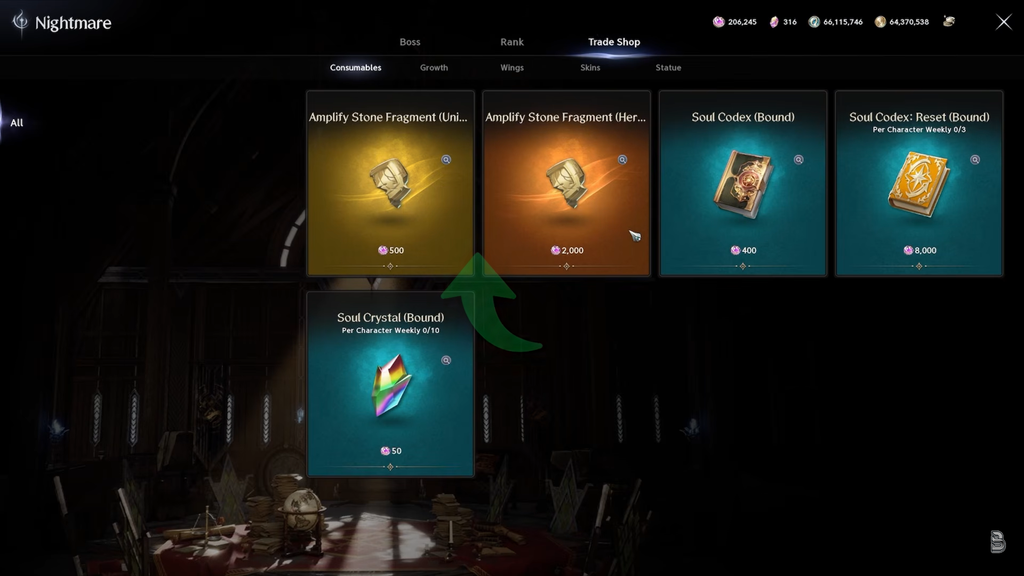
Every win pays Phantasmal Fragments, the currency spent in the Nightmare Shop on Daevanion Crystals, Soul Codex items, Unique Amplify Stone Fragments, Stigma progression, and cosmetics such as Pantheon statues and wings. A first clear pays far more than a repeat. An opening Layer I boss on level 1 gives 500 Phantasmal Fragments on its first clear, while Zikel’s Apparition on level 1 gives 1,500.
You know a run counted when the fight ends in victory, the boss pays out its fragments, and one attempt is removed from your counter. Because an attempt is only deducted on a clear, failed pulls leave your count untouched, so the mode is a safe place to learn a harder boss before committing.