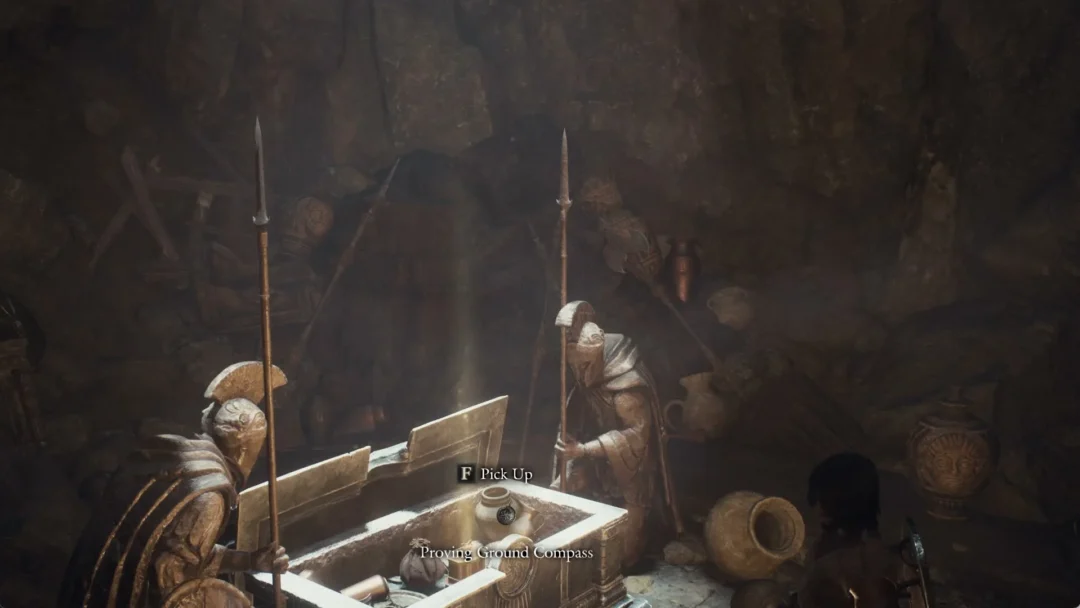
The Hydra sits on the deck of the Frigate and it does not move, which sounds like a gift until you notice it has three turret sections that each lock onto a different Raider at the same time. Stand still in the open and all three can swing onto you at once. The fight is built to punish a squad that bunches up, so beating it comes down to where you stand, what you shoot, and who the Hydra is looking at.
Quick answer: Spread out so the three sections split their aim, push onto the Hydra’s unarmored rear while it tracks a teammate, and empty a Hullcracker into the body or the glowing green sections. Expect roughly 10 to 15 Hullcracker hits to the body to drop it.
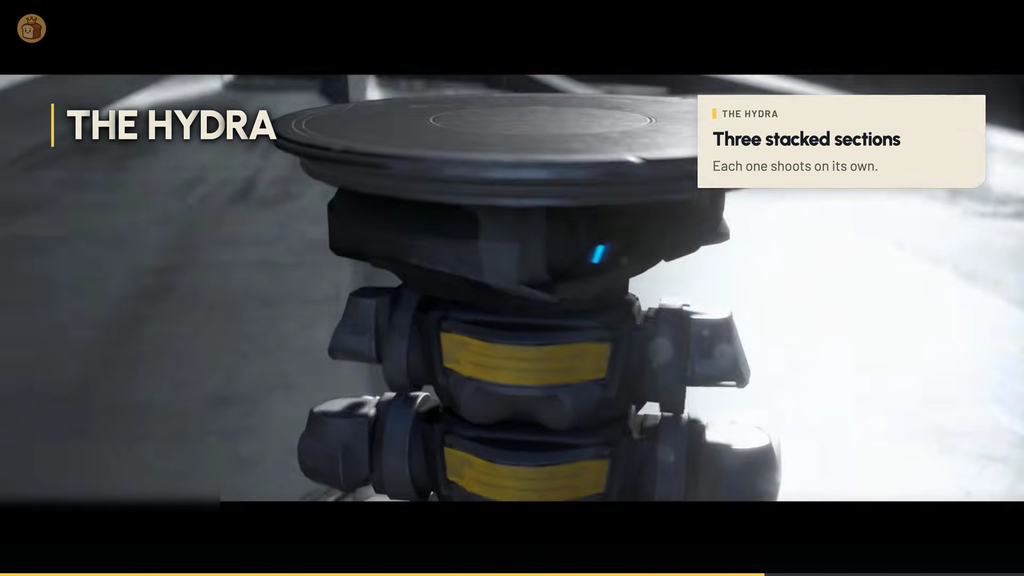
What the Hydra is and where to hit it
The Hydra is a stationary turret arrived with the Frozen Trail update, built into the deck of the Frigate. It is made of three weapon sections that move and aim on their own. Because each one tracks separately, a full three-person squad cannot assume everyone is safe by simply splitting up, since all three barrels can be firing at all three players in the same moment. It does not chase you, but it does not need to.
The Hydra has no armor across its back. Its front and flanks absorb shots with little payoff, making a rear attack the quickest option while an ally keeps it occupied. Also scan its body for green-lit sections: these are vulnerable targets, and they take much heavier damage than the white armored panels. Yellow and green indicate weak spots; white denotes armor.
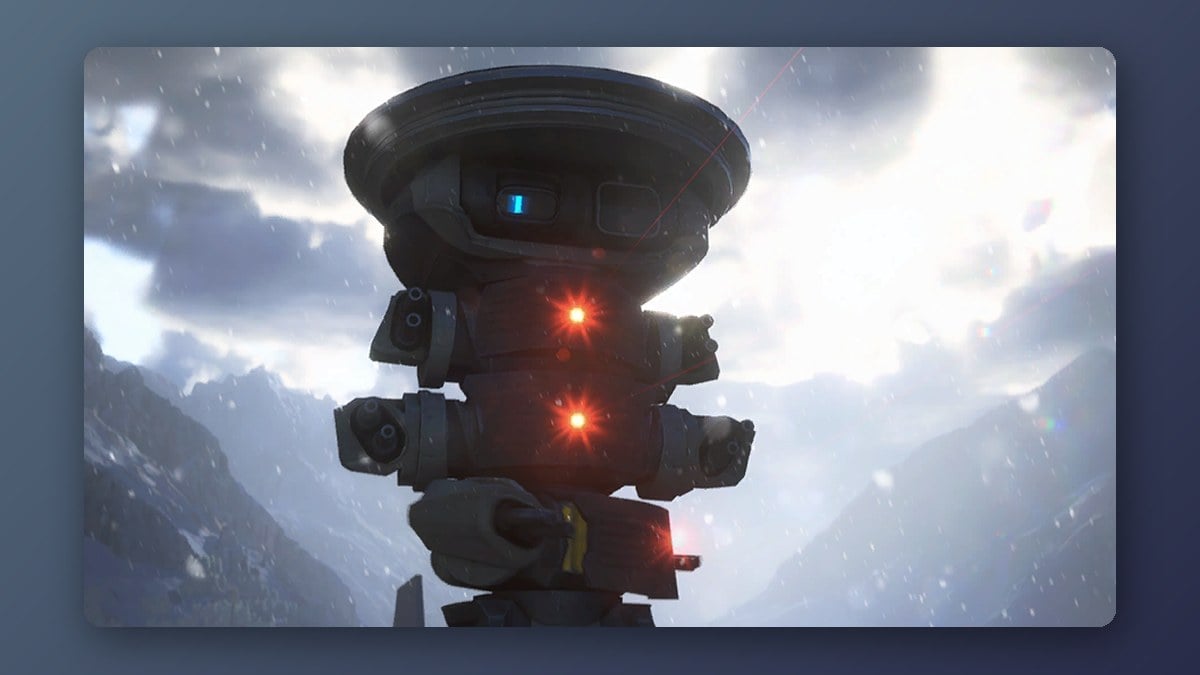
Here is where the Hydra’s health sits, part by part, so you know what you are actually chewing through:
| Part | Health |
|---|---|
| Body | 1050 |
| Core | 800 |
| Joint | 550 |
| Gatling gun | 280 |
| Armor plate | 100 |
Explosive weapons inflict more than 50% extra damage on ARC armor plates now, while dealing reduced damage to softer exposed parts. In practice, blast the armor open first, then switch to precise shots when a weak point starts glowing.
What to bring to the fight
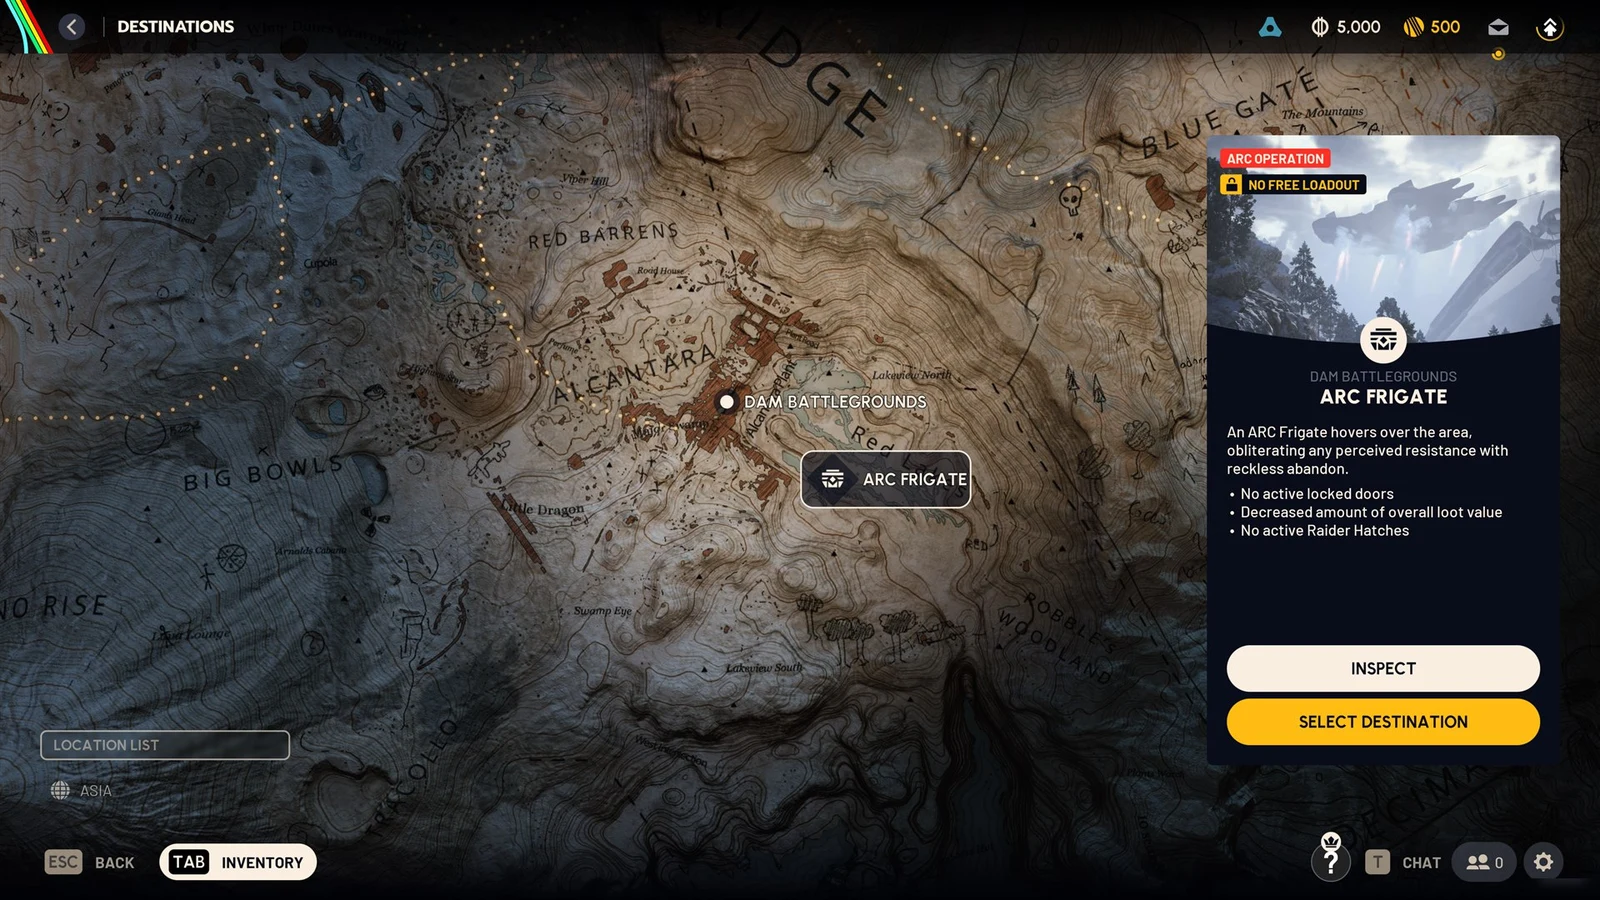
Free loadouts are locked while the ARC Frigate condition is active, so you are risking your own gear up there. Pack accordingly and expect to burn through ammo.
- Hullcracker — fires explosive rounds that only detonate on ARC, and it is the reliable pick for chewing through the Hydra’s body.
- Barricade Kit — a deployable cover with 500 health that lets you make a safe spot in exposed areas like the wing.
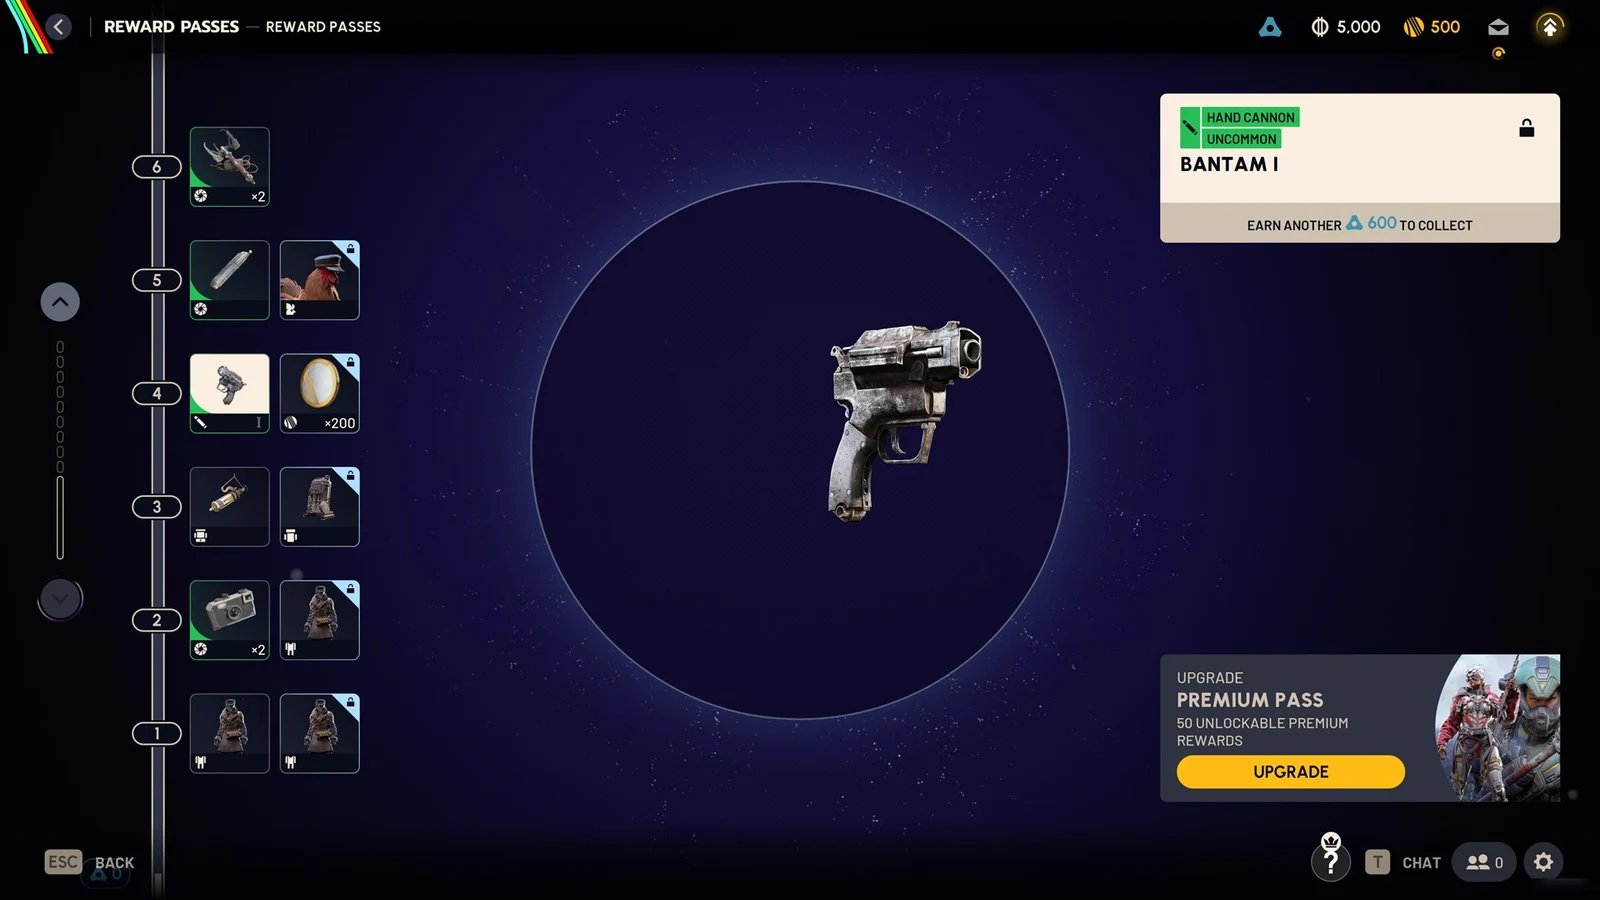
- Bantam — a hand cannon with strong ARC armor penetration, handy for the close-range solo approach below.
- Wolfpack — an Epic grenade that splits into homing missiles, good for the Rocketeers and flying ARC that join in.
- Snap Hook — makes moving around the Frigate’s tight interior far quicker and can skip the first lift.
The Hydra does not fight alone. Rocketeers and Vaporizers spawn on the Frigate during the encounter, and ignoring them is how squads fall apart. Keep at least one player watching for adds while the rest work the turret.
Squad strategy: split the aggro, rotate, and peek
The whole encounter rewards spacing. The three sections aim independently, so the counter is to force them apart.
A known issue in the 2.0 patch lets the Hydra spot Raiders and shoot through walls in the Frigate’s cargo area. Don’t count on all the cover there to protect you; keep moving.
Solo approach: circle it at point-blank range
If you are on your own, there is a close-range trick that works. The turrets turn slowly and struggle to track a target right on top of them, so you can stay safe directly in front of the Hydra.
Rush the Hydra and circle it. At close range, its sections struggle to track you, keeping you outside their firing lanes. From that position, attack with melee or bring it down using the Bantam; either approach is straightforward. Some players have defeated it using only a pickaxe, earning Damaged ARC hits without taking any damage.
If the circling trick makes you nervous, fall back on the cover plan instead. Set up a Barricade Kit, then feed the Hydra Hullcracker rounds into its body. It takes about 10 to 15 shots. Stay behind cover, wait for a small gap, peek, shoot, and drop back. Without teammates pulling aggro the openings are tighter, but they are still enough.
The Frigate’s central sabotage sequence can’t be completed solo; it takes three Raiders operating the controls at once. If another squad boards that Frigate too, cooperate with them rather than start a fight.
How you know it worked
A destroyed Hydra stays down for the rest of the raid. On the first deck, up to four of them rise out of the floor, two at a time, and each one you kill is gone for good. The Hydras themselves only drop light ammo, so there is no reason to detour and loot them. Clearing them opens the way to shoot the yellow wall targets and keep pushing through the Frigate toward the power cores and the cargo, where the real rewards sit, including Amplification Modules used for weapon amplification.
Keep the pattern in your head and the Hydra stops being a wall. Never stand in the open, always have somewhere to break line of sight, and point your damage at the rear and the glowing spots instead of the armor. Do that and three turrets become three short windows you can work around until it falls.