Nightmare is the solo boss ladder in AION 2. You fight one boss at a time in a private arena, and every boss has 10 challenge levels. The mode opens at character level 45. Global Season 1 runs until December 16, 2026, and it uses only the first of the mode’s four layers.
Quick answer: Nightmare contains 26 bosses in four layers. Season 1 features only Layer I, with seven bosses: four available immediately, two Rare bosses unlocked at challenge level 10, and Zikel’s Apparition as the final boss.
Season 1 Nightmare bosses (Layer I)
Layer I has three grades. There are four Common bosses, two Rare bosses and one Epic boss. Elyos and Asmodians fight the same roster.
| Boss | Grade | Arena | Boss Lv |
|---|---|---|---|
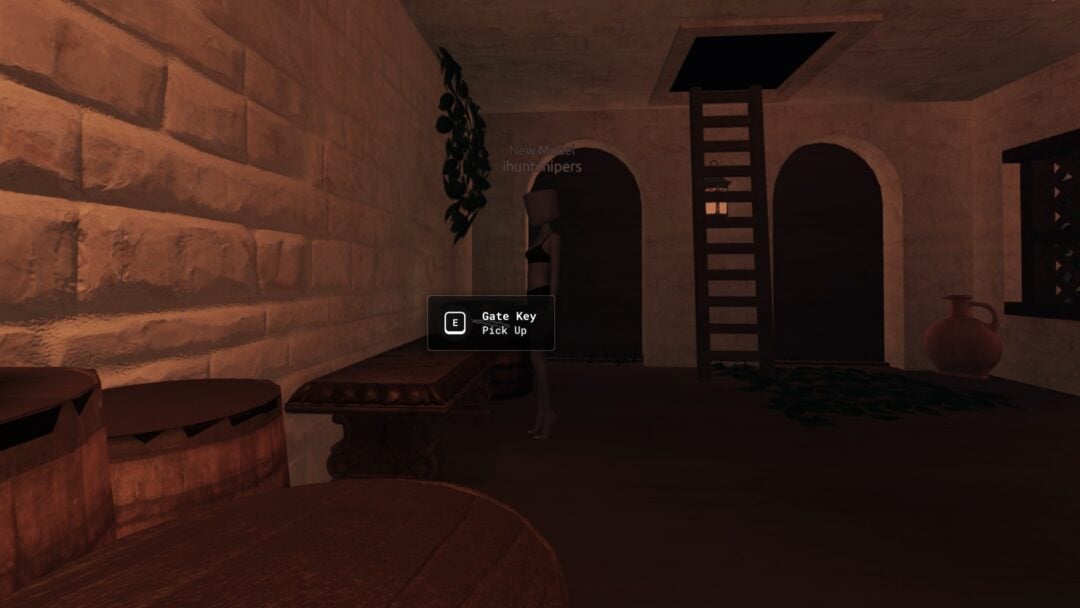
 Gatekeeper Pinopi | Common | Root Cellar | 45 |
 Furious Feruk | Common | Dranactus Underkeep | 45 |
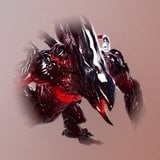 Fafnir’s Poison Blood | Common | Root of the Sacred Tree | 45 |
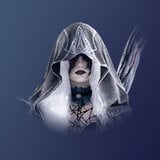 Wraith Giselle | Common | Crypt | 45 |
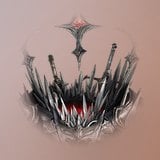 Fortress Guardian Notun | Rare | Destruction Archon Underground Fortress | 55 |
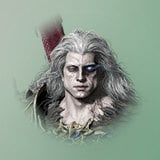 Mutated Gerod | Rare | Blades Hideout | 55 |
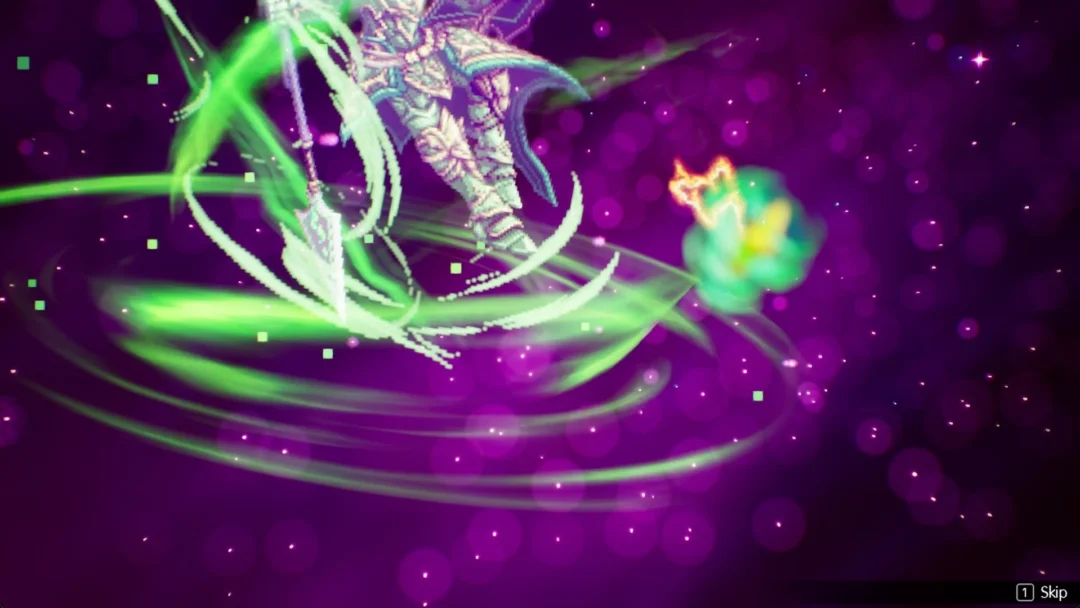
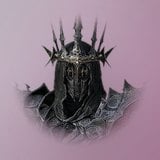 Zikel’s Apparition | Epic | Impetusium | 65 |
The ladder unlocks as a chain. Each Rare boss is tied to two specific Common bosses, so you can’t reach Notun by farming Giselle.
- Gatekeeper Pinopi, Furious Feruk, Fafnir’s Poison Blood and Wraith Giselle are open from the start.
- At challenge level 10, defeat Pinopi and Feruk to make Fortress Guardian Notun available.
- At challenge level 10, defeat Fafnir’s Poison Blood and Giselle to make Mutated Gerod available.
- Clear Notun and Gerod at challenge level 10 to unlock Zikel’s Apparition.
A boss’s challenge levels unlock in sequence, with each one becoming available after you beat the previous level. If your gear is under the recommended item level, the game displays a warning, but entry is still permitted.
Suggested item level for each challenge level
Every boss of the same grade uses the same scale. The Rare tier starts at 1,700, which is the first hard wall for most new level 45 characters.
| Challenge level | Common | Rare | Epic (Zikel) |
|---|---|---|---|
| 1 | 1,000 | 1,700 | 2,400 |
| 2 | 1,050 | 1,750 | 2,450 |
| 3 | 1,100 | 1,800 | 2,500 |
| 4 | 1,150 | 1,850 | 2,550 |
| 5 | 1,200 | 1,900 | 2,600 |
| 6 | 1,250 | 1,950 | 2,650 |
| 7 | 1,300 | 2,000 | 2,700 |
| 8 | 1,400 | 2,100 | 2,800 |
| 9 | 1,500 | 2,200 | 2,900 |
| 10 | 1,600 | 2,300 | 3,000 |
At the 5-minute mark, every Season 1 boss enters berserk mode; the game signals this 60 seconds beforehand. A high item level helps only if your damage finishes the fight within that window.
Layer I boss attacks and how to dodge them
There is no tank or healer to absorb a mistake. Each fight below comes down to reading a small set of telegraphs and moving at the right moment.
Gatekeeper Pinopi
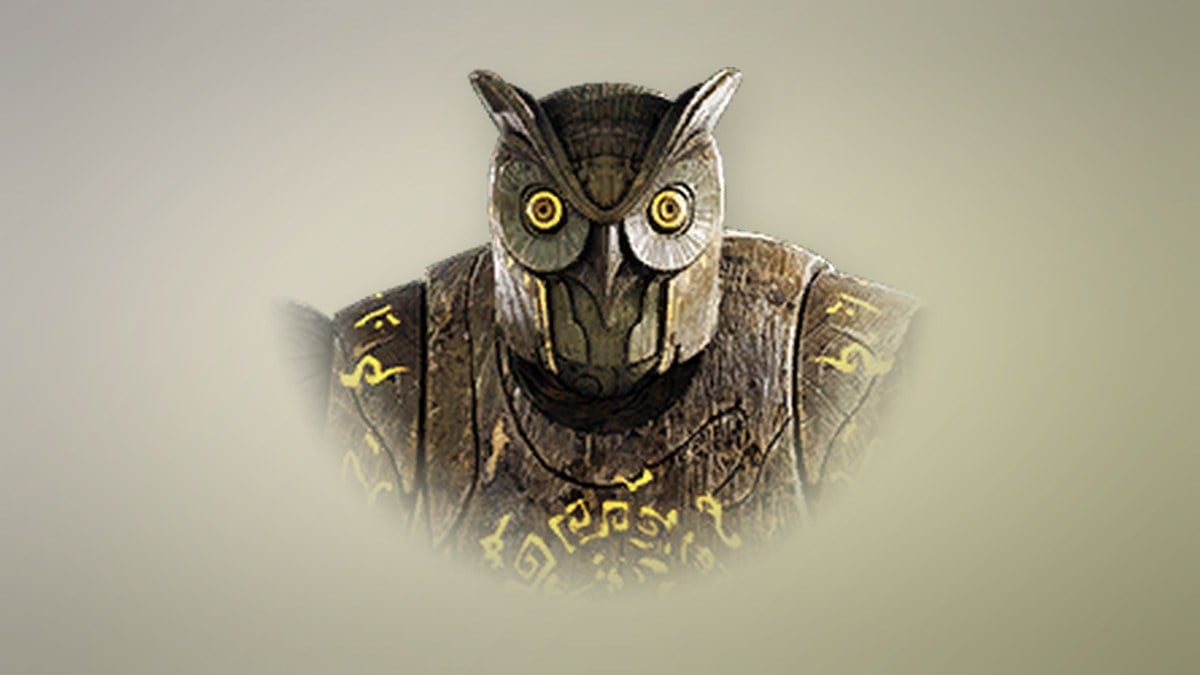
Pinopi is a Varian wooden mech with an owl-like head. It rarely stands still, which makes the fight easier for ranged classes than for melee.
- Helicopter Walk spins the torso and pushes toward you with area damage.
- Claw Swipe punishes standing behind it with one or two swipes. The telegraph shows which one is coming.
- Slam raises both arms and drives them into the ground in front, knocking you down.
- Grab sometimes replaces the swipe, picking you up and slamming you.
Furious Feruk
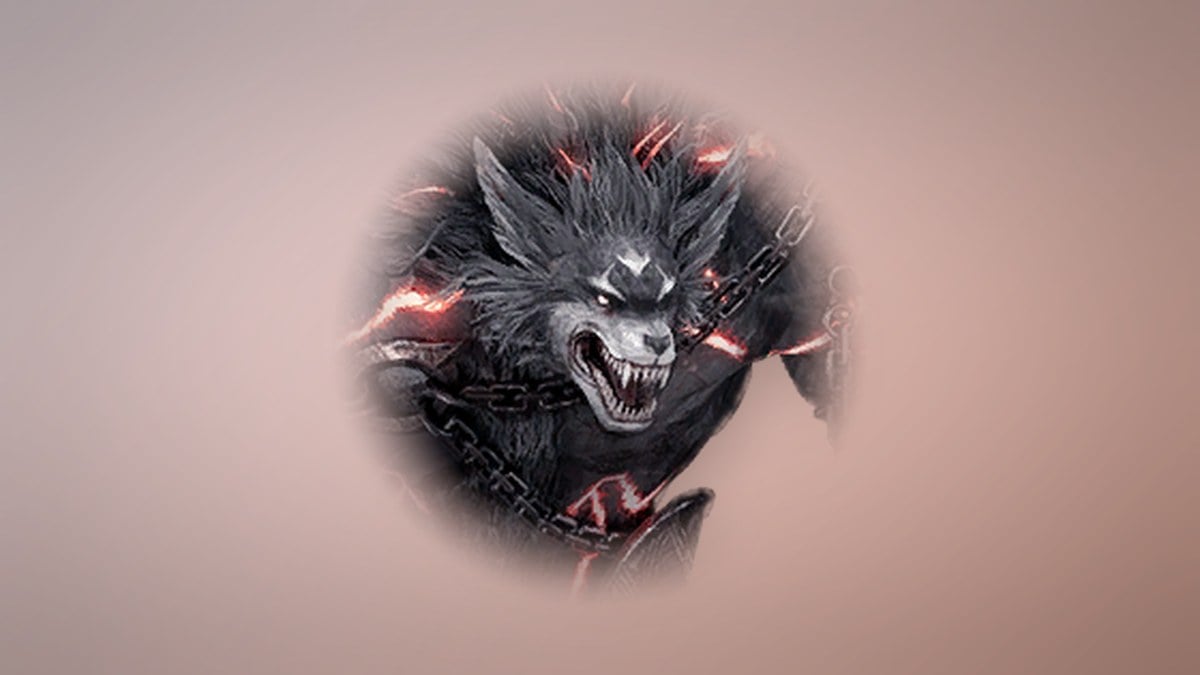
Feruk is a Cogni werewolf that attacks almost entirely with its claws and stacks bleed on you. Its swings are slow and easy to read, and you can clear the bleed with cleansing skills or healing potions.
- Double Slash looks like a basic swipe but chains into a charged second slash.
- Running Frenzy opens with a roar and a four-slash dash. Feruk can’t turn mid-charge, so roll sideways.
- Frenzy is the same combo performed in place. Walk out of range.
- Uppercut Slash is a step back followed by two uppercuts, one from each hand. Check the side before you dodge.
Fafnir’s Poison Blood
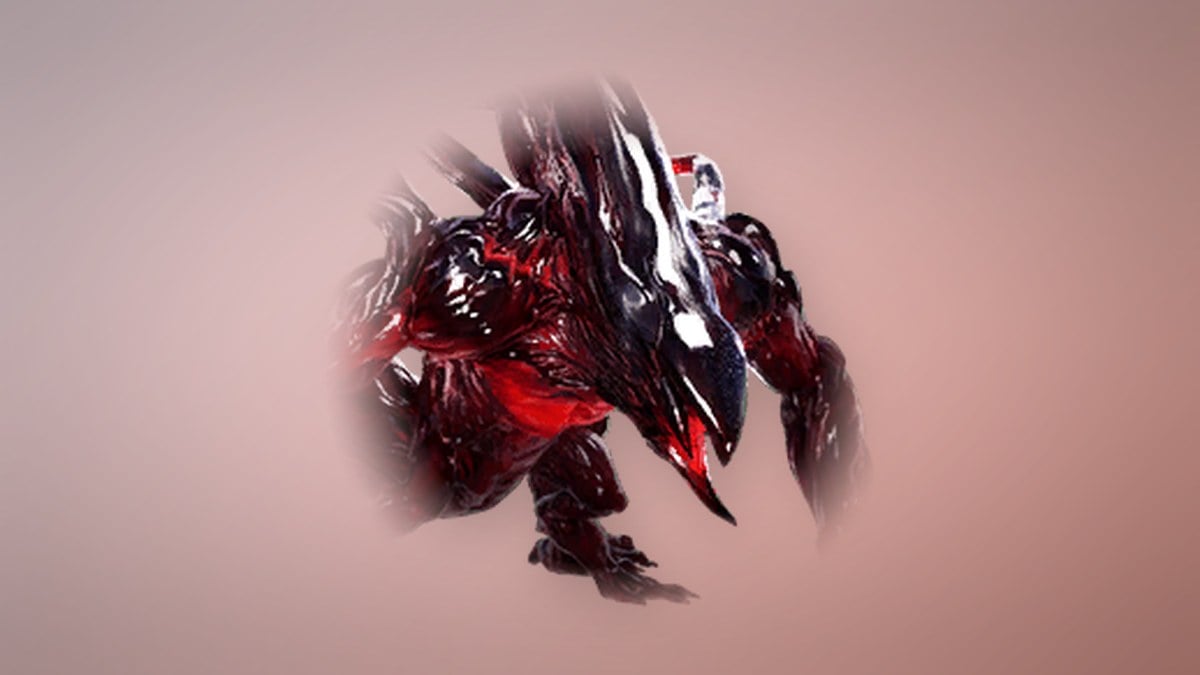
This Varian boss is a mutated take on a regular overworld monster. It jumps around the arena constantly. It also leaves aggressive Fafnir’s Poison Blood Pool hazards behind and calls in smaller Poison Blood minions, some of which explode.
- Blood Orbs launches it skyward as a giant orb that sprays smaller orbs, and these can become minions when they land.
- Tail Slam is a jump with a mid-air turn that ends in a tail strike.
- Claw Swipe is followed by a ground slam.
- The animation for Tail Flip deals damage as soon as the backflip begins.
- Blood Barrage marks spots on the floor, then fires orbs at them.
- With Tentacle Explosion, tentacles plunge into the ground and trigger two waves of area damage.
- Sneak sends it underground, and it bursts up directly beneath you.
Wraith Giselle
Giselle is a mobile Cogni caster whose summoned copies repeat her attacks. Once the copies are out, safe ground shrinks quickly, so track every marker on the floor and not just hers.
- Slam marks a wide circle under her, and each Wraith copies it.
- Missile Barrage rains projectiles on several marked spots.
- Using Summon Wraith creates a pair of copies that shoot orbs at you.
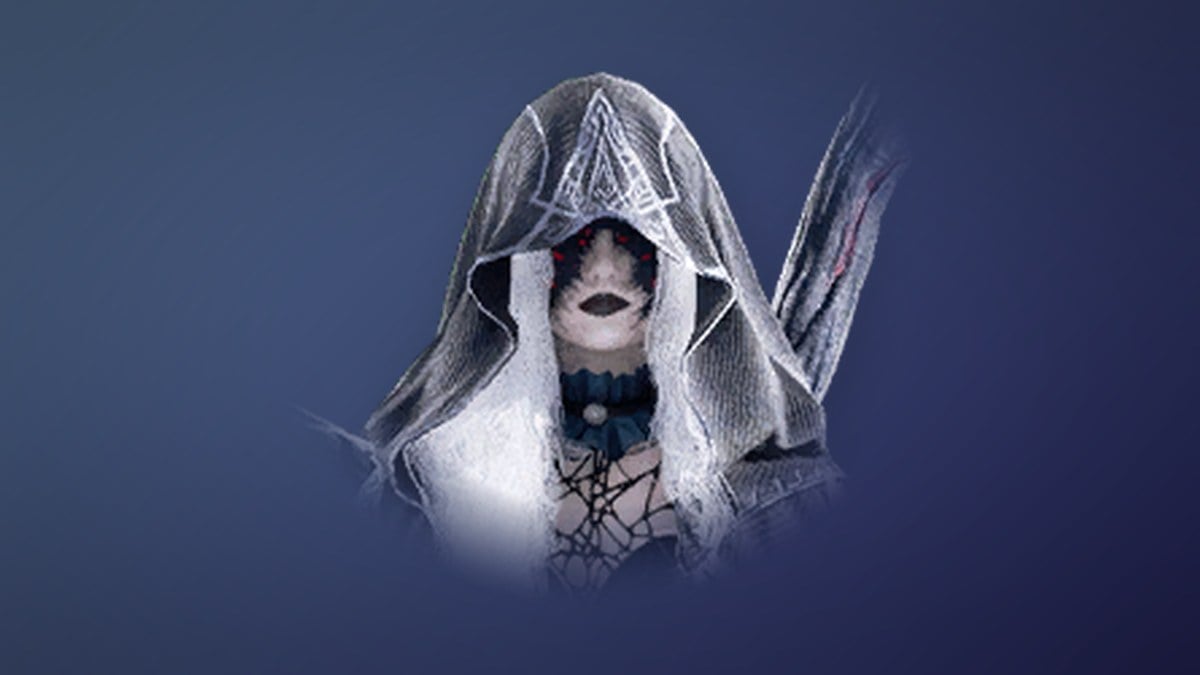
- Shadow Walk turns her and the Wraiths spectral for a straight charge they can’t steer.
Fortress Guardian Notun
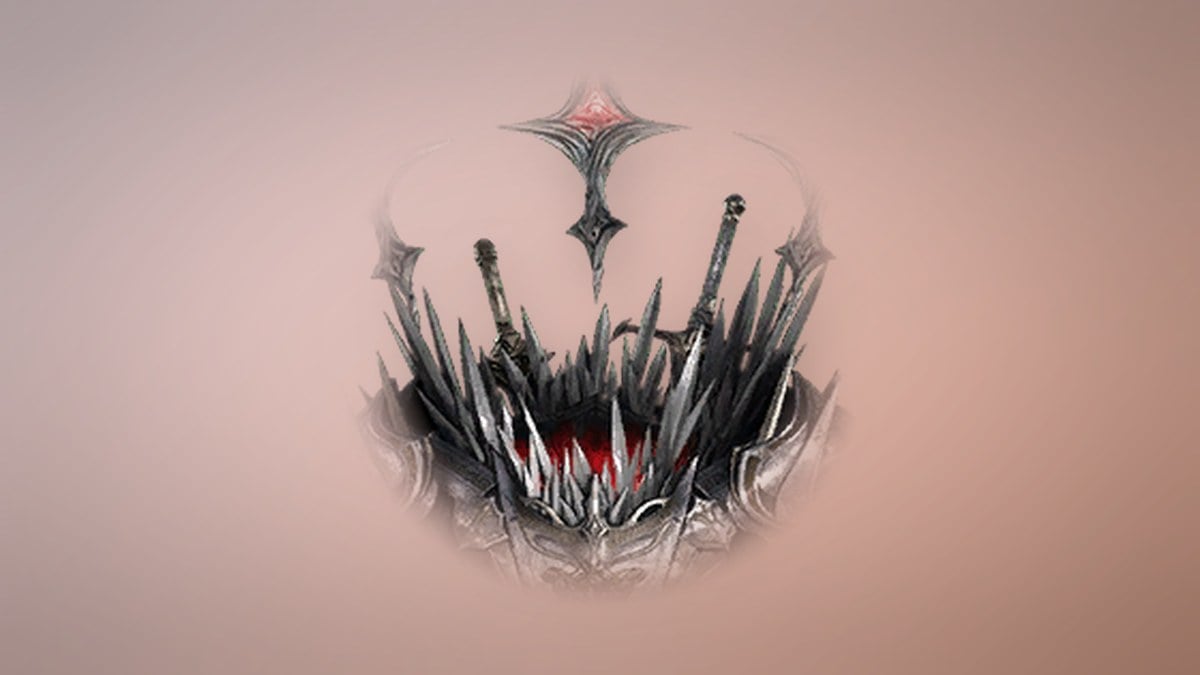
Notun is a headless Varian iron giant that fights with swords. Its 10 stages climb from 1,700 to 2,300 suggested item level. The fight relies on rotating safe zones that melee players have to find and hold.
- Sword Skewer fans five swords out in front. Step sideways to slip between them.
- Sword Rain targets spots around you, then sends blades down onto those marks.
- Sword Sweep first arcs through 260 degrees, then covers the outer ring with a complete 360-degree sweep.
- Blade Barrage fires swords straight at you from one side of the arena to the other.
- Ground Slam combines a heavy slam with swords flung in multiple directions.
Mutated Gerod
The main story’s quarry is Gerod, Cogni of the Blood Blades. He favors broad area attacks. During Arena Slam, he teleports to the arena’s center; after a brief delay, the space immediately behind him is safe.
- Lightning Strike drops lightning on a marked area.
- Tornado sends one or more straight-line tornadoes at you.
- Laser Beam fires a blue laser after he charges his right arm.
- Double Sweep lifts him off the ground for two sweeps that cover all four directions.
- With Void DoT, a large damaging field appears and hurts you for as long as you remain inside.
- Arena Slam hits nearly all of the floor.
- With Stone Barrage, stones appear and are hurled in your direction.

Zikel’s Apparition
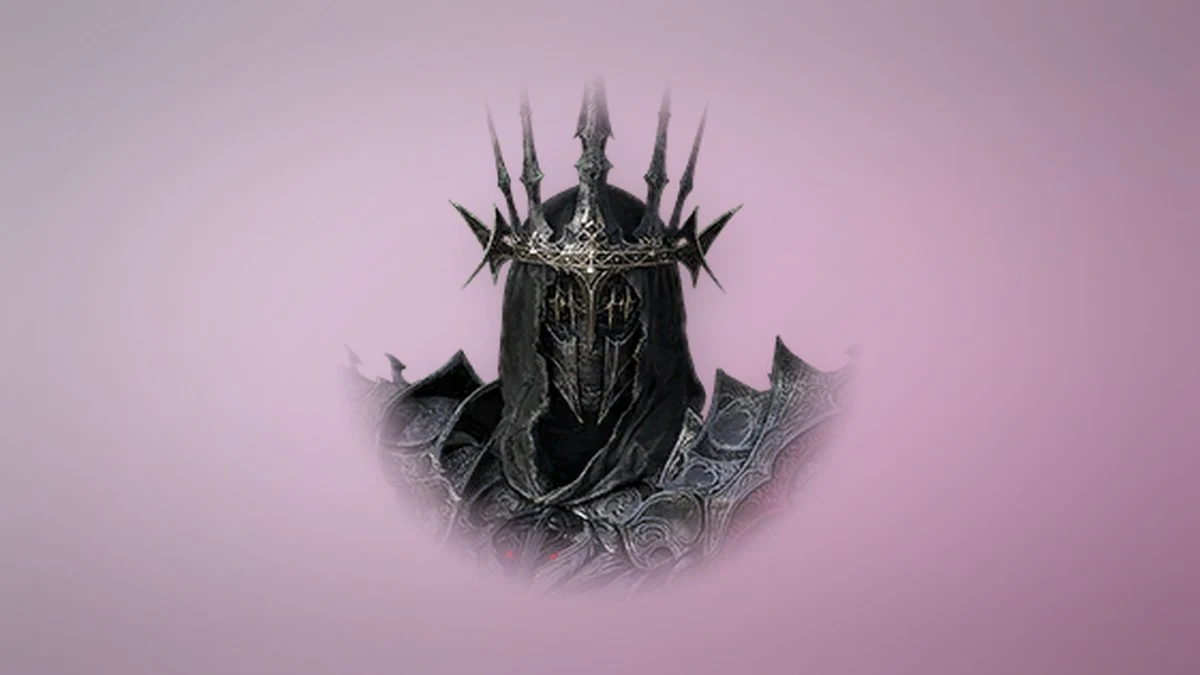
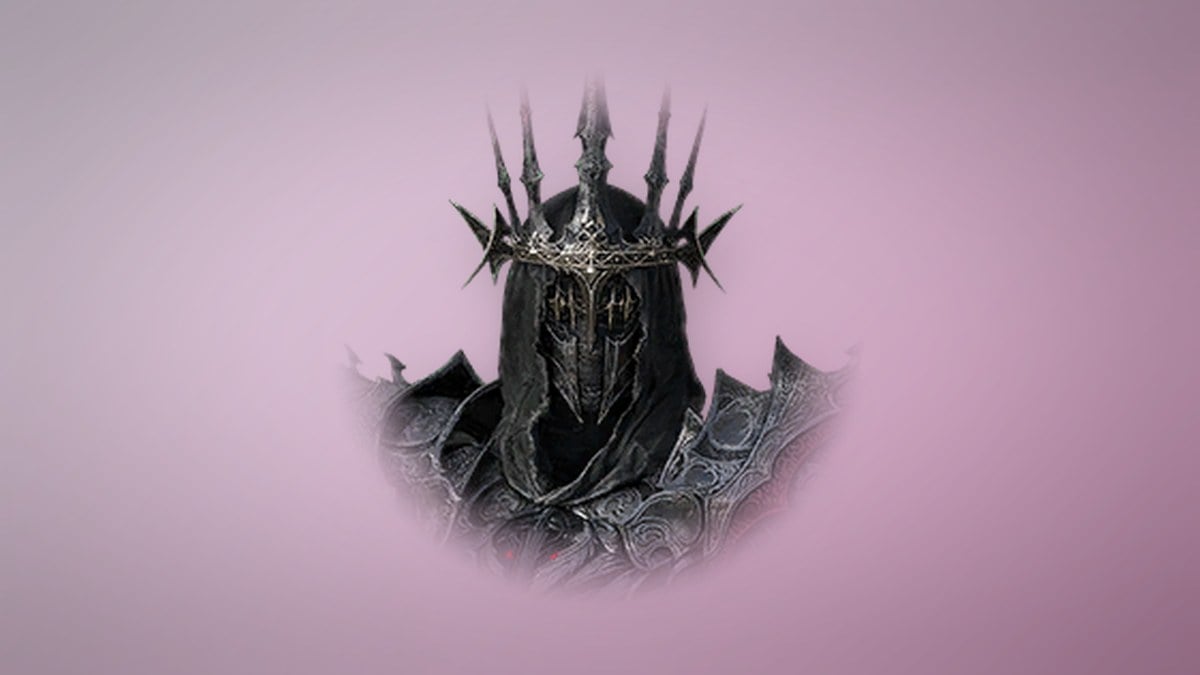
Season 1 ends with Empyrean Lord Zikel’s lingering echo. Once the guardian of Gladiators and Templars, he fell in battle against Dragon Lord Fafnir and was imprisoned within the Impetusium. The arena measures 67 m across, and dashes drain stamina quickly. Bring healing potions, cleanse potions, and food.
| Attack | What happens | Answer |
|---|---|---|
| Opening combo | Chasing hits, then a 10 m upswing that launches you | Dash behind or away |
| Shatter Ground | Leaps to center, 4-second cast gauge | Jump at 90–95% and glide |
| Line floors | Red lines burst, rest of the arena lethal | Stand on a line after its first burst |
| Circles, then swords | 5 m circles, then stunning swords | Leave each circle, then the sword |
| Dash Slash | Closes distance when you back off | Evade as it moves |
| Whiplash | Sword turns into a whip for repeated slams | Get behind or step aside |
| Boomerang | Short wind-up, causes bleed and slow | Dash sideways early |
Dodge the upswing in the opening move. A second 10 m line attack follows, dealing 50% of your max HP and applying bleed. If it launches you, press Space to stun-break. Shatter Ground sends a ring outward from the center at 20 m/s, so standing farther away delays its arrival. If the ring hits you while you’re grounded, you lose half your max HP, suffer a 2-second knockdown, and have healing and potion recovery reduced by 30% for 15 seconds.
When the line-floor attacks begin, wait at the arena’s center. Move onto a line after it bursts for the first time, then dash directly across as the line on the other side erupts. Being anywhere off a line means instant death. At about half HP, the pattern expands to three lines and ends with a small safe circle beneath the boss. Walk to the first line because its burst comes late, and keep your dashes for the later lines. Slashing Wave, Slam Burst’s safe strip and Jump Slam’s sword shower also occur during the fight.
Layer II, III and IV Nightmare bosses
The Nightmare window already shows tabs for Layers II through IV, but Global Season 1 uses only Layer I. The later layers add 19 bosses, and their suggested item levels reach 4,950.
Layer II
| Boss | Arena | Boss Lv | Item level |
|---|---|---|---|
 Mutated Ulgorn | Blades Hideout | 57 | 2,500–2,950 |
 Soulreaper Rathman | Collapsed Oracle | 57 | 2,500–2,950 |
 Sharp Aulak | Aullaeu Altar | 57 | 2,500–2,950 |
 Sealed Sura | Coastal Cave | 57 | 2,500–2,950 |
 Enraged Reda | Illusion Hideout | 63 | 3,000–3,450 |
 Warden Santras | Dranactus Underkeep | 63 | 3,000–3,450 |
 Kaisinel’s Illusion | Ardus Shrine | 70 | 3,500–3,950 |
Layer III
| Boss | Arena | Boss Lv | Item level |
|---|---|---|---|
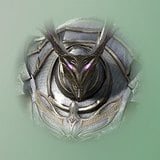 Sanctum Guardian Gauss | Illusion Sanctum | 63 | 3,000–3,450 |
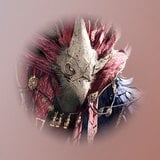 Ritualist Aulisa | Aullaeu Altar | 63 | 3,000–3,450 |
| Root Mythical Bird Aultross | Root Cellar | 63 | 3,000–3,450 |
 Oathbreaker Gartua | Etheria Rift | 63 | 3,000–3,450 |
| Incarnated Warding Feather Zumion | Relic Storage | 70 | 3,500–3,950 |
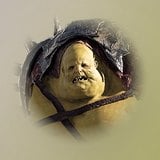 Modified Bargott | Nahid Disposal Plant | 70 | 3,500–3,950 |
 Tyrant Tassin | Zikel’s Sanctum | 77 | 4,000–4,200 |
Layer IV
| Boss | Arena | Boss Lv | Item level |
|---|---|---|---|
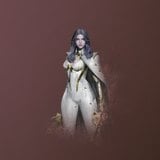 Lieutenant Hebran | Light Crash Site | 70 | 3,500–3,950 |
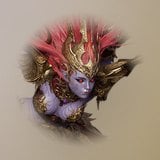 Kromede’s Desire | Fire Temple | 70 | 3,500–3,950 |
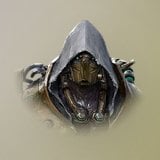 Culminant Paton | Lepharist Research Center | 77 | 4,000–4,450 |
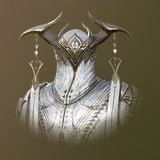 Scout Captain Ked | Fountain of Life | 77 | 4,000–4,450 |
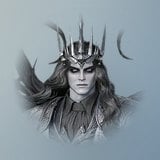 Ascended Atheron | Lepharist Research Center | 85 | 4,500–4,950 |
Nightmare attempts, tickets and season rank
Nightmare doesn’t use Odyle Energy. It has its own attempt counter, which tracks each character separately and is forgiving about failure.
- You get 2 attempts per day, and unused attempts stack up to 14.
- An attempt is deducted only after a boss clear; a wipe leaves your attempts untouched.
- Using a Nightmare Dungeon Challenge Ticket grants 1 extra attempt. Ticket attempts can accumulate to 30 in addition to the daily 14, with the daily attempts consumed first.
- The Instant Clear Ticket: Nightmare repeats a level you’ve already cleared without a fight. It uses 1 ticket and 1 attempt per clear, up to 50 at once.
- Instant clears from the entrance lobby don’t award Rank Points. Instant clears from the results screen do.
- Season ranks run from Iron up to Challenger 1.
Nightmare is a different mode from Ascension Trial: Nightmare Altar, a fight against Divided Aponos that draws on the weekly Ascension entry pool. If your menu shows the Ascension Trial label, you’re in the wrong system.
Phantasmal Fragment payouts per clear
Phantasmal Fragments are the only reward from a clear. Each level grants a large first-clear reward once, followed by a smaller repeat reward that varies within a range. Every boss of the same grade pays identical totals.
| Level | Common (first / repeat) | Rare (first / repeat) | Epic (first / repeat) |
|---|---|---|---|
| 1 | 500 / 100–250 | 840 / 170–420 | 1,500 / 300–740 |
| 2 | 540 / 110–270 | 900 / 180–445 | 1,500 / 300–740 |
| 3 | 580 / 120–290 | 940 / 190–470 | 1,500 / 300–740 |
| 4 | 620 / 125–310 | 1,000 / 200–495 | 1,500 / 300–740 |
| 5 | 660 / 135–330 | 1,050 / 210–520 | 1,500 / 300–740 |
| 6 | 720 / 145–355 | 1,100 / 220–545 | 1,500 / 300–740 |
| 7 | 760 / 150–375 | 1,150 / 230–570 | 1,500 / 300–740 |
| 8 | 800 / 160–395 | 1,200 / 240–595 | 1,500 / 300–740 |
| 9 | 840 / 170–420 | 1,250 / 250–625 | 1,500 / 300–740 |
| 10 | 900 / 180–445 | 1,350 / 265–655 | 1,500 / 300–740 |
First-clearing levels 1 through 10 on one boss pays 6,920 fragments for a Common boss, 10,780 for a Rare boss and 15,000 for Zikel’s Apparition. That gap is why pushing new levels beats farming an easy tier. The Shugo Merchants’ Phantasmal Fragment Bundle adds another 2,000.
Nightmare Trade Shop prices
Spend Fragments in the Nightmare window’s Trade Shop tab. All items there are bound. Limits labeled weekly reset each week; every other limit allows one purchase per character.
| Item | Price | Limit |
|---|---|---|
 Daevanion Crystal | 300 | 50 |
 Daevanion Crystal: Ariel (Bound) | 800 | — |
| Stigma Shard | 1,500 | 35 |
| Soul Codex x5 | 400 | 5 per week |
| Soul Codex: Reset | 8,000 | 3 per week |
| Amplify Stone Fragment (Unique) | 500 | None |
| Clash Rune Chest | 500 | None |
 Clash Rune Enhance Scroll (Bound) | 315 | — |
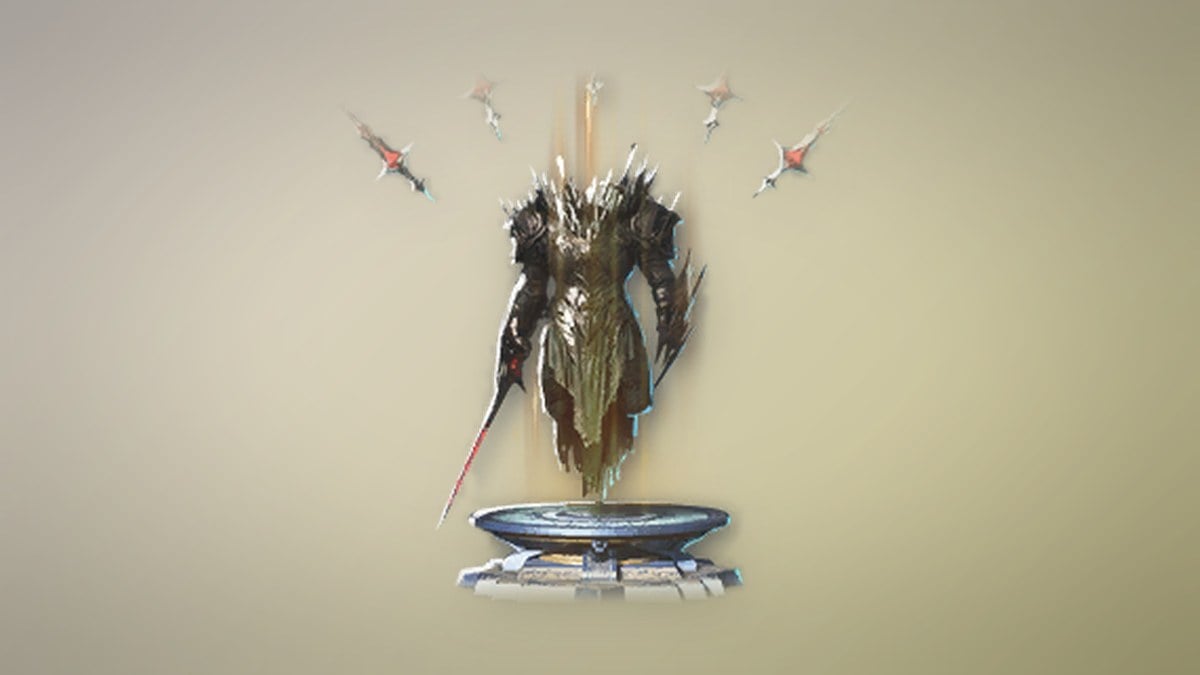
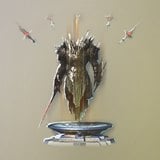 Statue: Fortress Guardian Notun (Bound) | 8,000 | — |
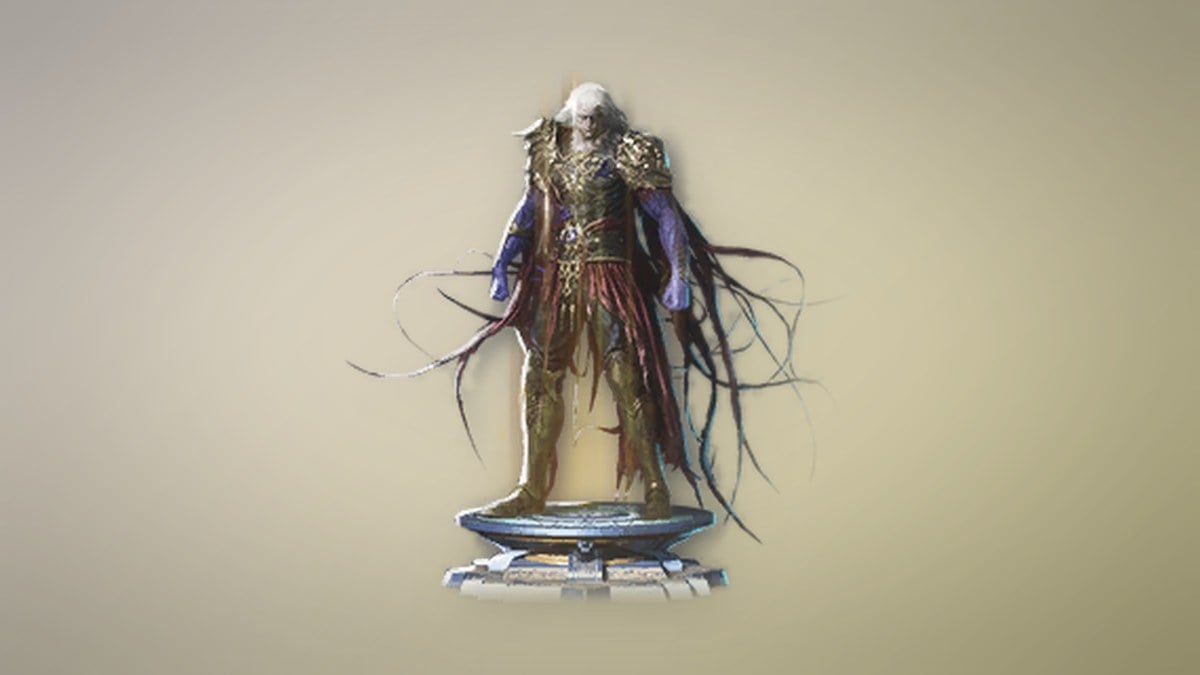
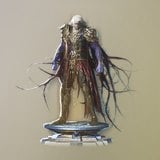 Statue: Gerod (Bound) | 8,000 | — |
| Colossus: Zikel’s Apparition | 14,000 | 1 |
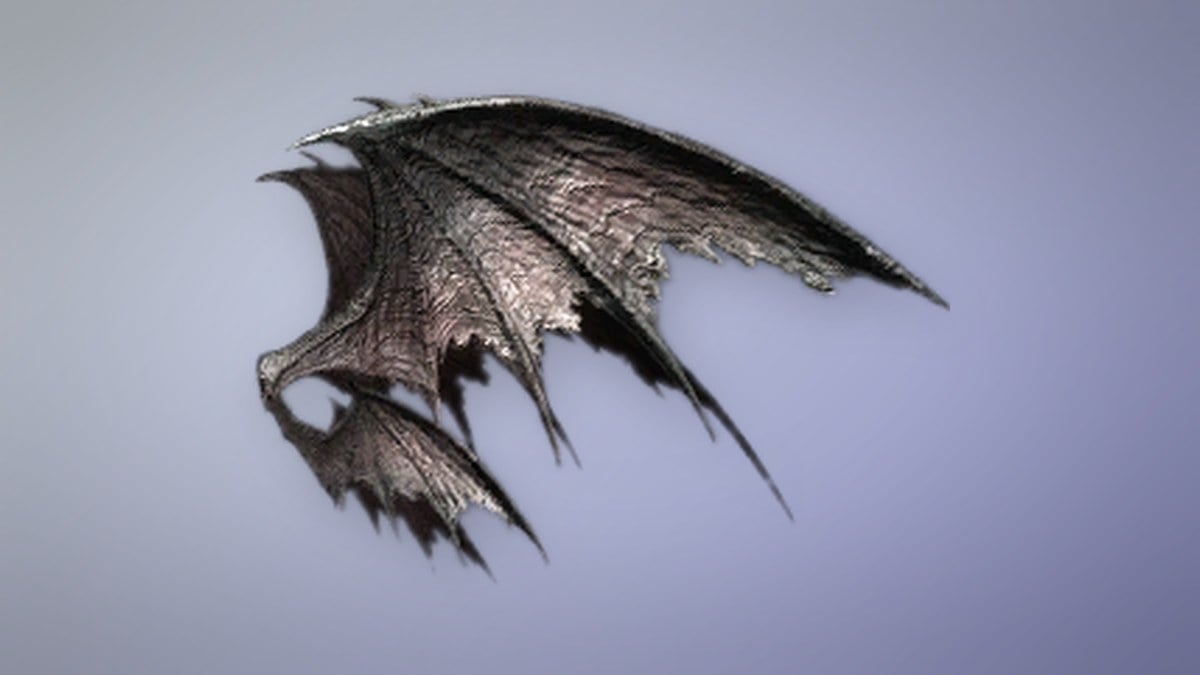
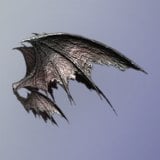 Conqueror Wings (Bound) | 20,000 | 1 |
| Nightmare Wings | 160,000 | 1 |
The shop also sells the Awakened and Eternal Horn armor skin sets, which cost 49,650 fragments for all seven pieces, plus Ancient Barrier and Sky Recollection accessory skins. Each piece can be bought once.
Daevanion Crystals and Stigma Shards are permanent upgrades, so they stay useful after your gear is replaced. Each Stigma Shard grants 1 Stigma Shard Point. The Ariel crystal requires level 45 and grants 1 Ariel Daevanion Point.
The Clash Rune Enhance Scroll is used to raise a Clash Rune’s enhancement level.
Statues are Epic-grade decorations. Placing one in your Pantheon applies the stat effect it carries. Colossus: Zikel’s Apparition adds Destruction, Justice and Time bonuses.
Conqueror Wings give 300 Defense Bonus, 80 Boss Attack and 400 Boss Defense while equipped. Just owning them adds 200 Flight Power, 20 Boss Attack and 1.00% PvE Damage Tolerance.
How to confirm a Nightmare clear counted
Three things happen when a run counts. The fight ends in victory, the fragment payout lands in your currency, and your attempt counter drops by one. Clearing level 10 also opens the next level in the chain. If your counter hasn’t moved, the run didn’t count as a clear, and the attempt is still waiting for you.