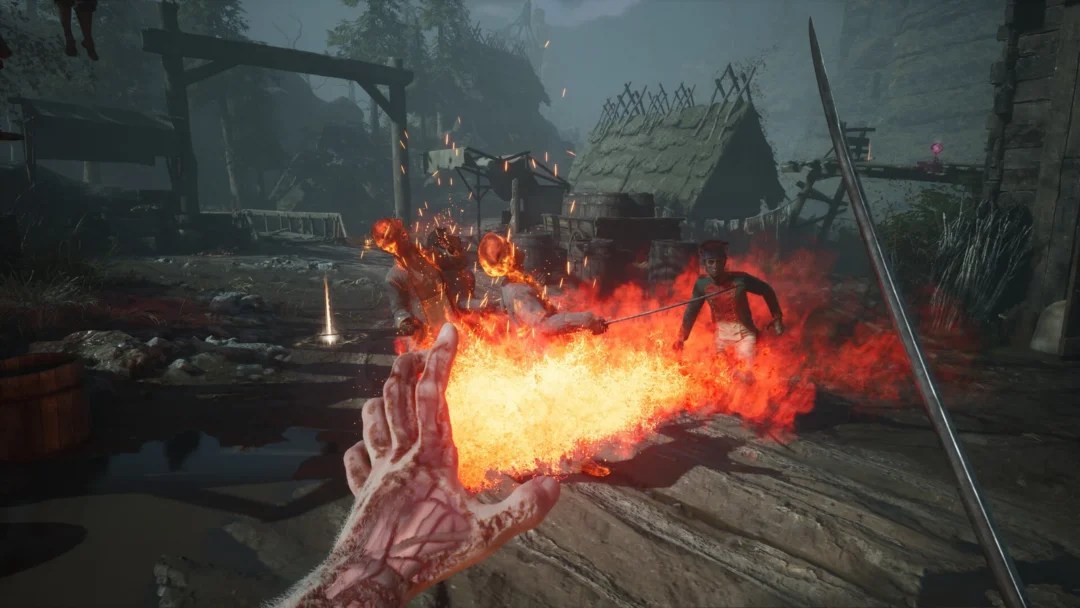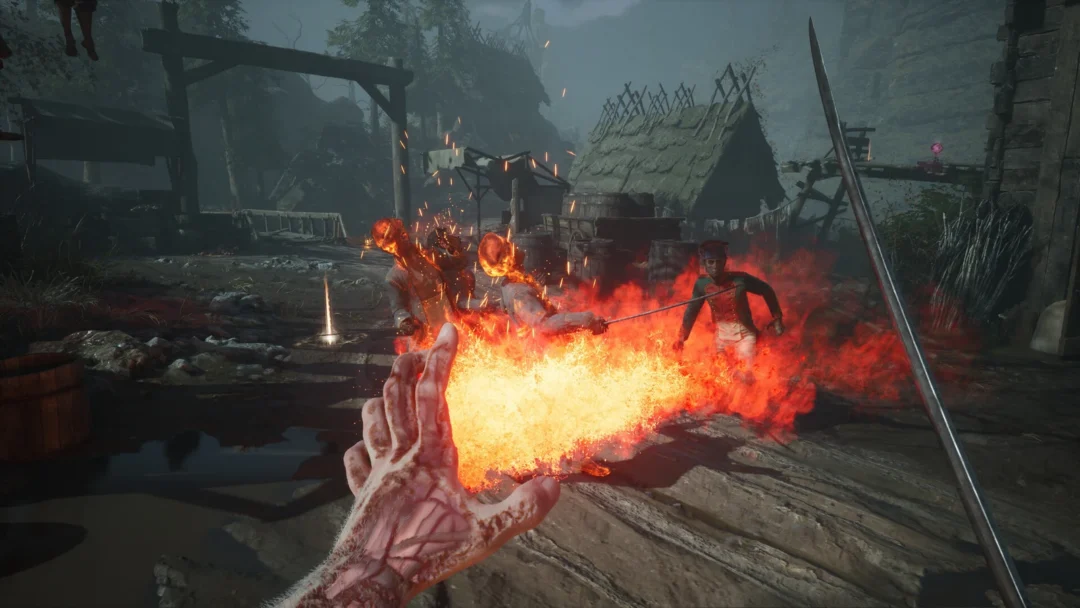
Valor Mortis runs William, a resurrected Grande Armée soldier, through a plague-rotted, body-horror version of Napoleonic Europe, and almost every area of that journey ends with a named abomination. The first-person combat mixes fencing weapons, firearms, and left-hand Transmutation powers, and the boss roster is where all three come together. Here is the full set, where each one appears, and how the campaign closes out.
Quick answer: There are 10 story bosses and no optional or post-game superbosses. General Lothaire is fought twice, and the campaign ends after you defeat Entity, Voice of the Void.
Every Valor Mortis boss and its location
The ten fights map roughly to one boss per area. Lothaire is the exception. His opening clash is scripted to kill you, and the real kill comes later. Defeating a boss triggers an “ABOMINATION ERADICATED” banner and pays out Catalysts, scaling up as the game goes on.
| Boss | Location | Reward |
|---|---|---|
| General Lothaire, the Eagle-Bearer | The Battlefield, then Abandoned Church | 10,000 |
| The Iron Marshall | Fallen Village | 7,000 |
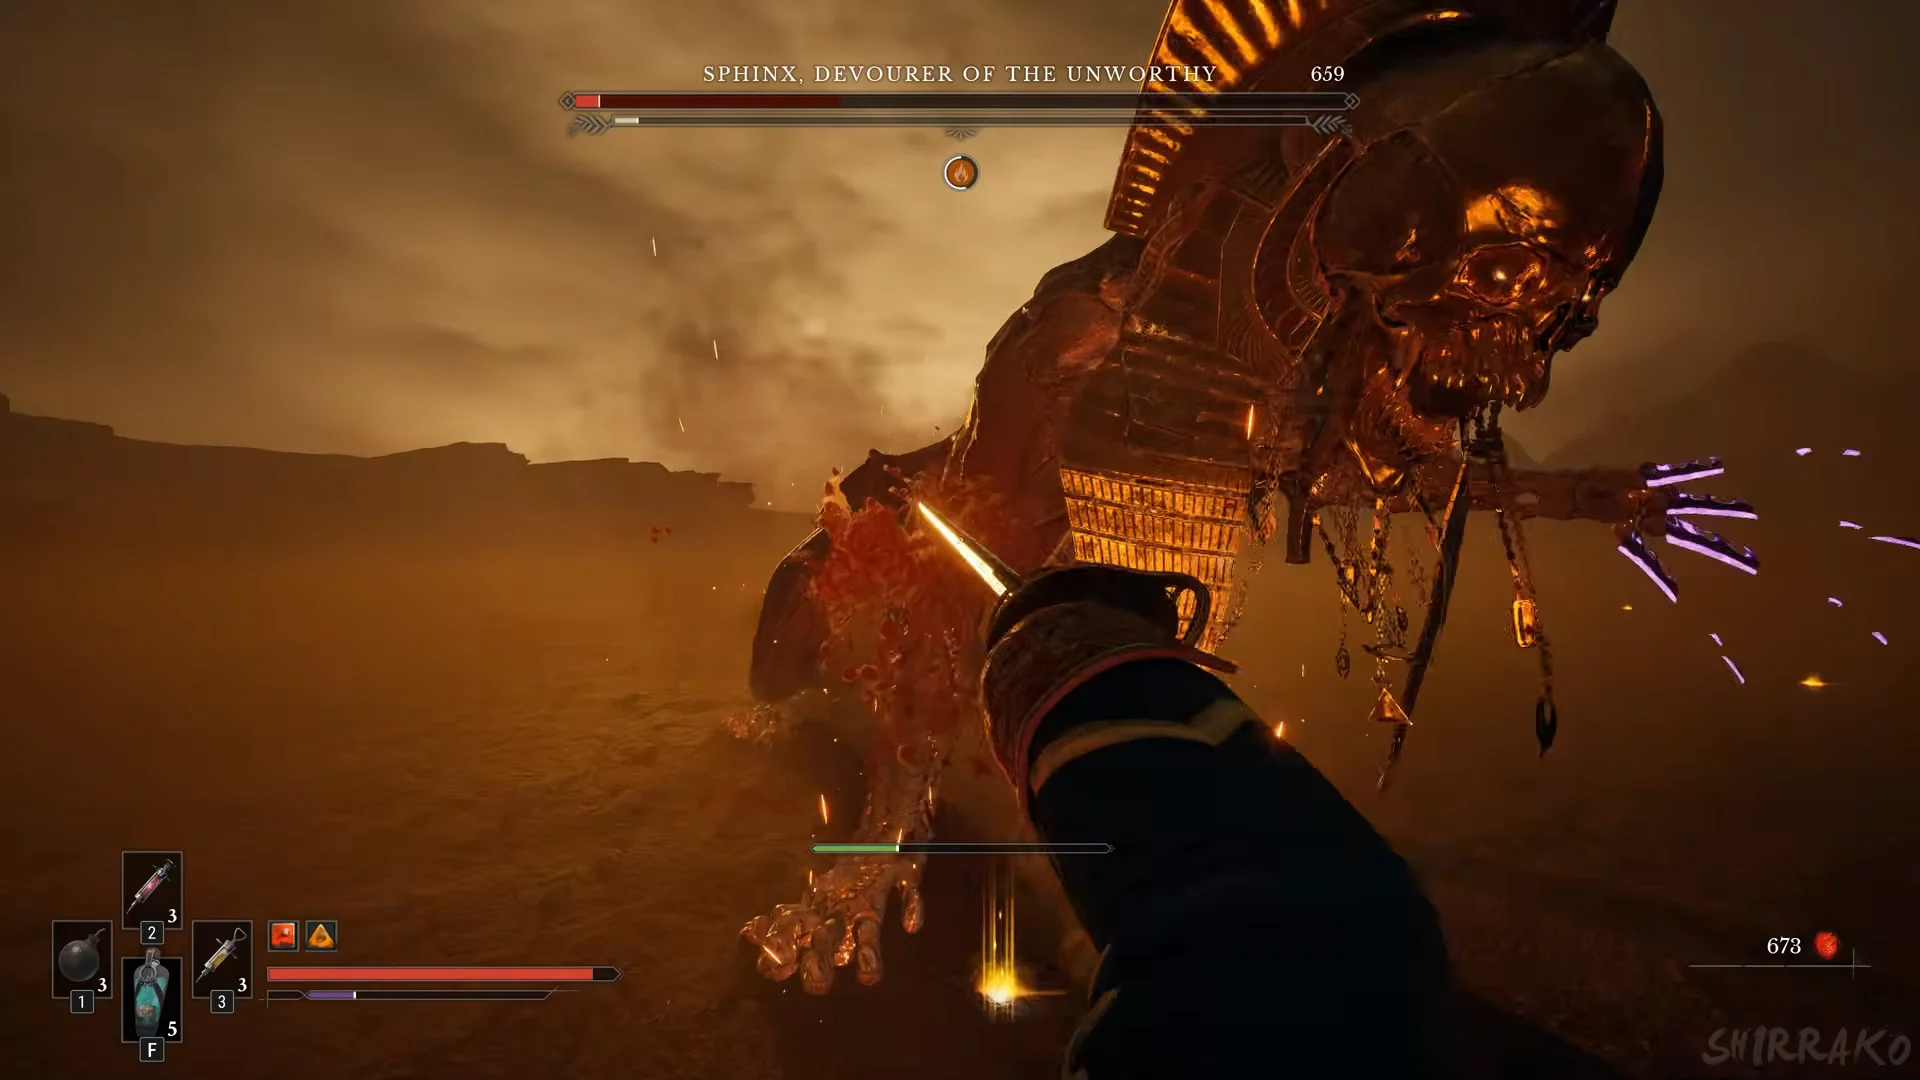
| Sphinx, Devourer of the Unworthy | Caverns (Pyramids) | 20,000 |
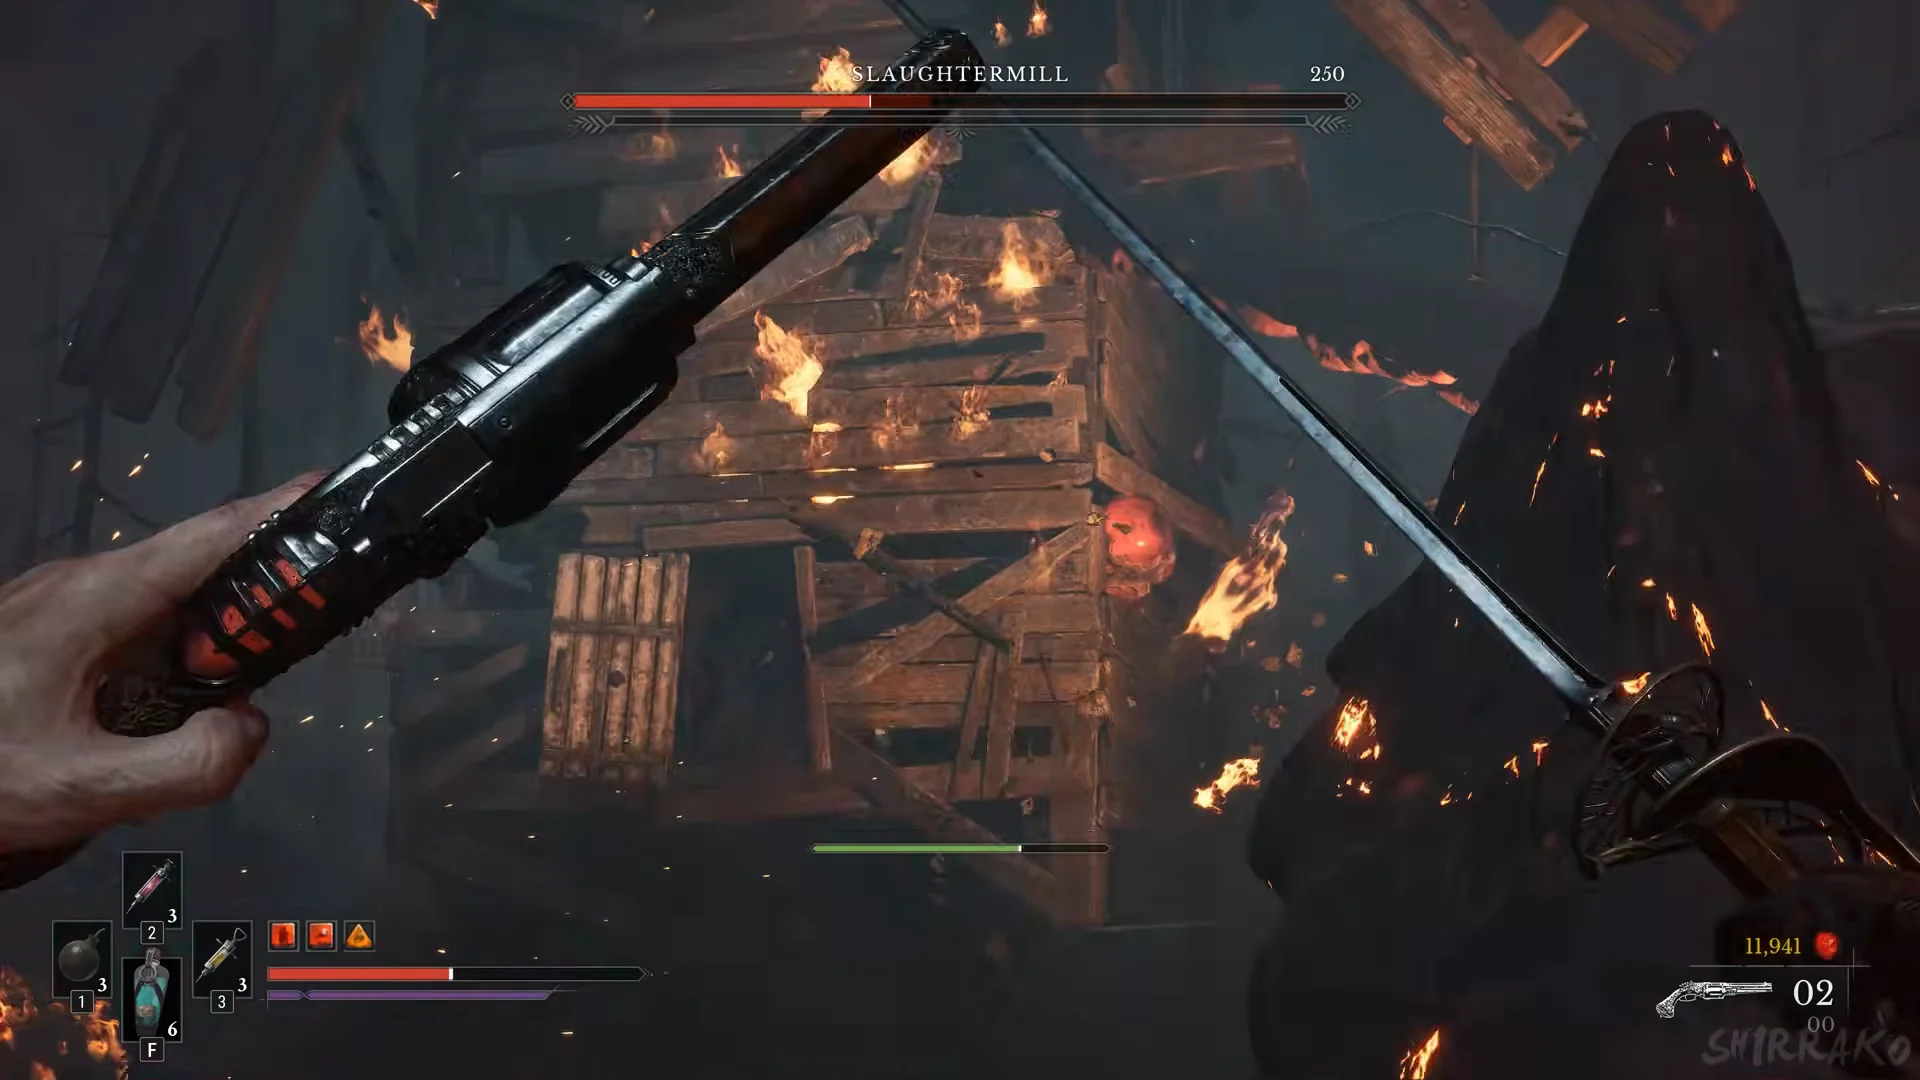
| Slaughtermill | Vale of Wrath | 30,000 |
| Anna, the Bride Drowned in Tears | Cursed Hollow | 14,000 |
| High Justicar Aurelius, Last of the Faithful | The Outskirts | 18,000 |
| Experiment 83 | The Outskirts (Lighthouse) | — |
| The Orphan | University | 40,000 |
| Captain Raphael of the Nephtis Superioris | Fortress | 50,000 |
| Entity, Voice of the Void | Entropy | — |
Experiment 83 is the same fight some listings label Experiment 33 or Experiment 53, so do not treat those as separate encounters.
Humanoid duels decided by parries
All four encounters are sword duels decided by parry timing. Learn the sequence of each combo and build stagger toward a critical hit; charging in aggressively matters much less.
General Lothaire, the Eagle-Bearer
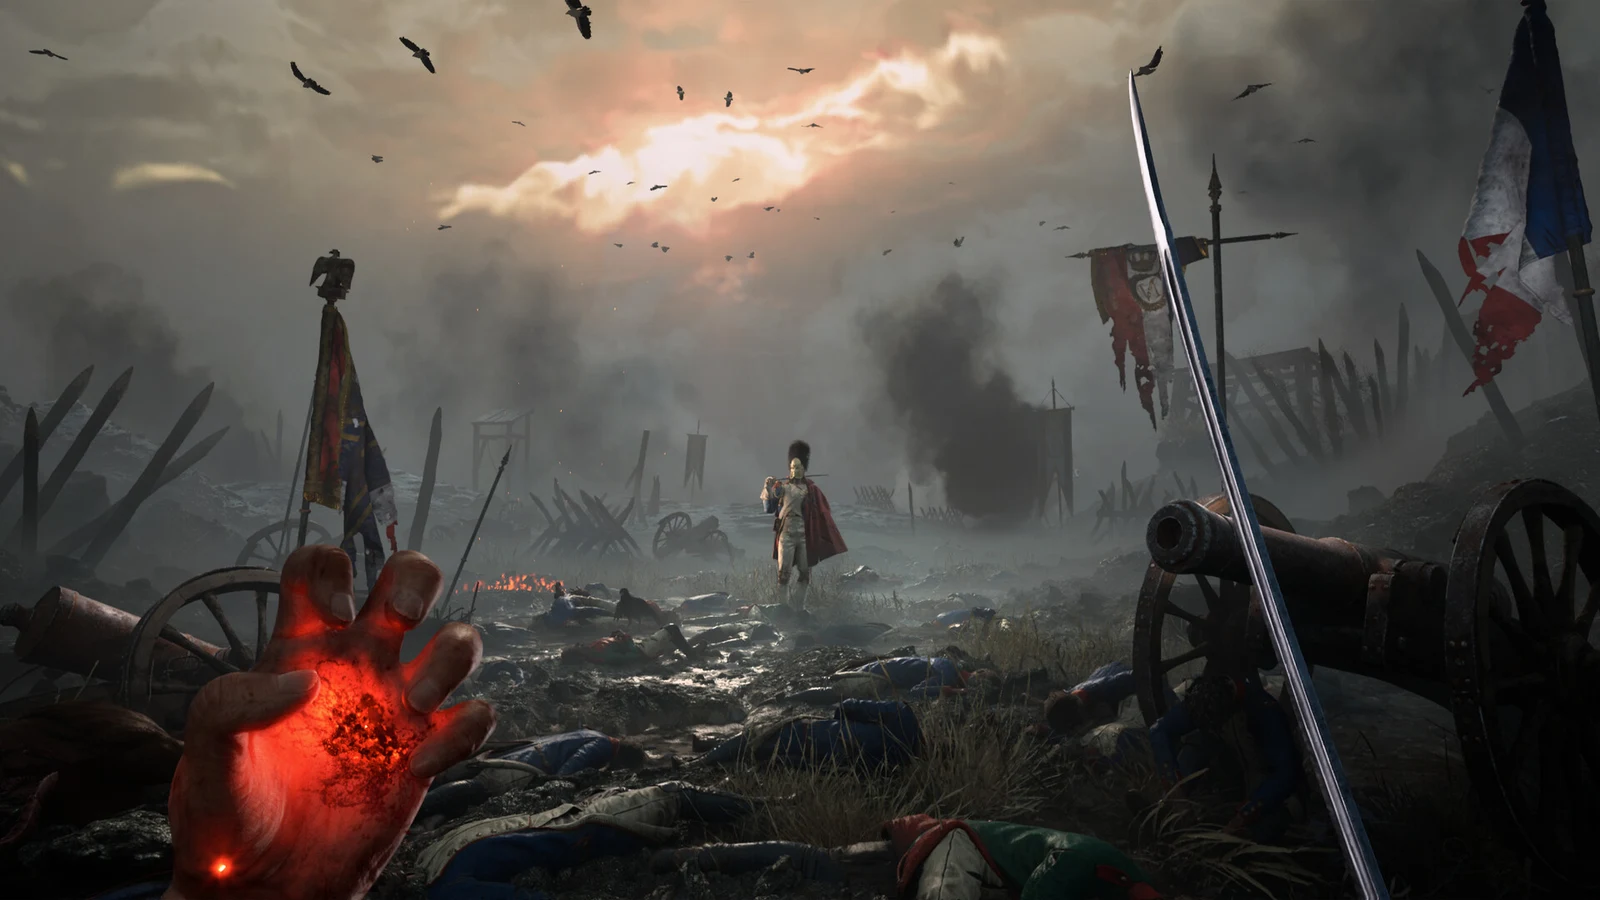
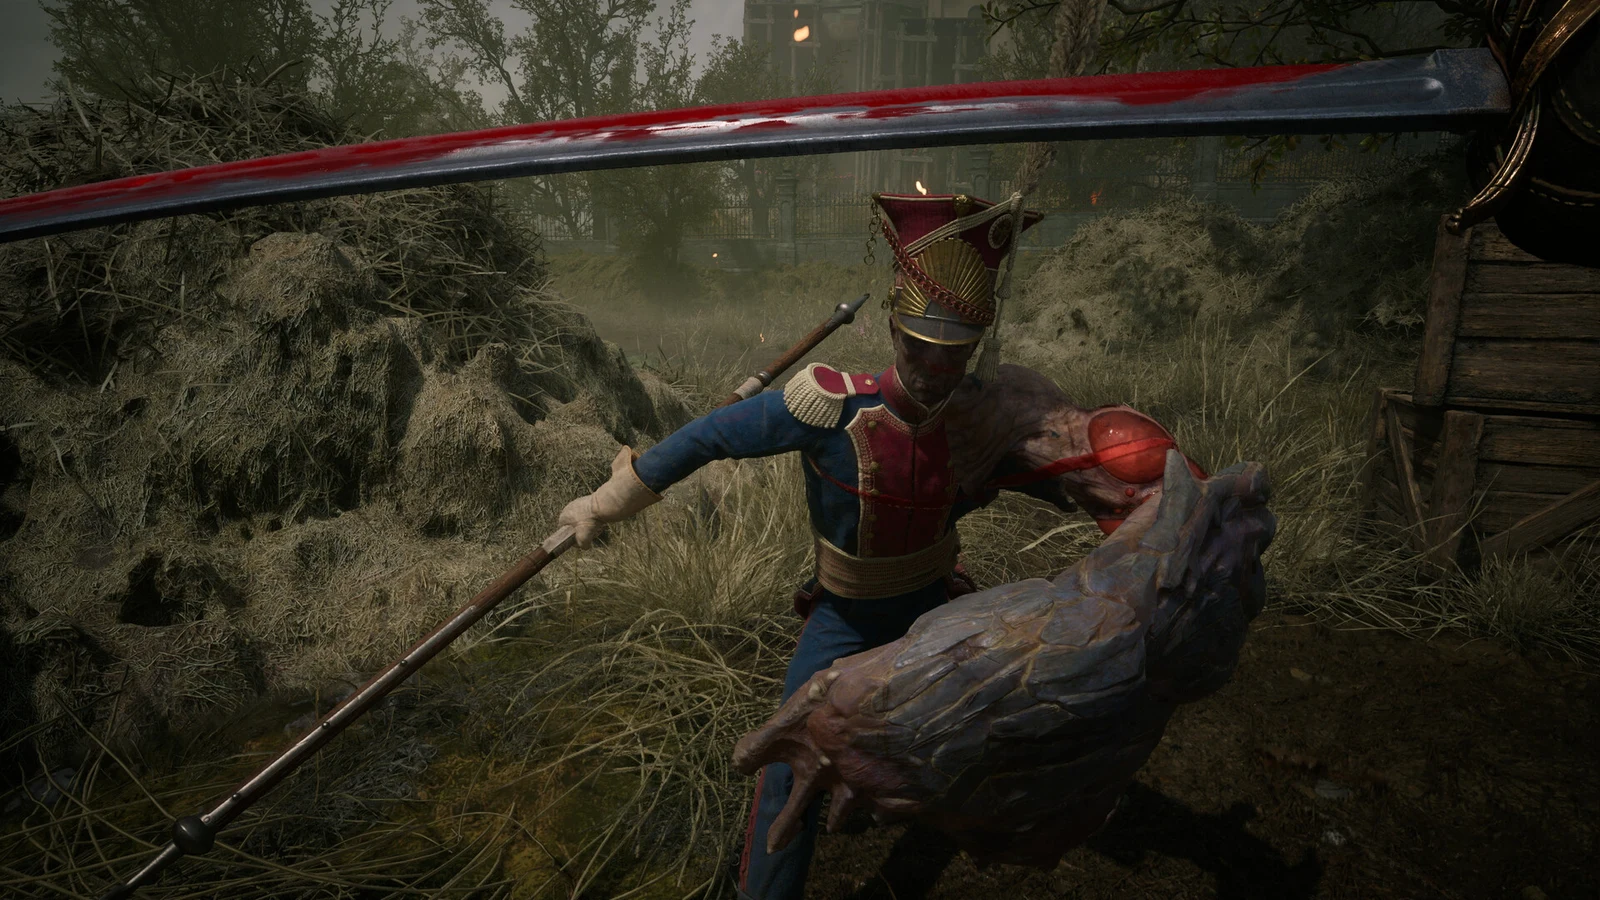
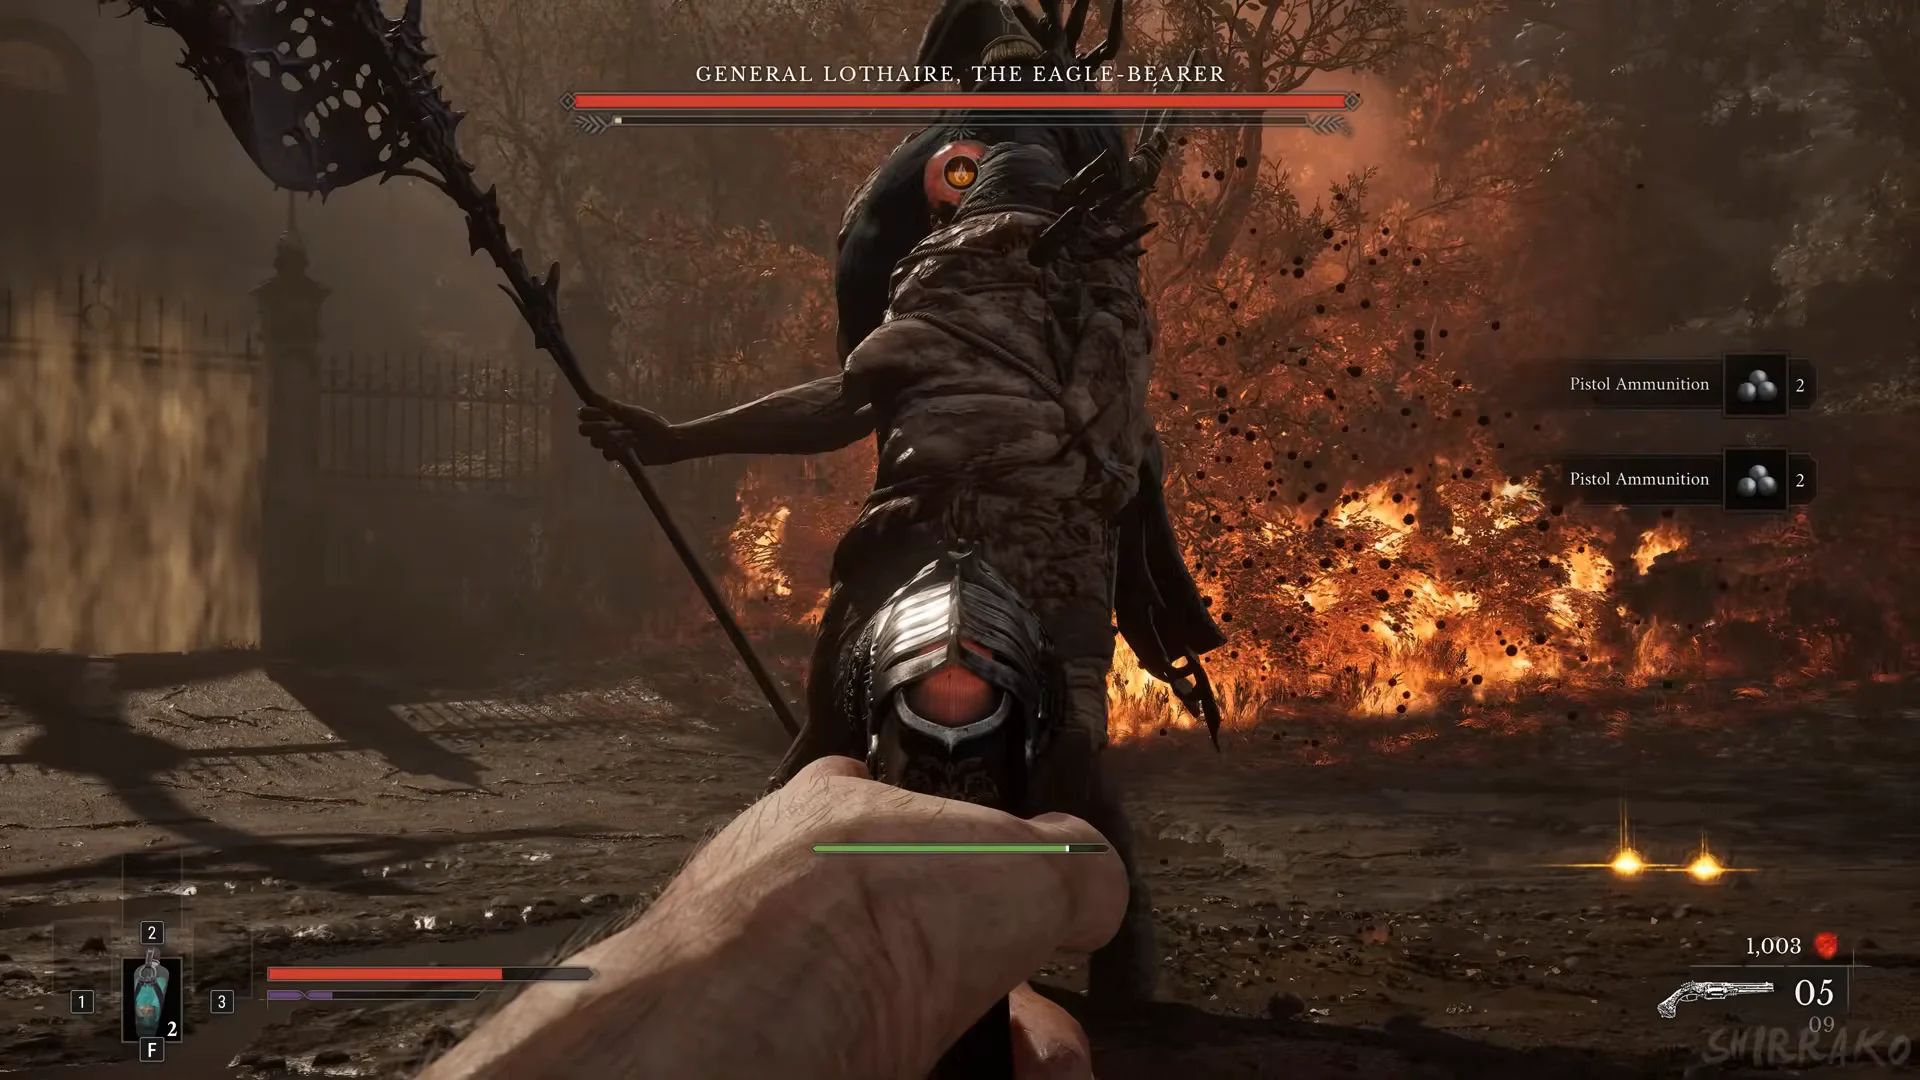
Lothaire is the first boss. Your initial encounter in The Battlefield is designed for you to lose, after which you awaken beside a mysterious figure. You meet him again later at the Abandoned Church and can defeat him with your saber, pistol, and Fire. His attacks include broad combo swings from a mutated arm, long-range lunges, and shots from pistols fixed to his back. Parrying most of these moves rapidly fills his stagger meter and creates a critical opening.
High Justicar Aurelius, Last of the Faithful
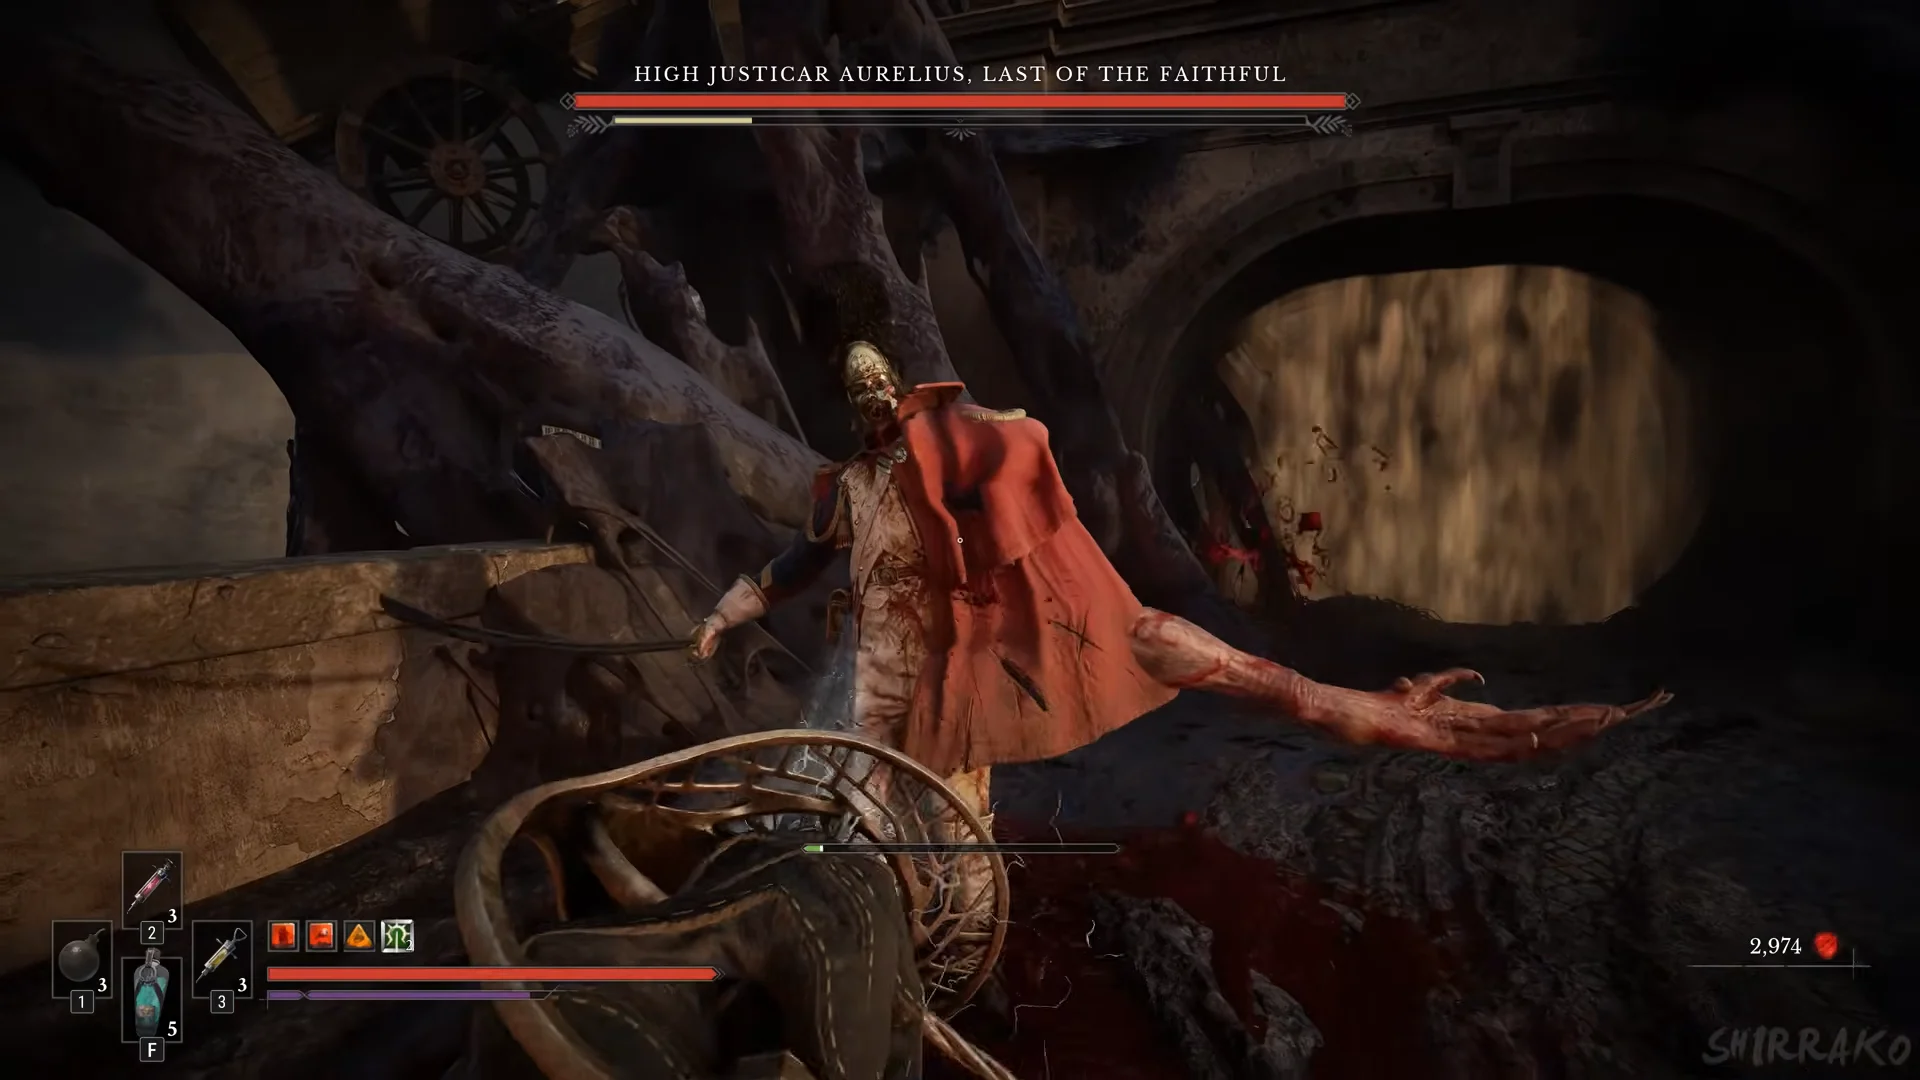
Aurelius is among the game’s Eternal Guardsman. In The Outskirts, he faces you in a straight-sword duel on a bridge. Look for openings with pokes and parries, and use Fire to deal damage over time. After drinking a flask, he transforms, extending an enormous bulbous arm across the arena, similar to Lothaire’s. Keep your distance until he returns to normal, then attack while he is human again.
Captain Raphael of the Nephtis Superioris
In the Fortress, Raphael fights with a blade and pistol and can restore his health during combat, making constant pressure preferable to waiting. Shield Transmutation is key: use it to guard against his swings and deflect his bullets as you build stagger. Stop his flask healing by closing in when he goes to drink, or break the attempt with a grenade or firearm. His unsettling likeness to William becomes a topic in the dialogue afterward.
Entity, Voice of the Void
The last battle takes place in Entropy, beginning with a humanoid figure that resembles William’s reflection. Its many summons create the main threat. Use Shield Transmutation again; each add falls to one hit, so take them out before turning your attention to the boss.
Mutated horrors you burn down from range
Three fights swap parrying for distance, stacked Fire Transmutation, and ranged shots into weak points.
The Iron Marshall
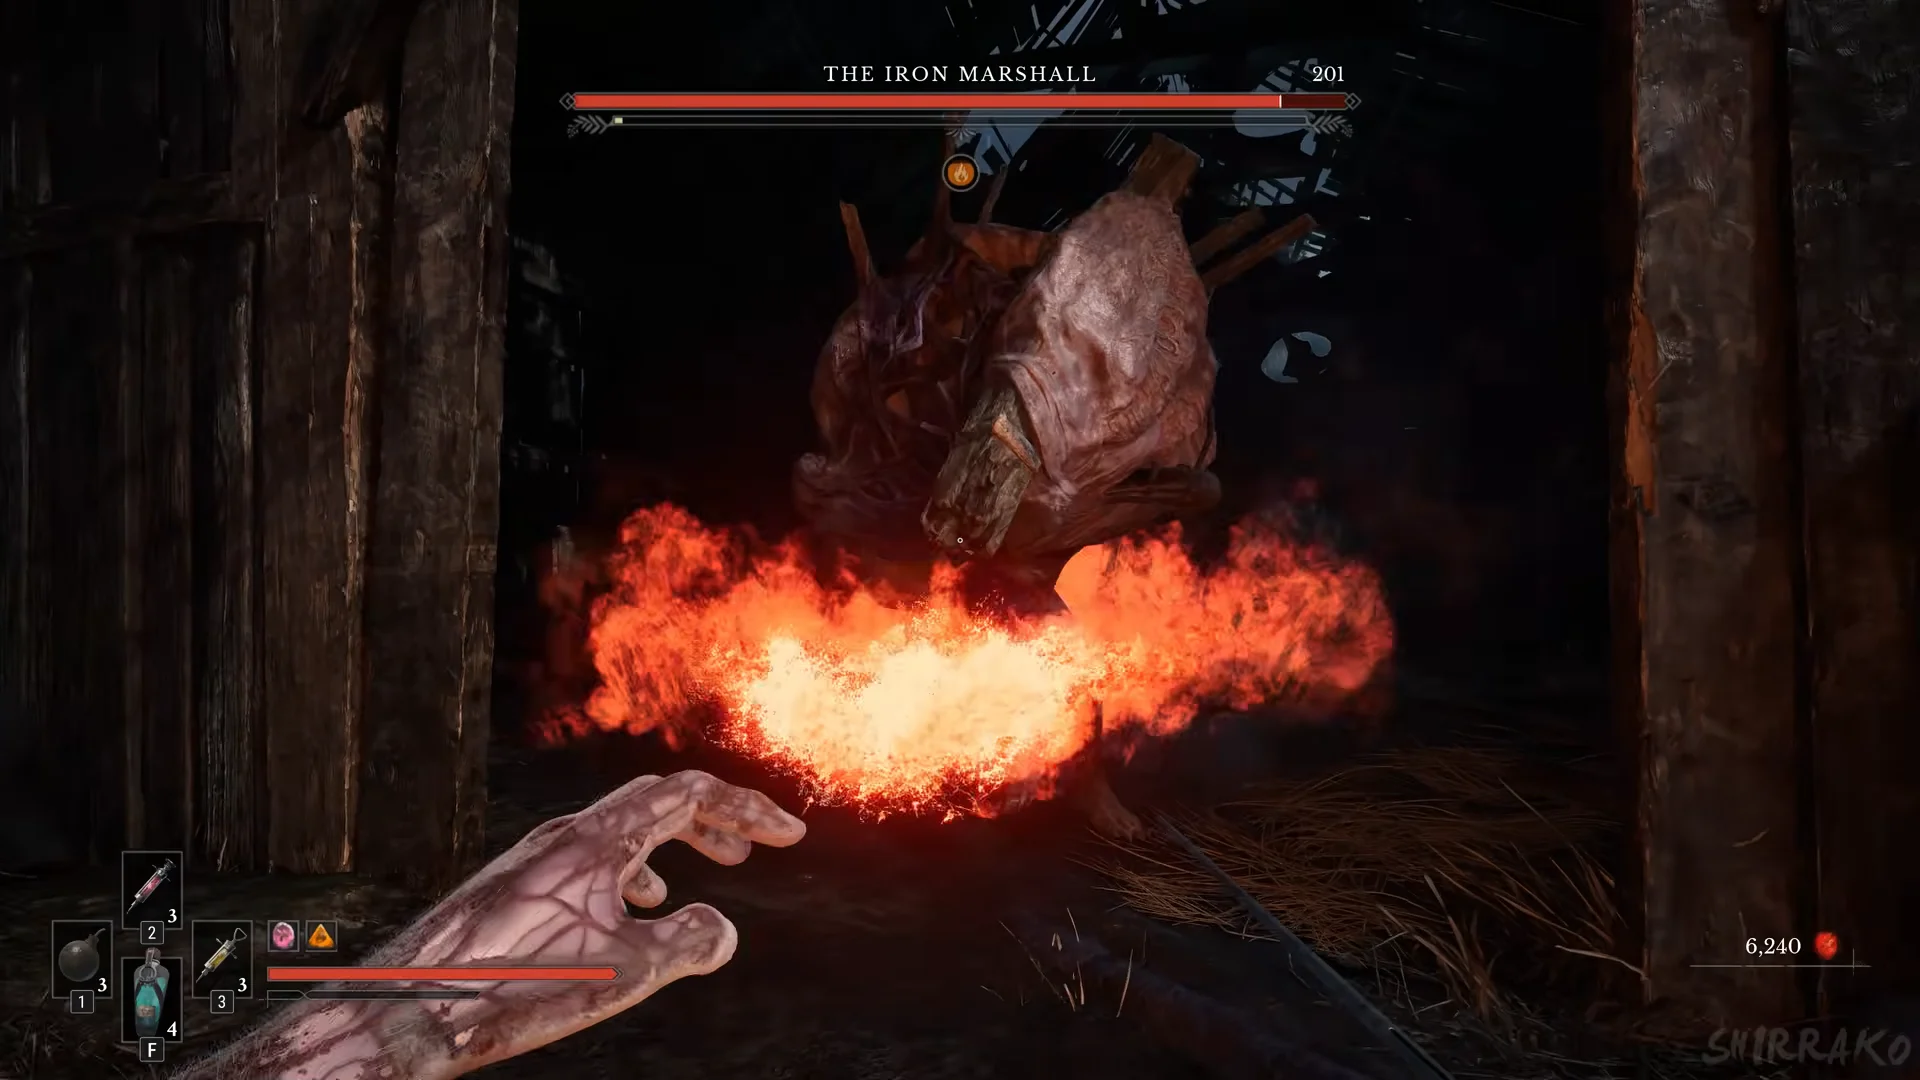
At the Fallen Village, the Iron Marshall moves slowly and swings a heavy flail, making him somewhat easier to read than Lothaire. Stay back and chip away with Fire and ammunition, targeting the weak area on his back. You can fight up close, though his wide sweeps are easy to misjudge, making ranged attacks the safer choice. Lesser Remnants of the Iron Regiment appear in other parts of the game.
Experiment 83
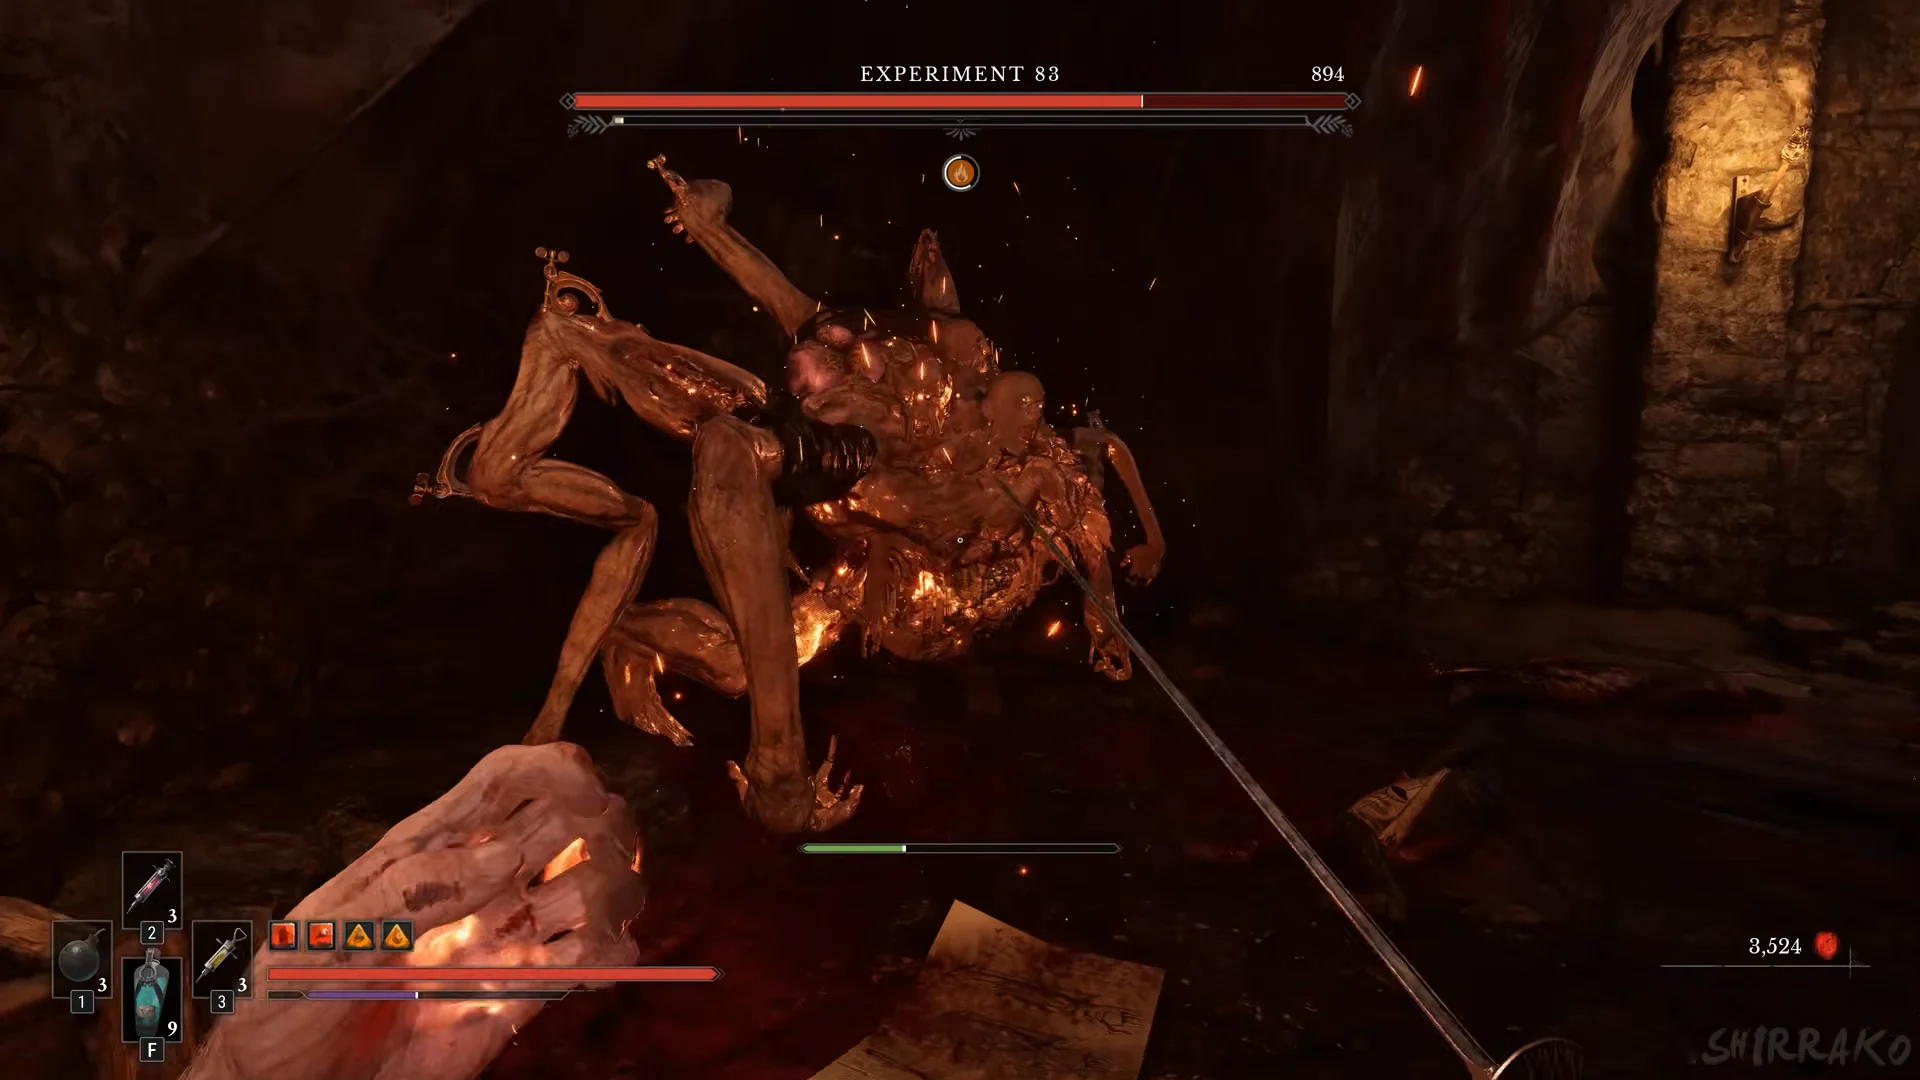
Pursuing the Shrike down to the Lighthouse basement in The Outskirts brings you face to face with a many-limbed abomination that hunts you through the room. Keep circling the arena to draw it along, then face it and use Fire repeatedly whenever your Nephtoglobin permits; spend your Nephtoglobin Vials here if you have them. Burning it and shooting its weak points brings it down quickly.
Anna, the Bride Drowned in Tears
In the Cursed Hollow, Anna prowls a flooded village square, attacking with quick, erratic butcher-knife strikes and calling in Shambling Civilians. She staggers easily and has little health, so use Fire and heavy blows during her stuns to wear her down fast. Take a Hand Grenade to clear the adds; being surrounded while attacking Anna is the main threat.
Set-piece fights built around one power
The final group calls for either a particular Transmutation or making use of an arena feature. Choose the right approach for each encounter to handle them smoothly.
Sphinx, Devourer of the Unworthy
Once you have explored the Caverns, you are transported to the Pyramids to face the Sphinx, a quick, nimble quadruped wearing a golden headpiece. Use Stasis Transmutation to slow or freeze it, creating chances to attack. The Sphinx has two health bars; during the second phase, a weak point appears on its face, which you can bombard with ammunition found around the arena.
Slaughtermill
In the Vale of Wrath, the Slaughtermill is a mutated windmill and a prompt-driven fight. Follow the cues: shoot its glowing weak points, pull the blue Nephtoglobin nodes, and grapple across the structure while dodging its tentacles and Carrion summons. Use a Stasis barrier to soak its projectile barrages. The mill then collapses into an underground chasm for a platforming second phase, where you climb scaffolding and destroy the red pustules and central core. Clearing it finishes the Crime chapter for 30,000 Catalysts.
The Orphan
Poison vents line the University arena where you battle the Orphan, forcing you to avoid environmental hazards as well as its attacks. At first it is hunched over in an iron head cage and straitjacket. A cutscene then shows it ripping open its back, releasing green gas, and tearing off its collar as the more aggressive second phase begins. Shield Transmutation helps you endure its long, powerful combos, while Fire should keep dealing damage throughout. During phase two, trap it against a wall and throw a few Oil Grenades; use Flaming Whetstones to maintain the burn.
The ending after Entity, Voice of the Void
The eradication banner is not the final moment after you defeat the Entity. As the closing cinematic begins, William reaches into the fallen being and pulls out its glowing crystalline heart. The Entity taunts him, claiming he betrayed Napoleon just as he had once sold his soul to the Shrike. William replies that the “untameable fire” needed to be quenched so the world could know peace, “even if only for a moment.”
The cutscene then drops a guillotine blade, plays a monologue over Napoleon’s legacy, and shows an eagle soaring over armies marching through snow alongside colossal walking mega-cannons, before cutting to the title card. The imagery points squarely at William’s hand in the fall of the Emperor and leaves the Empire’s survival as an open question. That is the complete roster and the end of the story. There are no optional bosses, no post-game superbosses, and no summons, so each fight comes down to learning the moveset and walking in with the right Transmutation equipped.