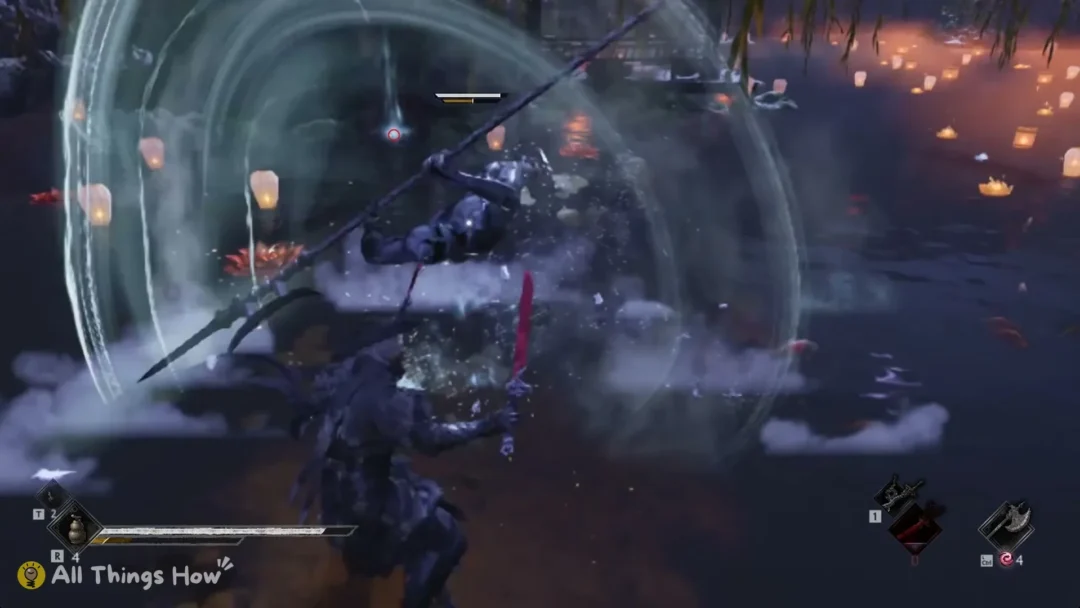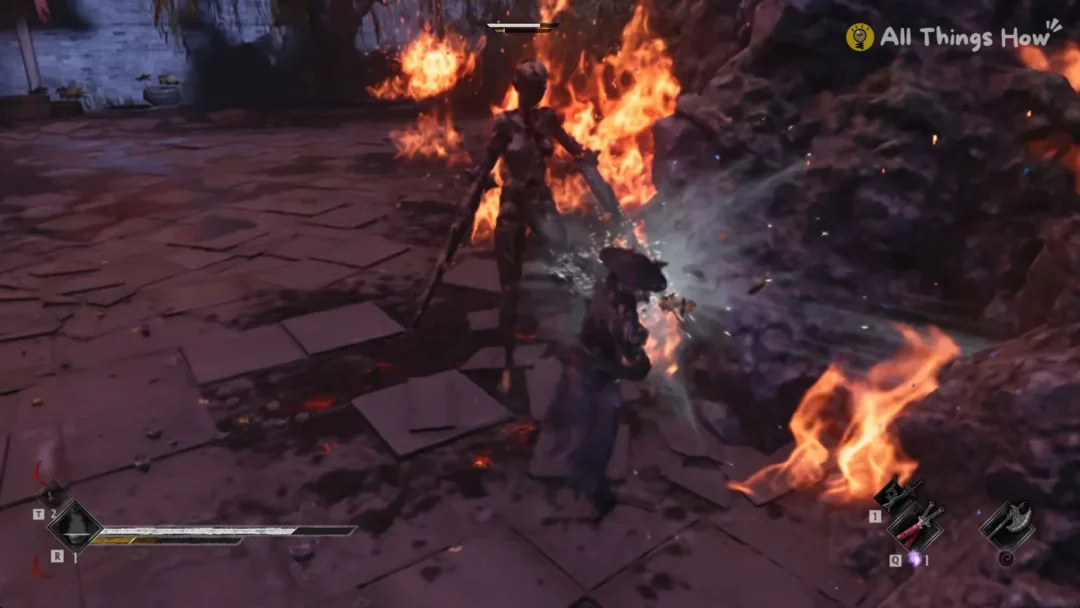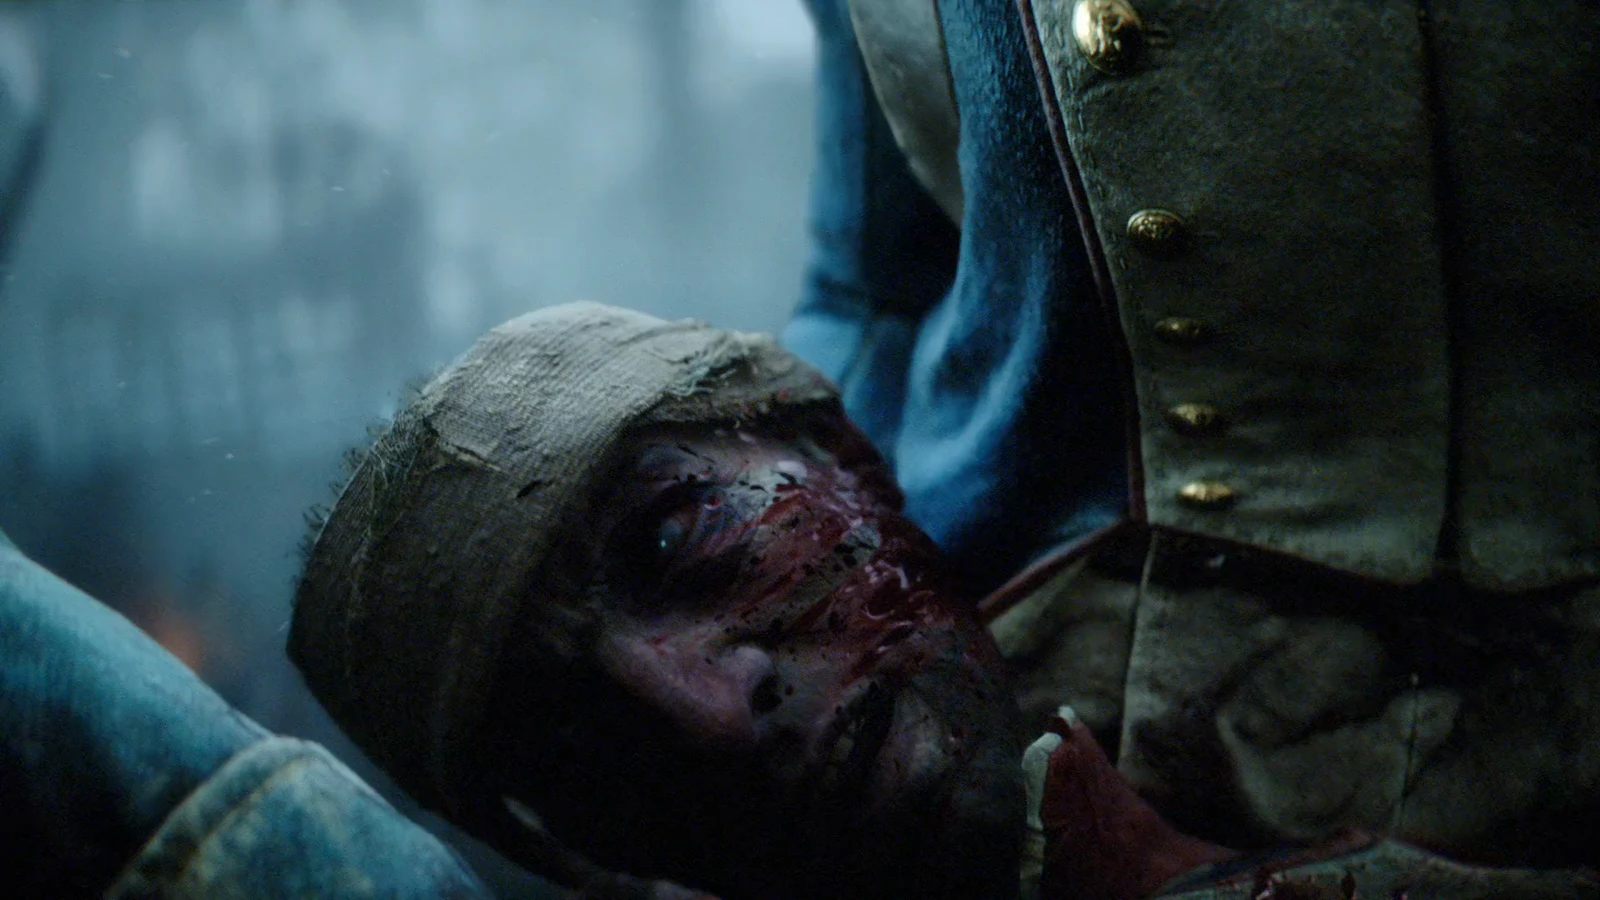
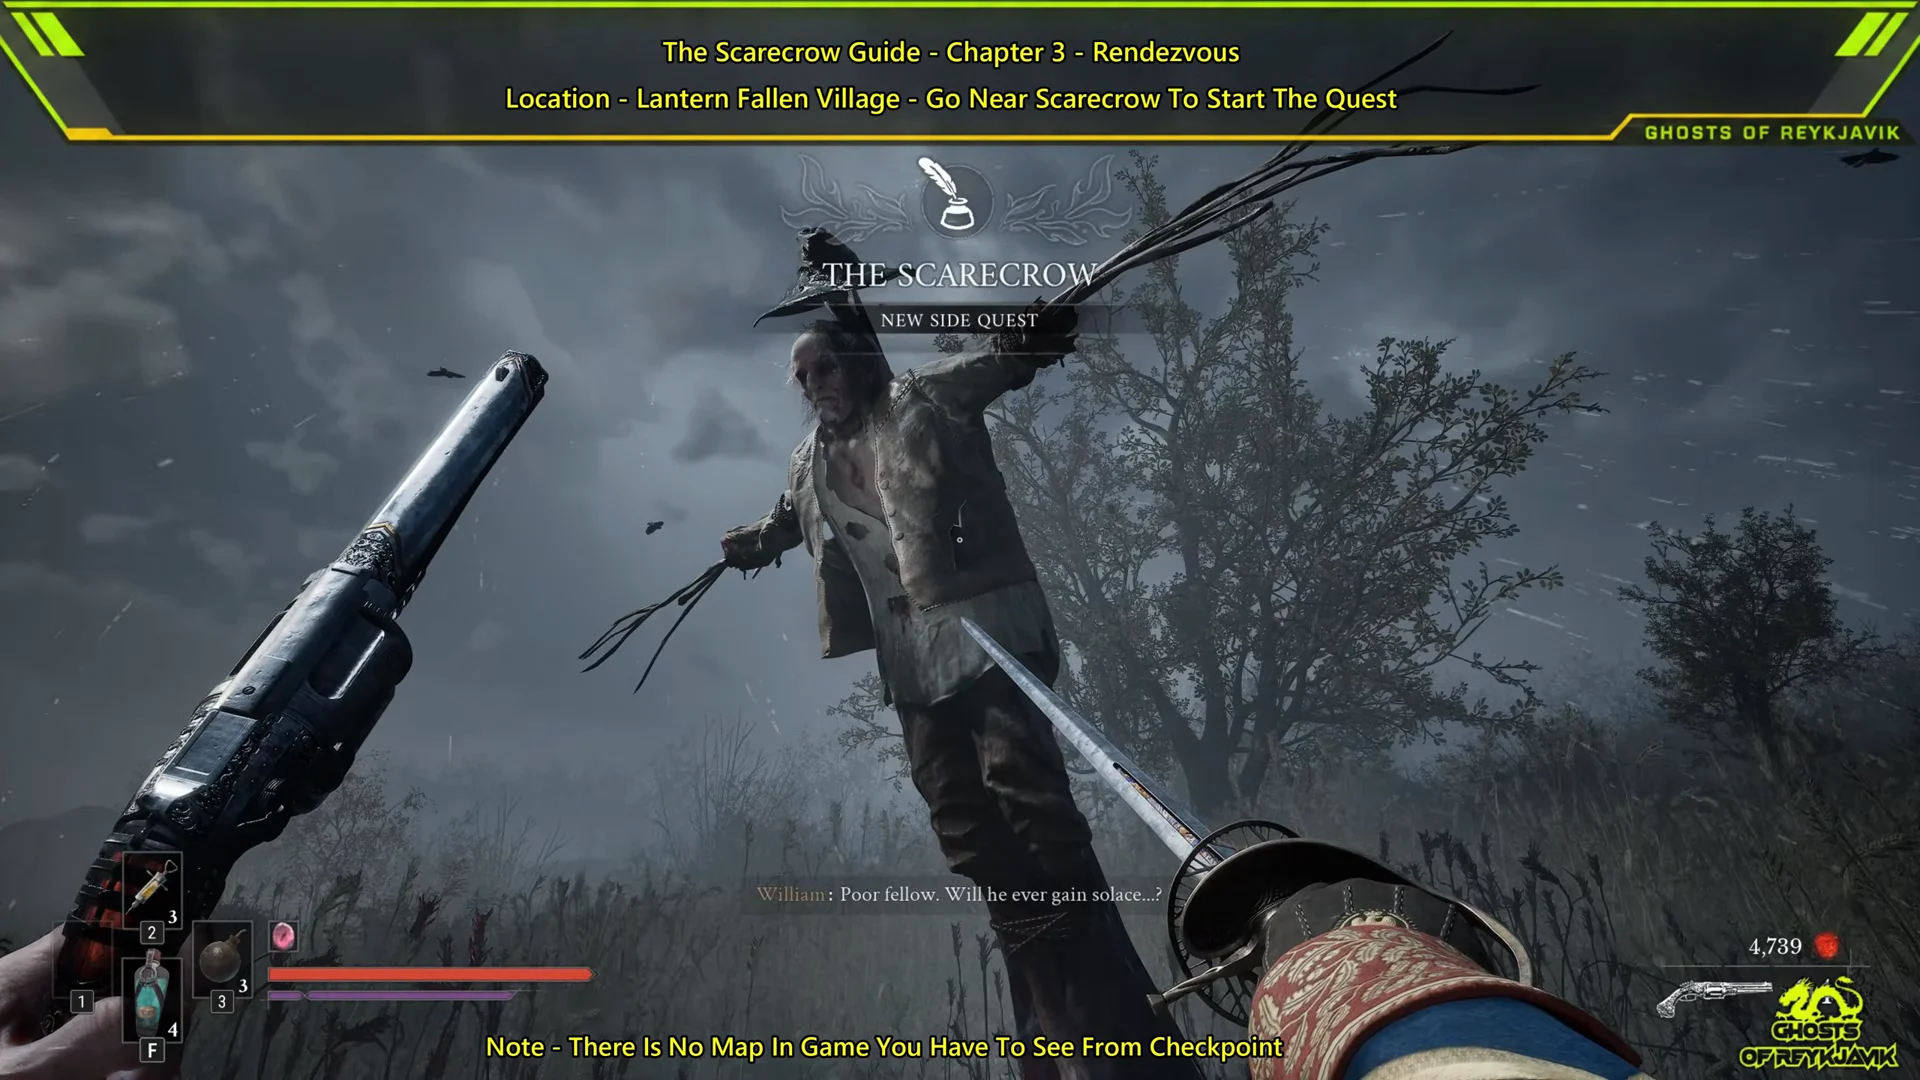
The Scarecrow is the first side quest you can pick up in Chapter 3: Rendezvous of Valor Mortis. You find it in the Fields area of the Fallen Village, where a mutilated man is tied to a wooden cross and kept alive. Soldiers took two of his belongings. If you return both and then follow his crows, he can finally rest, and you get Bountiful Harvest, an amber, along with 6,500 Catalysts. The quest is short. Both items are easy to walk past in the dense grass, though, and the quest does not end when you hand them over.
Quick answer: Take the Lover’s Pendant from the corpse under the tree behind the scarecrow. Get the Letter with a Drawing from the upstairs desk of the nearby house. Return both, then follow the crows to the barn loft and interact with the blue memory.
Where The Scarecrow quest starts
- Chapter: Chapter 3, Rendezvous, available right after you arrive.
- Area: Fallen Village, Fields. The scarecrow sits in the field to the right of the story route.
- Nearest checkpoint: the Fields Lantern, close to Laurent.
- Navigation: there is no in-game map, so every direction below starts from the Fields Lantern.
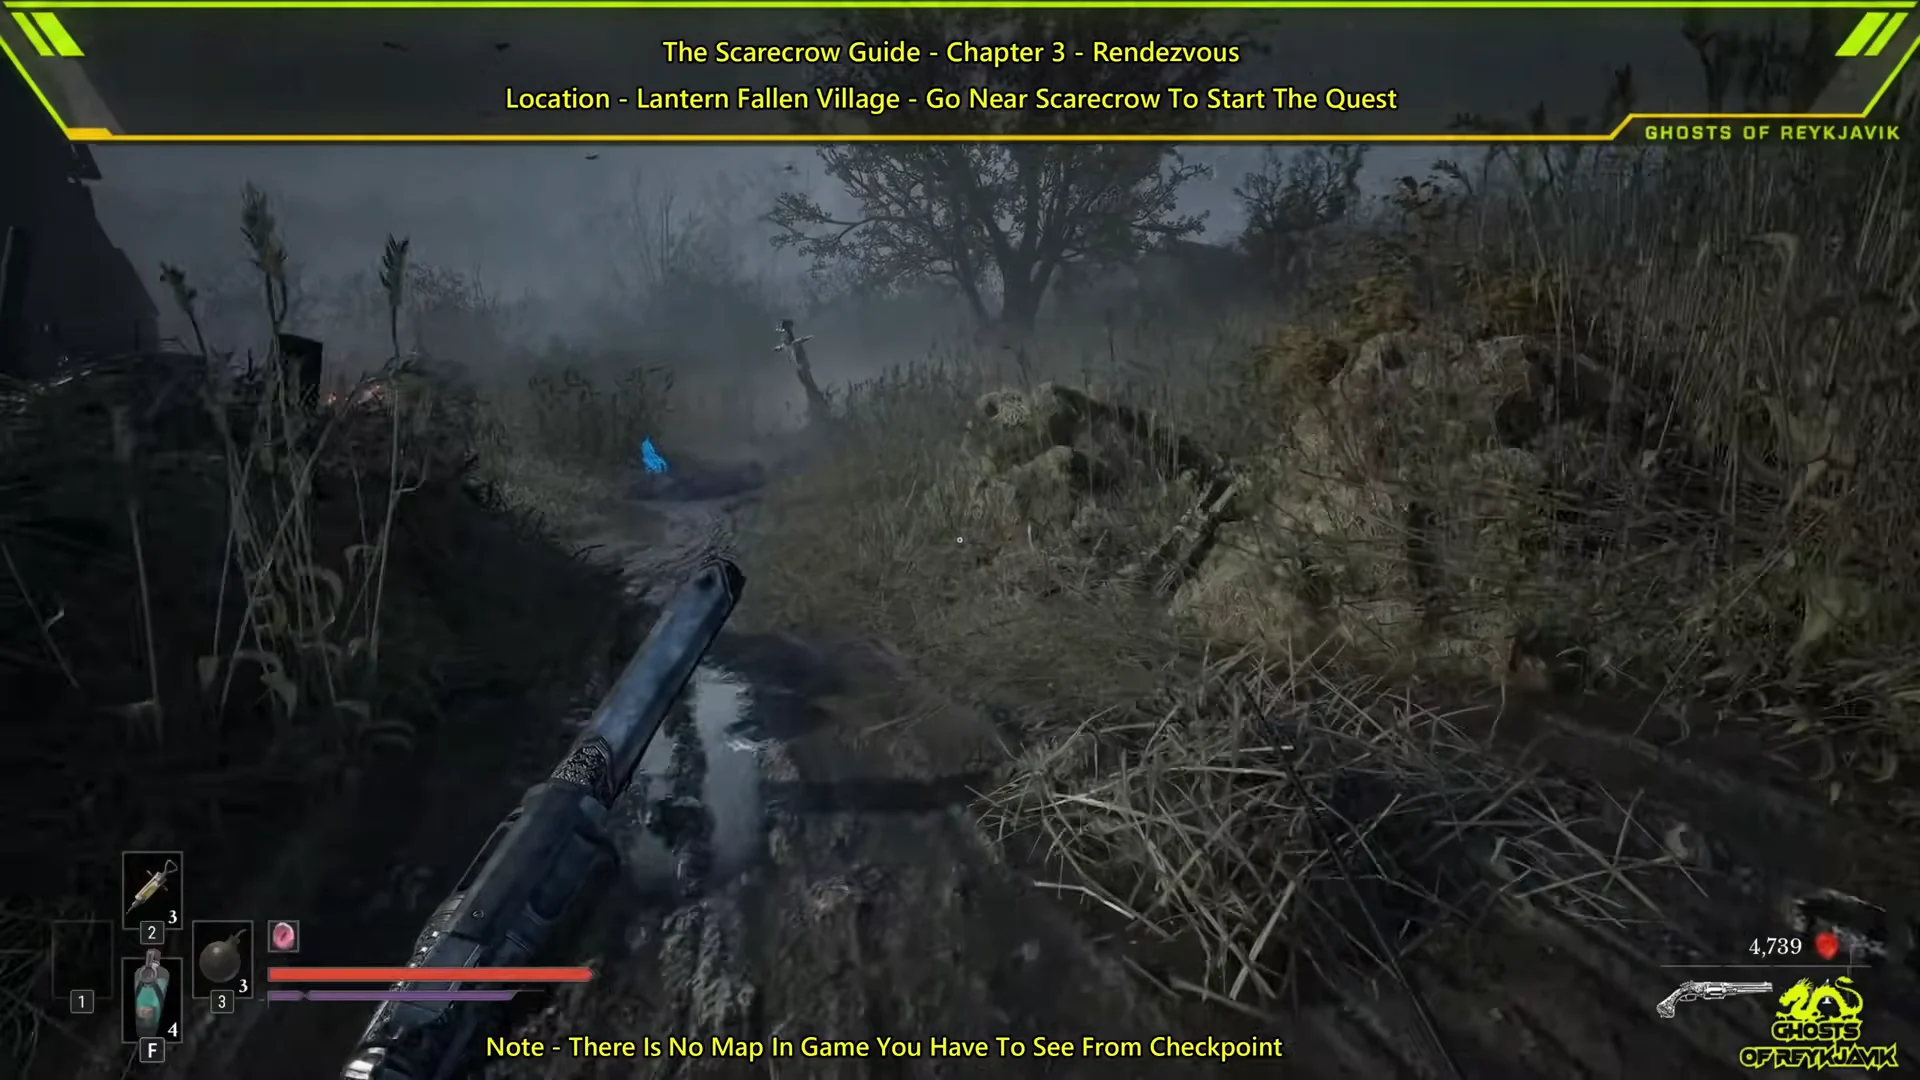
Rest at the Fields Lantern. If you are face-on to the lantern, the scarecrow is along the path to your left. Follow the muddy dirt road into the open field, where a bound figure is surrounded by circling crows.
As you get close, a blue memory plays in which two soldiers argue about why the man won’t die. One says the captain ordered “Eternal suffering.” When the memory ends, interact with the scarecrow and “The Scarecrow” appears as a new side quest. William points out a mark on the man’s neck where a medallion used to hang and a pocket torn from his clothes. Those are the two items you need to find. Interacting more than once gives you a few extra lines about who the man was.
Lover’s Pendant location
You can see the pendant from the post. Walk past the scarecrow, leave the dirt track, and head into the tall marsh grass toward the lone bare tree behind him. A dead soldier is slumped at the base of the tree next to a small wooden cross, and the Lover’s Pendant is on the ground beside him. Pick it up. William asks whether it belonged to the man on the cross.

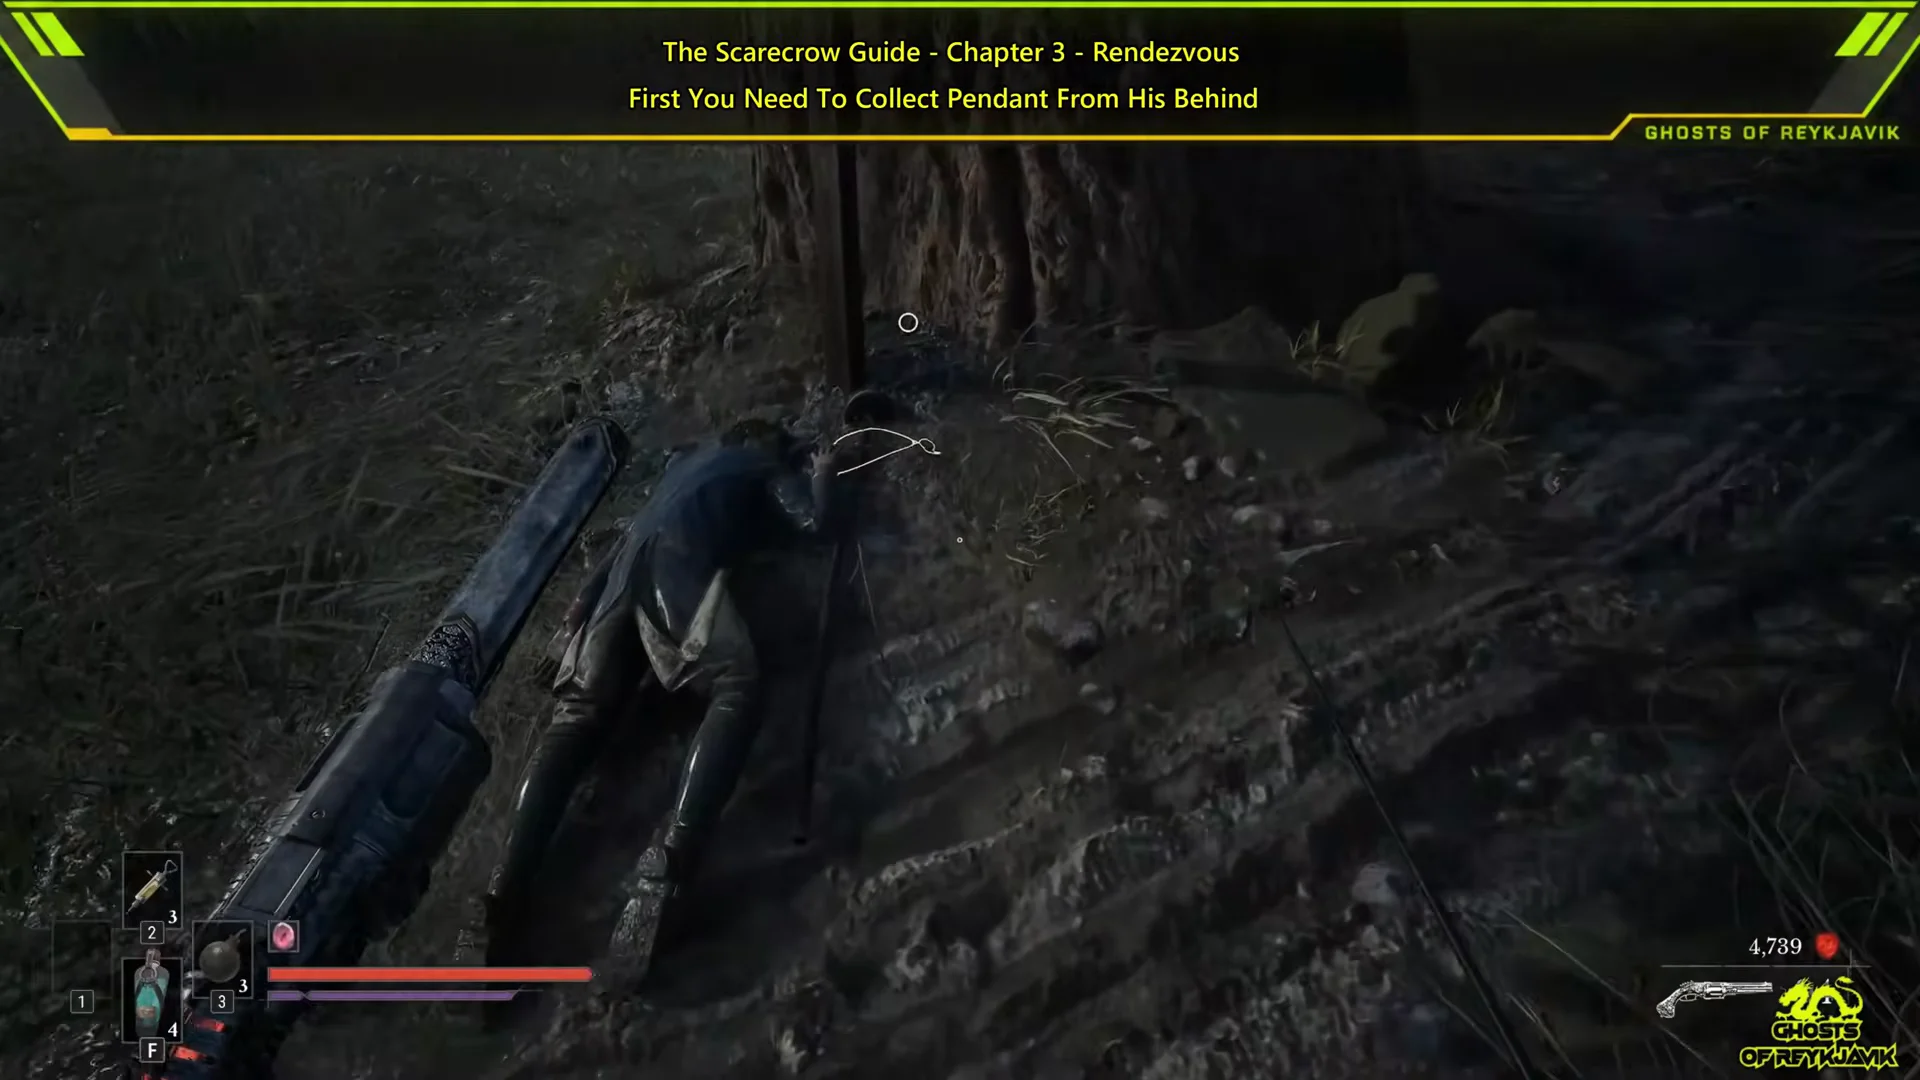
You can hand over the pendant right away, but keeping it until you have the letter lets you return both items in one trip.
Letter with a Drawing location
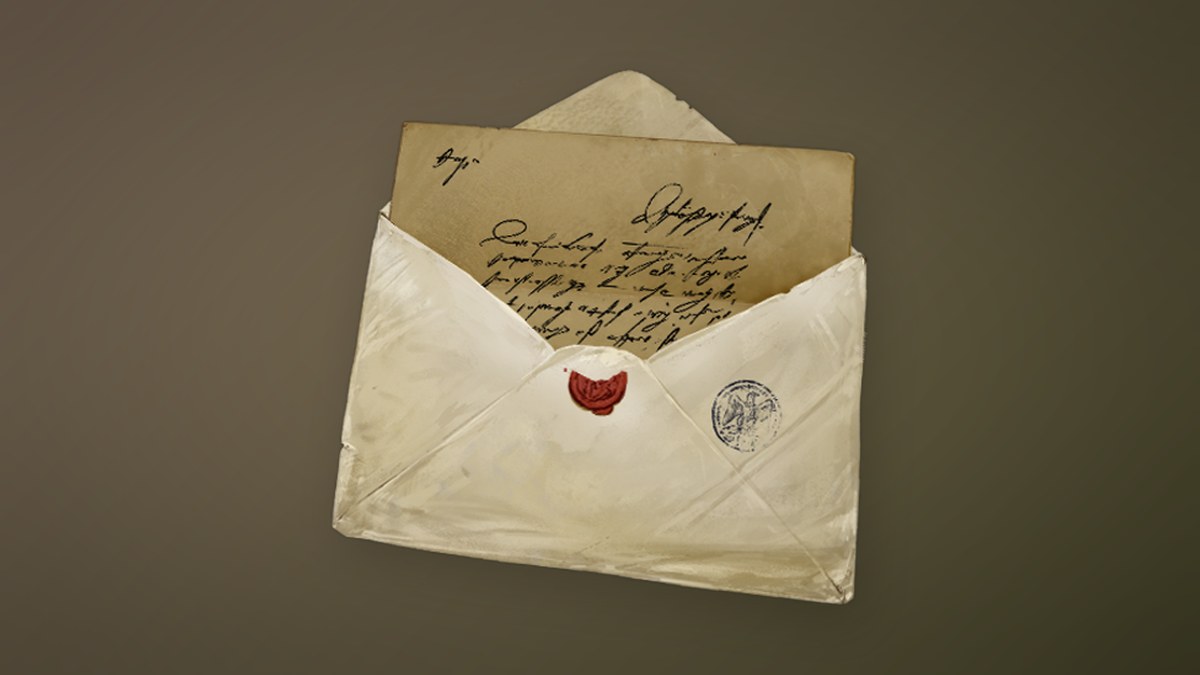
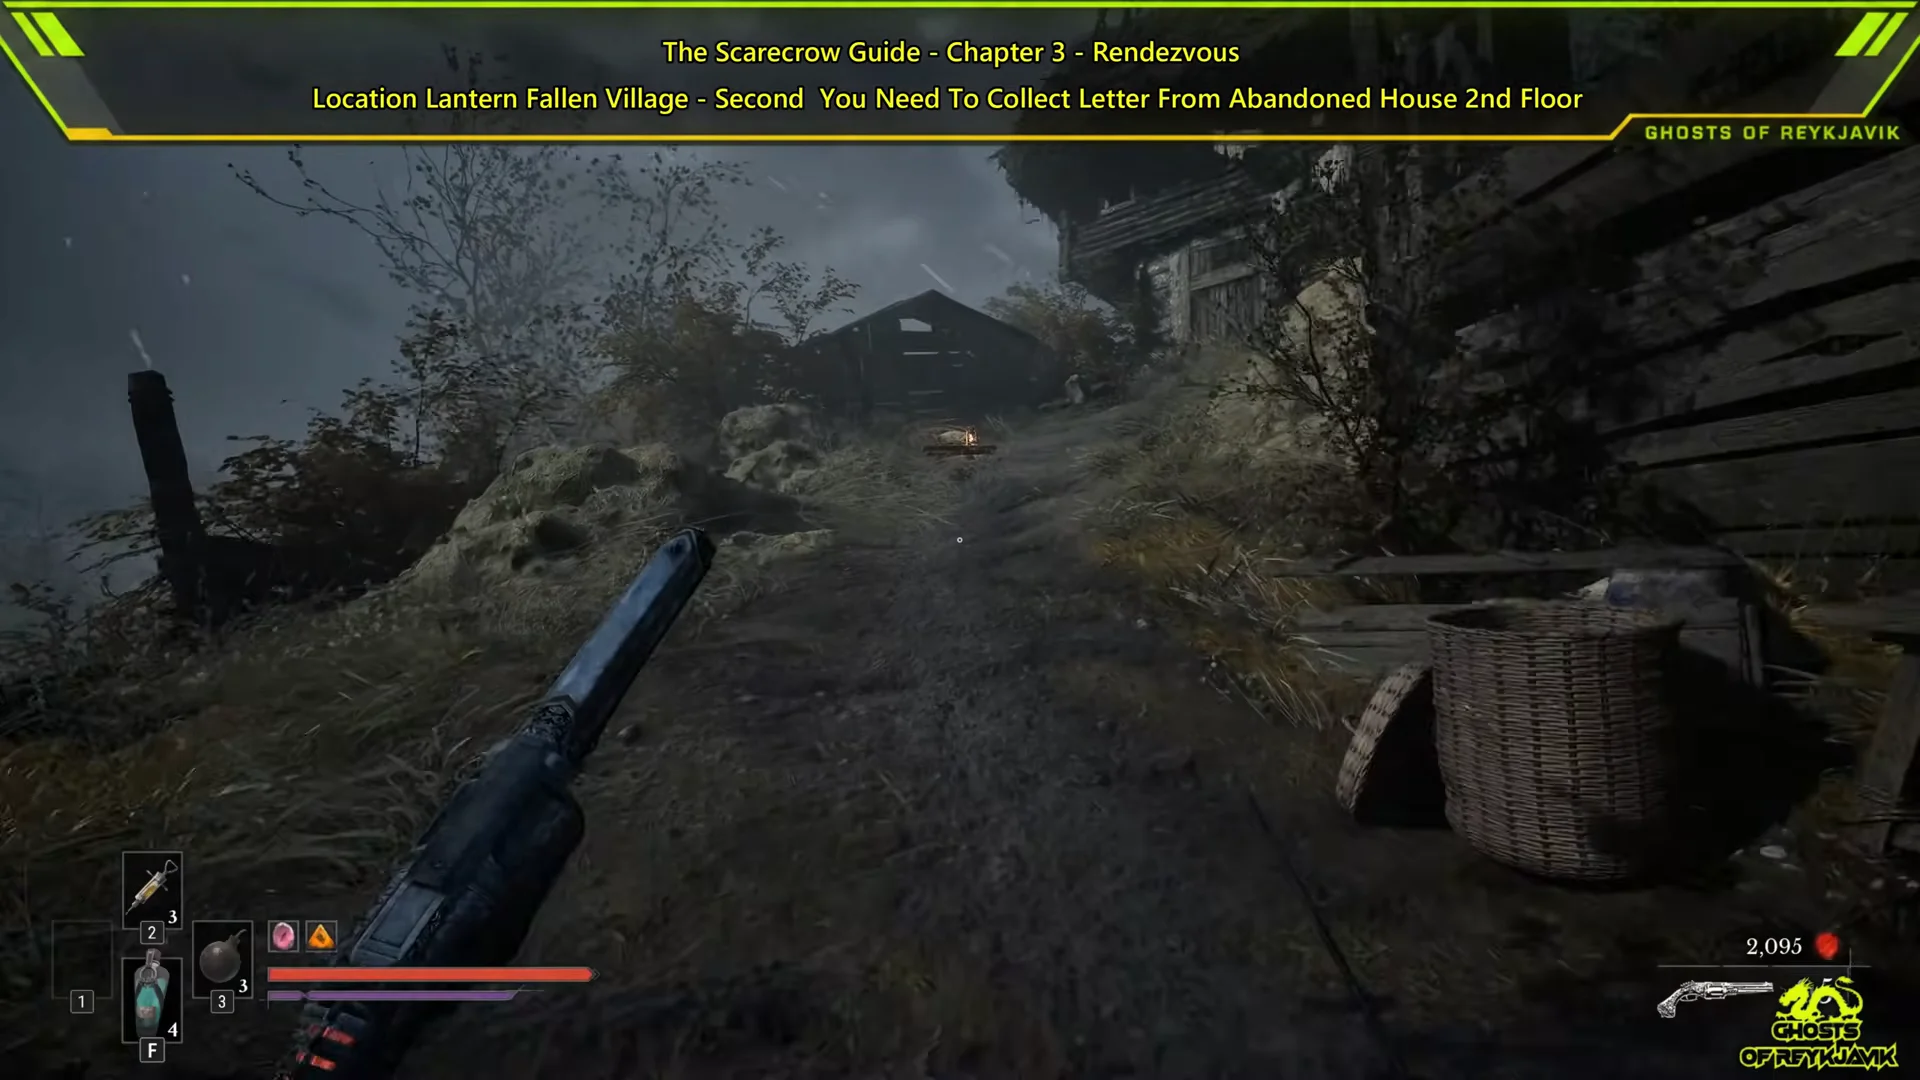
The letter rests on a desk upstairs in the wooden house beside the Fields Lantern. A wooden wheel is fixed to its front wall, and the house stands just left of the gate opposite the lantern. The front entrance is bolted from within, so use the back door to get inside. You can approach from the lantern side or return later from the Marketplace Lantern.
Route from the Fields Lantern
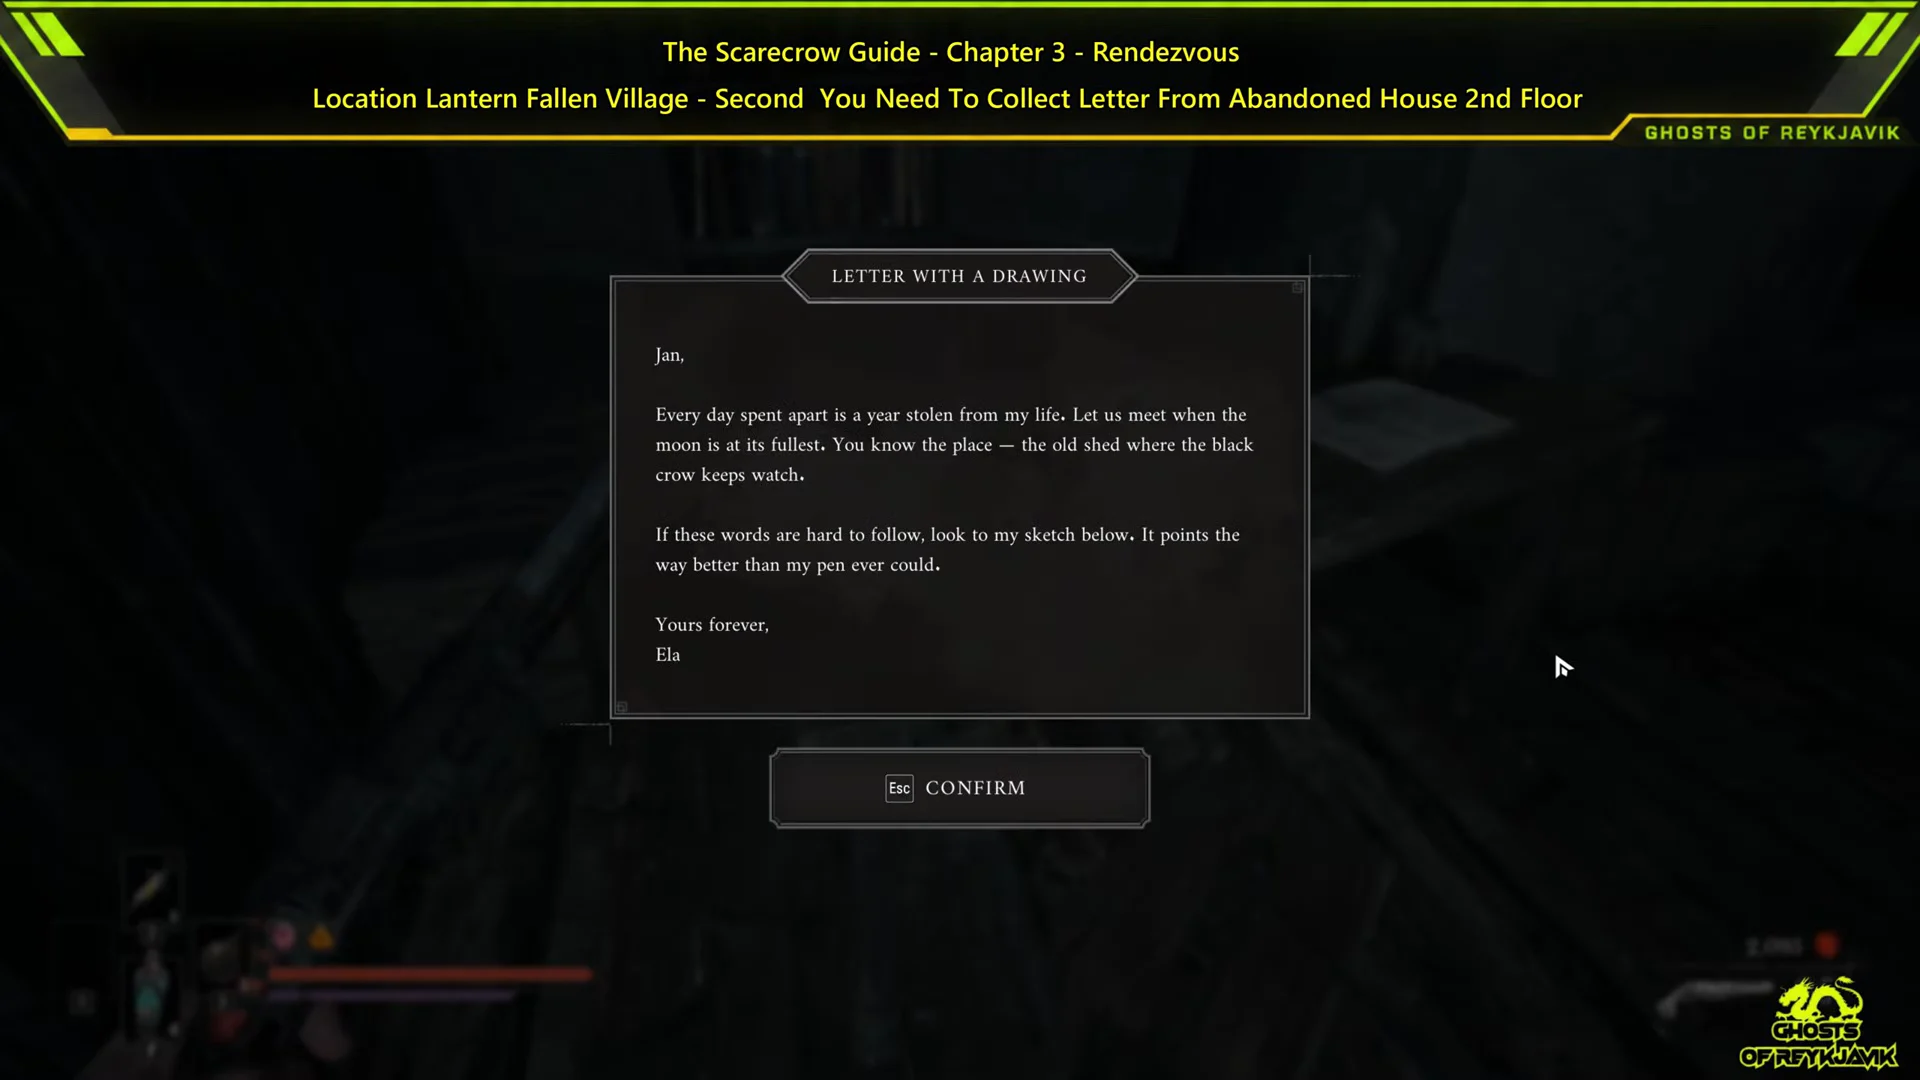
Once you have the letter, the quest updates to say you have both items and need to take them to the scarecrow. You can also find Hand Grenades in this house.
Route from the Marketplace Lantern
If you missed the house the first time and have already unlocked the Marketplace Lantern, go back through the broken carriage where you picked up the Blunderbuss and continue past the gate. Turn right through the large hay bales toward the house in the distance, then pass the explosive horse corpses. The letter is on the house’s second floor.
Plague villagers, explosive cows and bloated horse corpses fill the field route and blow up when you get close, dealing heavy damage. Shoot them or hit them with the Fire Transmutation from a distance. To take down the Risen Grenadier, shoot its left arm, which removes about half its health, then shoot the bombs it carries.
Returning the items and following the crows
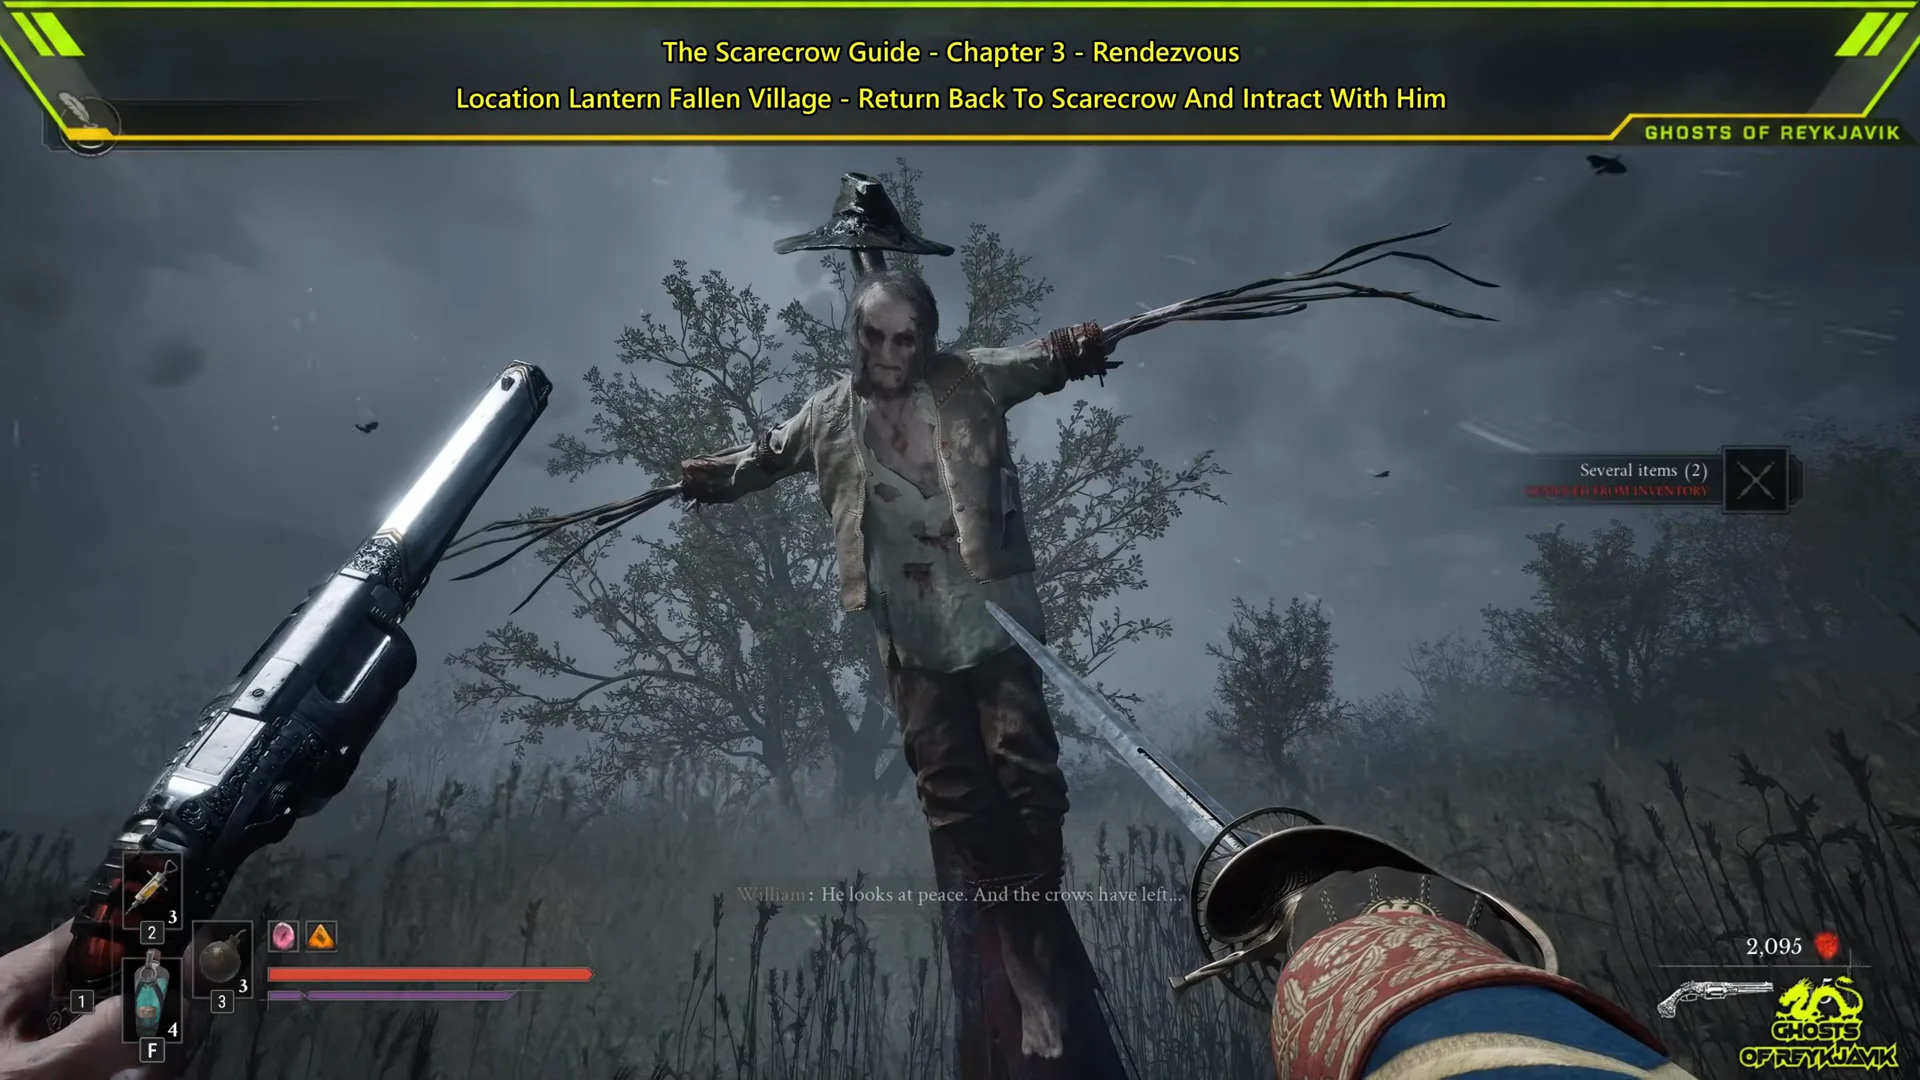
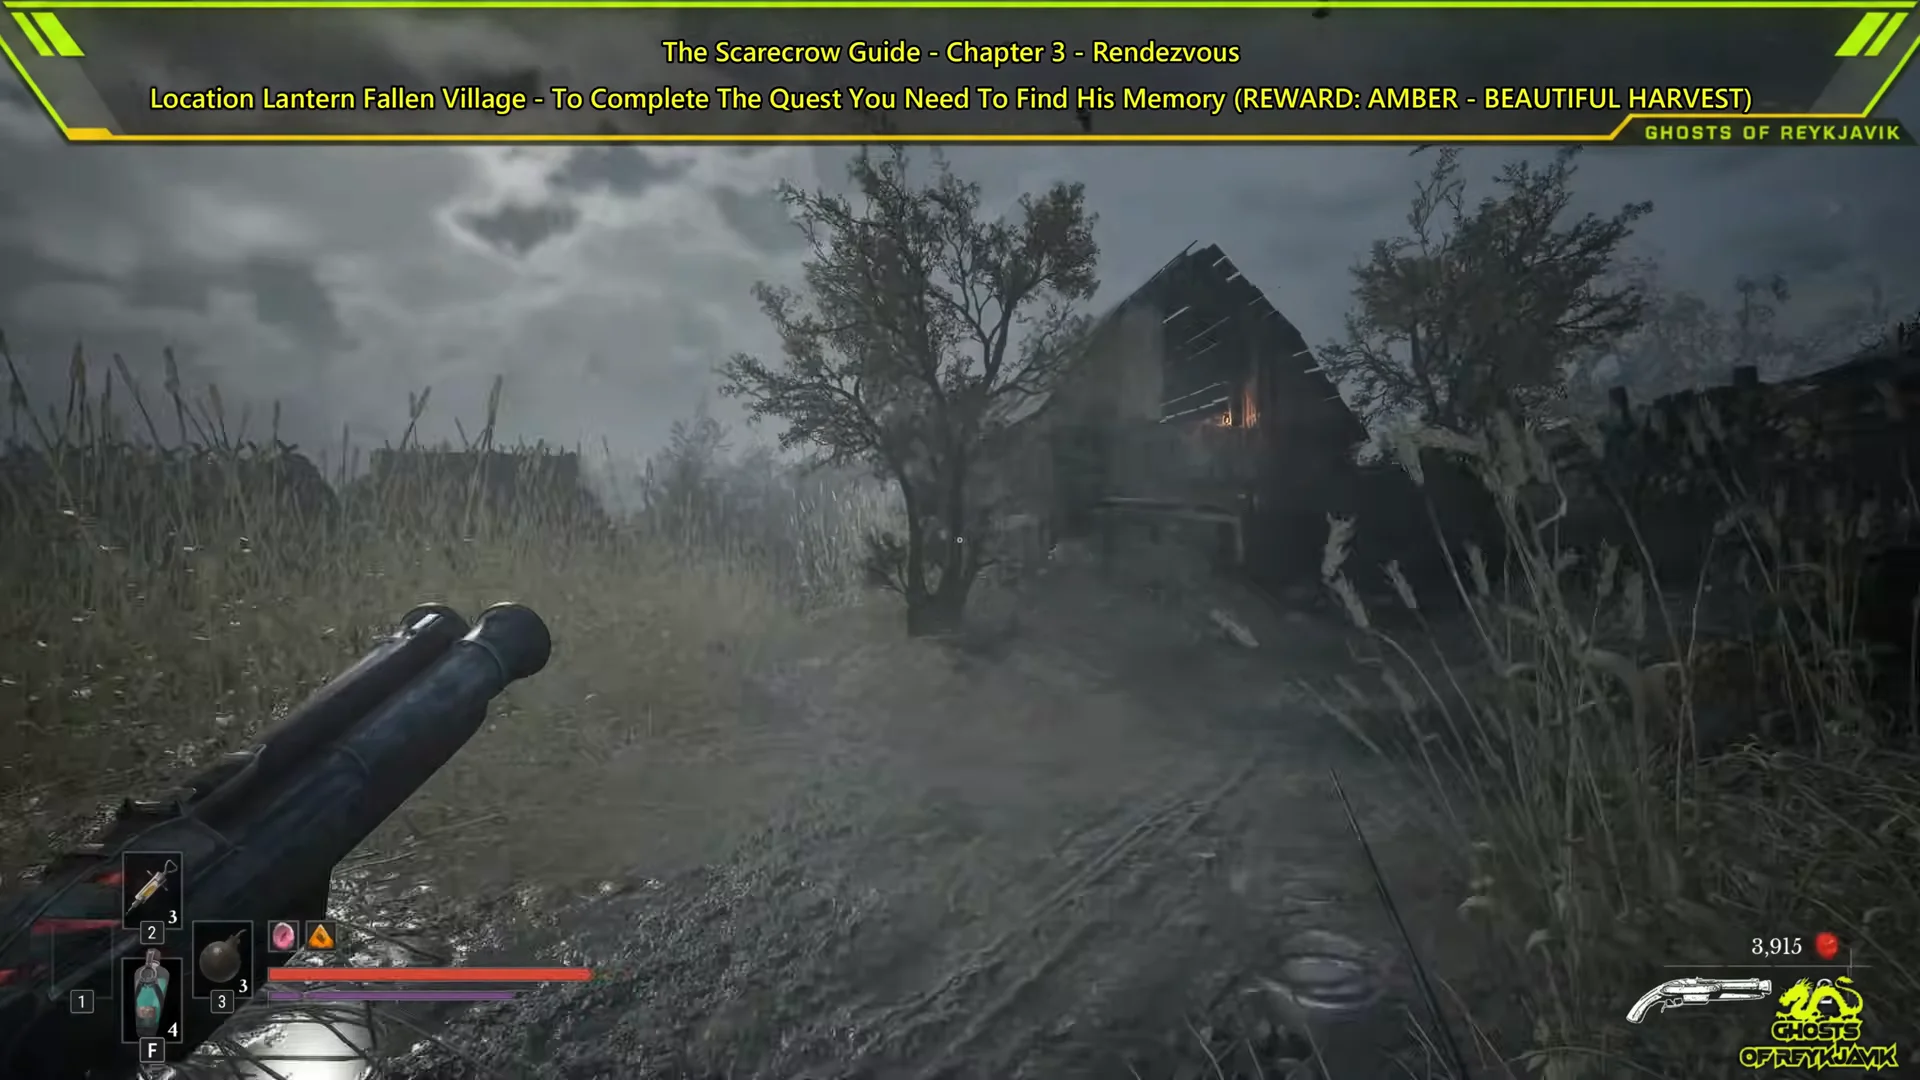
Scarecrow quest reward and completion check
When the memory ends with Ella telling Jan “I’m not afraid of him. I don’t love him. I love you,” a Quest Complete banner appears. You receive the Bountiful Harvest amber and 6,500 Catalysts. William then says someone loved the man on the cross deeply.
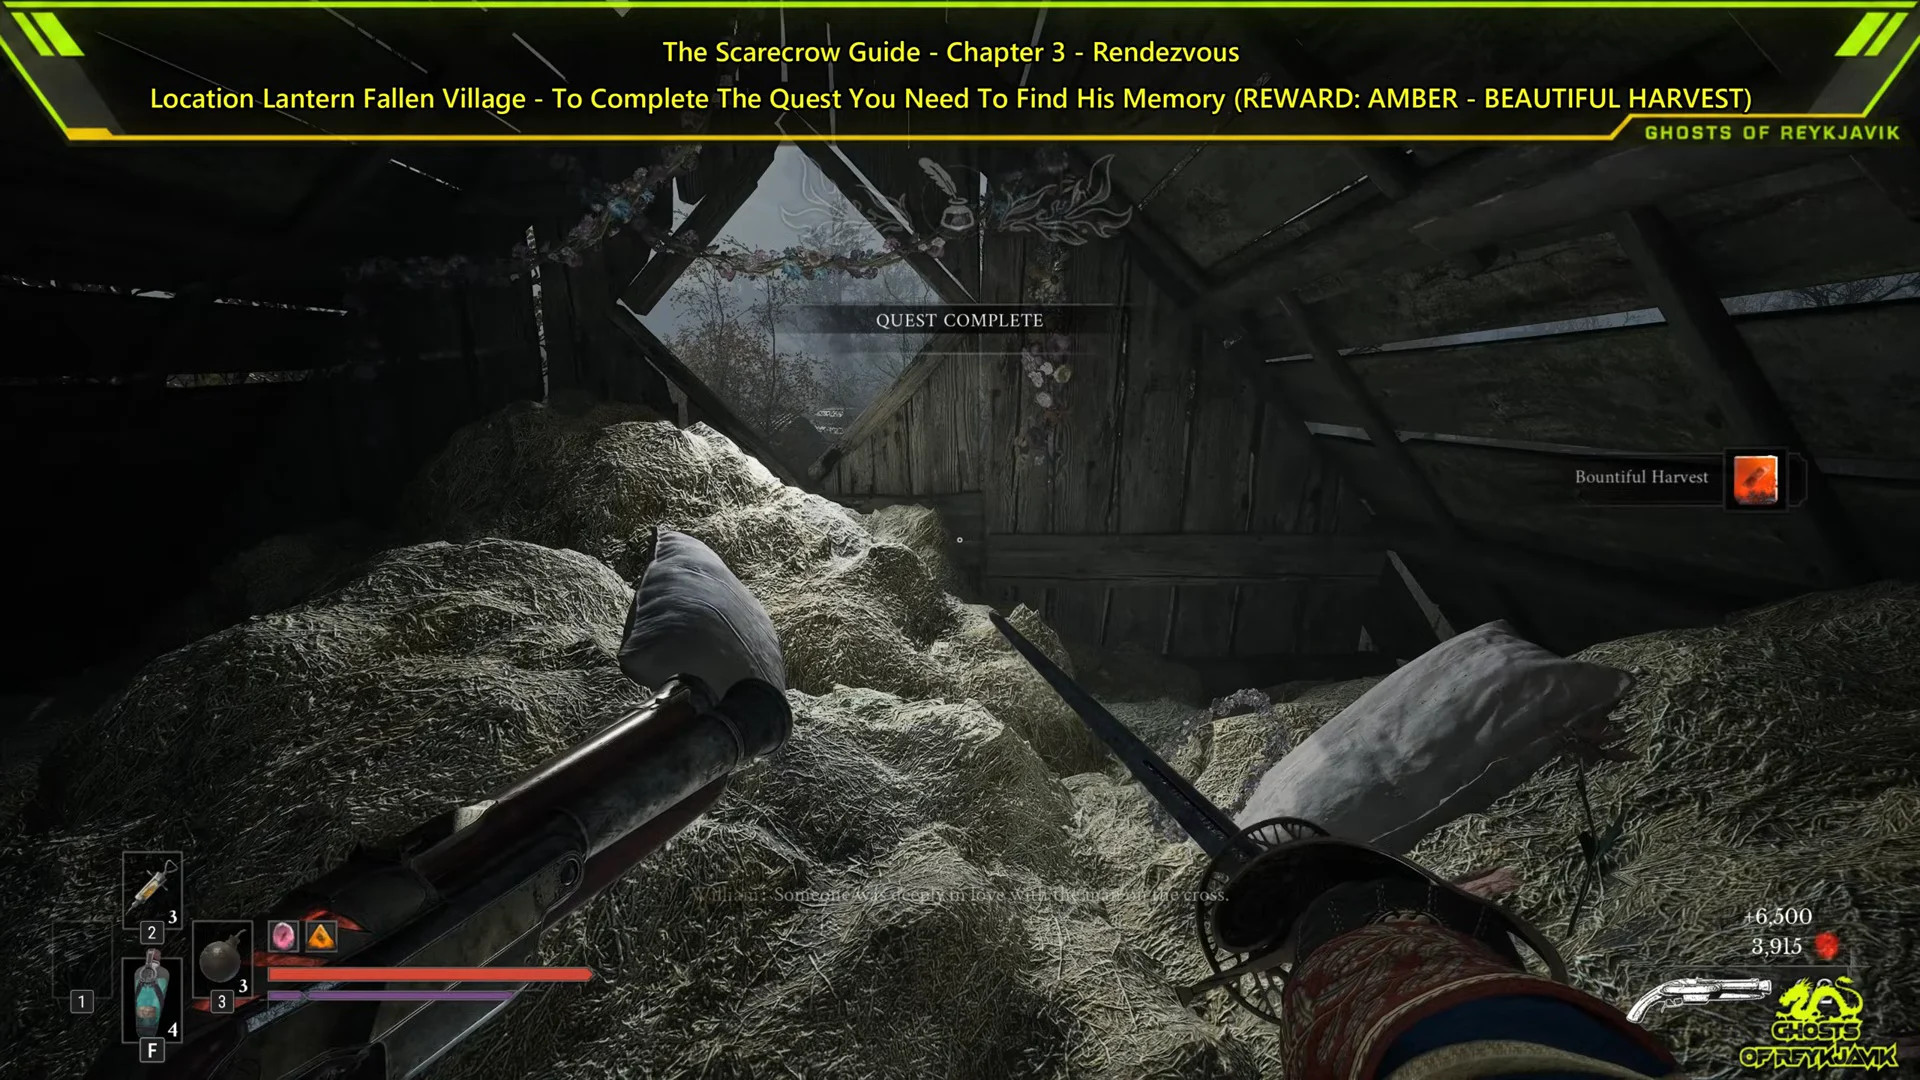
To check it later, open the Quests menu and go to Side Quests. The Scarecrow moves from Active to Completed. Its journal entry now tells the full story: the man was having a secret affair with a local woman, and a jealous town soldier killed him and put his body on display. Returning his belongings lets his spirit rest.
Bountiful Harvest amber values by rank
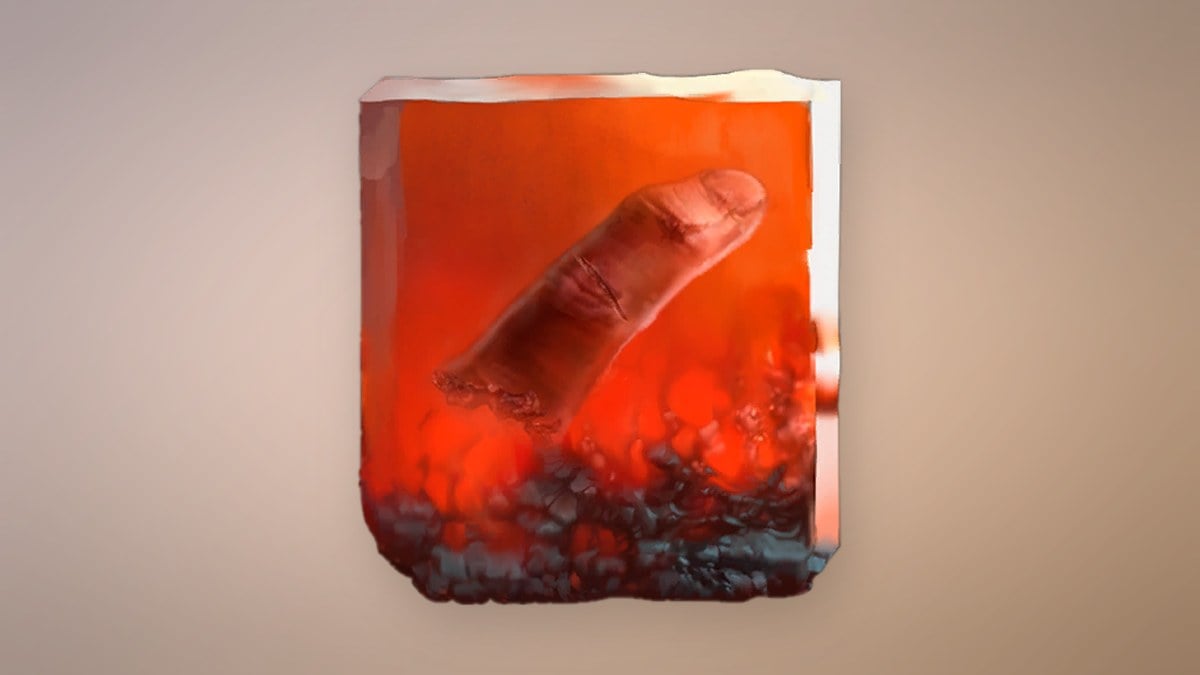
With Bountiful Harvest active, collecting Nephtoglobin Remnants also replenishes Health alongside the usual Nephtoglobin refill. The amber has three ranks, with each rank restoring more Health per remnant. Volunteers in the City of Orphans may drop it as well.
| Rank | Health per Remnant |
|---|---|
| 1 | 3% |
| 2 | 4% |
| 3 | 5% |
The Nephtoglobin Remnants stat upgrade under the Sufferance attribute works well with it. It has 4 ranks, and each rank makes remnants restore 10% more Nephtoglobin. The amber’s Health restore stays the same no matter how many ranks of the upgrade you have.
Weapons and consumables for the Fallen Village route
Keep your distance from the explosive foes around the scarecrow, house, and shed; three items along this route are useful for handling them. Fire Transmutation sets foes ablaze, causing damage over time, and can light objects in the environment.

| Fire Transmutation level | Base damage | Damage | Ignite damage |
|---|---|---|---|
| 1 | 5 | 15 | 4 |
| 2 | 7 | 17 | 4.5 |
| 3 | 8 | 18 | 5 |
| 4 | 9 | 19 | 5.5 |
| 5 | 10 | 20 | 6 |
Level 2 requires two Crude Transmutation Material; level 3 takes two Pure, level 4 takes two Distilled and level 5 takes one Quintessential. Brittleness is the level 2 upgrade, increasing the damage Melee Attacks deal to ignited enemies.
You find the Blunderbuss in the Fallen Village, inside the broken carriage on the same route. This close-range firearm can strike multiple enemies with one shot, making it useful against groups of exploding villagers and horses. At level 1, it deals 15 damage, with a 150 damage cap. It holds 2 rounds, reloads in 3.5 seconds and has a 0.2-second interval between shots. Showstopper, its level 2 upgrade, allows its shots to disrupt Unblockable Attacks.
| Hand Grenade | Value |
|---|---|
| Risen Grenadier drop | 30% |
| Placed in Fallen Village | 2 |
| Max carried | 3 |
| Price / sell price | 200 / 100 |
| Sold by | James’s Iron Bench, from the start |
Hand Grenades explode on impact. The Risen Grenadier near the bend toward the house can drop one, and the house that holds the letter also has grenades inside.